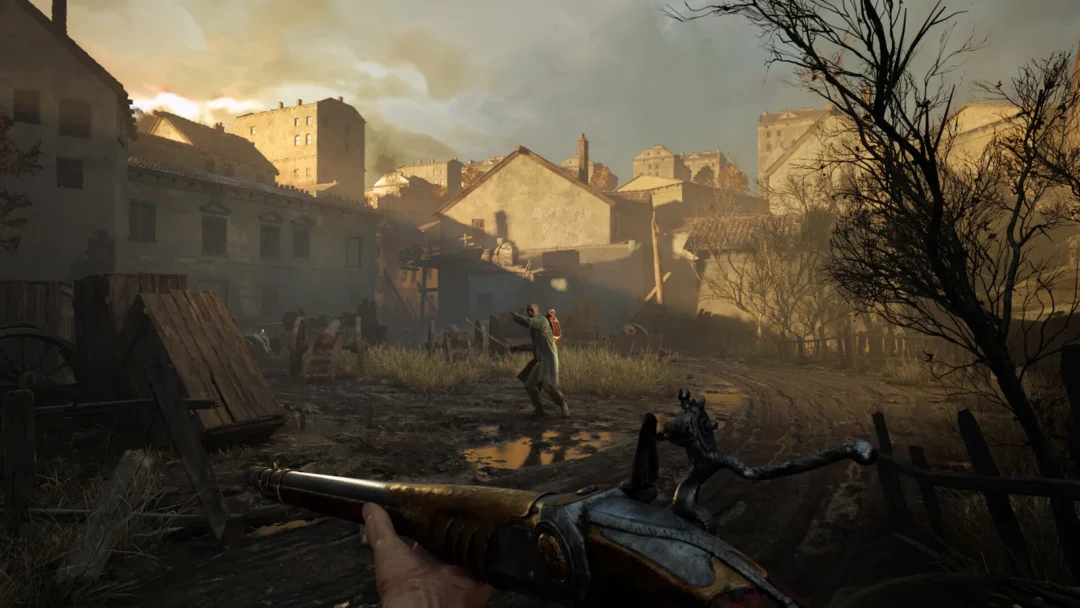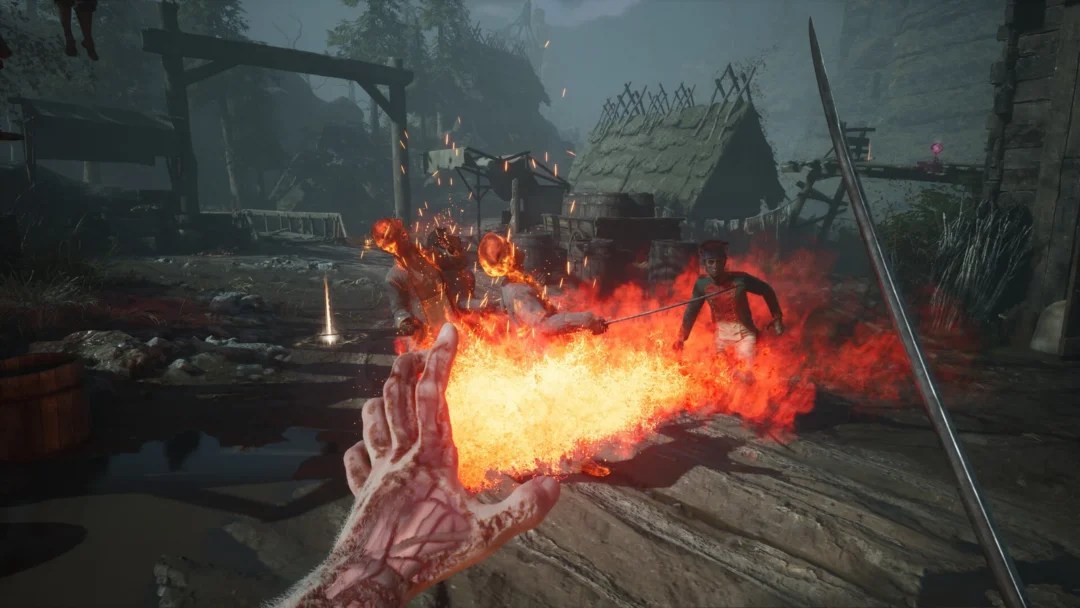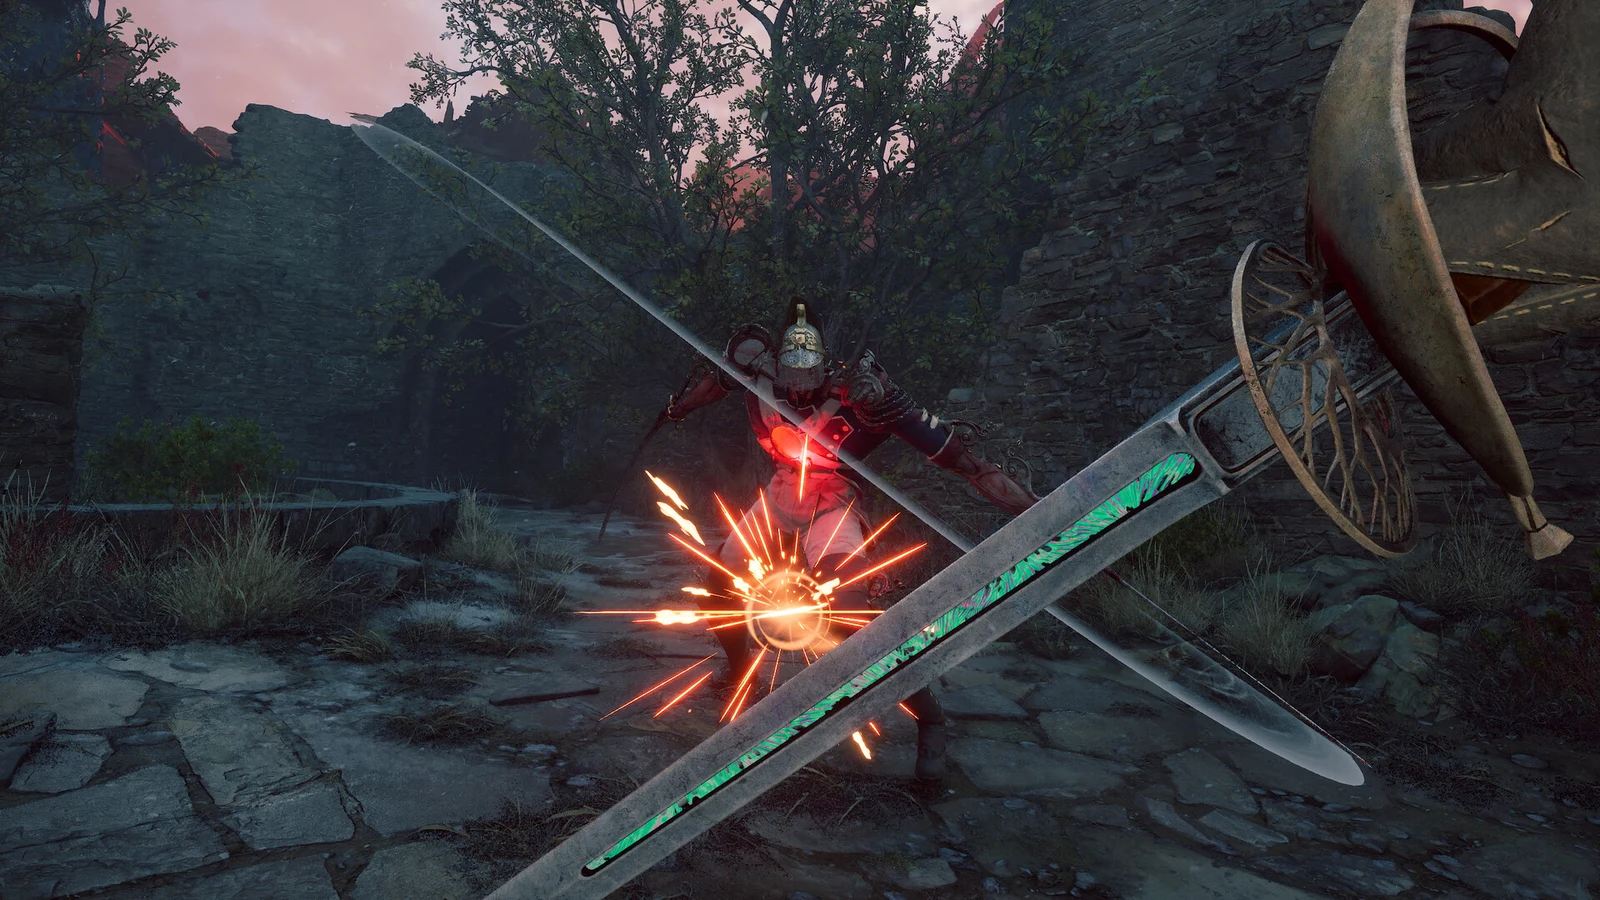
Valor Mortis drops the usual soulslike camera and puts you inside William’s eyes, a resurrected soldier of Napoleon’s Grande Armée fighting through a plague-ravaged Europe. That first-person view changes everything about spacing and timing, so the habits you built in other soulslikes will not carry over cleanly. The game is out now on PC, PlayStation 5, and Xbox Series X|S, and it is available on Steam and day one on Game Pass.
Quick answer: Parry to break posture and open critical hits, bank your Catalysts at a Lantern before entering any new area, and spend your first levels on Health and then Endurance.

Win fights by breaking posture, not trading hits
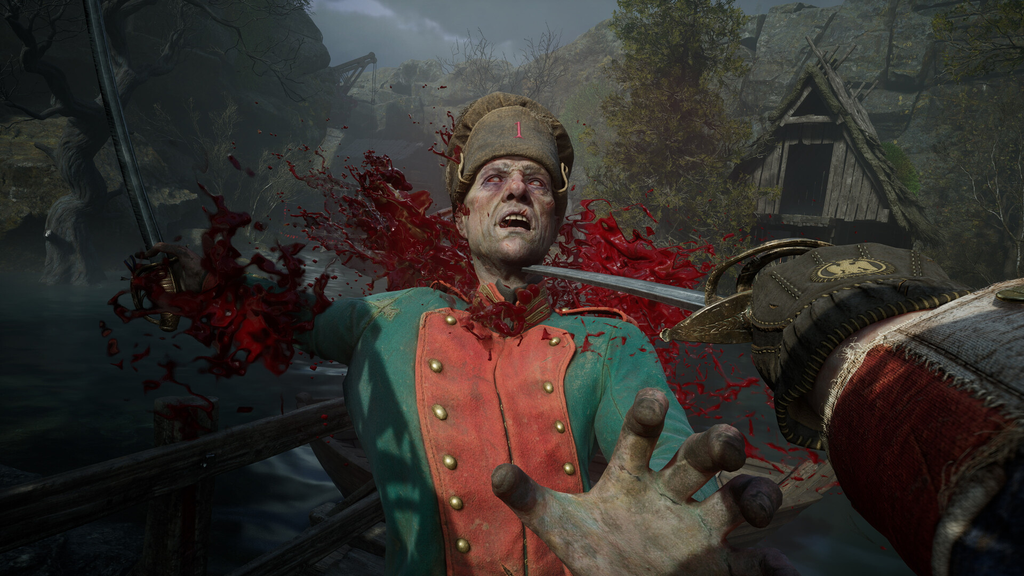
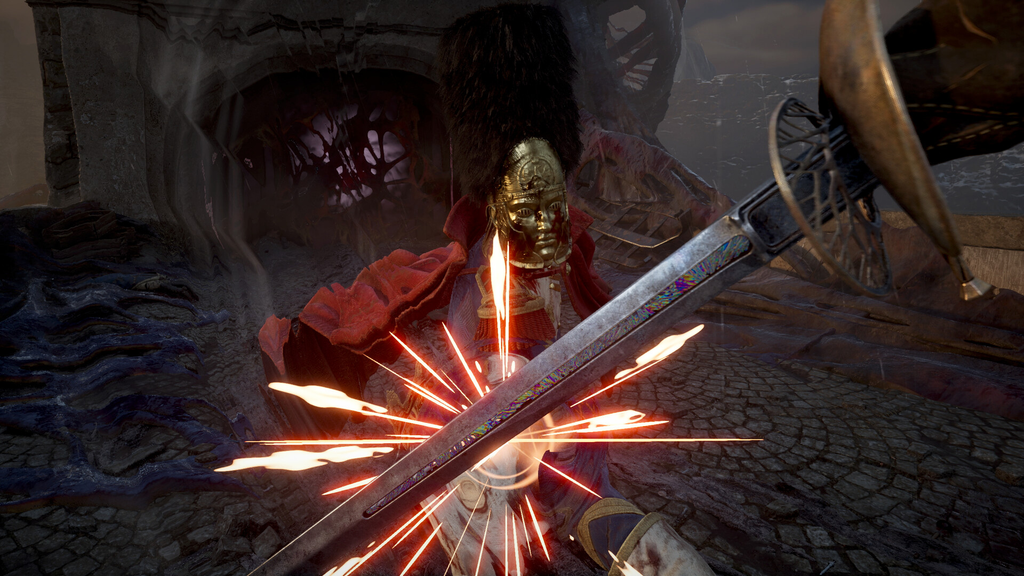
A posture gauge appears beneath every enemy’s health bar. Strikes and well-timed parries raise it; once it is maxed, the foe is vulnerable to a devastating critical attack. Bosses especially cannot be defeated by simply attacking, so parrying is the central challenge.
First-person parries demand sharper timing than you might expect. Track the enemy’s weapon as it begins its forward motion, then block just before the blow connects. Your attack animation cannot be interrupted with a parry, so avoid starting a swing unless you can see it through.
Blocking and dodging are your fallback, not an alternative. Blocking reduces damage but still costs Endurance and lets a sliver through, and you can win that health back by landing melee hits before the pale red segment fades. Dodging is the correct answer to attacks that flash red, which are unblockable. All of these actions drain Endurance, so fight in short bursts of one or two swings, then back off and let the green stamina bar refill.
Find a lone soldier near a Lantern and repeat the same exchange until your parry timing is consistent before you commit to a boss.
Use firearms on weak points and explosives
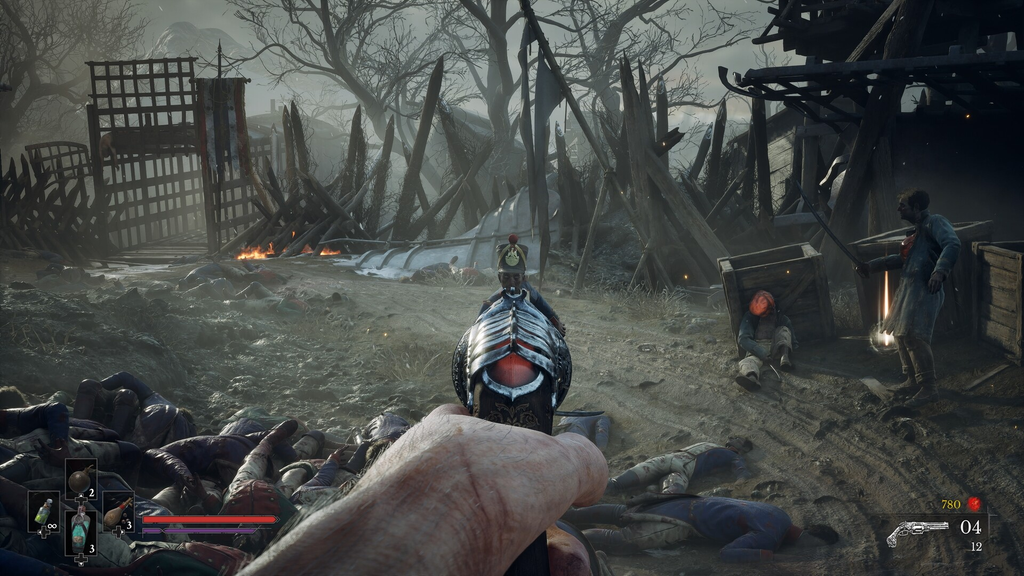
Many infected enemies carry glowing red growths, the lambent blisters or buboes. Aim down sights and shoot these weak points to strip a large chunk of health, sever limbs, or pile on posture damage against tougher foes. The Rapier can pierce the same spots up close, though it has no conventional block.
Enemies hauling oil canisters or explosive barrels are even easier. Shoot the container, or set it off with Fire Transmutation, and the blast does the work for you. Ammo is limited but the game is fairly generous with pickups, which appear as glowing yellow dots on the floor, so save shots for weak points and dangerous distant shooters.
Your early firearm options each suit a different range.
| Firearm | Best use |
|---|---|
| Pistol | Reliable weak-point shots at any range |
| Blunderbuss | Heavy close-quarters damage |
| Musket | Long-range, high-damage picks on fast enemies |
Fire and other Transmutations run on Nephtoglobin
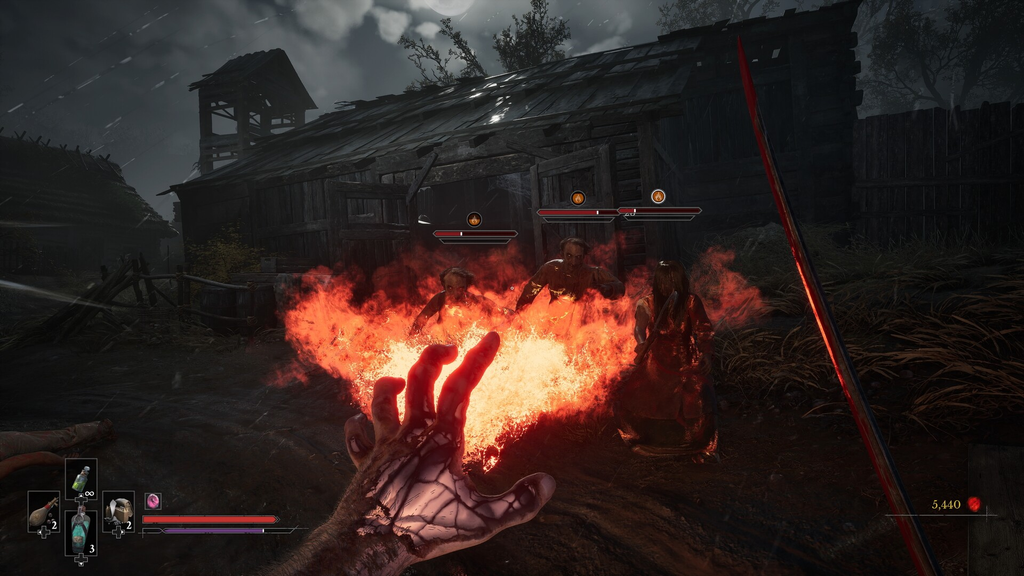
Transmutations are William’s supernatural abilities, powered by Nephtoglobin shown as the purple bar beneath your health. Fire Transmutation is the one you get early. It throws flame at enemies, sets them alight for easy finishers, and burns down the dry yellow walls that block some paths.
You refill Nephtoglobin by hitting enemies in melee and destroying their weak points, which ties your gunplay and your powers together. Breaking a weak point from range tops up the resource, so you can then burn or follow up with a power instead of leaning on one attack type. Later unlocks like Stasis and the Grapple add crowd control and traversal.
Catalysts, Lanterns, and what death costs
Lanterns are the bonfire equivalent. They let you rest, refill resources, level up, and fast travel to other discovered Lanterns once that opens up after Chapter 2. Resting also respawns regular enemies, so expect the path behind you to repopulate.
Catalysts are your souls. You earn them from kills and spend them at Lanterns to raise your level. Die and you drop every unspent Catalyst at the spot where you fell, and if you die again before picking them up, they are gone for good. The counter at the bottom right of the screen turns from white to yellow once you have enough to level up, which is your cue to head back to a Lantern and bank the progress.
Because of that, spend before you explore. If you are carrying a large pile of Catalysts toward an unfamiliar area or boss, buy an upgrade you can afford first rather than risk losing the lot.
Spend early levels on Health and Endurance
You start with very little health, and a handful of hits can leave you in critical condition. Progression uses an upgrade tree, with Maximum Health, Maximum Stamina, and Nephtoglobin Sufferance as your early options. A sensible order for your first hours with the Saber:
- Maximum Health first, so a mistake against a new enemy does not end the run.
- Maximum Stamina next, for more attacks while keeping a dodge in reserve.
- Nephtoglobin Sufferance when you need it to unlock the next tier.
- Melee Damage, then Parrying Impact once your parries land consistently.
Another round of base-stat upgrades opens up at around level 25, where you can pour in a further 12 skill points. Points are not locked in forever either. You can respec at a Lantern by paying Catalysts, with the cost rising as your level climbs.
Ambers change how your build plays
Think of Ambers as Dark Souls rings: equip them at a Lantern to gain passive effects. Slot unlocks occur at level 5, then 15, 25, 35, and 45, allowing five Ambers at most. There are 29 distinct Ambers and 61 copies to find throughout the world, in chests, as enemy drops and from conversations; finding a duplicate automatically upgrades one, up to level 3. Beginners get the most from powerful choices that activate through actions they already perform.
| Amber | Effect |
|---|---|
| Dominatus | Restores health on critical attacks; pairs with a posture-break build |
| Marksman’s Bane | Lets you parry bullets, with each one refunding a pistol round |
| Volatile End | Weak-point shots cause a damaging explosion |
| Butcher’s Carnage | Melee strikes heal, but you can no longer use the Ferrofluid Flask |
Dominatus can turn up as early as Chapter 2 and is a safe first pick. Whenever you hit one of those level milestones, go back to a Lantern and check your loadout, since a free slot is easy to forget.
Upgrade weapons and the flask at the Abandoned Church
After you defeat General Lothaire you unlock the Abandoned Church, the hub where permanent upgrades happen. James’s Iron Bench upgrades weapons and Transmutations using materials and parts, and Louis’s Laboratoire handles the healing flask and sells consumables. Both traders restock with higher-tier materials each time you reach a new major zone, so check back after every milestone.
Pick the weapon you actually use before you pour materials into anything. Side-grade perks on an upgraded weapon, such as a Bayonet versus a Scope on the Musket, can be swapped for free at the bench at any time.
The materials you spend to raise a weapon’s tier are consumed permanently and cannot be refunded or moved to a different weapon, so never upgrade on a whim.
Your Ferrofluid Flask is the healing item, refilled by resting at a Lantern. At Louis’s station you can increase its charges with an Empty Ferrofluid Flask and boost how much it heals with a Ferrofluid Flask Power Upgrade. Both are worth prioritizing early.
Explore every side path
Levels look linear but almost always branch. Lit lanterns and torches mark the main story route, while unlit or diverging paths lead to chests, upgrade materials, Ambers, and collectibles. The game also has metroidvania elements, so abilities you gain later open up areas you walked past earlier, and backtracking pays off.
Keep an eye out for environmental tools in combat too. Explosive barrels, pools of oil to ignite, and cliffs to knock enemies off can clear a fight without spending resources. Watch the bottom of the screen for fire and poison indicators, and mind the holes you can fall into.
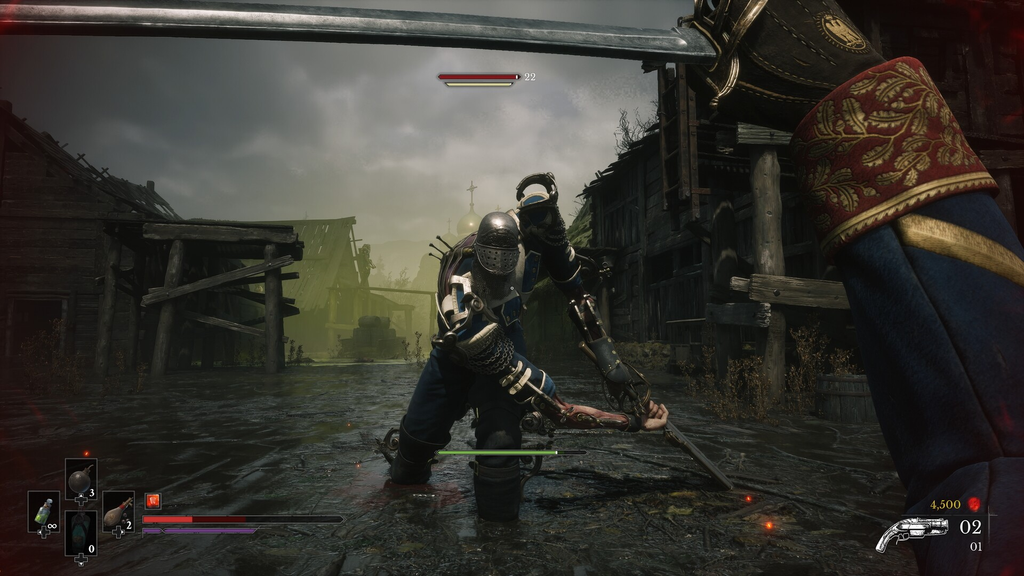
The first General Lothaire fight
Your opening chapter ends with an intended loss in your first fight against General Lothaire, the Eagle-Bearer. The story carries on after he beats you, and Chapter 2 brings the proper rematch. If you defeat him in the prologue, he drops the Commander’s Catalyst Clot, worth 10,000 Catalysts and providing a major early level boost.
Lean on these systems and the early hours stop feeling like a wall. Parry to break posture, feed your firearms into weak points to keep Nephtoglobin topped up, bank Catalysts before every unknown stretch, and treat each death as a lesson in the enemy’s timing rather than a setback.