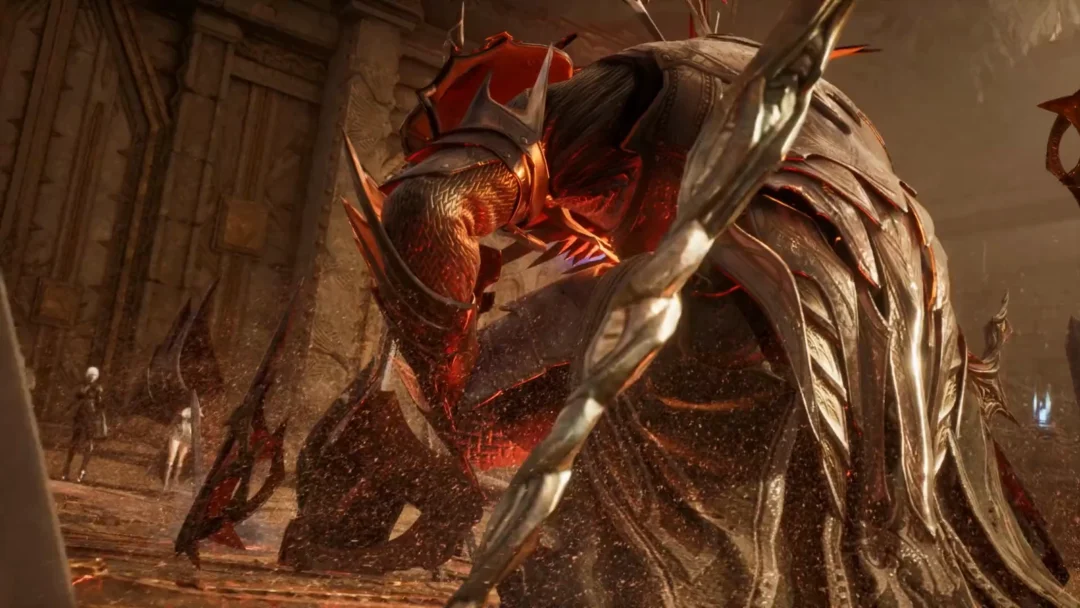
A level 401 Beastren Warrior named Quickpaw wades into horde fights in the snowbound Norgan region, swinging a red-glowing greatsword with almost no wind-up between hits. That speed is the point of this end-game Warrior setup in Dark Arisen, the paid expansion for Dragon’s Dogma 2 that launched October 9, 2026. It is built around Blood Pact, one of the new Warrior weapon skills, and a full set of Majestic armor pulled from the expansion’s loot.
Quick answer: The build revolves around Blood Pact, a Dark Arisen Warrior weapon skill. Once its aura fully charges, reactivating it removes weapon-skill charge times and speeds up attacks, while a loss gauge steadily fills until you cancel it or run out of health or stamina.
How Blood Pact works
Blood Pact is a Warrior weapon skill introduced in Dark Arisen. Activating it surrounds the Warrior with an aura that builds as they deal or receive damage. While covered in blood, the Warrior resists stagger more effectively and charges skills faster; Chain of Blows also needs no precise timing.
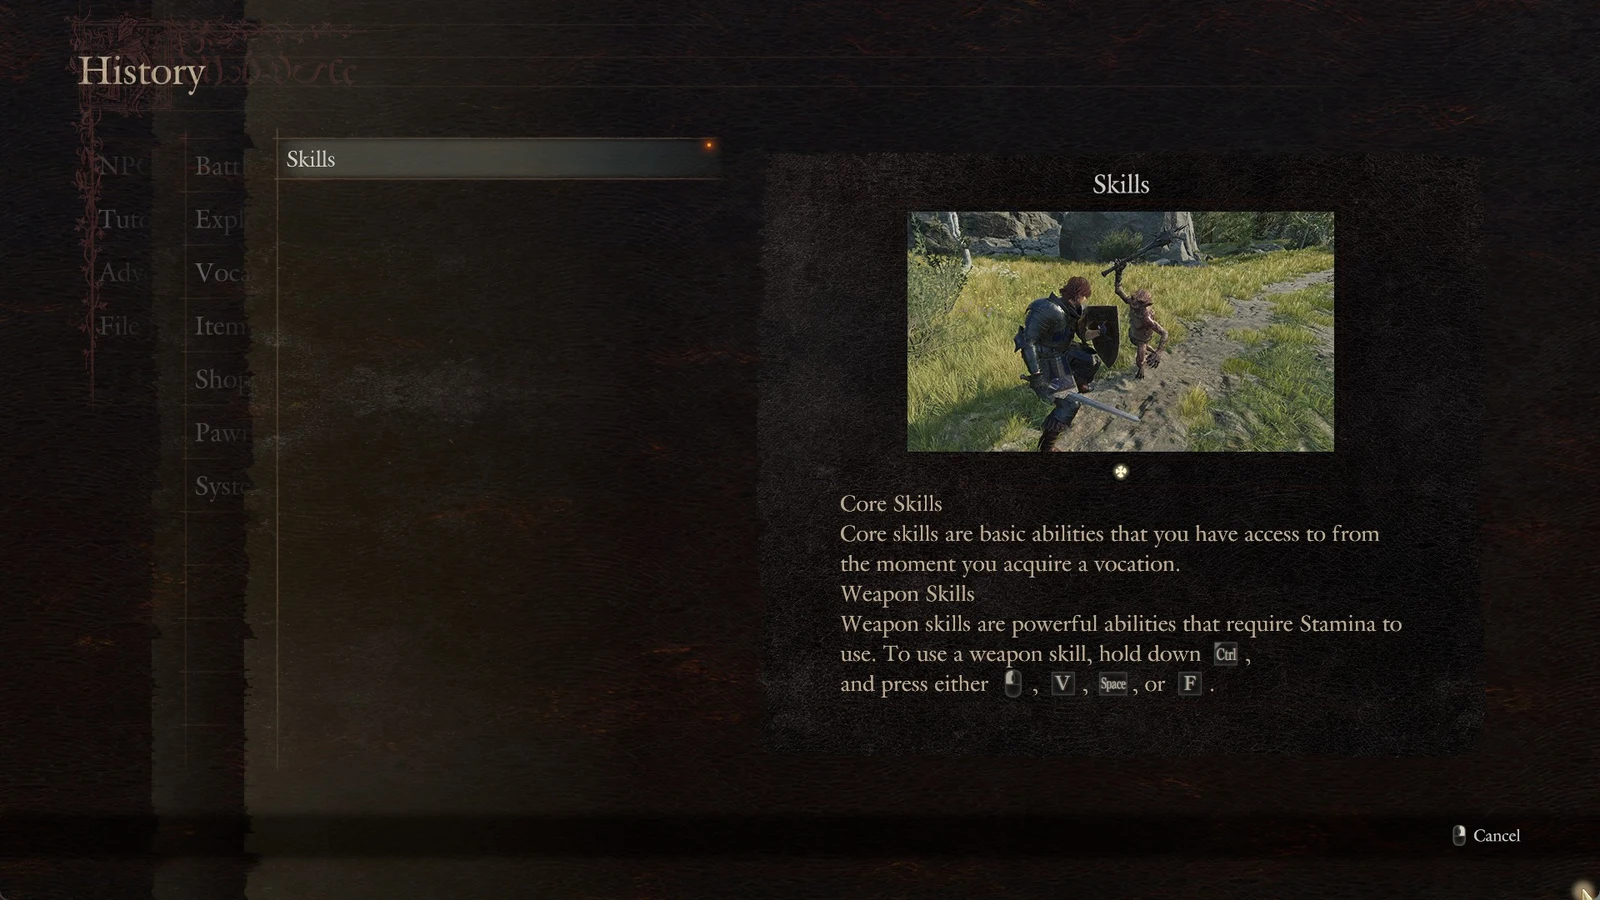
Once the aura is full, pressing the button again “awakens” the skill into a berserker state. Weapon-skill charge times disappear entirely and Chain of Blows swings far faster. The trade-off is a loss gauge that climbs continuously while the state is active, chipping away at your usable health bar. The effect ends only when the Warrior is knocked out with health at zero, or when stamina drains completely, which happens if you fire off Arc of Might. Blood Pact can later be upgraded into Blood Bond.
The weapon skills in the loadout
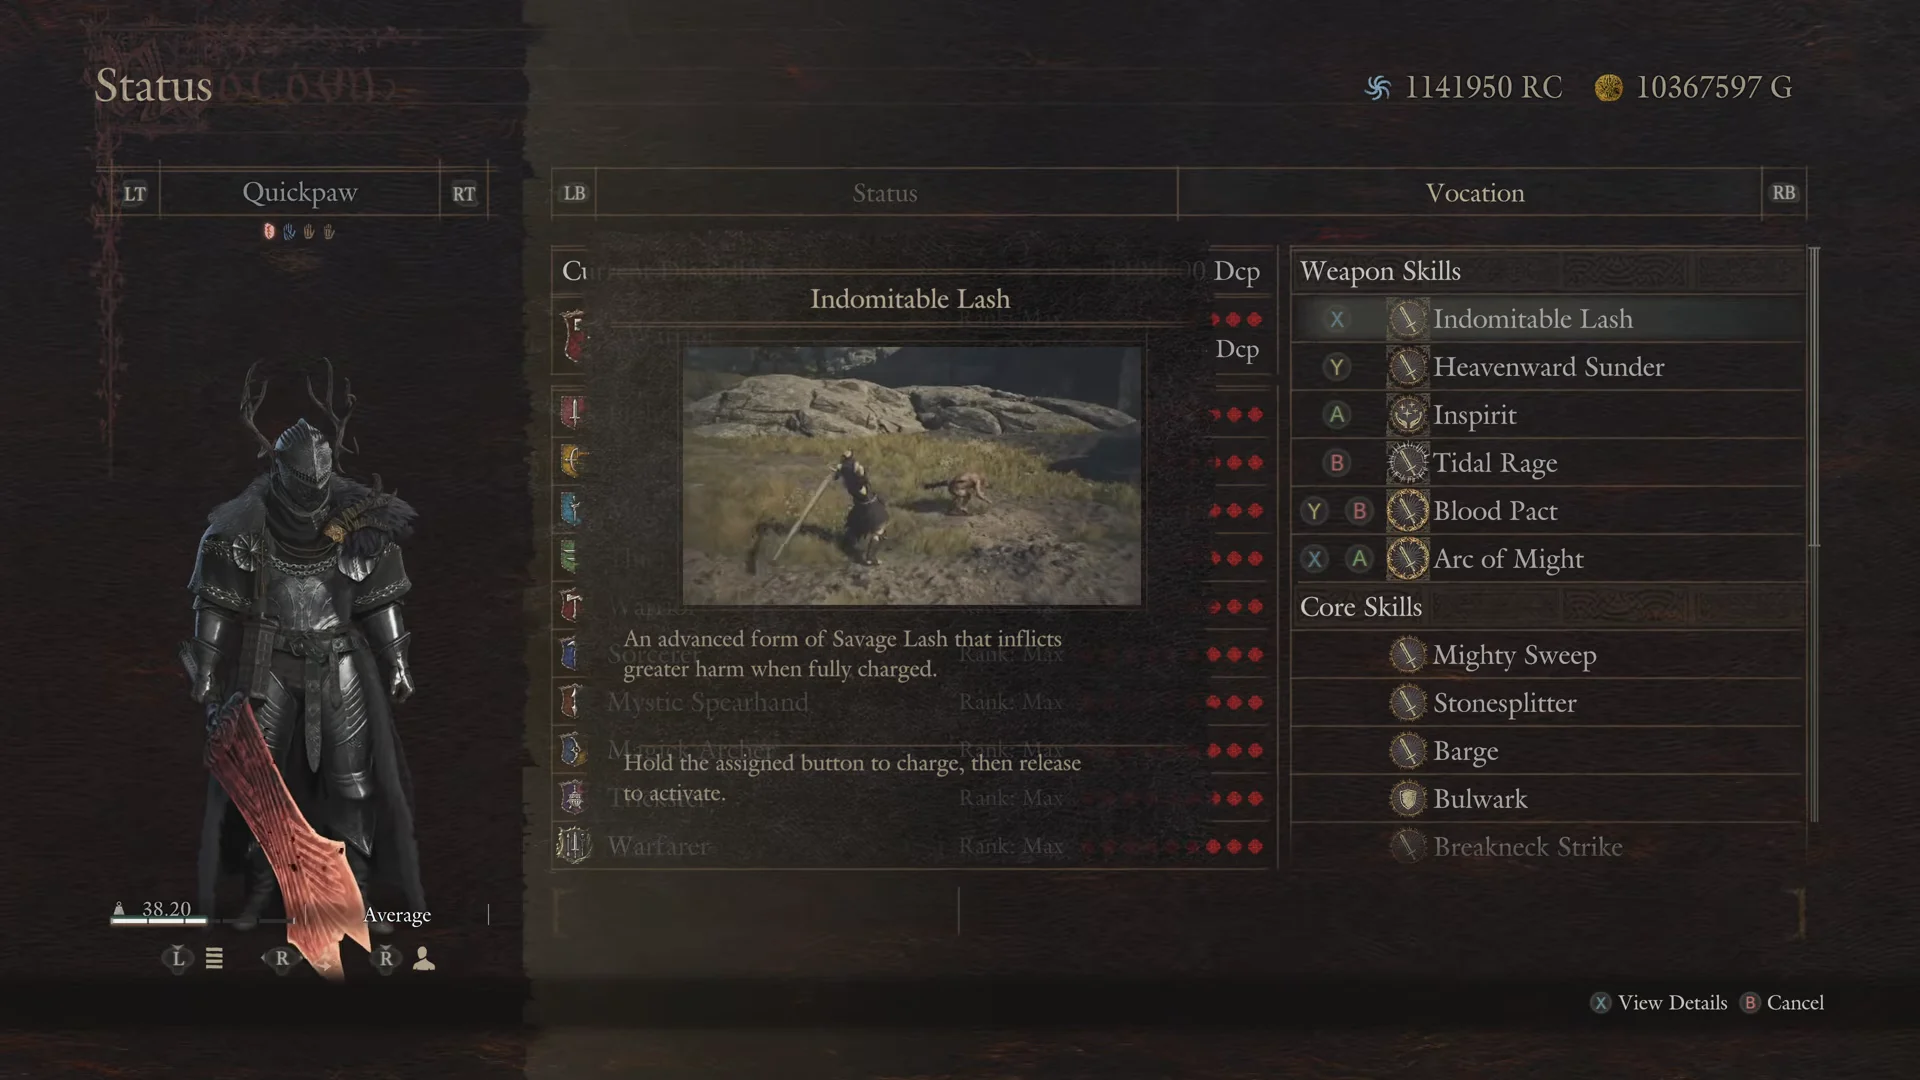
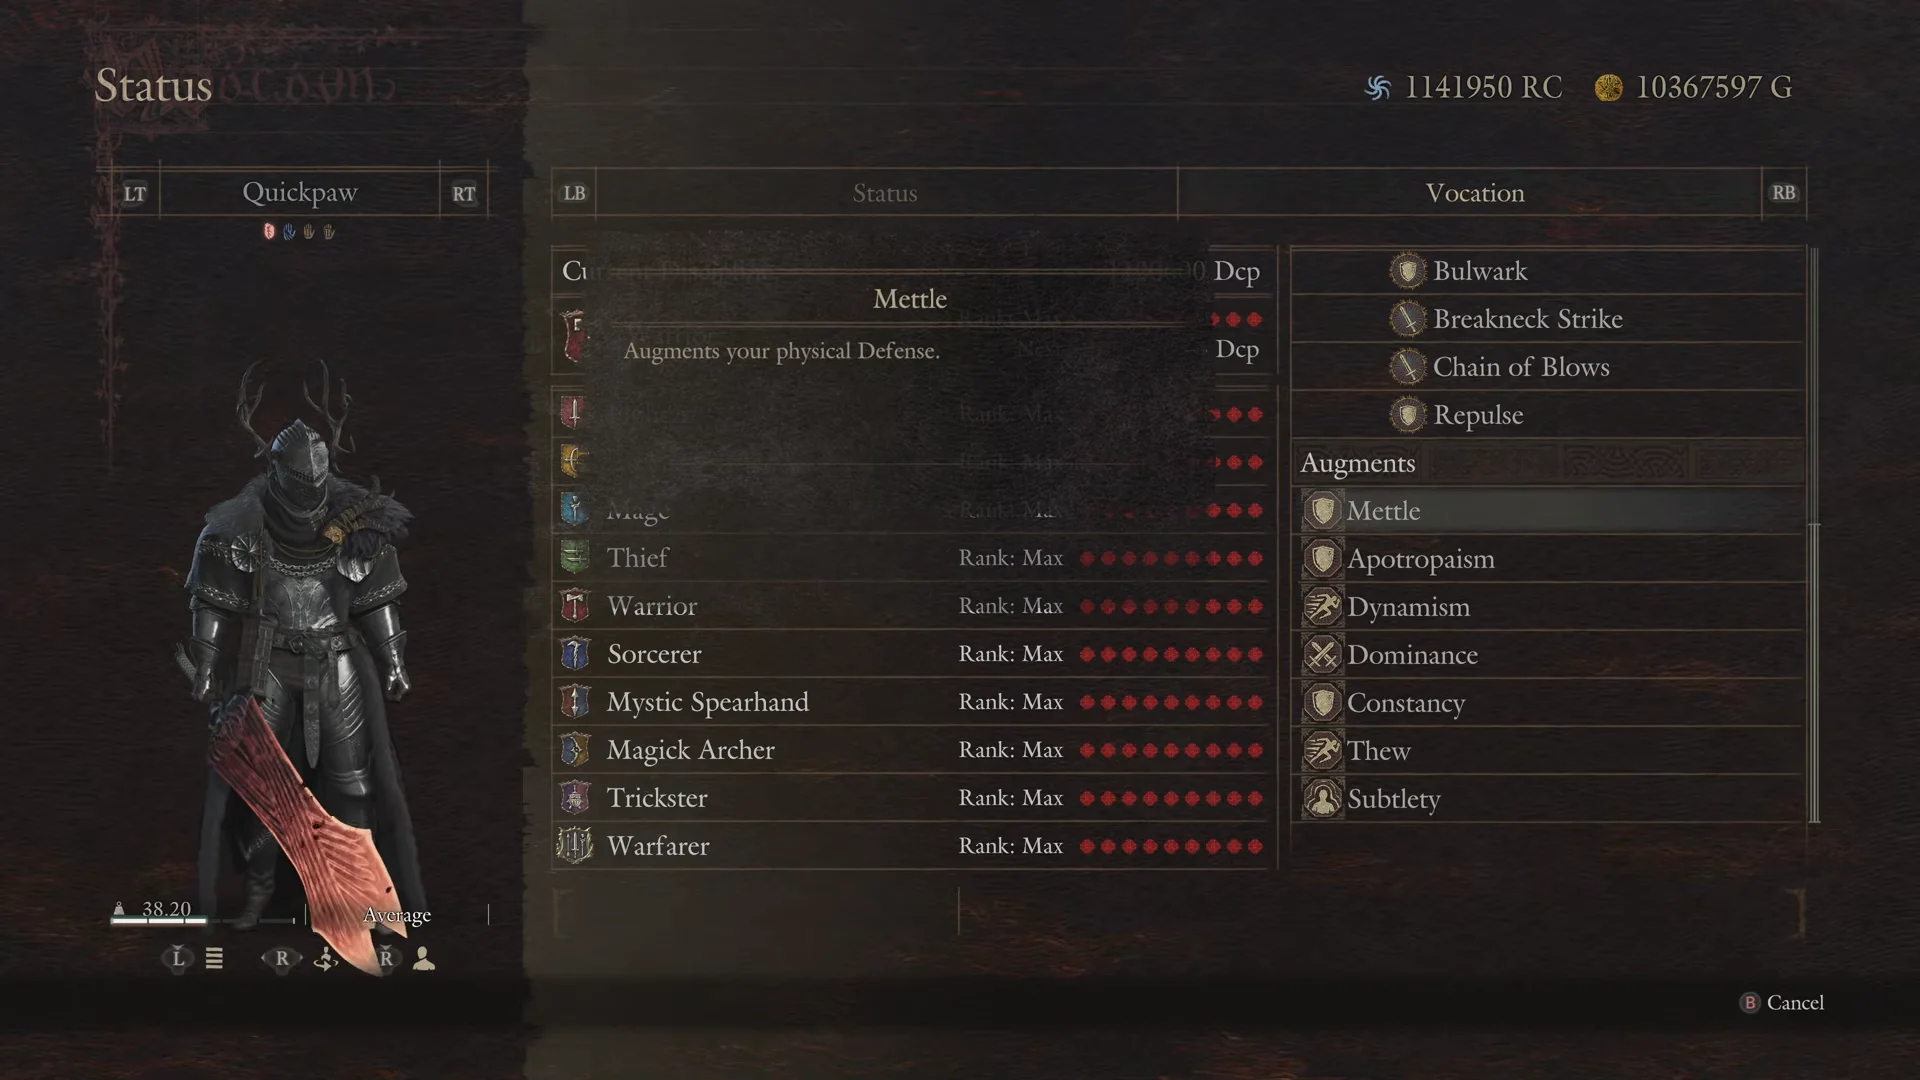
The six weapon-skill slots run Indomitable Lash, Heavenward Sunder, Inspirit, Tidal Rage, Blood Pact, and Arc of Might. Each one has a job inside the berserker loop. Heavenward Sunder is the vertical reach attack for airborne foes, dragon heads, and weak points. Indomitable Lash lands a heavy charged strike. Tidal Rage opens an automatic counter window with invulnerability frames against boss attacks, and Inspirit (also shown as Revivify) clears debilitations such as being set on fire, frostbite, sleep, silence, and unconsciousness.
Arc of Might is the finisher. It channels the Warrior’s full strength into a single blow and consumes all stamina, which also cancels Blood Pact. The core-skill row carries Mighty Sweep, Stonesplitter, Barge, Bulwark, Breakneck Strike, Chain of Blows, and Repulse.
Warrior skill costs and ranks
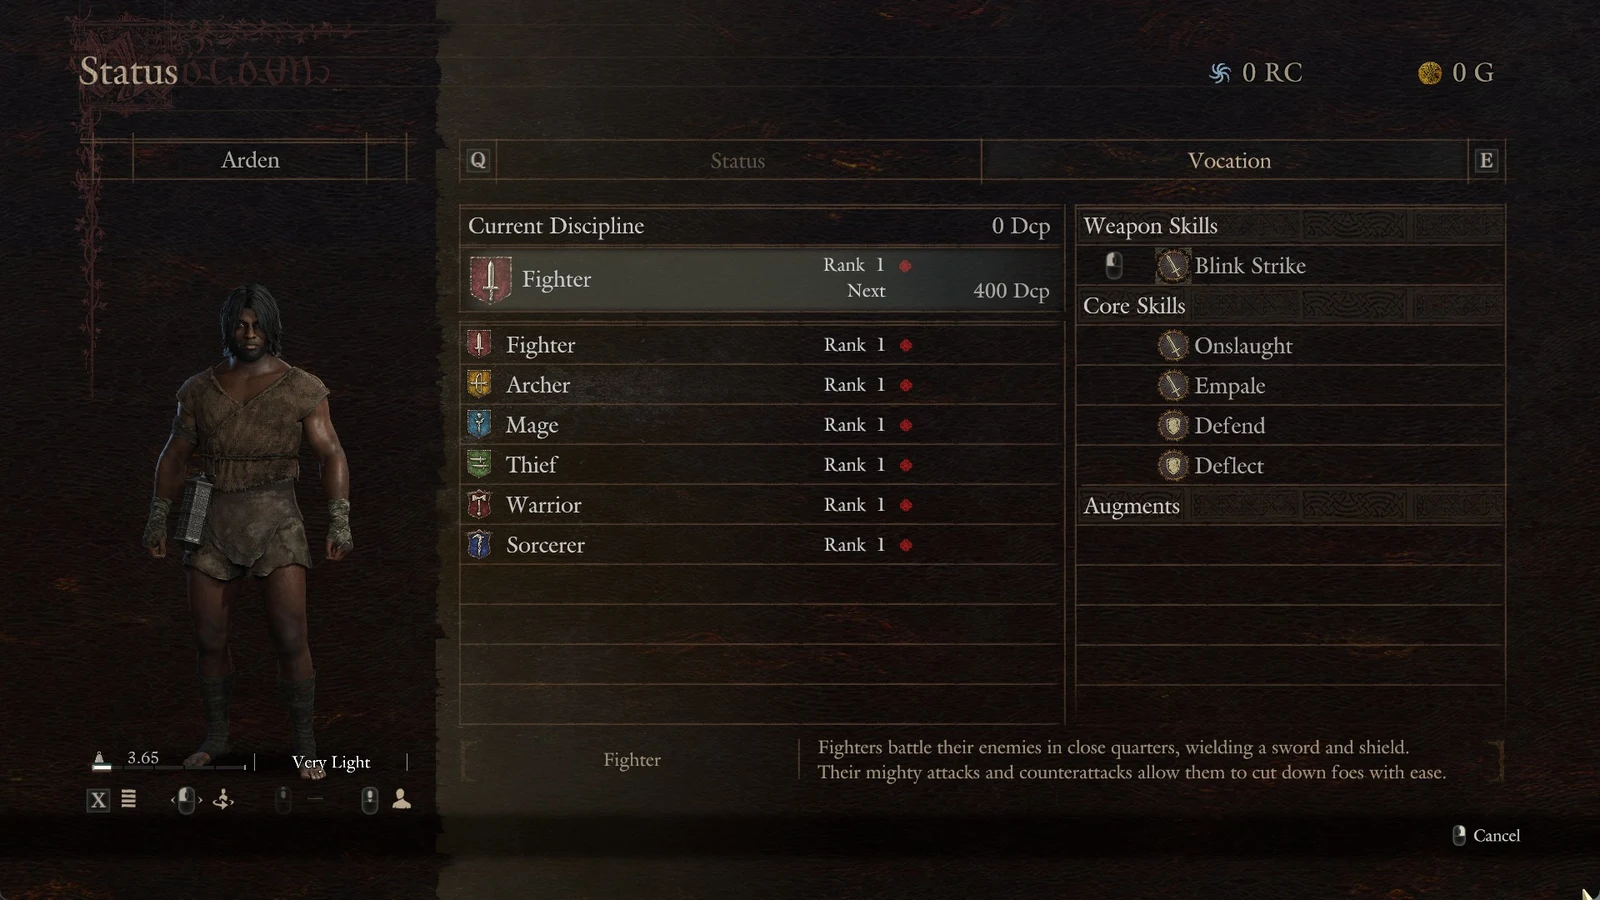
The skills in this setup sit at different points on the Warrior’s unlock path. Here are the verified discipline costs, forms, and vocation ranks for the weapon skills tied to the build, including the earlier versions each one upgrades from.
| Weapon skill | Form | Discipline | Rank |
|---|---|---|---|
| Skyward Sunder | Basic | From start | — |
| Heavenward Sunder | Advanced | 1,000 | 4 |
| Savage Lash | Basic | 700 | 4 |
| Indomitable Lash | Advanced | 2,000 | 7 |
| Tidal Wrath | Advanced | 2,500 | 8 |
| Tidal Rage | Most advanced (Dark Arisen) | — | — |
| Blood Pact | Dark Arisen | — | — |
| Arc of Might | Maister’s teaching | — | — |
Tidal Rage is obtained as an equipment special skill with the second-level skill equipped, and Arc of Might is a maister’s teaching named in Champion’s Fable. The core skills have their own costs: Breakneck Strike runs 250 discipline at rank 2, Chain of Blows runs 400 at rank 3, and both Mighty Sweep and Stonesplitter are available from the start.
Augments on the build
The augment page lists Mettle, Apotropaism, and Dynamism alongside Subtlety, Thew, Constancy, and Dominance. Their effects include physical and magick defense, movement weight, knockdown values, carry weight, and reduced enemy targeting priority. Costs and effects are confirmed for four of them below.
| Augment | Vocation | Discipline | Effect |
|---|---|---|---|
| Mettle | Fighter (rank 2) | 300 | Defense +45 / +30% |
| Thew | Fighter (rank 6) | 1,800 | Max weight +10 |
| Constancy | Sorcerer (rank 6) | 1,800 | Knockdown Res +30% |
| Dominance | Warrior (rank 8) | 3,000 | Knockdown Power +15% |
The Majestic gear set
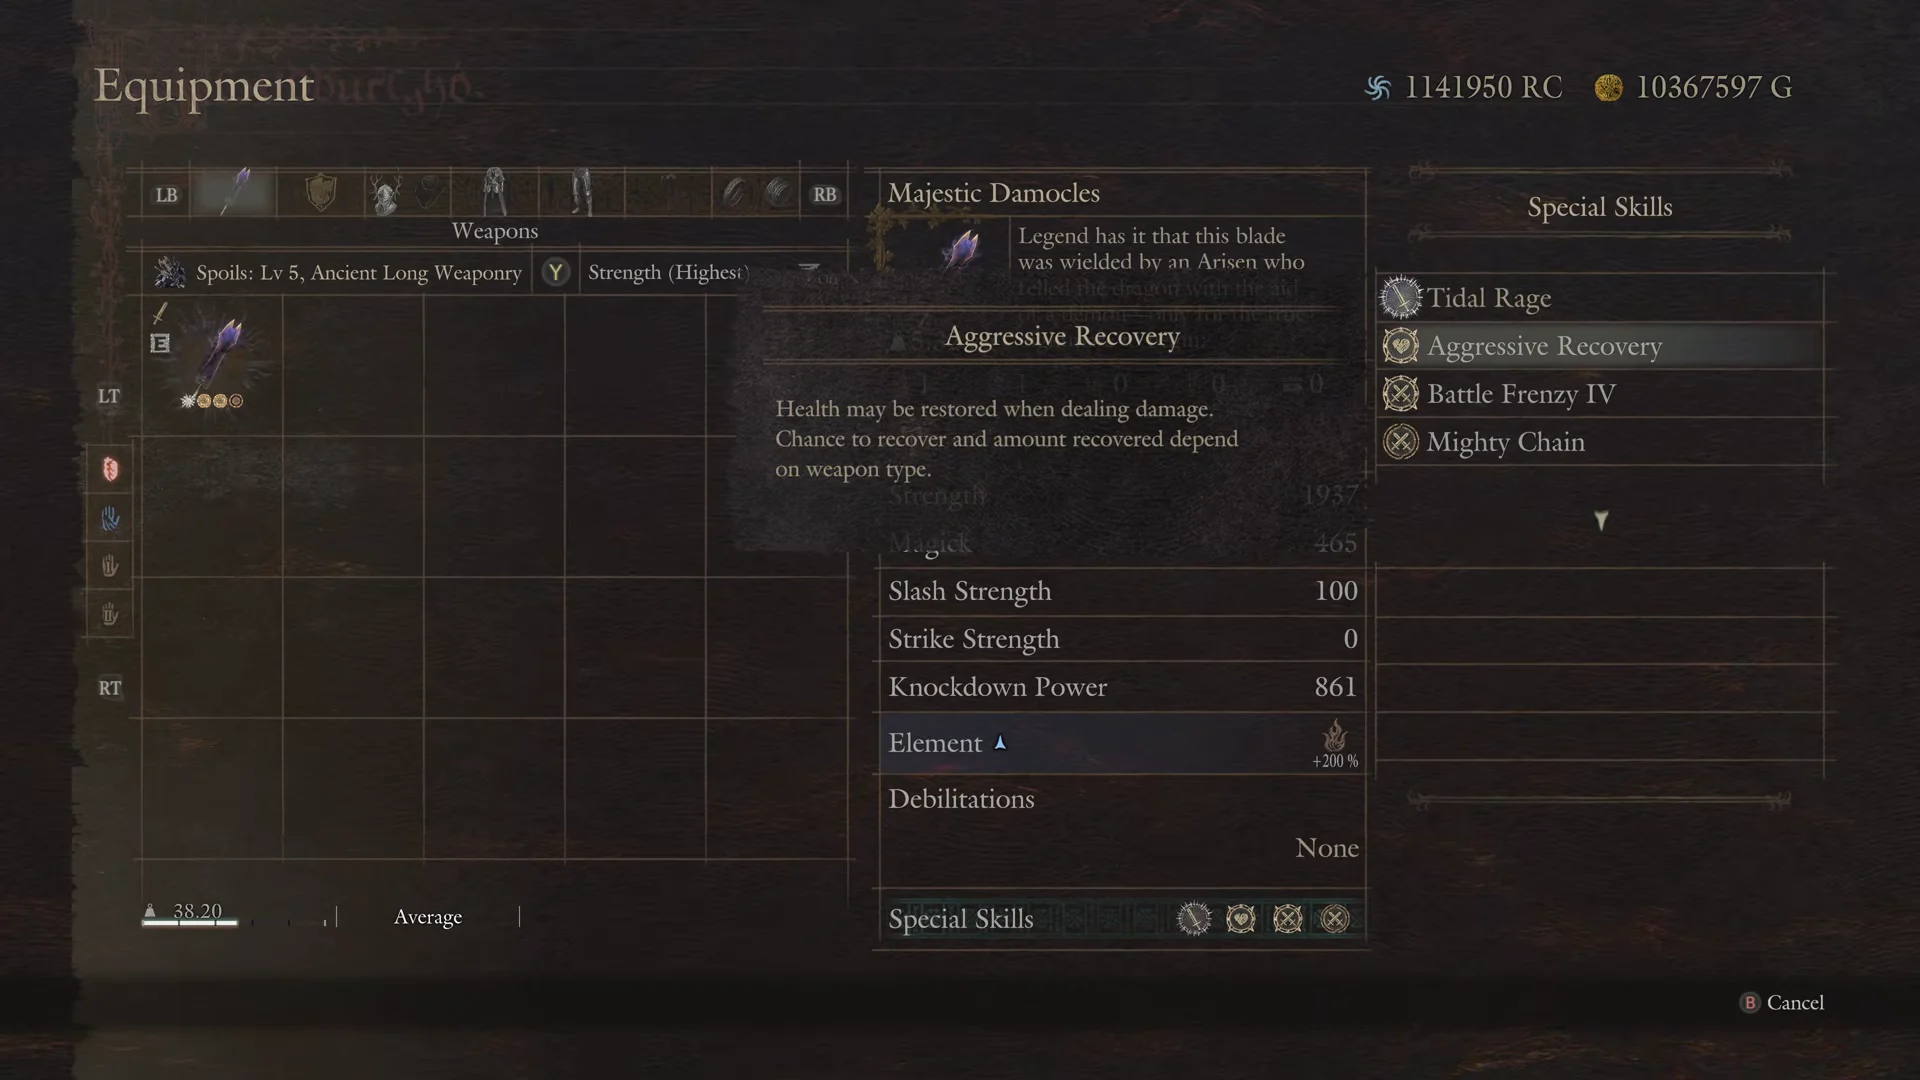
The equipment is a Majestic set, the appraised gear tier pulled from Norgan’s relics, and each piece rolls its own special skills. The weapon is the greatsword Majestic Damocles, rolled with Tidal Rage, Aggressive Recovery, Battle Frenzy IV, and Mighty Chain. Aggressive Recovery restores some health when you deal damage, and Mighty Chain makes Mighty Sweep hit harder with a more likely follow-up once Chain of Blows is learned. Together they turn the fast standard swings during Blood Pact into a steady heal-and-damage loop.
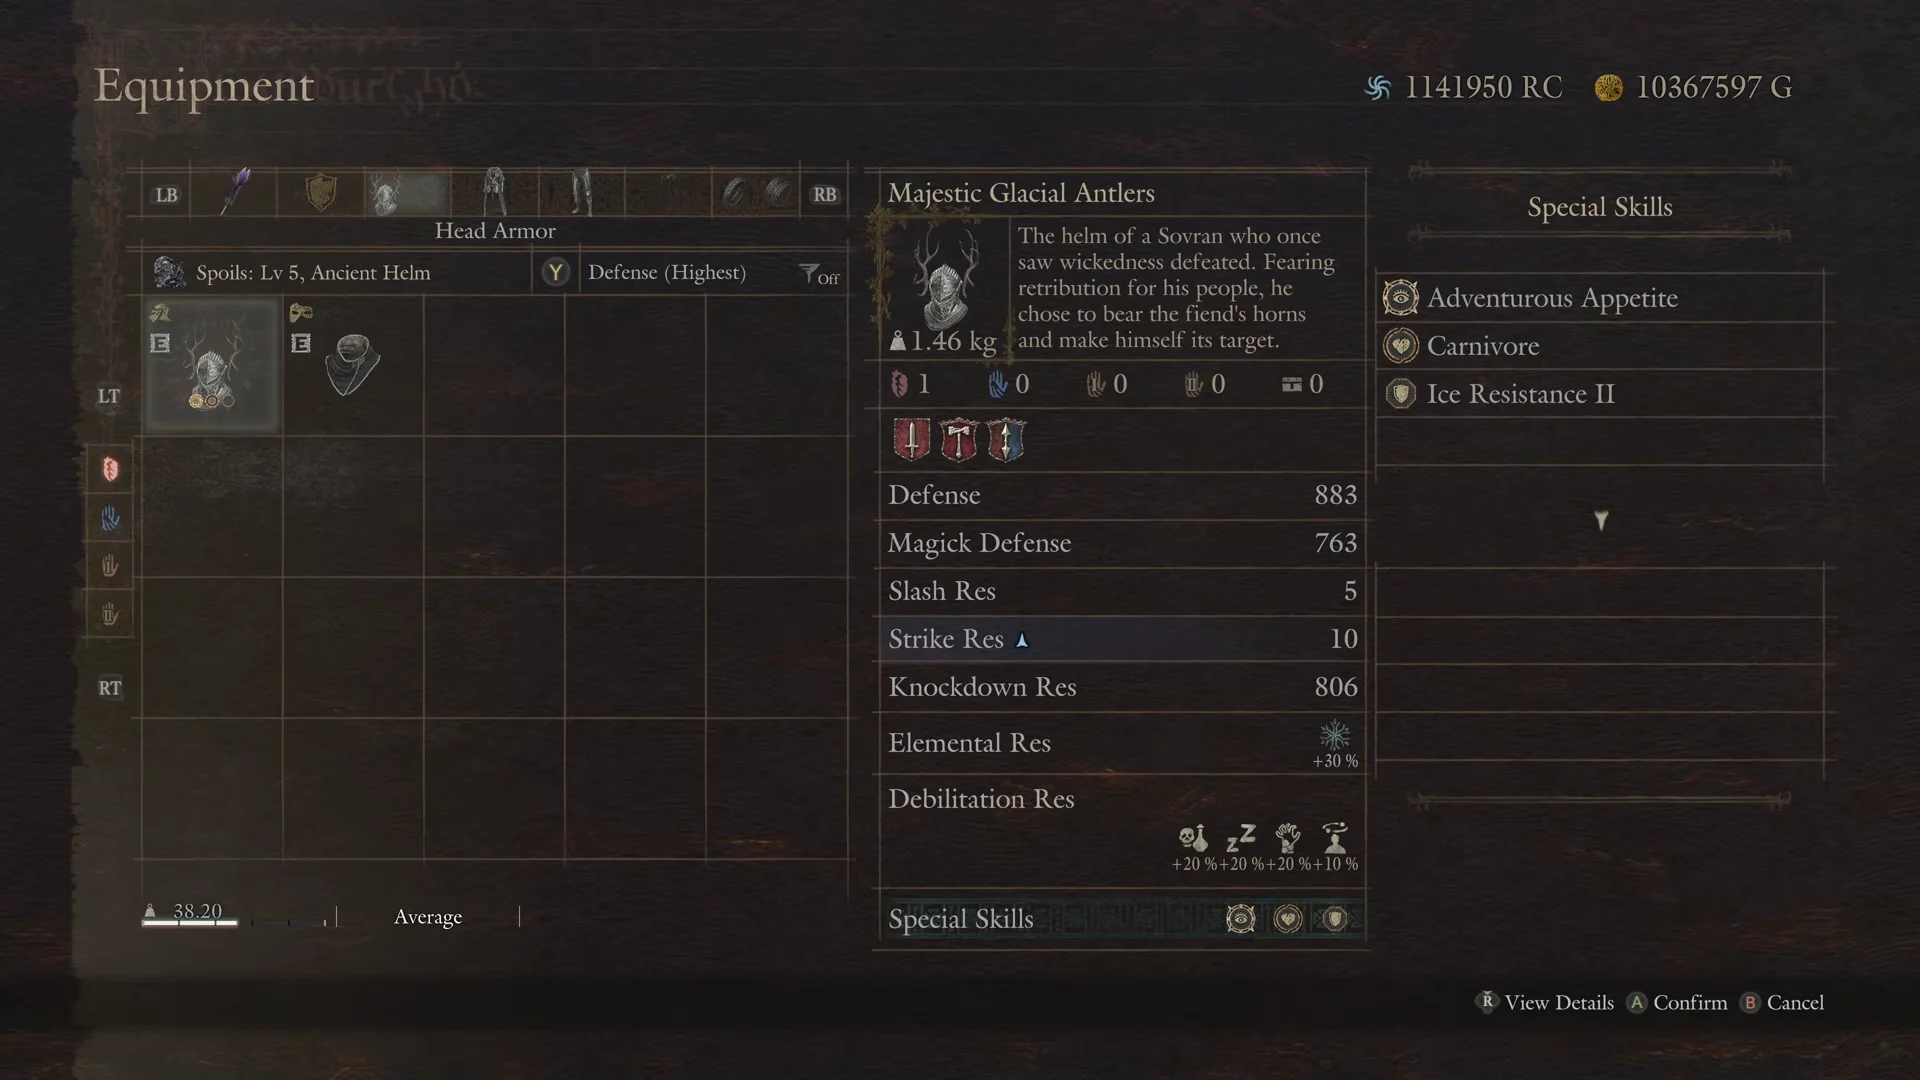
The helm is Majestic Glacial Antlers, carrying Adventurous Appetite, Carnivore, and Ice Resistance II. Carnivore matters here: eating meat stops stamina drain for a short window. With a Rotten Beast-Steak, that prevents Blood Pact from cancelling because stamina hit zero.
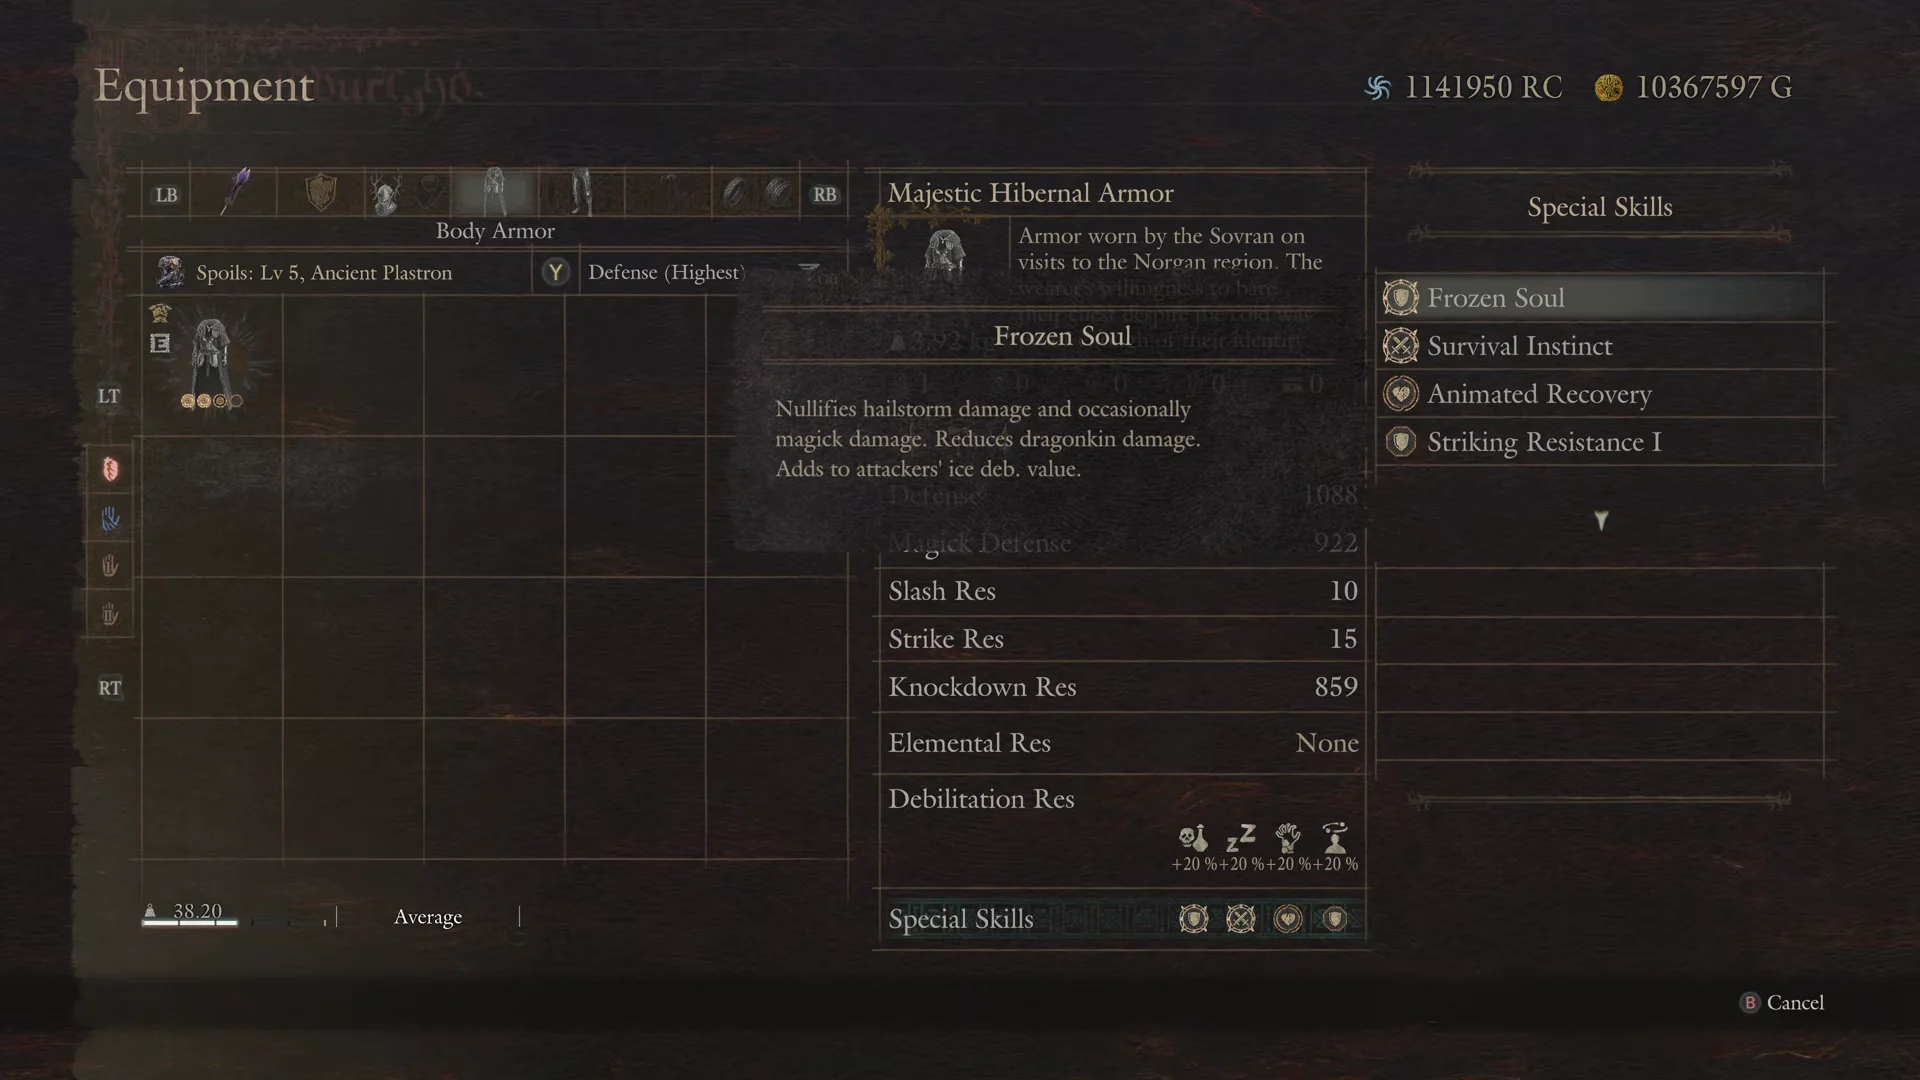
The chest is Majestic Hibernal Armor, with Frozen Soul, Survival Instinct, Animated Recovery, and Striking Resistance I. Survival Instinct greatly slows how fast the loss gauge builds, which directly counters Blood Pact’s main drawback.
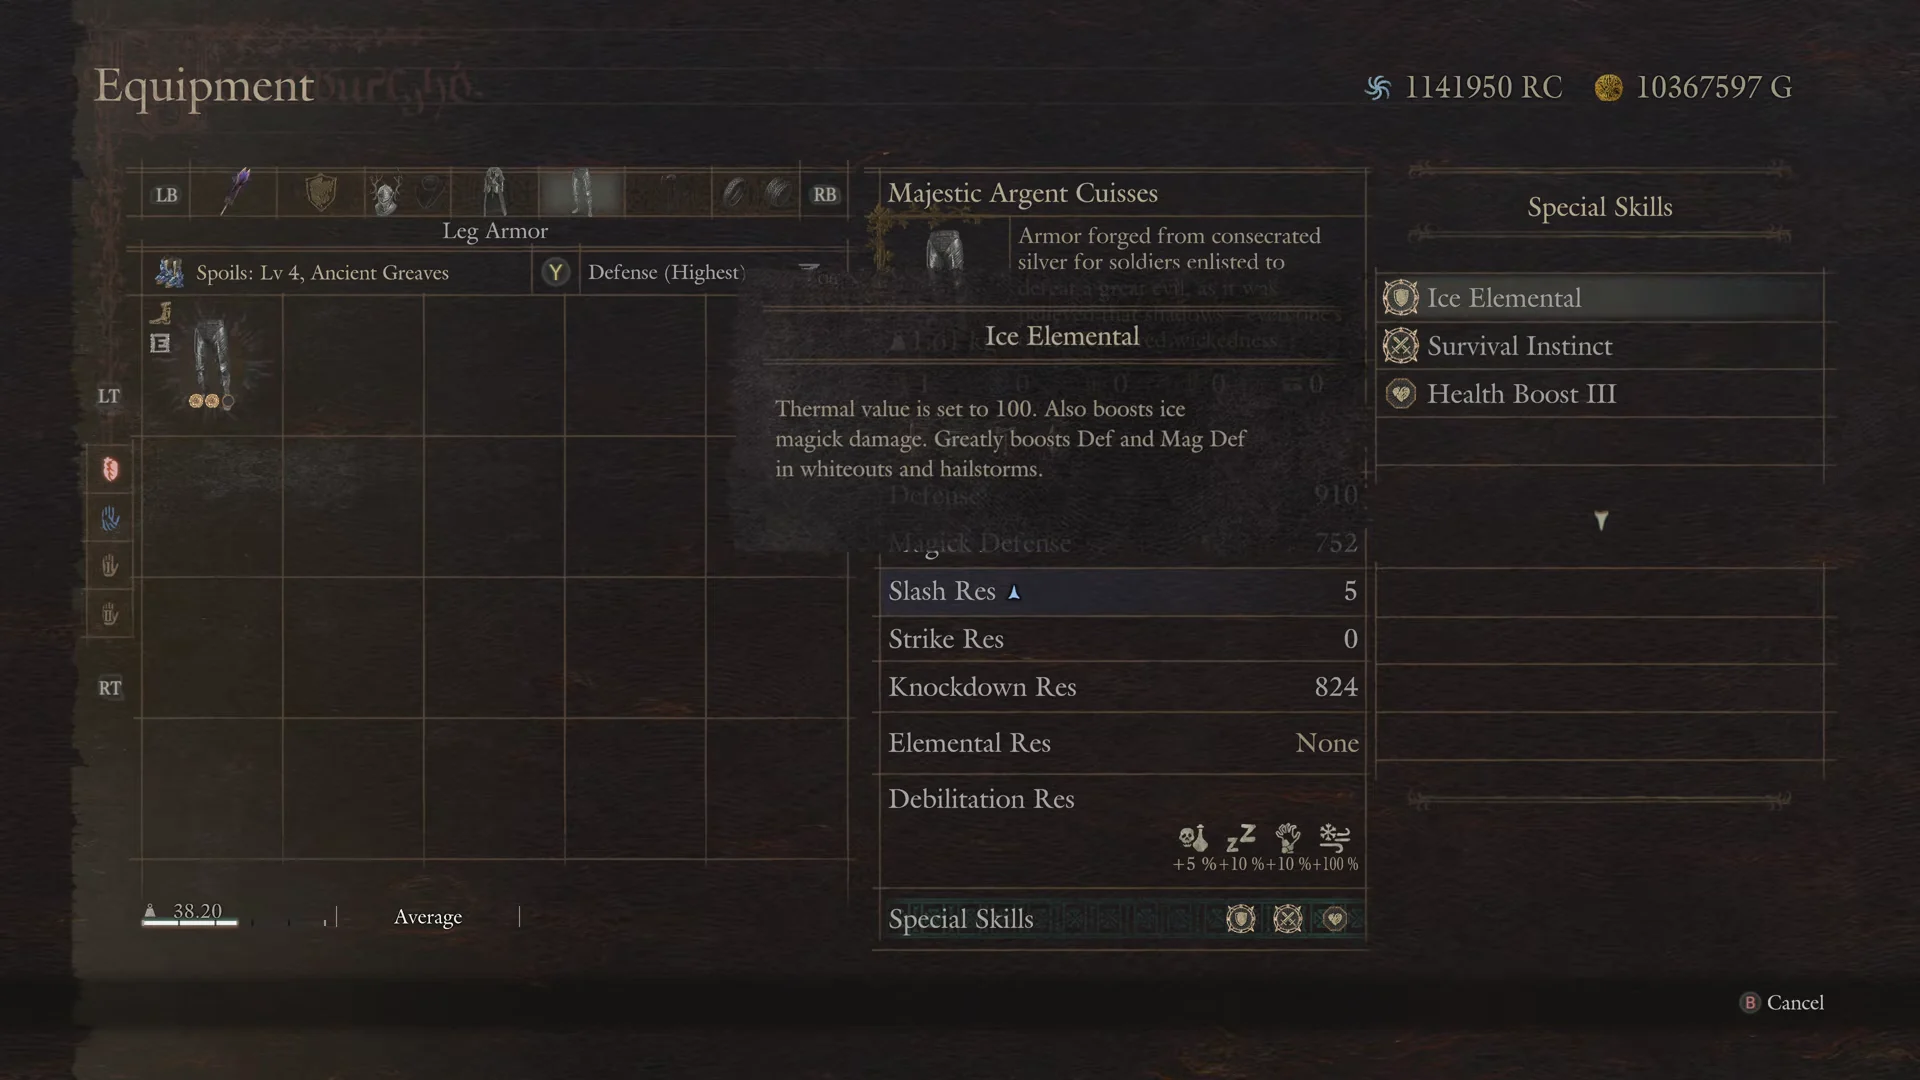
The legs are Majestic Argent Cuisses, rolling Ice Elemental, Survival Instinct, and Health Boost III. Running Survival Instinct on both the chest and legs stacks the effect, slowing the loss gauge even further.
Rings and sustain
The cloak is the Ththorn Pelisse, paired with two rings that keep Blood Pact running longer. The Ring of Inversion halves stamina but doubles maximum health, which is how the character reaches 7,150 HP. That larger health pool gives the loss gauge far more to chew through before it becomes dangerous. The Ring of Rejuvenescence restores a little stamina each time a standard attack lands, feeding the loop from the other side.
For mid-fight recovery, Fungal Cure-All, Regeneration Elixirs, and Allheal Elixirs all restore the accumulated loss gauge, letting you reset the drain without dropping out of the berserker state.
The whole setup is demonstrated on Hard Mode, the difficulty added in Dark Arisen, against the Devouring Rancor horde at the Summit Ritual Grounds and the Satanachia boss, so the sustain stack is tuned for drawn-out fights rather than quick clears.
Taken together, the pieces solve for one thing. Blood Pact hands the Warrior extreme attack speed and instant charging, and every other choice, the double health pool, the stacked Survival Instinct, the Carnivore stamina trick, and the healing elixirs, exists to keep that state alive long enough to grind down Norgan’s toughest encounters.