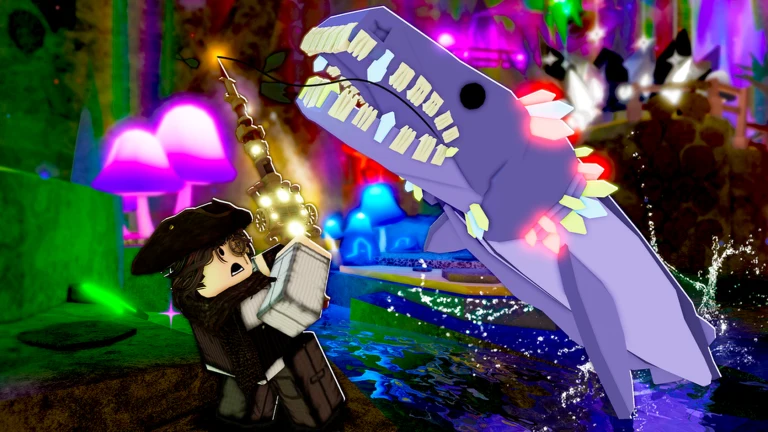
Nate’s Quest: Final Note asks you to present three relics that Nate dropped into the ocean before a sealed door will open. All three sit around and inside the Desolate Deep, so a single trip out to the Desolate Deep Buoy covers everything you need.
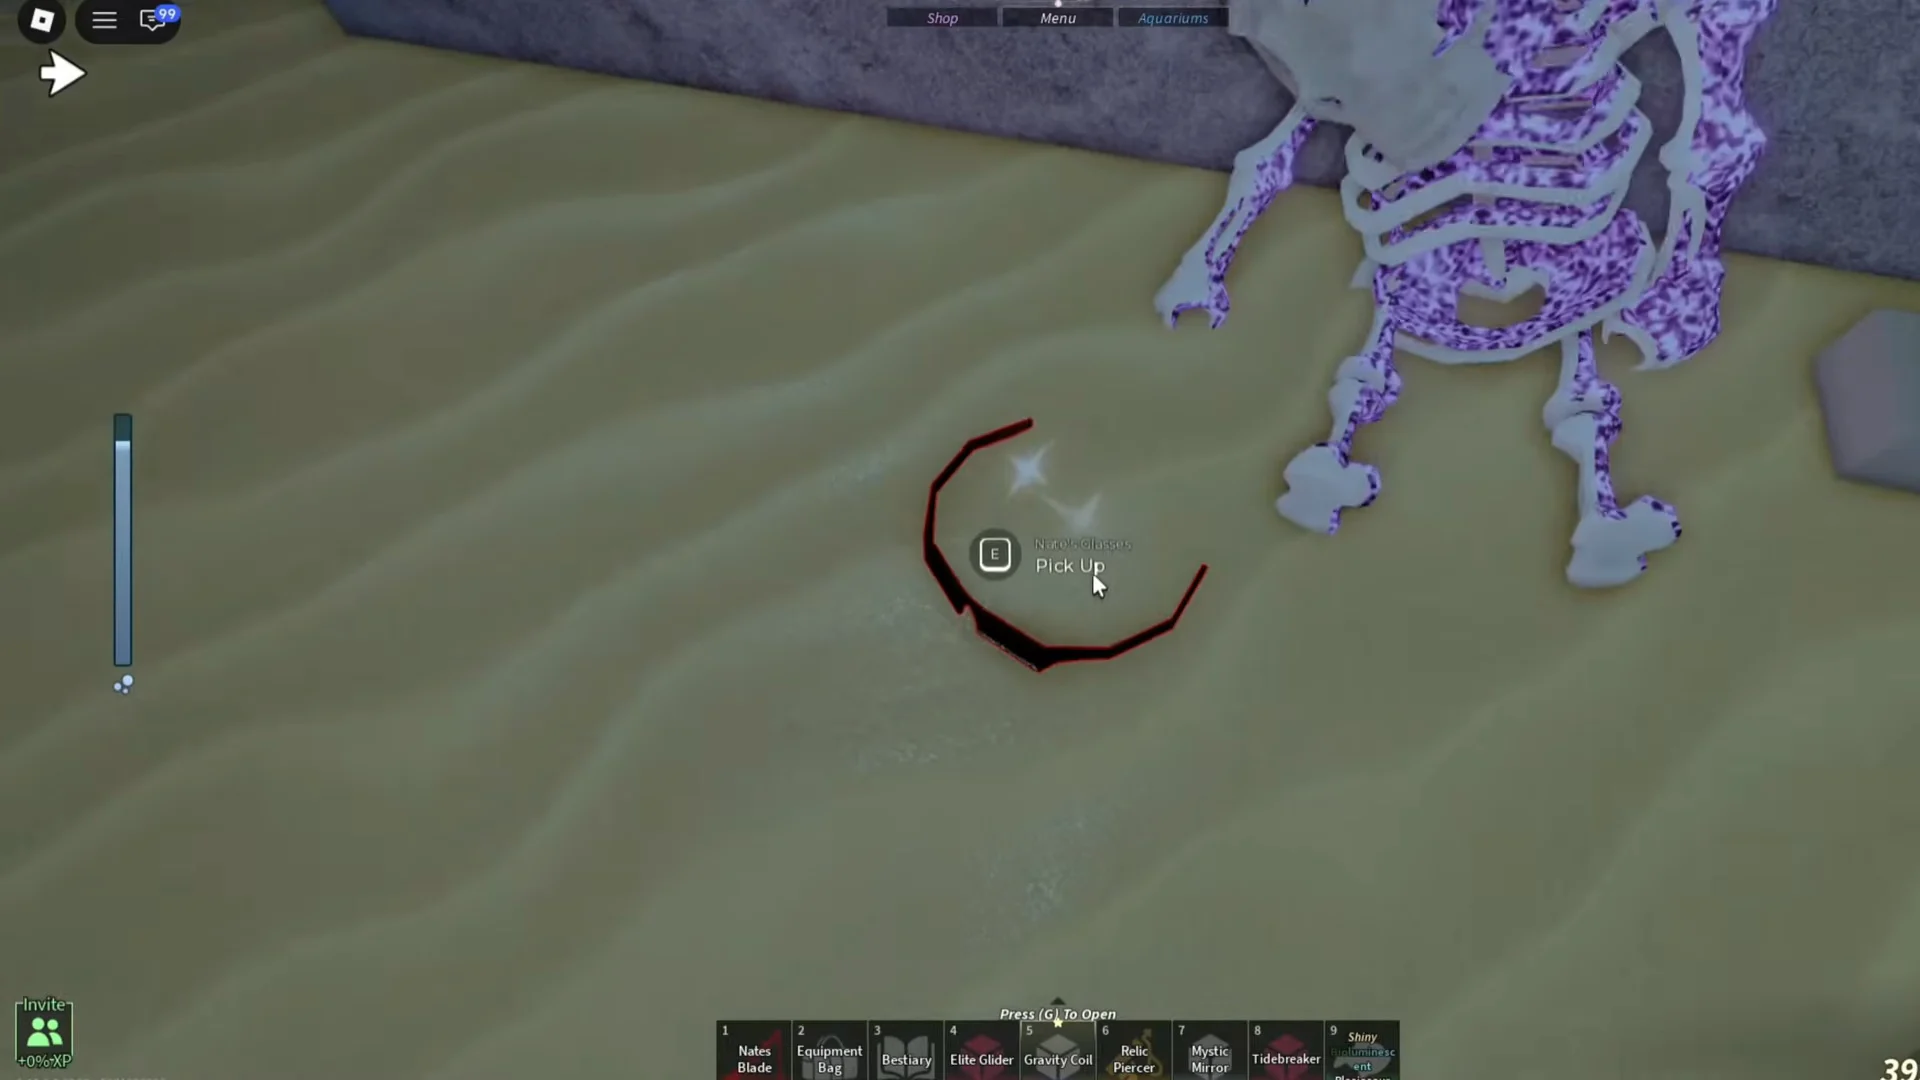
Quick answer: One relic rests on top of the Desolate Deep Buoy, one lies on the seabed beside a purple skeleton, and the last is in an underground cavern next to stacked crab cages.
Before you set off
Two of the three relics are underwater, so you will be diving into a deep trench and swimming through a tight rock tunnel. A quick check before you leave saves a return trip.
- Have inventory space free so each relic can be picked up without a stop.
- Bring diving gear or anything that boosts swim speed for the deep section.
- Keep an eye on your oxygen during the glasses and cavern legs, and surface if it runs low.
- Start from Sunstone Island, where the quest log points you toward the Desolate Deep.
Reaching the Desolate Deep Buoy
Leave the cave dwelling on Sunstone Island and glide down to the shoreline. Board your boat at the water’s edge.
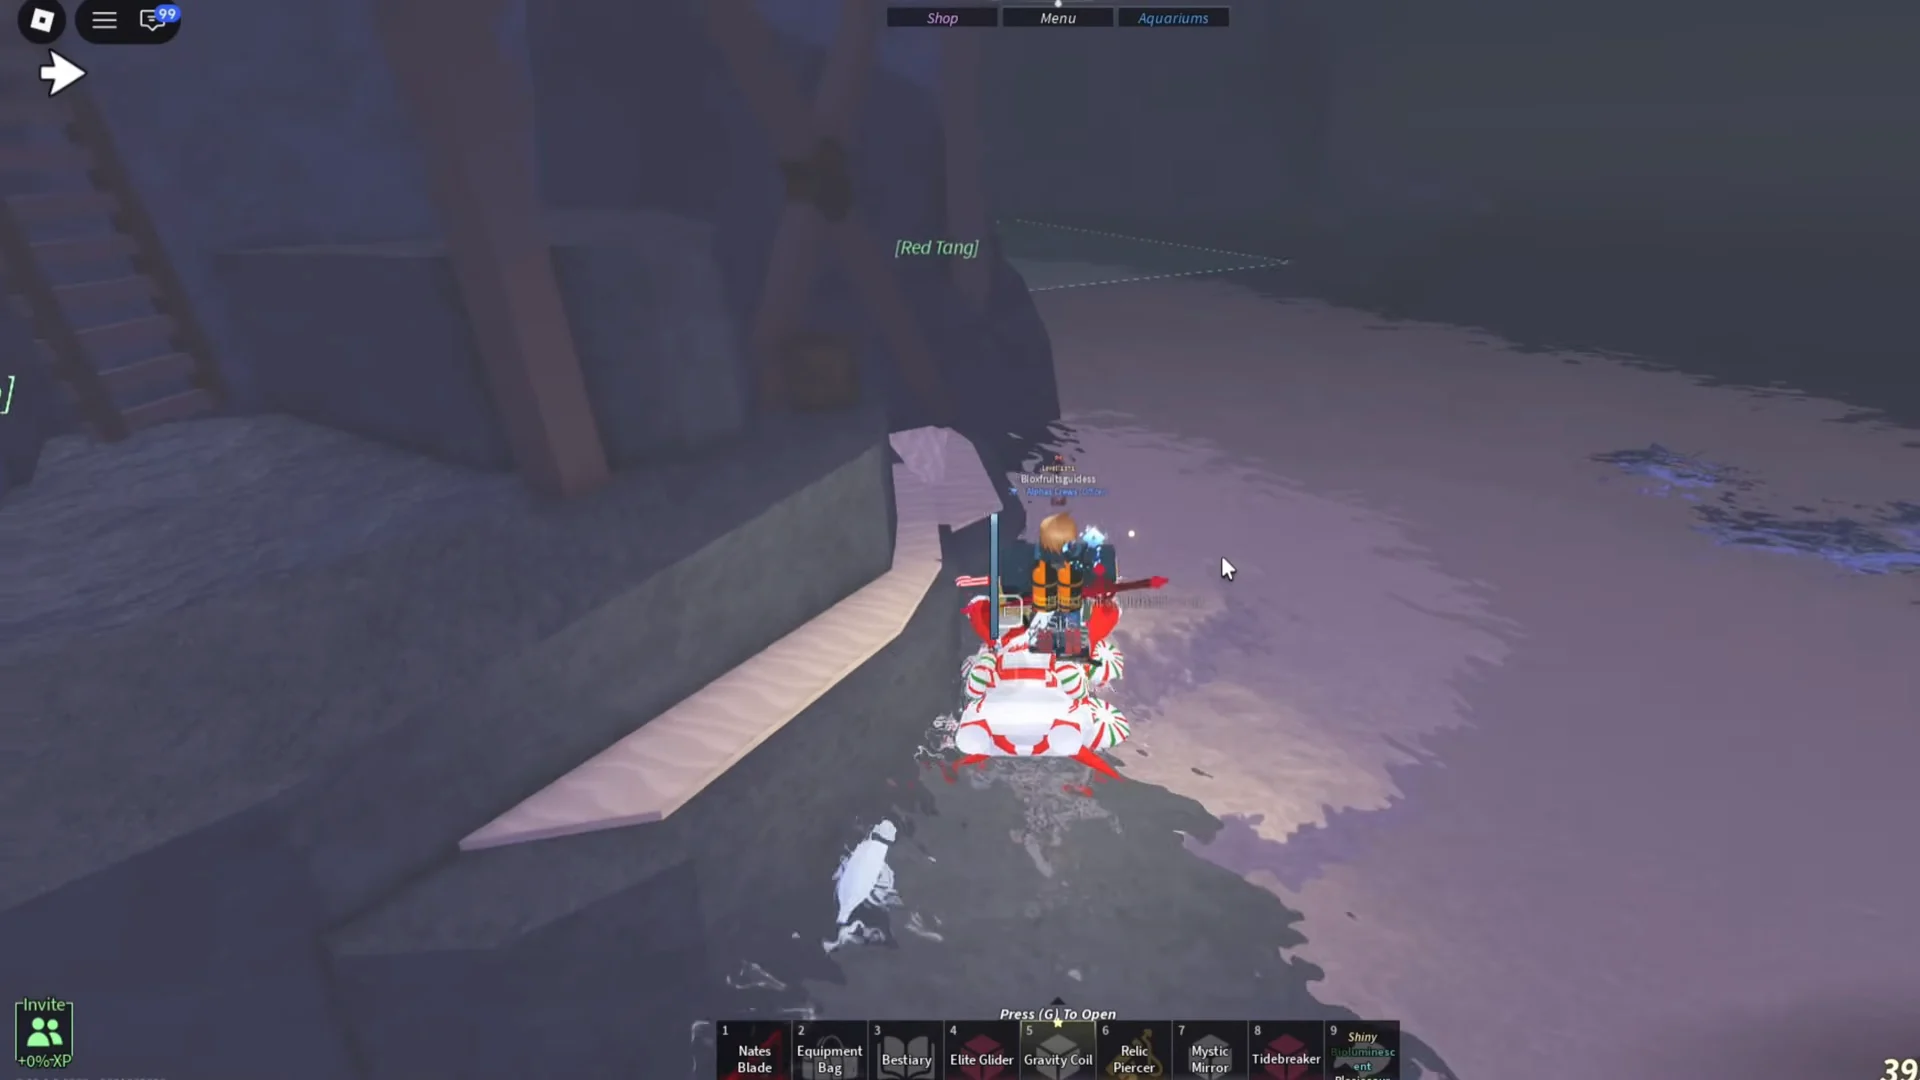
Drive out across the ocean and follow the on-screen waypoints toward the Desolate Deep Buoy. The red buoy marker is your anchor point for all three relics.
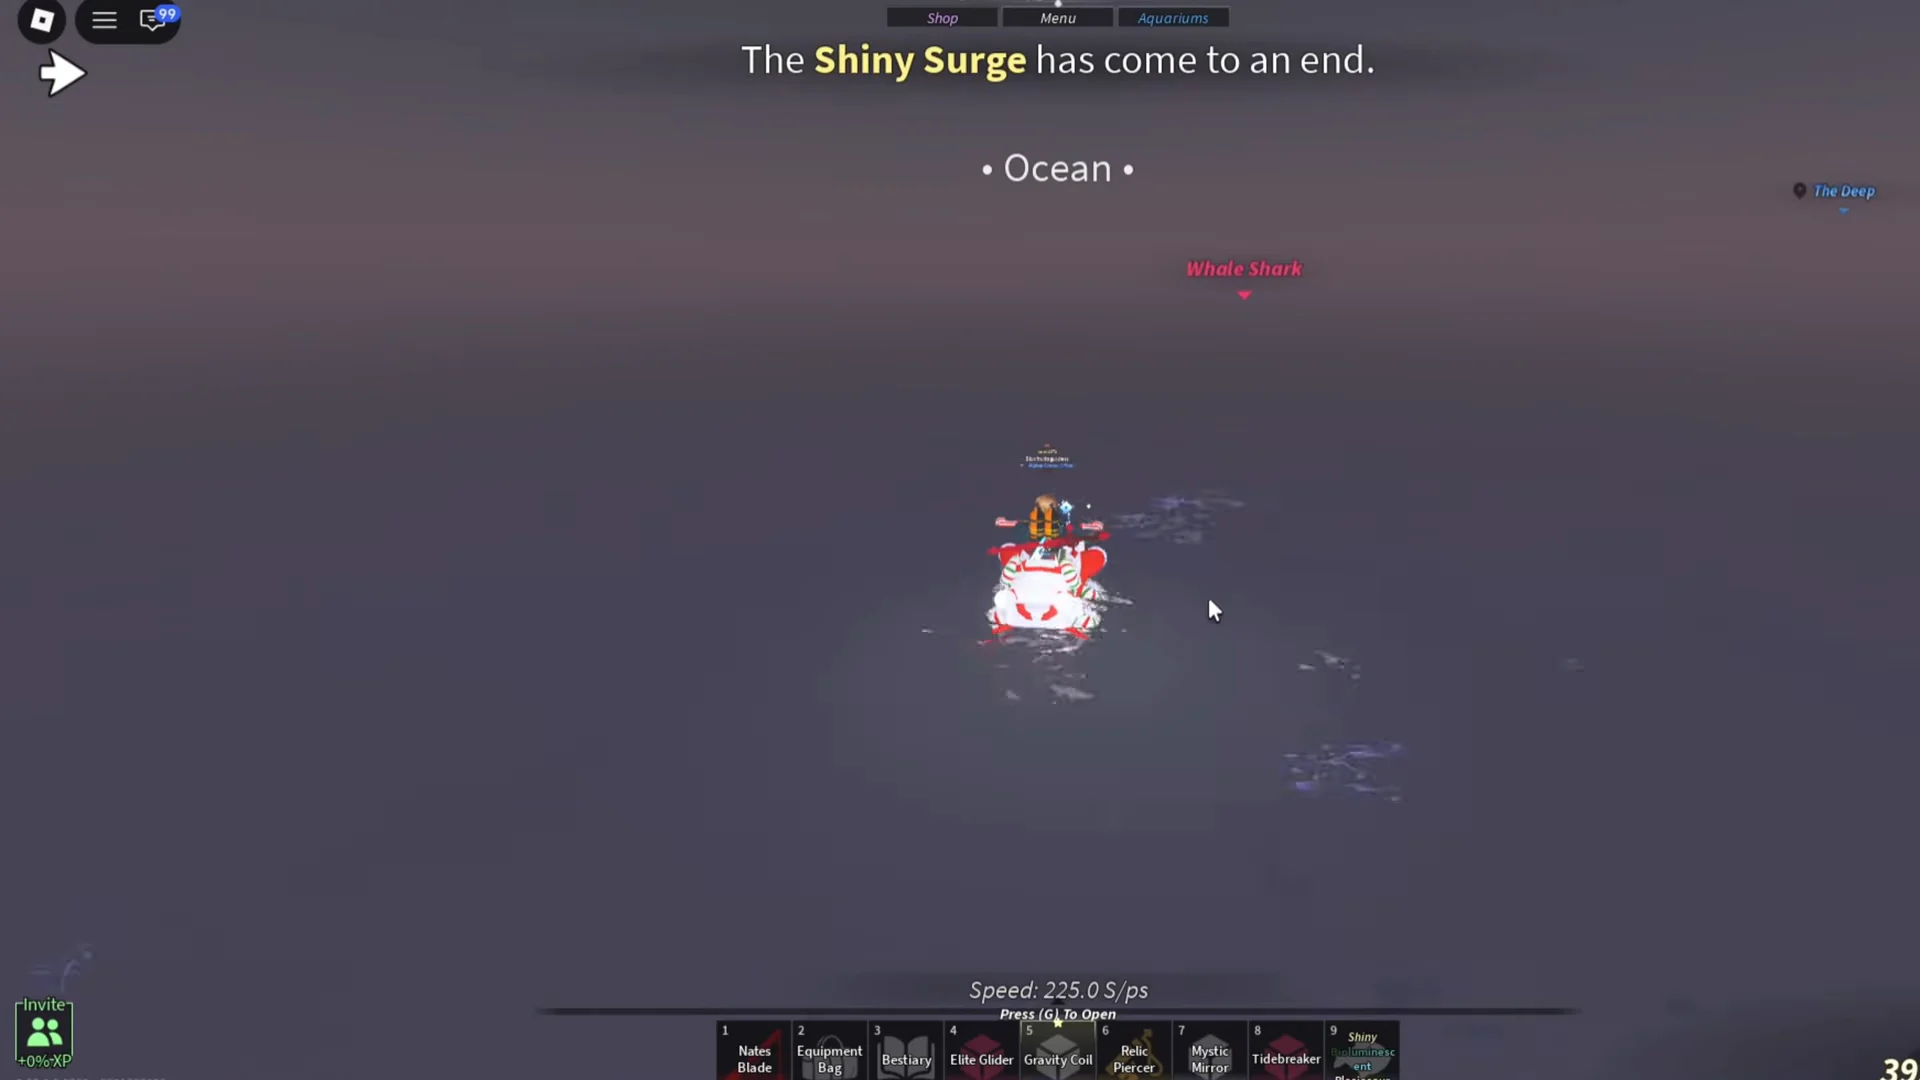
Relic on top of the buoy
The first relic is above the water, meaning no dive is needed. At the buoy, leap onto the structure and make your way up to the highest platform. You’ll find the relic on the red buoy’s uppermost rim. Use [E] Pick Up to place it in your inventory.
Do not waste time searching the base of the buoy underwater. The item is on the top, not below the surface.
Nate’s Glasses on the seabed
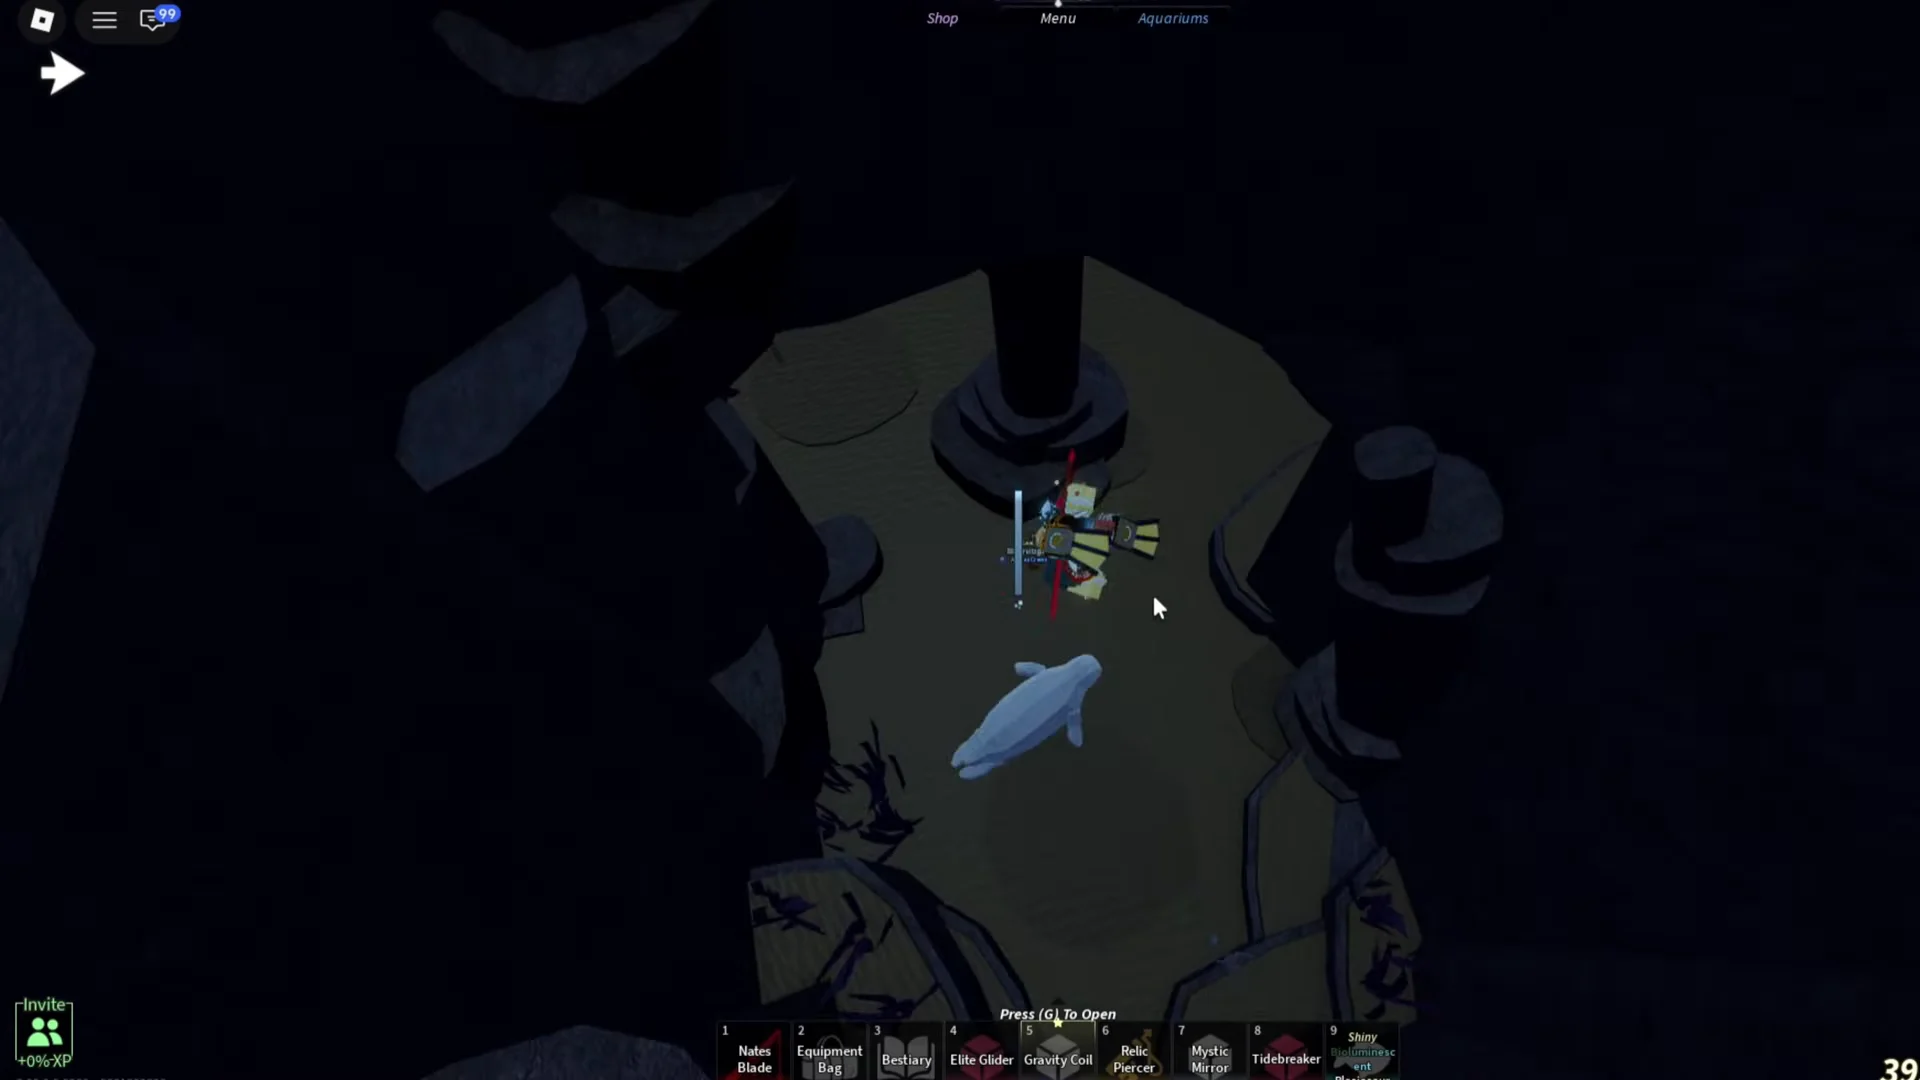
Relic in the underground cavern
Confirming you have all three relics
Open your quest log for Nate’s Quest: Final Note. Each of the three objectives, Find Nate’s Crown, Find Nate’s Glasses, and Find Nate’s Lantern, will show as completed once the matching relic is in your inventory. With all three marked off, you can return to present them and open the sealed door.
The glasses are always the relic beside the skeleton. The item labels for the buoy top and the cavern can read differently depending on your version of the quest, so match the pickup to its spot rather than the name you expect to see.