Dire is the sixth and final difficulty of Stygian Onslaught: Luminous Battlefront in Genshin Impact Version 7.1. It throws three separate level 110 bosses at you across three battlefields, each with its own mechanic that gates damage behind a specific element or reaction. High-investment, fully constellated teams can push through all three in well under two minutes apiece, but only if the party is built around what each boss actually responds to.
Quick answer: Dire is the hardest tier of Stygian Onslaught 7.1, with level 110 bosses, no shared characters across the three battlefields, and rewards that only count in single-player mode.
What Dire difficulty changes
Dire sits above Fearless and only unlocks after you clear Fearless solo. Enemies here hit level 110 and carry far more health than their Fearless versions, so the mode rewards raw output and clean rotations over patience.
- No character can be reused across the three battlefields, so you need 12 distinct units.
- Rewards are single-player only, with no Co-Op clears counting at this tier.
- Exalted Ones buffs are switched off, so you rely entirely on your own account strength.
- Clearing all three bosses in 180 seconds total unlocks the Sublimation weapon skin reward.
That 180-second Perilous Objective works out to an average of 60 seconds per battlefield. A clear counts the moment the Battle Complete screen appears for the third boss; the total elapsed time across all three is what determines whether the Sublimation skin is granted.
The three Dire battlefields in 7.1
Each battlefield has a 120-second time limit of its own and a boss that resists almost all damage until you satisfy its mechanic. The clear times below come from high-investment C6 teams built specifically for each fight.
| Boss | Requirement | Sample clear |
|---|---|---|
| Battle-Hardened Domovoy Sculptor: Gale Hewing (Lv. 110) | Stellar Glimmer reactions | 96s |
| Guardian Blade of Drifting Snow: Outcast Ice Shadow (Lv. 110) | Pyro / Stellar Glimmer | 60s |
| Secret Source Automaton: Overseer Device (Lv. 110) | Fast, repeated Cryo application | 49s |
Those sample times add up to 205 seconds, which clears Dire but sits above the 180-second cutoff for the Sublimation skin. Hitting that bonus requires trimming the Domovoy fight specifically, since it is the slowest of the three.
Domovoy Sculptor: the Stellar Glimmer wall
The Domovoy Sculptor, known as Churin, carries roughly 32.4 million HP on Dire and starts the fight with 90% resistance to every element. It is widely considered the toughest boss in the current lineup. The fight is not about brute force; it is about keeping Radiance: Stellar Glimmer active at the right moments.
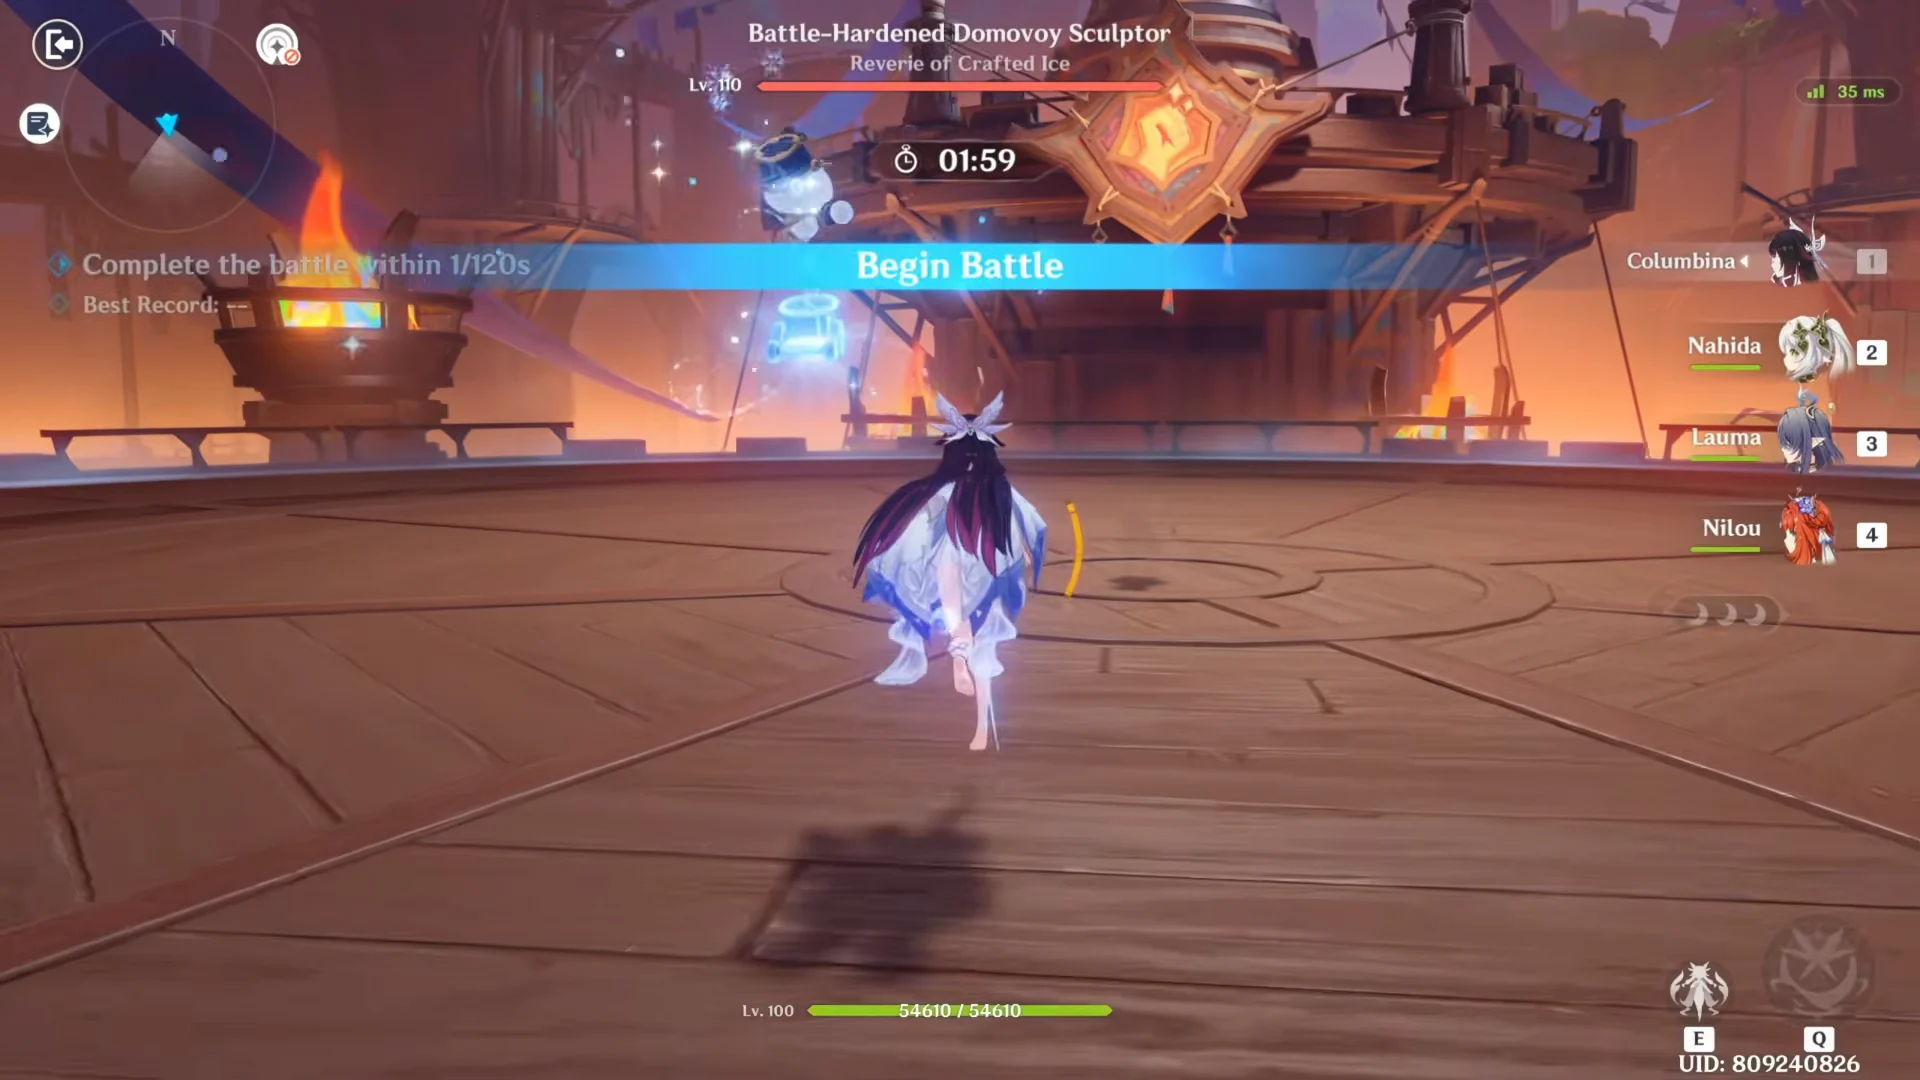
Shortly after combat starts, Churin spawns Prime Ice sculptures. If you trigger Stellar Glimmer while those sculptures are forming, they turn into harmless statues that explode and deal a flat 499,999 damage to the boss, and each explosion drops its resistance by 20% for 30 seconds, stacking up to three times. Miss that window and the sculptures become Big-Mouthed Jack Frosts whose attacks are nearly impossible to survive. Consistency matters more than peak damage, because a single completed Jack Frost can end a run.
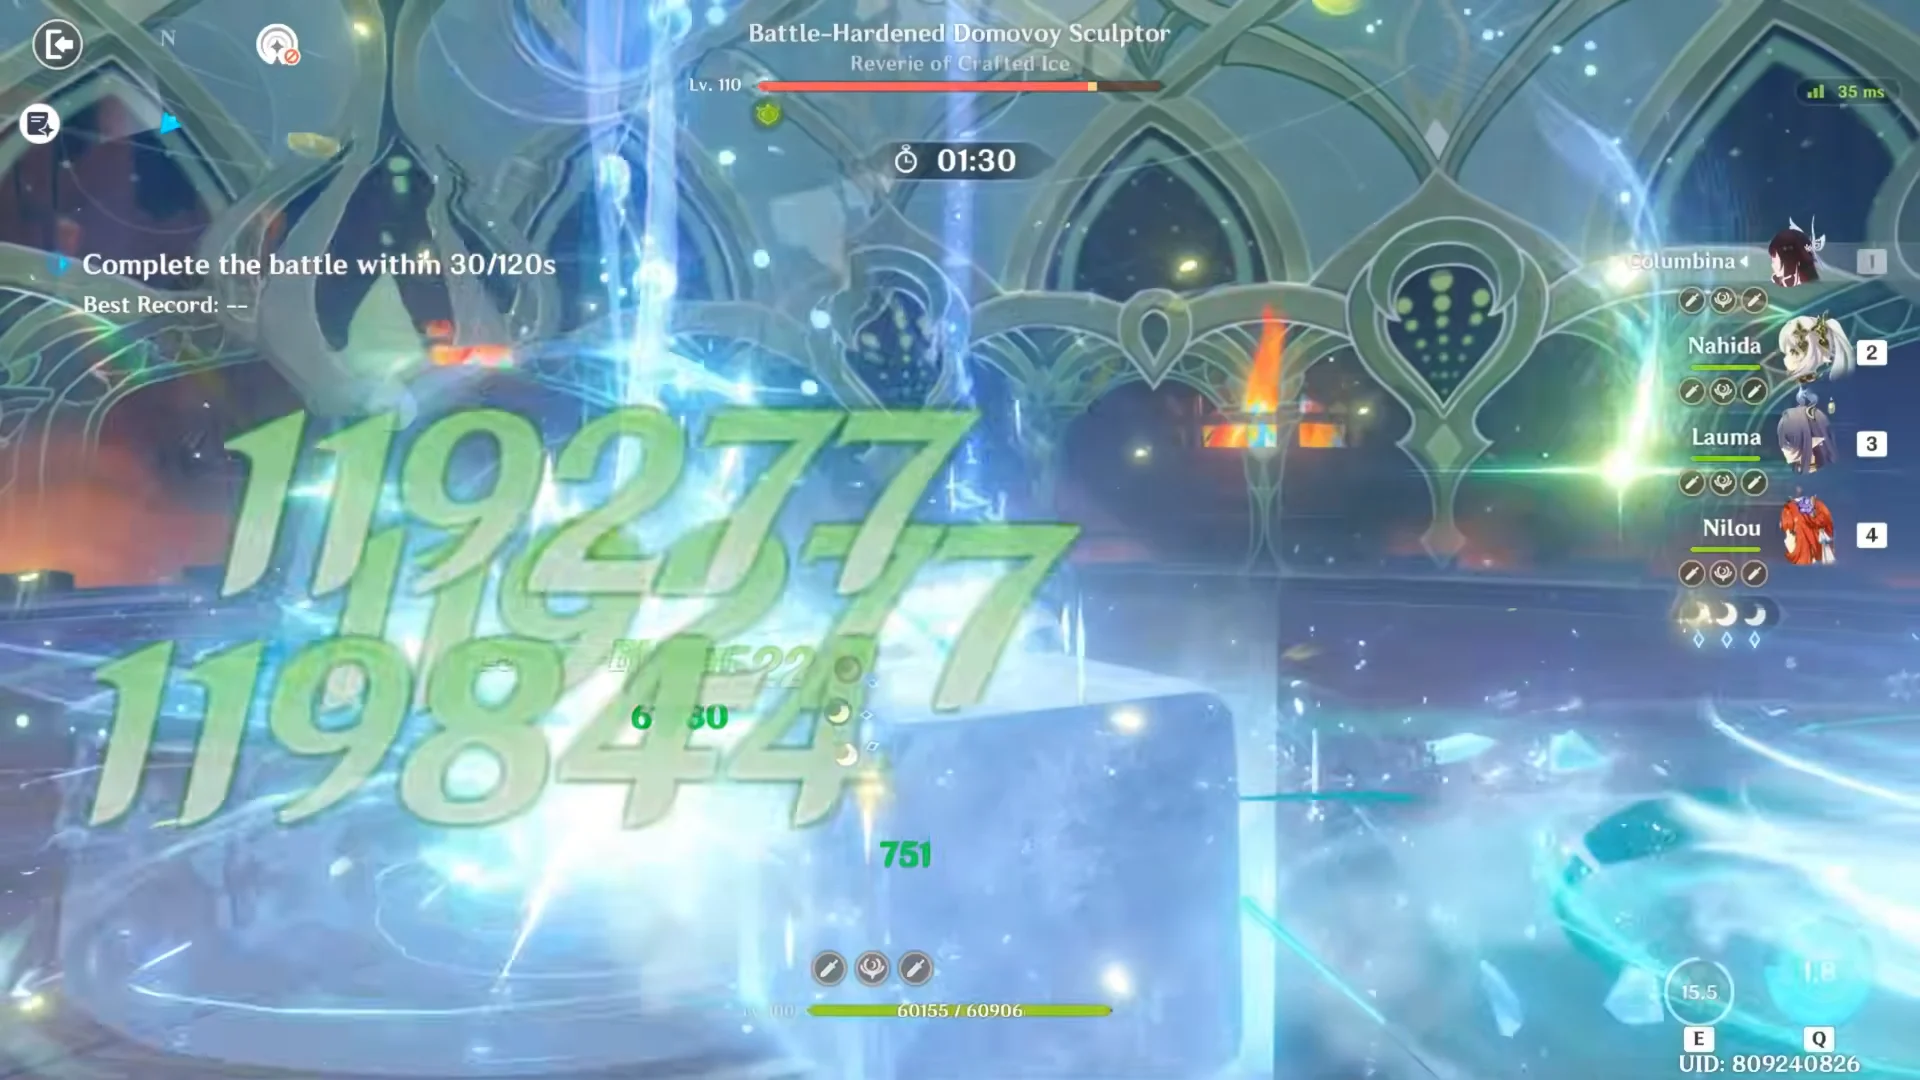
A Columbina-led Lunar-Bloom team pairs her with Nahida, Lauma, and Nilou to generate the reactions needed while piling on Dendro and Bloom damage during the resistance-shred window. Stellar-Swirl and Stellar-Conduct teams built around units like Vesna, Sandrone, Odette, or Yae Miko are the more standard answers, with resistance-reducing supports adding extra value given how high Churin’s defenses start.
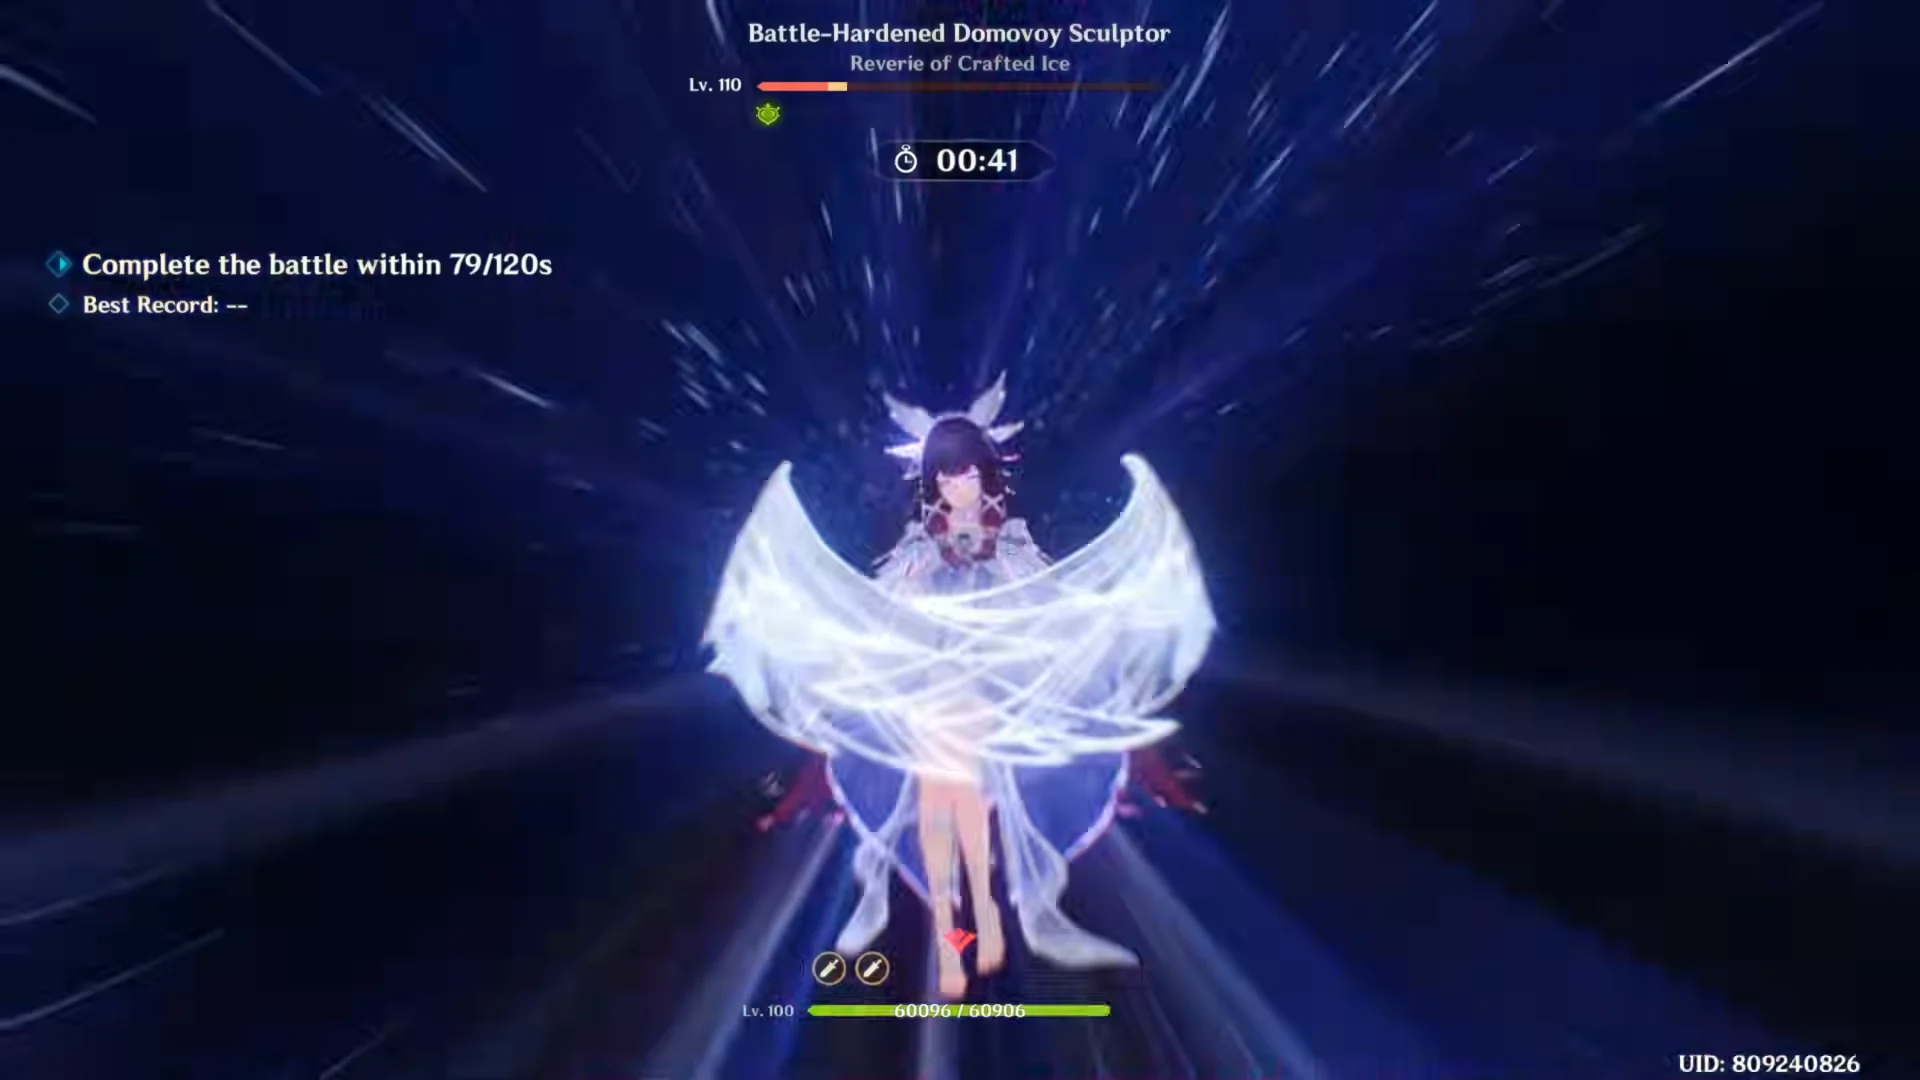
Guardian Blade of Drifting Snow: break the shields
The Guardian Blade is the most forgiving of the three on lower difficulties, but on Dire it still demands a plan for its shield phases. Her attacks apply Cryo and the usual slowdown, and she only spikes her resistance when a shield is up.
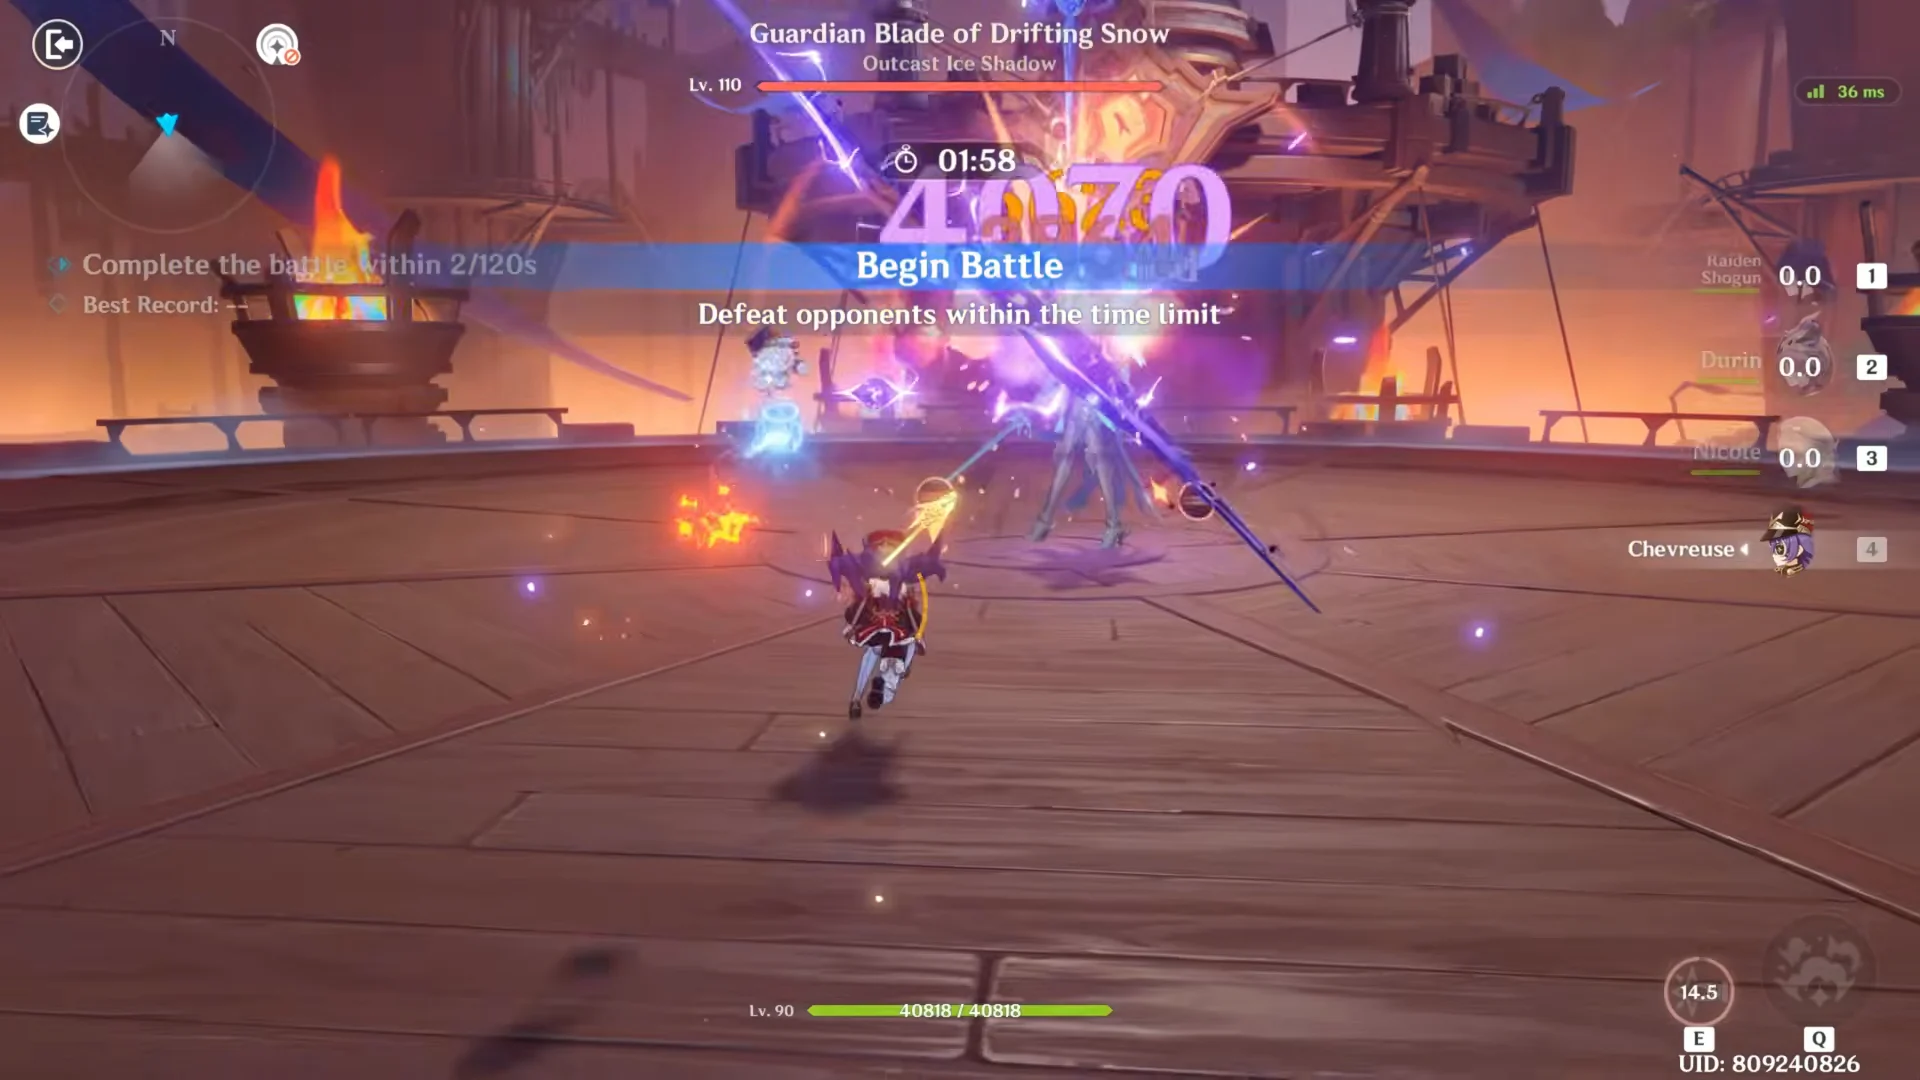
Once she first drops to 80% HP, she raises her resistance to all elements by 210% and deploys a Cryo Shield with a 42-unit gauge. Breaking it with Pyro needs at least 21 applications; triggering Stellar-Conduct or Stellar Swirl instead converts it into a White Shield that falls to raw damage equal to 15% of her health. Breaking the Cryo Shield costs her 10% of her max HP, while breaking the White Shield costs her that 10% plus a share of the damage absorbed, capped at 20%. A second shield appears 40 seconds after the first breaks, and she cannot shield a third time.
An Overload team led by Raiden Shogun, with Durin, Nicole, and Chevreuse, leans on fast Electro and Pyro application to push through the shield phases and then finish with Raiden’s burst. Pyro Overload and Melt comps around Mavuika or Arlecchino, as well as any dedicated Stellar Glimmer team, handle this fight just as well.

Secret Source Automaton: keep the Cryo coming
The Overseer Device, often shortened to SSAOD, holds about 14.9 million HP on Dire and spawns in an Enhanced State with 270% resistance to all elements. It is effectively Skirk’s signature boss and only appears while she is on banner, but any team with strong Cryo application can tackle it.
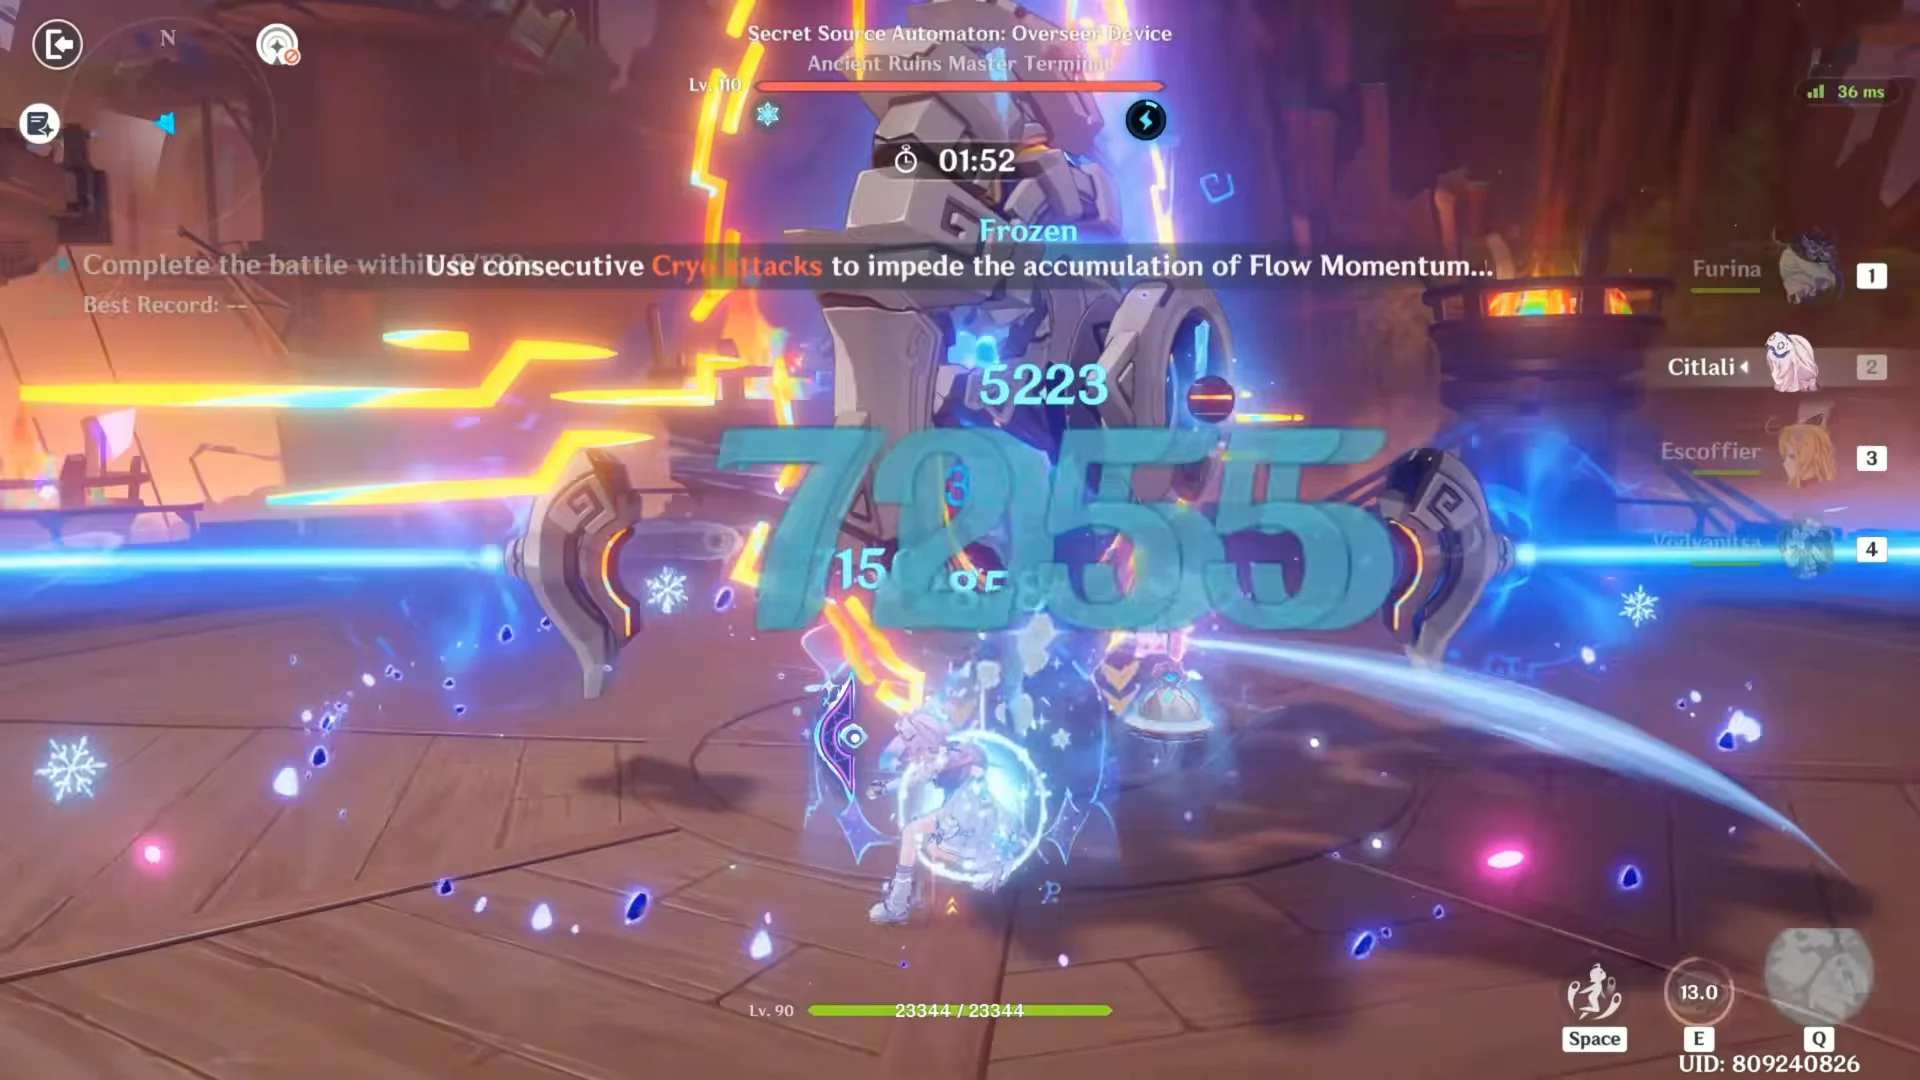
While enhanced, the device builds Flow Momentum, which makes it rotate faster and hit harder the higher it climbs. Every Cryo hit drains that gauge, and applying Cryo at least once every 0.6 seconds keeps it suppressed. Drop the gauge below its threshold and the boss stops attacking, its Cryo resistance falls to -30% and its other resistances to 30%, and it hands the whole party 36 energy the first time this happens in a cycle. Holding Nightsoul’s Blessing too long instead flips it into a tracking-beam counterstrike mode, which Cryo application can still force back down.
A Freeze core of Furina, Citlali, Escoffier, and Vodyanitsa stacks Cryo and Hydro to lock the gauge down while Furina’s buff drives the damage. Skirk Freeze teams and Cryo-heavy lineups with Escoffier alongside an on-field Cryo or Hydro carry serve the same role.
The build investment behind the clears
Every unit in these runs sits at Constellation 6, several are pushed to Level 100, and each carries a signature or purpose-built weapon. The twelve characters never overlap, which satisfies the no-repeat rule across the three battlefields.
| Battlefield | Carry | Support line |
|---|---|---|
| Domovoy Sculptor | Columbina (Lv. 100) | Nahida, Lauma, Nilou |
| Guardian Blade | Raiden Shogun (Lv. 95) | Durin, Nicole, Chevreuse |
| Overseer Device | Furina | Citlali, Escoffier, Vodyanitsa |
The stat priorities track each role. Columbina runs heavy crit with high Energy Recharge; Nahida and Lauma stack Elemental Mastery for reaction scaling; Raiden pushes Electro damage and recharge for her burst; Furina leans on HP-driven scaling while Citlali supplies both Cryo and Mastery. These are showcase-level builds rather than entry requirements, but they illustrate what it takes to clear Dire comfortably and quickly on your own account.
Timing and rewards for the 7.1 cycle
The Version 7.1 cycle of Stygian Onslaught runs from September 30, 2026 to November 3, 2026. The Disturbance Outbreak window, which lets you spend Resin for artifacts and build Dire Prestige, covered the first ten days and has already closed, but the rest of the mode stays playable until the cycle ends. A new cycle is set to begin November 11, 2026.
Clearing Dire in single-player mode grants the Radiant Phantasm: Incursion Repeller weapon skin, and finishing all three bosses within the 180-second total unlocks its Sublimation variant with an extra glow. Those skins expire at the end of the patch, so the full Dire clear is the only way to secure them before the cycle resets.