Experiment 83 is a story boss in Valor Mortis, a bloated horror of fused bodies and spider-like limbs that lurks beneath a burning lighthouse in The Outskirts. It is a one-phase fight, which makes it short compared with the game’s multi-stage encounters, but its grabs and slams hit hard enough to end a careless run in seconds.
Quick answer: Experiment 83 is a mandatory Chapter 7 boss in The Outskirts with 3,400 health and a single phase. Defeating it awards 20,000 Catalysts and the Lament of the Limbs trophy.
Where to find Experiment 83
The fight sits in The Outskirts during Chapter 7, tied to the Witch Hunt quest. From the Lighthouse lantern, you head into the burning structure and drop to the lower area, which drops you straight into the creature’s arena. It is not an optional boss, so you will meet it on the main path.
The arena is a cramped underground cave directly below the burning wooden floor. The tight space shapes the whole encounter, since Experiment 83 relies on lunges and sweeping grabs that eat ground quickly. A few stretches of the tunnel are wider than the rest, and those pockets are where you get room to circle the boss rather than get pinned against a wall.
What a no-damage run looks like
A clean, no-hit clear plays out as a fast parry-and-burn loop. The player drops through the collapsed floor, the boss health bar appears, and the creature immediately charges. The answer shown is fire bursts cast from the left hand mixed with rapier thrusts in the right, with parries timed to the boss’s lunges.
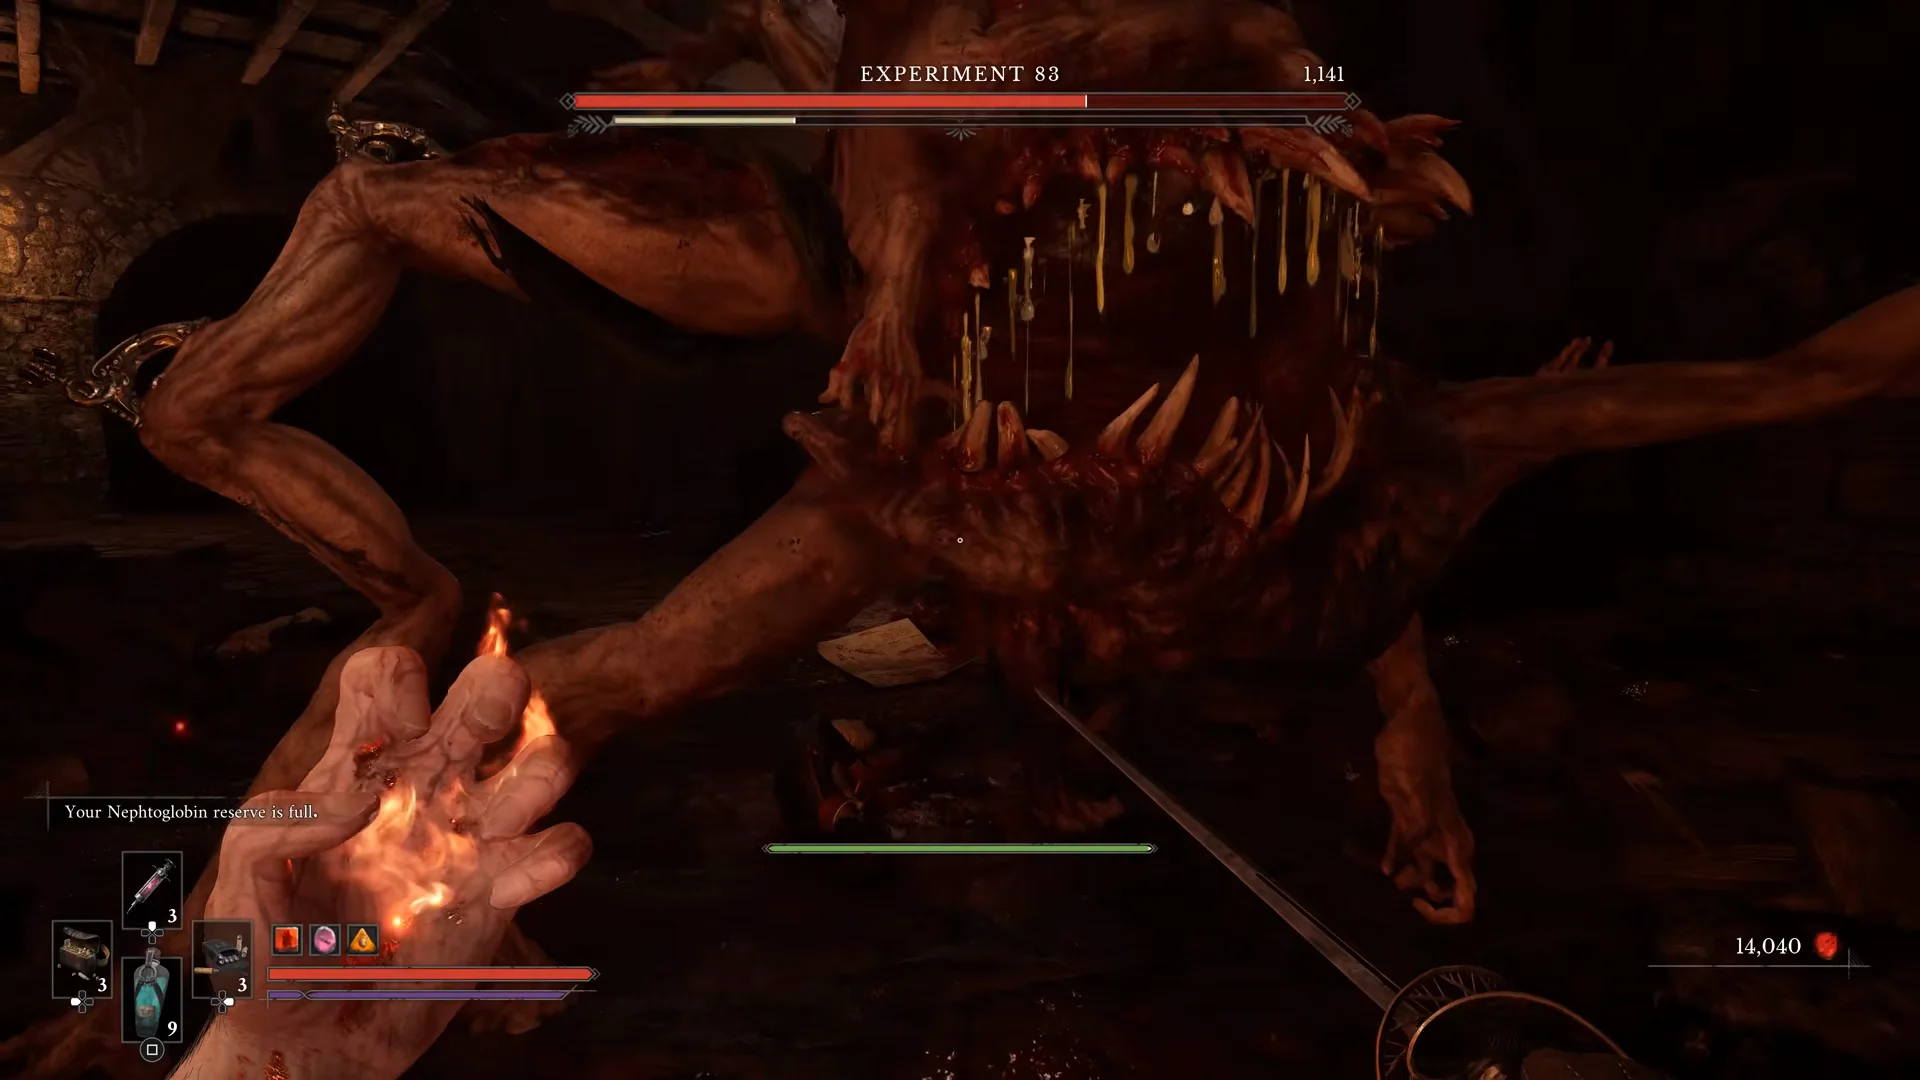
The middle of the fight settles into a rhythm. Experiment 83 spits and charges, the player steps back to reposition, charges a fireball, then closes in for a flurry of sword strikes during the recovery window after each boss attack. Because the creature is slow, those recovery frames are long, which is where the openings come from.
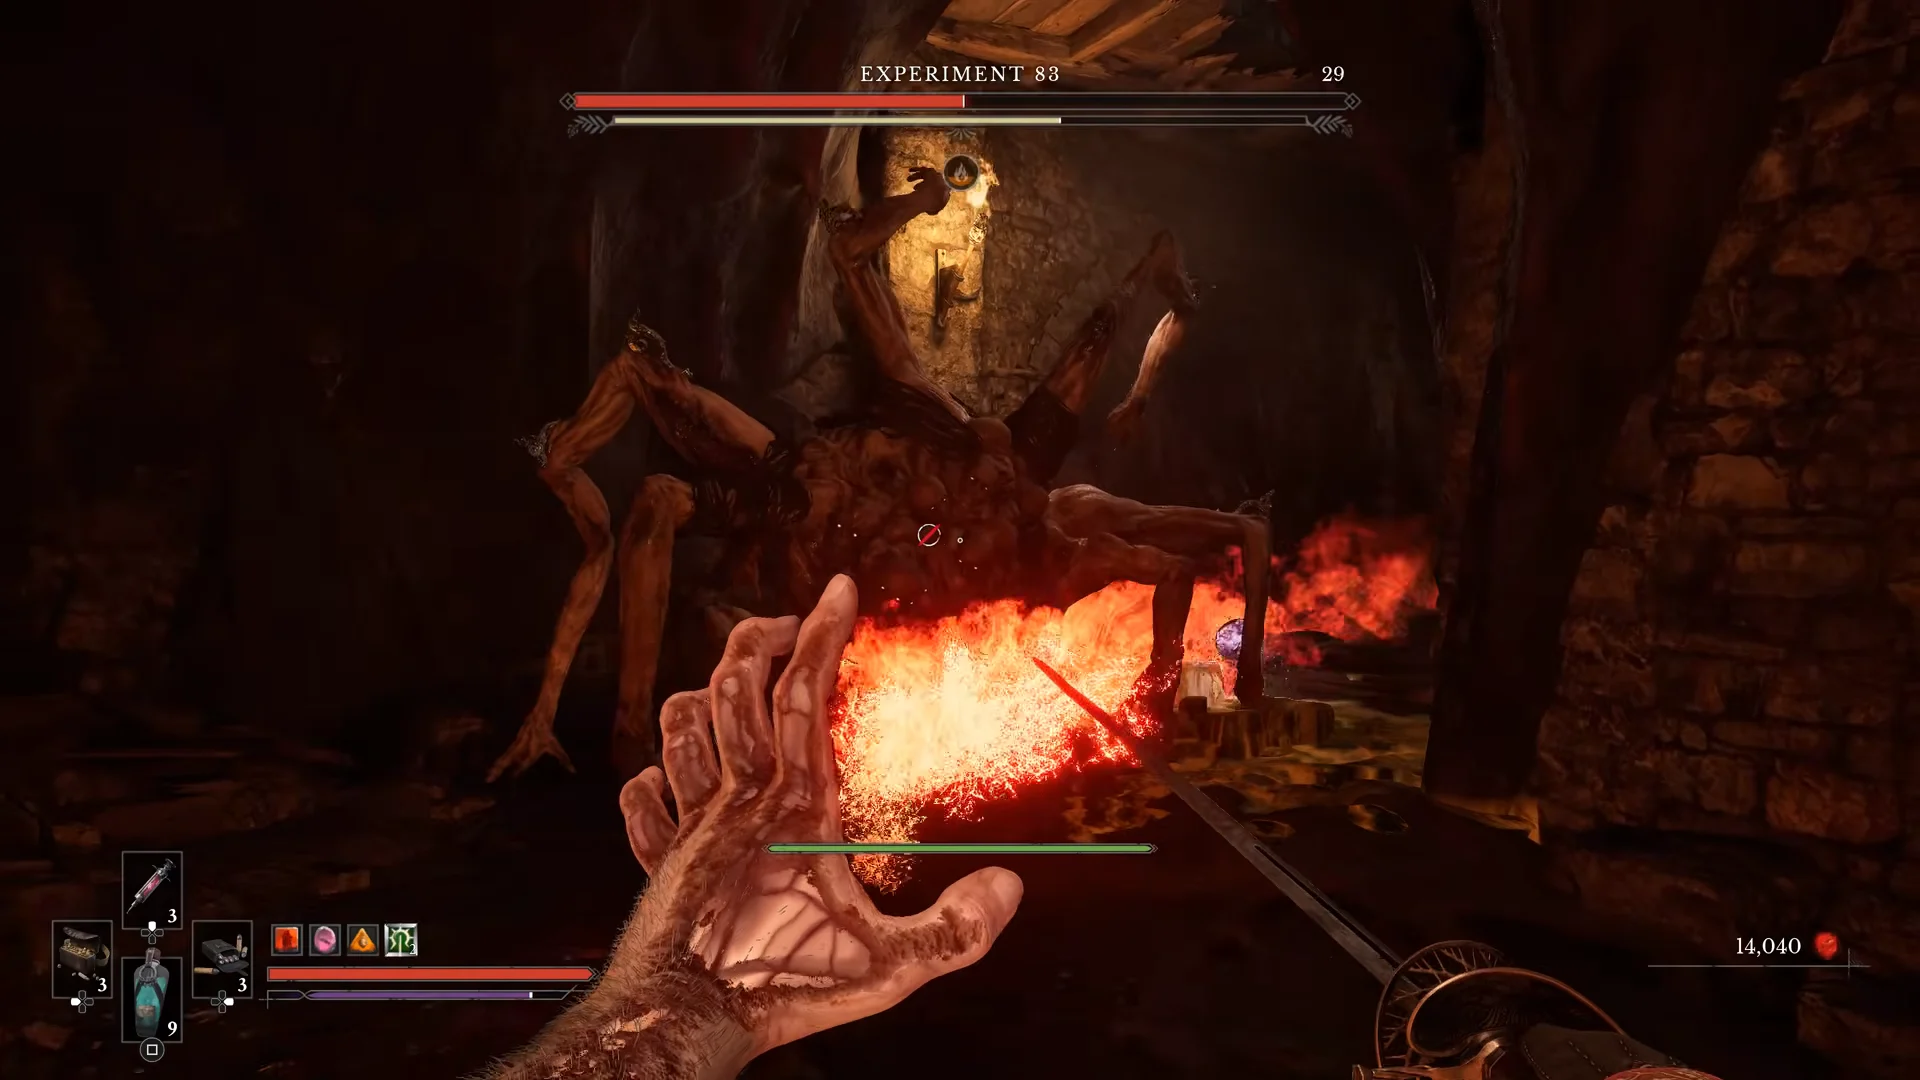
Experiment 83 never changes form or gains a second health bar, so there is no mid-fight cutscene or escalation to read. Successive rapier hits stagger it, and the finishing blows come from the same loop that opened the fight.
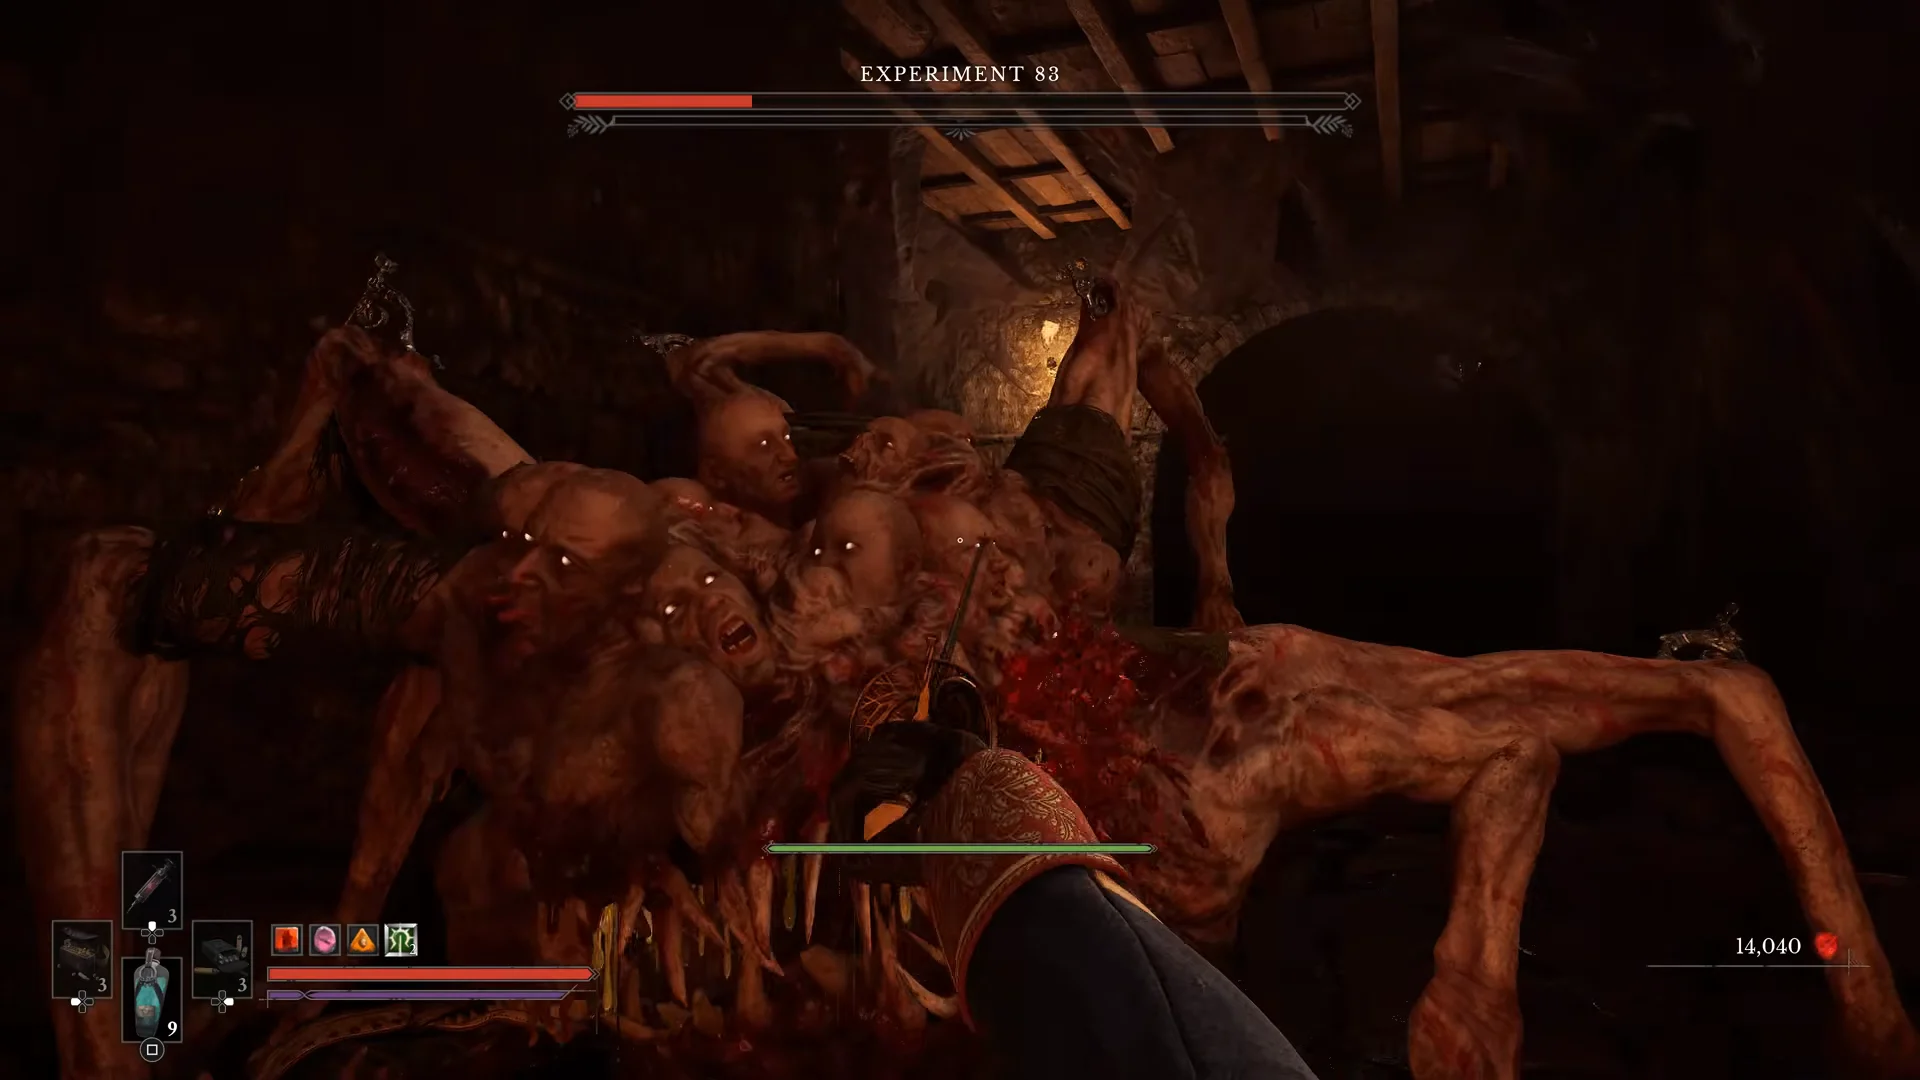
Experiment 83 attacks and damage
The move set is small, which suits the single phase. The slam is the one to respect, since it deals 120 damage and cannot be blocked. The grab and the rage swing are lower-threat but still unblockable or wide, so spacing matters more than trading blows.
| Attack | Damage | Blockable |
|---|---|---|
| Triple swipe | 50 | Yes |
| Grab | 30 | No |
| Slam | 120 | No |
| Vomit | — | No |
| Rage | 45 | Yes |
None of Experiment 83’s attacks build up Ignite or Stasis, so you do not have to manage status gauges on your own character during the fight.
Health, posture, and resistances
The boss carries a single health pool and a single posture bar, so there is no reserve stage to grind through. Its resistances point you toward physical and Stasis pressure over fire, since its ignite buildup is halved and Stasis damage is reduced by just under a third.
| Stat | Value |
|---|---|
| Health | 3,400 |
| Posture (phase one) | 1,000 |
| Phases | 1 |
| Ignite resistance | -20% |
| Ignite buildup resistance | 50% |
| Stasis resistance | 30% |
| Region |  The Outskirts The Outskirts |
The Outskirts also houses High Justicar Aurelius, Last of the Faithful, a leaner two-phase duel with 1,500 health that leans on parrying rather than spacing. Experiment 83 is the heavier of the two on raw health, while Aurelius spreads the same total across two posture bars.
Rewards and confirming the kill
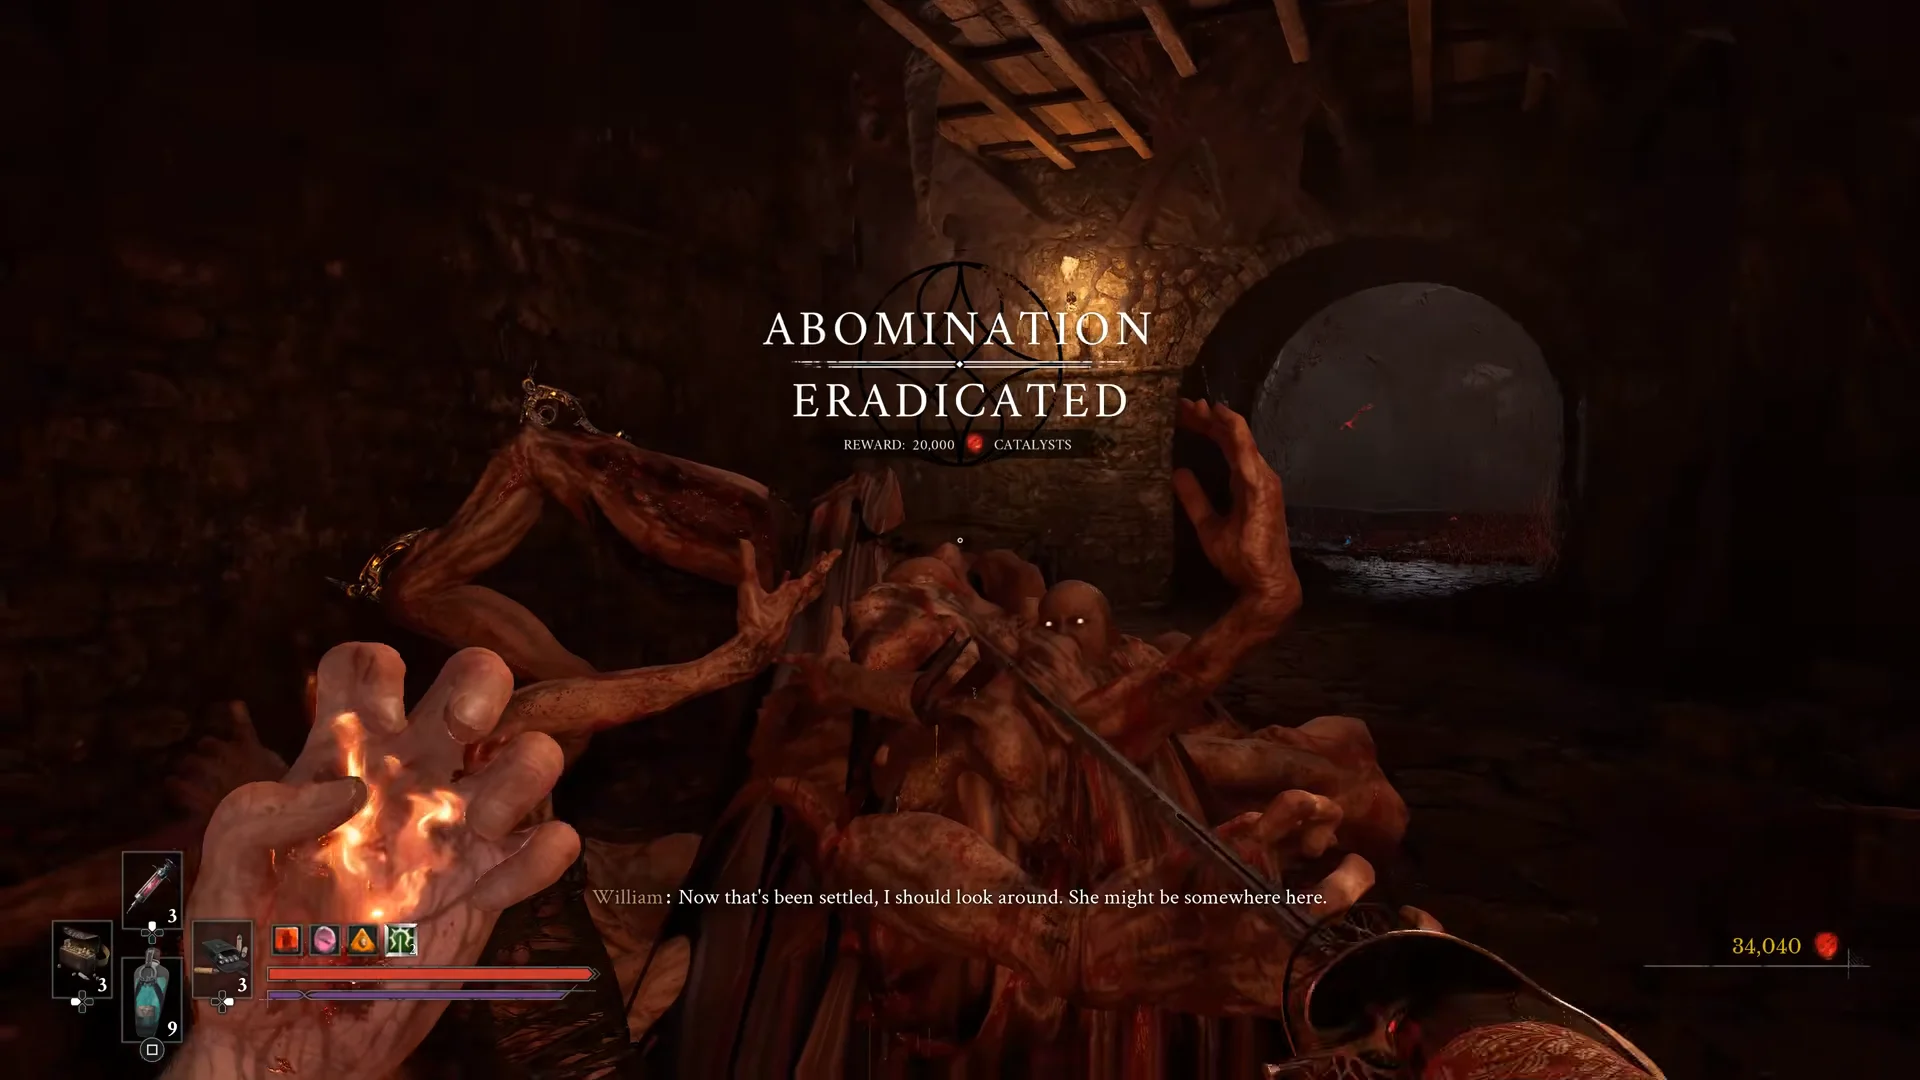
Dropping the boss triggers the “Abomination Eradicated” banner and a reward of 20,000 Catalysts. A new journal entry is added at the same time, and William’s follow-up line about looking around for someone plays as control returns. On the trophy and achievement side, the kill unlocks Lament of the Limbs.
Because the chest inside the Lighthouse arena holds one of the three Quintessential Blade Materials, this is also a stop worth clearing out fully if you plan to push a melee weapon to its maximum level later. The boss and the material sit in the same room, so there is no reason to leave without both.