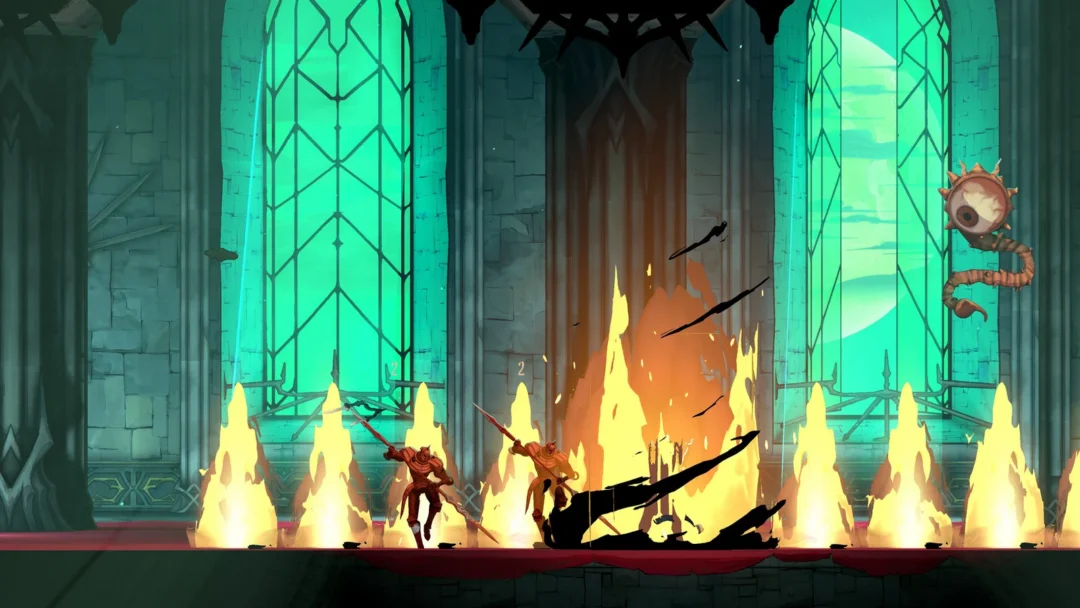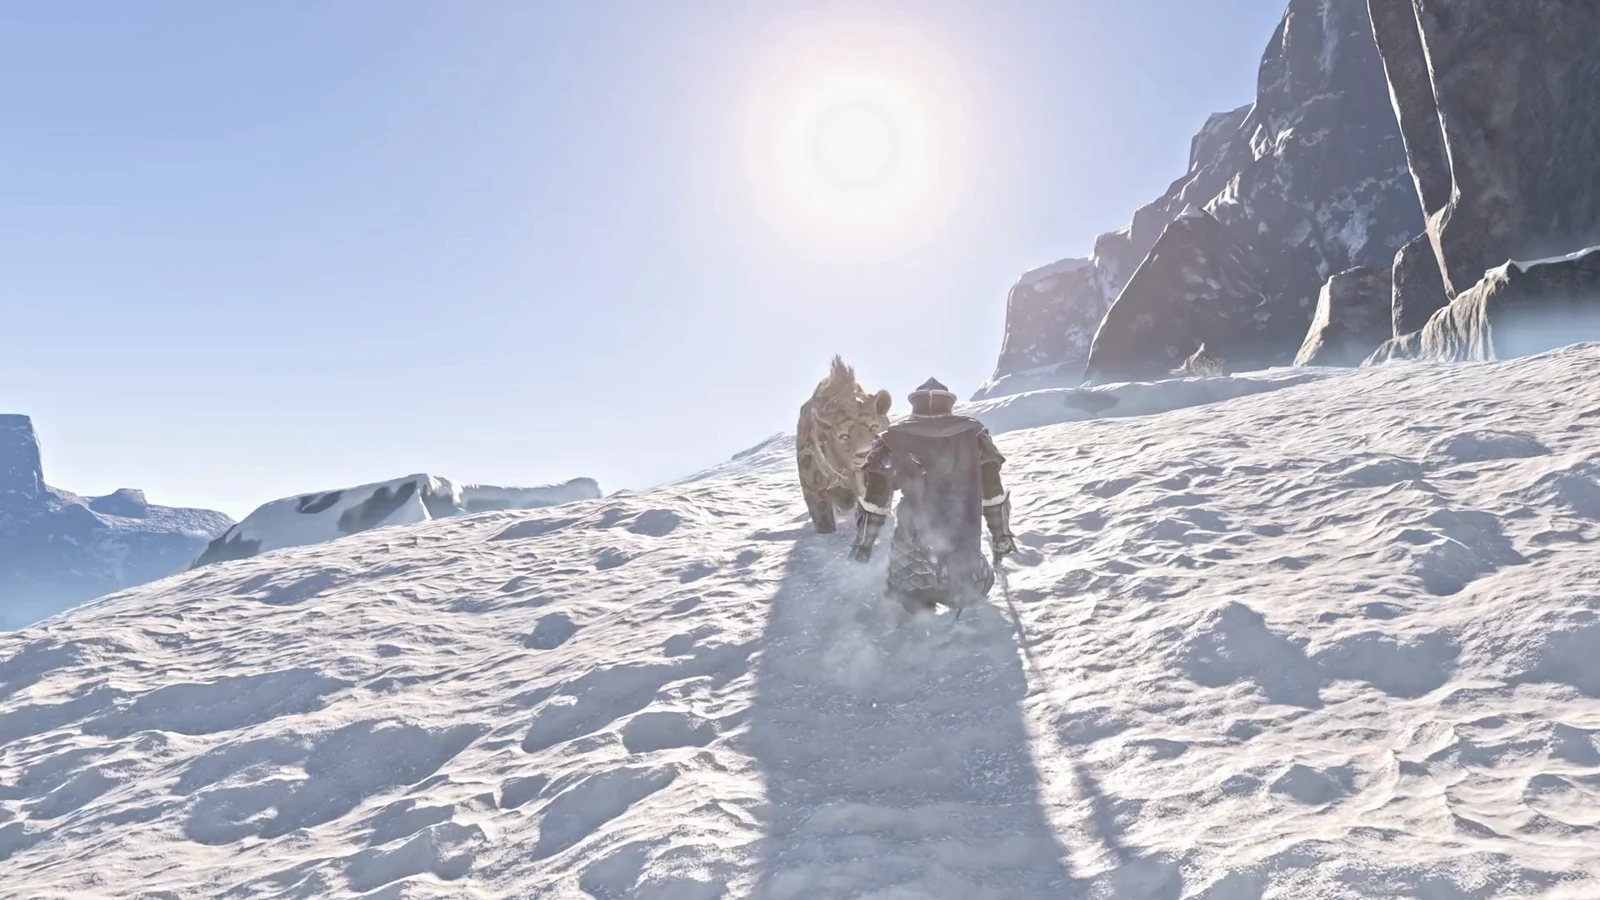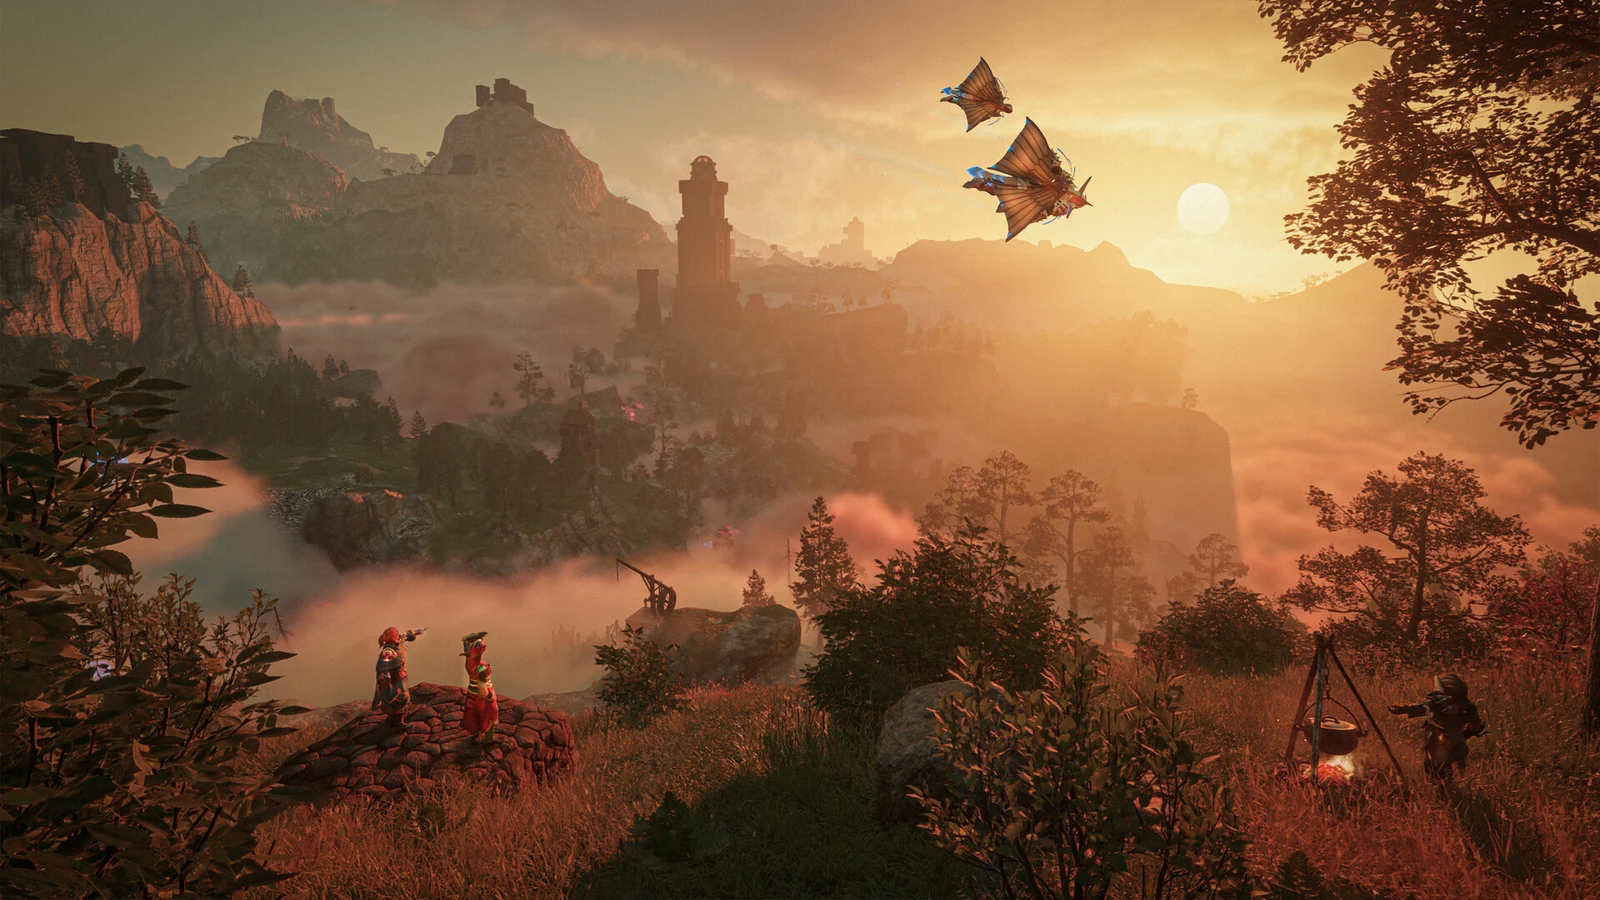
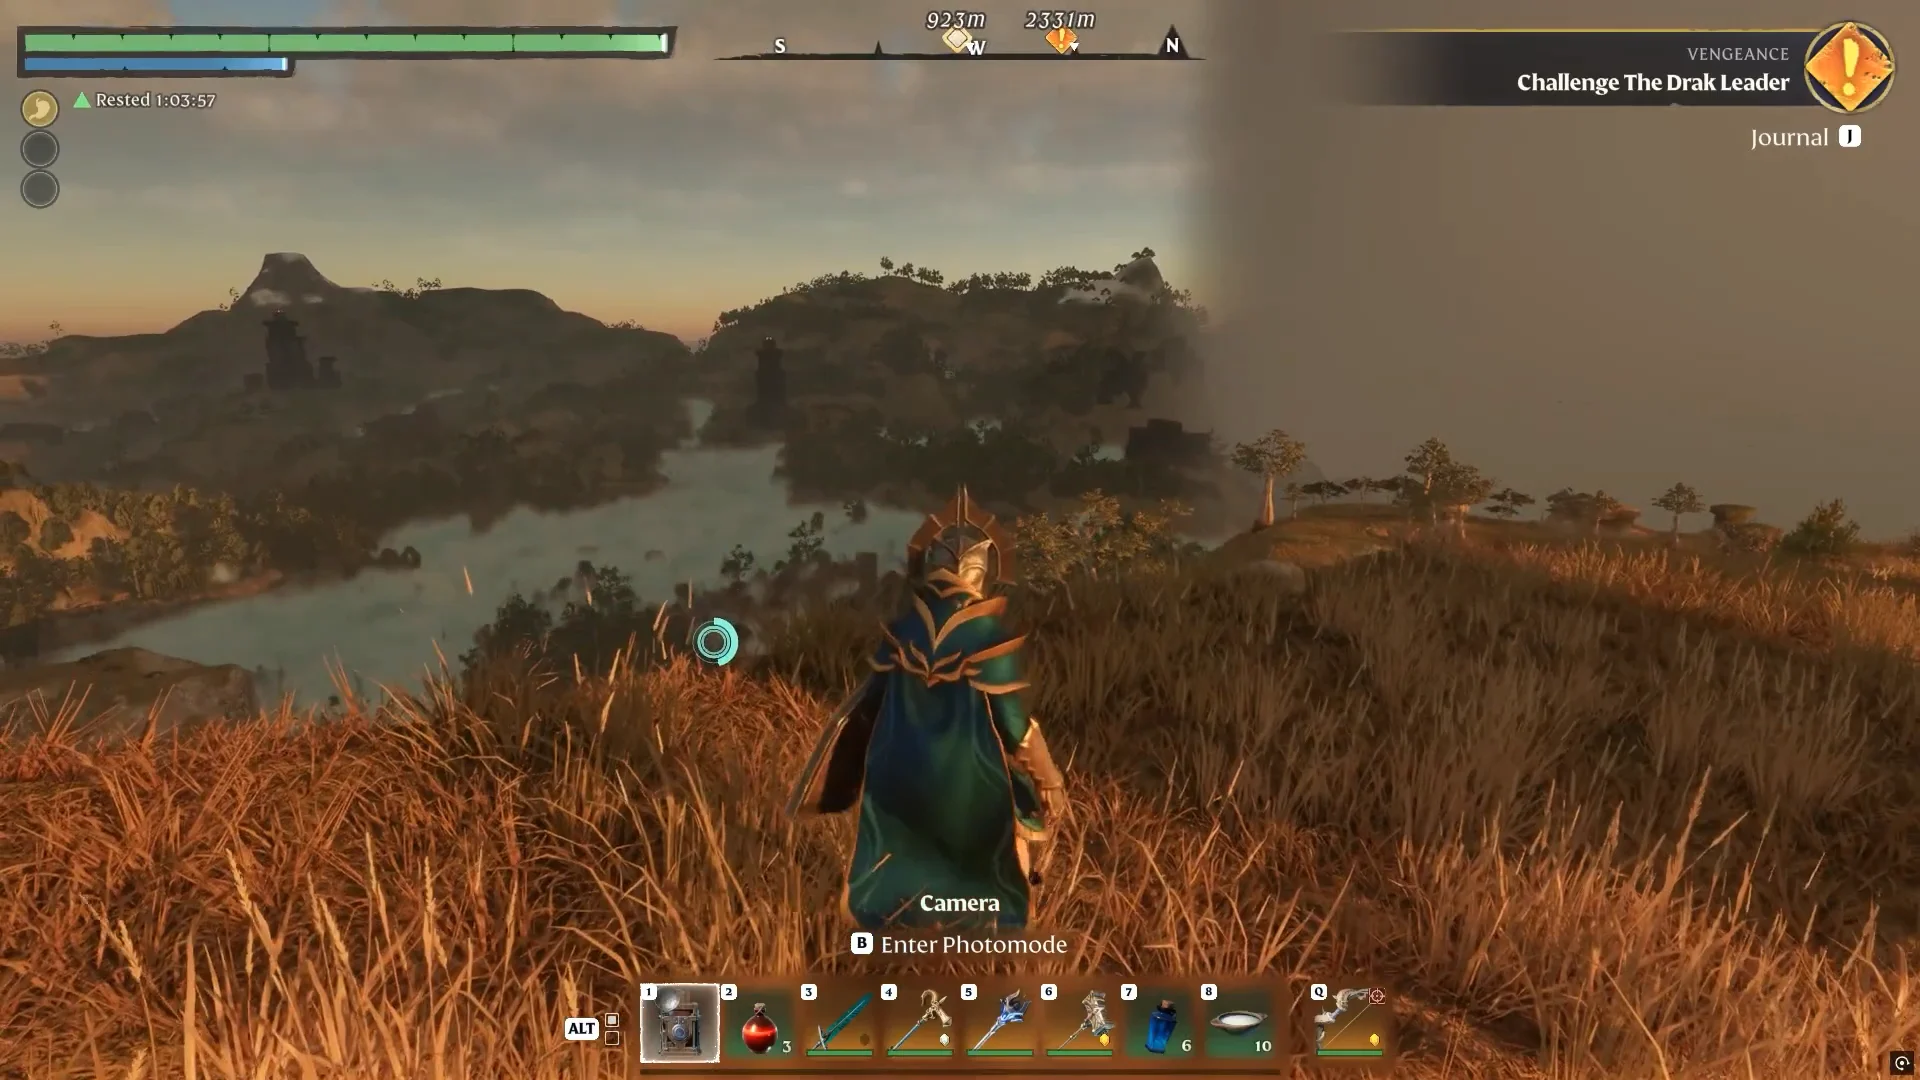
Photo Mode in Enshrouded runs through a craftable item called the Camera. Once you build it and place it on your action bar, you get a free-framing view with zoom, a first-person toggle, and a one-click capture for screenshots of Embervale.
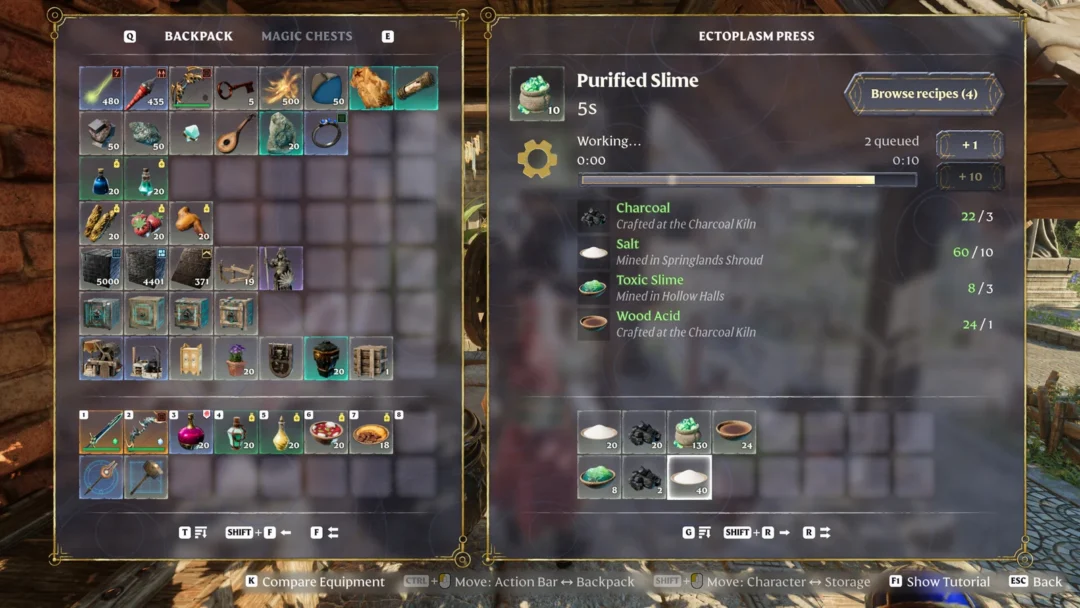
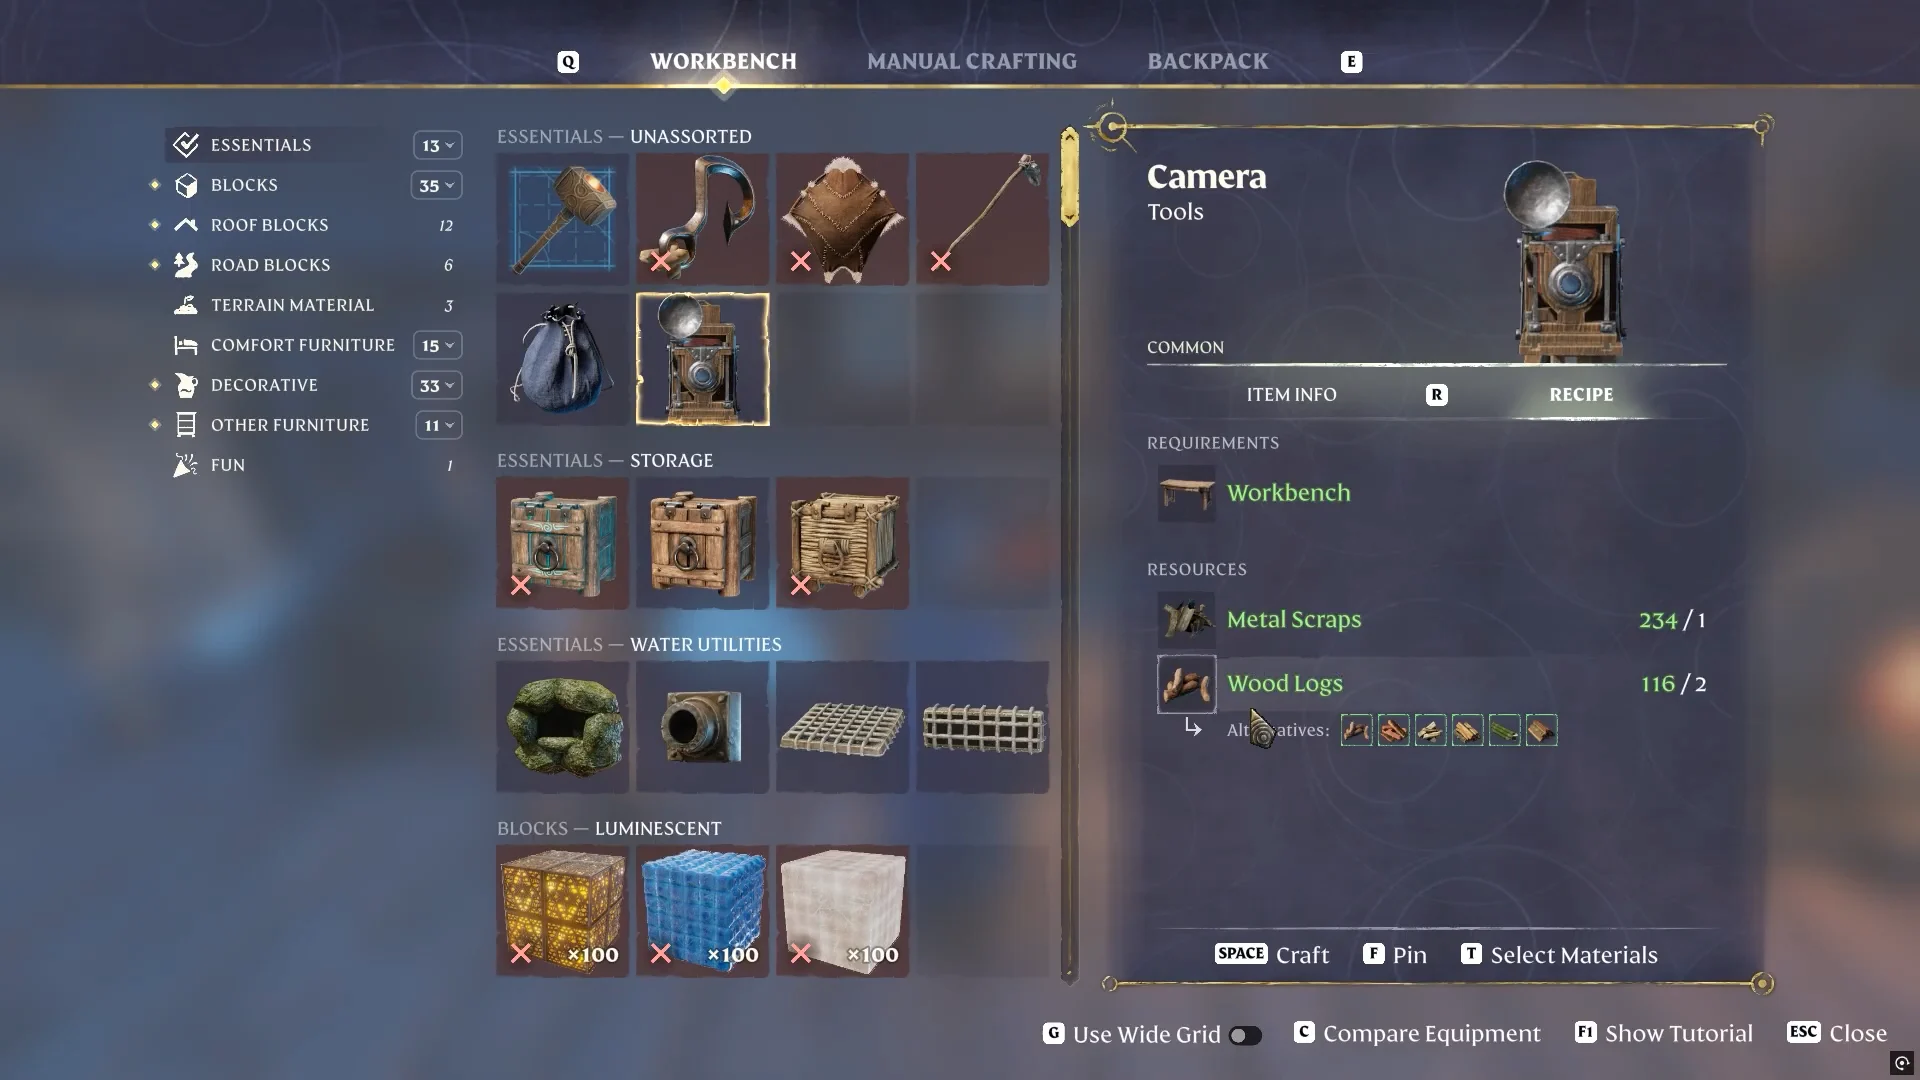
Quick answer: Craft the Camera at a Workbench (1 Metal Scraps, 2 Wood Logs), move it to an action bar slot, hold it, press the Photo Mode key, then left-click to take a photo.
Camera crafting recipe and requirements
The Camera is a Common tool crafted at a standard Workbench. Its item description reads, “You can take screenshots with this item.” You only need two materials, both of which are common early-game resources.
| Requirement | Detail |
|---|---|
| Station | Workbench |
| Category | Essentials (Unassorted) |
| Metal Scraps | 1 |
| Wood Logs | 2 |
| Rarity | Common |
Craft and equip the Camera
Enter Photo Mode and frame your shot
With the Camera in hand, press the Photo Mode key. The on-screen prompt shows B as the default to enter Photo Mode, though some keybind layouts use Tab instead. The view switches to a framing reticle with the control prompts along the edge.
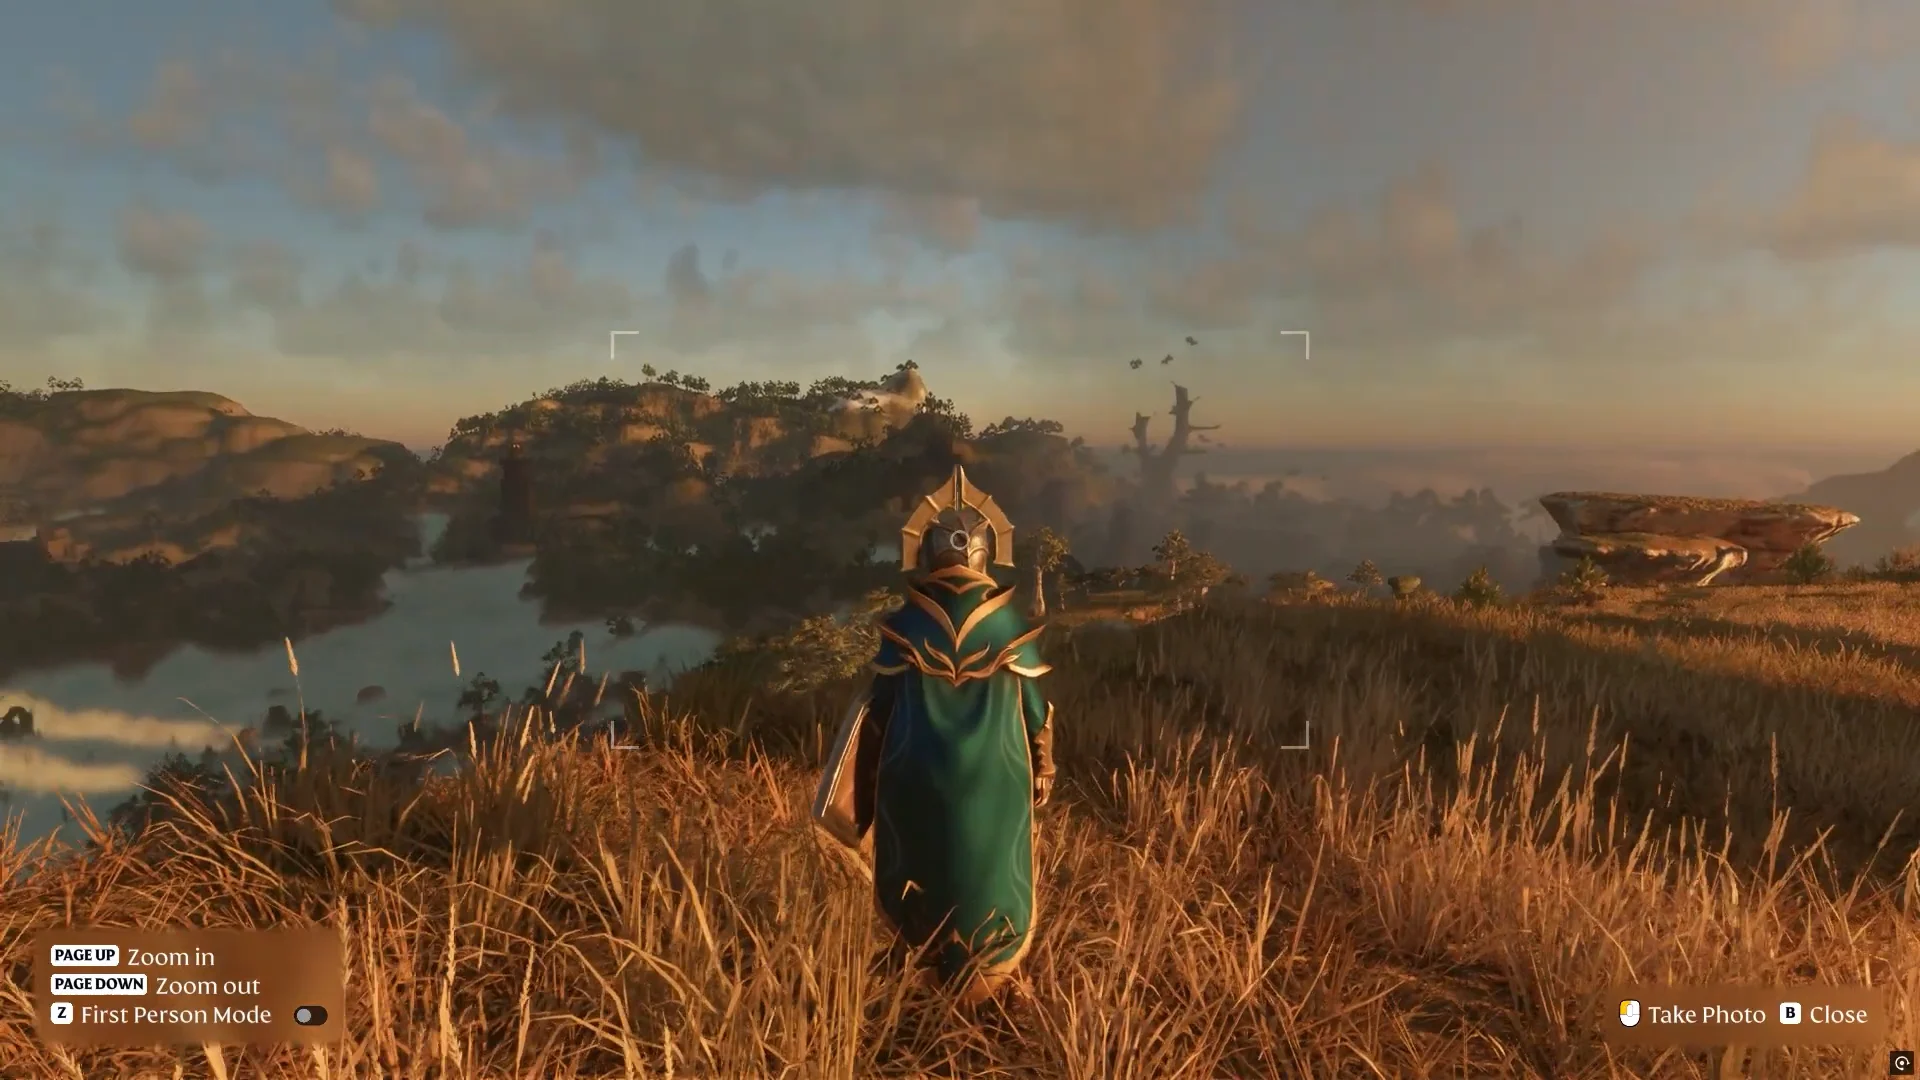
From here you can reposition the view, change the perspective, and zoom before you capture. The controls are fixed to these keys:
| Action | Key |
|---|---|
| Enter Photo Mode | B (or Tab) |
| Toggle first/third person | F |
| Zoom in | Page Up |
| Zoom out | Page Down |
| Take photo | Left Mouse Button |
| Close Photo Mode | Esc |
Pressing F swaps between third-person and first-person views. First person pulls the camera forward so your character no longer blocks the frame, which helps when you want to shoot close to NPCs or buildings.
Use Page Up and Page Down to fine-tune the composition before capturing, especially for wide landscape shots where you want to pull back from distant terrain.
Take the photo and confirm it saved
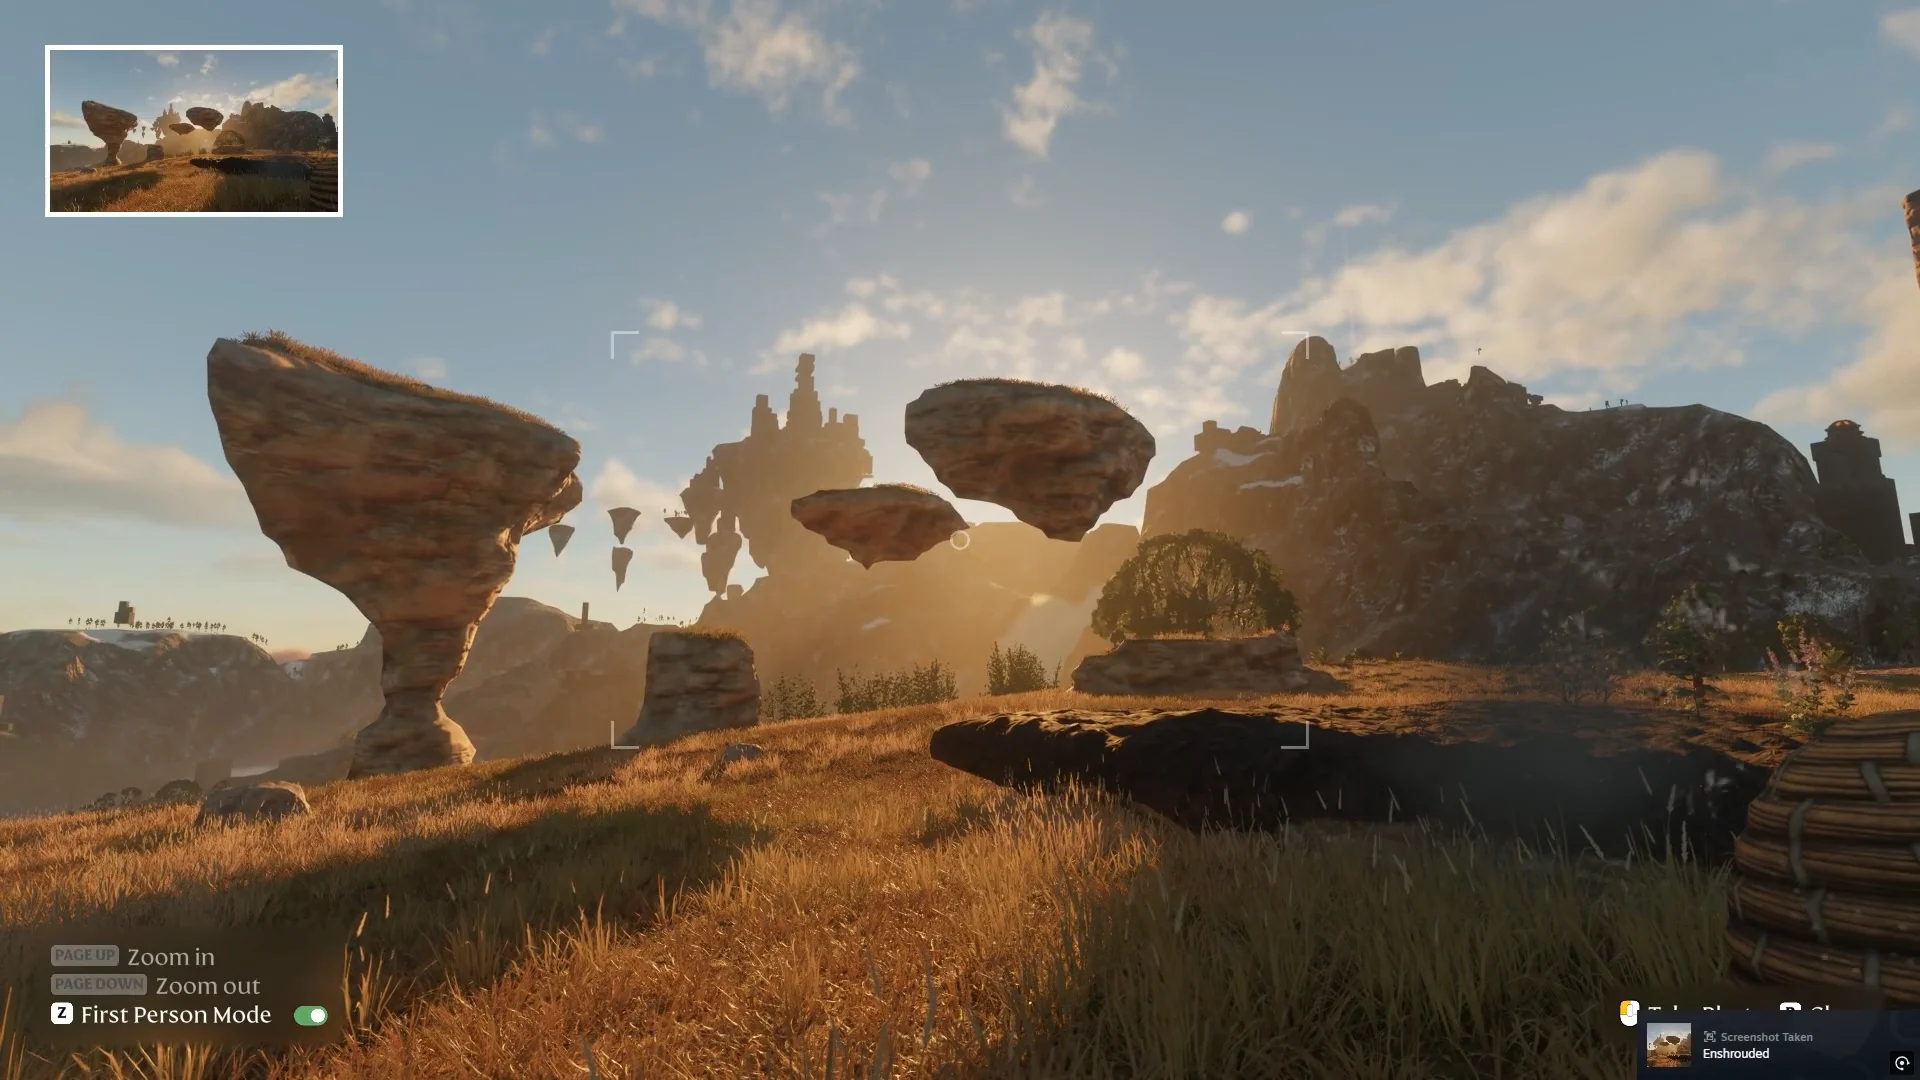
Once the frame looks right, click the Left Mouse Button to capture. The interface briefly fades and a “Screenshot Taken – Enshrouded” message appears, which confirms the shot was saved. Press Esc to leave Photo Mode and return to normal play.
Hide the HUD as an alternative
If you want a clean frame without the Camera’s reticle and prompts, you can hide the interface instead. Press Esc to open the menu and select the Hide HUD option, which removes the map, hotbar, and other on-screen elements. Toggle it again to bring the HUD back when you are done.
This approach keeps the standard third-person view locked to your character rather than giving you the free framing and perspective toggles of the Camera tool, so the Camera remains the better option when you want to position the shot freely.