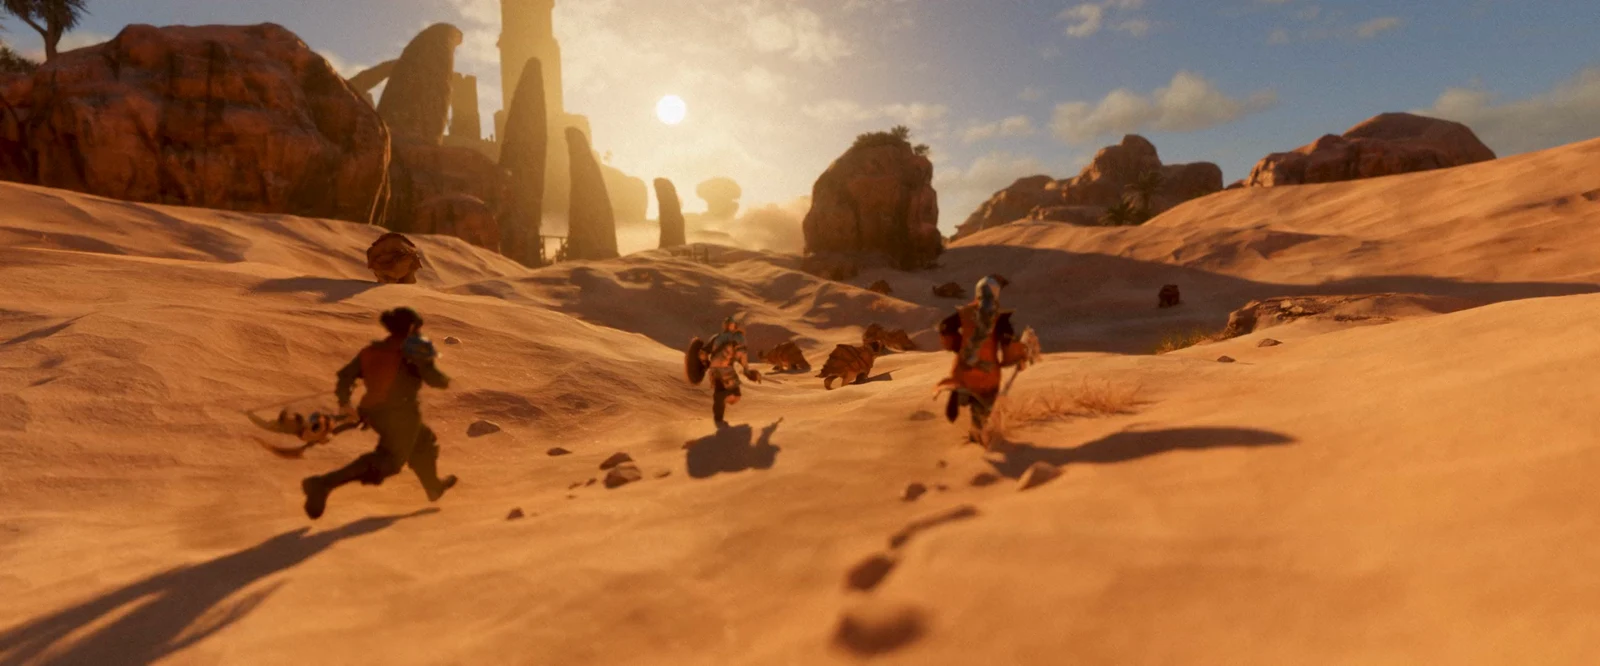
Iron Ore sits in the Kindlewastes, the desert biome tuned for level 25 content, and it feeds directly into Iron Bars and Steel Bars for your mid-to-late game crafting. You mine it from iron veins inside shrouded mines and cave passages, and the nodes regrow on a reset so you can run the same spot again and again.
Quick answer: Mine Iron Ore from iron veins in the Kindlewastes Shroud. The easiest spot is the Cave Passage southeast of the Ancient Spire Kindlewastes, where veins sit right at the entrance.
Cave Passage: the fastest Iron Ore run
The Cave Passage near the Ancient Spire Kindlewastes is the safest and quickest source. It is a small passage set against a rock, sitting just above the level 6 Shroud fog, so you can reach the veins without pushing deep into dangerous ground.
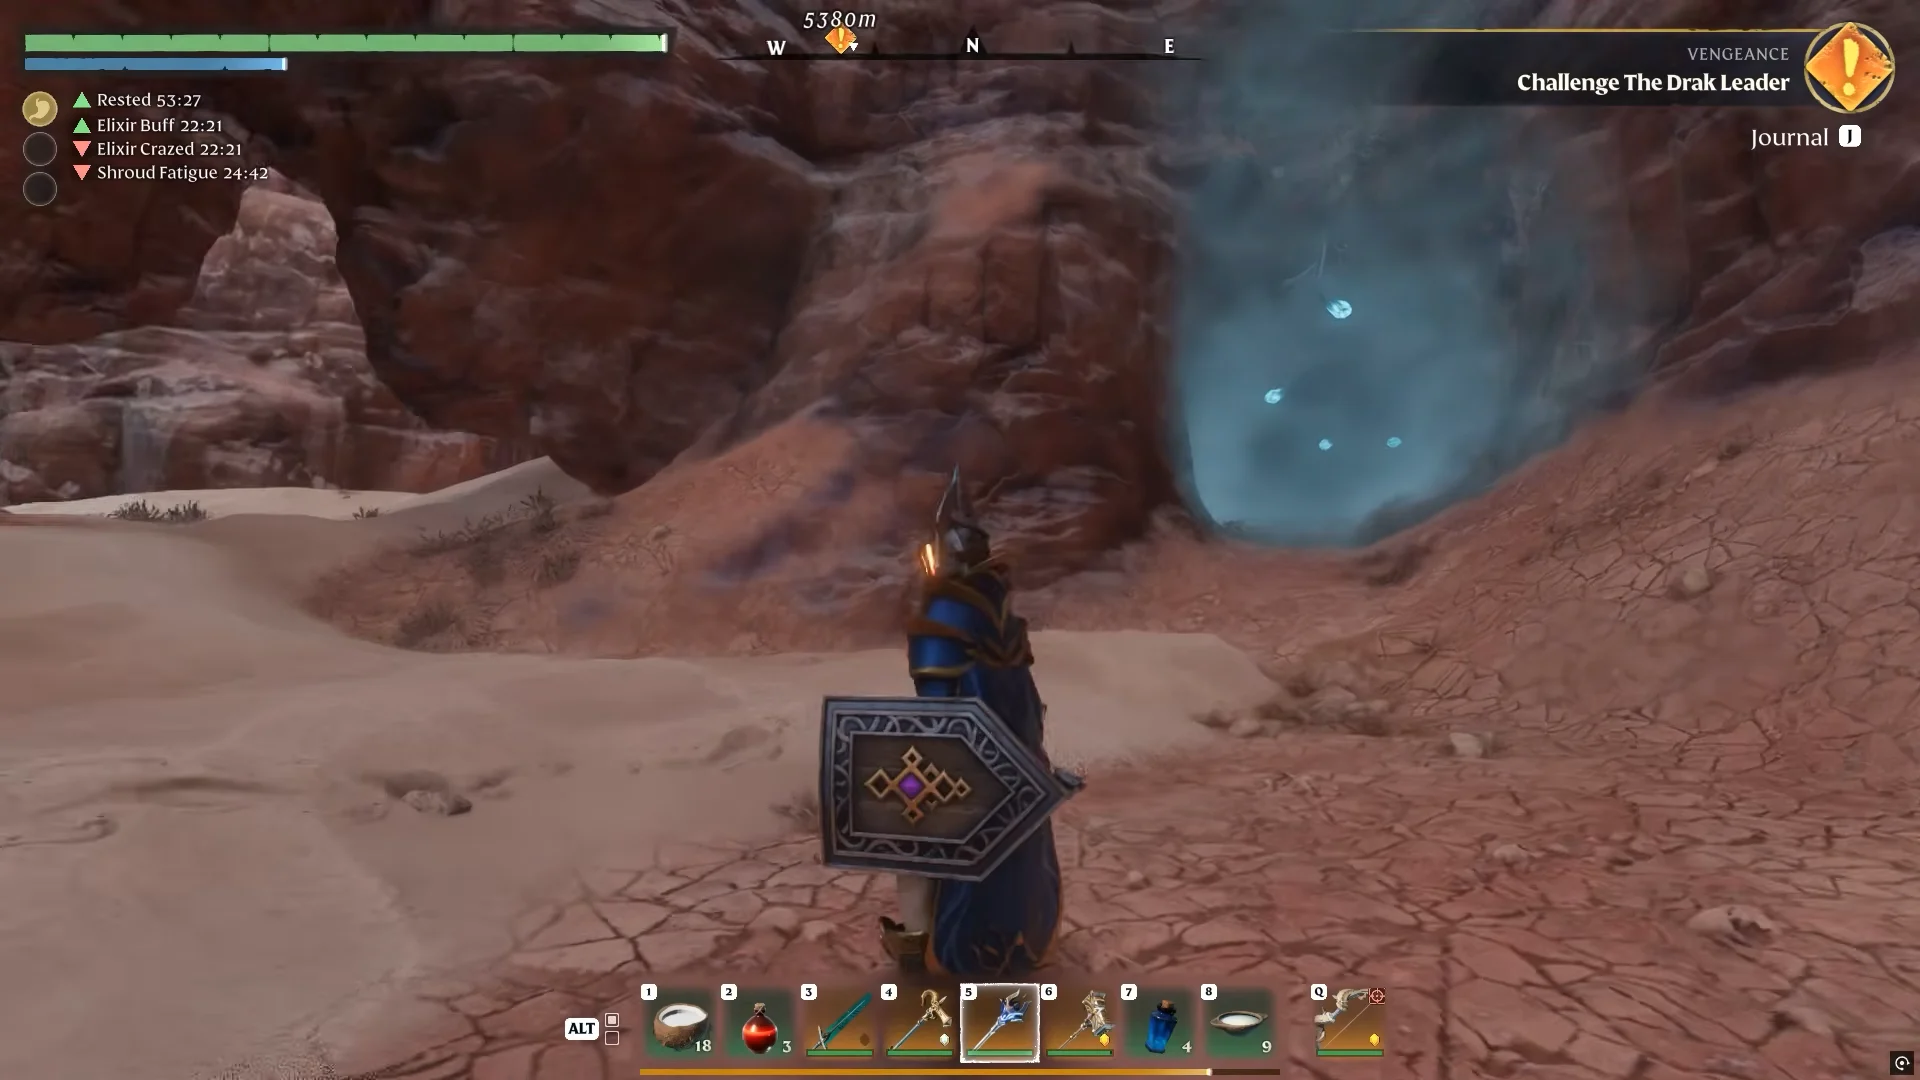
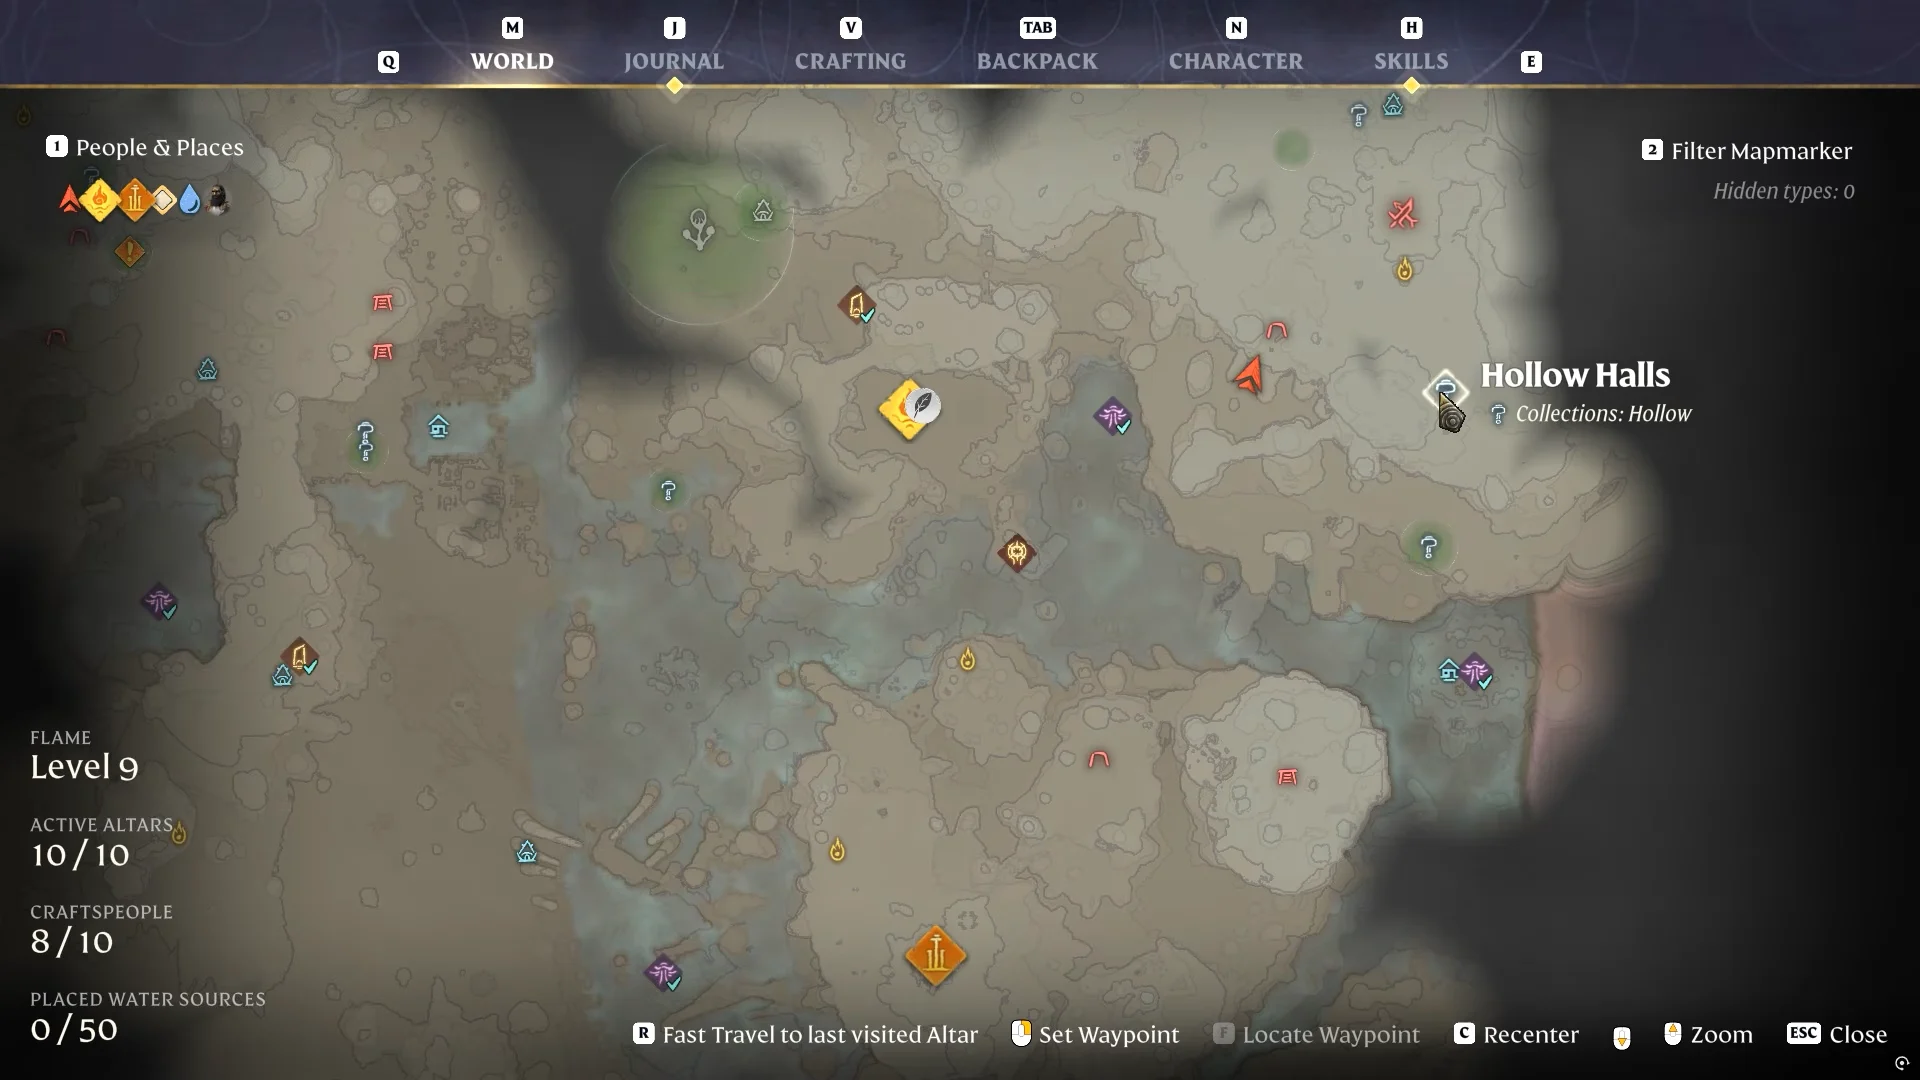

Once you raise your Flame Level to 6, a few more deposits open up further down this same passage, with a handful of Shroud critters guarding them.
Ridgeback Mine: the high-volume option
Ridgeback Mine is a mining point of interest southwest of the Kindlewastes Tower, and it holds far more Iron Ore than the Cave Passage. Veins line the sides of the structure and fill the mine area itself. The trade-off is that the whole site sits inside the Shroud with very few clear pockets to catch your breath.
Before you commit to a run here, gear up to survive the fog. Wear equipment that lengthens your Shroud time and carry Shroud potions to extend it further. That combination lets you reach the scattered pockets of ore across the whole area instead of being forced out early.
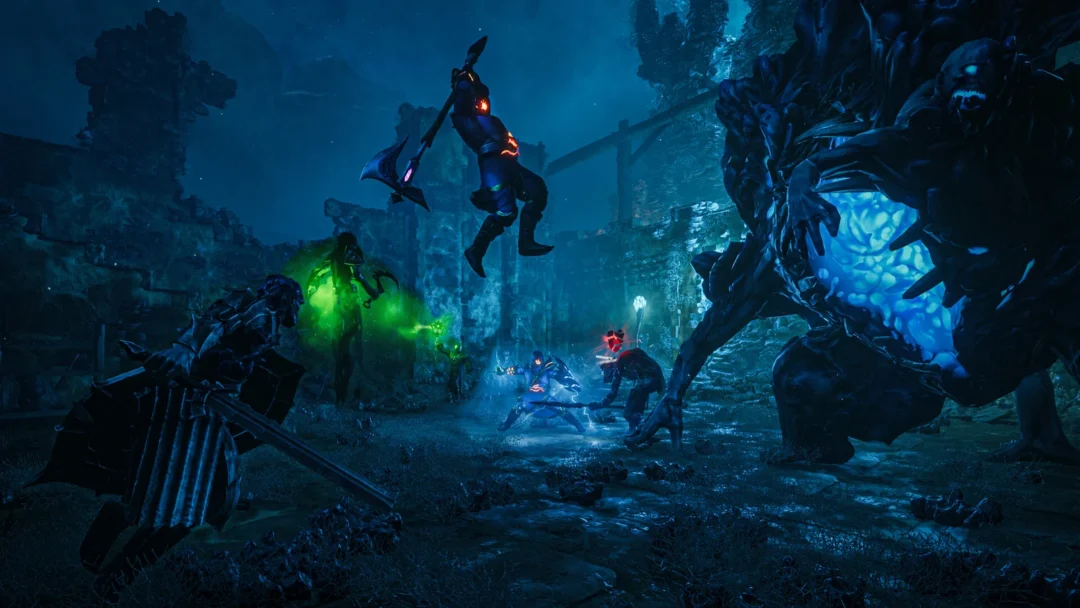
The richest Iron Ore cluster at Ridgeback Mine is guarded by a Fell Sicklescythe. A high-level shield can stop its scythe throw, but its explosive skull will chase you and deal around 300 damage per hit. Stay back and let the short timer run out instead of tanking the attack.
More Iron Ore spots once your Flame Level is higher
Raising your Flame Level unlocks the rest of the shrouded Kindlewastes and, with it, several more veins. Two spots are worth the trip.
Southern fishing dock: Continue south along the path to a small fishing dock beside the lava. Iron is on the ground and in the hillside beside the road you descended. To the east, a climbing platform lets you ascend and reset your Shroud timer; loot the gold chest while you’re up there.
Northern cave passage: As you approach the bluff plateau where East Lapis is located, use the cave passage that cuts through the terrain for the climb. A few Iron clumps are embedded in the walls, but clear the critters first. It resembles the southern Cave Passage, though it has no easy-to-reach veins at the entrance mound.
Across the wider region, the Enshrouded Wiki lists eleven mapped spots that carry Iron Ore, spread between the Kindlewastes, the Albaneve Summits and the Nomad Highlands. Several of those cave passages also hold Sulfur, Coal, Lapislazuli or Luminous Growth veins alongside the iron, and a few are guarded by Cyclops or a Fell Thunderbrute.
What Iron Ore is used for
Iron Ore is a common crafting material that stacks up to 250 and is tied to level 25 content. Its whole value lies in smelting, so every vein you clear turns into bars at the Smelter or Blast Furnace.
| Product | Ingredients | Station | Time |
|---|---|---|---|
| Iron Bars x10 | Iron Ore x10, Charcoal x25 | Smelter | 10:00 |
| Iron Bars x20 | Iron Ore x20, Coal x40 | Blast Furnace | 9:00 |
| Steel Bars x20 | Iron Ore x20, Coal x50 | Blast Furnace | 14:00 |
Farming Iron Ore repeatedly
Iron veins regenerate on a reset, so the same node spot refills over time for repeat runs. You will know a farming route is working when the veins you cleared on a previous visit have grown back and highlight again under your pickaxe. For a steady supply, pair the Cave Passage near the Oasis for a safe, quick top-up with Ridgeback Mine when you need a large haul and are equipped to handle the Shroud and the Sicklescythe.