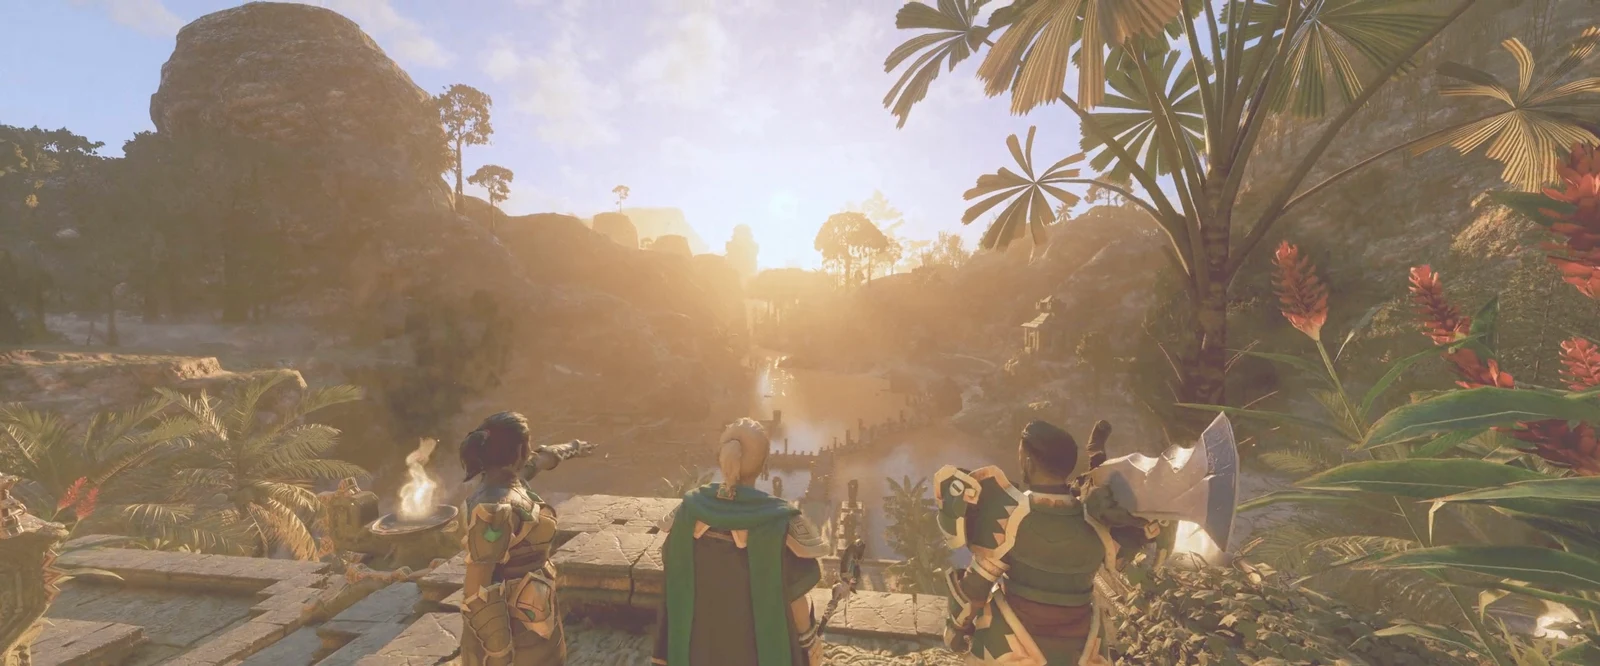
Enshrouded drops you into Embervale with nothing. You have no tools, no map, and a five-minute window before the Shroud kills you. The first few hours teach you everything else. You build a base around a Flame Altar, craft a Glider and Grappling Hook, rescue the Blacksmith, clear an Elixir Well, and climb the Springlands Ancient Spire. Each of those steps unlocks the next, so the order you do them in matters more than how fast you play.
Quick answer: Loot the starter cave, place a Flame Altar, craft a Workbench, build the Glider and Grappling Hook, rescue Oswald Anders, clear the Braelyn Bridge Elixir Well, then commune with the Springlands Ancient Spire.
Enshrouded 1.0 launch changes that affect a new character
Enshrouded reached version 1.0 on October 15, 2026, ending its Early Access period. The release is available on PC through Steam and on PlayStation 5, including PS5 Pro support. The Xbox Series X and S edition is planned for spring 2027, though its specific release day has not been announced.
Version 1.0 raises the character level cap from 45 to 50. Equipment can now reach level 55, and skill trees were reset, so returning players rebuild their characters from scratch. For a brand-new player, that means everyone starts the opening on equal footing.
World settings and session types before you start
Characters and worlds are saved separately. Any character can join any world and keep its inventory and progress. Character creation only changes your appearance and voice. Enshrouded has no classes, so you can’t make a wrong pick here.
When you start a session, you choose one of three types:
- Private saves locally, and you are the only player.
- Host saves locally but lets friends join through your PC. The world can be password-protected.
- Join connects you to another player’s session or to a dedicated server.
Co-op supports up to 16 players. A hosted world is only available while the host is online. A rented dedicated server runs around the clock, so friends can join whenever they want.
Difficulty comes in four presets: Relaxed, Default, Hard, and Survival. There is also a Custom option with a long list of sliders, including:
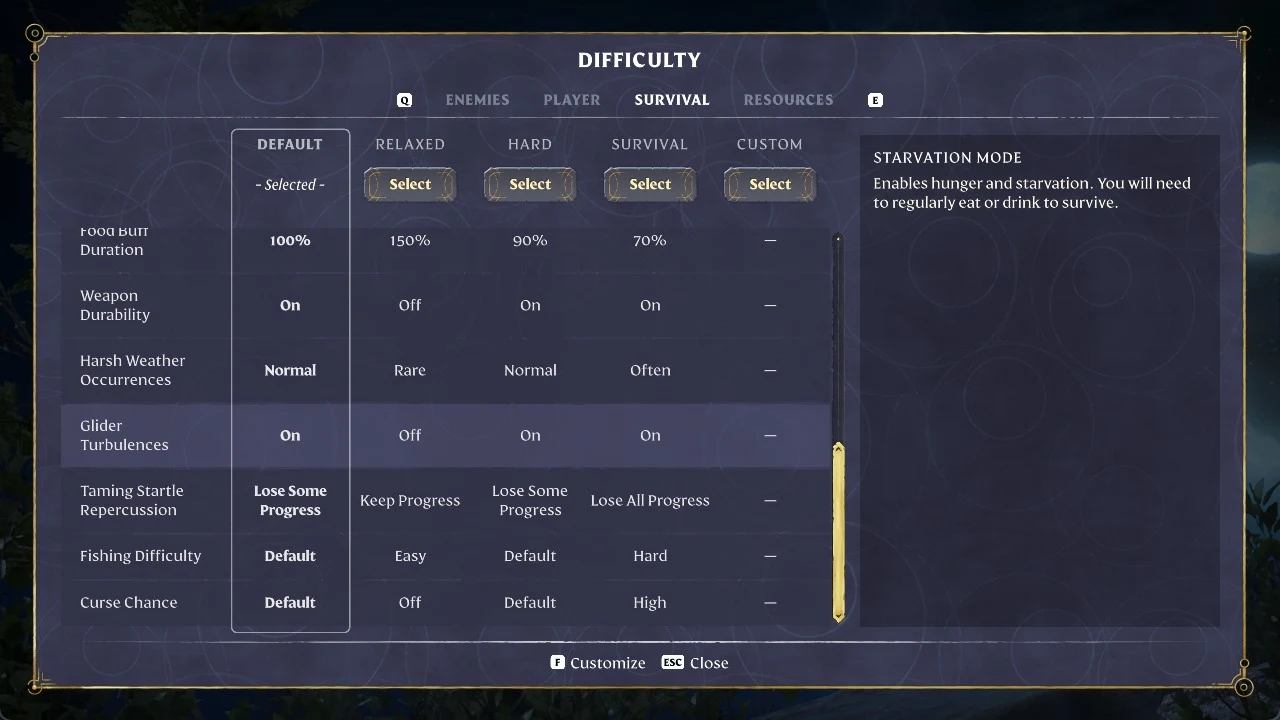
- Enemy and boss damage, health, and perception range
- Starvation Mode and Time in the Shroud
- Loot Loss On Death and Weapon Durability
- XP multipliers for mining, combat, and quests
- Plant Growth Speed, Workshop Production Speed, and Loot Amount
You can change world settings later, so don’t worry about getting them perfect up front.
Before you play, open Settings, go to the Game tab, and switch on Auto-Collect Scattered Loot. With it on, wood, stone, and ore drop straight into your inventory, so you don’t have to pick up every piece.
Cinder Vault and starter cave loot route
After emerging from a capsule in the Cinder Vault, commune with the Flame. You’ll gain the Flame Altar recipe and begin the Reach The Plains quest. Before heading out, pause by the flame to receive Rested, which boosts maximum stamina and stamina regeneration. Several free items can be picked up in the cave just outside.
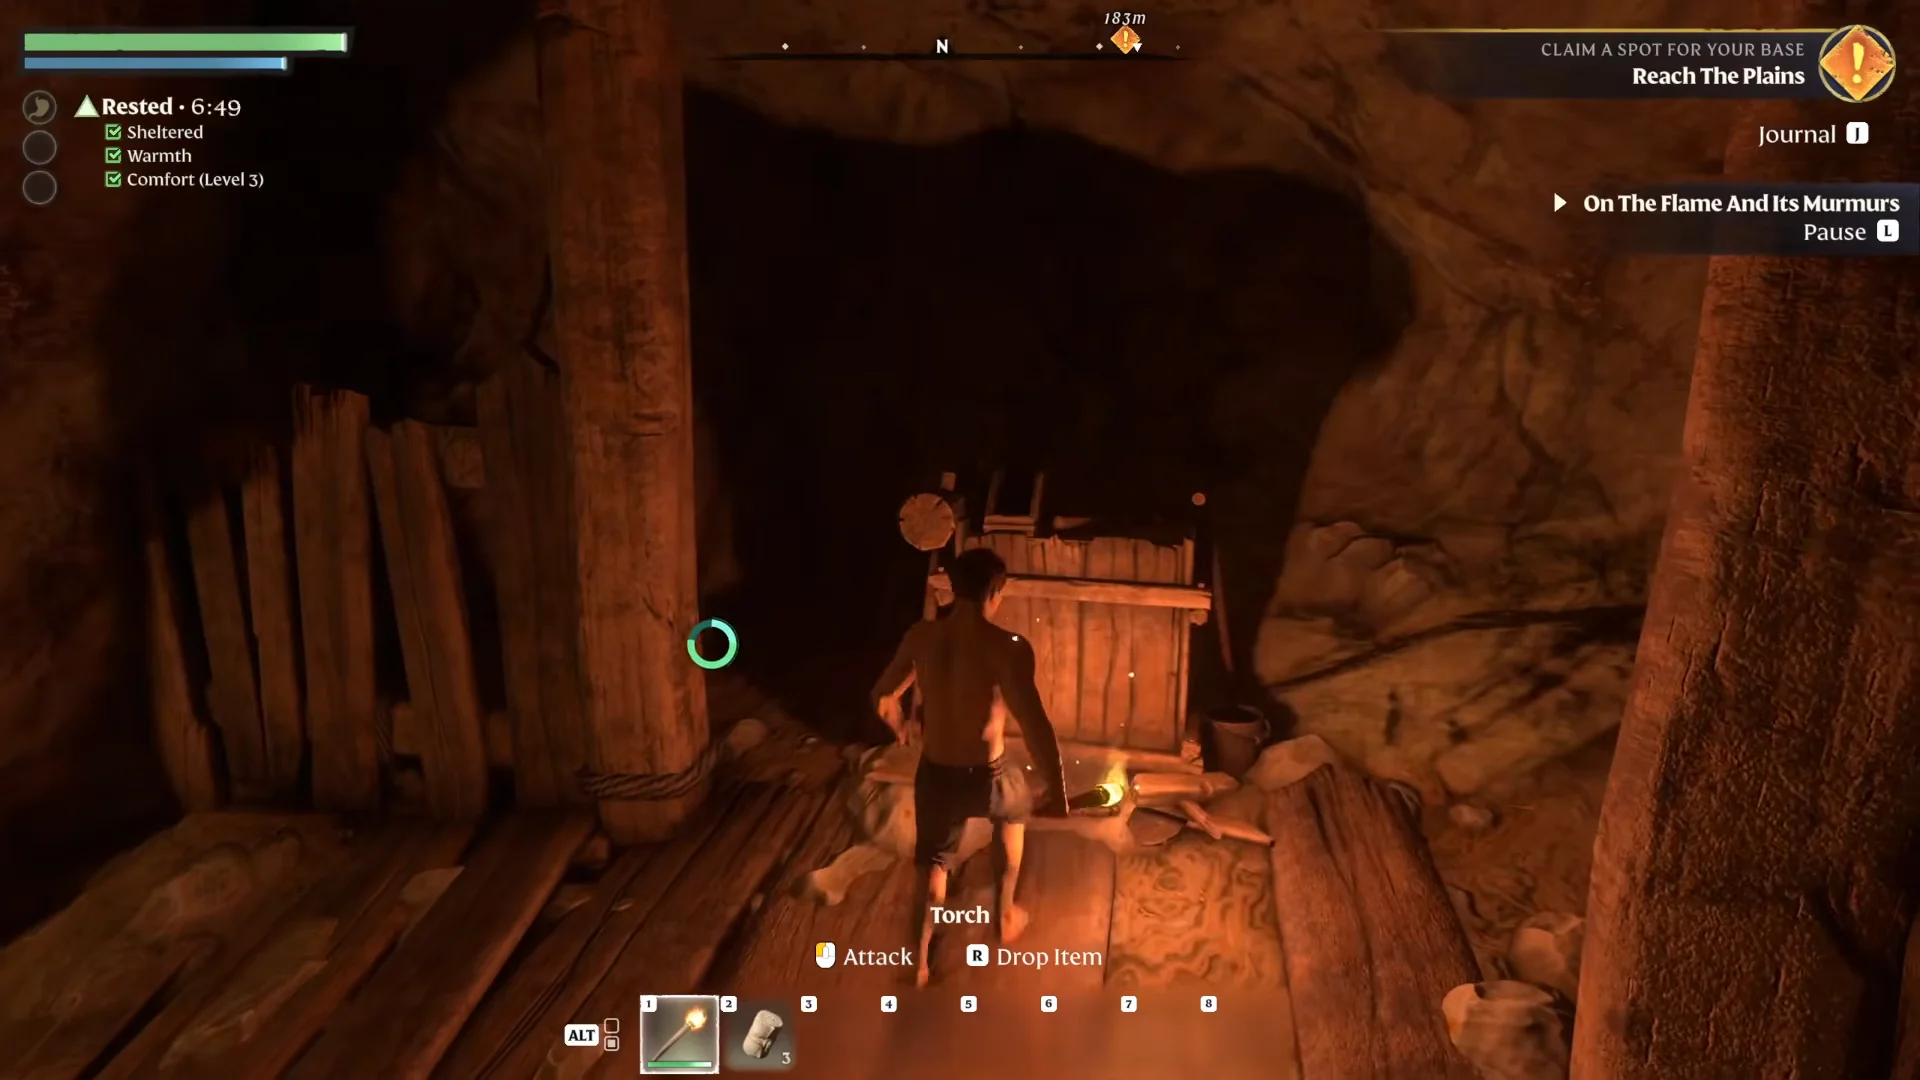
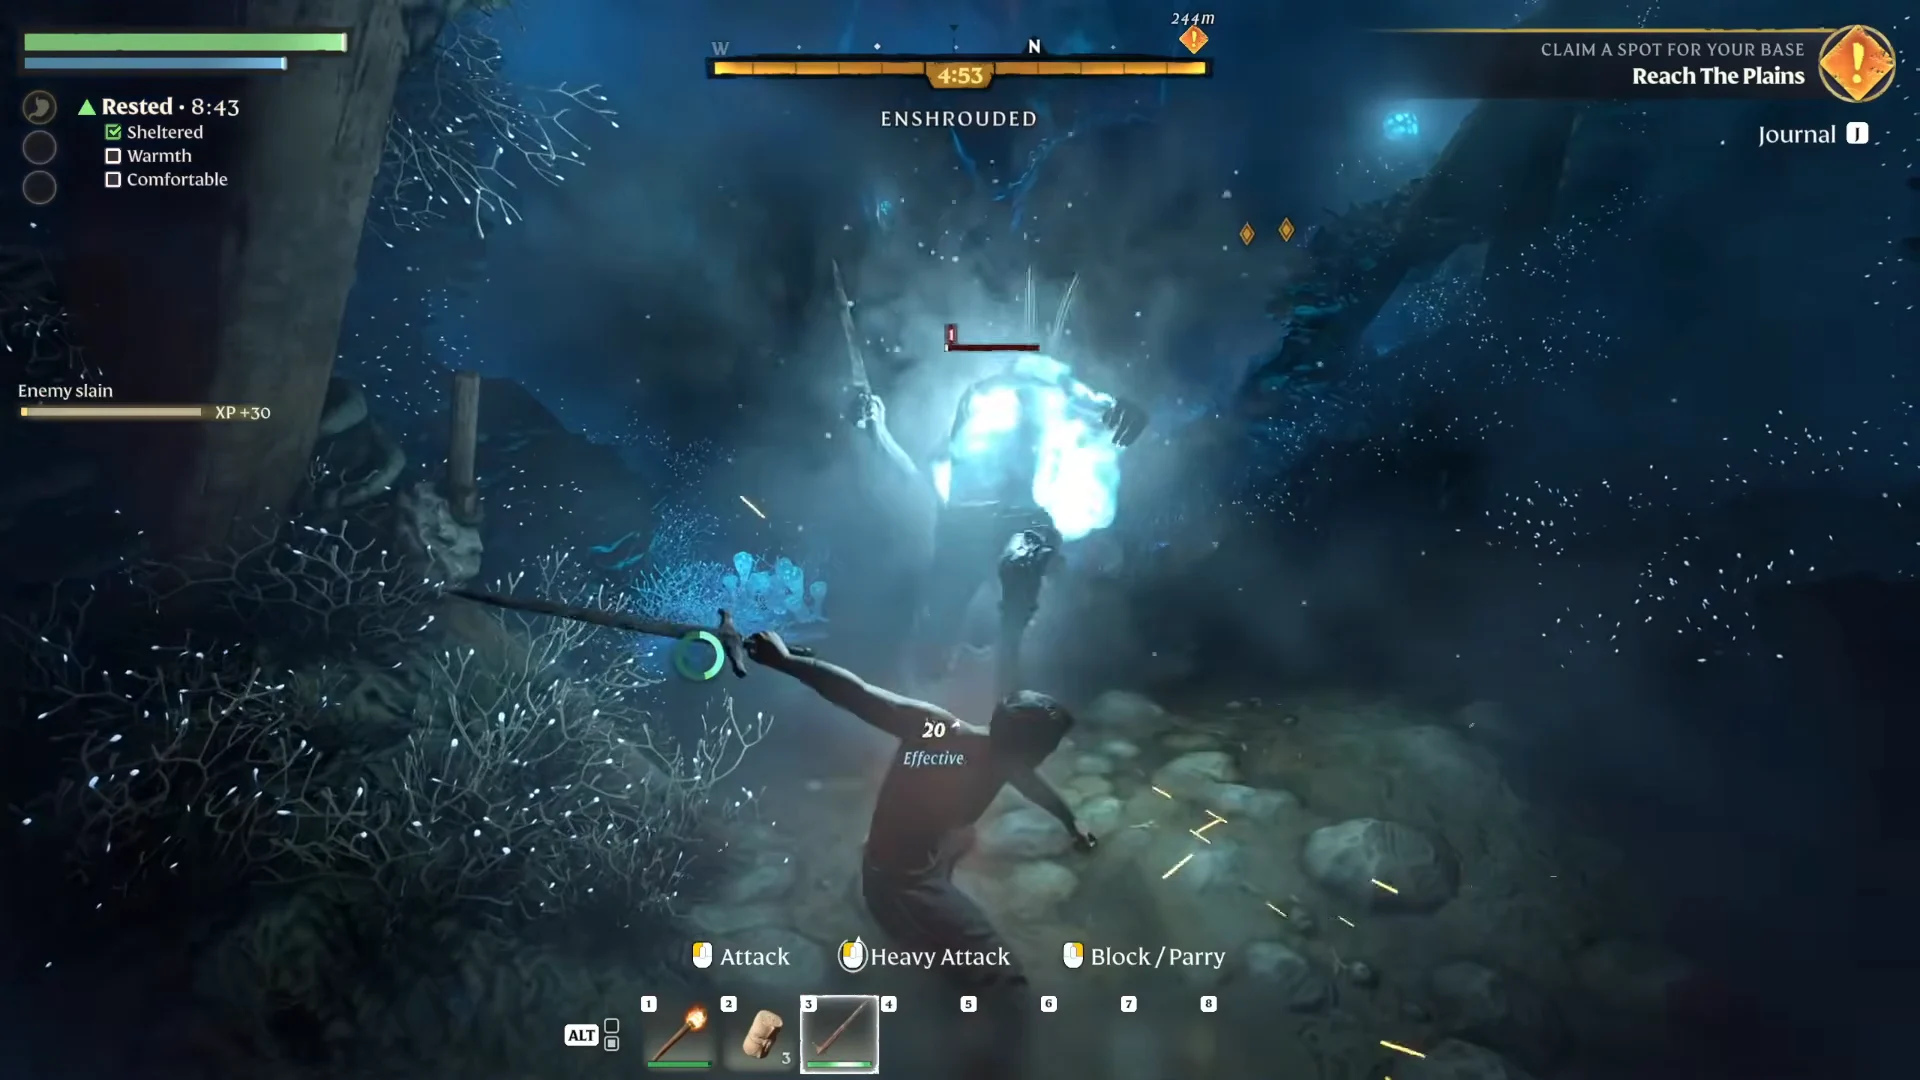
Your next ring is a little further along. Fell enemies in a nearby Shroud pocket drop the Fell Defender Shield. Not far away, a boarded doorway hides a chest with the Lesser Ring of Stamina, and you’ll need an axe to chop through it. Wear both rings at once to stack their stamina bonuses.
How the Shroud timer works
On default settings, you can stay in the Shroud for five minutes. The timer appears at the top of the screen, and you die instantly when it reaches zero. Leaving the fog lets the timer recover. Inside the Shroud, you have a few ways to buy more time:
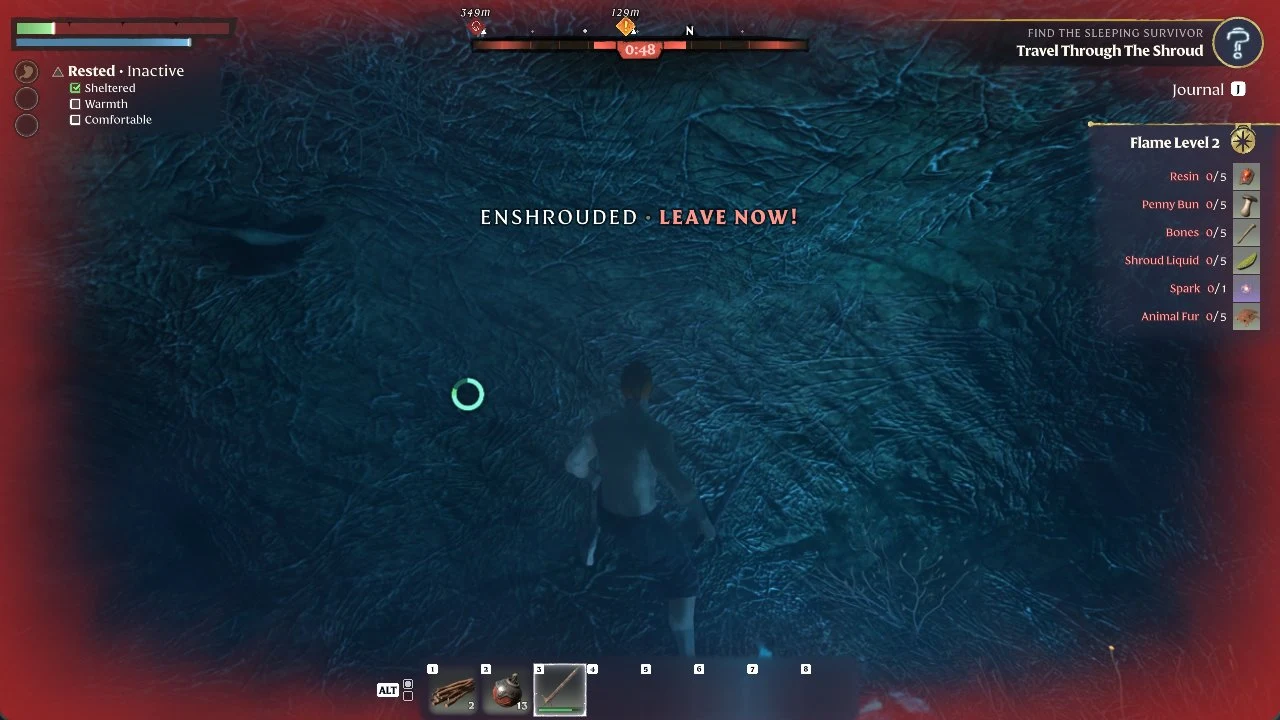
- Stand near a lit Return Beacon to refill the timer completely.
- Activate the glowing pink Hourglass Capsules you find along the way.
- Drink a Shroud Survival Flask once you can make them.
- Strengthen the Flame to raise your base time limit.
Head for Return Beacons first and treat them as checkpoints, so you start any detour with a full timer. Save your capsules and flasks for routes that have no beacon.
Red Deadly Shroud drains your timer much faster. If you enter Shroud above your current Shroud Passage Level, a warning countdown appears. Turn back and come back after you’ve strengthened the Flame.
Gathering early resources and crafting the Axe and Pickaxe
Bushes give you Plant Fiber and Twigs. Plant Fiber is spun into String, which goes into the bow, clothing, the Glider, and the Grappling Hook, so pick it up whenever you see it. Purple Berries are an early snack. Wolves drop Animal Fur, Bones, and Raw Wolf Meat. Picking up a material you haven’t seen before often unlocks new recipes.
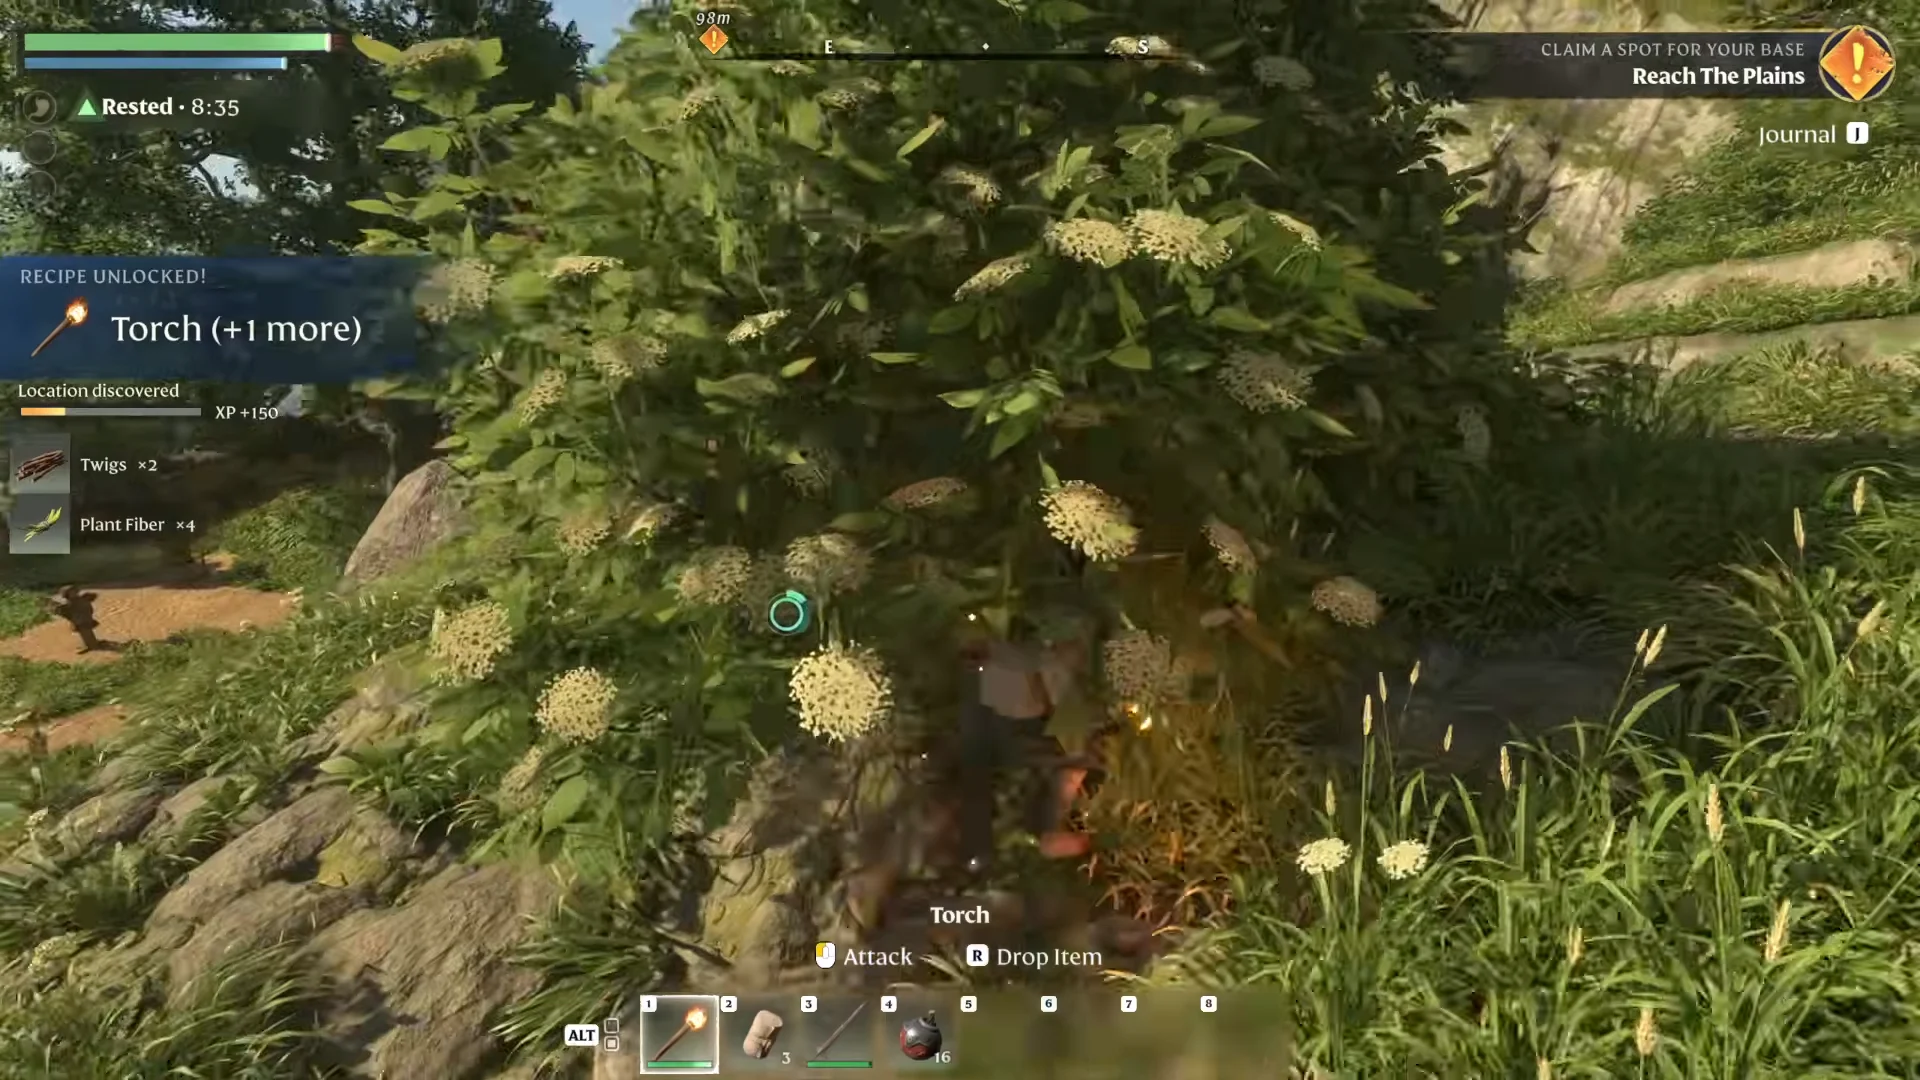
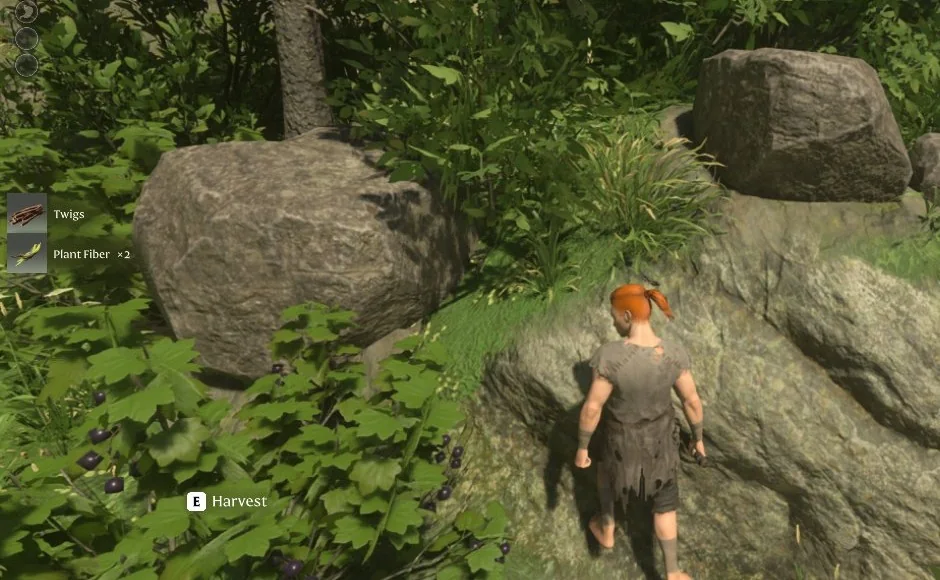
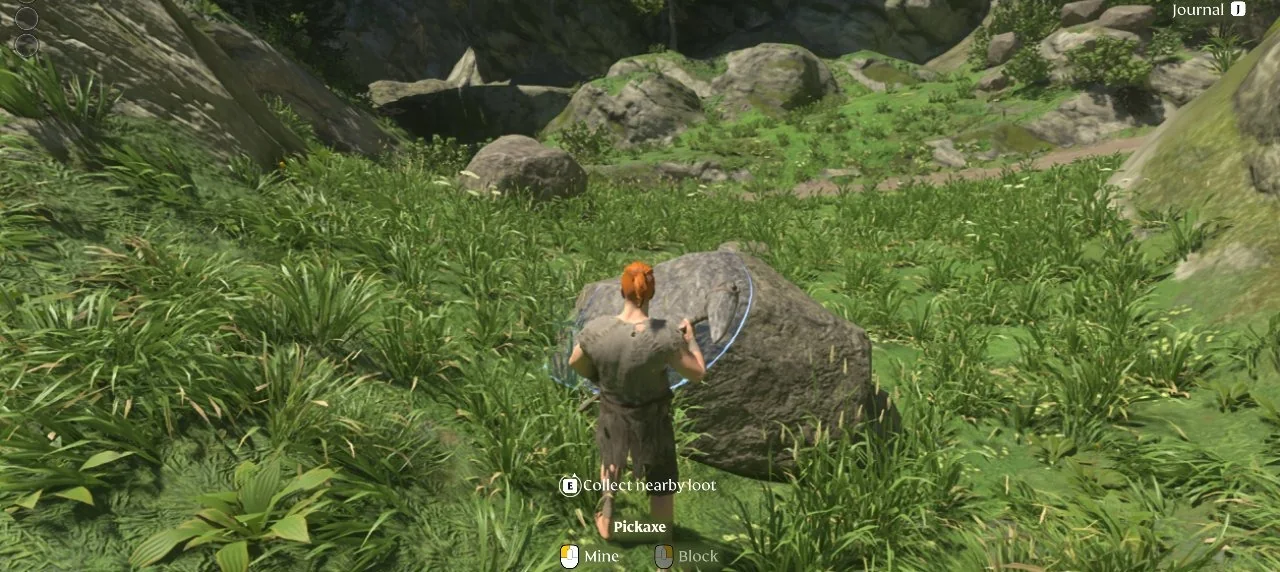
Purple Berries grow on low leafy bushes; we found one among the boulders near our first base. Walk up to see the “E Harvest” prompt, then press E to pick the Purple Berries.
Save your Penny Bun mushrooms instead of cooking them into skewers. Strengthening the Flame for the first time needs five of them.
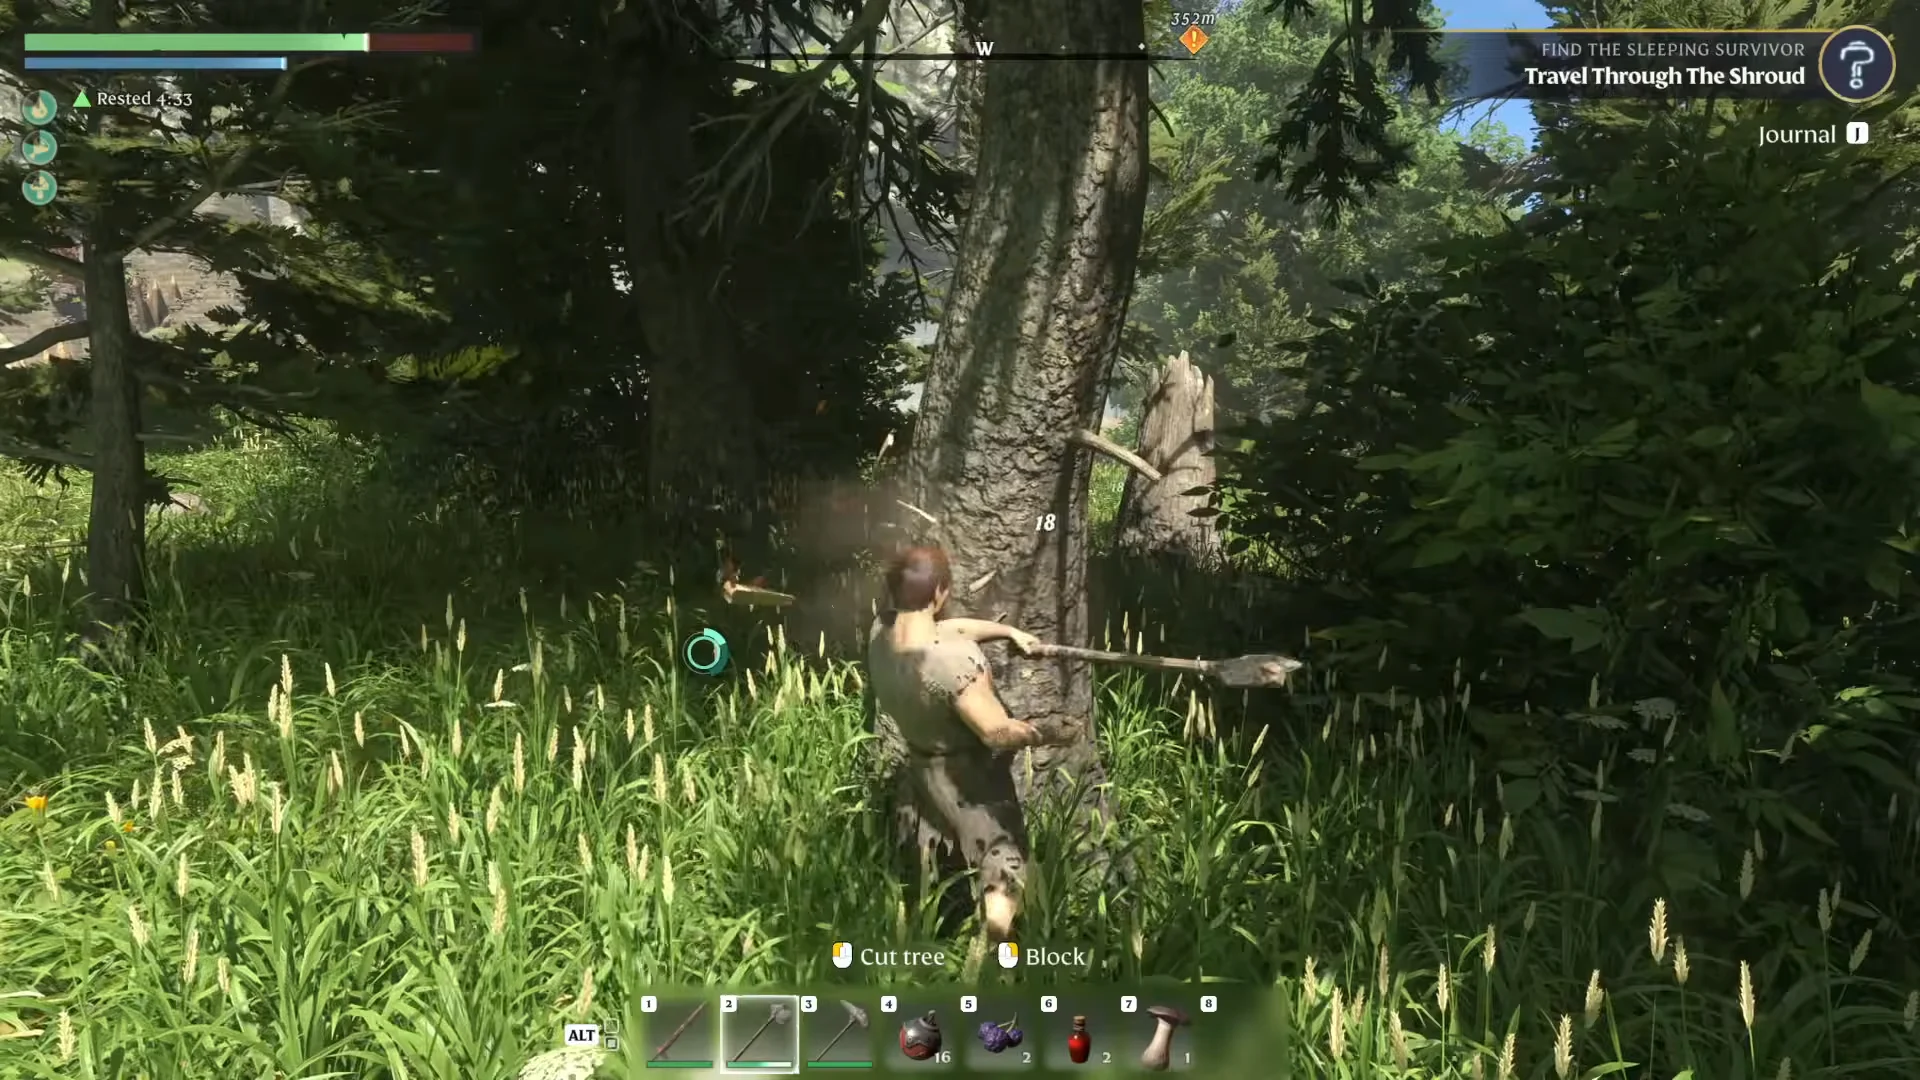
Both tools come from your personal crafting menu. The Axe cuts down trees for Wood Logs and Resin, and it chops through boarded doors without using up weapon durability. The Pickaxe mines Stone and Dirt from almost any patch of ground. Specialized nodes like Flintstone give about 10 mining XP per swing, which makes them an easy way to level up early. You also earn XP from fighting, reading lore pages, and finishing quests.
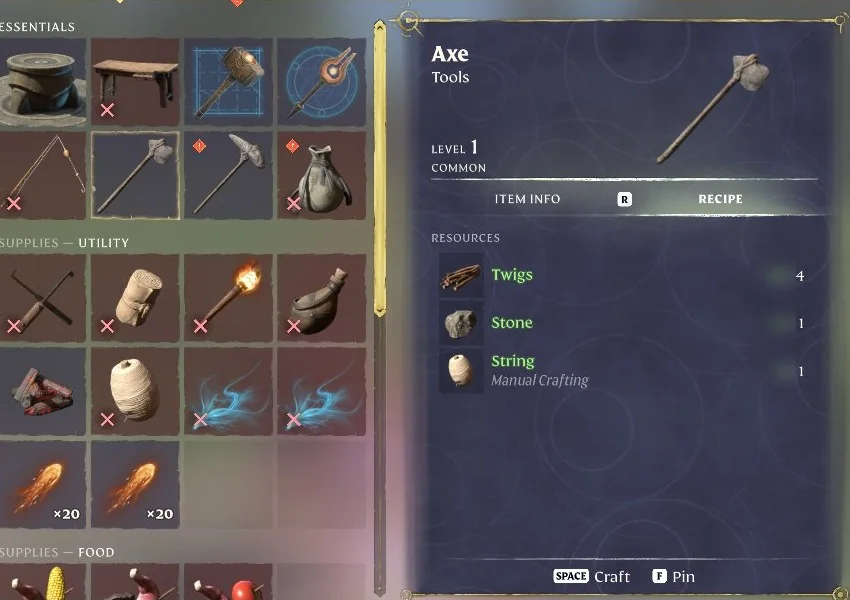
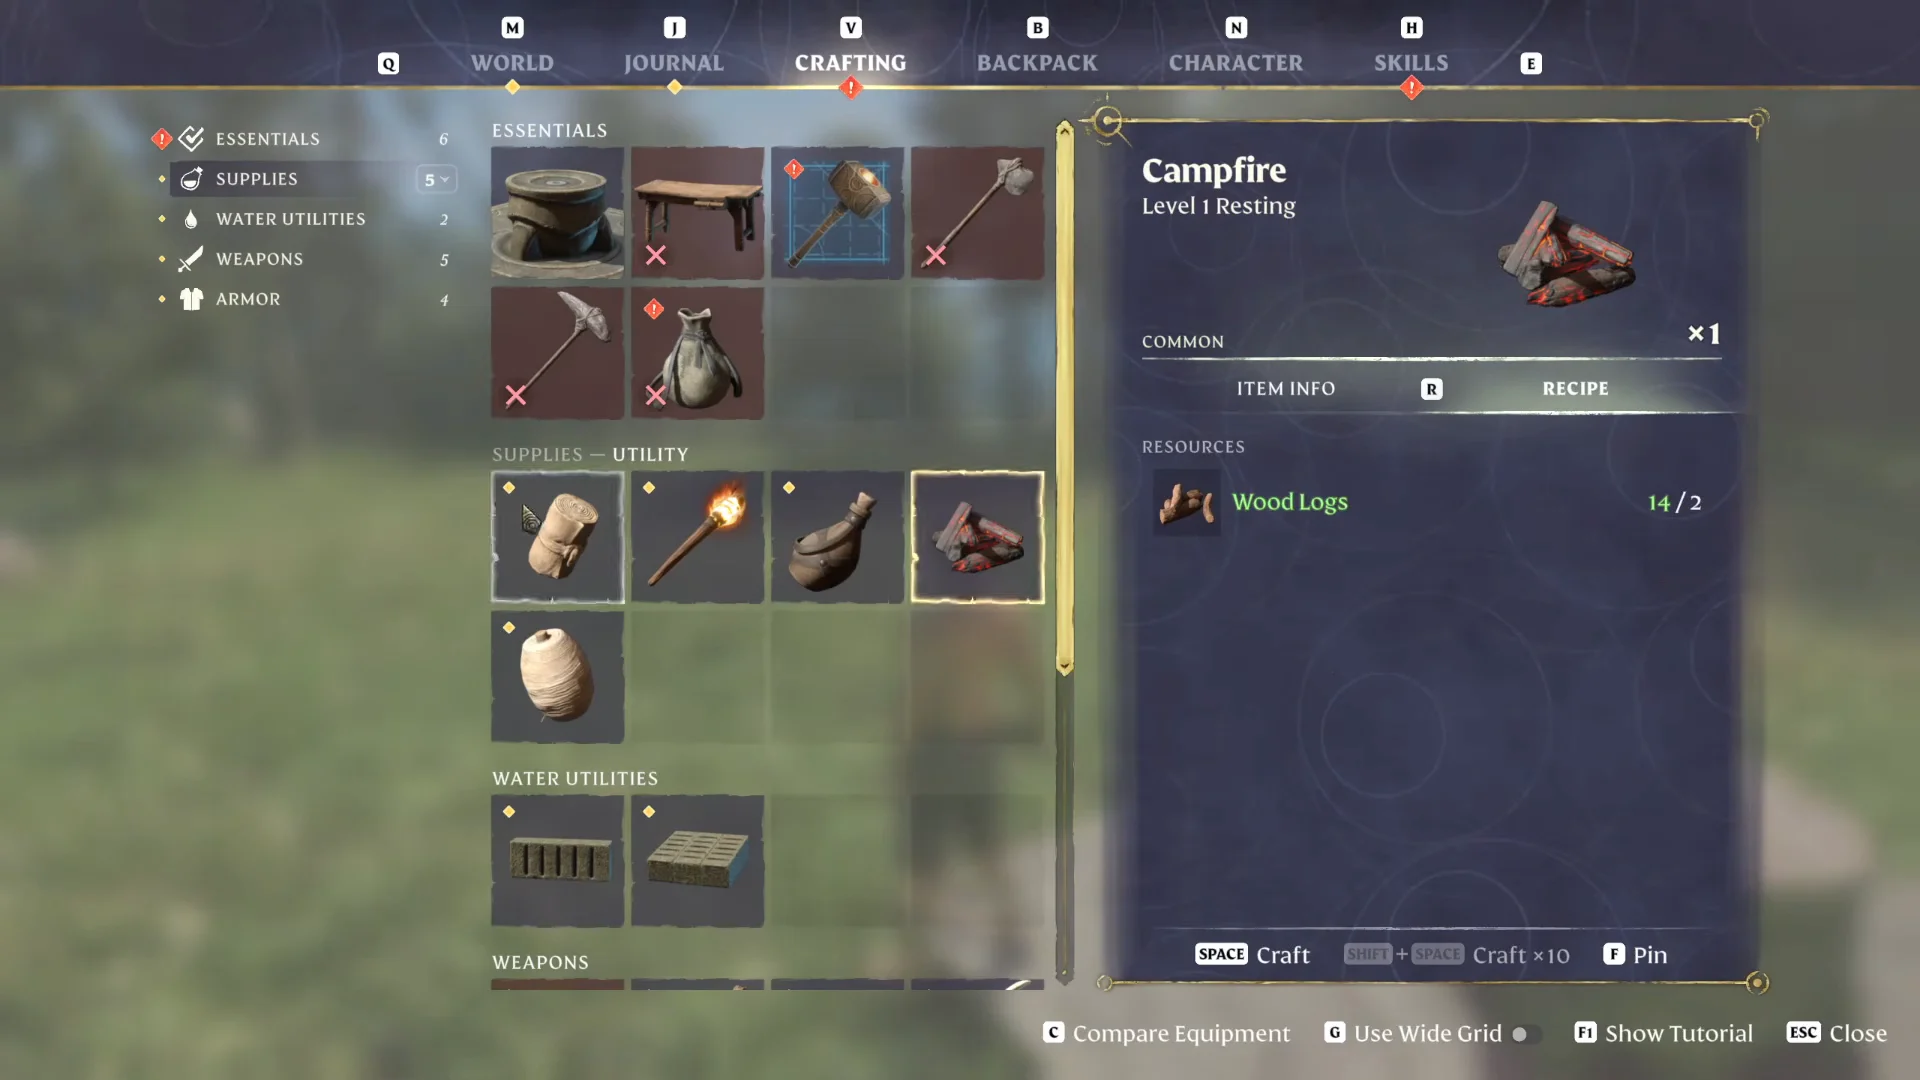
Open the Crafting tab of your menu, and you’ll find the Axe and Pickaxe cards side by side under Essentials, each asking for Twigs, Stone and String. String is marked “Manual Crafting” on the card, so make it by hand in the same tab from Plant Fiber.
You can also craft a basic Bow from the same menu with 5 Twigs and 1 String.
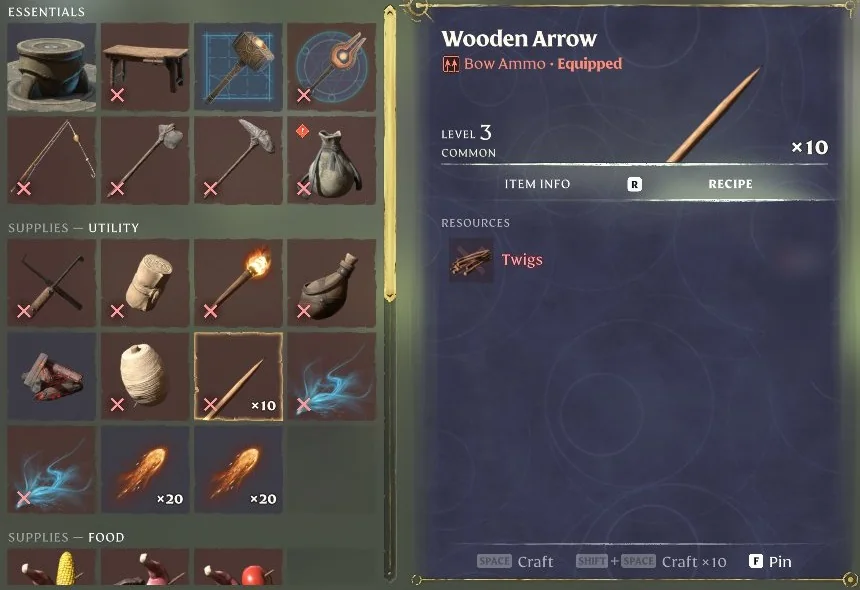
Wooden Arrows for the bow are crafted by hand in the same menu, under Supplies – Utility, using only Twigs, and each craft gives you a bundle of arrows.
Placing the Flame Altar and setting up your first base
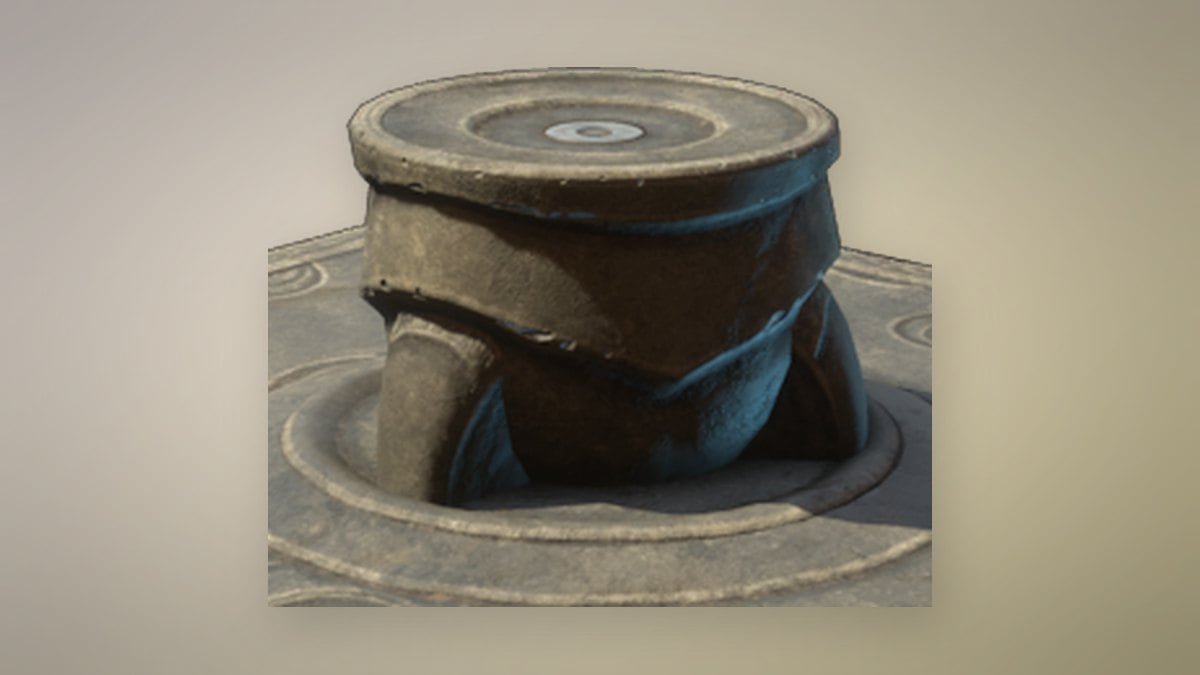
The Flame Altar is the center of every base. It protects its area, works as a respawn point, and is a fast travel destination. Your first one costs 5 Stone.
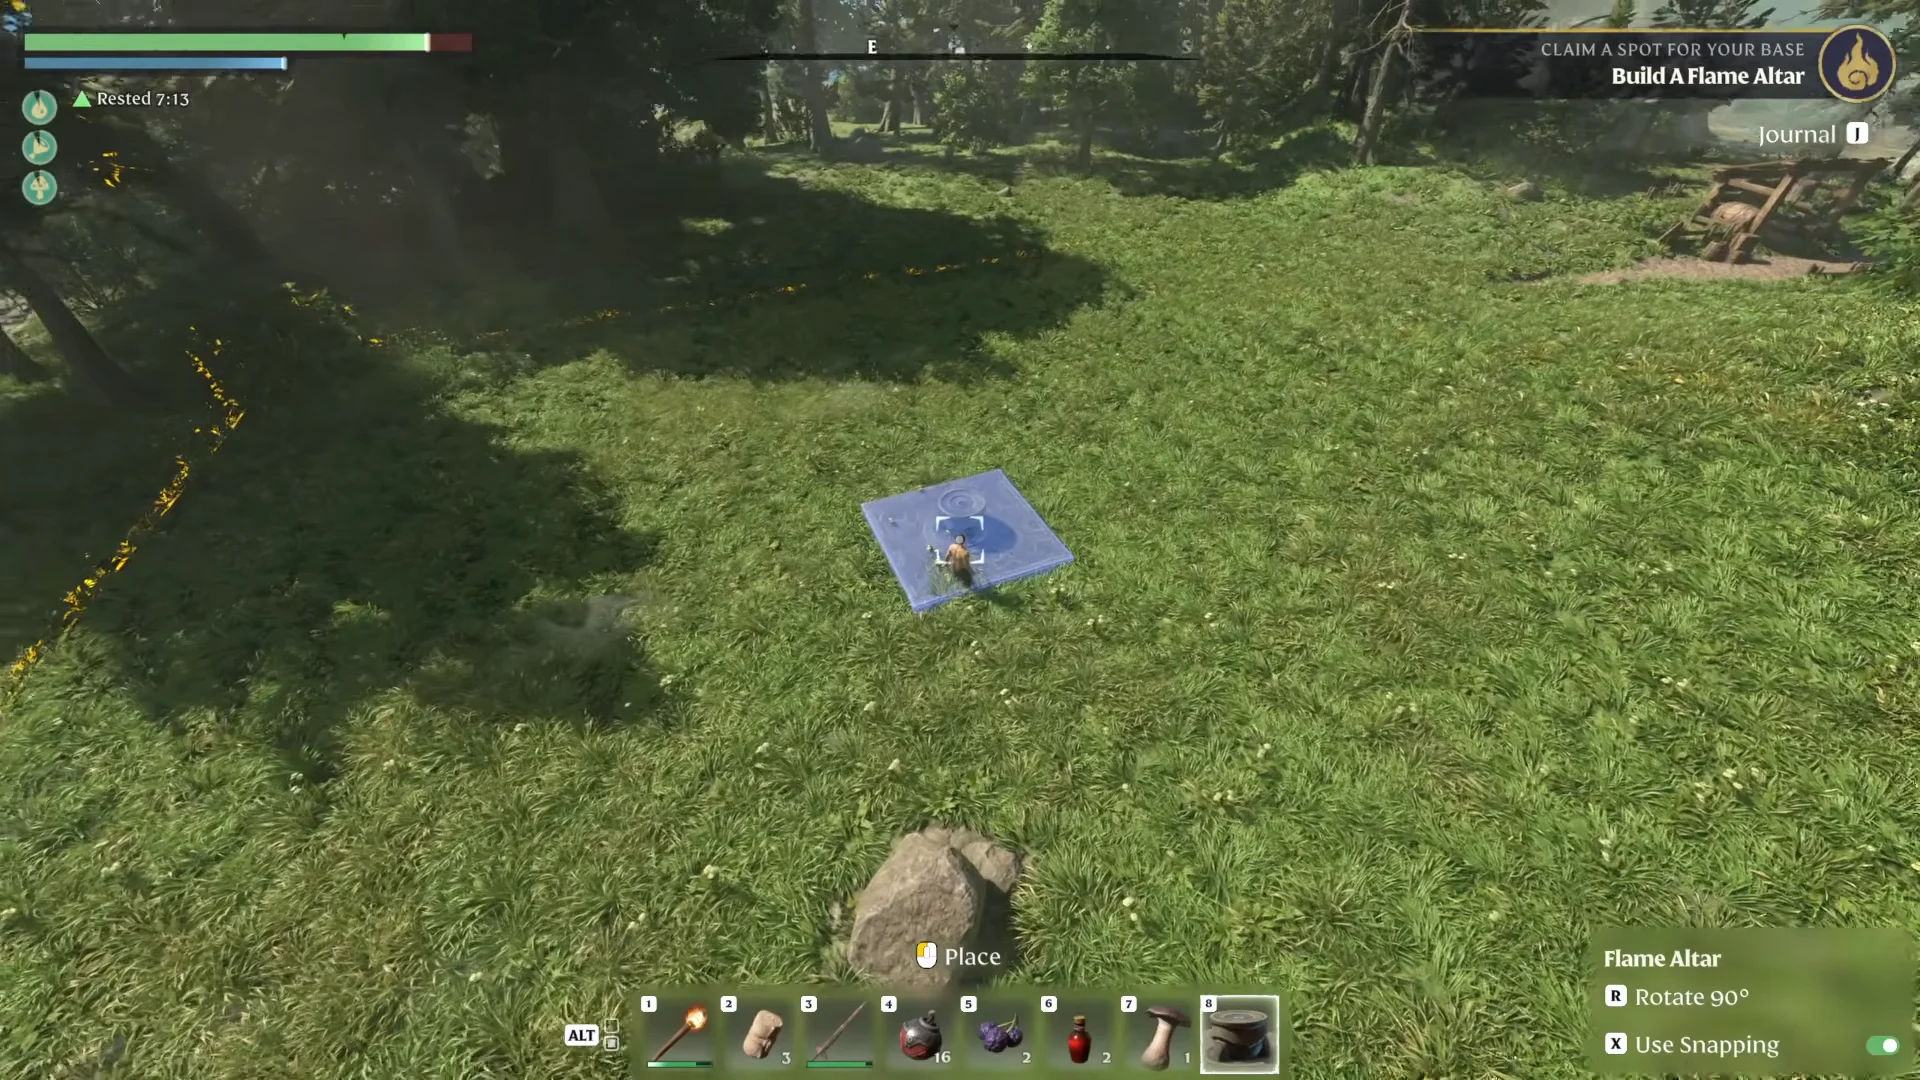
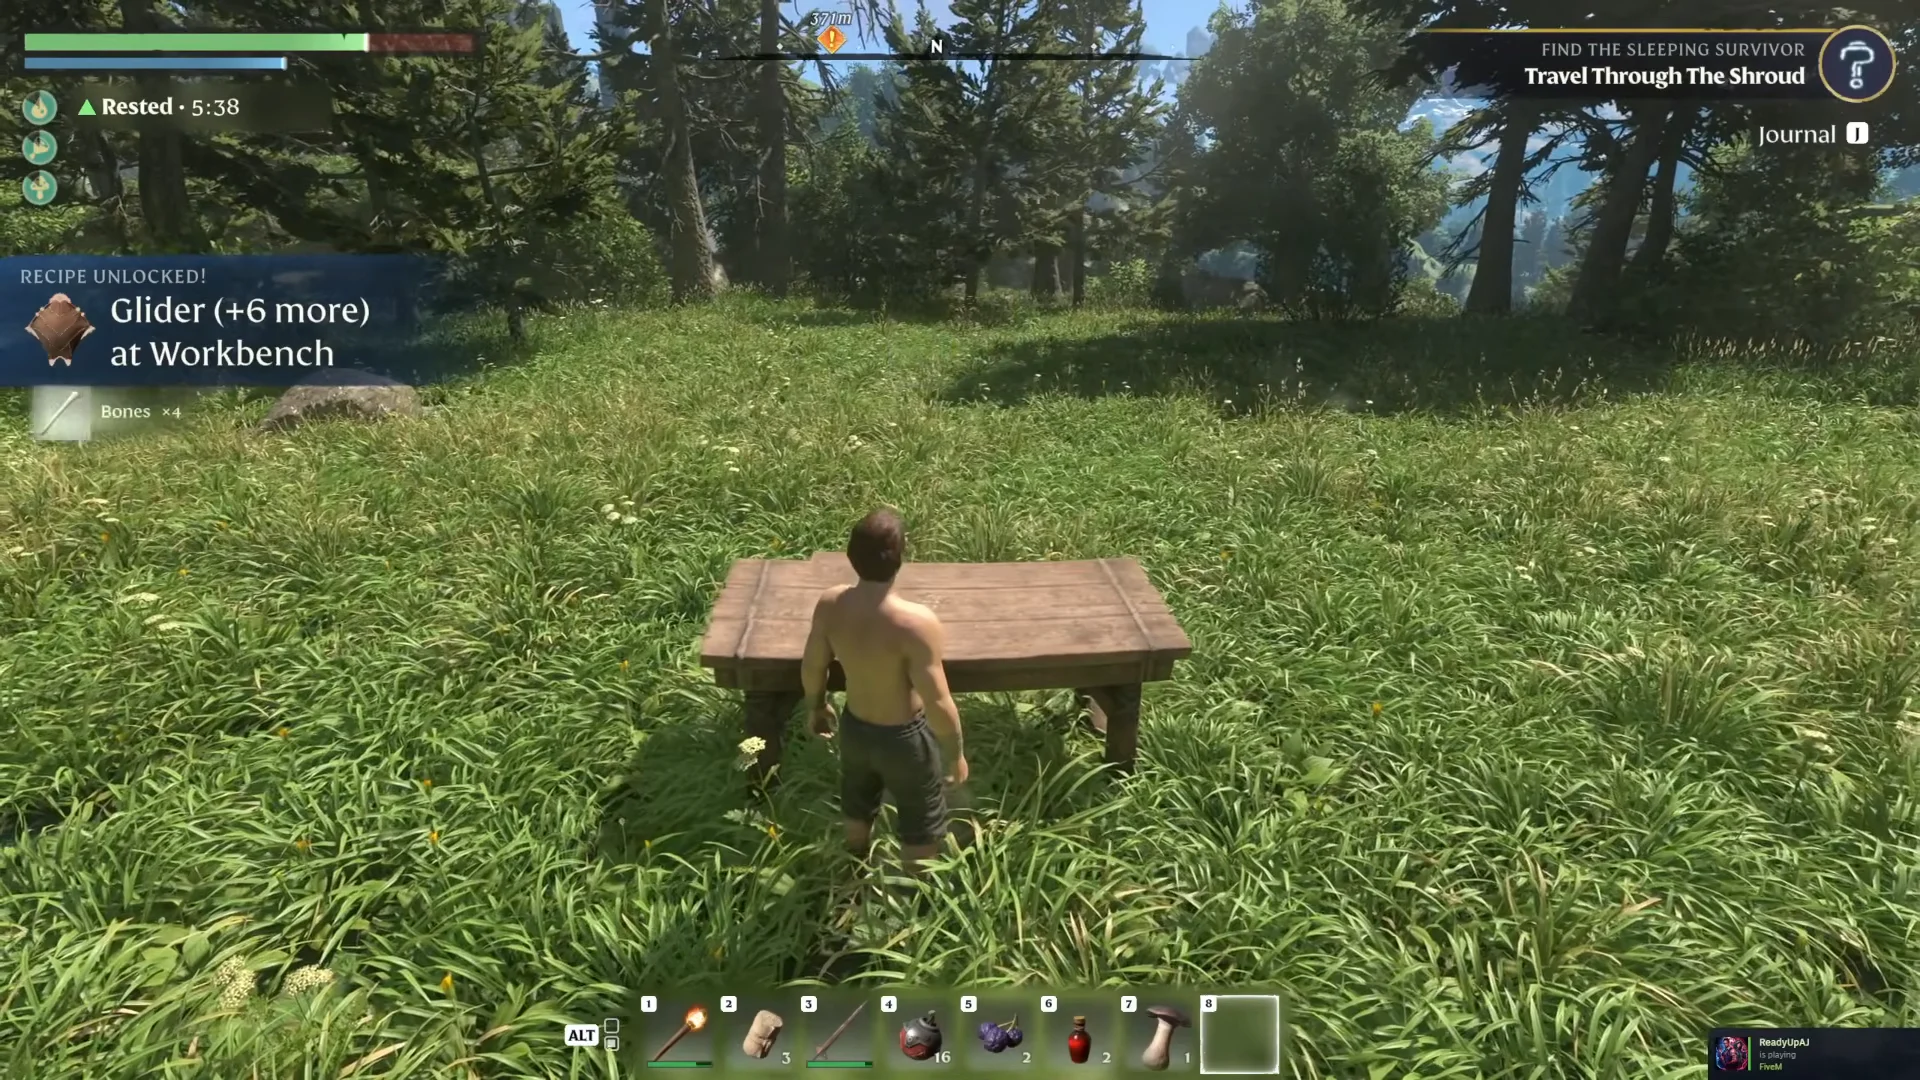
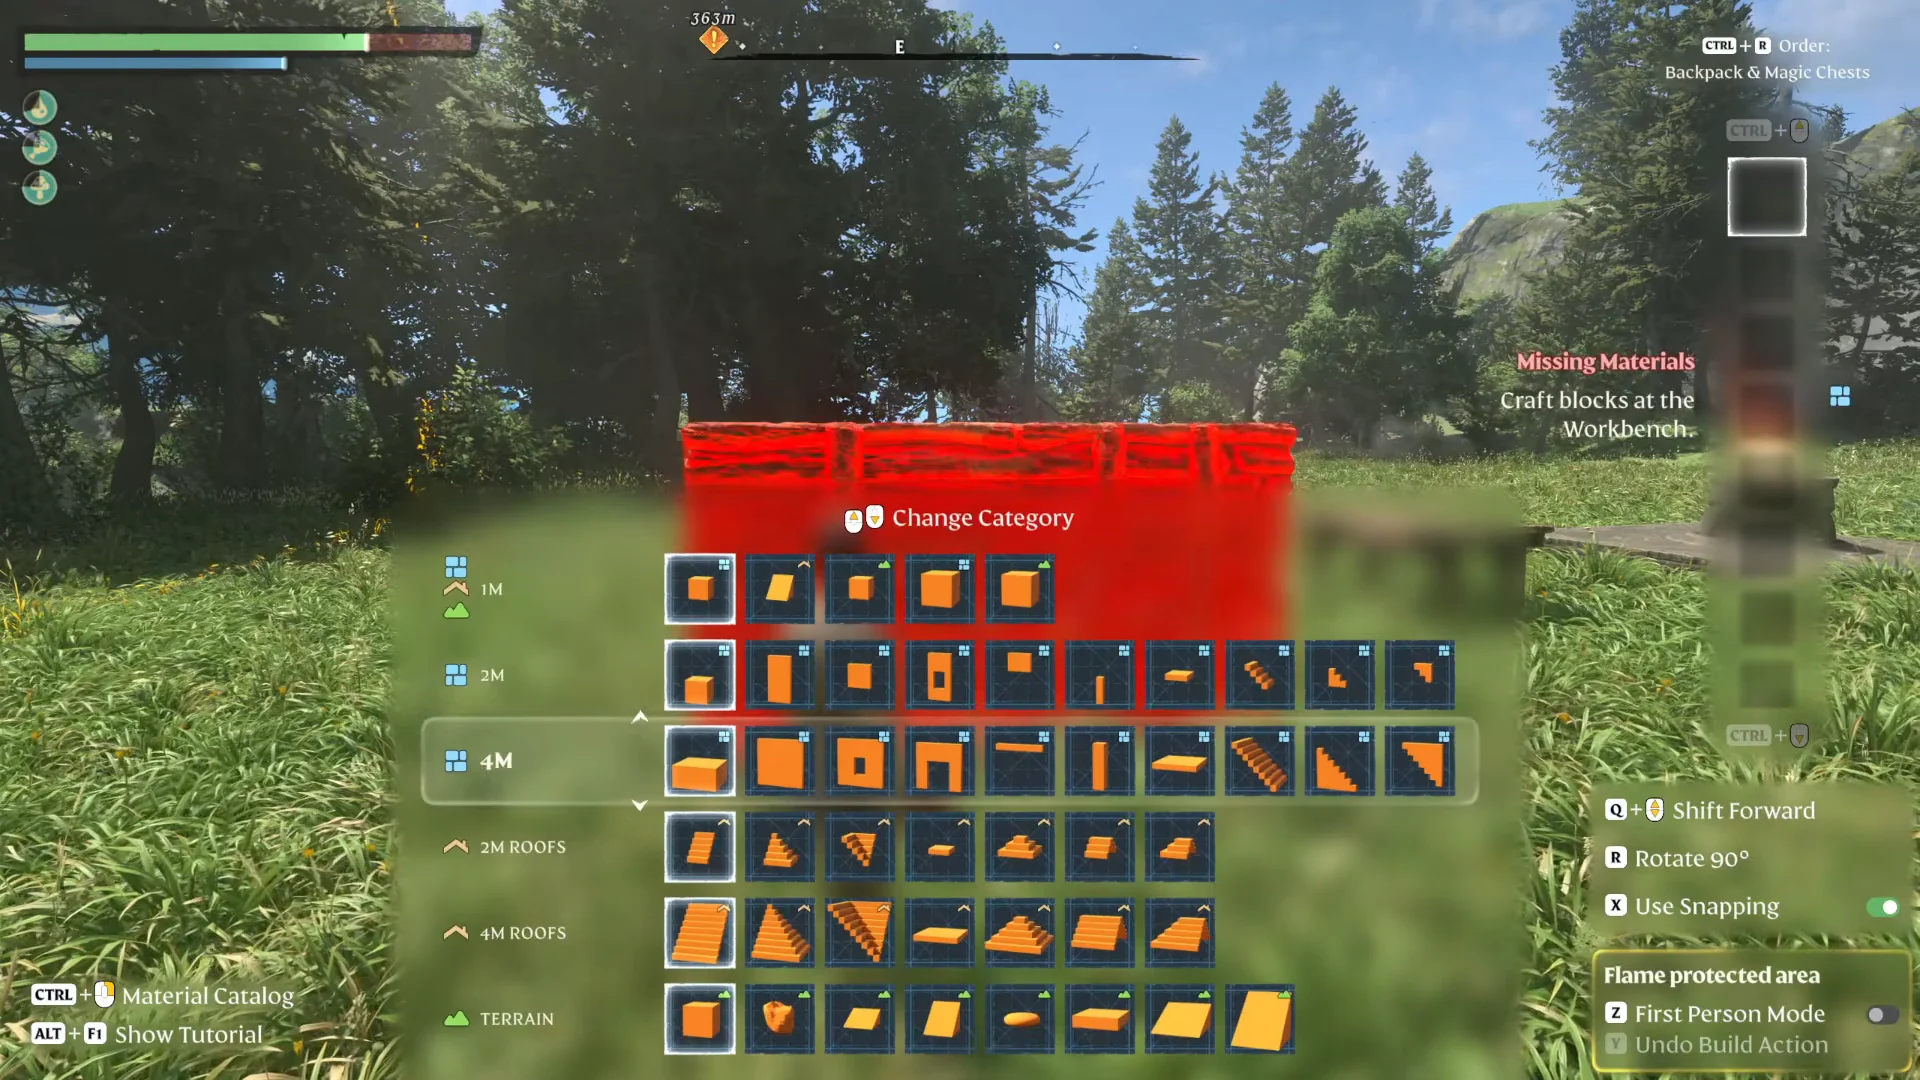
Keep your first base small. You can deactivate an altar and set it up somewhere else later. Placing an altar near ruins like Longkeep, Peaceful Acres, or Braelyn Bridge saves materials, because you can deconstruct the existing stonework into building resources. Your base won’t be attacked, so you don’t need defenses.
Choose a Small Magic Chest over a regular Small Chest early on. Crafting stations throughout your base can draw directly from materials in magic chests, so there’s no need to carry those materials around. In 1.0, you can upgrade existing chests or convert them into magic chests without removing their contents first.
Food buffs, Rested, and the Wet debuff
Standard settings have no hunger meter; food instead grants temporary stat boosts. You can maintain three buffs at most, with one from each category: meat, liquids, and sweets. To cook an ingredient, keep it above a burning campfire or fireplace until its displayed name and look both change. Cooked food provides stronger bonuses than raw food.
| Effect | Source | Change |
|---|---|---|
 Grilled Wolf Meat | Cooked at a fire | +60 Maximum Health |
 Water Pouch | Refill it from a well | +5 Stamina, +10 Stamina Regeneration |
 Honey | Beehives | +30 Stamina Regeneration |
| Mushroom foods | e.g. Grilled Penny Bun | Magic damage |
| Wet (debuff) | Rain or standing water | -30% Stamina and regen, 15 minutes |
Bring a lit torch close to a hanging beehive to settle the bees, then collect its Wax and Honey. To clear Wet, get close to a fire, an active Return Beacon, or a Flame Altar.
Rested boosts maximum stamina and stamina regeneration. Early on, a roofed room containing a bed and fire extends the effect beyond ten minutes. Every Comfort level at your base adds another minute. Only one object from each comfort category contributes—for example, a single chair, light, or bed. When exploring, carve a small shelter into a hill or cliff, then light a campfire or torch inside to rest.
Combat basics: Parrying, bows, and wands
Melee combat is built around blocking. You can block with any melee weapon, ward, or shield. A well-timed block becomes a parry, which fills the enemy’s stun meter. Hitting an enemy who is blocking fills it too. When the meter is full, Merciless Attack hits for up to 500% damage. Heavy weapons also fill the stun meter quickly. Always keep enough stamina in reserve to dodge or block.
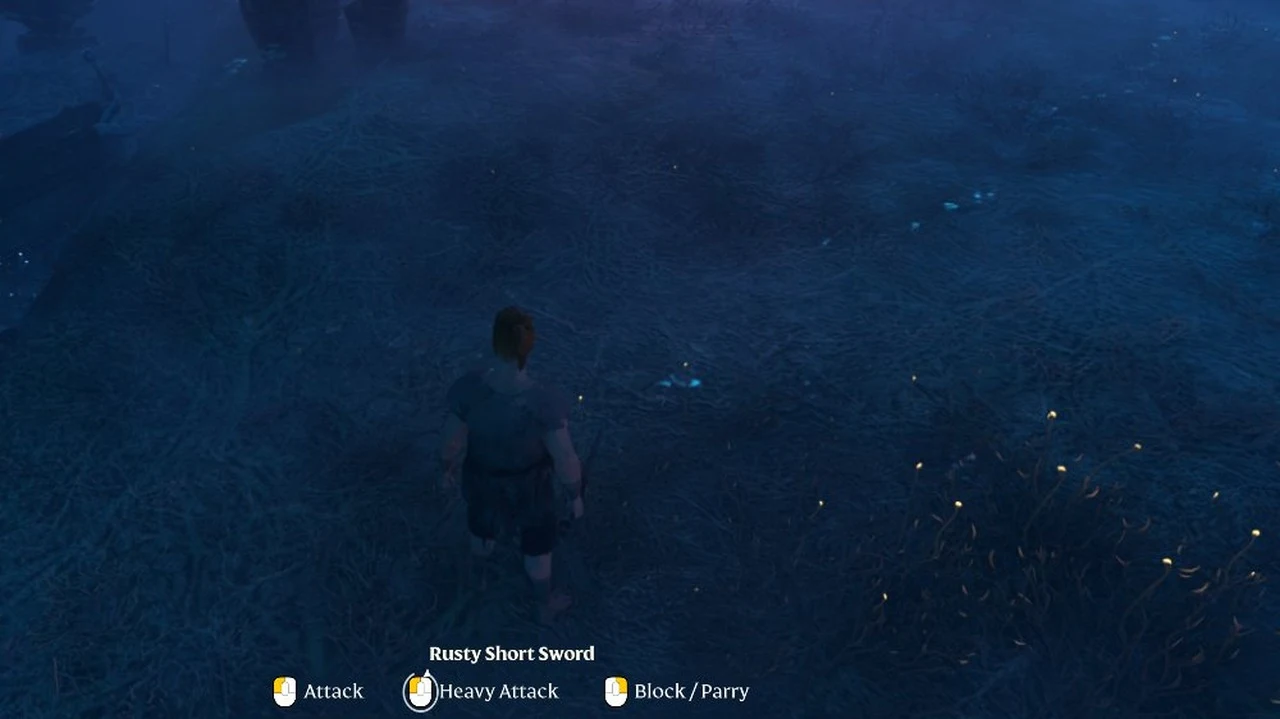
With a bow equipped, aiming switches you from sword and shield to the bow automatically. Wands don’t use stamina, fire elemental projectiles, and naturally stagger enemies charging at you. That makes the Scorching Wand useful when a higher-level group catches you in the open. You can find one in a chest on the first floor of the Springlands Spire.
Glider and Grappling Hook materials
You craft both traversal tools at the Workbench, and their ingredients overlap. Gather materials for both at the same time. Shroud Wood comes from dead trees inside the Shroud, and Shroud Spores drop from Fell enemies there, so one trip into the fog can cover both.
| Material | Used by | Combined total |
|---|---|---|
 String | Glider and Hook | 9 |
 Shroud Spores | Glider and Hook | 12 |
 Shroud Wood | Glider | 8 |
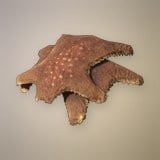 Animal Fur | Glider | 2 |
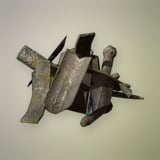 Metal Scraps | Grappling Hook | 4 |
After crafting, equip both in their slots on the Character screen. The Grappling Hook only works on marked grapple points, where it pulls you up ledges or swings you across gaps. Gliding uses stamina every second, so pick a landing spot before you jump. Later, the Carpenter makes the Advanced Glider, a reward from the quest A Graceful Flight.
Rescuing Oswald Anders, the Blacksmith
Find the Sleeping Survivor takes you over the canyon to the Ancient Vault, located at Braelyn Bridge’s northern end.
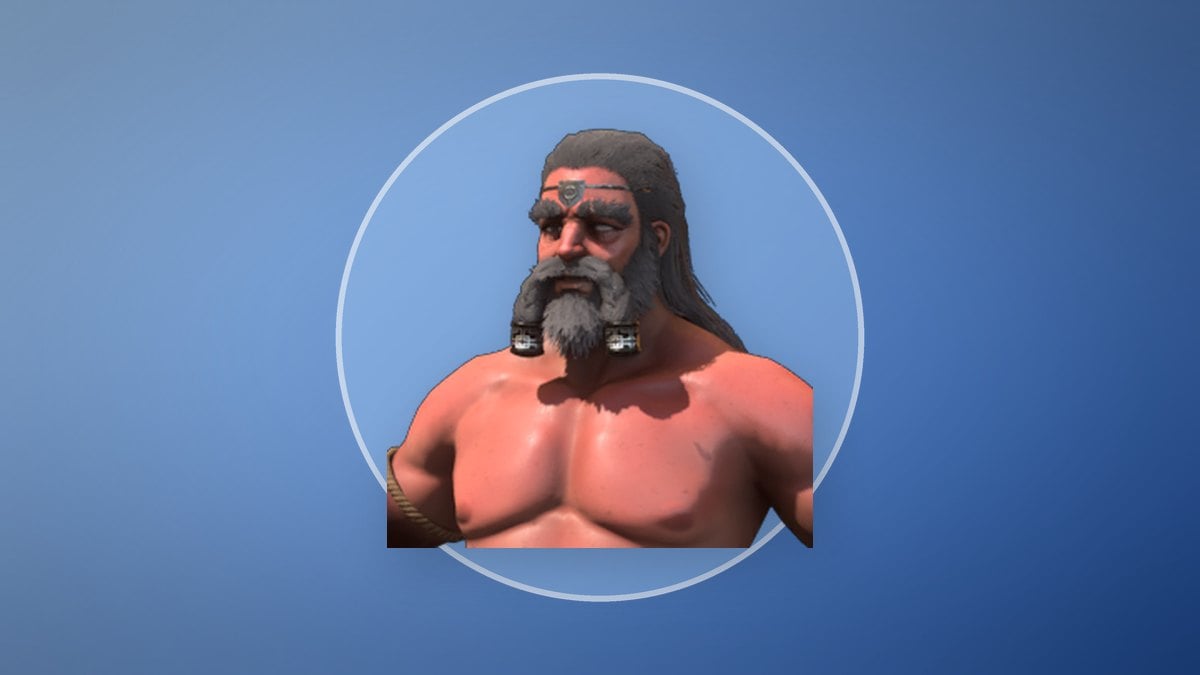
You’ll know it worked when the Blacksmith’s recipes appear, including the Charcoal Kiln, Forge, and Scrappy Pickaxe. Oswald has 223 recipes in total, covering weapons, armor sets, tools, and metalworking stations. He also uses Runes to raise the level of your equipment. You get Runes from enemies, chests, and salvaging gear you don’t need.
Your first workshop is the Charcoal Kiln. Load it with Wood Logs and Springlands Dirt, and it produces Charcoal, Tar, and Wood Acid on its own. Picking up Charcoal also teaches you the Explosive Powder Ball recipe. His later quests lead to Rochelle Anders in the Nomad Highlands. She is a second Blacksmith, rewarded by The Blacksmith’s Family, and she has the same 223 recipes.
| Survivor | Role | Early focus |
|---|---|---|
 Oswald Anders | Blacksmith | Melee gear, Kiln, Forge, Smelter |
 Balthazar | Alchemist | Magic gear, spells, potions |
 Athalan Skree | Hunter | Bows, daggers, Drying Rack |
 Cade Hawthorn | Carpenter | Storage, furniture, traversal tools |
 Emily Fray | Farmer | Seedbed, cooking, taming bait |
After the Blacksmith, rescue whichever survivor fits how you play. The Hunter’s Drying Rack turns Animal Fur into Dried Fur, which you need for the Small Backpack. That fur also needs Salt, which comes from Egerton Salt Mines.
Elixir Well near Braelyn Bridge and the Fell Thunderbrute
The first Elixir Well sits in a shrouded ravine, and it’s where your new Glider and Grappling Hook first get put to work. Level 3 Fell dual-wielders and archers guard wooden scaffolds. Grapple up the walkways and climb the mesh walls to reach a chest at the top with the Misfortune Mace. A lit Return Beacon partway through refills your timer and removes the Wet debuff.
The pit below holds an Ice Bolt spell charge and the boss fight. The Fell Thunderbrute swings a giant cleaver. Its most dangerous move is a leaping ground pound, so dodge through it rather than away from it. When it dies, it drops rare loot, including the Scrappy Greatsword, and a Shroud Core for upgrading your altar. Then chop down the red, pulsing Shroud Root with your axe to clear the fog.
A standalone Shroud Root gives one skill point. A full Elixir Well gives three. Each location rewards a character only once. The fog and the root come back when the area resets, so clearing it again won’t earn more points. Giant mushrooms in the fog give Shroud Wood and glowing Mycelium blocks, which you’ll use for building.
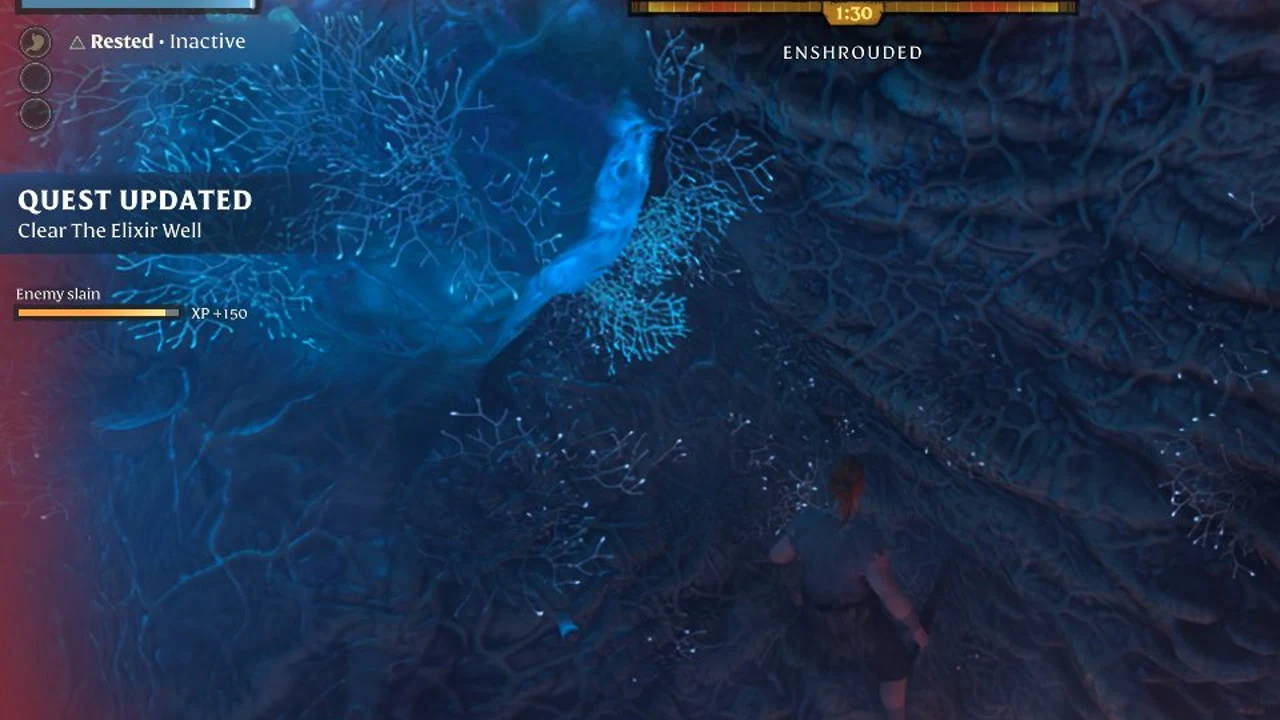
You don’t have to finish a Well the first time you find it. Go home, repair your gear, refresh your food and Rested buffs, and come back with healing items.
Ancient Spire: Springlands floors and fast travel
Use Double Jump and the Glider to cross the cliffs to the Spire. The three floors inside are platforming puzzles, not combat arenas.
- Floor 1: A teleport pad and glowing wall switches open doors and chests. Loot includes the Scorching Wand, Makeshift Daggers, and Shepherd’s Lightning Staff.
- Floor 2: Spike-floor traps, plus buttons above doorways that you shoot with a bow. A chest here holds the Scout Hood.
- Floor 3: Jump across platforms over lava to reach high switches and a gold chest with the Greatsword of the Old Order.
At the top, commune with the flame to unlock a permanent Springlands fast travel point. Fast travel also works between your Flame Altars. You can carry spare altars and set them down as temporary checkpoints, and a deactivated altar disappears after about 30 seconds. Every Spire is also a high launch point for gliding to nearby objectives.
| Early loot | Rarity | Where |
|---|---|---|
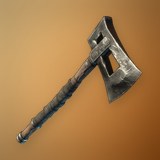 Tainted Axe | Epic | Braelyn Bridge pylon chest |
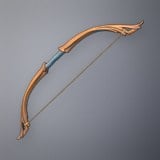 Hunter’s Bow | Rare | Blacksmith vault rubble |
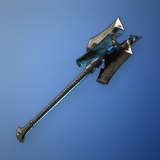 Misfortune Mace | Rare | Elixir Well tower |
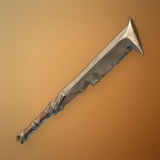 Scrappy Greatsword | Legendary | Fell Thunderbrute |
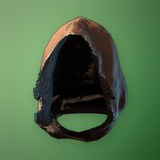 Scout Hood | Epic | Spire floor 2 |
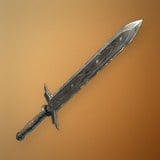 Greatsword of the Old Order | Epic | Spire floor 3 |
Each item’s level cap depends on how difficult the region it came from is. Item tooltips show which survivor can upgrade it. The Blacksmith upgrades warrior gear, the Hunter upgrades ranger gear, and the Alchemist upgrades mage gear.
Skill points and first picks
You earn skill points by leveling up and by clearing Roots and Wells. The tree has twelve sections: Survivor, Beastmaster, Ranger, Assassin, Trickster, Wizard, Healer, Battlemage, Guardian, Warrior, Barbarian, and Athlete. Warrior sections are red, ranger and survivor sections are green, and mage sections are blue. You can reset all your points at any Flame Altar by spending Runes, so experimenting costs very little.
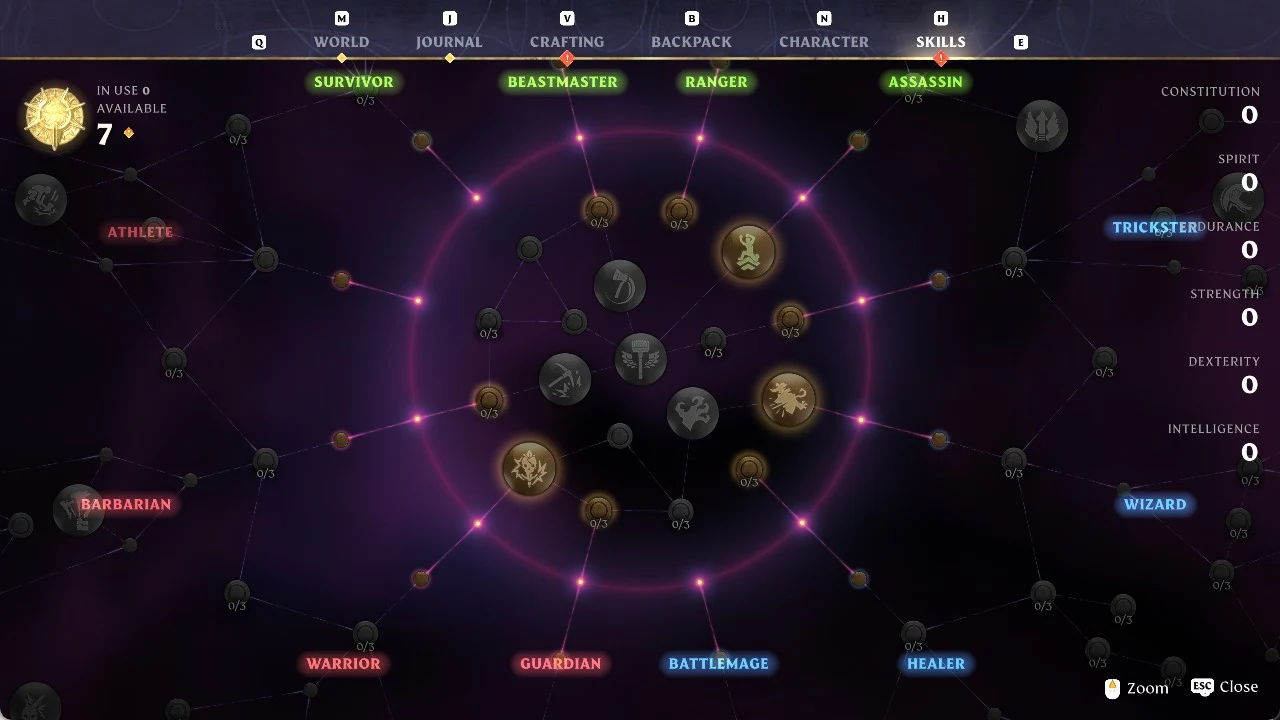
- Double Jump: In the center of the tree. It costs 2 skill points and 10 stamina per use.
- Updraft: Boosts you upward while gliding, for 100 mana.
- Merciless Attack: The critical follow-up hit on a stunned enemy.
- Well Rested: Makes the Rested buff last longer.
Mobility skills are great for exploring, but also put points into damage and survivability. Weapon specialization skills add special attacks powered by Focus, which builds up as you land regular hits.
Upgrade Altar vs. Strengthen the Flame
The Flame Altar has two upgrade options. Upgrade Altar uses a Shroud Core to expand that one base’s building area from 40x40x40 to 80x80x80 meters. Strengthen the Flame raises your Flame Level for the whole world. That increases your attributes and Shroud protection, raises how many altars you can have, and in 1.0 unlocks the next tier of craftable armor. The same menu has a Reskill option for resetting skills.
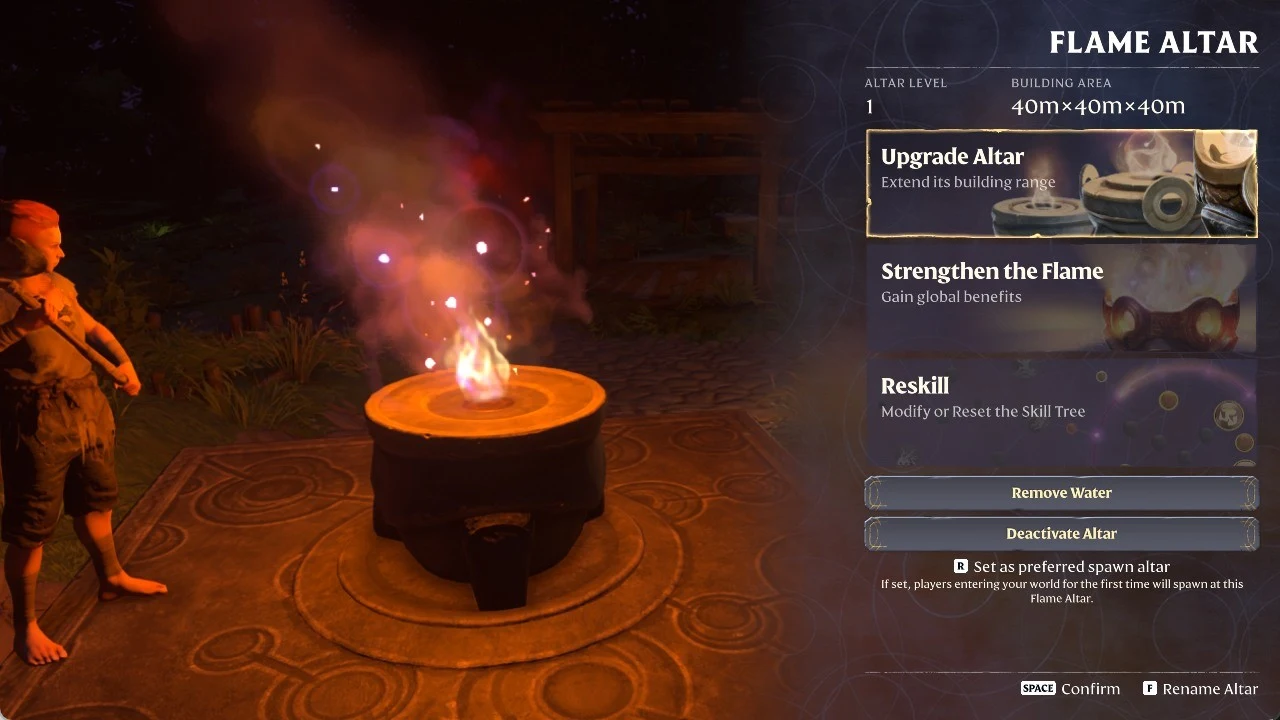
Reaching Flame Level 2 doesn’t require a boss head. You need:
- 1 Spark
- 5 Resin
- 5 Penny Bun
- 5 Bones
- 5 Shroud Liquid
- 5 Animal Fur
Later Flame Levels require boss trophies such as the Fell Thunderbrute Head, and some materials only appear at night. If you get stuck in the progression, the cause is usually one of four things: you’re missing a material, a workshop, access to a region, or a high enough Flame Level. Copper is found in Revelwood and Tin in the Nomad Highlands. Bronze needs both, so it comes later.
Early gear stats in Enshrouded 1.0
These are the in-game values for the first weapons, armor, and accessories you’ll pick up. The gear you find can drop at a higher level than these base values.
| Item | Rarity | Stats | Unlock or source |
|---|---|---|---|
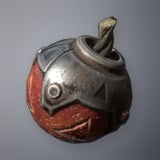 Explosive Powder Ball | Common | 25 Fire, 1 s throw, stacks to 20 | Recipe on picking up Charcoal |
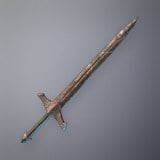 Rusty Sword | Common | 11 Cutting, 0.6 s, Backstab +12% | Starter cave |
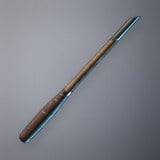 Scorching Wand | Common | 7 Fire, Overcharge 12%, Mana Regen 4 | Spire floor 1 |
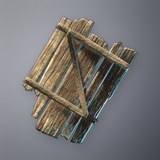 Wooden Shield | Common | Parry Power 1 | Recipe on placing a Flame Altar |
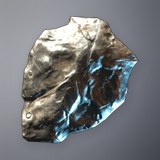 Fell Defender Shield | Common | Parry Power 1, Power Parry 1 | Fell enemy drop |
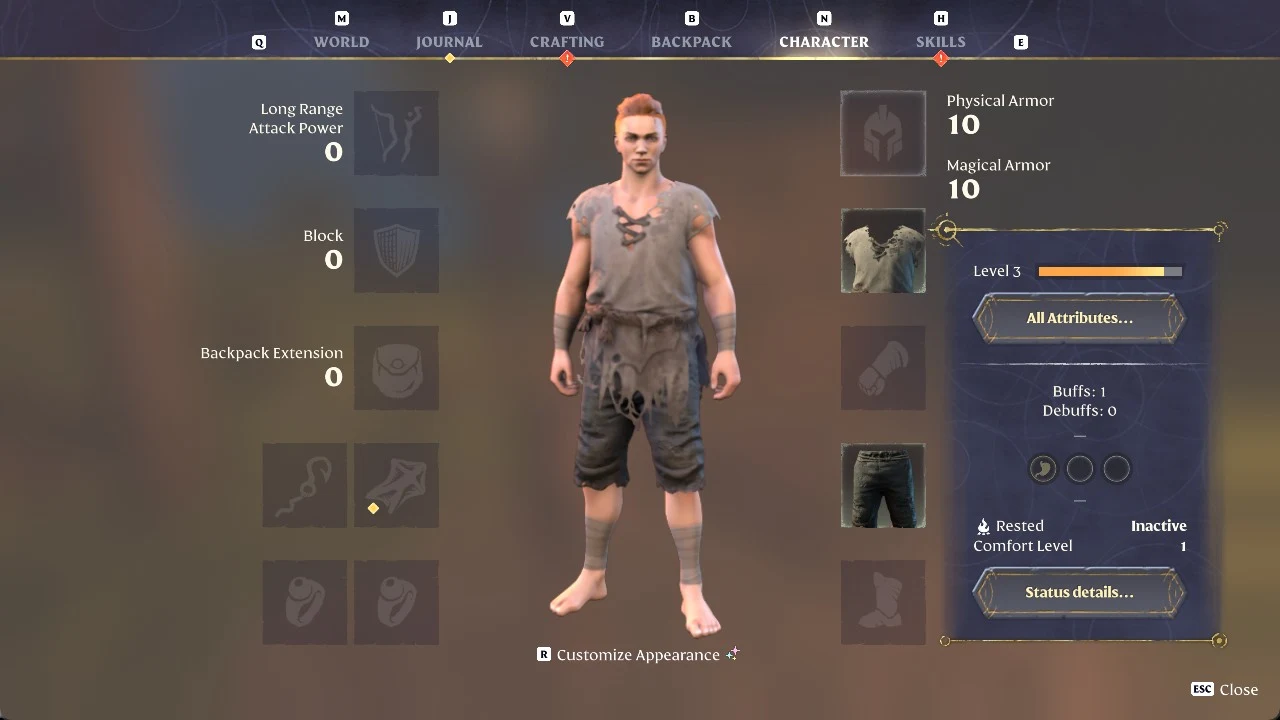
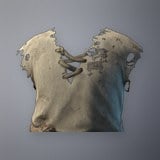 Ragged Shirt | Common | 10 Physical, 10 Magical | Recipe on placing a Flame Altar |
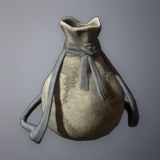 Tiny Backpack | Common | 8 slots | Recipe on picking up Torn Cloth |
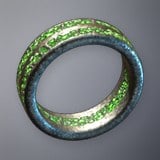 Hunter’s Ring | Common | Stamina 6, Regen 4 | Starter cave chest |
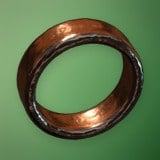 Lesser Ring of Stamina | Uncommon | Stamina 4, Regen 4 | Boarded-door chest |
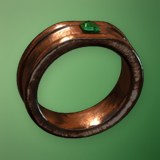 Ring of Stamina | Uncommon | Stamina 5, Regen 5 | Item level 10 |
Explosive Powder Ball damage scales with your Dexterity. Both the Rusty Sword and the Scorching Wand have a 4% Critical Strike Chance perk. The wand also has Mana Leech 3. The Rusty Sword is a Warrior weapon and the wand is a Mage weapon. All three stamina rings are Ranger accessories, and the Lesser Ring of Stamina adds Sniper, Fatal Precision, and Stamina Leech perks. The Advanced Glider is the first glider upgrade. It’s Rare, item level 10, and has 150% range, 15 speed, and costs 4 stamina per second.
The Rusty Sword and the Scorching Wand can both be upgraded all the way to level 55. Their damage at each level:
| Item level | Rusty Sword (Cutting) | Scorching Wand (Fire) |
|---|---|---|
| 1 | 11 | 7 |
| 5 | 17 | 11 |
| 10 | 25 | 16 |
| 15 | 32 | 21 |
| 20 | 40 | 26 |
| 25 | 47 | 31 |
| 30 | 55 | 36 |
| 35 | 62 | 41 |
| 40 | 70 | 46 |
| 45 | 77 | 51 |
| 50 | 85 | 56 |
| 55 | 92 | 61 |
Once the Springlands Spire is unlocked, the tutorial phase is over. By then you have tools, melee, ranged, and magic weapons, both traversal items, a working Blacksmith, and your first skill points from the Well. The usual next step is placing a permanent Flame Altar north of the Spire. Pick a spot with good views and open gliding routes, because that’s where most of your next region’s exploration starts.