Gaming News

Valor Mortis: How to Clear the Path to the Bridge in Chapter 2

The full Demolished Path route through the Valley of Ashes, with every corruption node you must shoot to reach the main bridge.

The full Demolished Path route through the Valley of Ashes, with every corruption node you must shoot to reach the main bridge.

Image: One More Level

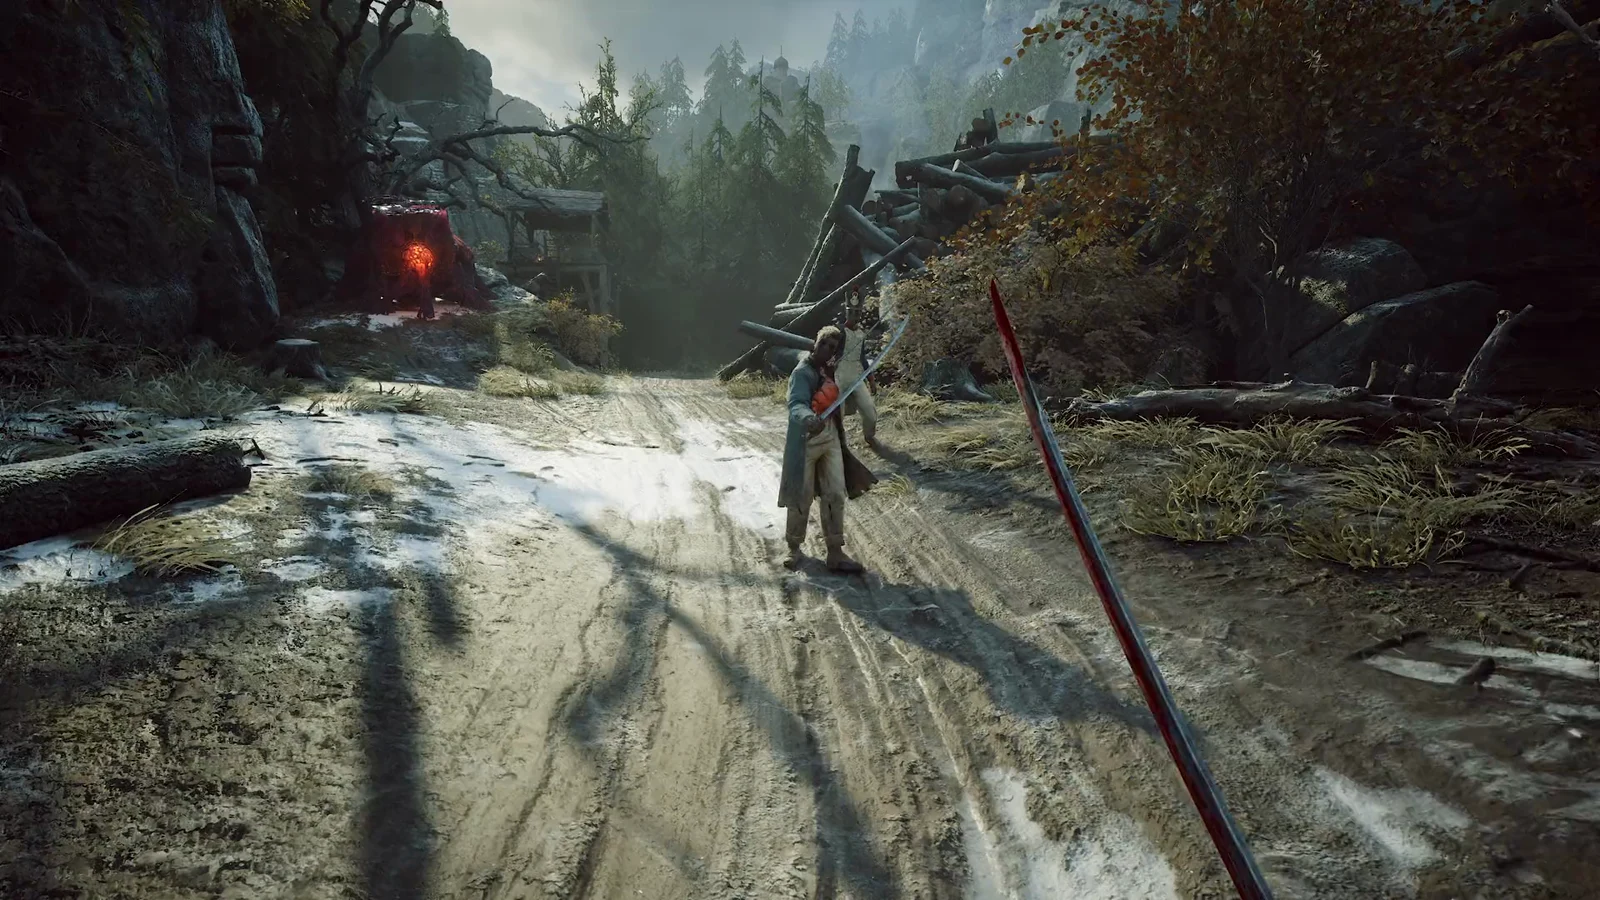
The Demolished Path in Chapter 2, Regroup, drops you into the Valley of Ashes with no in-game map and a route choked by fleshy tentacle barriers. Those barriers only fall when you destroy the glowing red corruption nodes feeding them, and the nodes are tucked along a winding cliffside of lifts, ladders, and broken walkways. Work the route in order and the bridge opens up at the end.

Quick answer: Start at the Valley of Ashes lantern, follow the cliff path, and shoot every pulsing red corruption node with your pistol to dissolve the tentacle barriers. The last two nodes clear the bridge ramp.


What you need before you start

Every barrier on this route is cleared the same way, so the pistol is the tool that matters here. Keep it loaded. The route itself hands you more ammunition and a couple of hand grenades from broken wooden structures, so you rarely run dry if you pick up what you pass.

  • A pistol with ammunition in the chamber for the red corruption nodes.
  • Your saber for the soldiers and crawling mutants along the way.
  • The Demolished Path lantern in the Valley of Ashes as your rest and checkpoint.

There is no map on this route, so the lantern is your only fixed reference point. Rest there before you set off so you respawn close if you fall.


Demolished Path route to the bridge
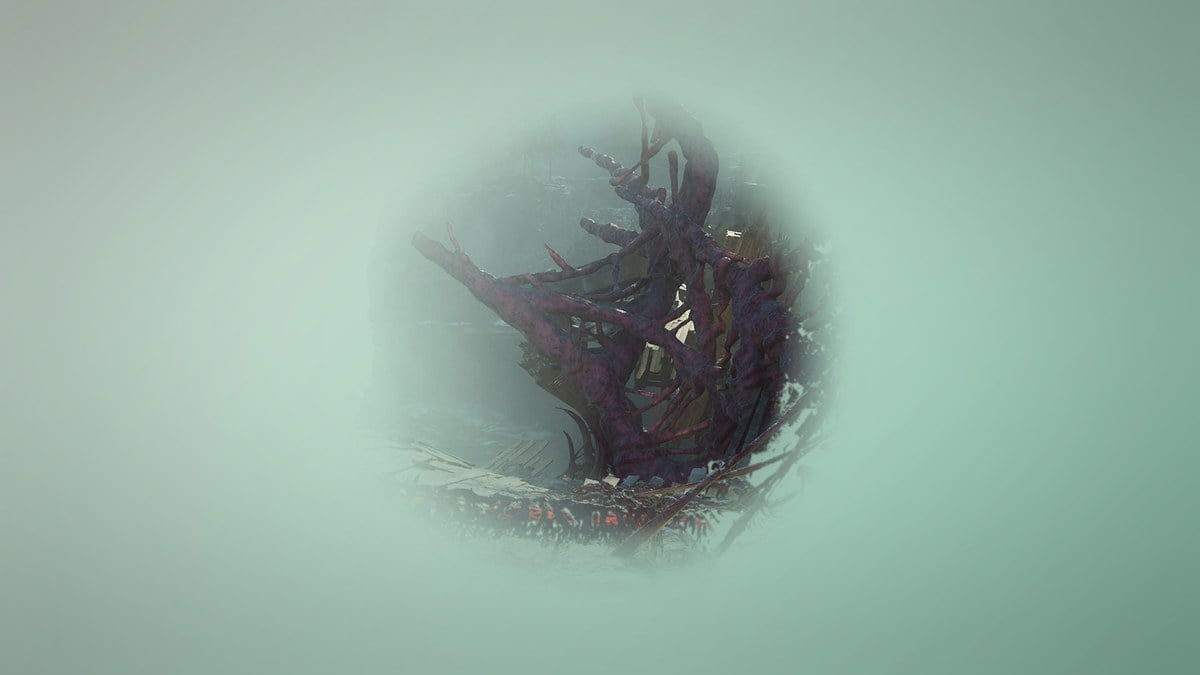
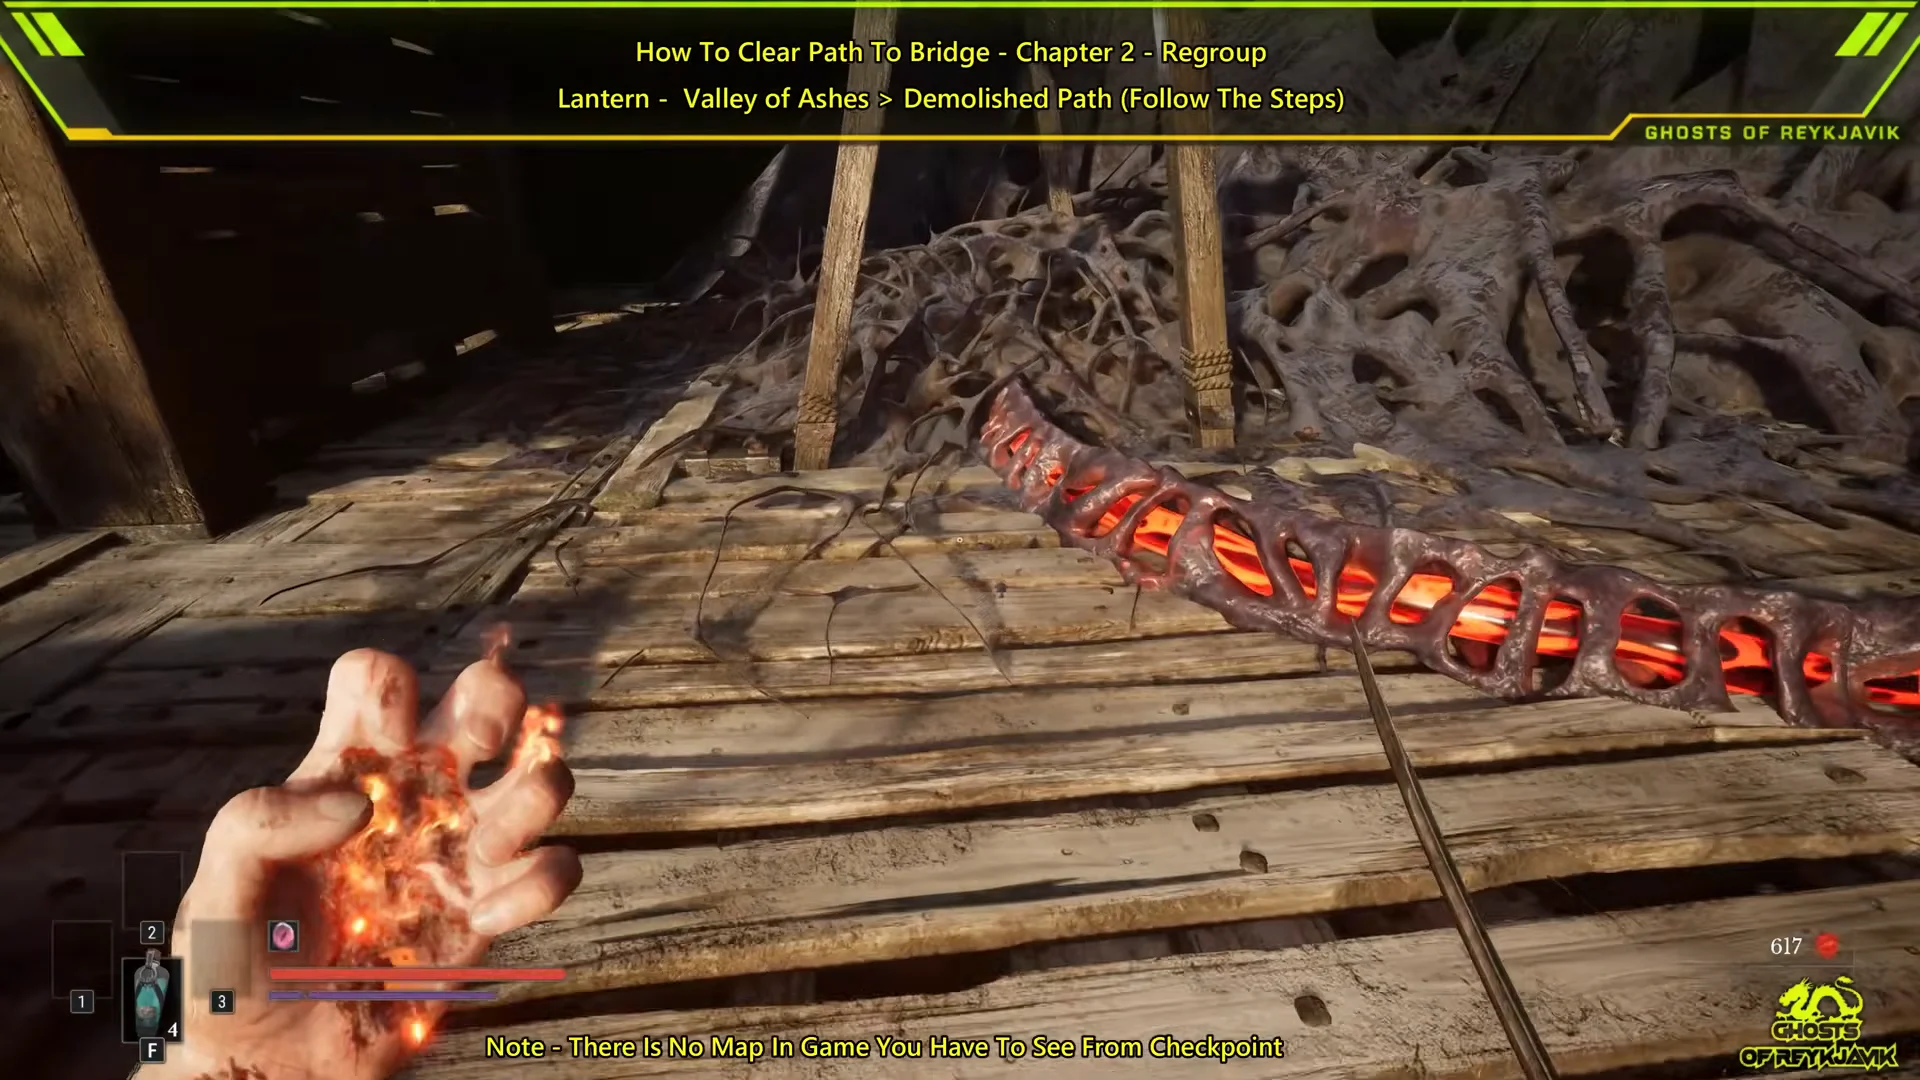
From the starting platform near the lantern, cross the wooden docks over the water and climb the rock ledge to the first elevated overlook. The path is lined with overgrown roots, which point you toward the corruption you need to clear.
Demolished Path
Demolished Path. Image: One More Level
Starting Area at Demolished Path00:13Starting Area at Demolished Path
The opening stretch of the Demolished Path, where wooden ramps run past the roots you will trace to the bridge. Shown at 00:13 in Ghosts of Reykjavik’s video. Image: One More Level
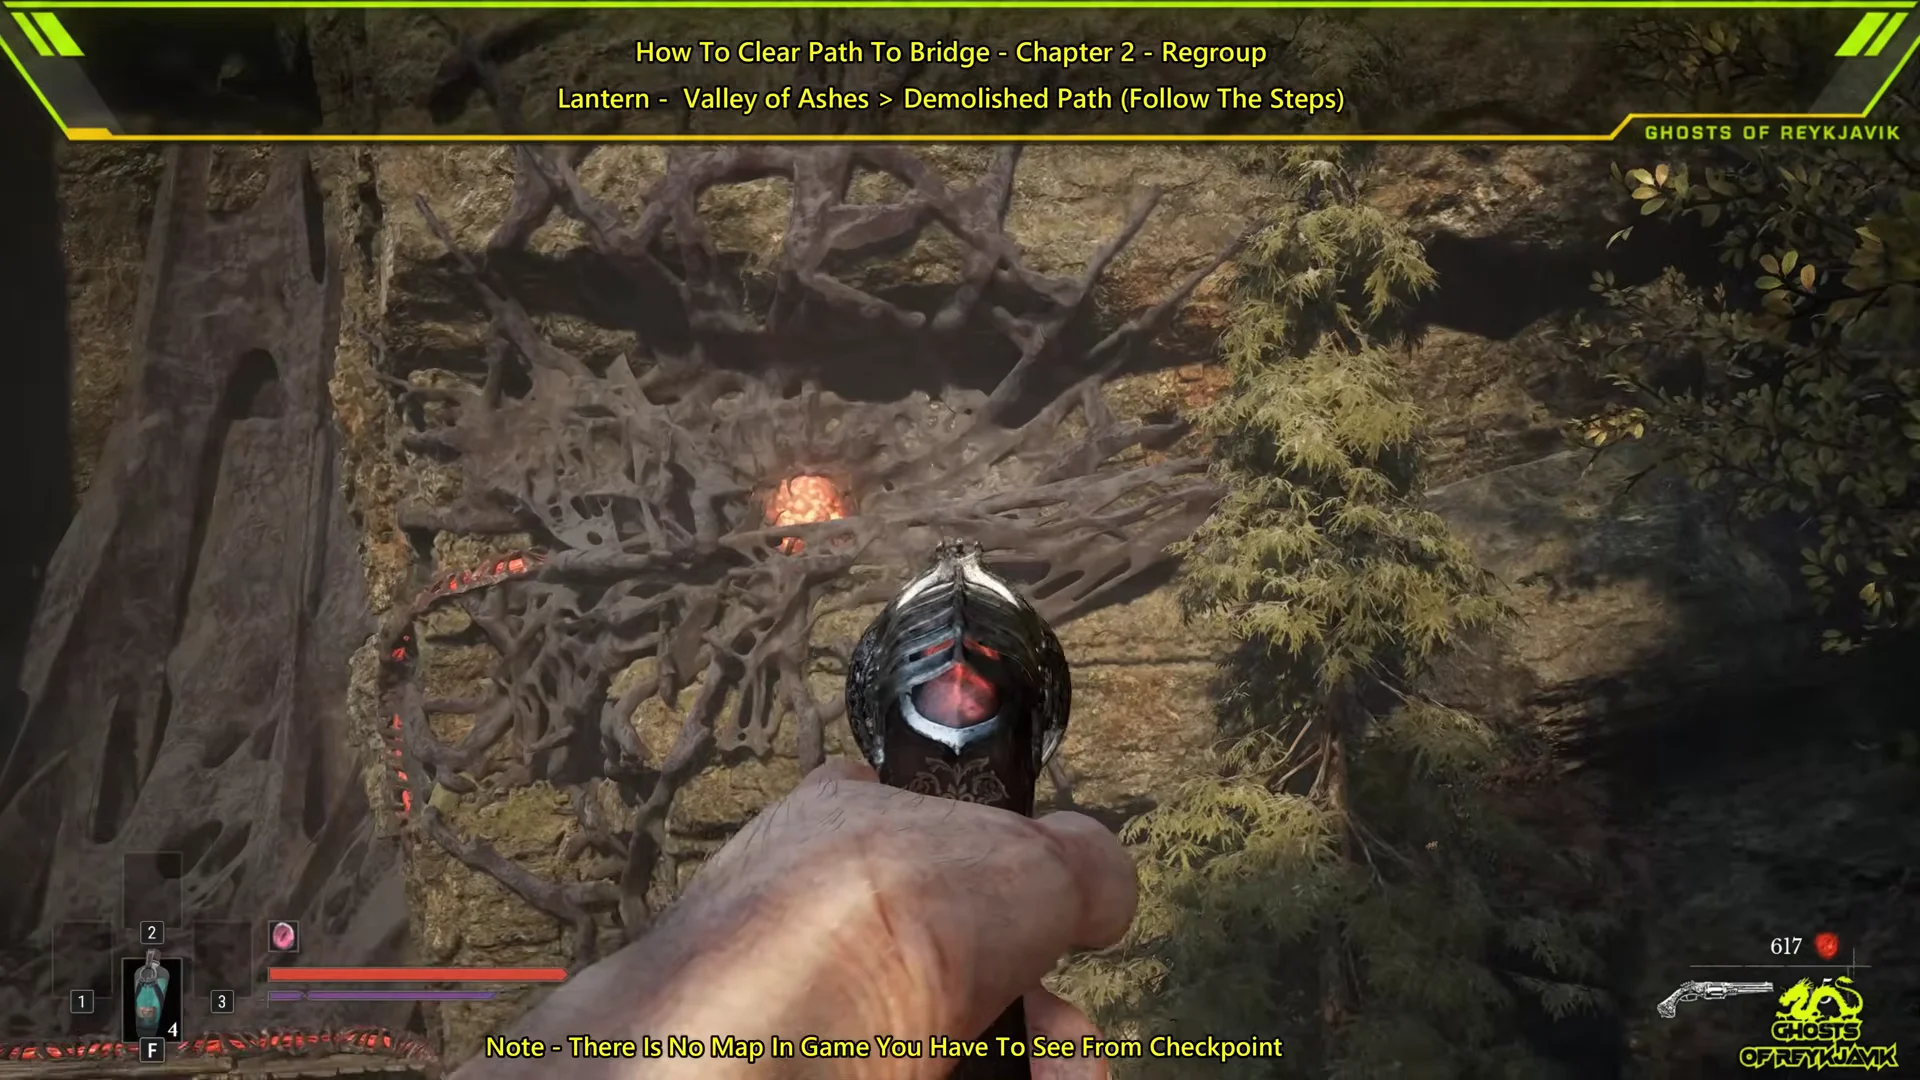
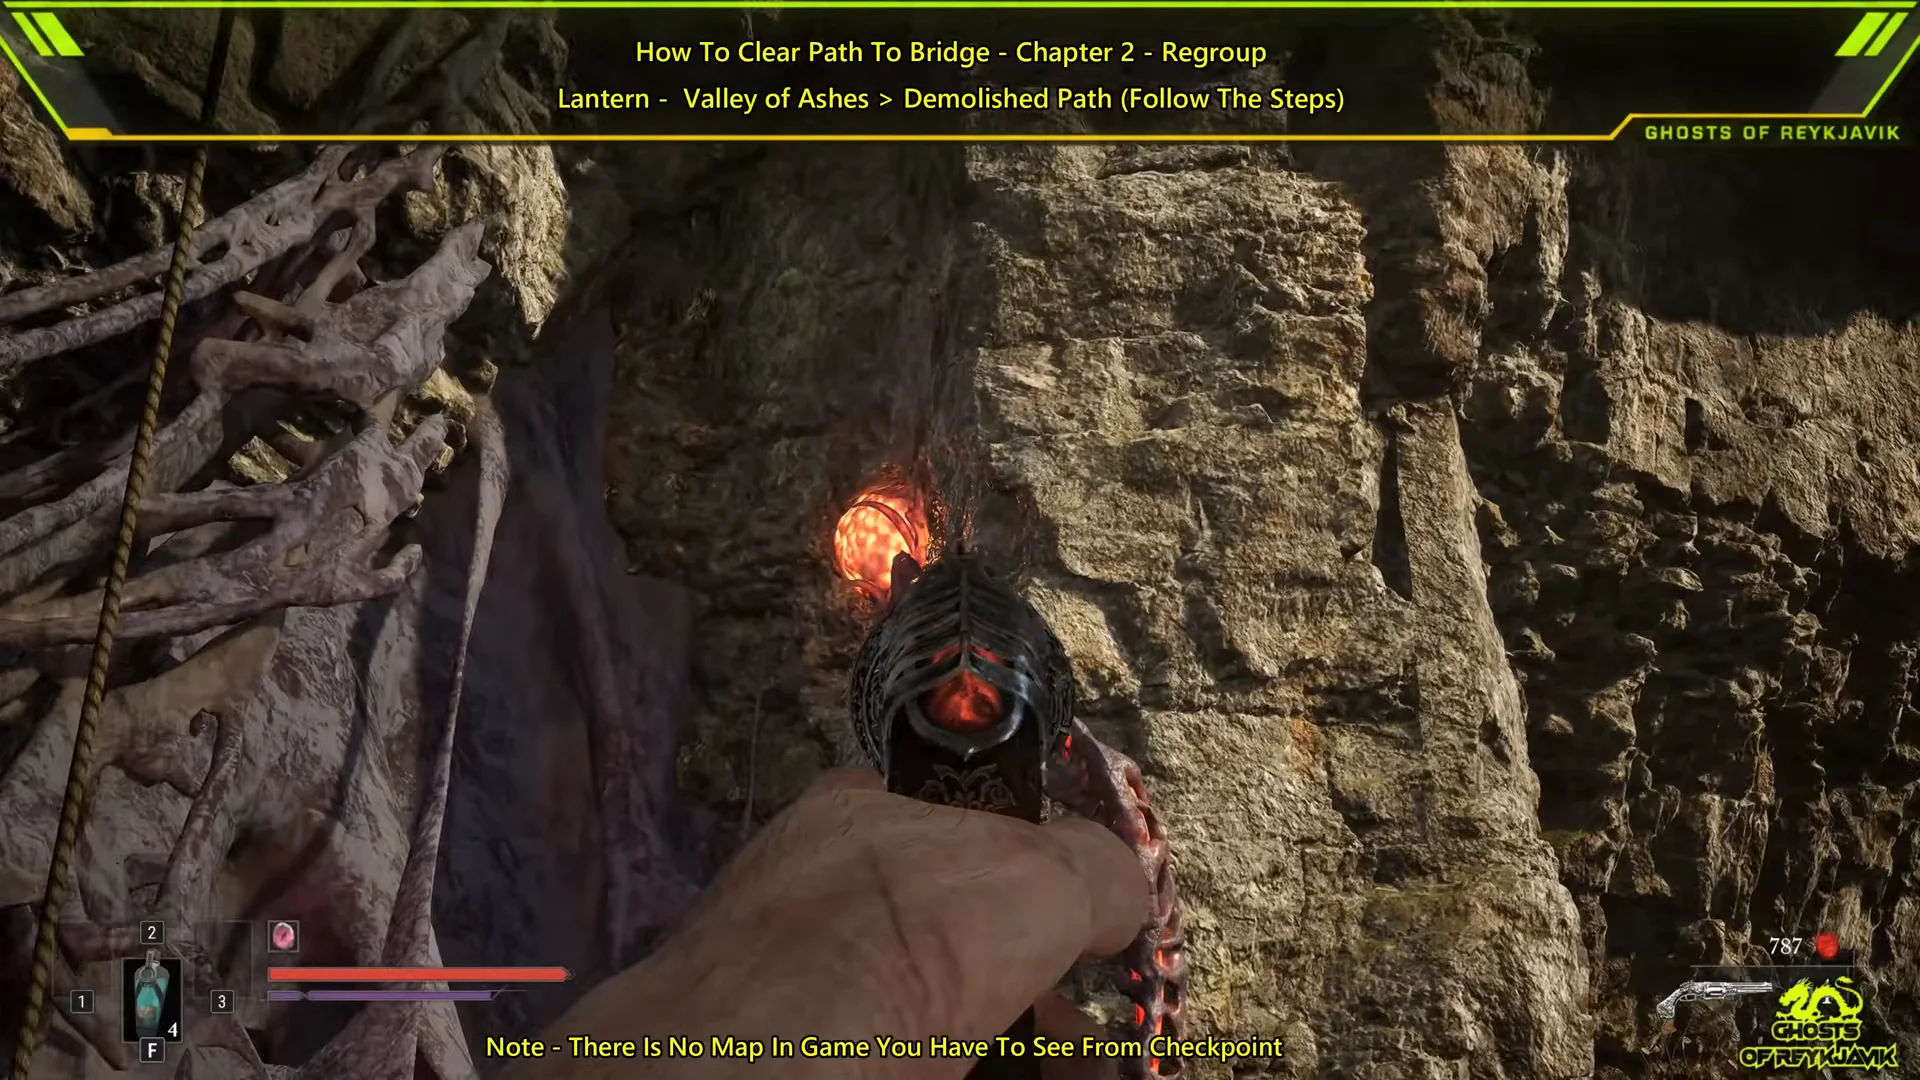
Equip the pistol and fire on the first glowing red node sitting in the cliff-wall root system. Destroying it dissolves the tentacles blocking the way forward.
Destroying the First Corruption Node00:36Destroying the First Corruption Node
Lining up the first corruption node in the cliff roots; one clean hit breaks the barrier. Shown at 00:36 in Ghosts of Reykjavik’s video. Image: One More Level
Step onto the wooden lift platform and ride it up into the elevated cave entrance. Let it carry you all the way to the top.
Taking the Vertical Lift Up00:54Taking the Vertical Lift Up
The wooden lift that carries you up into the cavern entrance above the first node. Shown at 00:54 in Ghosts of Reykjavik’s video. Image: One More Level
Move through the dark cavern tunnel and cut down the small crawling mutants as they come. Find the wooden wall ladder at the far end and climb it.
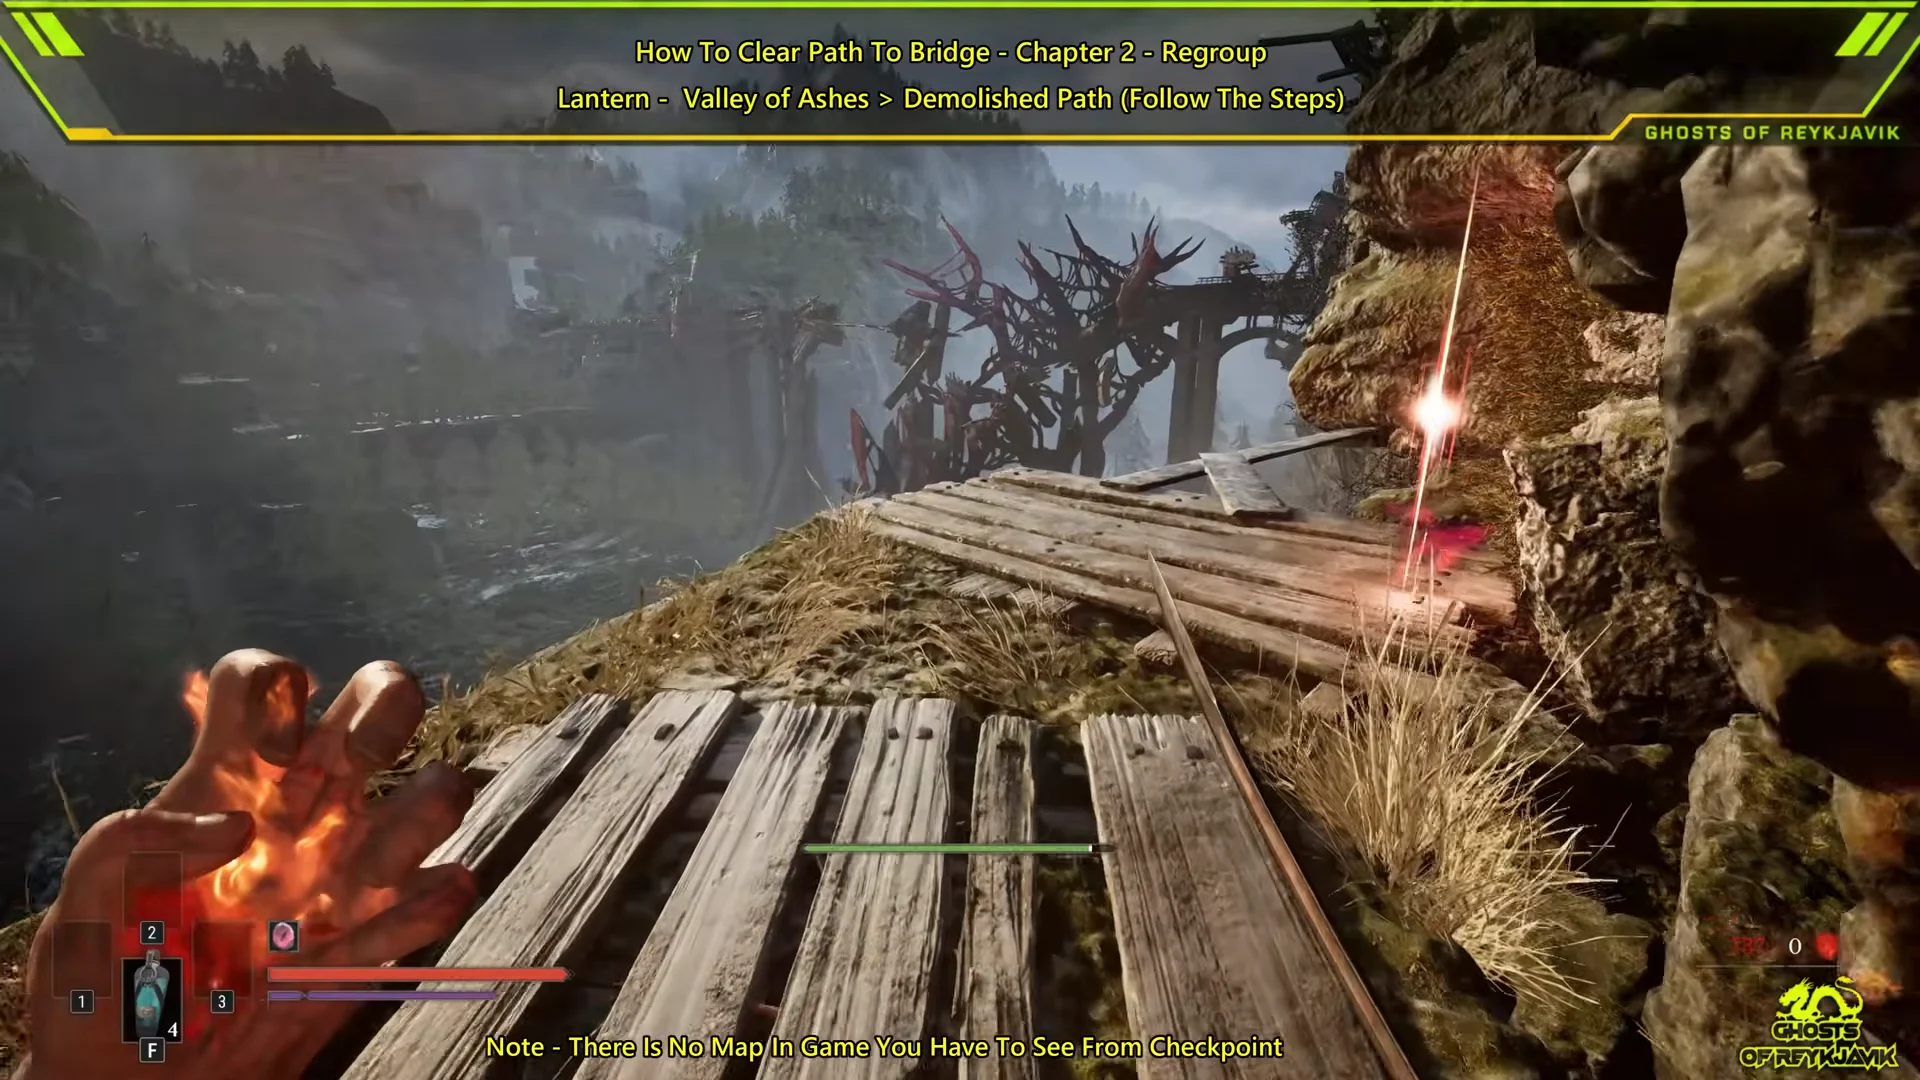
Follow the open-air cliff trail past the campfire and cross the broken planks. A bayonet-wielding soldier waits on the ledge; a parry into an execution deals with him quickly.
Climbing to the Upper Cliff Walkway01:37Climbing to the Upper Cliff Walkway
The upper cliff walkway of broken planks, with the soldier posted just ahead. Shown at 01:37 in Ghosts of Reykjavik’s video. Image: One More Level
Descend across the stacked timber tiers along the cliff. From the bottom ledge, the second and third red nodes are visible on the rock wall. Shoot each one to remove the barriers ahead.
Destroying Second and Third Corruption Nodes02:31Destroying Second and Third Corruption Nodes
The second and third nodes sit along the rock wall below the drop; take both with the pistol. Shown at 02:31 in Ghosts of Reykjavik’s video. Image: One More Level
Use the ladder to reach the winch platform, which contains an elevator shaft, then fall through the floor’s central opening.
Run through the short tunnel out to the lower rocky trail and grab the hand grenades from the broken planks. Drop down from there to ambush the guard patrolling the lower boardwalk, then clear the second soldier on the pier.
Climb the stacked wooden crates to the upper deck and deal with the rifleman guarding the platform.
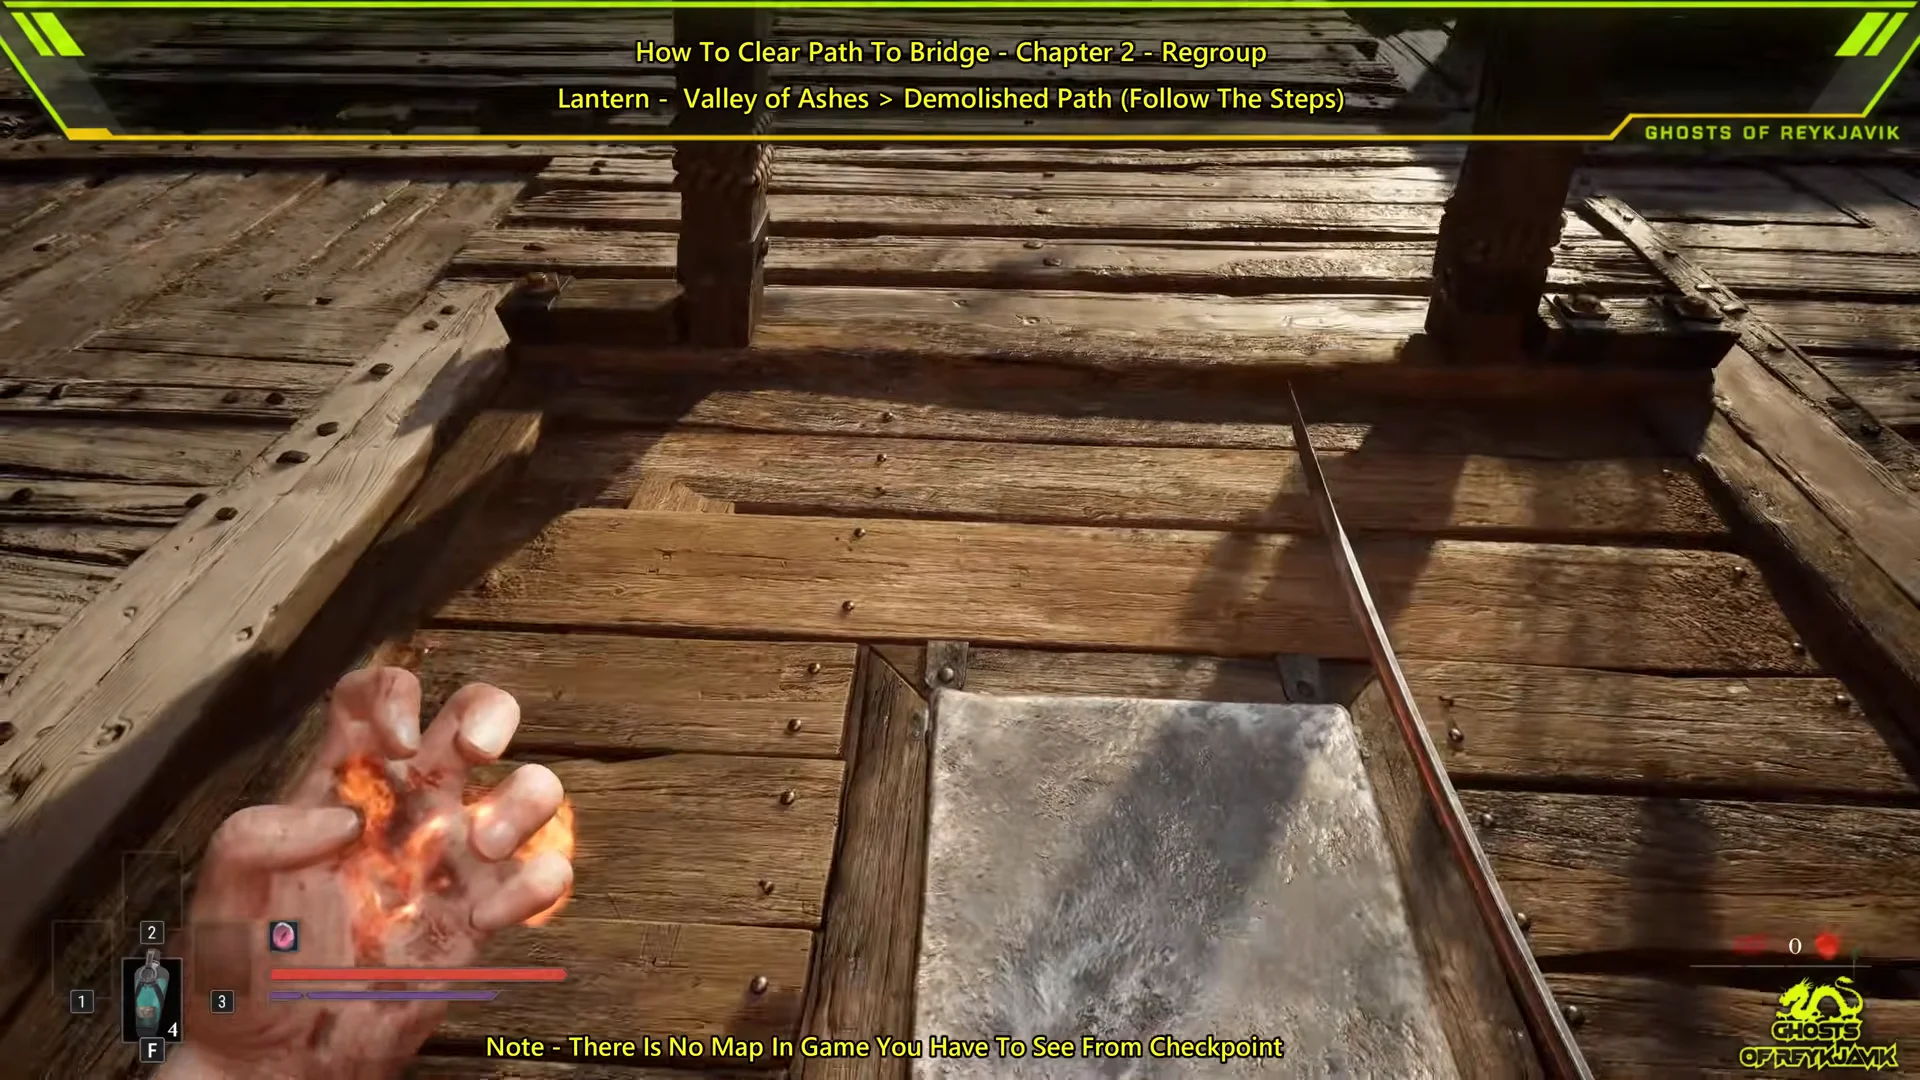
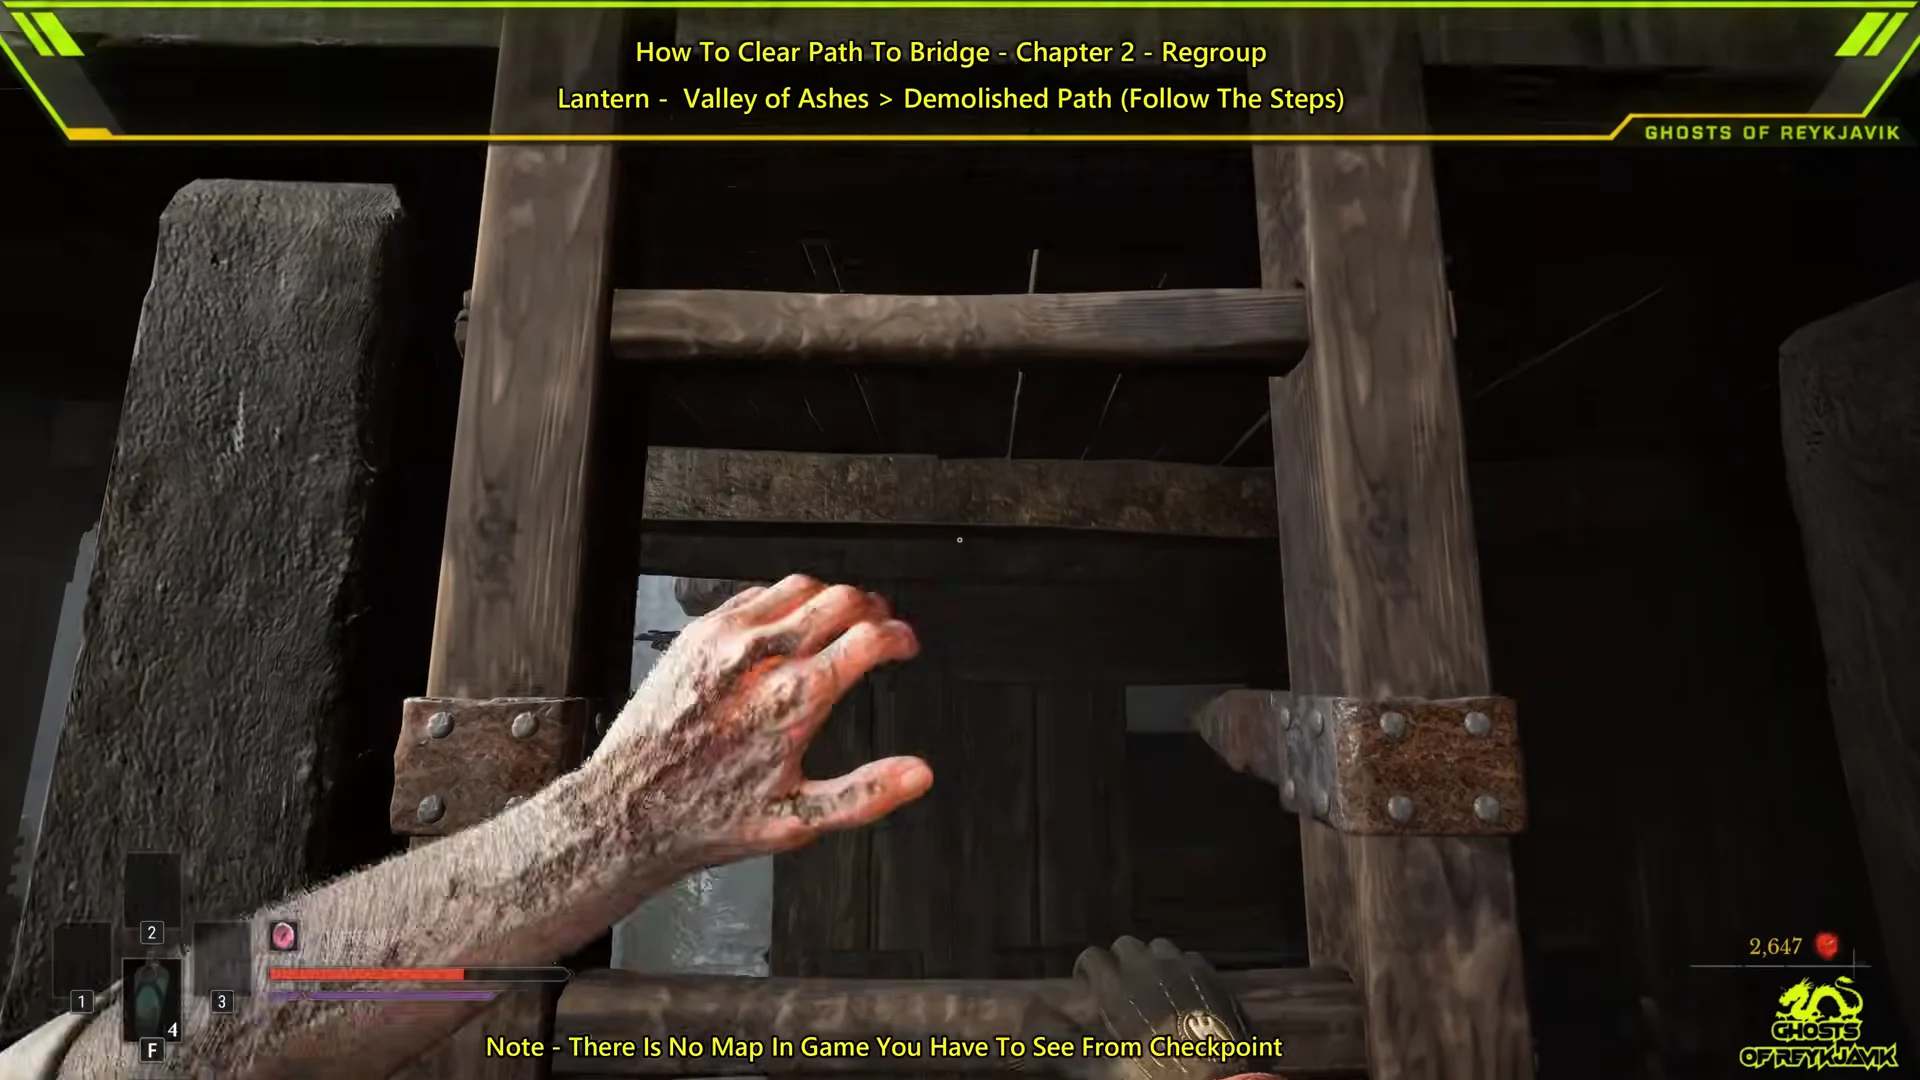
Ascend the ladder fixed to the wall and enter the scaffolding under the massive stone bridge.
Ascending Ladder Beneath Bridge Arch04:23Ascending Ladder Beneath Bridge Arch
The ladder into the bridge understructure, the last climb before the shortcut gate. Shown at 04:23 in Ghosts of Reykjavik’s video. Image: One More Level
Interact with the wooden bar to unlatch the shortcut gate, which opens a faster return route. Two soldiers are waiting beyond it, so clear them before moving on.
Follow the root-covered wooden ramp toward the large red tentacle barrier. Fire on the two pulsing red cores inside the tentacle cluster to dissolve it, then climb the ladder on the right onto the main stone bridge roadway beside the abandoned carriage.

How to confirm the path is clear

You know the route is done when the final tentacle barrier blocking the bridge ramp dissolves after the last two cores pop. Climbing the right-hand ladder puts you on the main bridge deck next to the horse-drawn carriage, with no further barriers between you and the crossing. The path to the bridge in Regroup is then fully open.
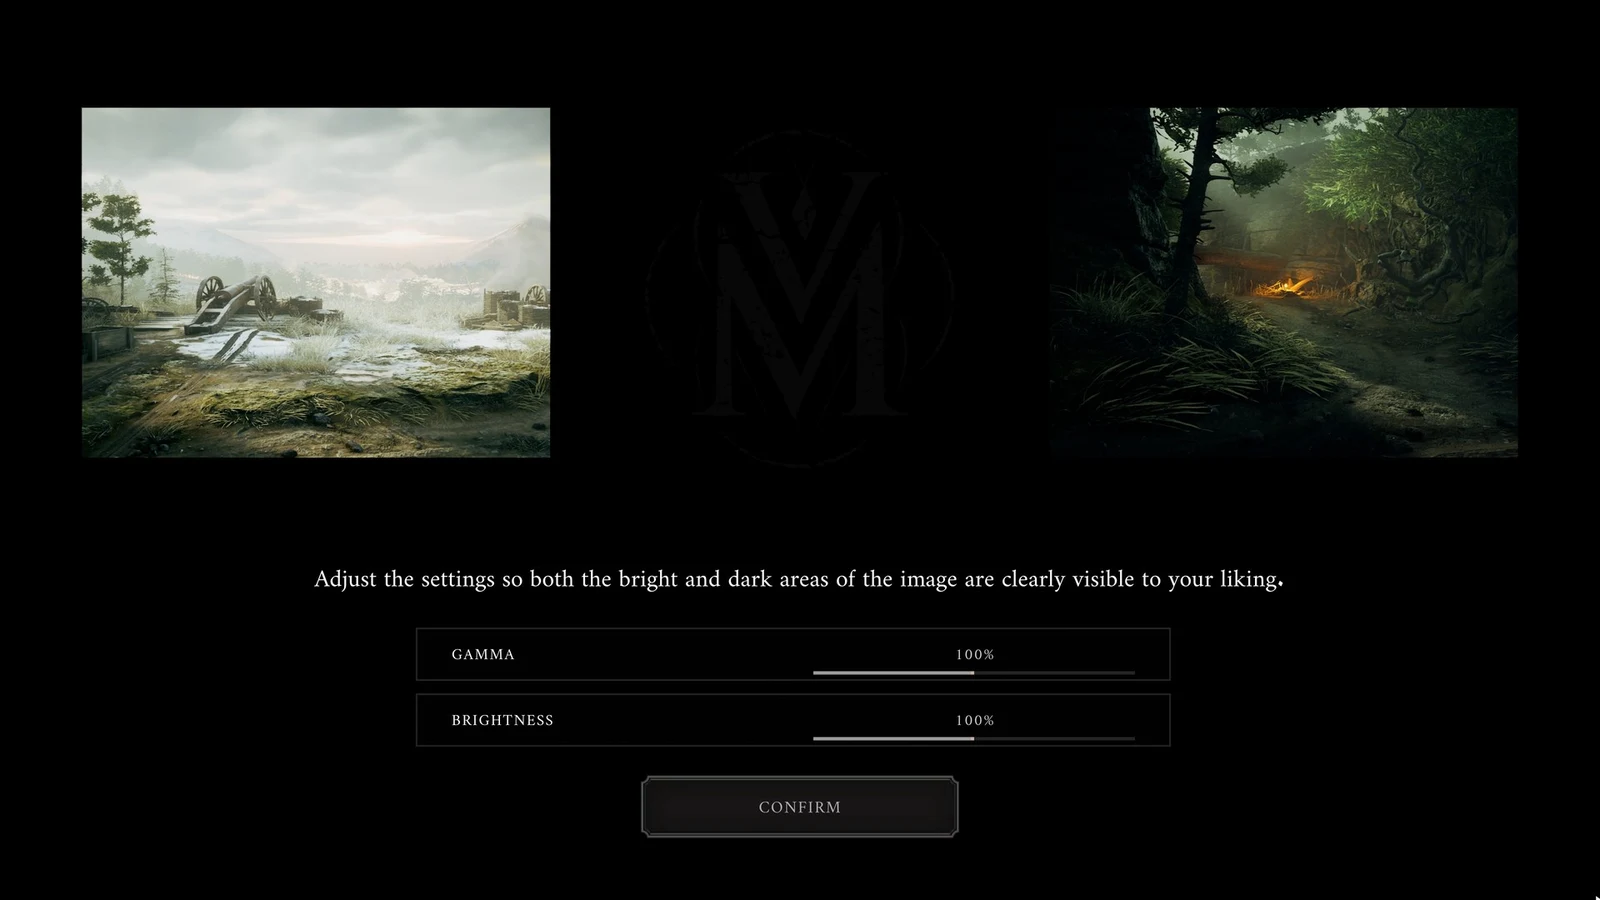
Dark settings screen with two sample landscapes and Gamma and Brightness sliders at 100 percent above a Confirm button.
The Valor Mortis display setup screen asks players to adjust Gamma and Brightness, both set to 100%, until bright and dark areas are clearly visible.

Valley of Ashes lantern reference

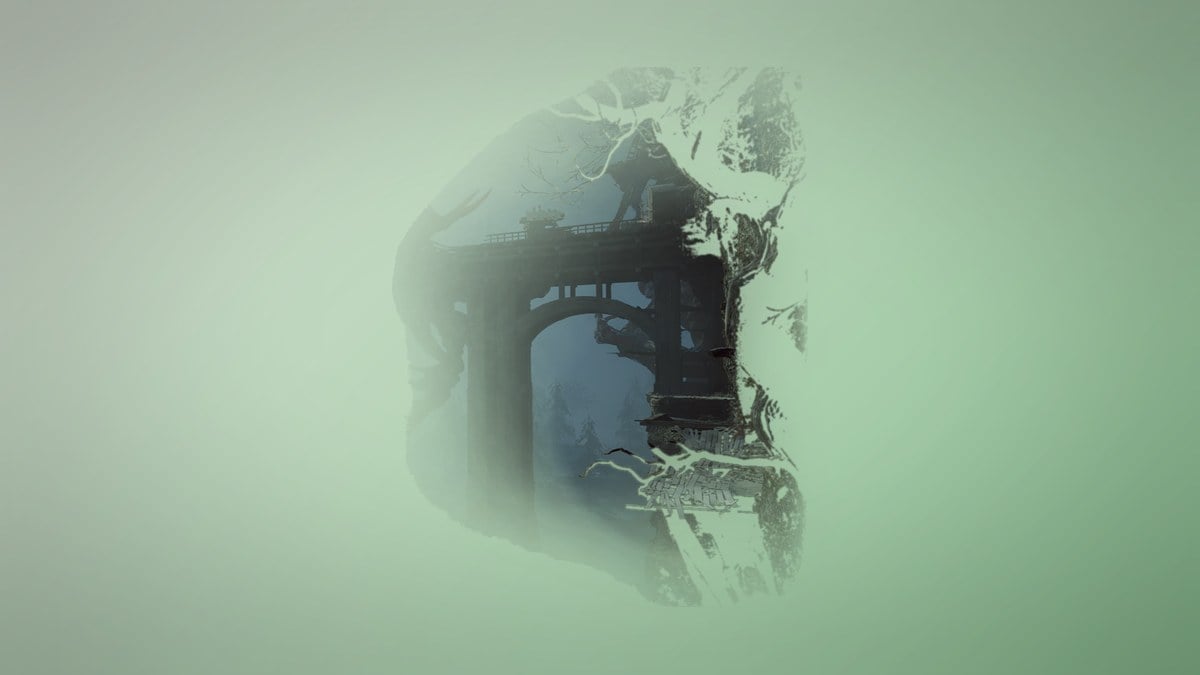
The Demolished Path is one of six lanterns in the Valley of Ashes, which is region II and holds 14 chests along with three placed notes. Knowing the other lanterns helps you orient without a map, since each is a separate rest and fast-travel point in the same region.
Valley of Ashes
Valley of Ashes. Image: One More Level
LanternRegion
GuidepostValley of Ashes
Demolished PathValley of Ashes
The ClimbValley of Ashes
The Other SideValley of Ashes
Military CampValley of Ashes
QuarryValley of Ashes

Pistol and supplies for the corruption nodes

The pistol is a versatile firearm with a five-round ammunition capacity, a reload of 4 seconds, and 0.25 seconds between shots. It can shatter Nephtoglobin weak points, which is exactly what the red corruption nodes behave like on this route. Its damage climbs as you upgrade it, so a higher-level pistol clears nodes with fewer shots.
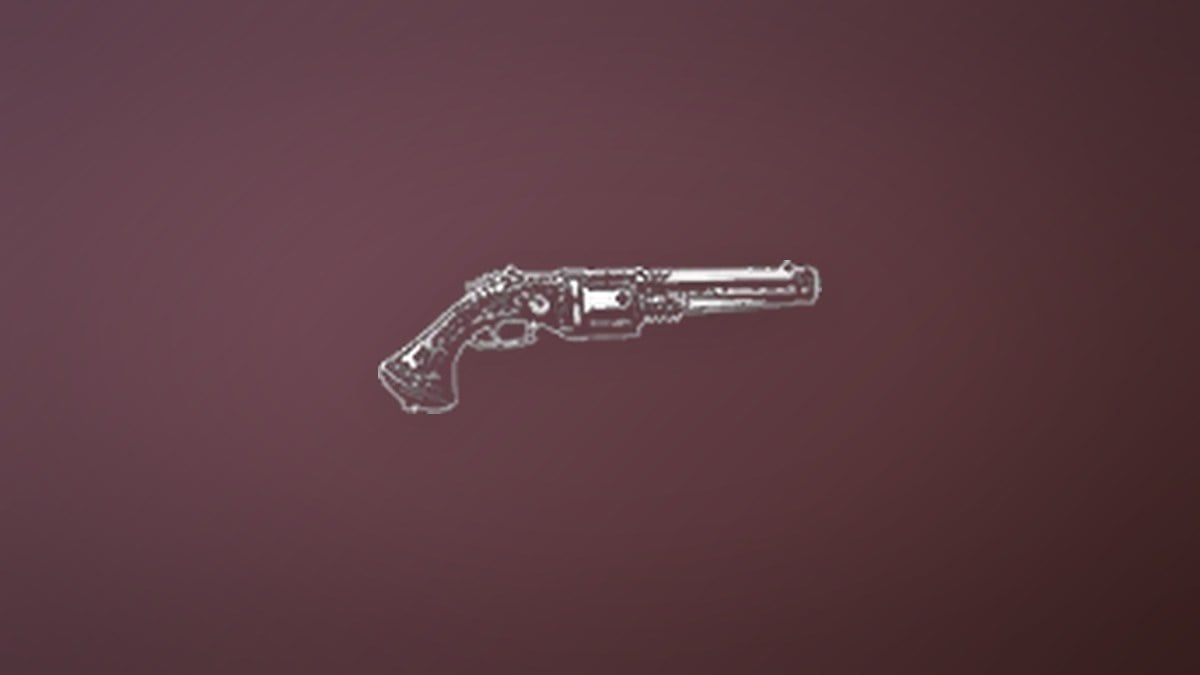
Pistol
Pistol. Image: One More Level
Pistol levelDamageUpgrade material
130—
233Standard Firearm Parts x1
542Superior Firearm Parts x1
851Exquisite Firearm Parts x1
1060Masterwork Firearm Parts x1

Posture damage holds steady at 10 across every level, so upgrades raise raw damage rather than stagger. For running the route, that extra damage is what matters against the nodes.

You top up along the way without backtracking. Pistol Ammunition appears in the Valley of Ashes in three pickup stacks, and Hand Grenades are scattered there too. A grenade explodes on impact, you can carry up to 3, and James’s Iron Bench sells them from the start for 200 each.

SupplyTypeIn Valley of Ashes
Pistol AmmunitionPickup3 placements
Hand GrenadeConsumable5 placements

If you want more drops to fall during the fights on this route, the Ammunition Drop Chance upgrade under Endurance adds 5 percent per rank across four ranks, making enemies more likely to leave ammunition when they die. That keeps the pistol stocked for every node from the Demolished Path lantern to the bridge.