AION 2’s free server transfer moves a character to another world within the same faction and brings nearly all of its progress along. The service is open for a limited period, runs only during set daily hours, and can be used once per account, so the destination you pick is effectively permanent for this window.
Quick answer: Open the in-game Shop, choose the Server Transfer tab from a village, and apply during your region’s daily window. The move costs 0 Quna, is limited to once per account, works only between same-faction, same-region servers, and ends before the October 28 maintenance.
Free server transfer window and schedule
The free program is split by server type across two weeks. Early Access characters move first, and Launch servers follow the week after. A character can only transfer to a server of the same type, so Early Access characters cannot land on a Launch server during this period.
| Server type | Transfer window |
|---|---|
| Early Access servers | After the October 14 maintenance until before the October 21 maintenance |
| Launch servers | After the October 21 maintenance until before the October 28 maintenance |
Applications are not open around the clock. Each region has two daily windows, and the service shows every destination server as a red button when you are outside those hours.
| Region | Daily windows (UTC) |
|---|---|
| NA West / NA East | 16:00–20:00 and 22:00–02:00 |
| South America | 16:00–20:00 and 22:00–02:00 |
| Europe | 10:00–14:00 and 16:00–20:00 |
| Asia | 03:00–07:00 and 09:00–13:00 |
What the transfer costs
During this window the base service and the per-character charge are both 0 Quna, so moving all your characters together costs nothing by itself. The only fee comes from character slots. Each server holds up to four slots by default, and if the destination does not have enough room for everyone you bring, each extra slot costs 1,000 Quna. Moving six characters into a server with four open slots, for example, requires two extra slots at 2,000 Quna total.
The free move is one application per account for the whole period. You cannot split your roster across two destinations or transfer twice, and expanded slots you paid for on your current server do not travel with you.
Server transfer requirements
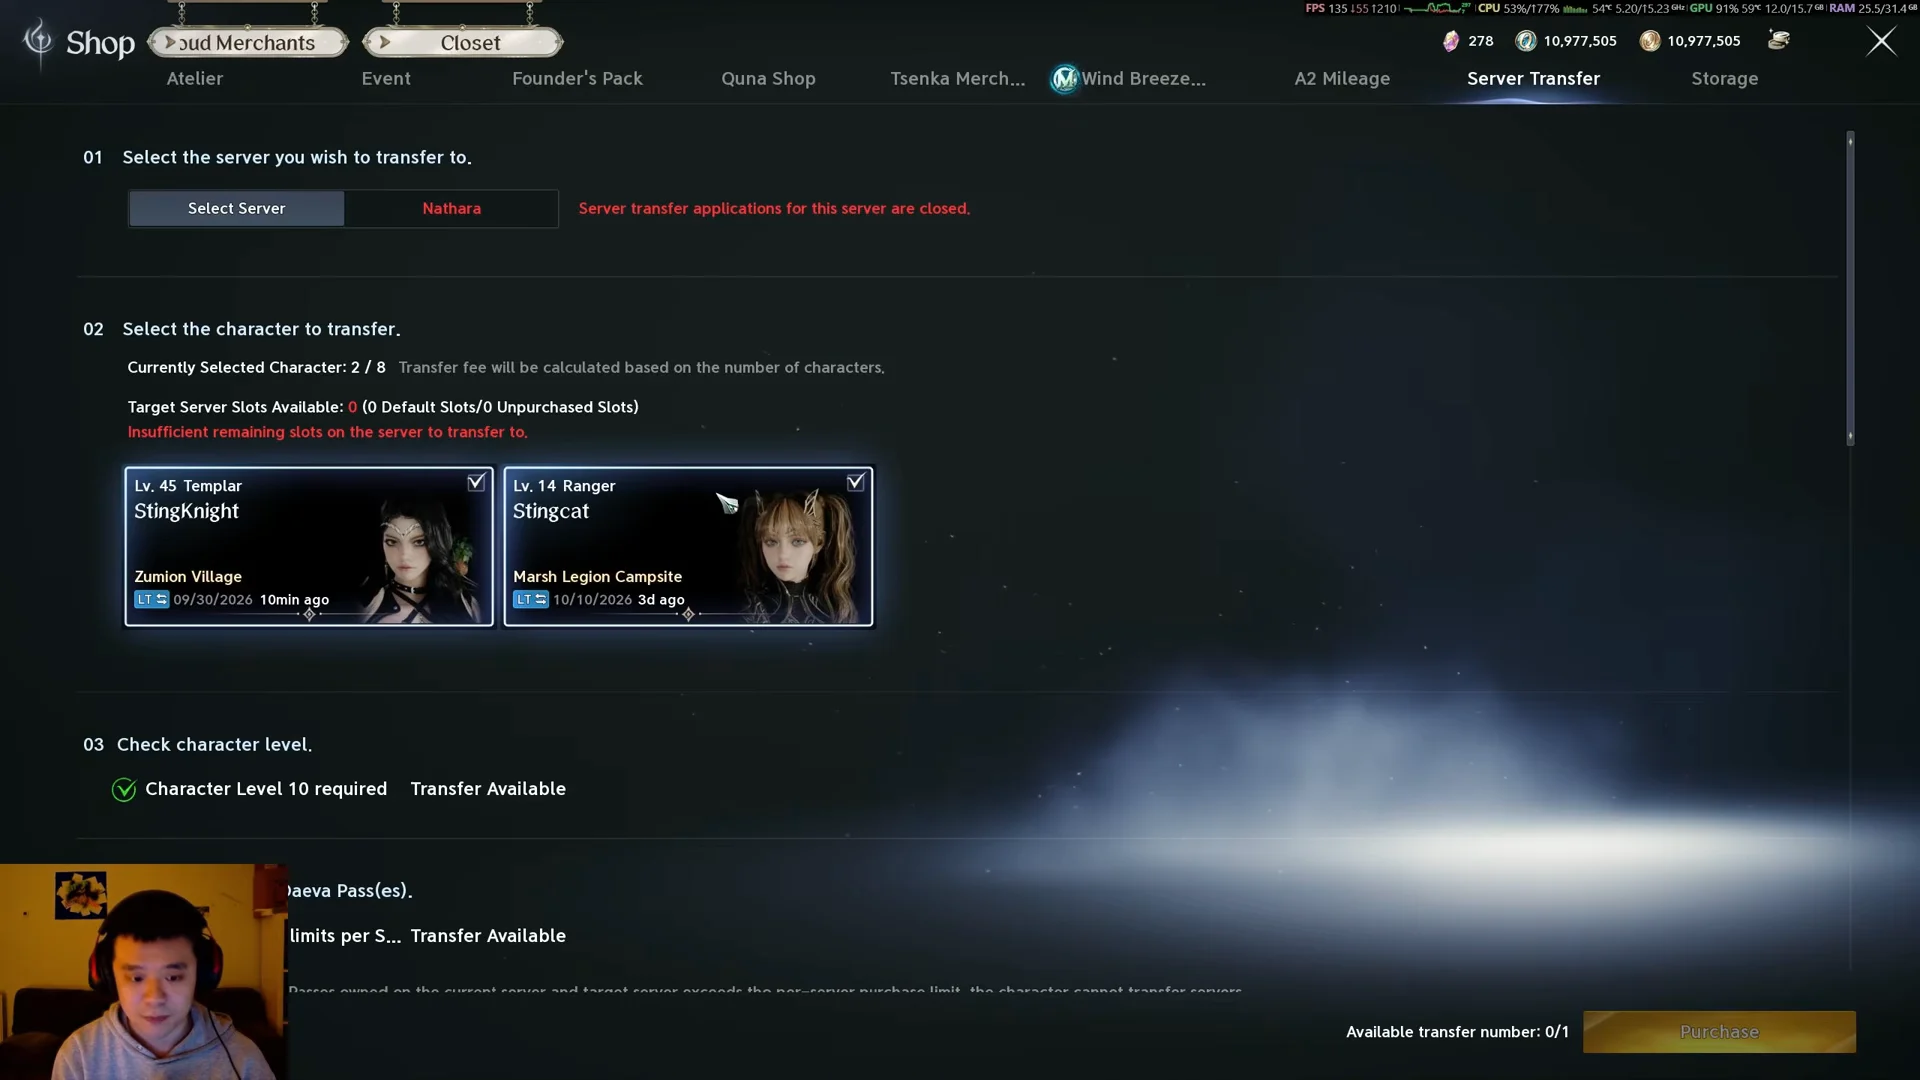
The transfer button only activates when the character clears every condition below. An in-game checklist inside the Server Transfer menu shows which ones you still need to meet.
- Level 10 or higher.
- Standing in a village when you apply.
- You must have no Legion membership and no Legion application awaiting a decision.
- No active Duty Missions.
- Claim all items and currency from the Market, Shop Storage, and Mailbox.
Transfers stay within the same faction and the same region. Elyos characters move only to eligible Elyos servers, Asmodian to Asmodian, and a North American character cannot land on a European or Asian world.
What moves with you and what stays behind
Almost everything tied directly to the character travels. The following all carry over to the destination server:
- Kina held in inventory and in Character Storage.
- Quna and Mileage, added to whatever you already hold there.
- Membership and Daeva Pass progress.
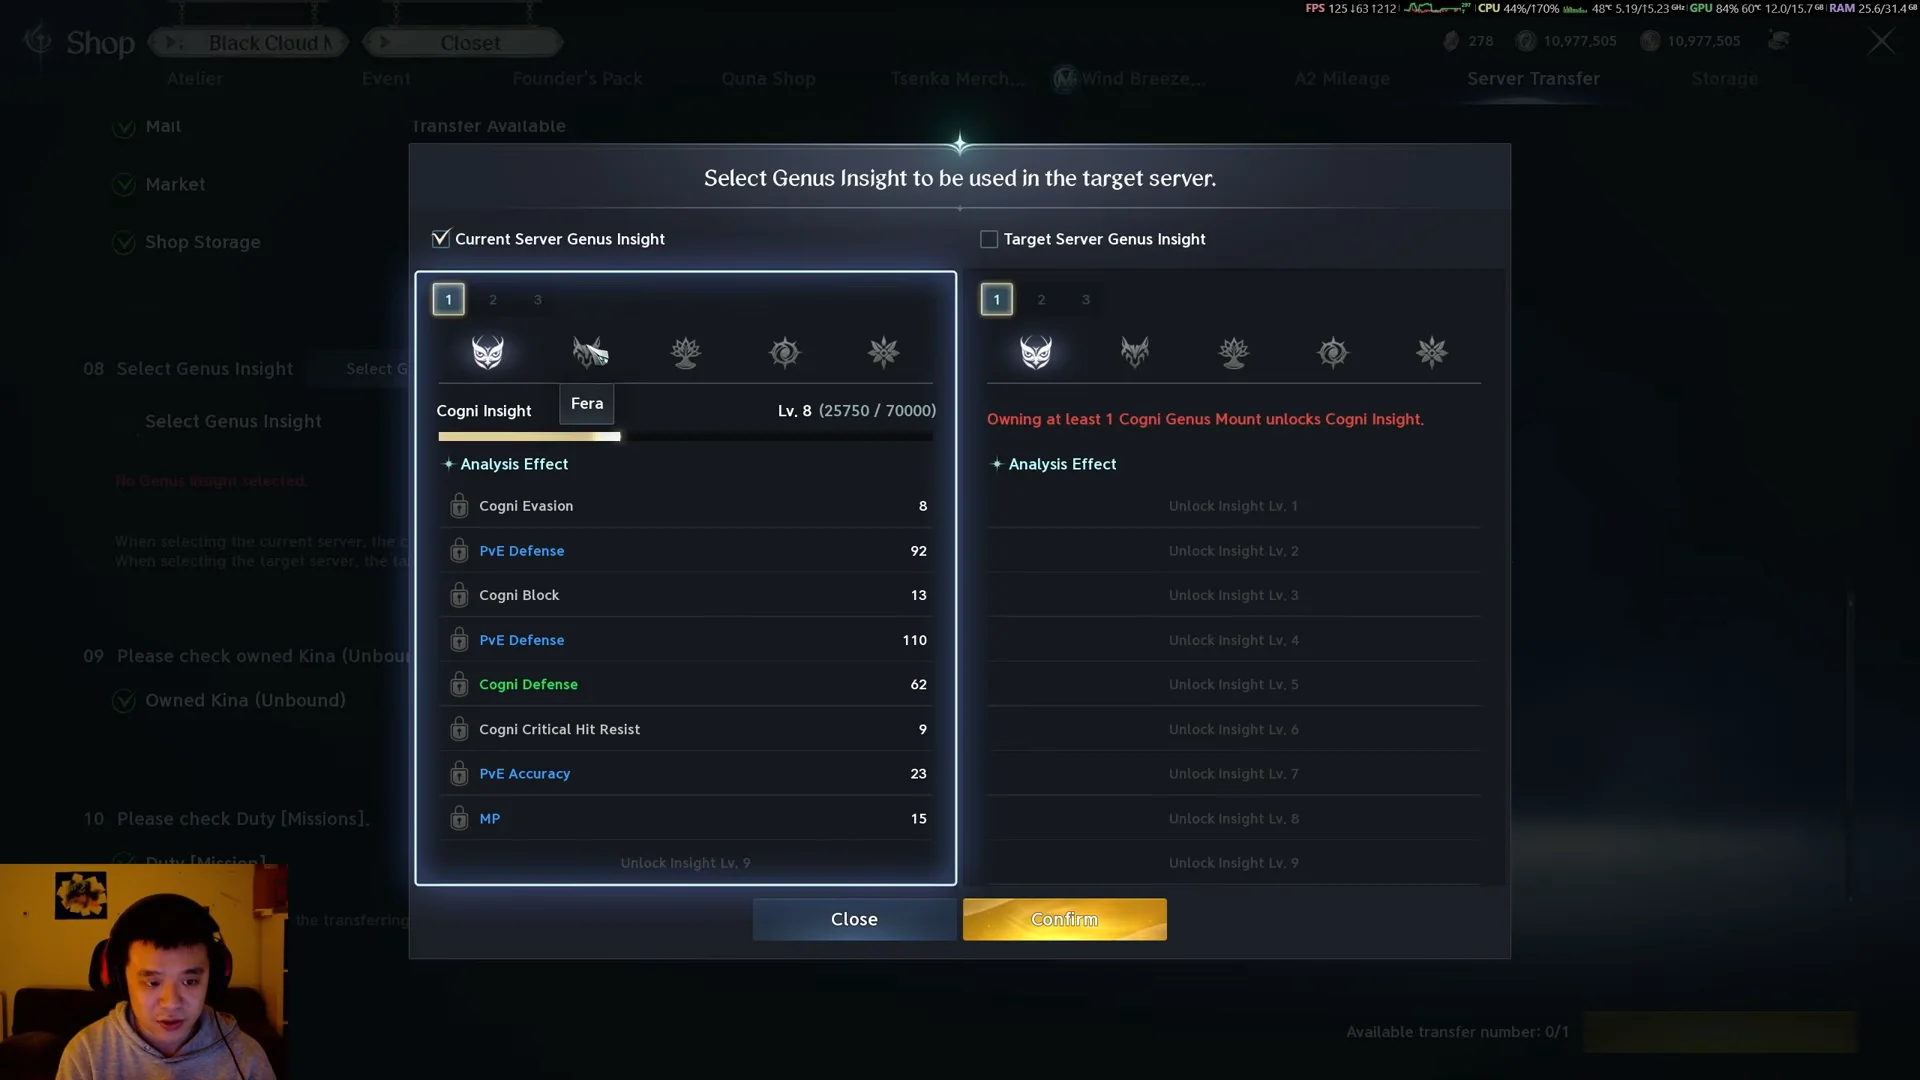
- Skills, Stigmas, Daevanion, and saved presets.
- Cube inventory, Character Storage, titles, achievements, and quests.
- Pets, wings, skins, friends list, and blocked list.
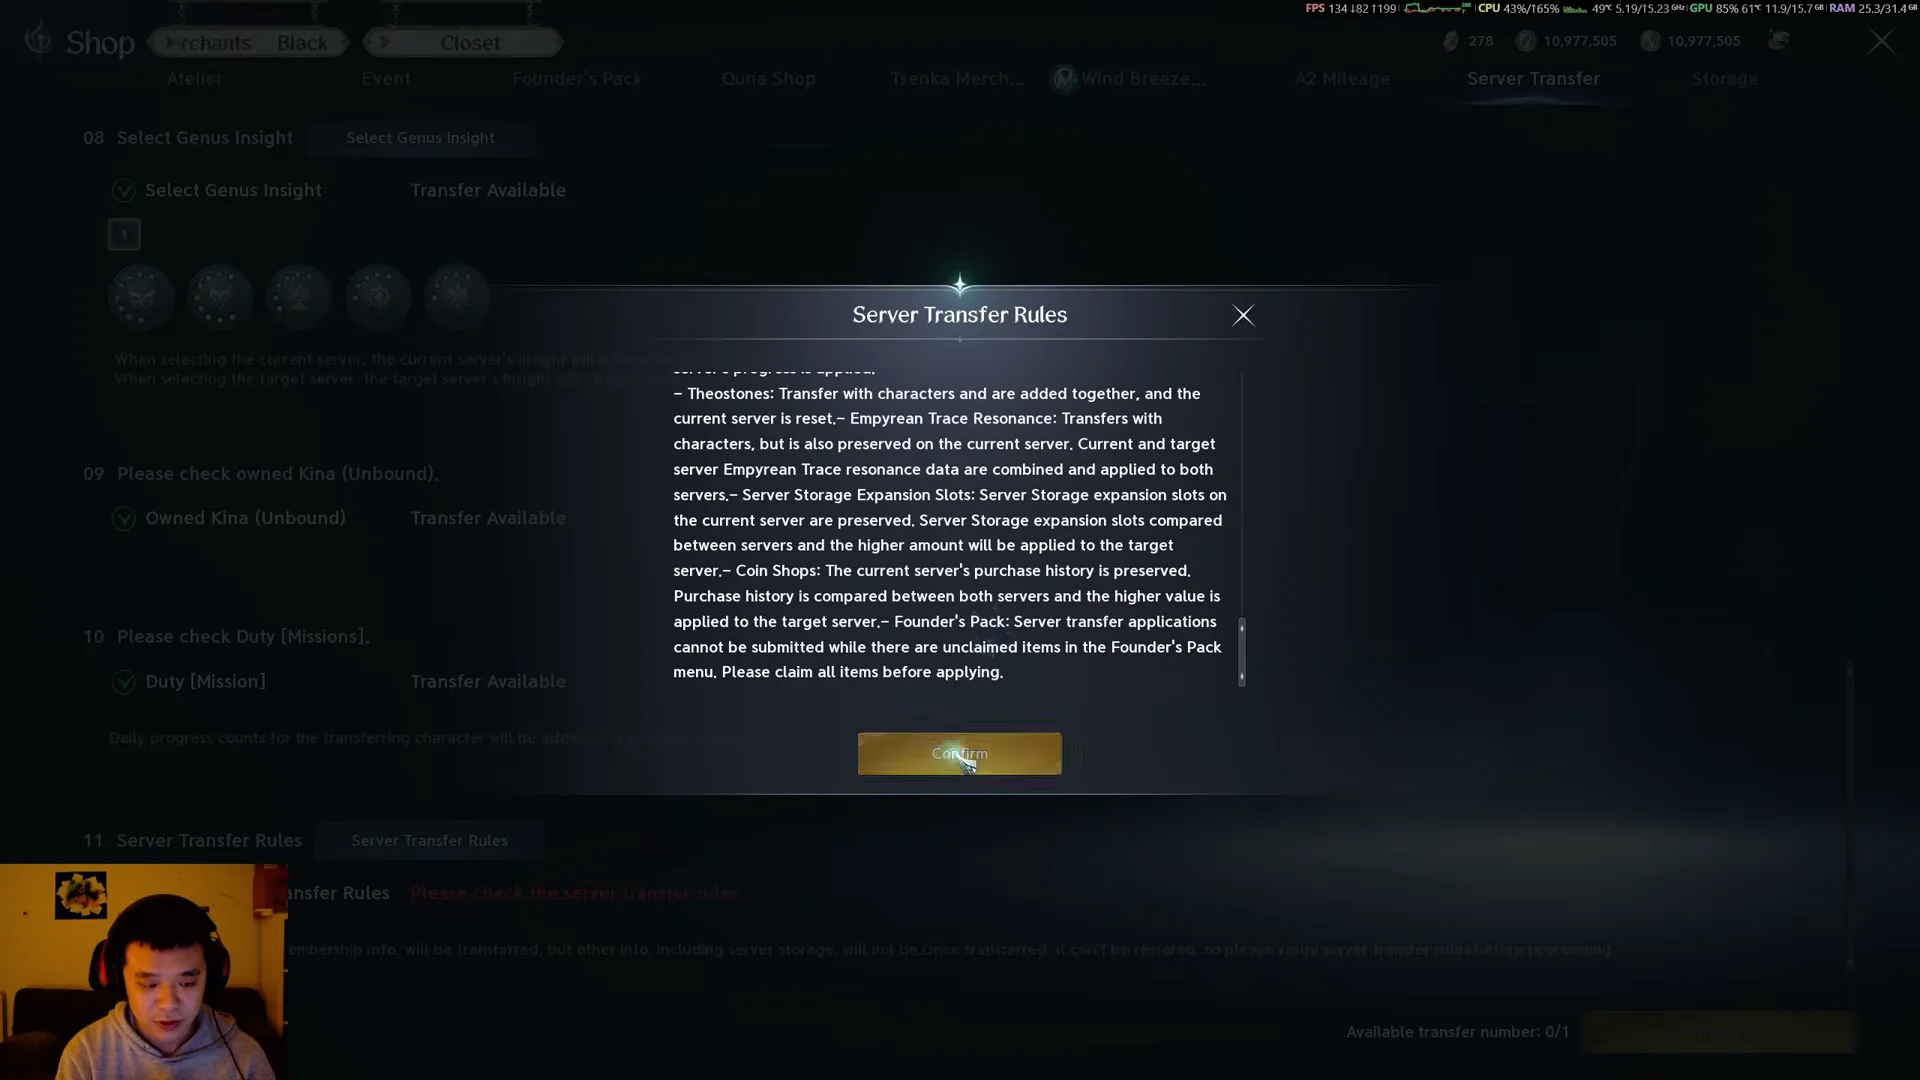
A smaller set of things remains on your old server:
- Everything in Server Storage, including any Kina kept there.
- Extra character slots do not carry over; the count returns to the destination’s slot total.
- Mailbox rewards and active Market listings.
- Server-based cash shop purchase history.
- Your last 10 Arena and Battlefield match records, which are reset.
Server Storage does not follow you, and neither does Kina left inside it. Move anything you want to keep into the transferring character’s inventory or Character Storage before you apply, or it stays stranded on the original world.
Prepare your character before applying
Odyle materials you may have listed on the Market
One required task is to clear the Market, where players commonly list tradeable crafting supplies. Radiant Odyle and Pure Odyle are two of these materials. They can imbue items with Odyle’s power and are ingredients in Crafting and Substance Morph, so cancel their listings and put them in your inventory instead of keeping them on the exchange.
| Material | Grade | Required level | Vendor sell (Kina) |
|---|---|---|---|
 Radiant Odyle Radiant Odyle | Unique | 40 | 540 |
 Pure Odyle Pure Odyle | Epic | 35 | 180 |
Both drop from field events such as Defend Shugo Merchants, Goldrin’s Treasure, and Odyle Flight Frenzy, and also come from quest rewards and gathering. The vendor sell values above are fixed; the far higher numbers you may see on the Market are whatever other players chose to list them for.
Apply for the transfer
Log in and confirm the move worked
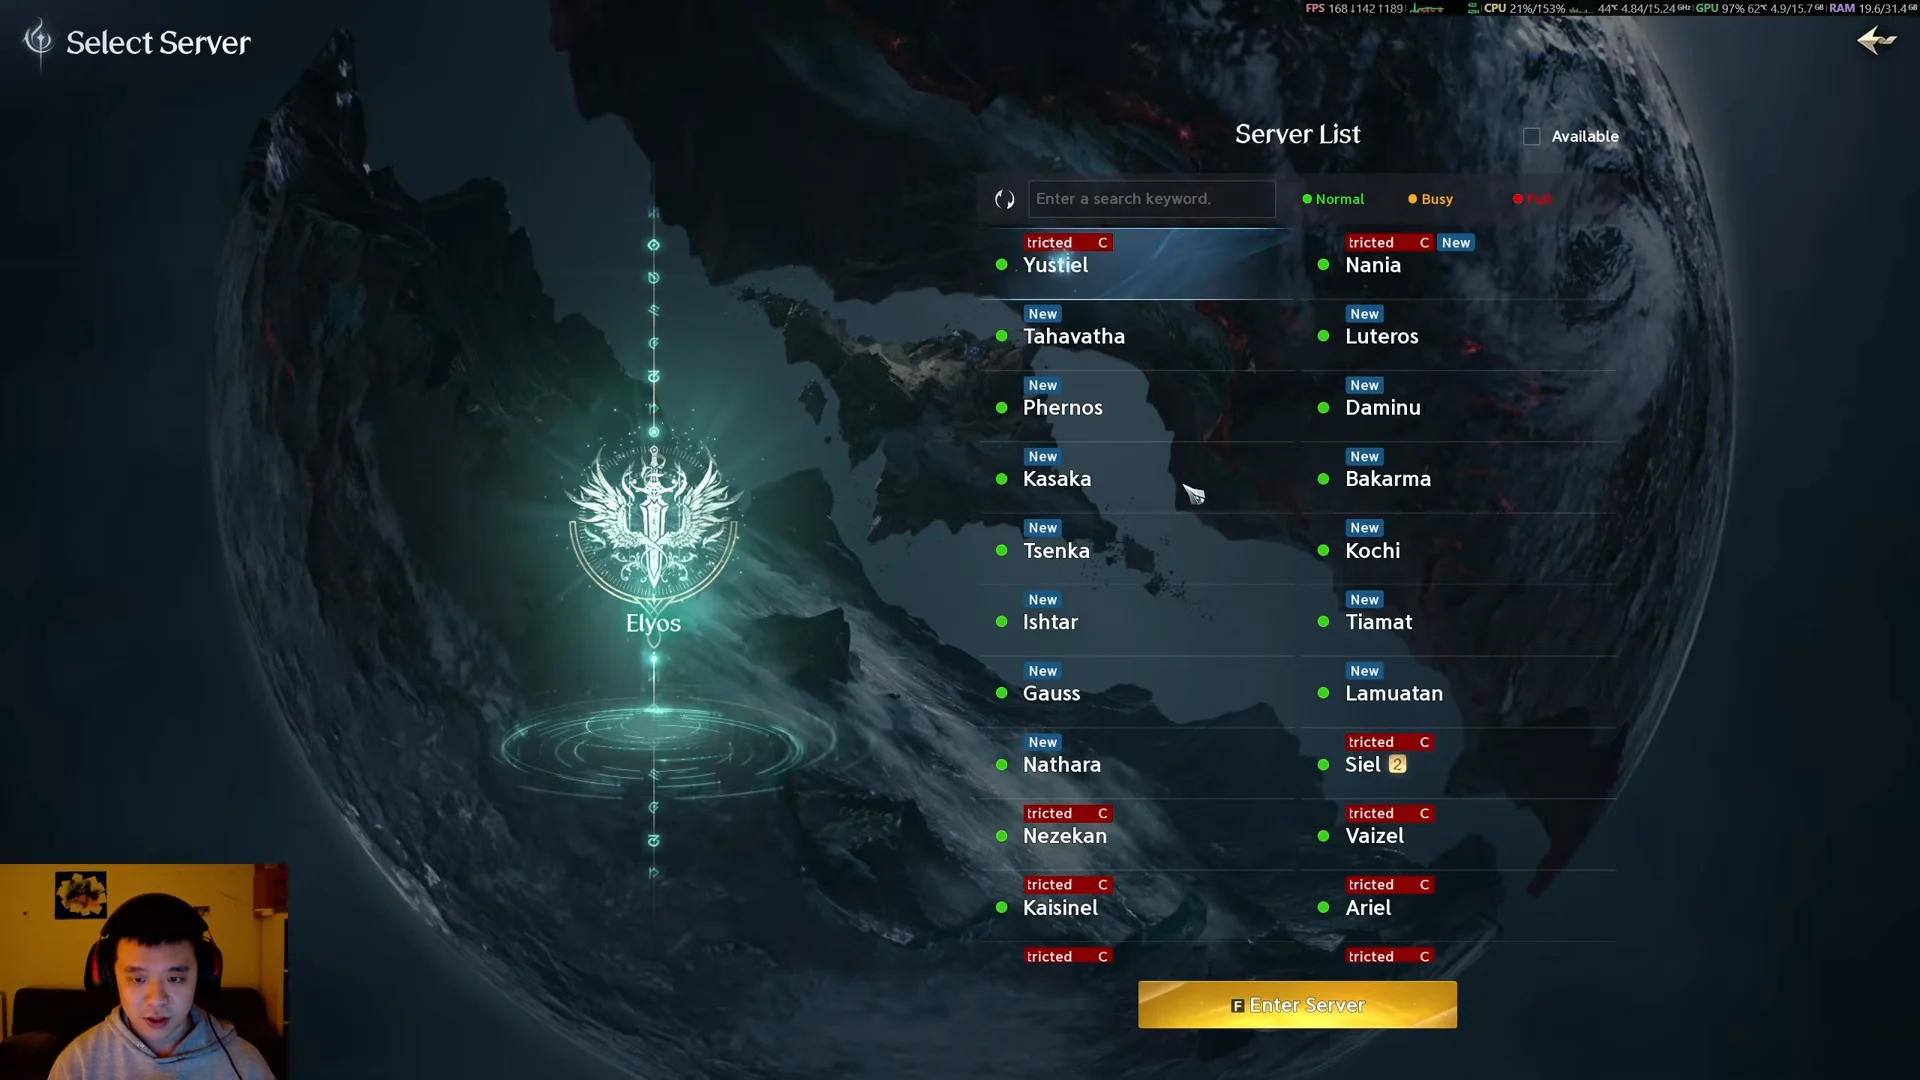
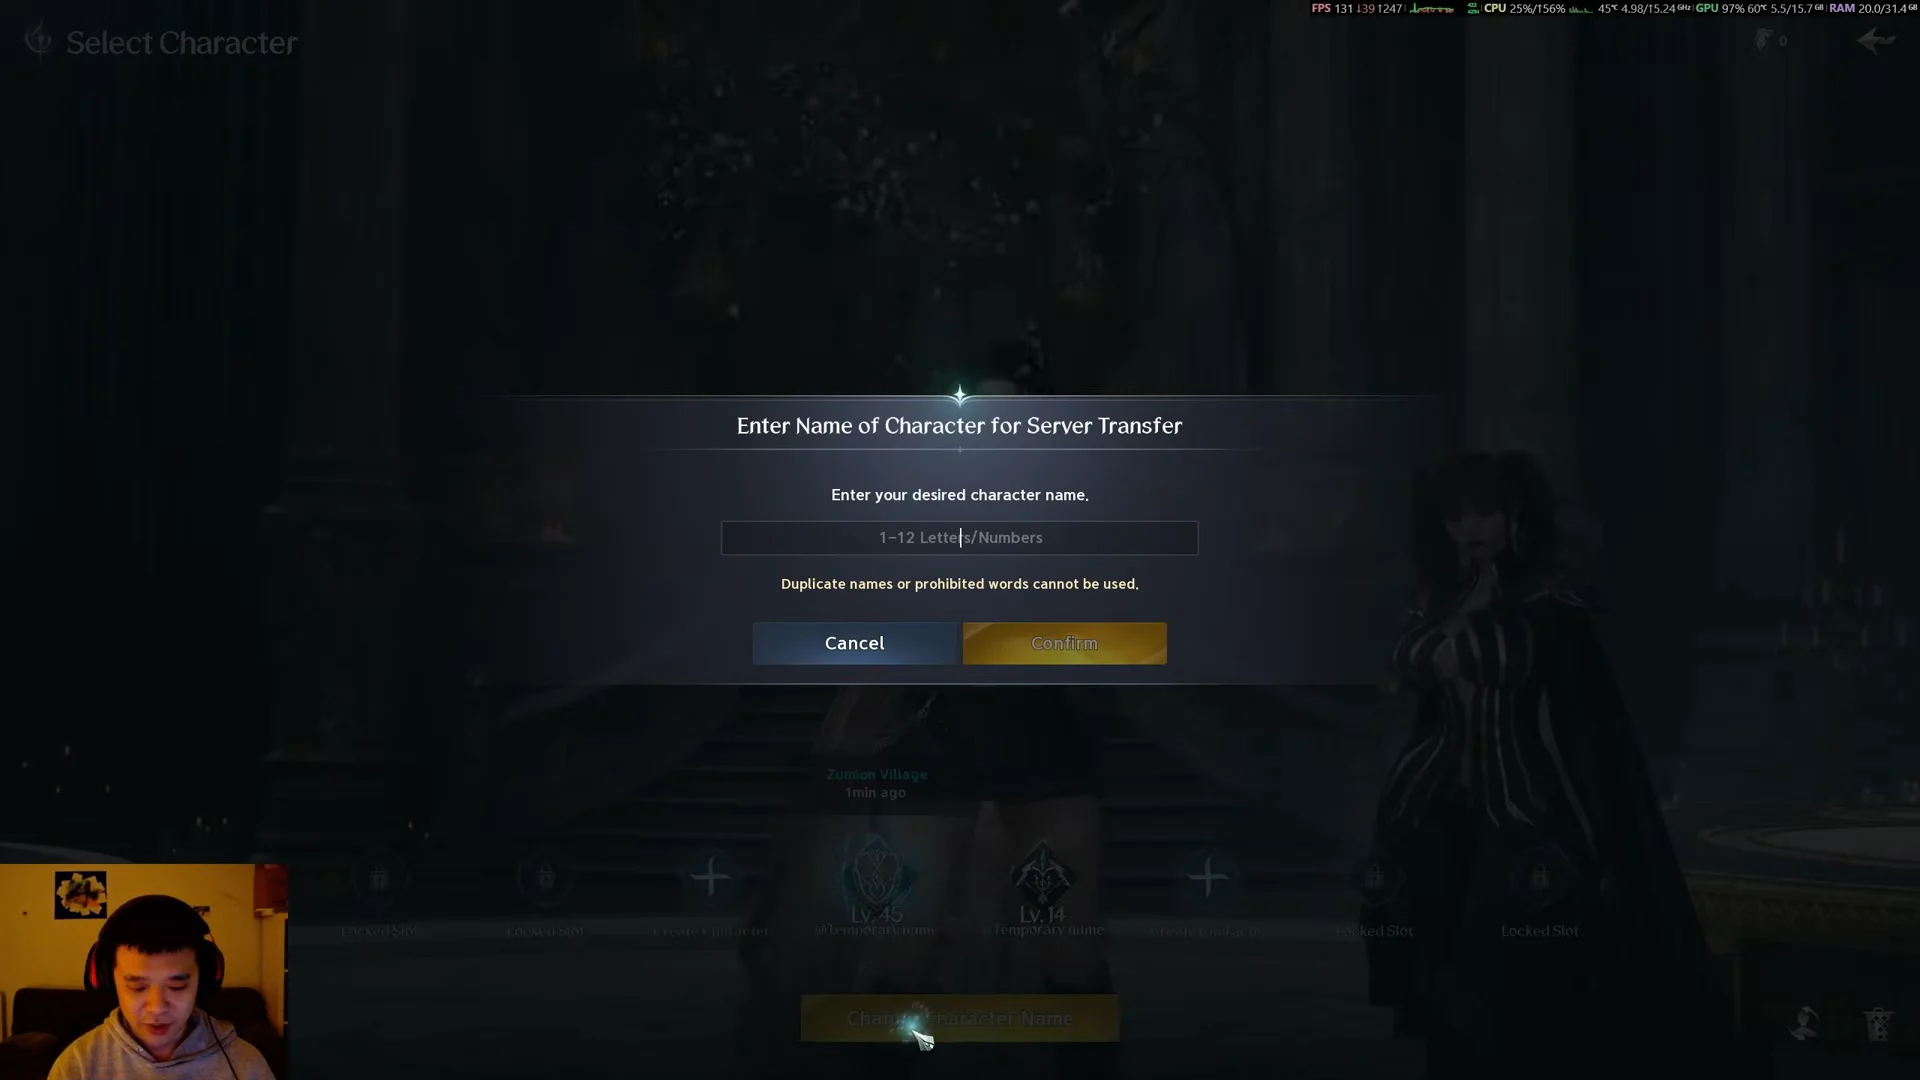
Once your name is set and your gear, currency, and passes are present on the new server, the transfer is finished. Because you only get one free move for the account, it is worth confirming that friends or your Legion are settled on the destination before you commit, since cross-server dungeons already let you group without moving at all.