Rose Belmont’s journey through Paris and Dracula’s Castle keeps running into the same face: Adrian Fahrenheit Țepeș, better known as Alucard. The dhampir never shows up in person, but the game plants reminders of him across the castle, from wall art to a Legendary weapon you can wield yourself.
Quick answer: Alucard turns up four ways — portraits and the Alucard Guides clue in the Main Hall, his sealed tower, the Legendary Alucard’s Sword and Shield inside it, and the Alucard Style Costume skin for Rose.
Alucard’s portraits and the Alucard Guides clue in the Main Hall
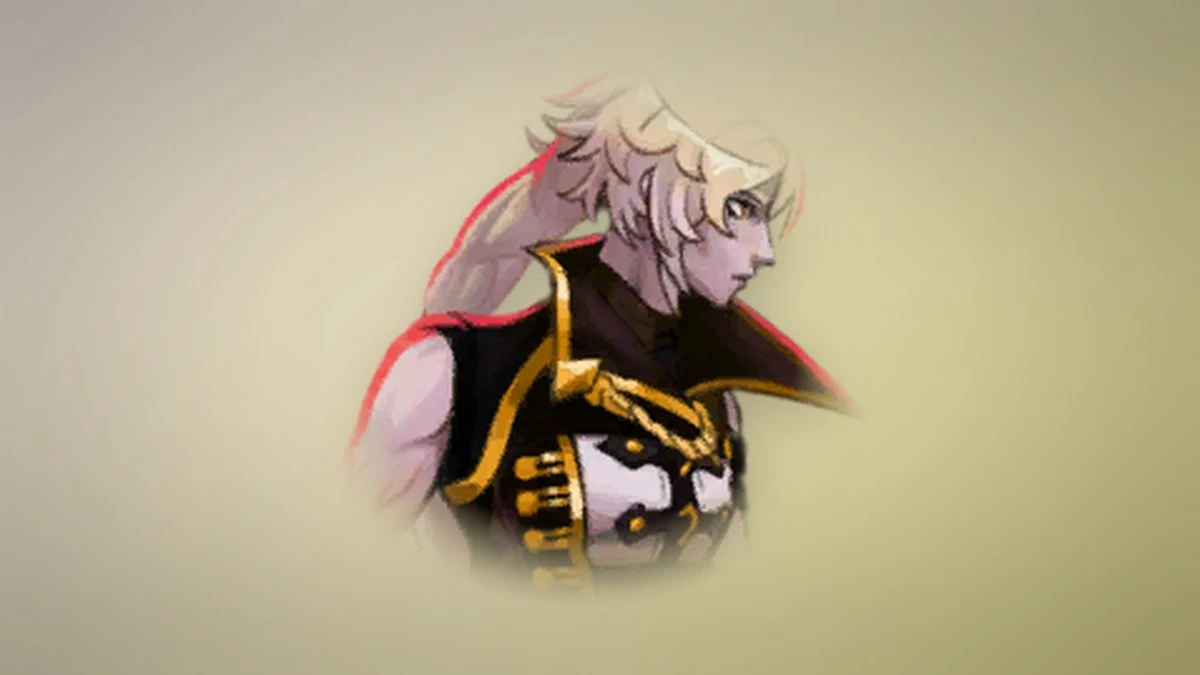
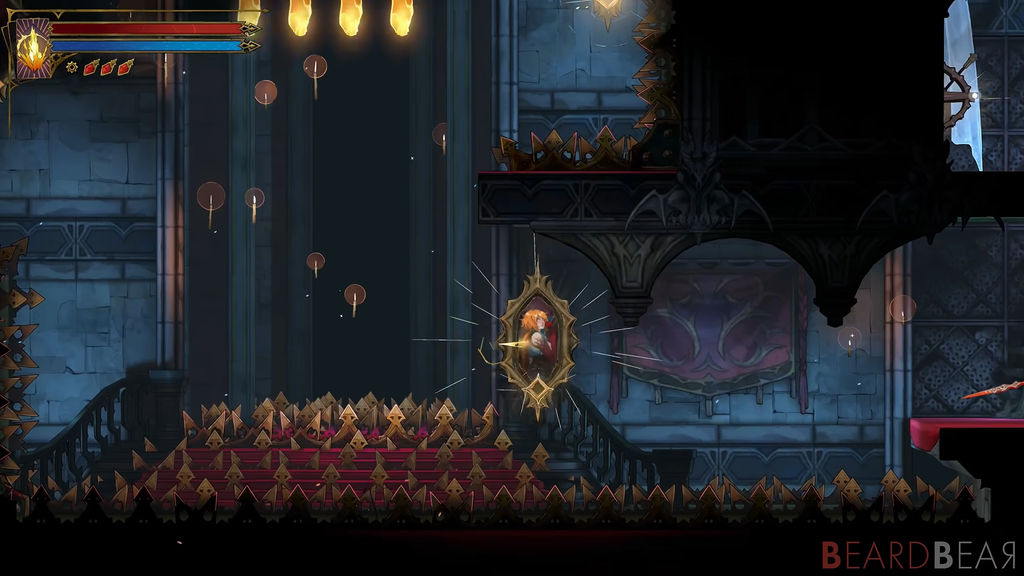
The earliest clue appears after you enter Dracula’s Castle and reach the Main Hall. Its walls display portraits of Alucard in the appearance and stance shown in the key art for Symphony of the Night, the first game to put Dracula’s son under player control.
They are not just set dressing. One of the paintings sits inside the Old Gallery district and ties into the Alucard Guides clue, linked to The Artist Arcana. The clue’s wording points you toward hidden areas of the castle, framing Alucard as the figure whose face still turns heads and whose presence marks the way forward.
Rose can interact with a portrait to spark a short exchange with her spirit companions, where even Medusa concedes that Alucard looks every bit as striking as the legends claim.
Alucard’s Tower and Adrian’s letter
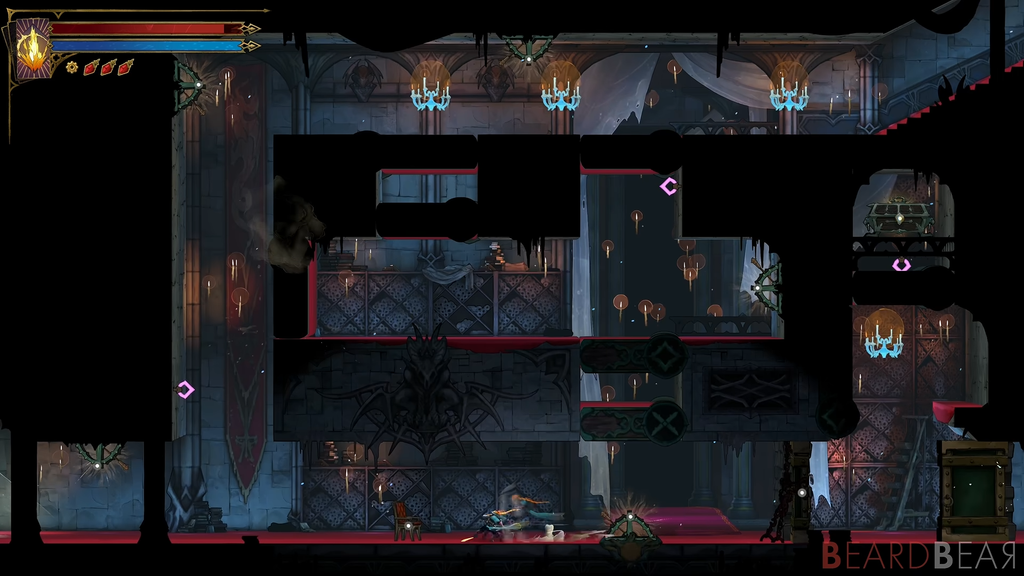
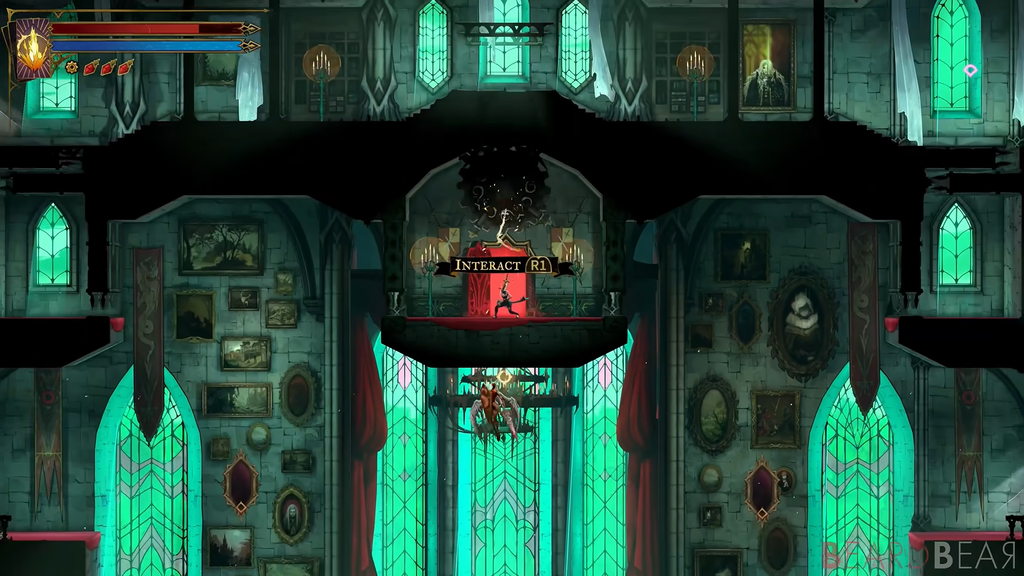
Higher up, past the Bridge of Knowledge, the map marks a room called Alucard’s Tower — his private quarters. On the desk is a letter signed “Adrian,” addressed to his father.
The letter fills in his story. Adrian writes that he can no longer stand beside Dracula after his mother’s death, that his father has become unrecognizable, and that he is leaving to walk the world as humans do. He also explains the ring of blue flames around his chambers, lit from a peasant superstition meant to ward off the evil seeping through the castle. It is those flames that gate the room’s secret.
When you reach the shrine and later trigger the scene, Leon and Medusa react to whose home this is:
LEON: “Someone loved once lived here.”
MEDUSA: “This is the room of the traiterous son. The abominable half-breed who helped your mother and father, Rose. He’s been missing ever since.”
How to get Alucard’s Sword and Shield
The reward waiting in the tower is Alucard’s Sword and Shield, a Legendary sword-and-shield weapon whose attacks teleport Rose forward, echoing some of Alucard’s own moves from Symphony of the Night. To claim it, you need to light four blue flames around his chambers.
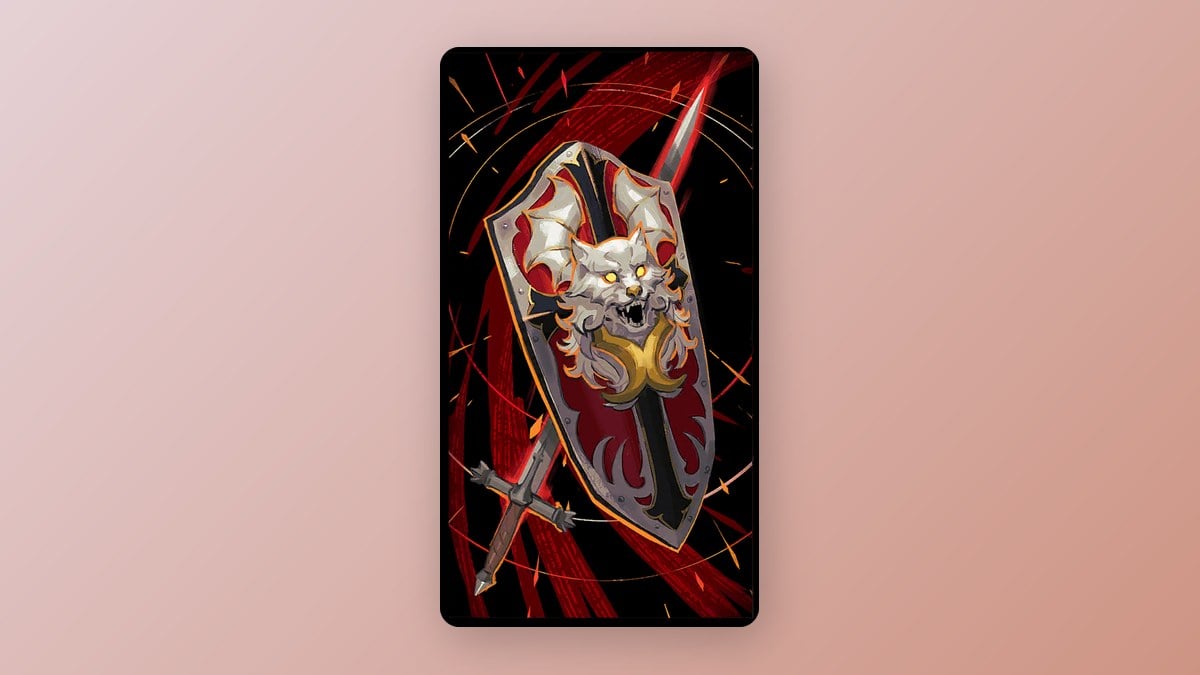
You know it worked when the Legendary Alucard’s Sword and Shield card appears and you can equip it. Here are its stats once it is in Rose’s arsenal:
| Stat | Value |
|---|---|
| ATK | 100 |
| Attack power | 33 |
| Mana per hit | 4 |
| Stagger power | 30 |
| Combo finisher | Shield bash |
| Rarity | Legendary |
| Tier | 4 |
Holding the attack button raises the shield to block incoming frontal hits, and swinging the sword teleports Rose forward into the strike. That mix of defense and short-range blink is what makes it feel like a direct nod to its original owner.
The Alucard Style Costume skin
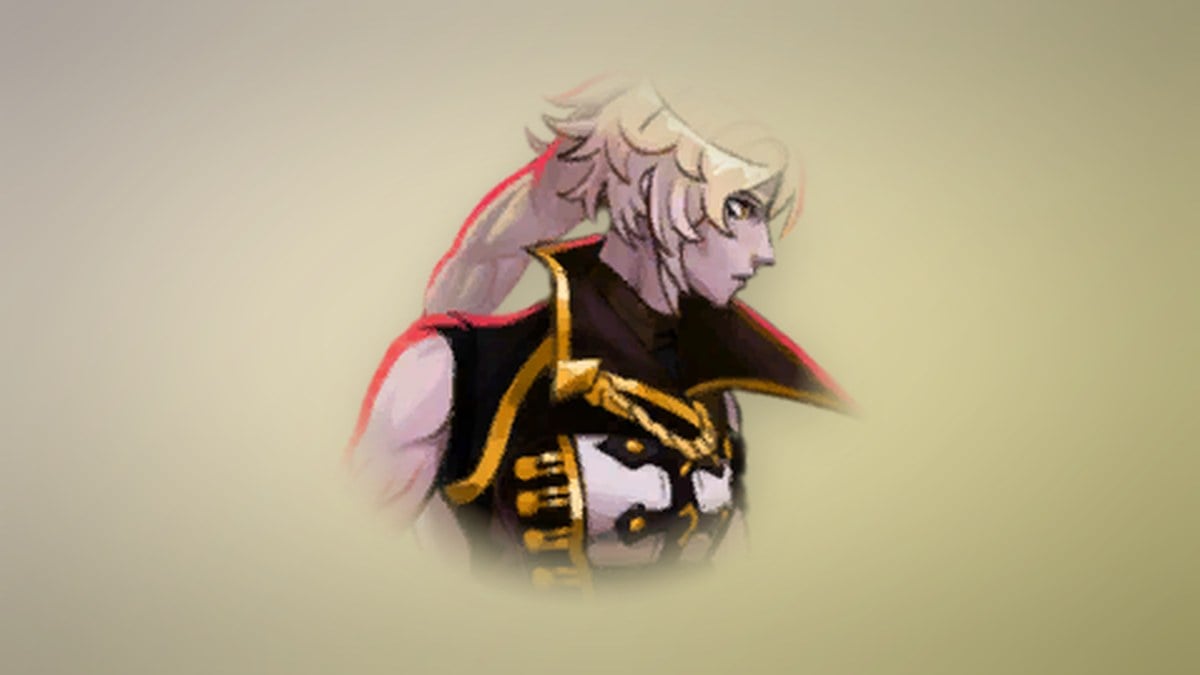
Rose can adopt the look, too. The Alucard Style Costume replaces her usual appearance with an outfit inspired by the dhampir. Its in-game description portrays it as clothing for a lone fighter with a fractured past, wandering through time without finding a place to belong.
It comes as the pre-order bonus and is also offered as the Alucard Style Costume add-on, rather than something you earn through play. If you pre-ordered any edition, it unlocks from the costume menu alongside Rose’s default outfit.
Between the portraits, the clue, the tower, the weapon, and the costume, Alucard threads through nearly every corner of Rose’s adventure — a quiet tribute to the character and the game that reshaped the series around him.