A pair of high-investment teams runs through Floor 12 of the Spiral Abyss in Genshin Impact Version 7.1, splitting the work between two reaction cores. The first half leans on Varka as an Anemo claymore carry driving Stellar-Swirl, while the second half hands the field to Flins and his Lunar-Charged Electro damage. Both halves end the same way, with every chamber cleared for three stars and minutes left on the clock.
Quick answer: A Varka Anemo/Stellar-Swirl team and a Flins Electro/Lunar-Charged team each clear their side of Floor 12 for a full 9/9 stars, finishing every chamber with over nine minutes remaining.
The two Floor 12 team compositions
Spiral Abyss Floor 12 asks for two separate parties, one per half of each chamber. Here, the first half is built around Varka pulling enemies together and converting Cryo swirls into Stellar-Swirl explosions. The second half swaps to Flins, who turns the party’s reactions into Lunar-Charged damage.
| Character | Level | Half | Role |
|---|---|---|---|
| Varka | 100 | First | Anemo main DPS (claymore) |
| Prune | 90 | First | Anemo buffer (catalyst) |
| Escoffier | 90 | First | Cryo support |
| Odette | 90 | First | Stellar-Swirl enabler |
| Flins | 100 | Second | Electro/Lunar-Charged main DPS (polearm) |
| Columbina | 100 | Second | Hydro buffer/sub-DPS |
| Ineffa | 90 | Second | Electro shield/sub-DPS |
| Diona | 80 | Second | Cryo healer/buffer (bow) |
Varka, Flins, and Columbina are pushed to Level 100, past the usual Level 90 cap, which is a clear marker of how much investment sits behind this run.
How the Varka Stellar-Swirl half works
Stellar-Swirl is a reaction that fires when Anemo swirls Cryo while a Stellar Glimmer character is in the party. Instead of a normal Cryo swirl, the hit creates a Stellar Vortex that keeps growing and then explodes for Cryo damage. Repeated Stellar-Swirl triggers near the vortex set off that explosion.
In this first-half party, Escoffier supplies the Cryo, Varka and Prune drive the Anemo swirls, and Odette acts as the linchpin that turns those swirls into Stellar-Swirls. Varka stays on field as the main damage dealer, grouping enemies and feeding the vortex while the supports keep Cryo and Anemo flowing.
How the Flins Lunar-Charged half works
Flins is a 5-star Electro polearm user from Nod-Krai whose kit is built around Lunar-Charged. His passive Moonsign Benediction: Old World Secrets converts any Electro-Charged reaction a party member triggers into Lunar-Charged, and raises the party’s Moonsign by one level while he is on the team. Every 100 ATK Flins carries adds to Lunar-Charged’s base damage, up to a cap.
Columbina provides the Hydro that lets Ineffa and Flins set off Electro-Charged, which Flins then rolls into Lunar-Charged. His four-piece Night of the Sky’s Unveiling set pushes Lunar Reaction damage higher, while Diona covers healing. His Elemental Burst, Ancient Ritual: Cometh the Night, delivers several instances of Lunar-Charged Electro damage, and Northland Spearstorm swaps it for the cheaper Thunderous Symphony burst for a short window.
Floor 12 chamber by chamber
Each chamber begins with a Benediction of the Abyss buff choice before the two halves play out back to back. Every target goes down in roughly 15 to 21 seconds, leaving well over nine minutes on every timer.
Chamber 1
Varka’s team opens against the Battle-Hardened Chimeric Volkodlak Archer (Lv. 95), downing it in about 21 seconds as Prune and Odette set up the swirl for Varka’s burst.
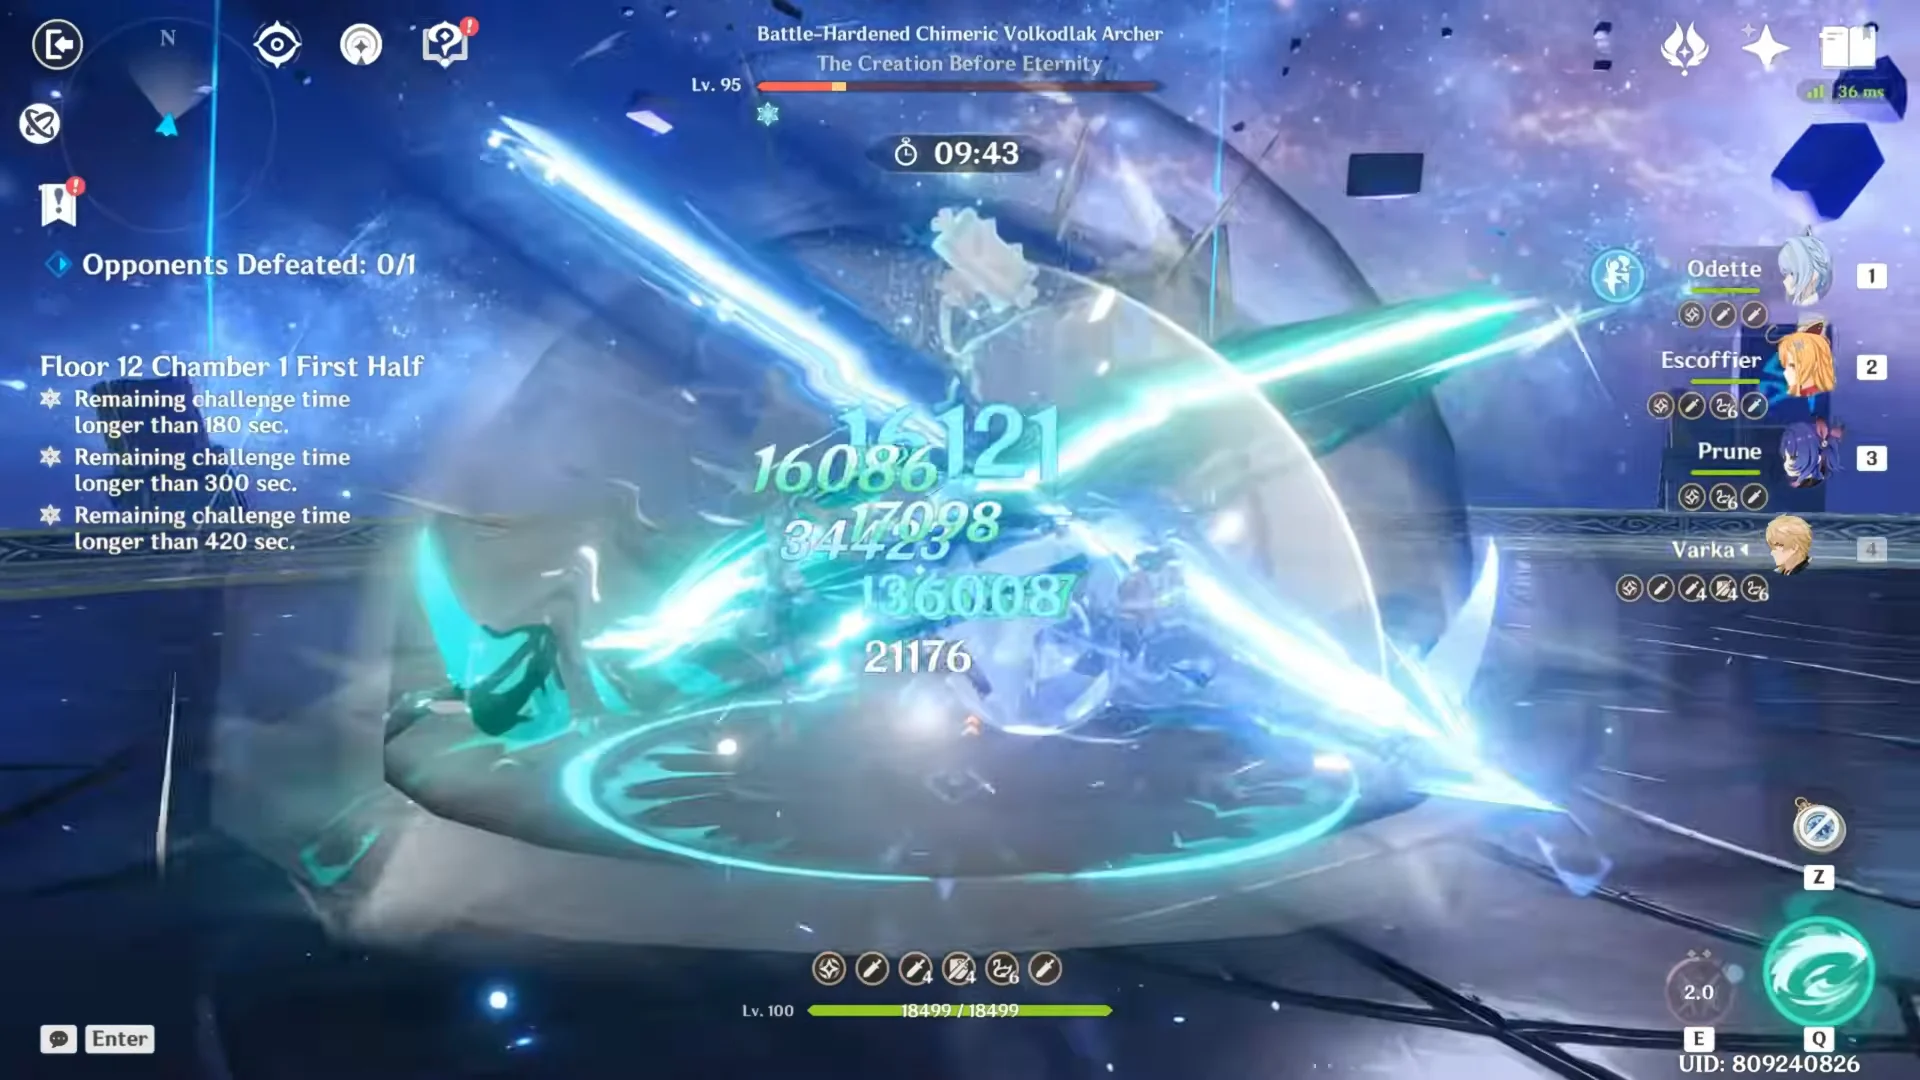
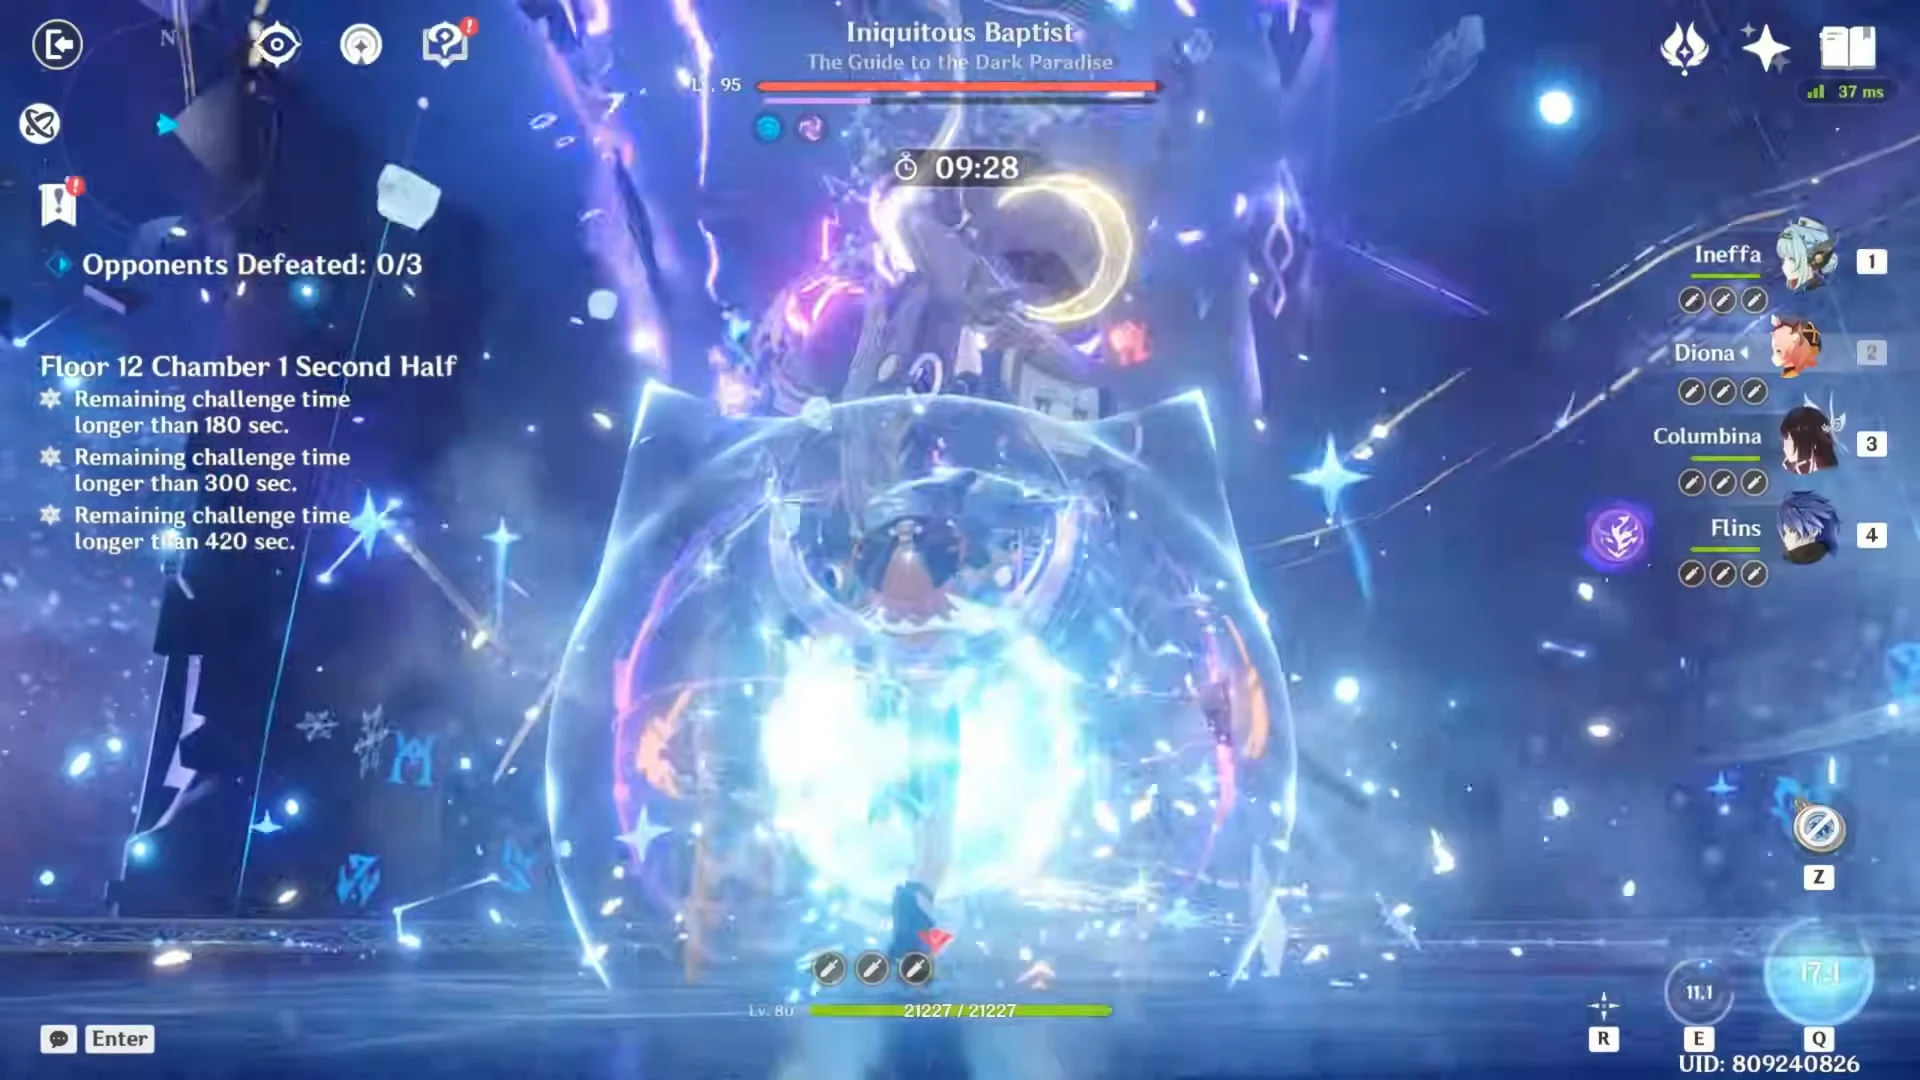
The second half brings in Flins, Ineffa, Columbina, and Diona to break shields and finish the Iniquitous Baptist (Lv. 95) in roughly 15 seconds.
Chamber 2
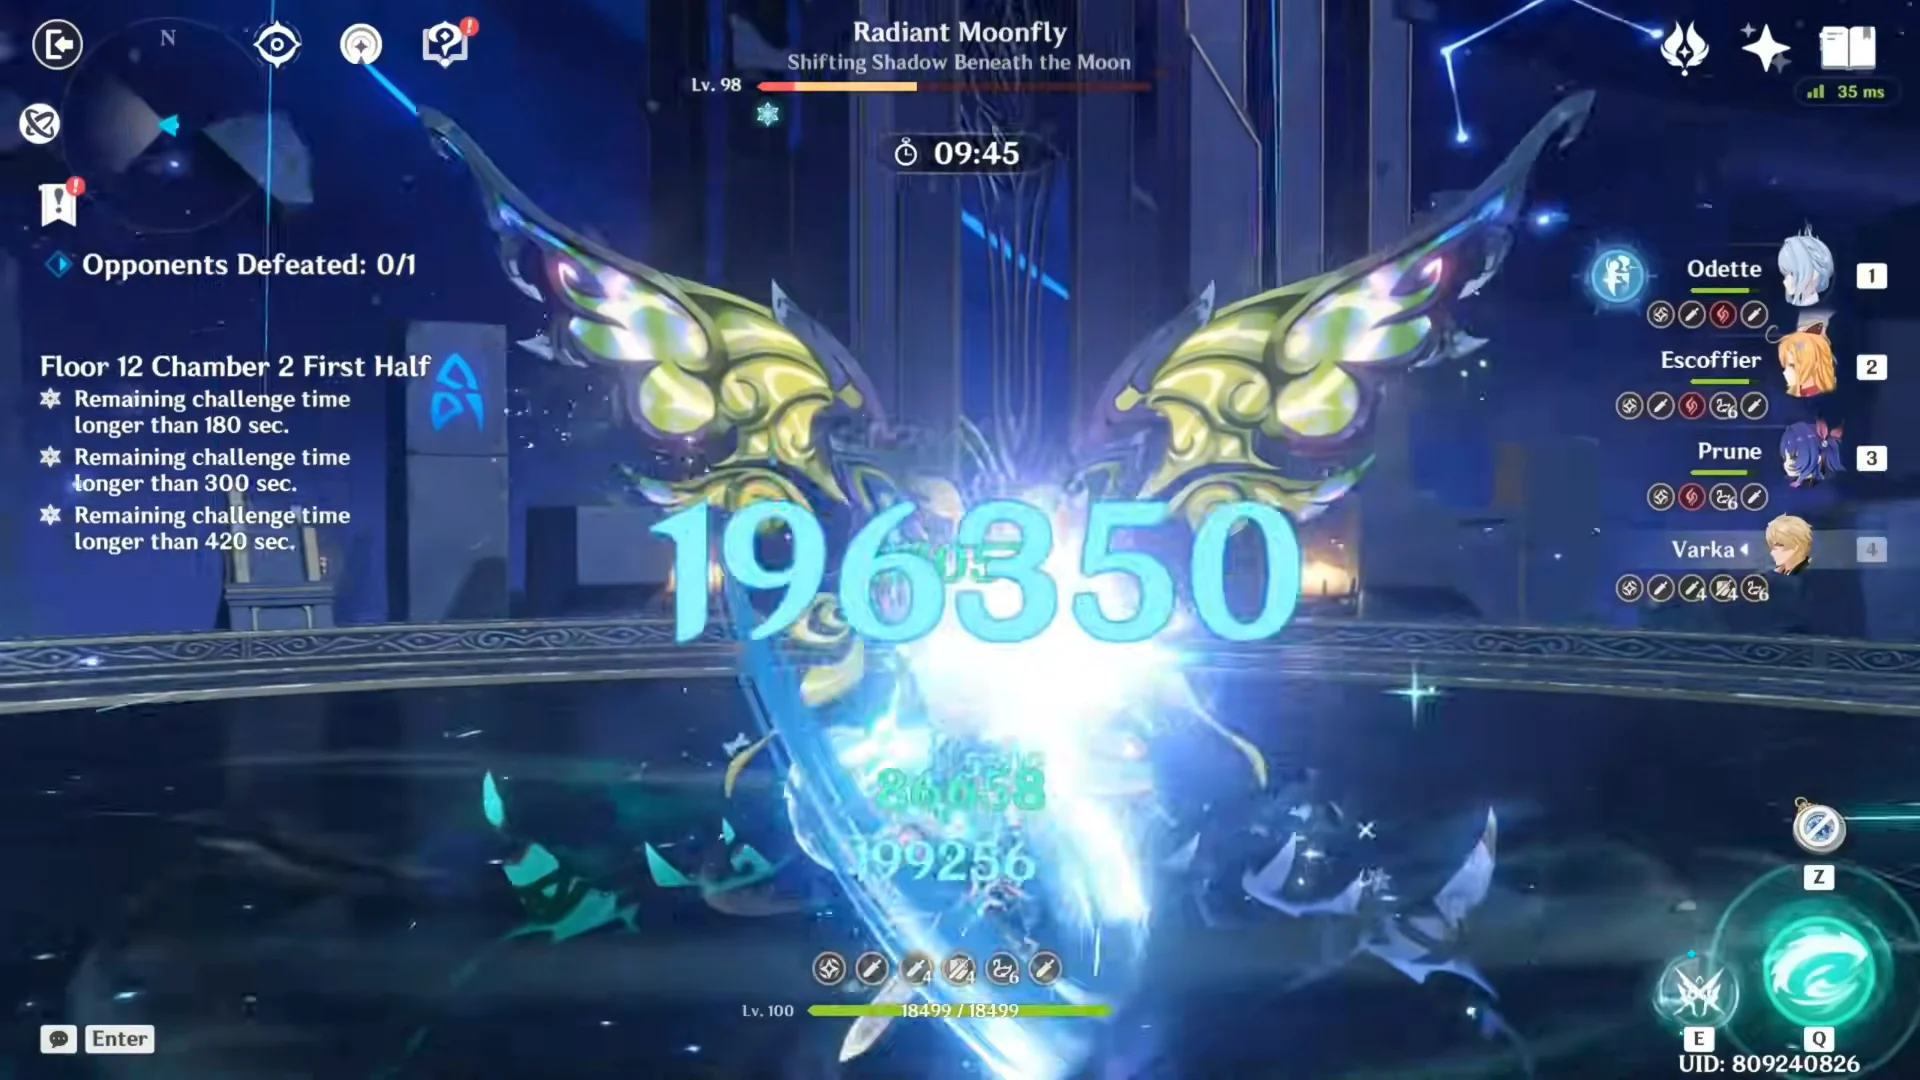
With the Character Elemental Burst DMG +20% buff picked, Varka’s half dispatches the Radiant Moonfly (Lv. 98) in about 15 seconds.
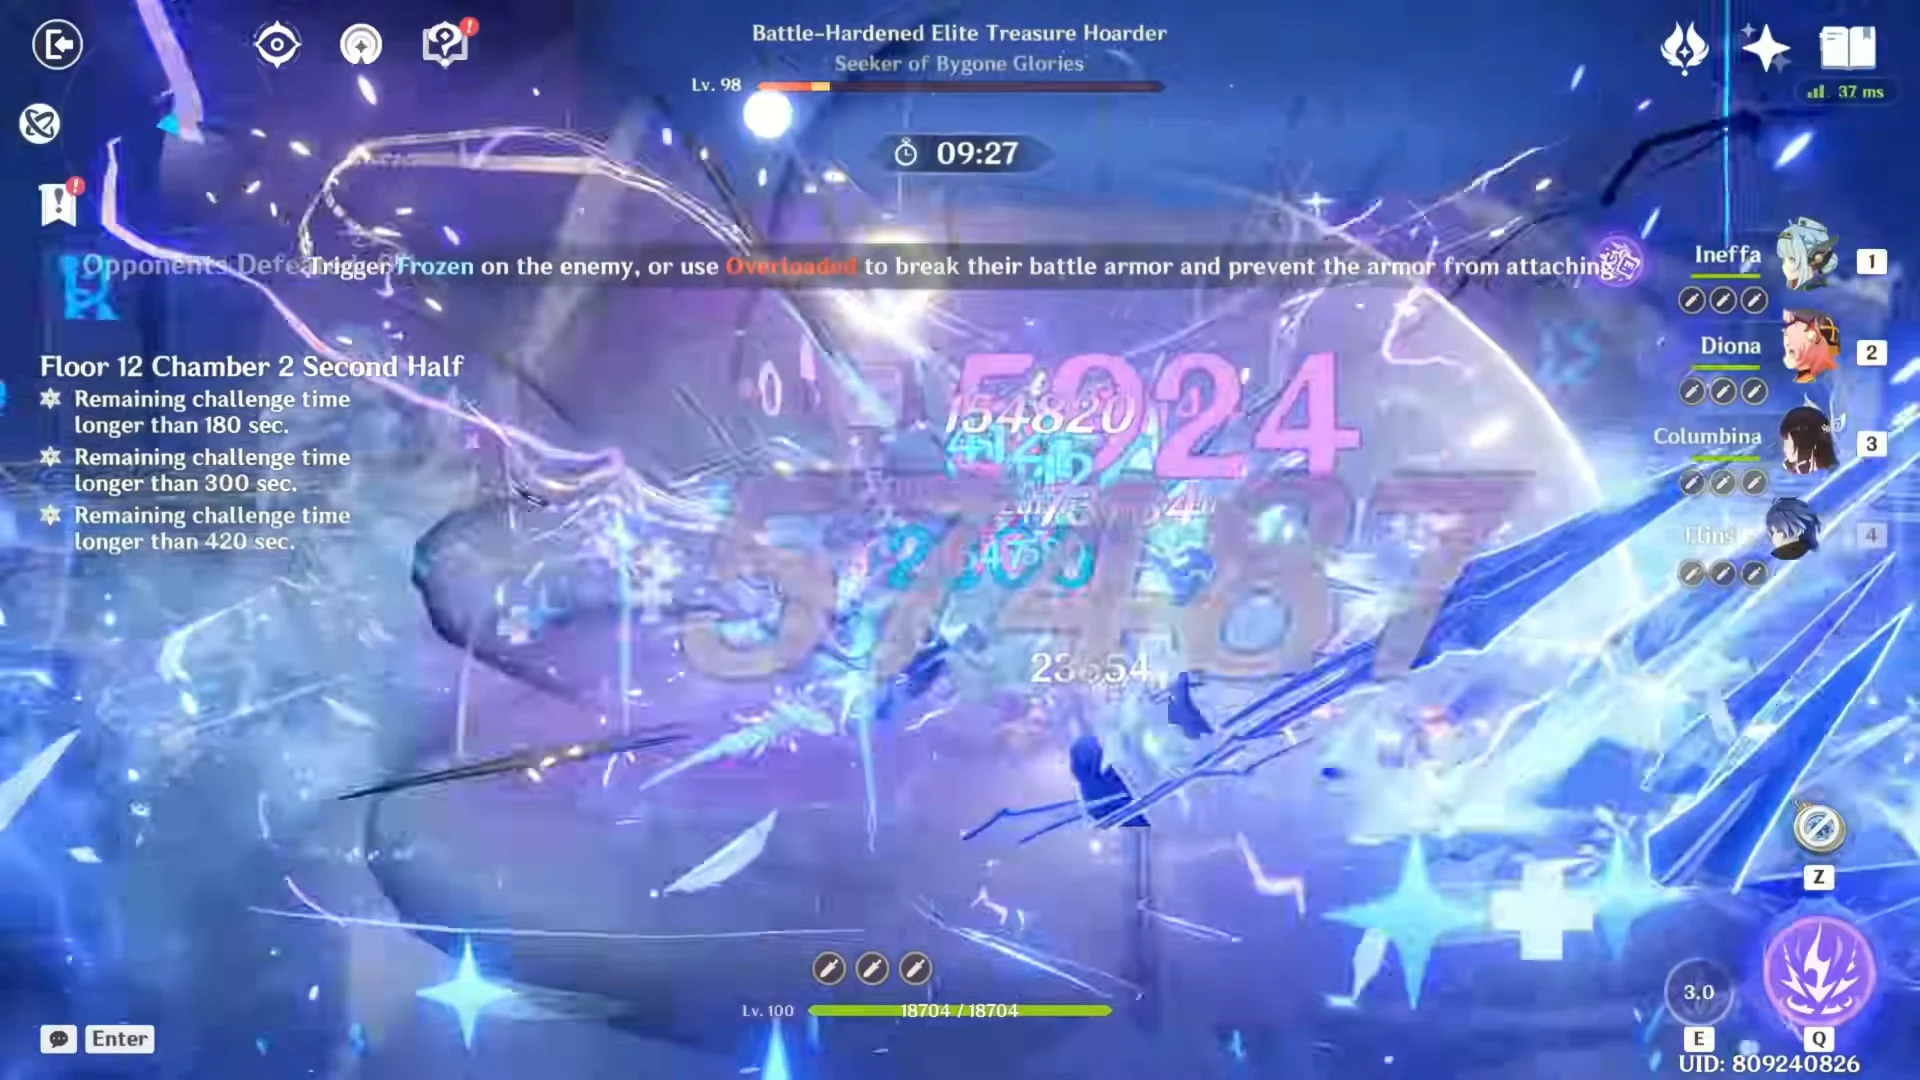
Flins’ team then triggers Lunar-Charged and Overloaded on the Battle-Hardened Elite Treasure Hoarder (Lv. 98), clearing it in around 17 seconds.
Chamber 3
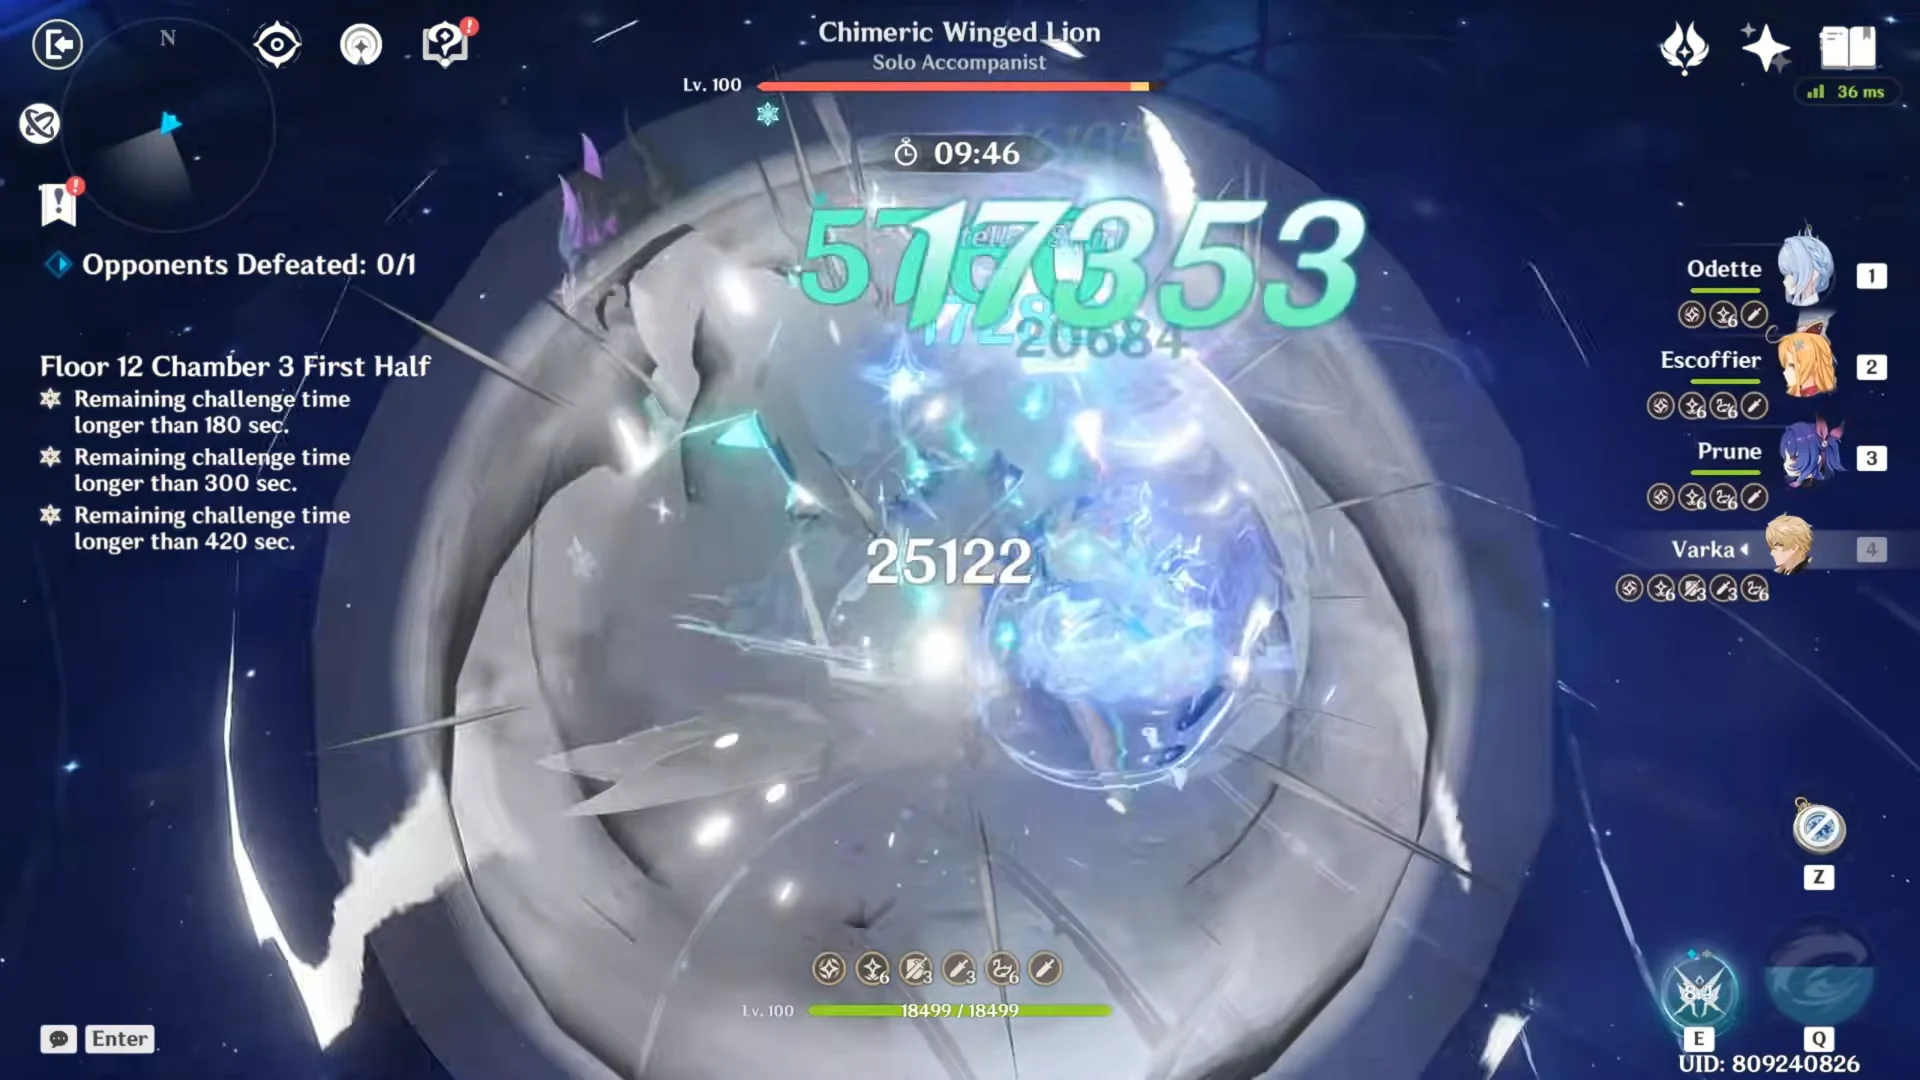
After taking the Character DMG within 8s of sprint +20% buff, Varka’s party removes the Chimeric Winged Lion (Lv. 100) in roughly 20 seconds.
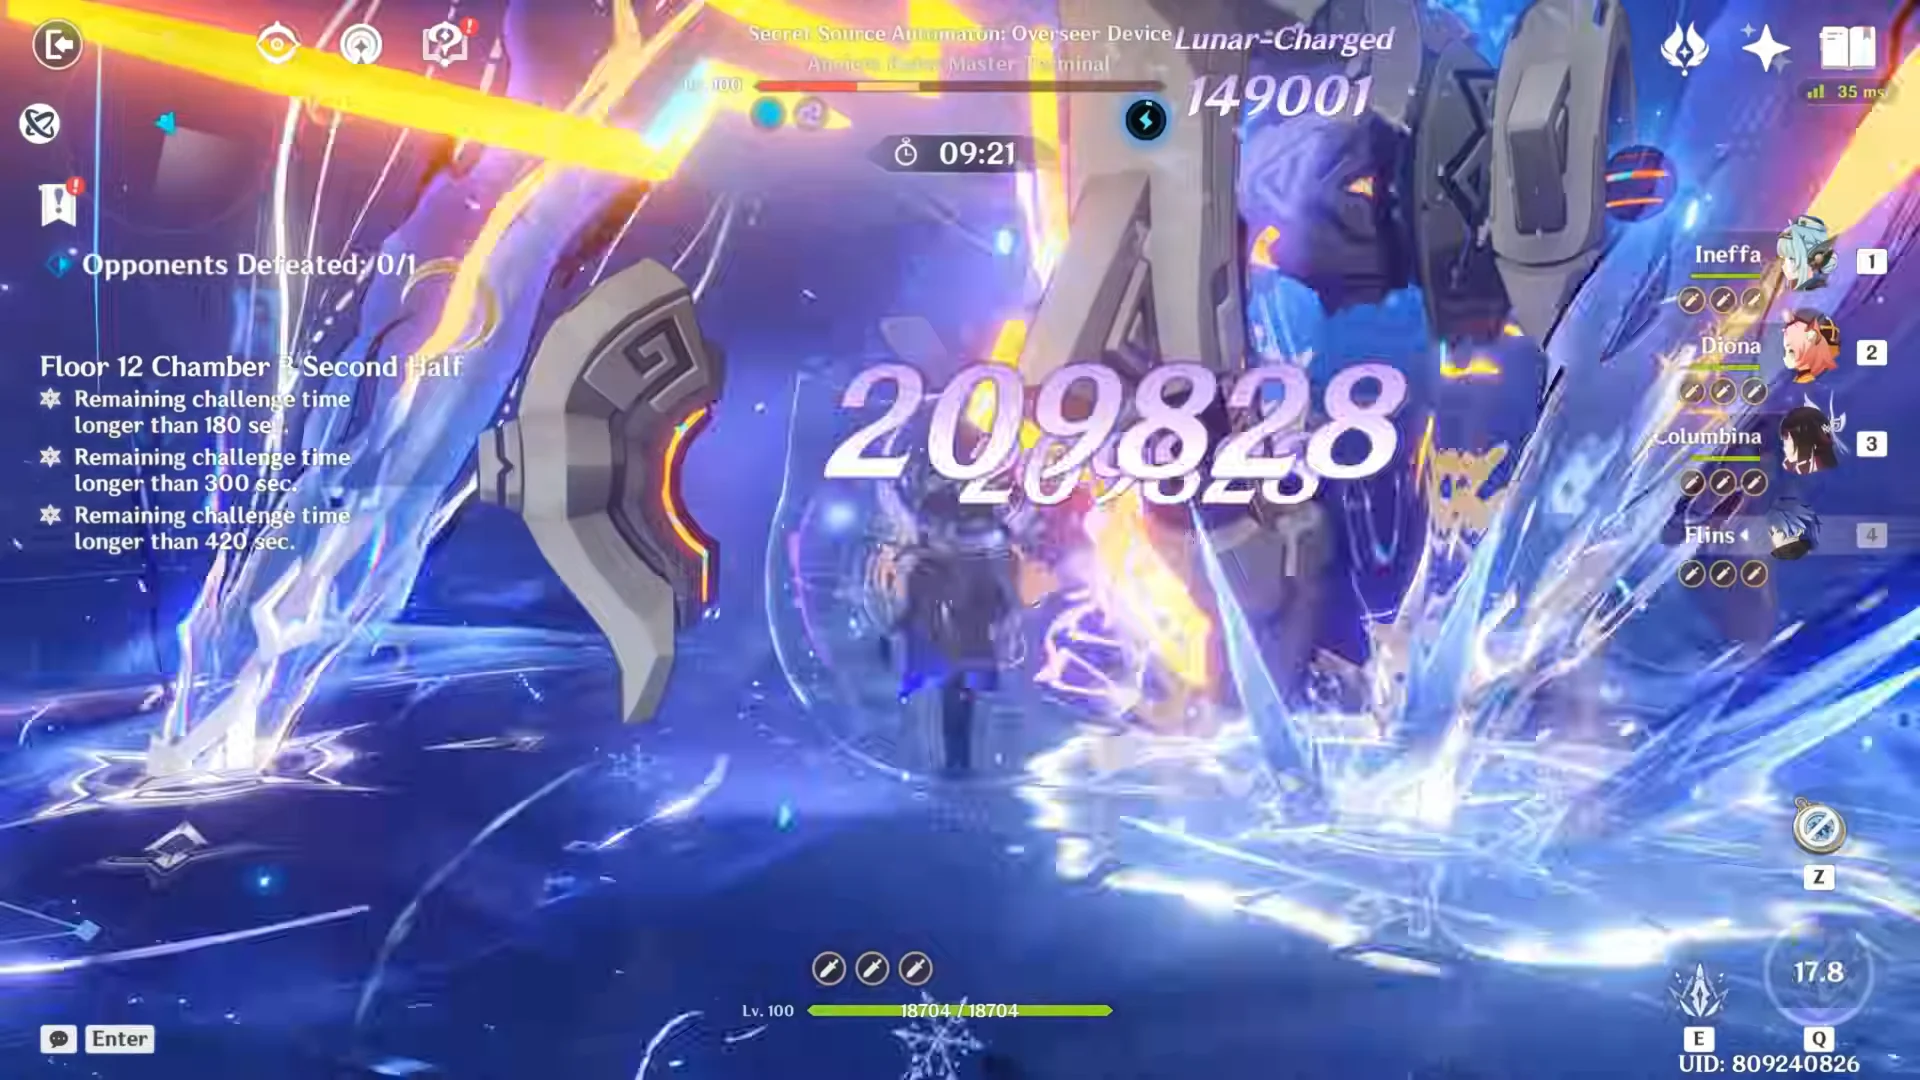
The run ends with Flins, Columbina, Ineffa, and Diona defeating the Secret Source Automaton: Overseer Device (Lv. 100) in about 17 seconds, locking in 9/9 stars across the floor.
The end-of-run summary confirms 9/9 stars on Floors 9, 10, 11, and 12, for a full 36-star result.
Weapons and artifacts behind the clear
| Character | Level | Weapon | Artifact set |
|---|---|---|---|
| Varka | 100 | Gest of the Mighty Wolf R1 | A Day Carved from Rising Wind |
| Prune | 90 | Skyward Atlas R3 | Viridescent Venerer |
| Escoffier | 90 | Symphonist of Scents R1 | Tenacity of the Millelith |
| Odette | 90 | Primordial Jade Cutter R3 | Heart of the Furnace |
| Flins | 100 | Bloodsoaked Ruins R2 | Night of the Sky’s Unveiling |
| Columbina | 100 | Thrilling Tales of Dragon S R5 | Silken Moon’s Serenade |
| Ineffa | 90 | Fractured Halo R1 | Tenacity of the Millelith |
| Diona | 80 | Elegy for the End R1 | Noblesse Oblige |
Varka sits at an ATK of 2,635 with 251.6% CRIT DMG, backed by Prune’s 204.9% Energy Recharge to keep bursts rolling and Odette’s 191.8% CRIT DMG feeding the Stellar-Swirl core. Flins reaches an ATK of 2,780 with 219.7% CRIT DMG, paired with Night of the Sky’s Unveiling to raise Lunar Reaction damage and Bloodsoaked Ruins for the Lunar-Charged bonus after each burst.
Both halves show what a fully invested Varka and Flins look like at the top of Version 7.1, with the second team’s Hydro from Columbina and Electro from Ineffa feeding the reactions that Flins converts into Lunar-Charged damage.