Where to shoot every hidden skull in Blood Cascade to claim all four Secrets and the single Purity Seal.
Where to shoot every hidden skull in Blood Cascade to claim all four Secrets and the single Purity Seal.
by AllThingsHow Staff
Blood Cascade hides five collectibles across its blood-slicked halls: four Secrets and one Purity Seal. Each one sits behind a hidden skull switch that you have to shoot from a specific vantage point, and every pickup lands off the main objective path. Work through them in level order, from the red and purple doors near the start to the collapsing arena at the end, and you will clear the whole set in a single run.
Quick answer: There are 4 Secrets and 1 Purity Seal. Shoot the hidden skull switch tied to each one, then grab the pickup it reveals to advance the Secrets and Seal counters.
All Blood Cascade collectibles and rewards
Collectible
Reward
Where to trigger it
Secret 1/4
+79 Faith
Across the gap by the red [Σ] and purple [Φ] door
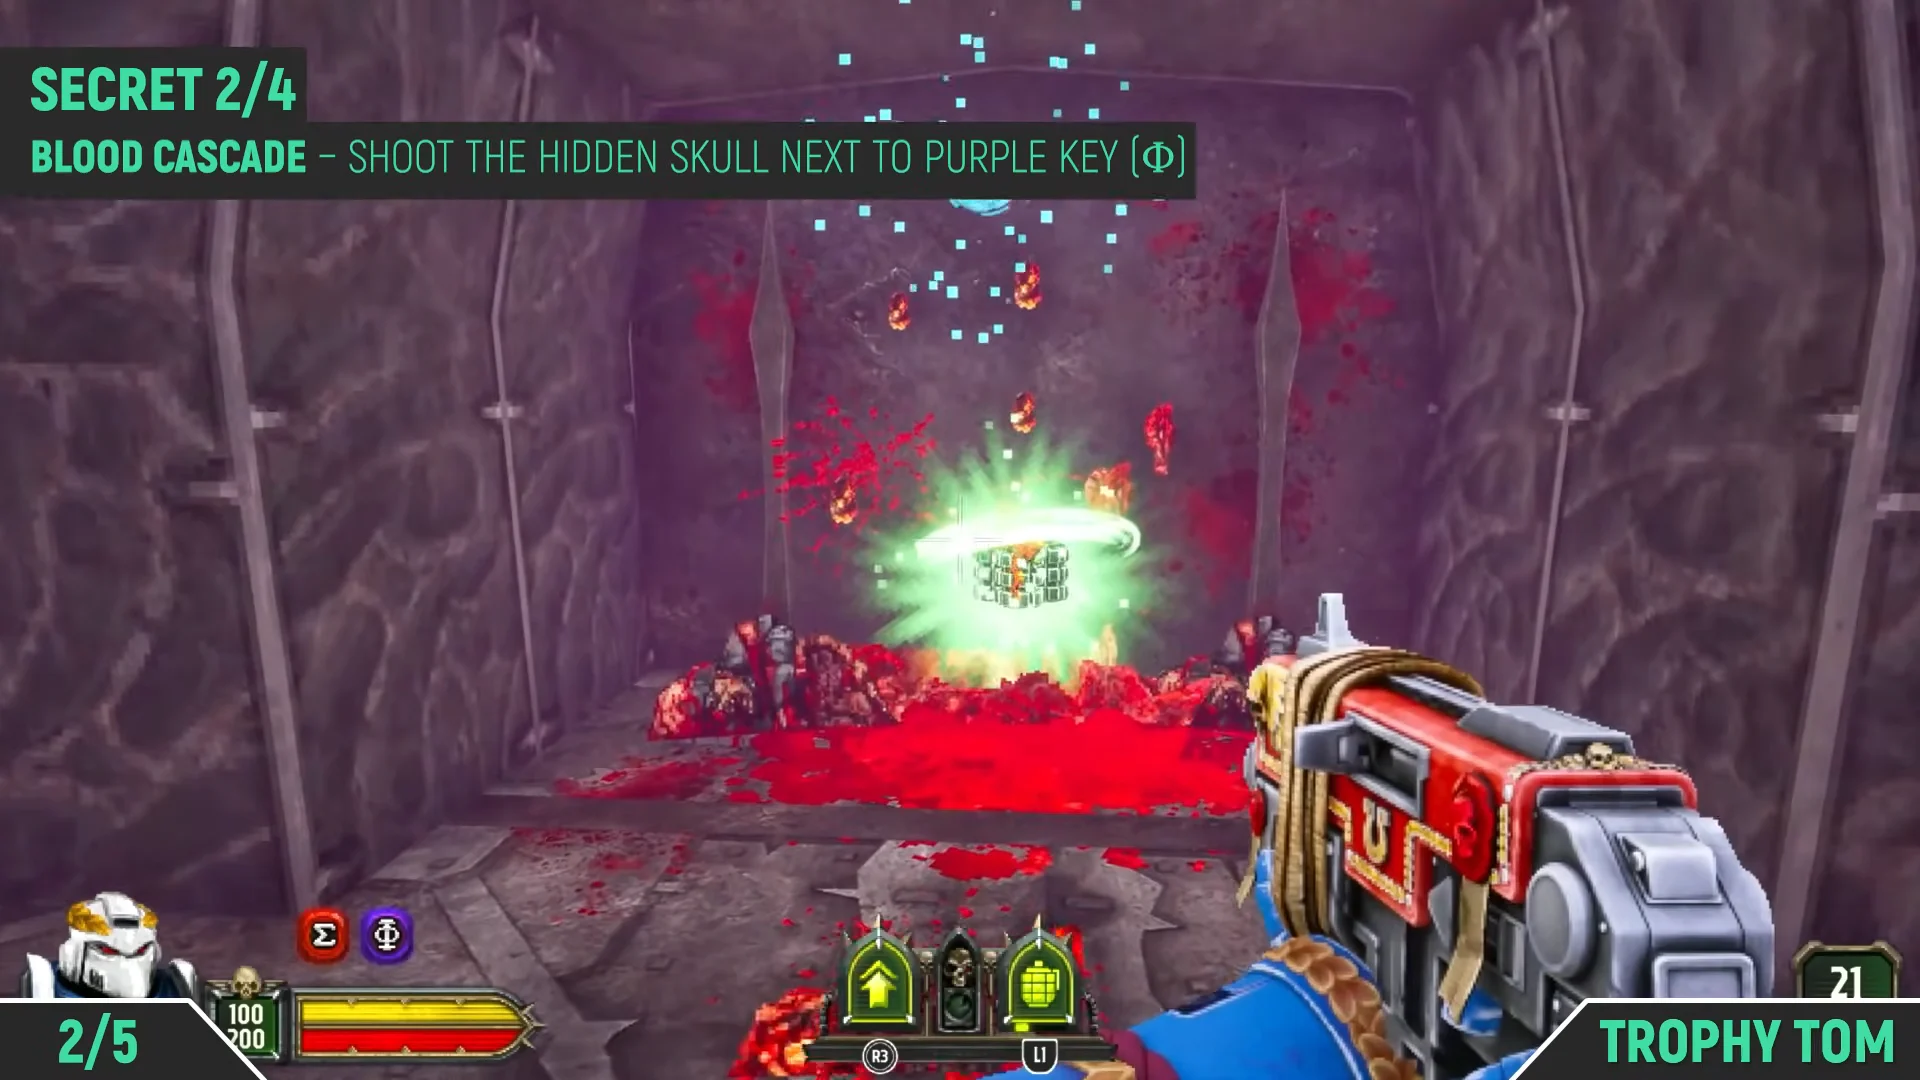
Secret 2/4
Grenade Boost
Below the purple key [Φ] balcony
Secret 3/4
Machine Spirit
Drop area past the first yellow door [Ψ]
Purity Seal 1/1
Purity Seal
Outside the second yellow door [Ψ]
Secret 4/4
Infinite Ammo
Large arena past the second yellow door [Ψ]
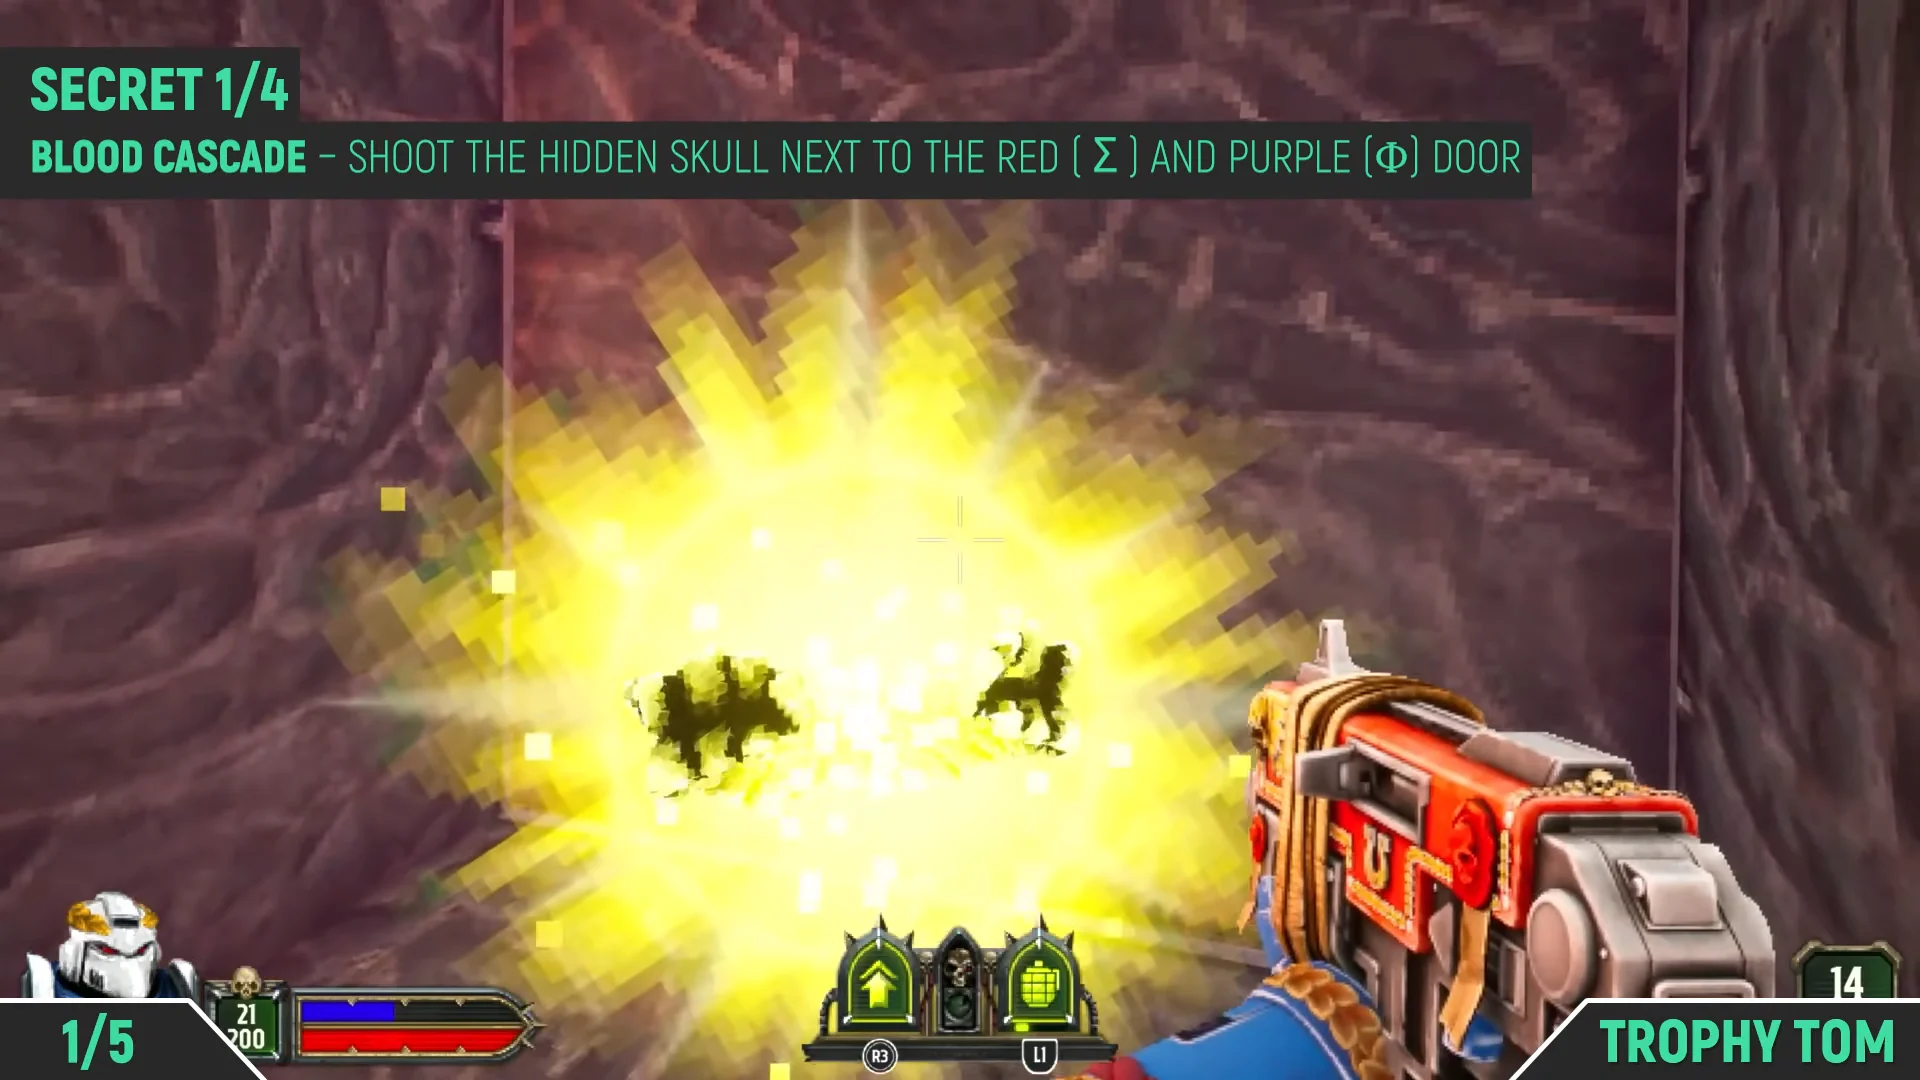
Secret 1: Skull by the red and purple doors
The first Secret sits near the red [Σ] and purple [Φ] door, and it is easy to walk straight past. You reach it by climbing to an elevated spot and shooting a small skull mounted on the far side of the cavern.
Turn around and look across the gap. Line up the small skull fixed to the structure on the other side and shoot it. This opens a lit compartment in the wall.
Jump across into the newly opened opening to grab the pickup. You will see the SECRET DISCOVERED prompt and gain +79 Faith, pushing your counter to Secrets 1/4.
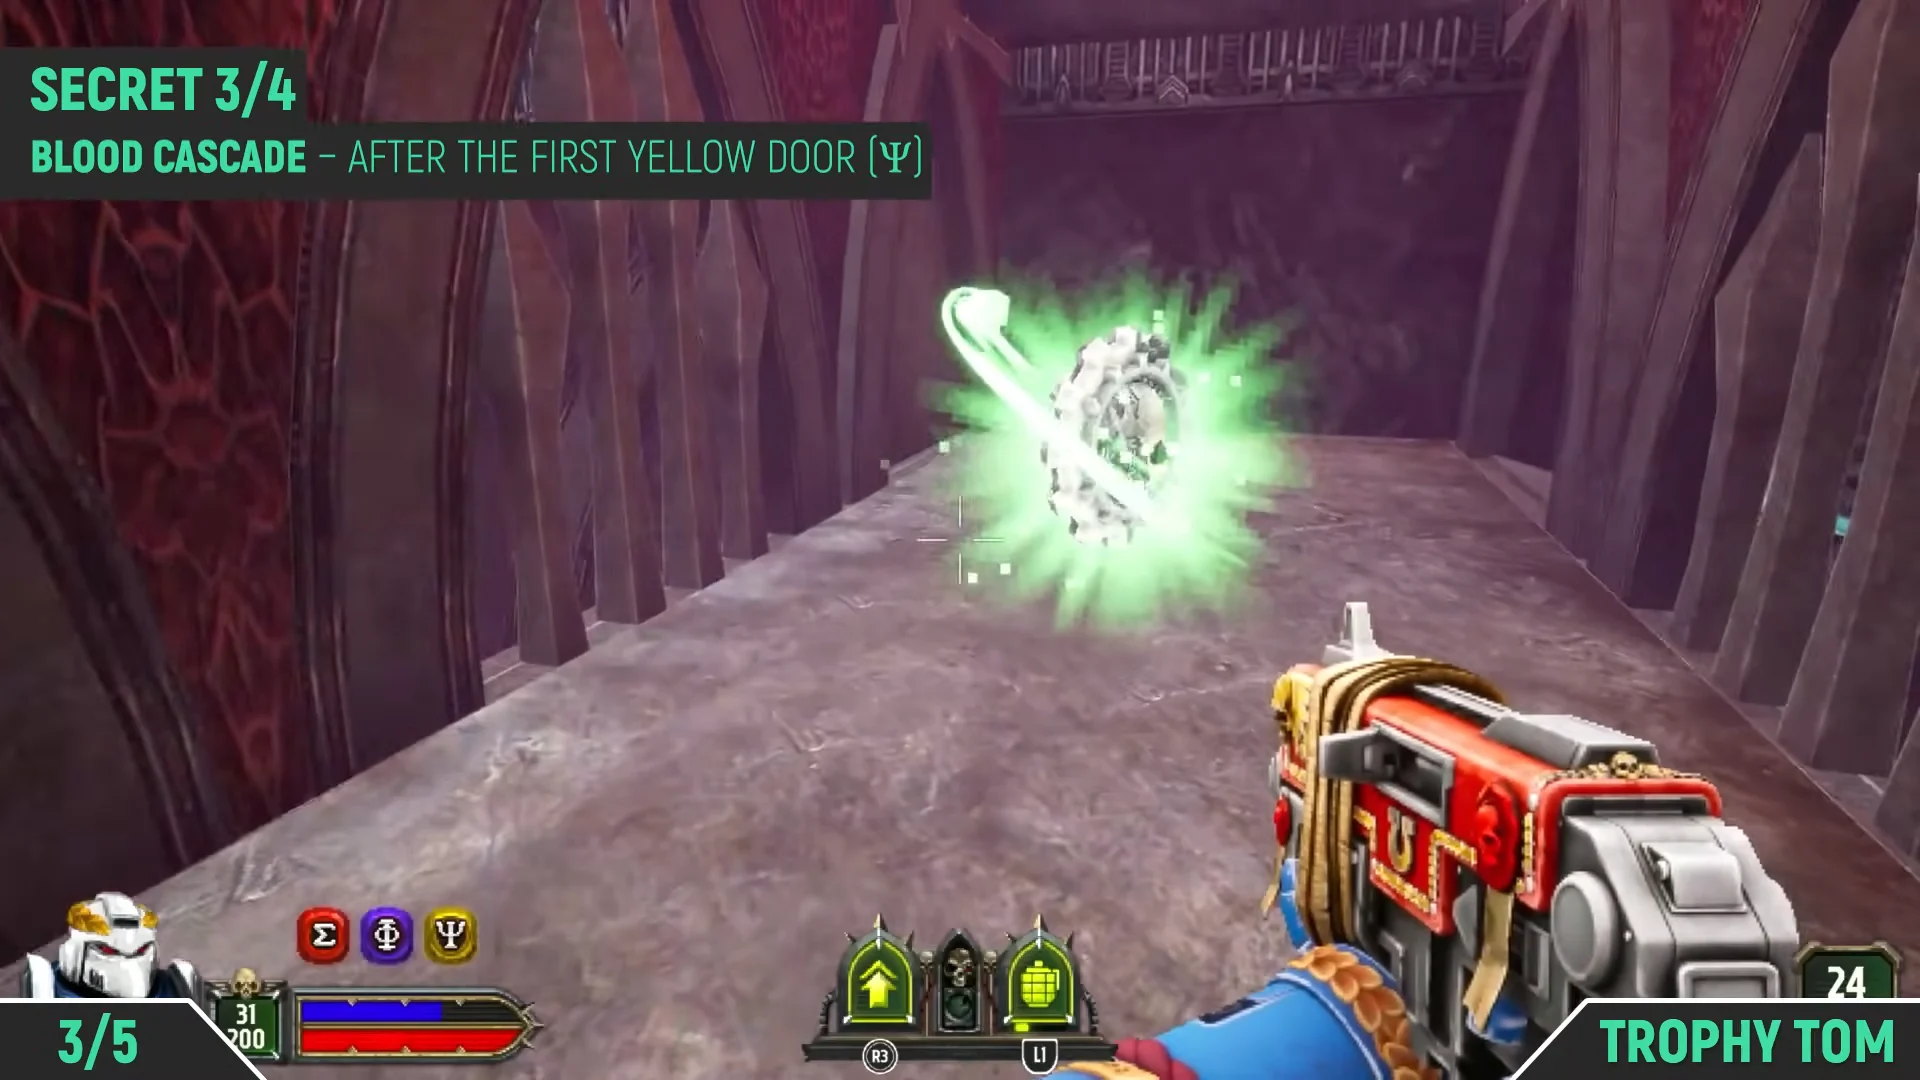
Secret 3: Machine Spirit past the first yellow door
Beyond the first yellow door [Ψ] you reach a bridge that overlooks a large drop area. The third Secret is tucked onto a lower ledge, revealed by a skull near the pit.
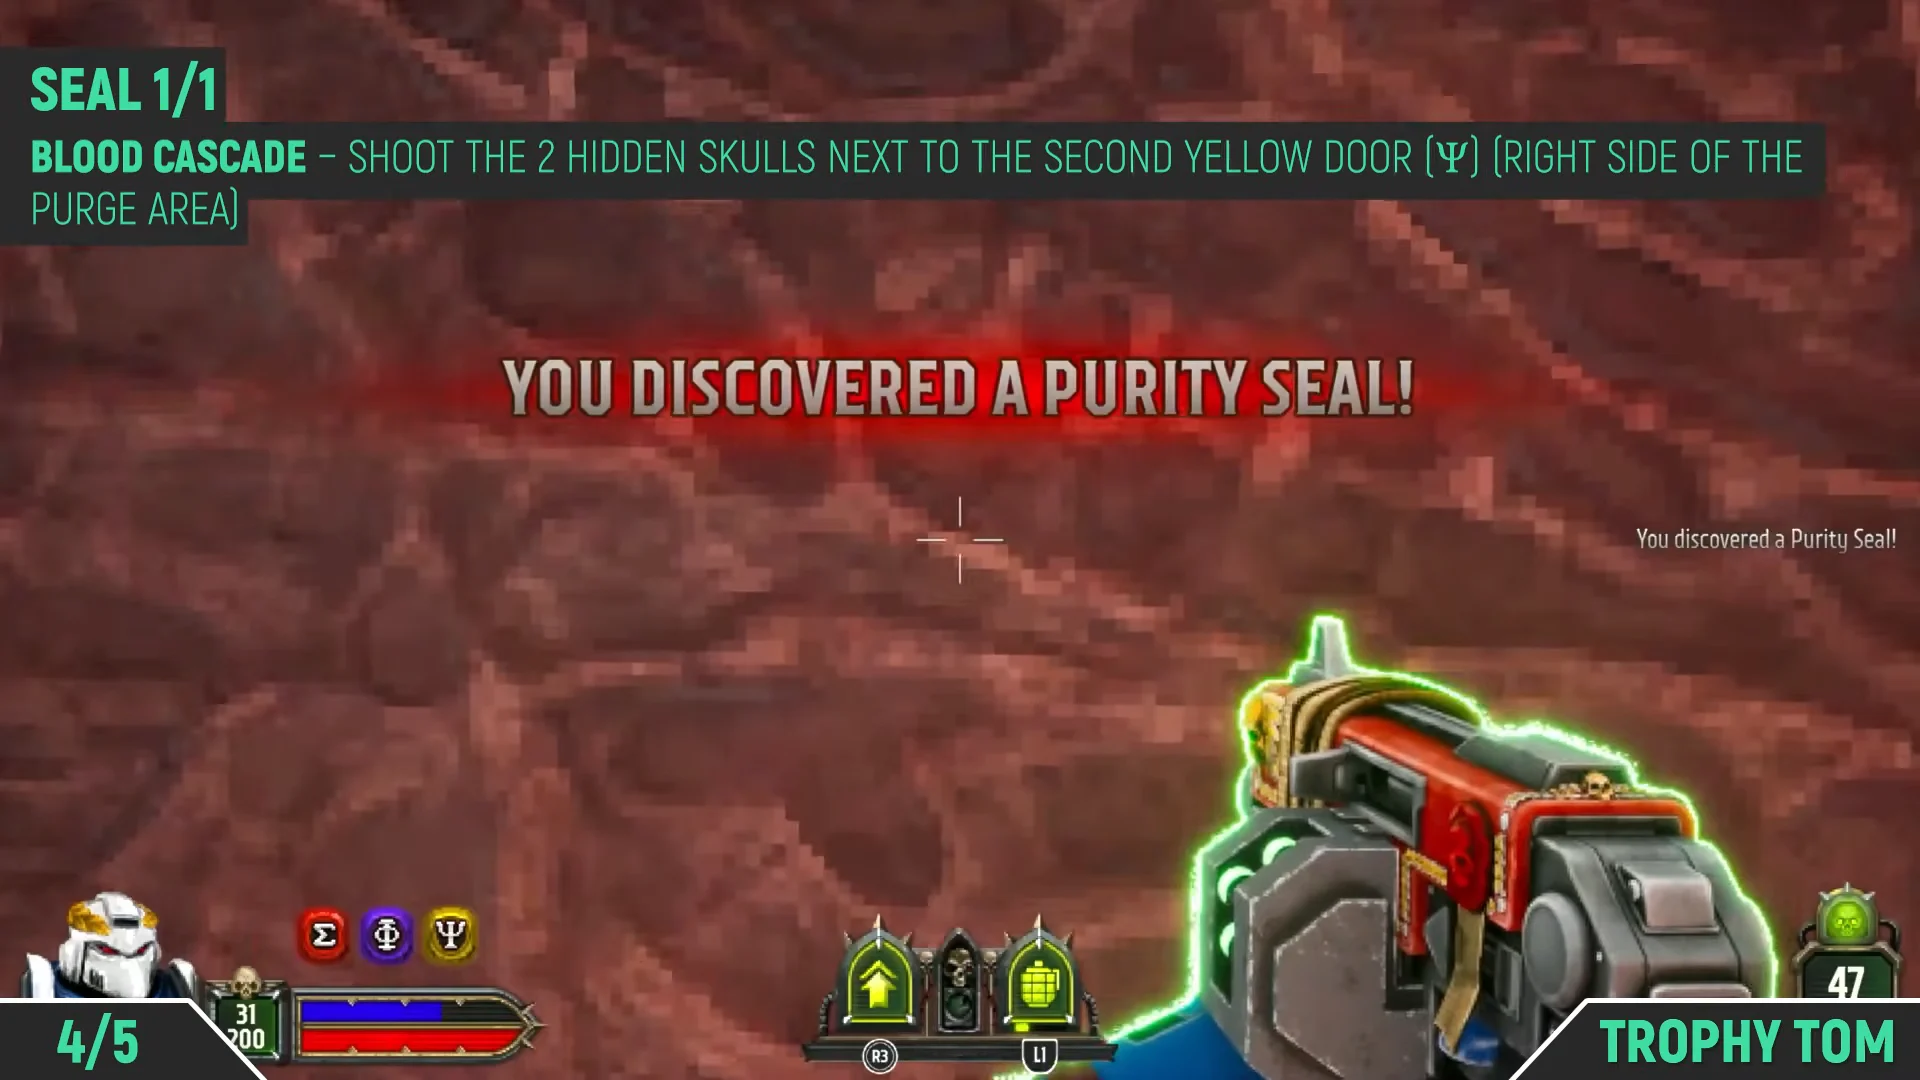
The level’s only Purity Seal sits outside the second yellow door [Ψ]. Two paths lead out of the purge area to two different yellow doors, and you need the one on the right.
After clearing the purge, leave the area along the right-hand path toward the second yellow door. Do not take the left path, which leads to the wrong door.
Near the door, find the two hidden skulls over the chasm. One sits above the door switch, and the other is high up on the opposite side from the switch. Shoot both.
A platform forms, giving you access to the alcove in the wall. Take the Purity Seal; YOU DISCOVERED A PURITY SEAL! appears, and the Seal counter reads 1/1.
The last Secret is inside the large open arena past the second yellow door [Ψ]. Entering the hall starts a fight against Deranged Cultists and Bloodletters, and the floor in the side room opens up on a timer, so you have to be fast.
Grab the Infinite Ammo pickup it reveals. The SECRET DISCOVERED prompt appears and the counter finishes at Secrets 4/4.
The floor in this room can open beneath you at any moment, so grab the pickup and move before it gives way.
With all four Secrets registered and the Purity Seal in hand, every collectible on Blood Cascade is accounted for and you can press on toward the next mission with nothing left behind.