The Slaughtermill sits in the Vale of Wrath during Chapter 5 of Valor Mortis, reached by following the single wooded path away from the Old Windmill Lantern. It is not a sword duel. The boss is a windmill fused with flesh, and beating it means exposing its weak tissue, stopping its blades, surviving a fire barrage, and climbing a collapsing structure to reach the eye on its body.
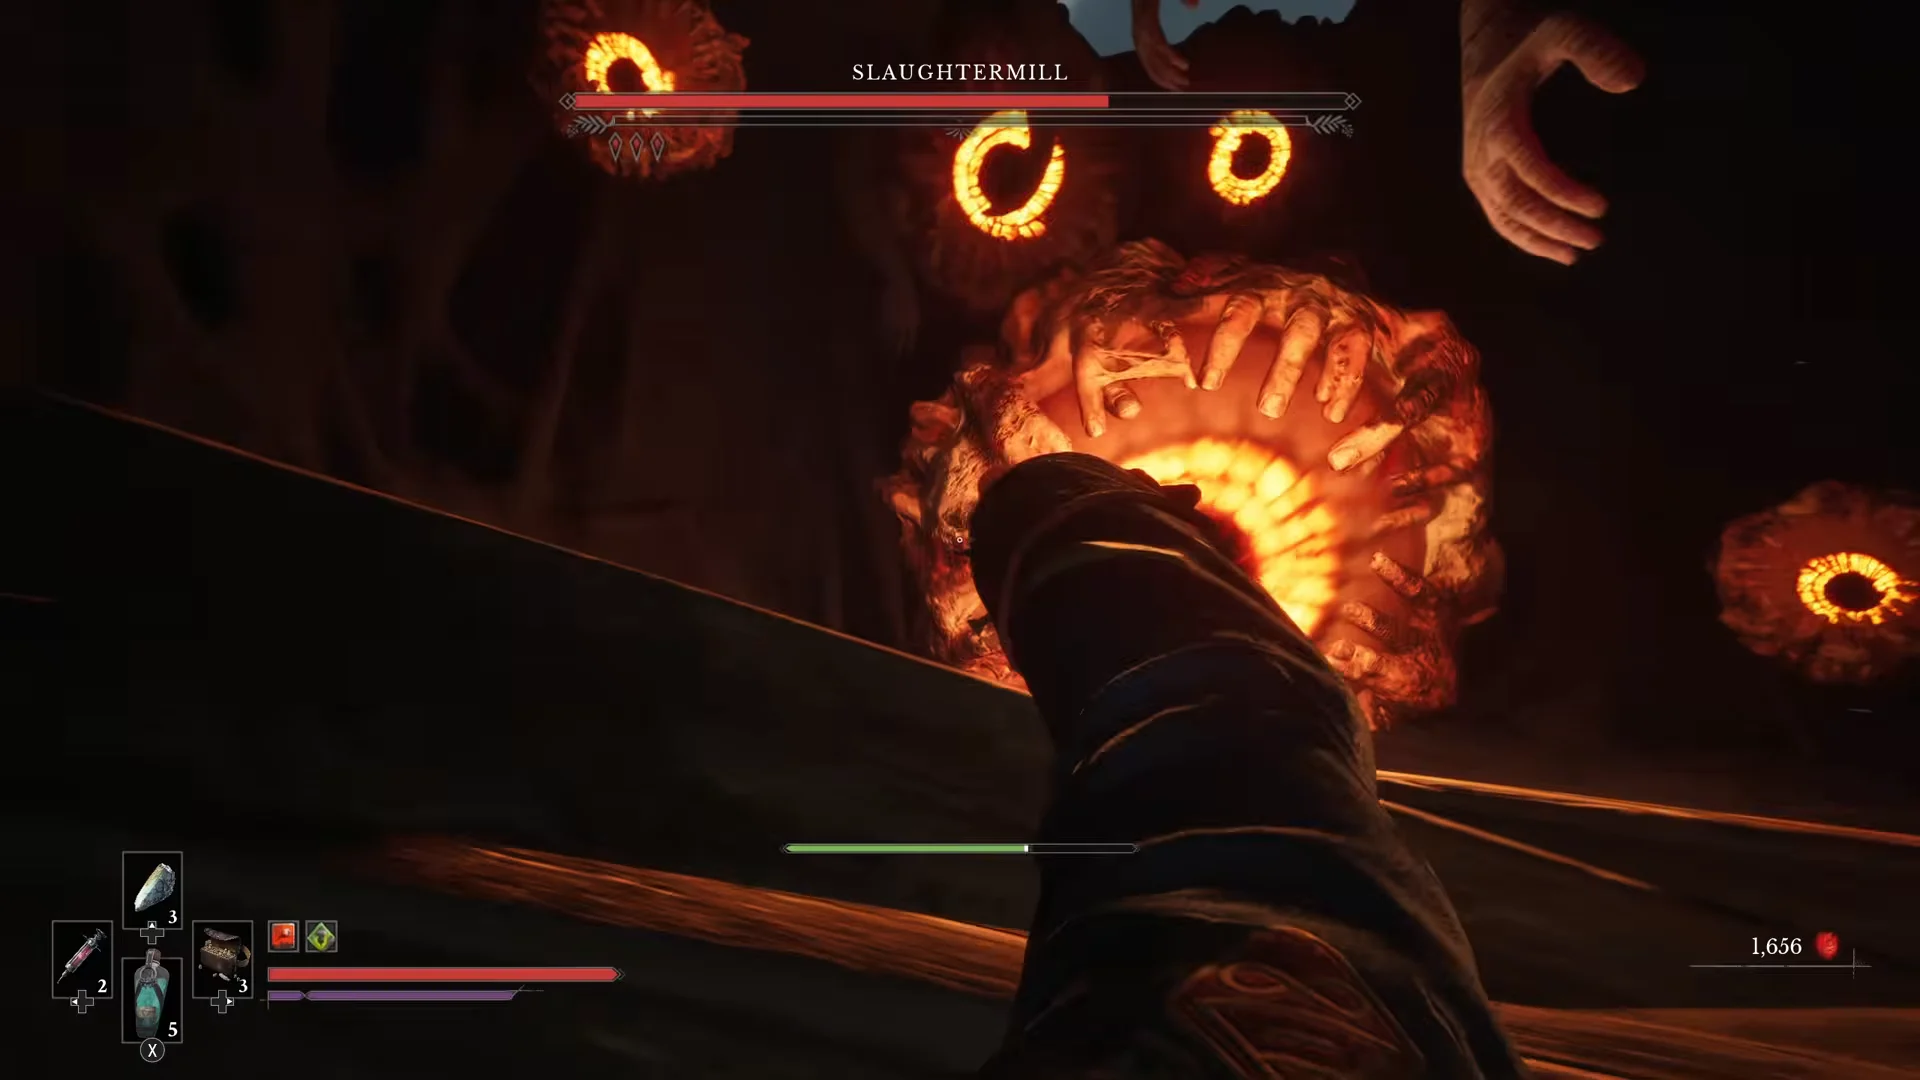
Quick answer: Shoot the glowing orange and red cores with a firearm, freeze the spinning gears with Stasis Transmutation to pull the blue orbs, dodge the fire waves behind rising cover, then climb to the top arena and destroy every red boil to expose and kill the central eye.
Weapons and abilities to bring
This fight runs on firearms, Stasis Transmutation, and your grapple. The Pistol handles precise shots at distant cores, the Blunderbuss delivers heavy damage when a weak point is close, and Stasis freezes the windmill’s internal gears so you can interact with the blue orbs. An Airborne Aiming perk is worth equipping for the mid-air shots later in the fight.
| Tool | Type | Key figures |
|---|---|---|
 Pistol Pistol | Firearm | 30 damage at level 1, up to 60 at level 10; 5-round capacity |
 Blunderbuss Blunderbuss | Firearm | 15 damage at level 1, up to 30 at level 10; 2-round capacity |
 Stasis Transmutation Stasis Transmutation | Transmutation | The damage factor increases from 1.0 at level 1 to 1.5 at level 5; it immobilizes foes and gears in motion. |
The Pistol can shatter Nephtoglobin Weak Points and carries more ammunition, so keep it as your default for picking off cores while the Blunderbuss stays ready for the close, clustered hits.
Windmill phase: expose the cores and stop the blades
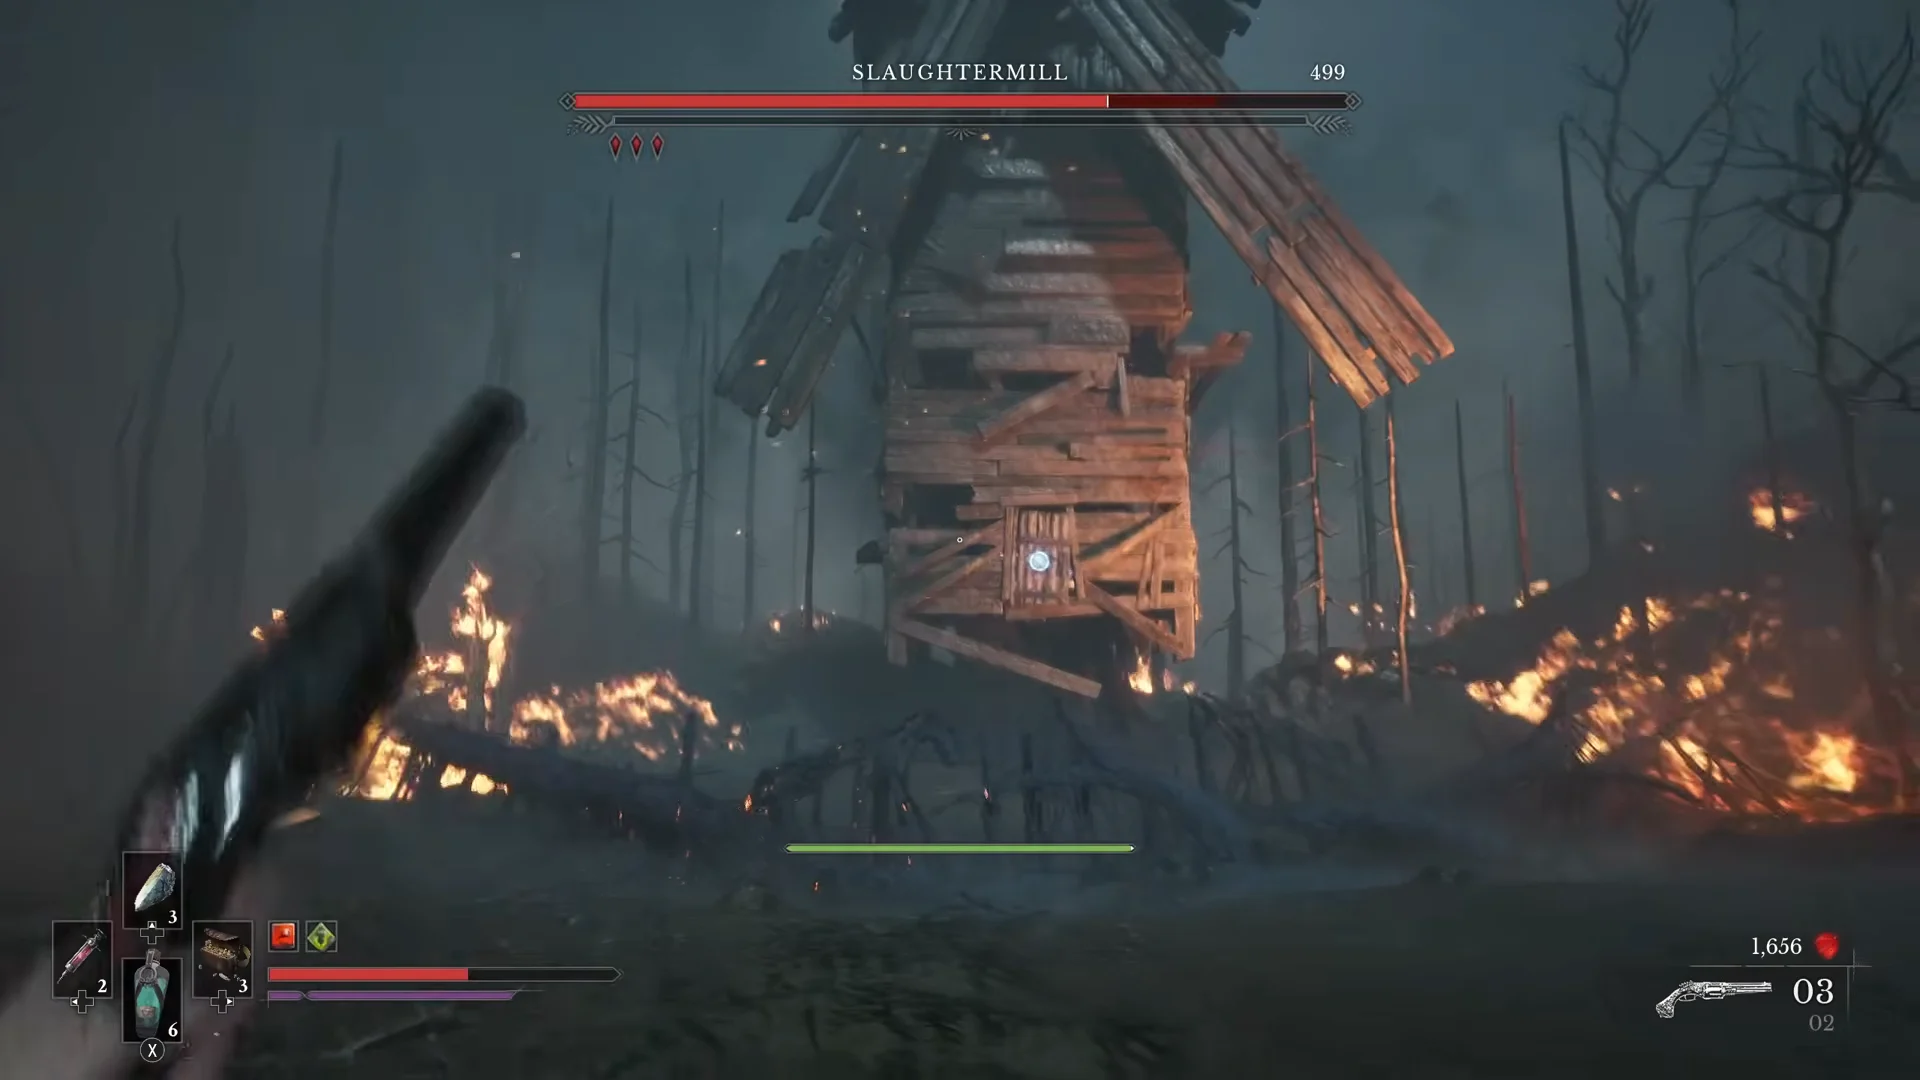
Approaching the mill starts the encounter and reveals the boss health bar. The structure attacks with sweeping tentacle spikes that originate from its body and a slow ground wave that travels toward you. The tentacle hits are small on their own but the boss spams them, so dodge on the animation. Jump over the ground wave or stand on anything elevated to avoid it.
Reach the interior eye and survive the fire barrage
Underground climb and the exploding corpses
You land in a cavern with the mill suspended among wooden scaffolding. A checkpoint activates here, so a failure now restarts you underground rather than at the very start. Movement and timing matter more than damage in this stretch.
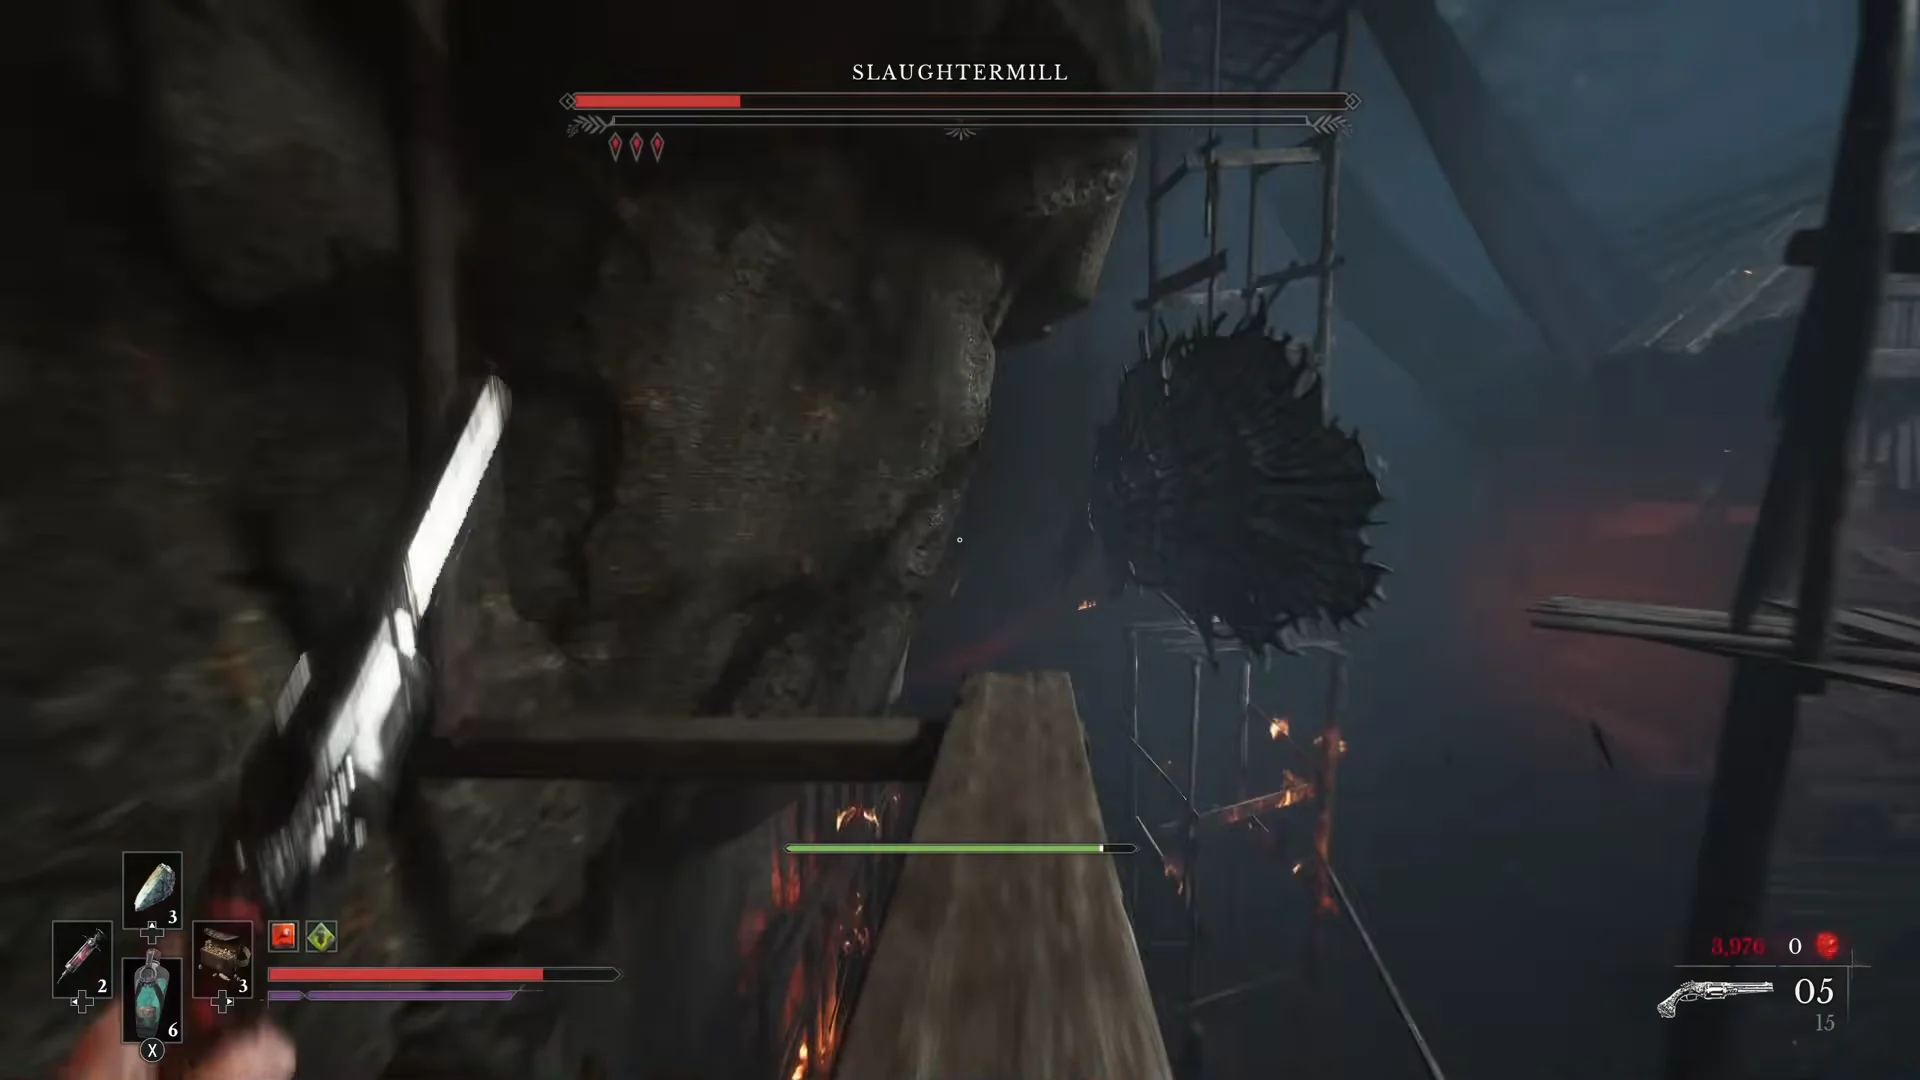
The exploding corpses are a one-hit kill on contact. Never rush a jump toward them without clearing a landing first.
Final arena: destroy the boils and the eye
From the large wooden platform you look out at the Slaughtermill covered in red boils, its limbs sweeping across the arena. Circle the platform to stay clear of the striking tentacles and shoot down every red boil you can line up.
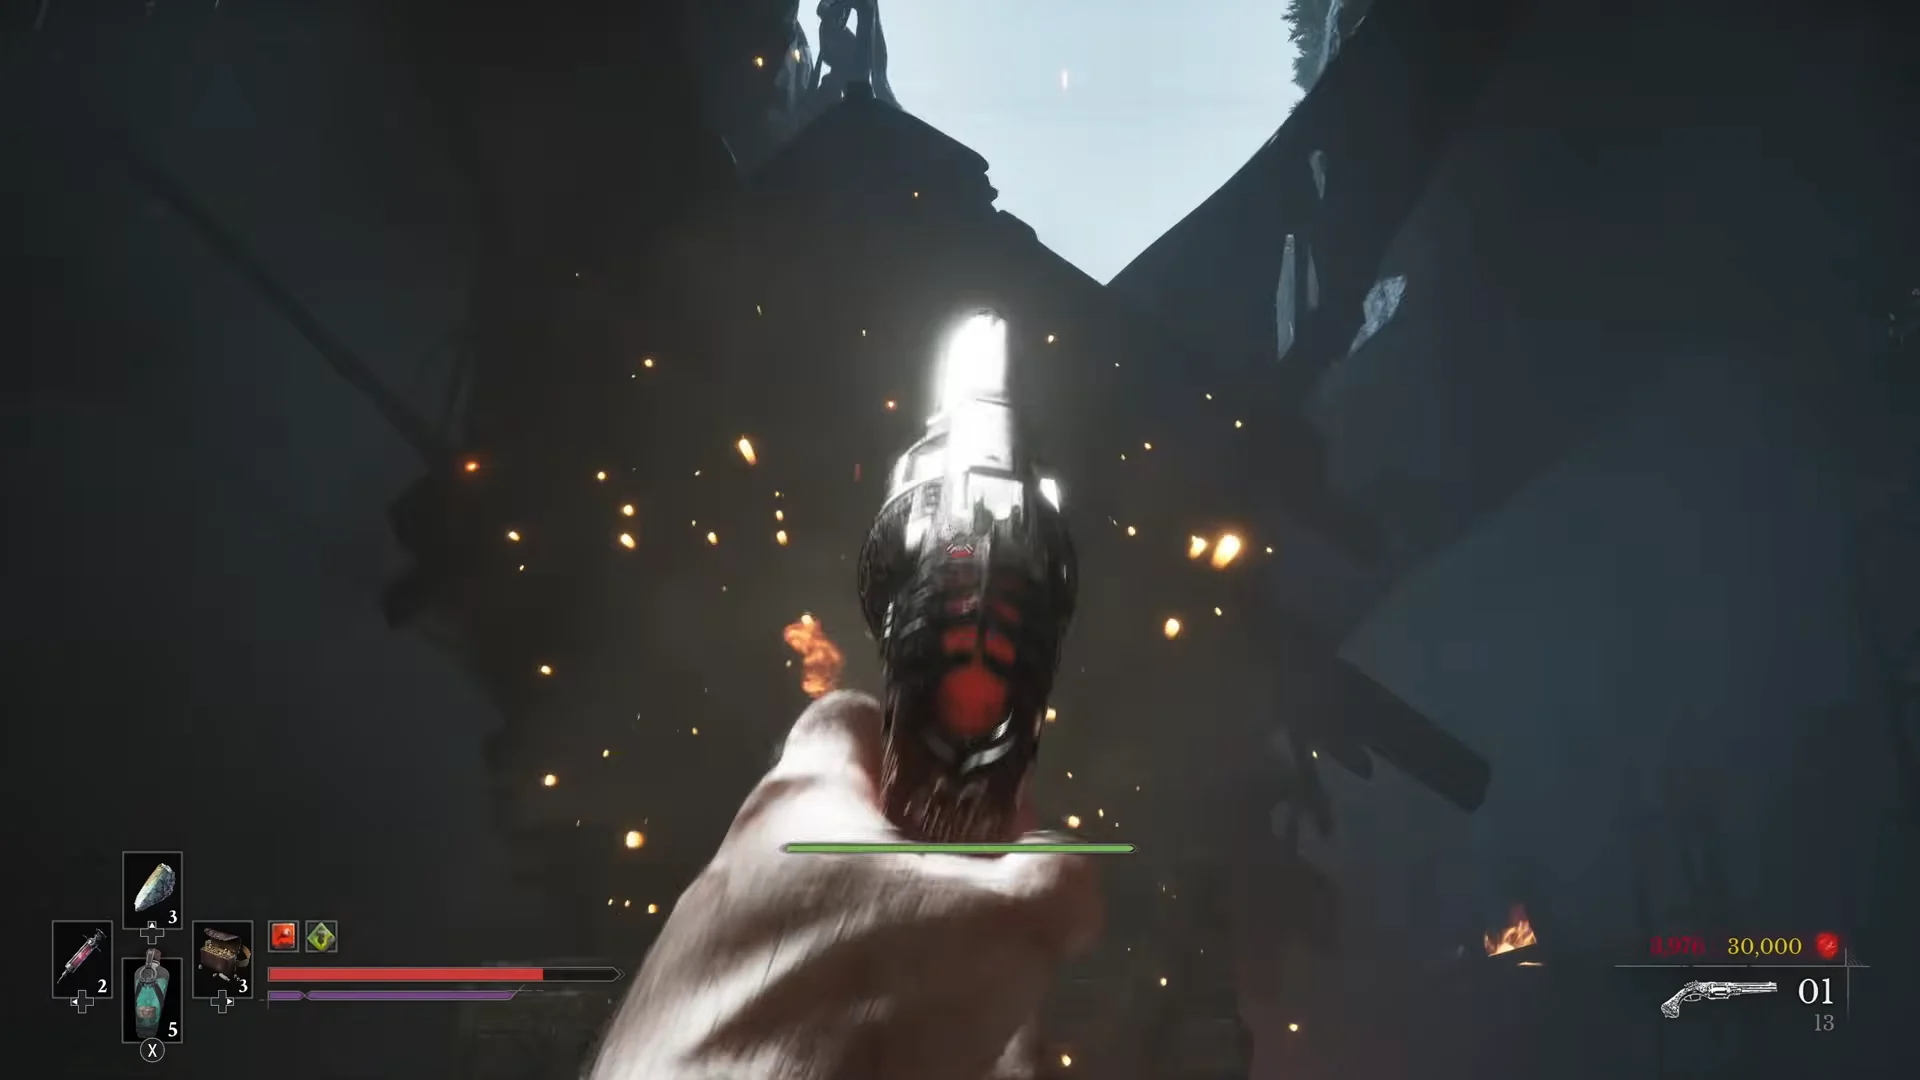
Once every red boil is destroyed, the body opens to reveal the central eye. Keep moving to avoid the limbs and pour your firearm into the eye until the health bar empties.
How you know it worked and what you get
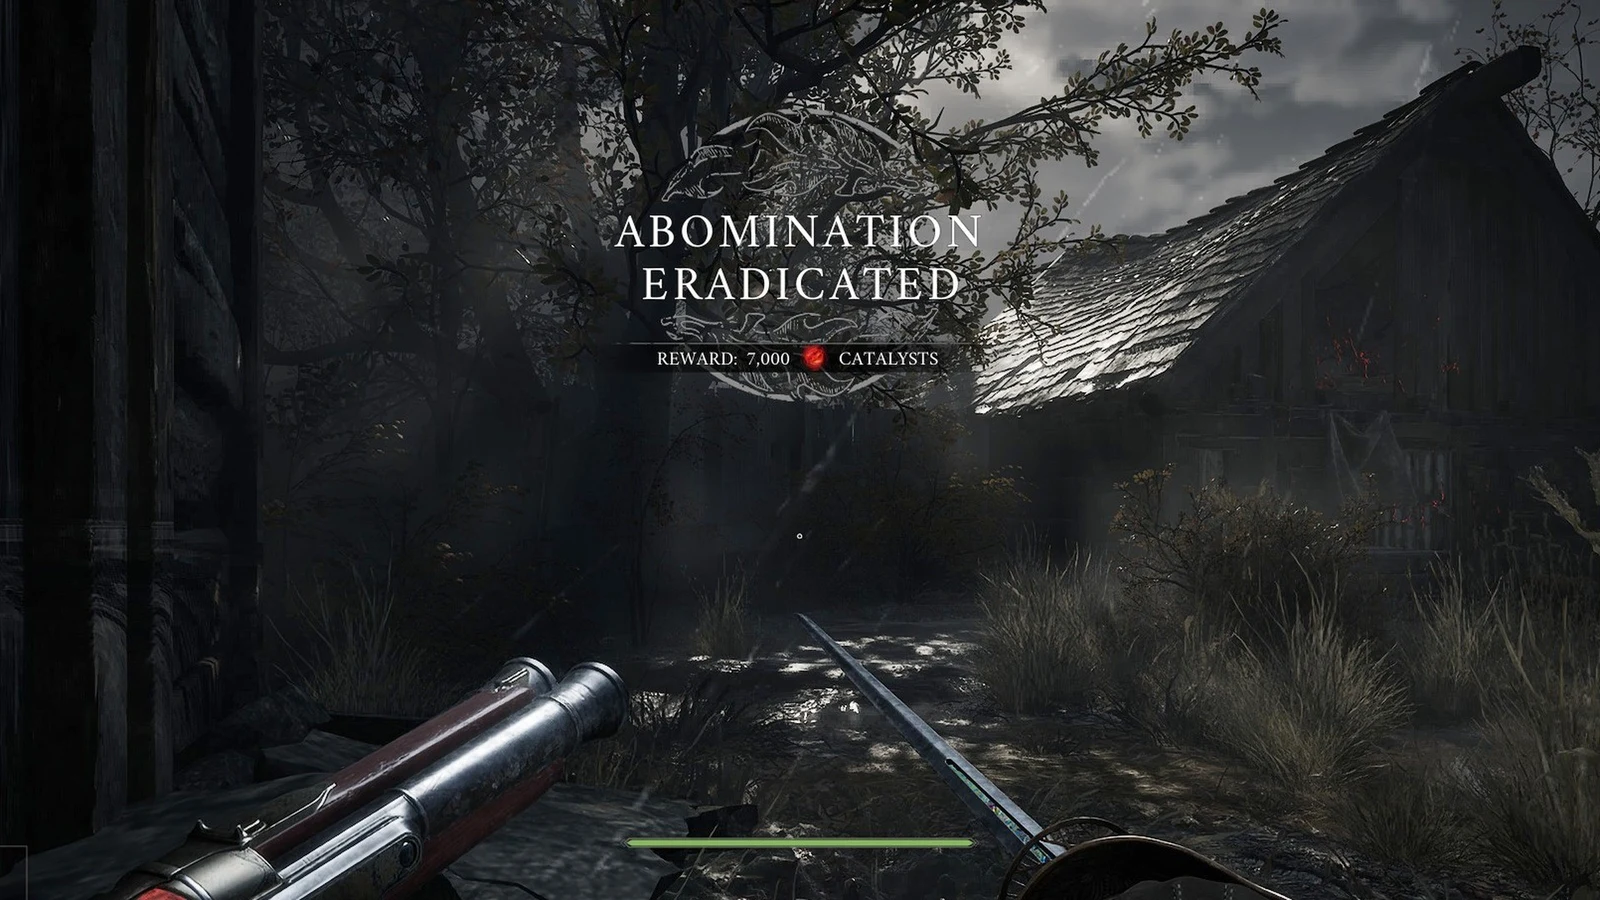
The fight ends with the ABOMINATION ERADICATED notification and a reward of 30,000 Catalysts. A new journal entry is added and the Crime chapter is marked complete. A route then opens across a wooden bridge toward a lit mine tunnel, with a collectible note on the floor along the way, so sweep the area before you move on. Catalysts are spent at Lanterns for permanent upgrades, so bank this payout toward the encounters ahead.