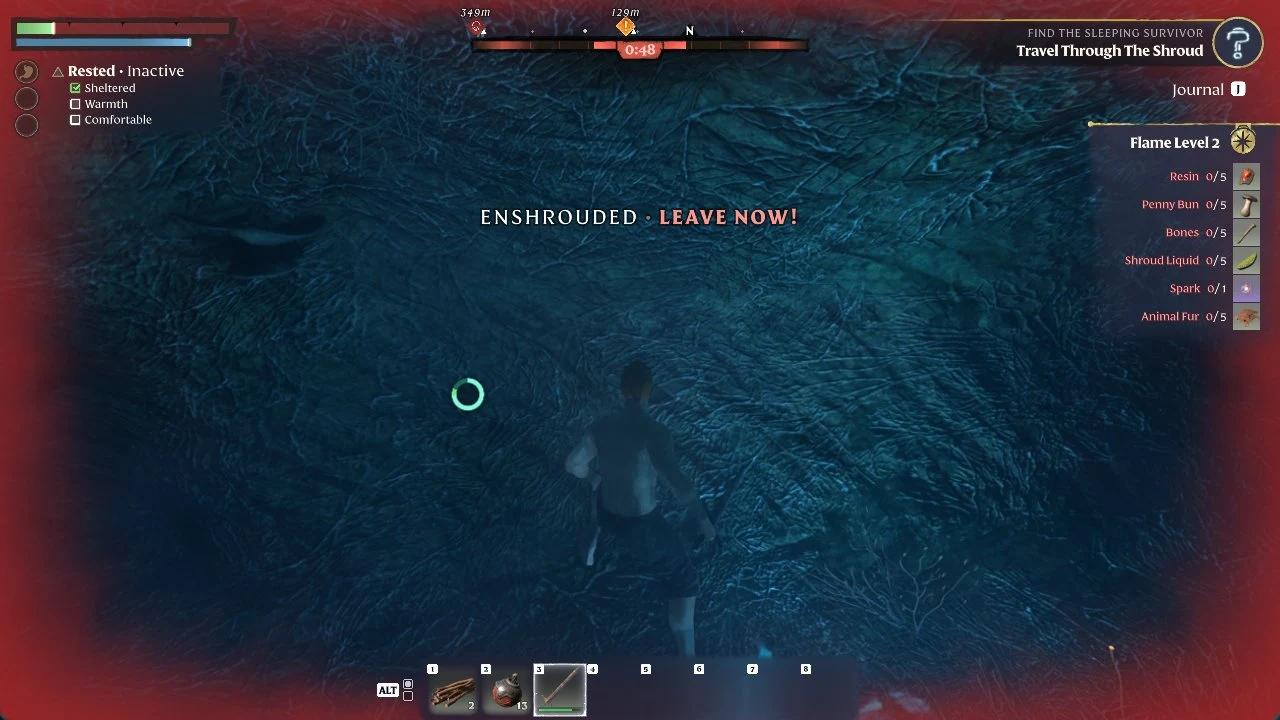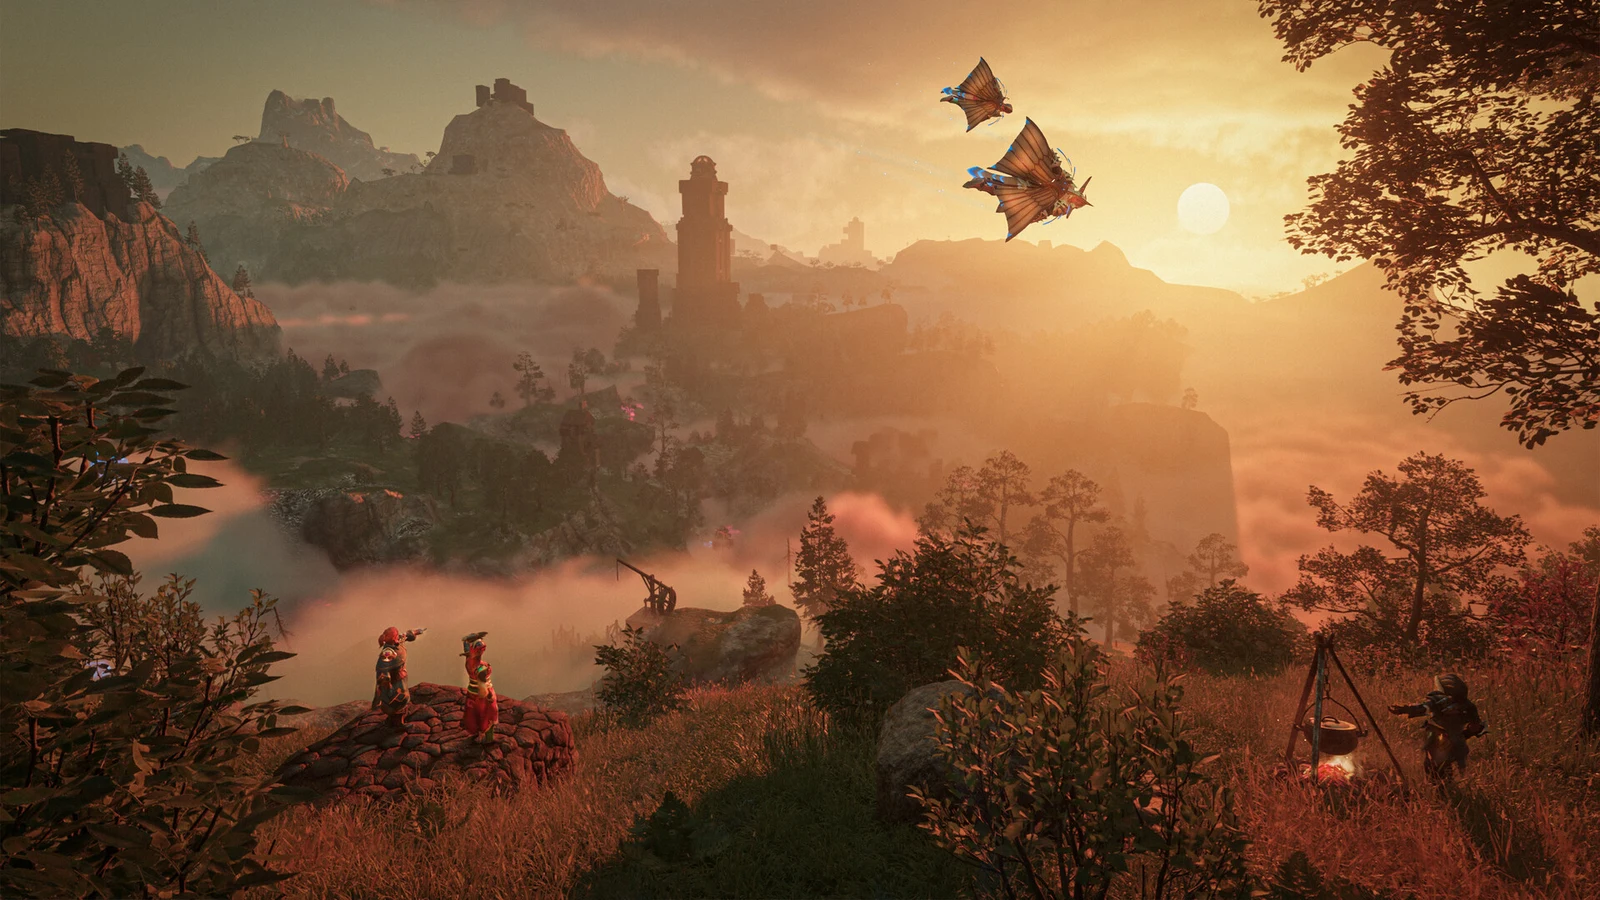
Enshrouded 1.0 begins in the Springlands, the starting region of Embervale, where a newly awoken Flameborn leaves the Cinder Vault and works toward a first home base. The opening hours move through resource gathering, early crafting, a rescue, and a boss fight at the bottom of an Elixir Well. It is a compact tour of the systems the rest of the game is built on.
Quick answer: The Springlands opening covers placing a Flame Altar, building a Workbench, crafting the Glider and Grappling Hook, rescuing the Blacksmith from an Ancient Vault, and defeating the Fell Thunderbrute to earn a Shroud Core.
Leaving the Cinder Vault and claiming the first base
Inside the Cinder Vault, the character awakens as the Flame explains what happened: the Shroud has overtaken Embervale, so the Flameborn need a Flame Altar for protection against the dark. Collecting Charcoal on the escape route makes the Explosive Powder Ball recipe available. It comes into use soon after to clear rubble from a blocked passage, uncovering a silver chest containing the Hunter’s Ring.
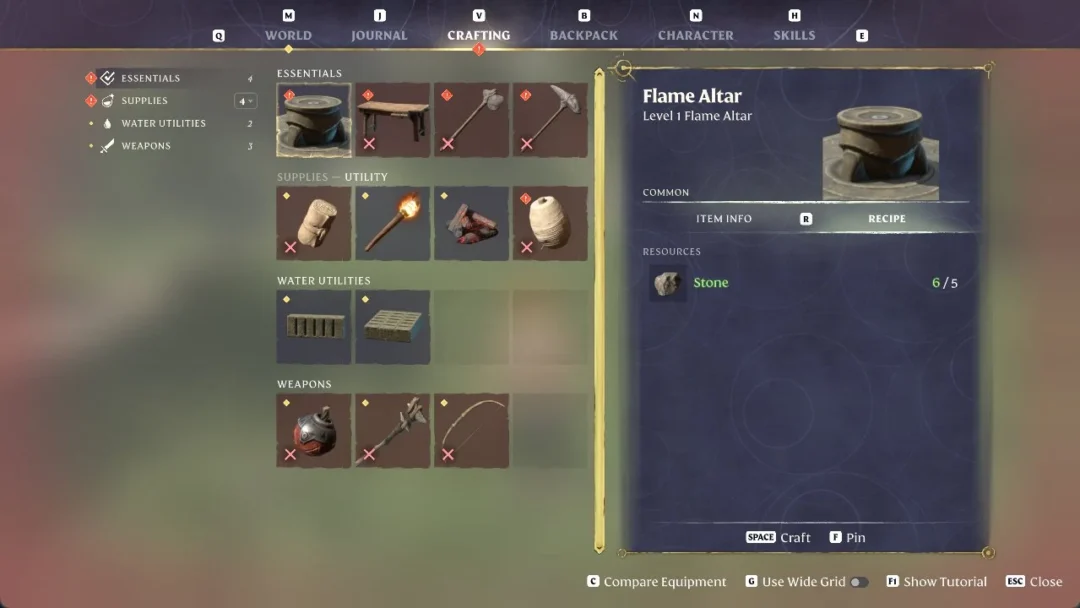
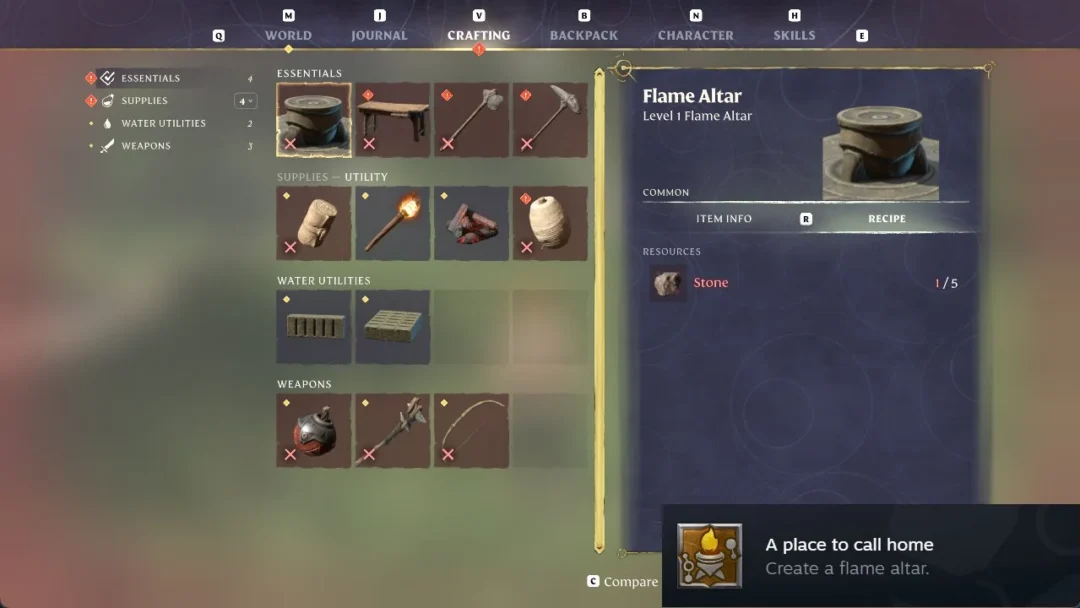
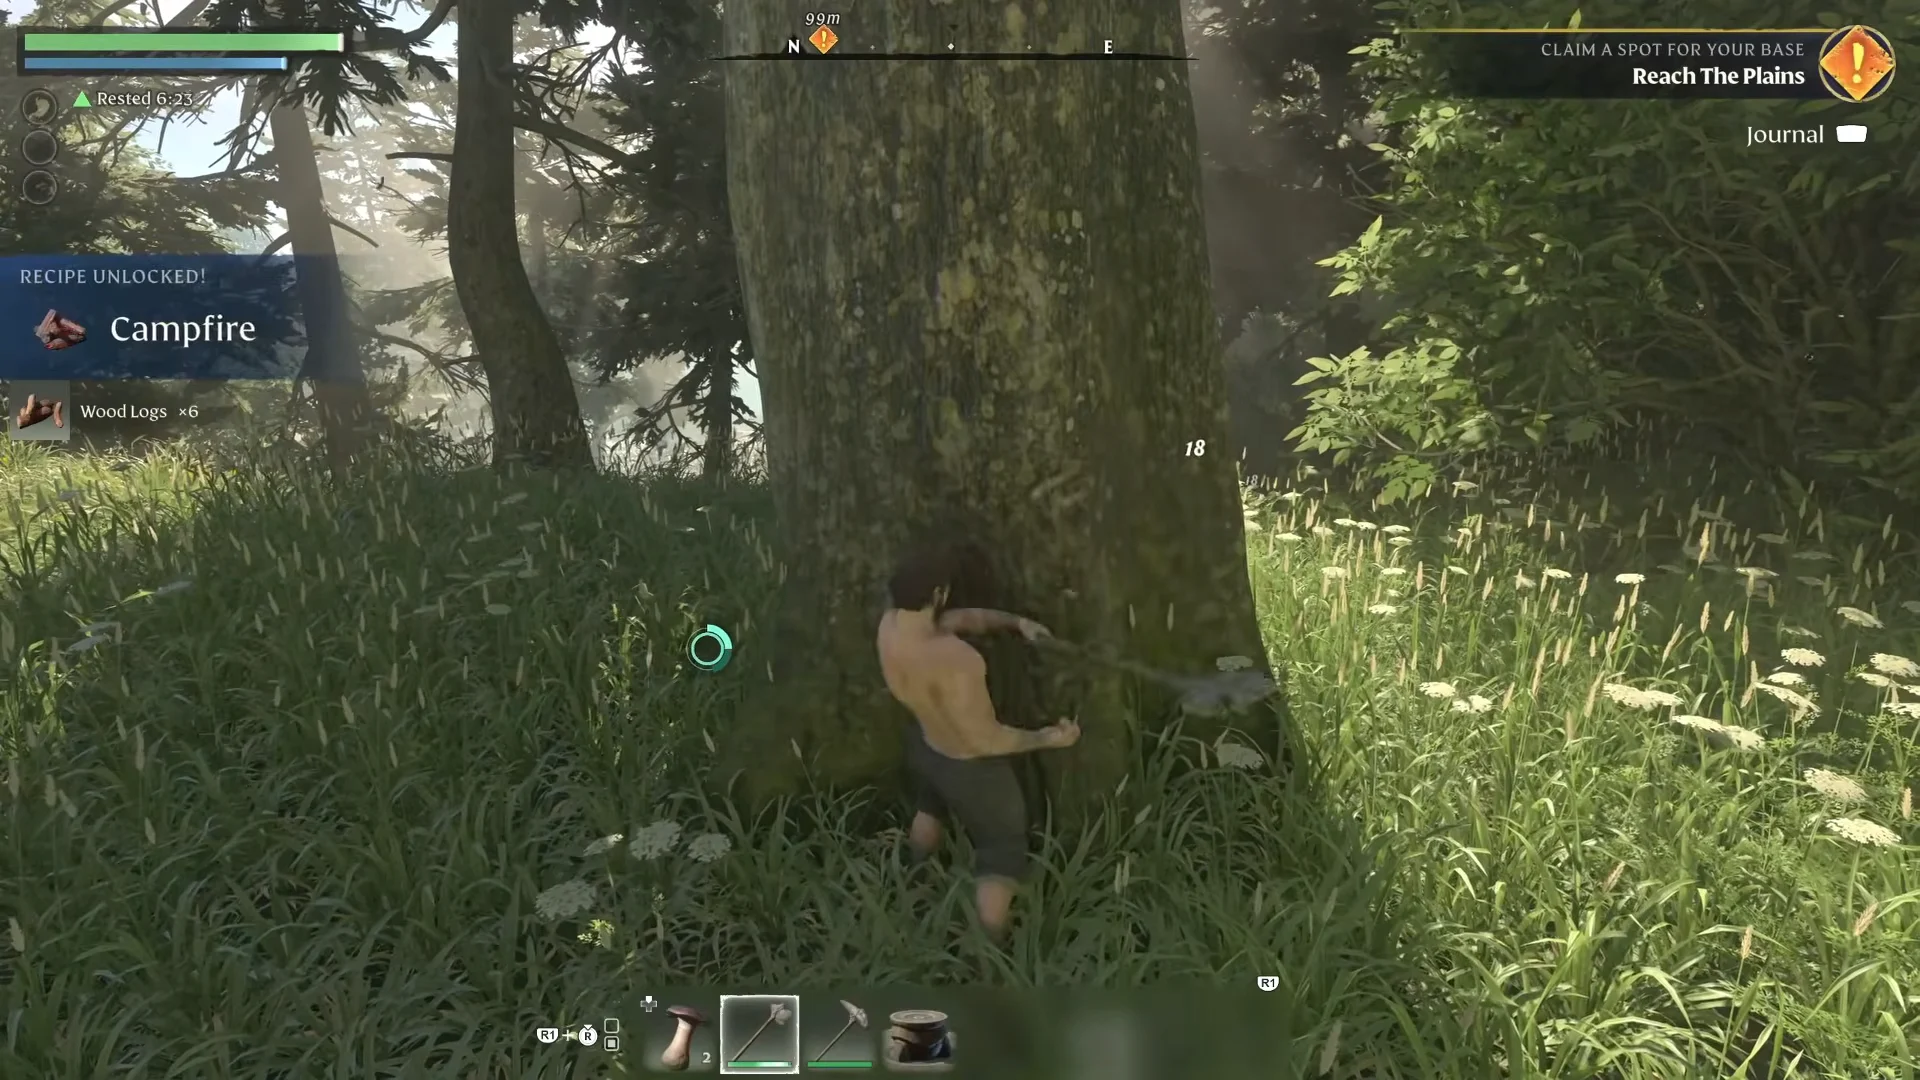
Leaving the tunnels brings you into the Springlands, a green overworld where you can gather your first supplies from twigs, berries, wolves, flintstone, and trees. Spend 5 Stone to place the Flame Altar on a stone slab in the Plains; this sets up your home base and defines its building perimeter.
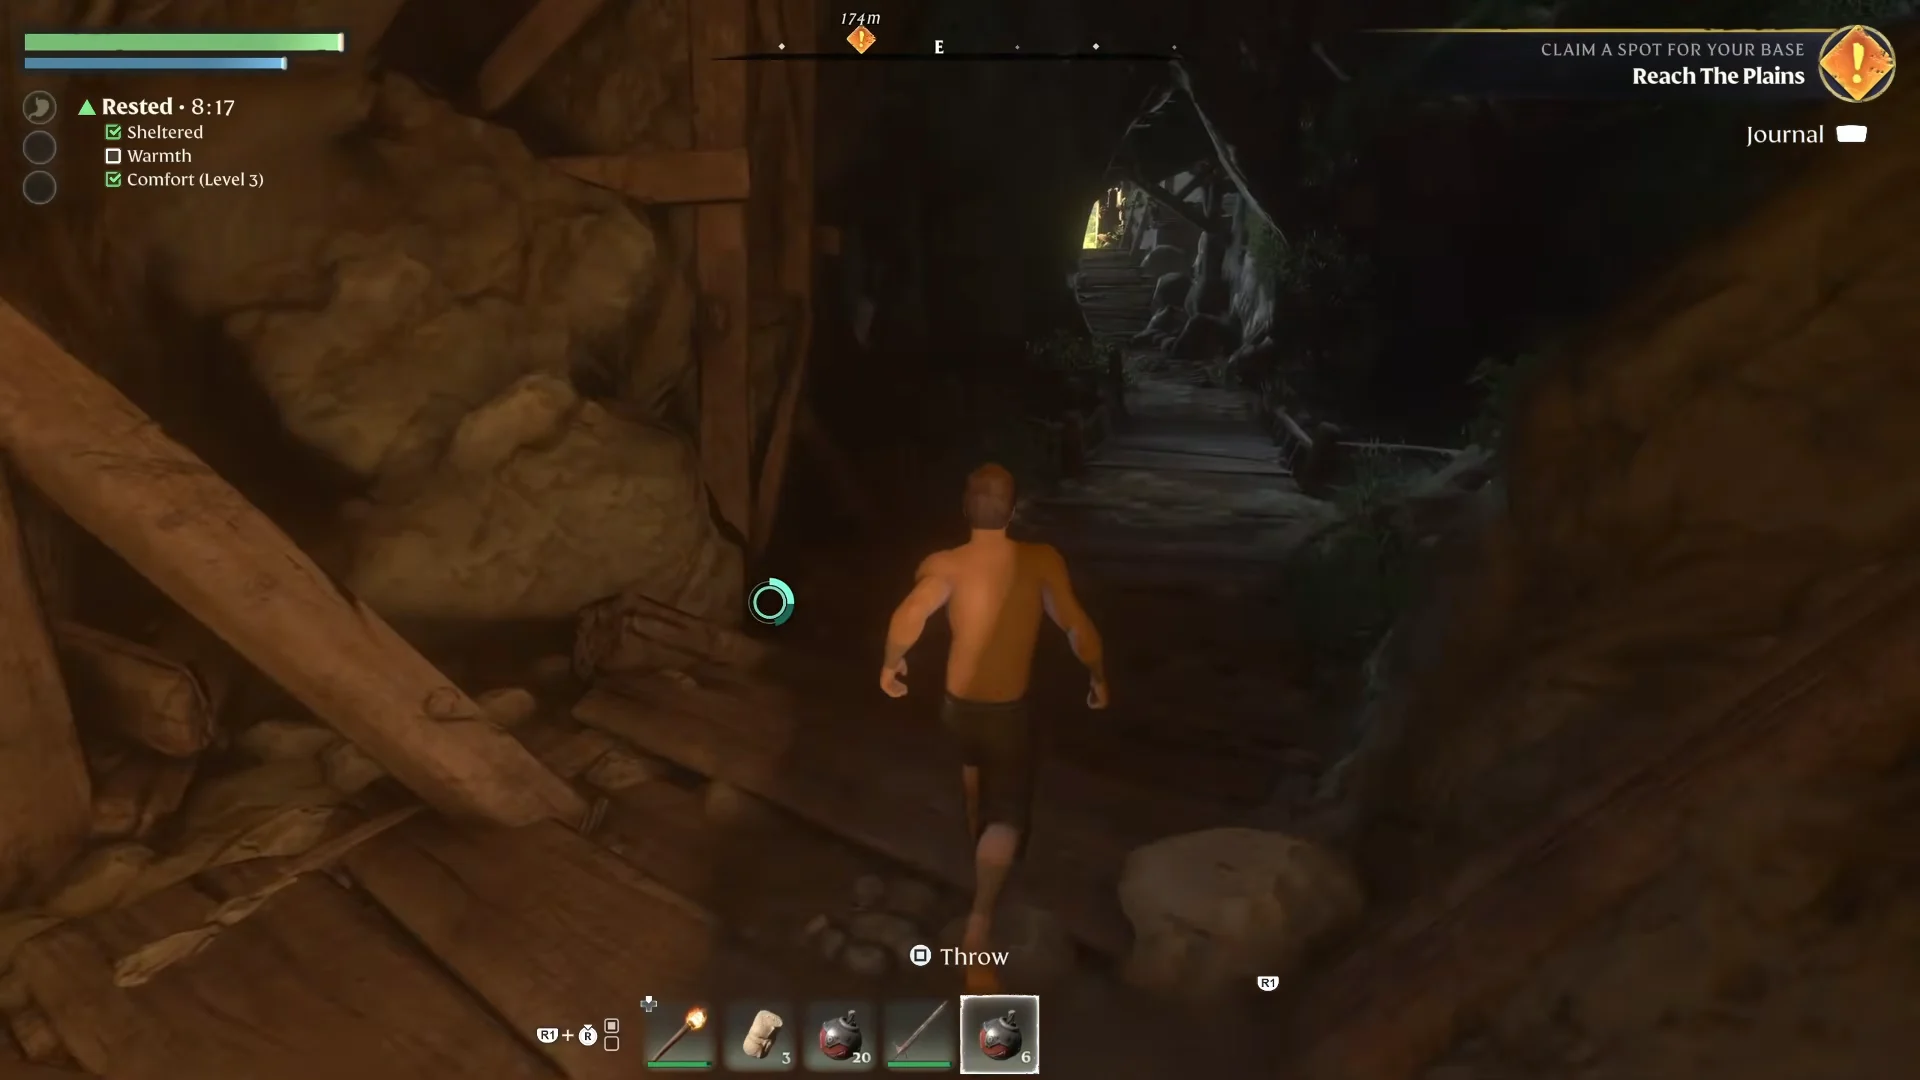
Wells and water pouches refill stamina systems rather than thirst. Drinking increases maximum stamina and stamina regeneration speed, and the Rested buff from campfires and beds does the same. These short buffs matter early because stamina governs sprinting, attacking, and gliding.
Early gear found across the Springlands
Chests, tunnels, and defeated enemies hand over a steady drip of common and uncommon equipment. The Rusty Sword starts at 11 Cutting damage and scales with item level, reaching 85 by level 50. Rings boost stamina, and the Explosive Powder Ball doubles as both a thrown weapon and a tool for clearing cracked rubble walls that hide loot.
| Item | Rarity | Key stats |
|---|---|---|
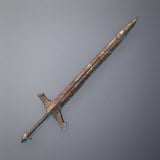 Rusty Sword Rusty Sword | Common | Cutting 11 at level 1 |
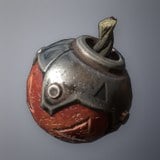 Explosive Powder Ball Explosive Powder Ball | Common | Fire 25, Throw Interval 1s |
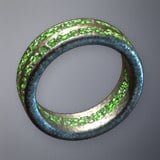 Hunter’s Ring Hunter’s Ring | Common | Stamina 6, Stamina Regeneration 4 |
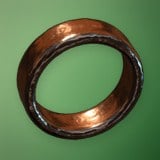 Lesser Ring of Stamina Lesser Ring of Stamina | Uncommon | Stamina 4, Stamina Regeneration 4 |
The Fell Defender Shield appears in Shroud encounters, letting you defend against physical attacks with blocks and parries. Nail the timing on a block to parry, setting up the combat system the run relies on later.
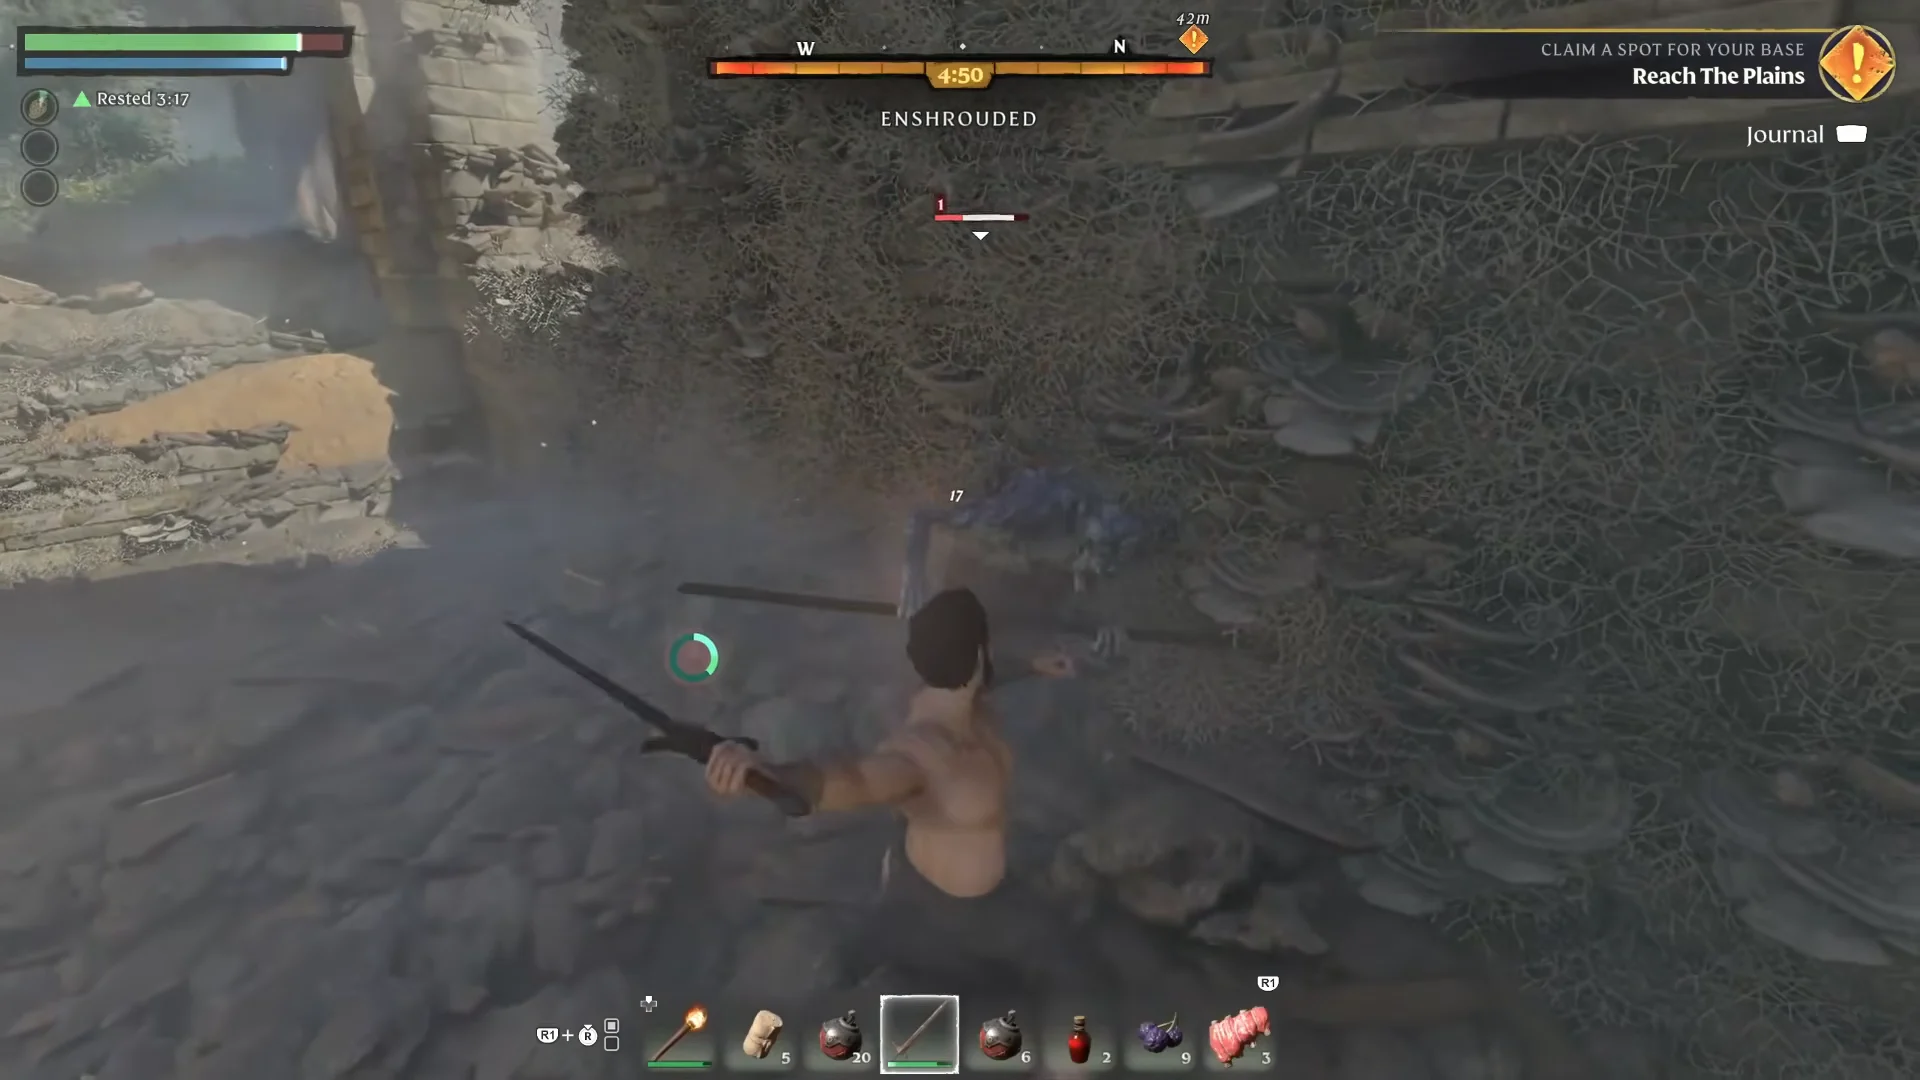
Combat basics: parrying and the Merciless Attack
Humanoids and monsters carry a stun meter. Parrying attacks or landing heavy blows fills it, and once full the player can execute a Merciless Attack for +500% damage. The skill is bought from the tree after the first level-up, and it reshapes how the early Shroud fights play out, letting a single finisher drop an overpowered enemy.

Double Jump comes next on the skill tree, costing 10 stamina per second jump and opening up movement that later pairs with the Glider for extra height.
Movement tools: the Glider and Grappling Hook
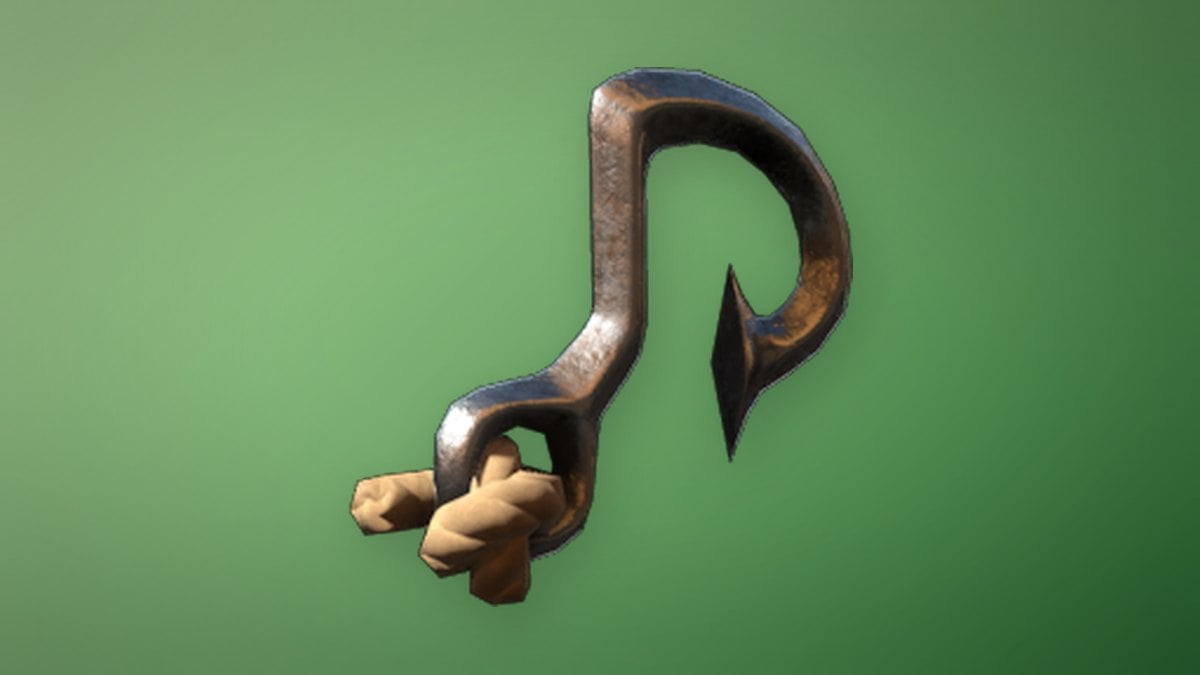
Once you have the materials, make both mobility tools at the Workbench. For the Glider, use Shroud Wood (8), Animal Fur (2), String (2), and Shroud Spores (2). For the Grappling Hook, use Metal Scraps (4), String (7), and Shroud Spores (10). These tools let you cross the region’s cliffs and broken bridges directly instead of detouring around them.
The Glider seen here is the Uncommon starter version. Stronger variants unlock later through the Carpenter and quests, each extending range and speed.
| Glider | Rarity | Range | Speed |
|---|---|---|---|
 Glider Glider | Uncommon | 100% | 10 |
 Advanced Glider Advanced Glider | Rare | 150% | 15 |
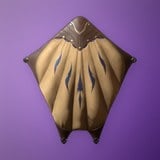 Extraordinary Glider Extraordinary Glider | Epic | 200% | 20 |
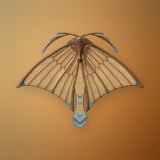 Ghost Glider Ghost Glider | Legendary | 250% | 25 |
The Grappling Hook has two upgraded forms, both crafted at the Carpenter, that lower its stamina cost and extend its reach.
| Grappling Hook | Rarity | Stamina cost |
|---|---|---|
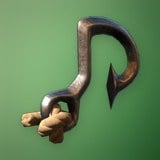 Grappling Hook Grappling Hook | Uncommon | 40 |
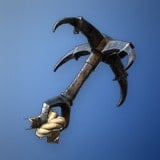 Improved Grappling Hook Improved Grappling Hook | Rare | 30 |
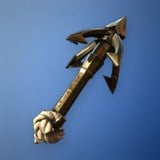 Underwater Grappling Hook Underwater Grappling Hook | Rare | 30 |
Rescuing the Blacksmith
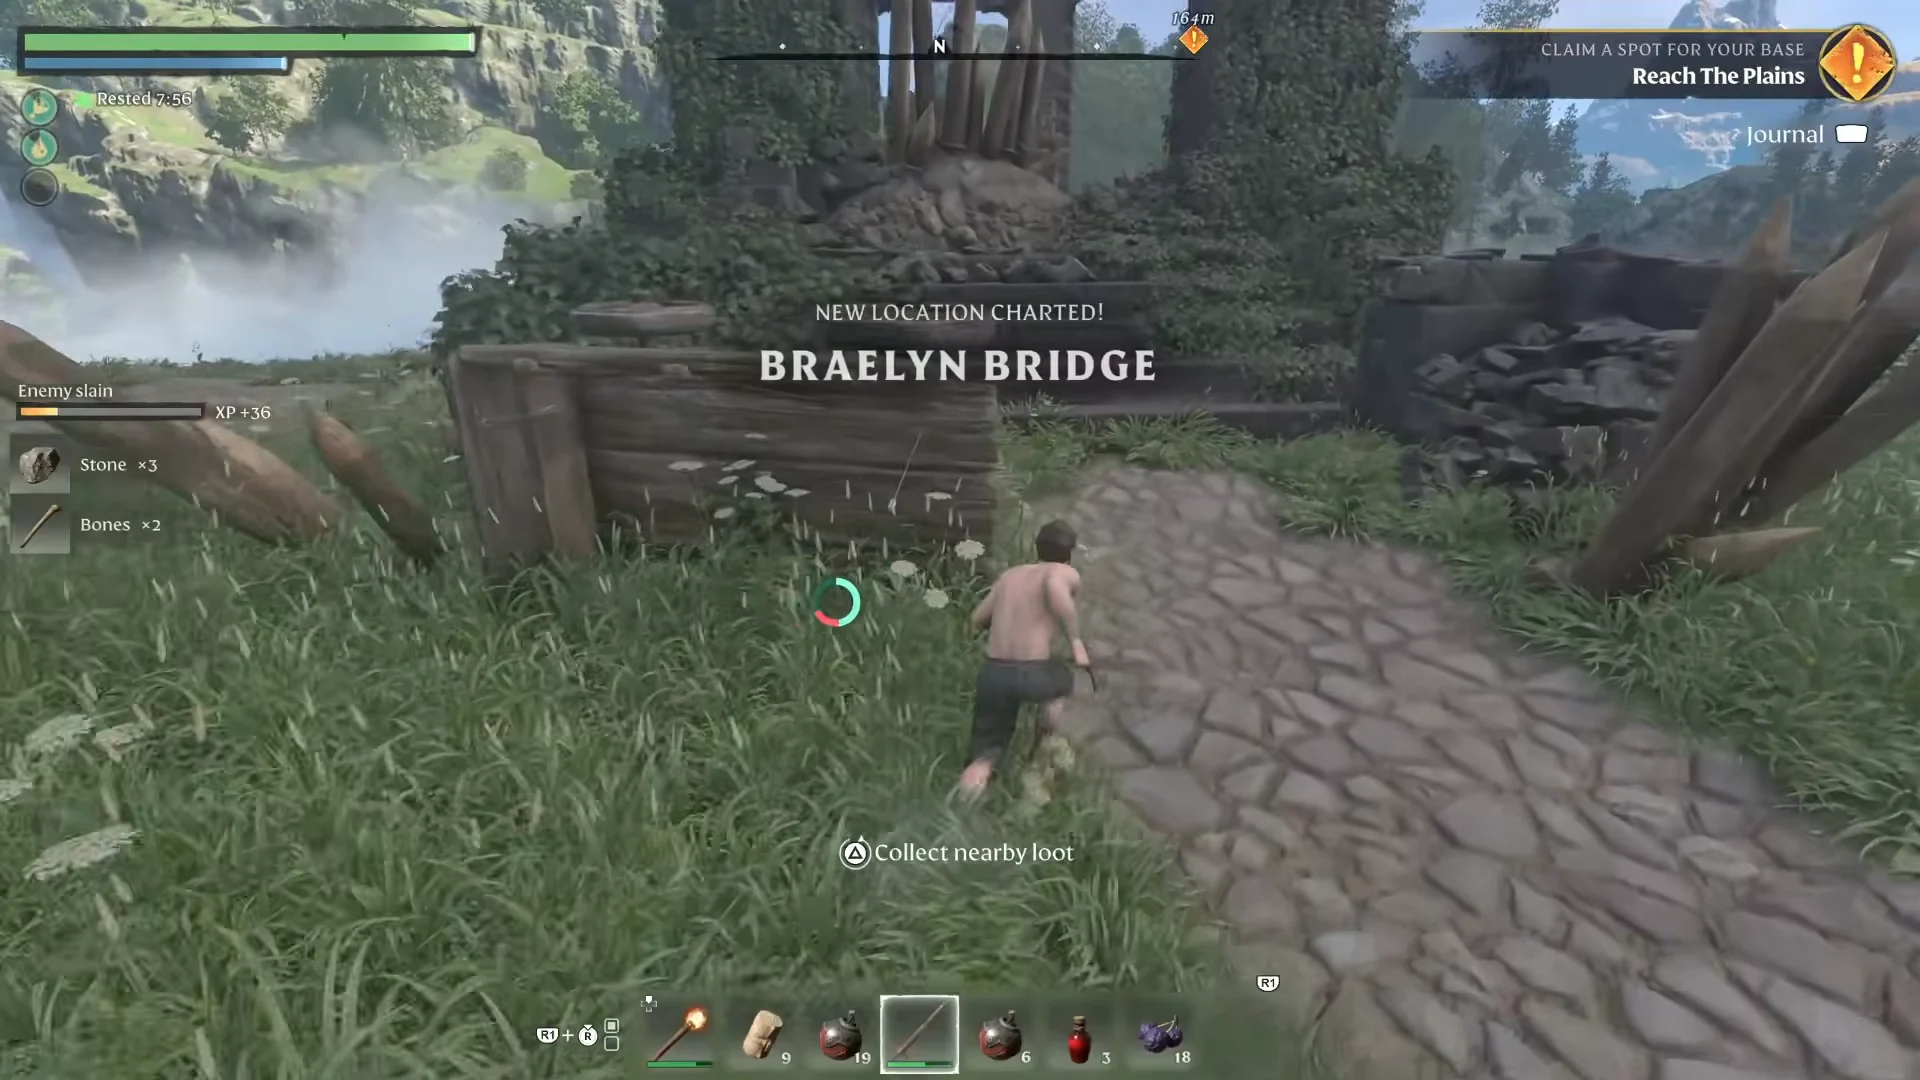
The first survivor rescue takes place at the Ancient Vault – Blacksmith, a ruin occupied by scavengers. Clearing the courtyard and entering the chamber leads to a central stasis vessel. Activating it awakens the Blacksmith, who unlocks crafting options and quests beyond the starting Workbench once summoned back to the base.
The Fell Thunderbrute at the Elixir Well
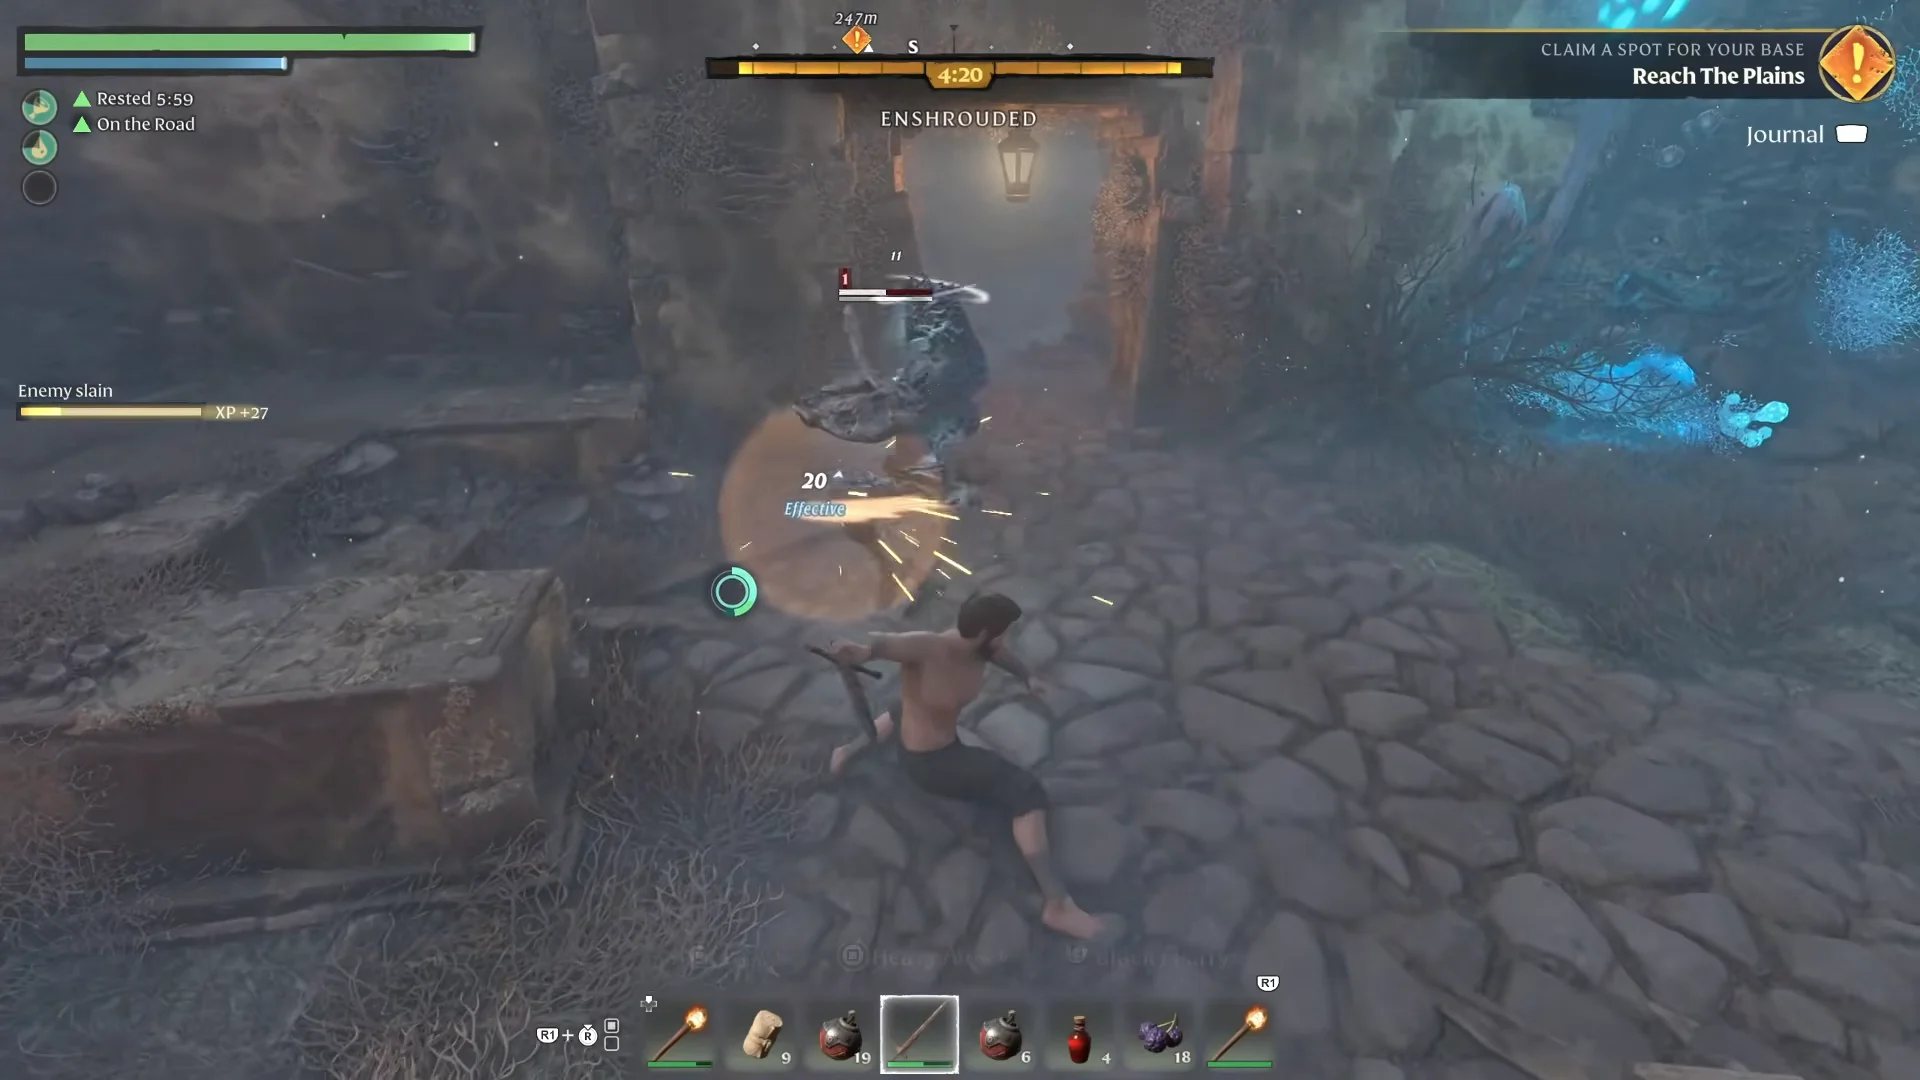
Glide through the Elixir Well’s blue fog to encounter the Springlands boss, Fell Thunderbrute. Attack with your bow, evade its cleaves, and follow up with dagger strikes. Victory yields a Shroud Core, needed for a Level 2 upgrade of the Flame Altar; this enlarges the base area to an 80m-by-80m-by-80m space.
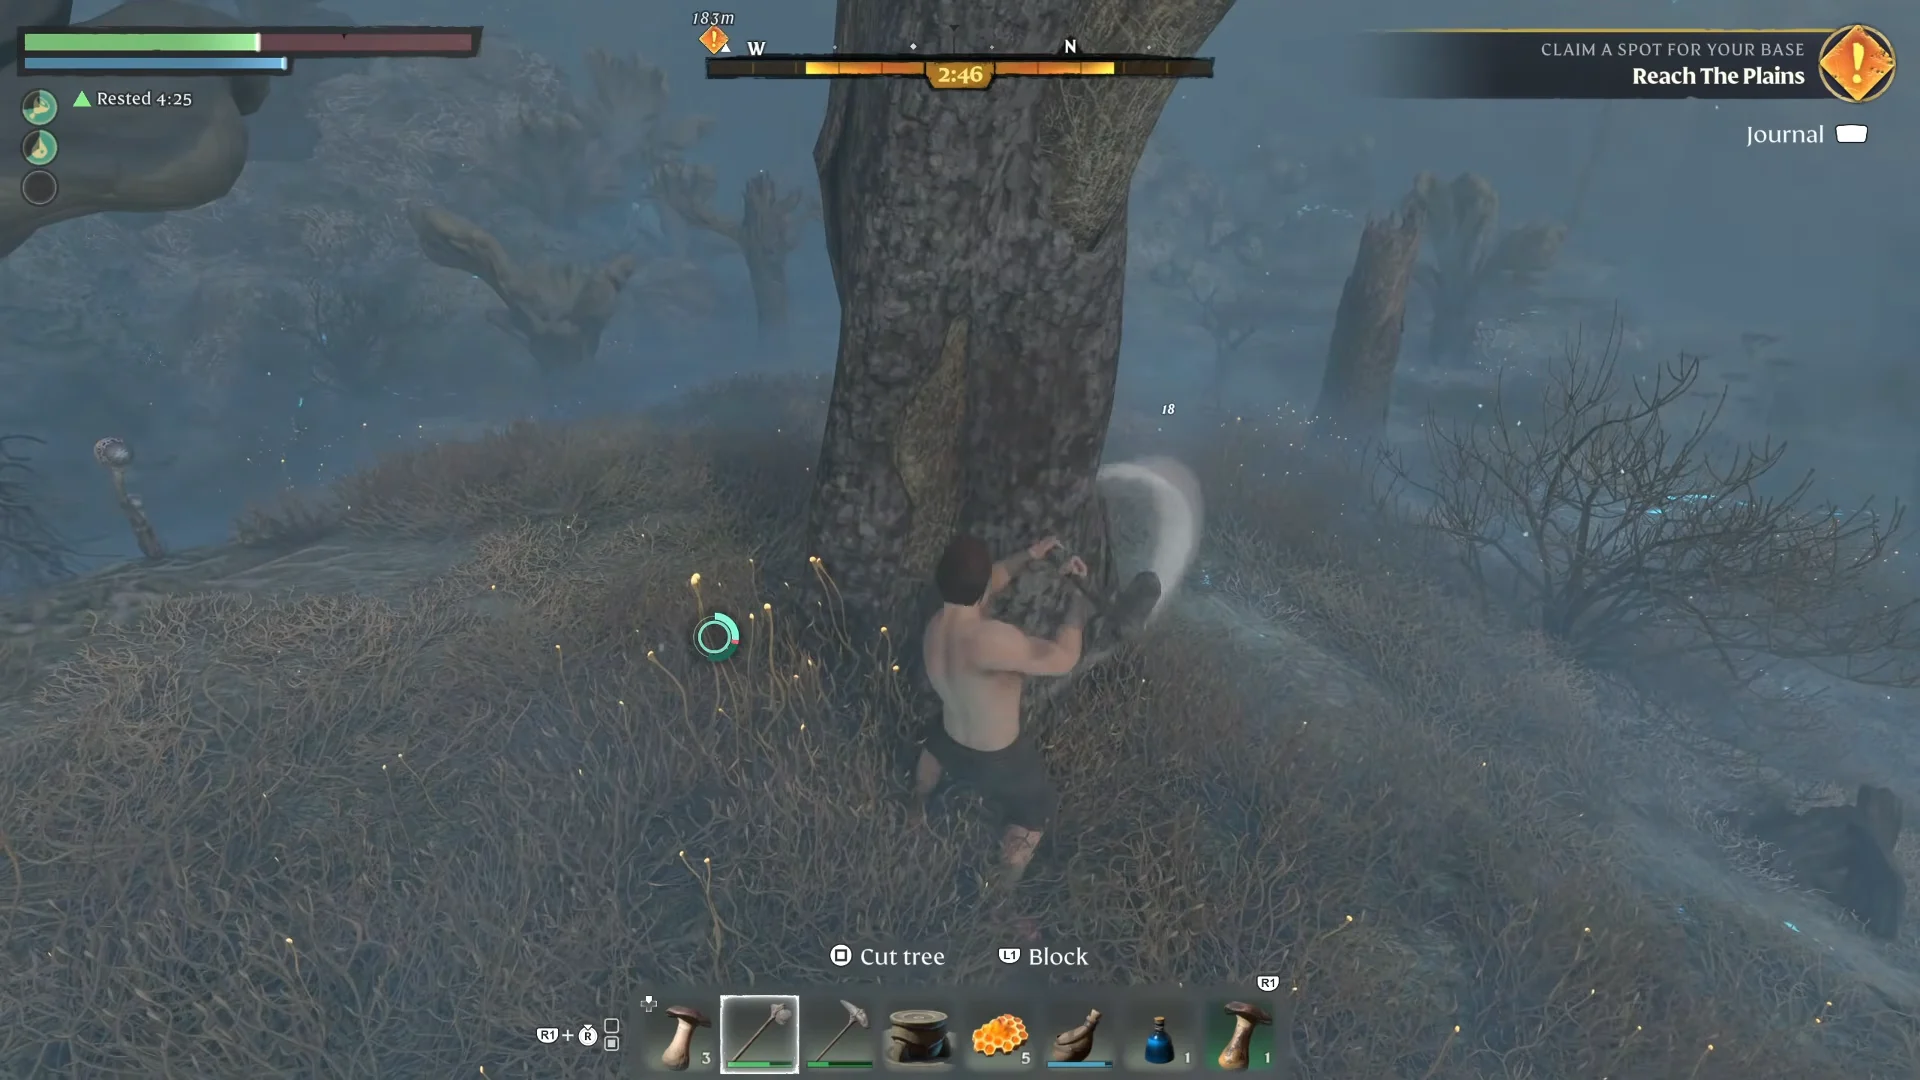
With the boss down, the nearby Shroud Root can be felled with an axe. Chopping it clears the local Shroud fog and awards 1 Skill Point. A tougher version, the Armored Fell Thunderbrute, appears later across regions such as Revelwood and the Kindlewastes.
| Boss | Found in | Guaranteed drops | Chance drops |
|---|---|---|---|
| Fell Thunderbrute | Springlands | Fell Thunderbrute Head, Shroud Core | Fell Thunderbrute Greatsword, Legendary Runes |
| Armored Fell Thunderbrute | Ancient Bridge, Revelwood | Fell Thunderbrute Head, Shroud Core | Fell Thunderbrute Greatsword, Legendary Runes |
Both versions roll Epic drops 40% of the time and Legendary drops 60% of the time, with a single loot roll each.
The Ragged armor set and base crafting
Placing a Flame Altar unlocks the Ragged armor recipes, a three-piece starter set crafted from early materials. The full set is equipped back at base alongside a Tiny Backpack, which adds one row of inventory slots and needs 3 Torn Cloth and 5 String.
| Piece | Slot | Physical / Magical armor | Item level |
|---|---|---|---|
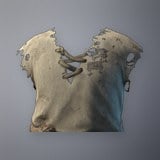 Ragged Shirt Ragged Shirt | Chest | 10 / 10 | 3 |
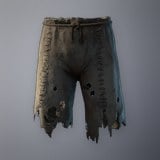 Ragged Pants Ragged Pants | Legs | 5 / 5 | 3 |
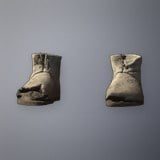 Ragged Boots Ragged Boots | Feet | 3 / 3 | 3 |
By the end of the opening, the base holds a Flame Altar, a Workbench, a storage chest, and the tools that make the rest of Embervale reachable. The Springlands run functions as a controlled introduction to building, movement, parry-driven combat, and the Shroud Root loop that drives progression well beyond the first region.