In Run Your Own Farmstead, money comes from customers buying produce off your shelves. Crops sitting in storage earn nothing. A fast-growing farm keeps that loop moving: harvest, stock the stands, let shoppers buy, then spend the coins on upgrades that bring in more shoppers and speed up your staff.
Quick answer: Keep every crate and cooler stocked, buy Busier Days for 1,800 coins, and take Staff Training once you reach Level 3. Hire a Stocker for 1,400 coins so shelves refill without you.
How Run Your Own Farmstead pays you: Stocked shelves only
NPC shoppers walk into your store and buy whatever is on display in the crates and coolers. When a stand runs dry, a red EMPTY - RESTOCK! prompt appears above it, and that stand stops earning until you fill it again. Interact with the stand to open its menu, then use the Fill button to move produce from storage onto the display.
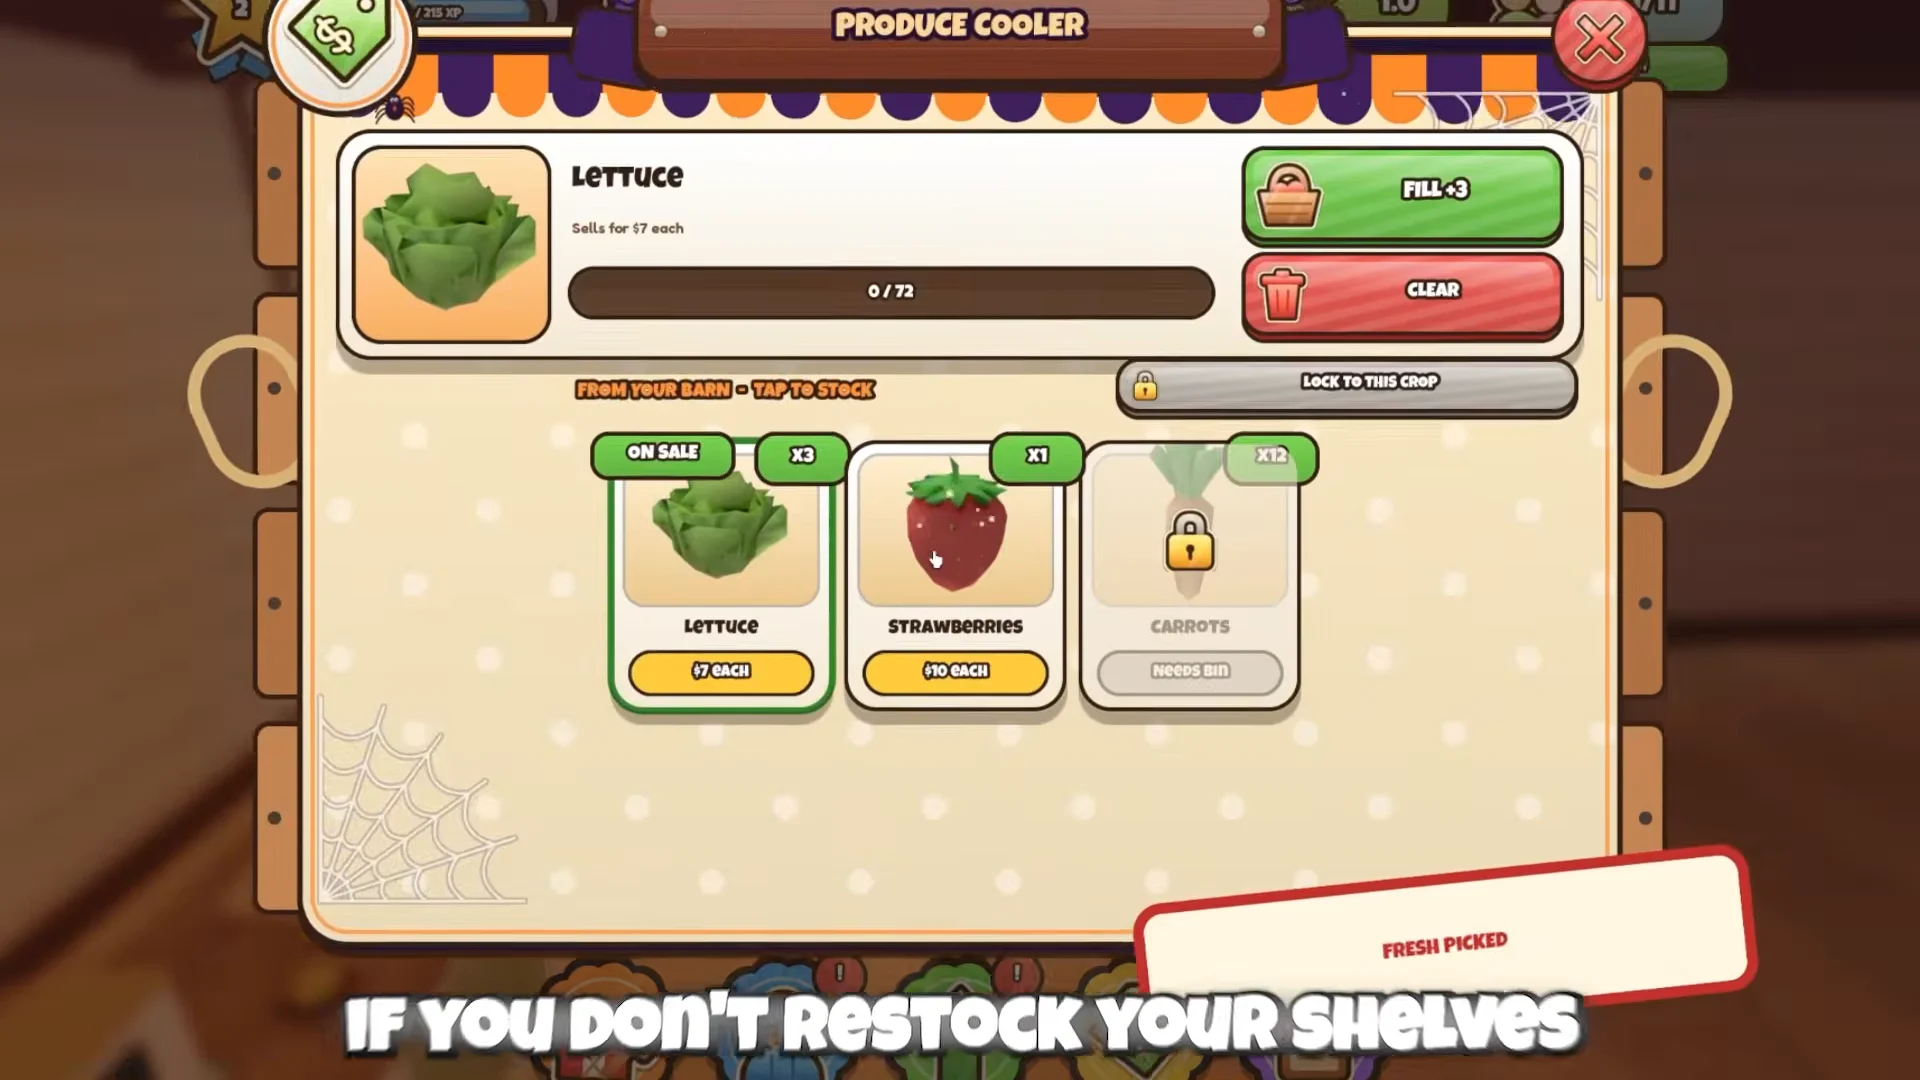
Each stand holds a fixed amount, so a cooler showing 0/72 is lost income on every customer who walks past it. Checking your stands between harvests is the cheapest money boost in the game, because it costs nothing but a few seconds.
Best upgrades in Run Your Own Farmstead
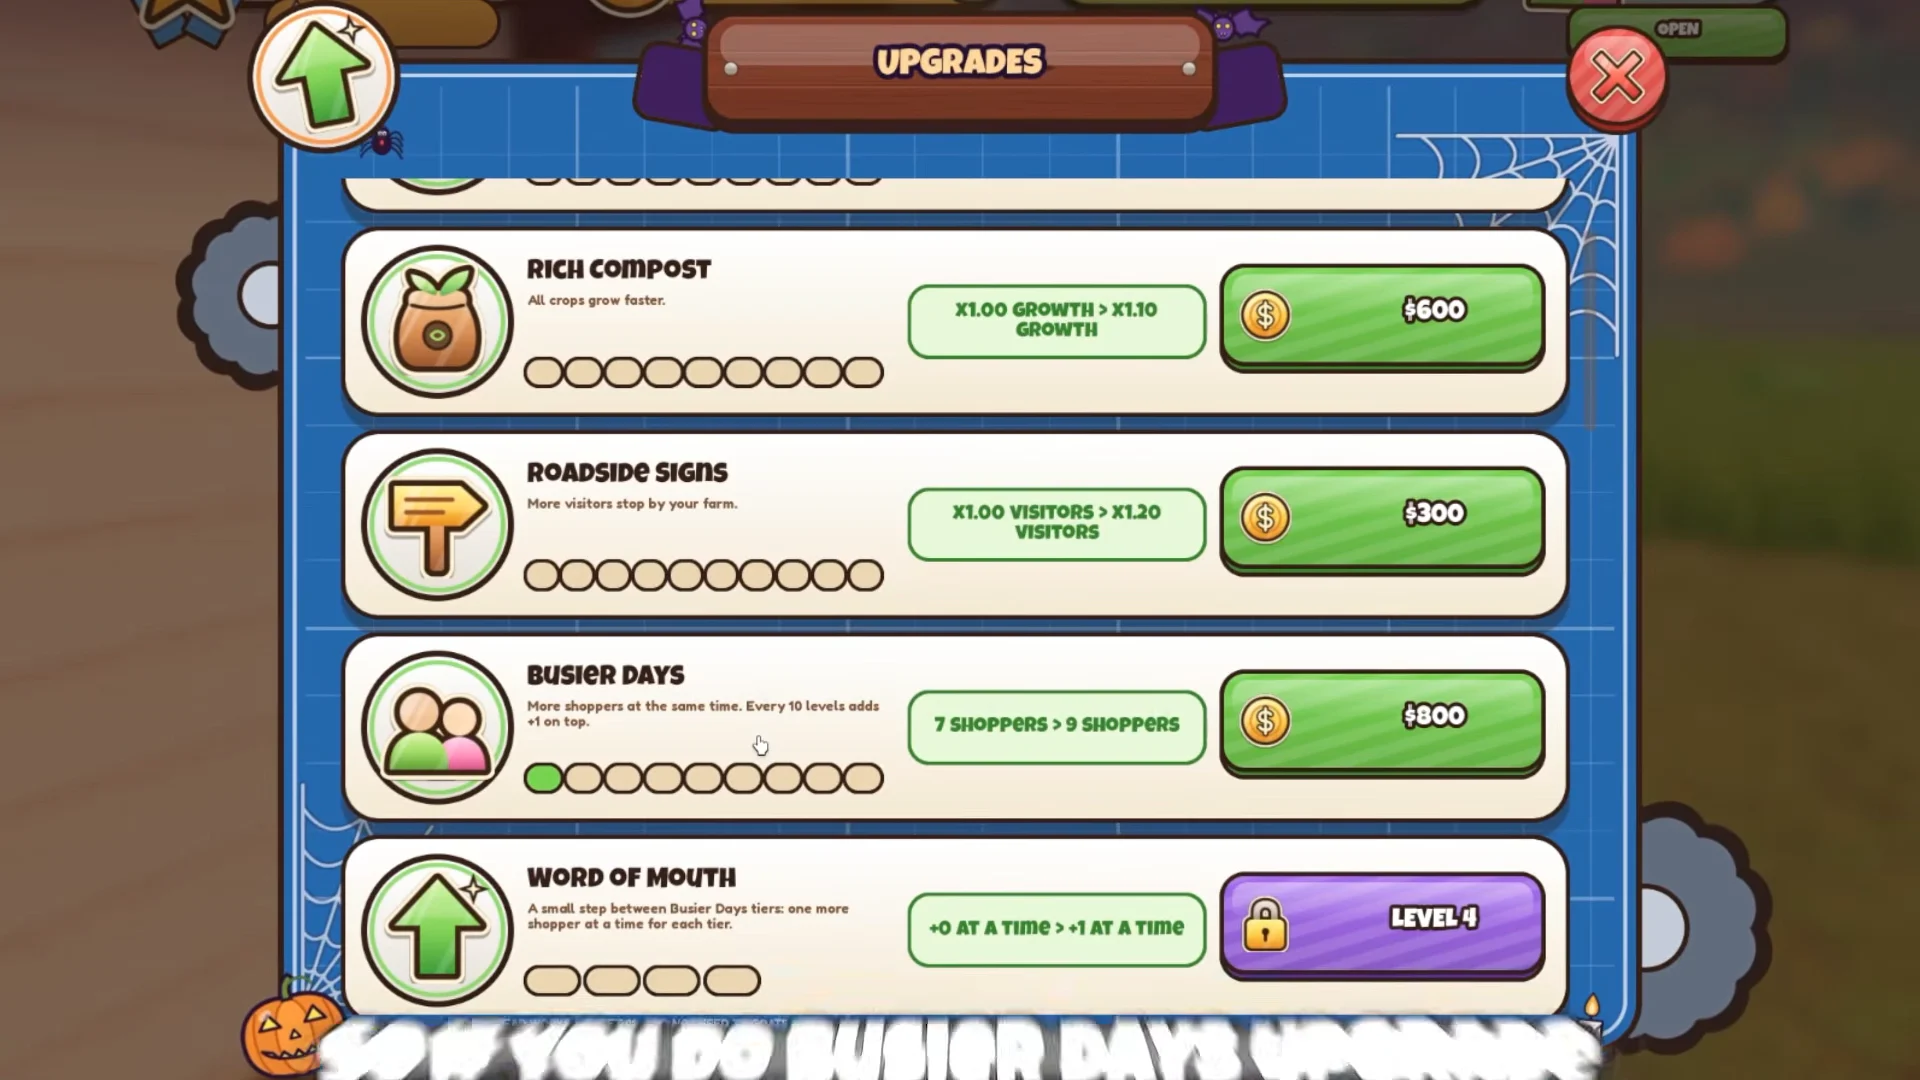
Open the Upgrades menu to see the full list. Some upgrades can be bought with coins right away, while others stay locked until your farm reaches a set level.
| Upgrade | Price or unlock |
|---|---|
| Busier Days | 1,800 coins |
| Staff Training | Level 3 |
| Roadside Signs | 1,300 coins |
| Sturdier Racks | 1,400 coins |
| Rich Compost | 1,600 coins |
| Movable Signs | Level 3 |
| Word of Mouth | Level 4 |
| Bigger Baskets | Level 5 |
| Dock Crew | Level 5 |
| U-Pick Lane | Level 6 |
| U-Pick Tickets | Level 9 |
| Trade Contacts | Level 10 |
| U-Pick Express | Level 11 |
| Bigger Truck | Level 12 |
| Farmward Orders | Level 13 |
| Bigger Helicopter | Level 20 |
Busier Days raises the number of active shoppers from 7 to 9. More people in the store means stocked shelves empty faster, which turns your harvest into coins sooner. It is the best first buy for that reason alone.
Staff Training becomes available at Level 3 and makes your workers check out customers and restock faster. Once Busier Days brings in extra shoppers, a faster checkout keeps the line from becoming the bottleneck.
Crop patches, harvesting, and leveling up
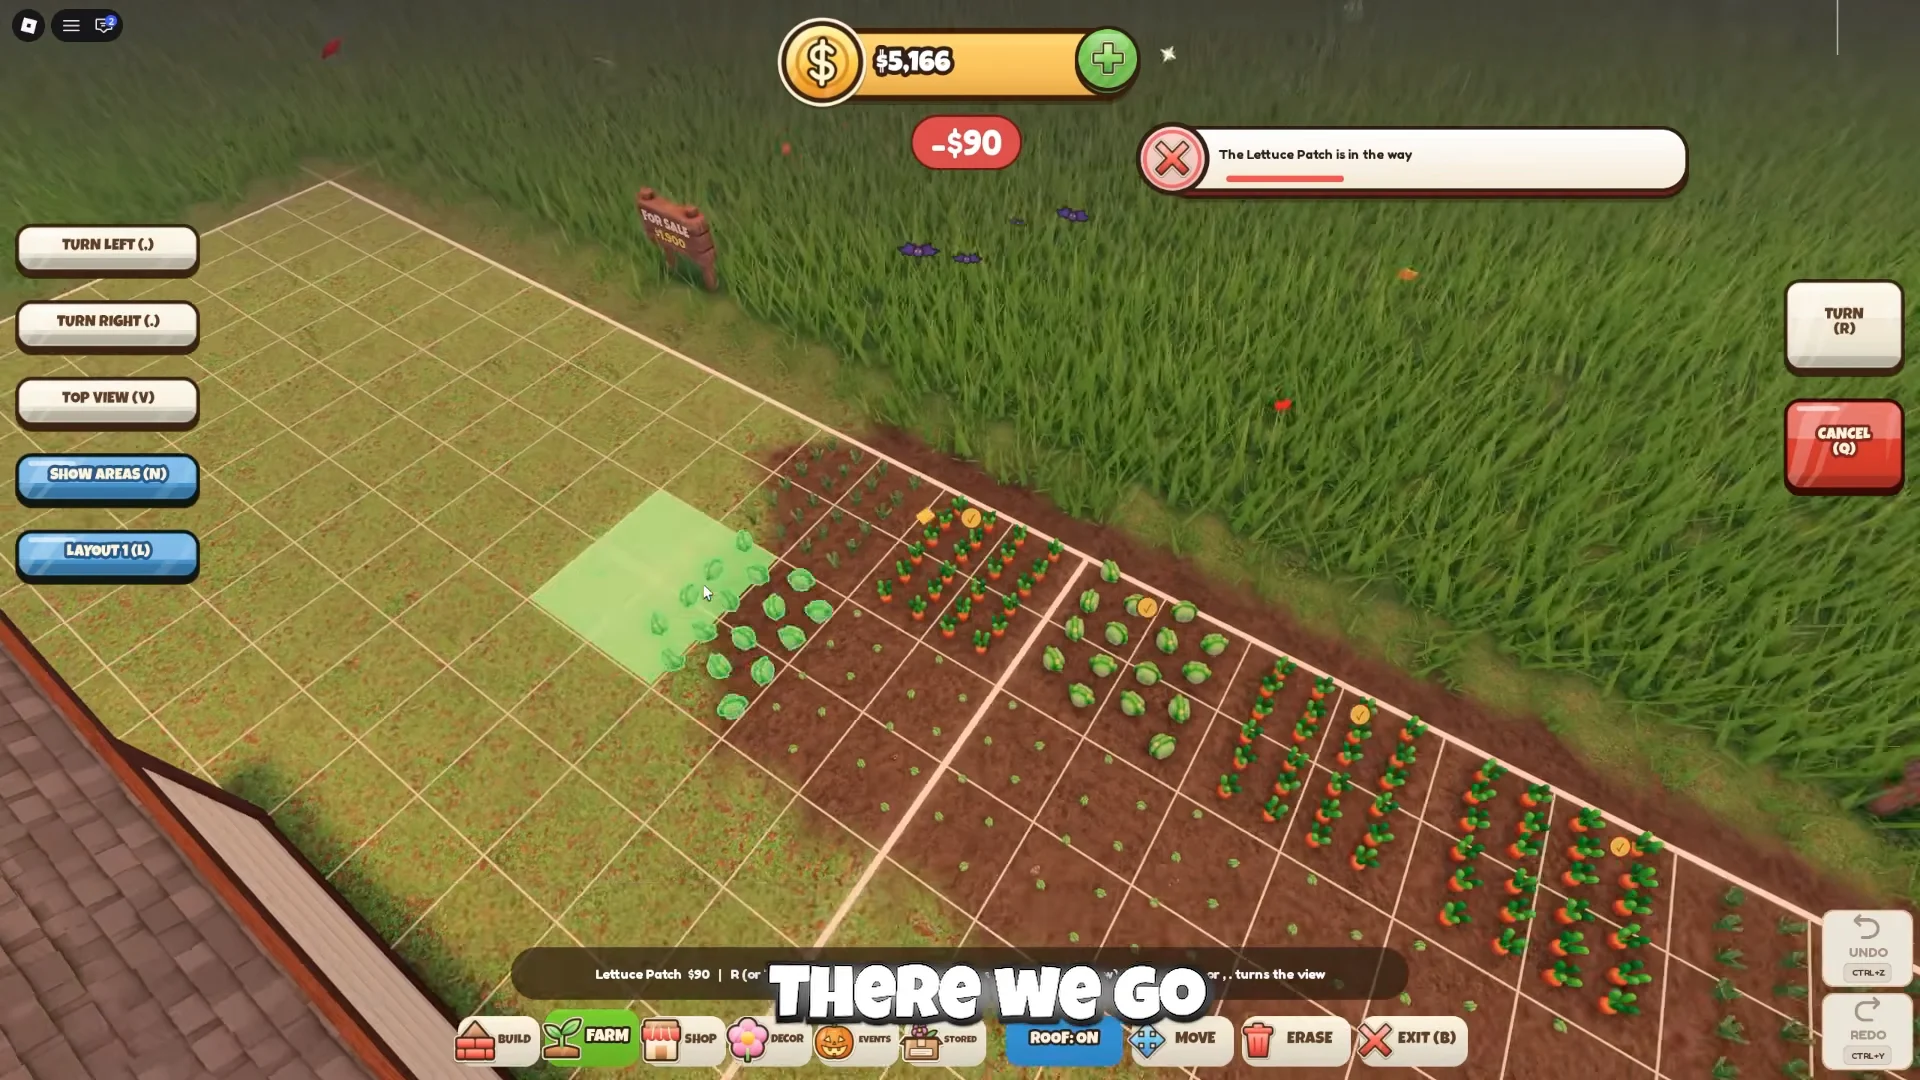
Harvesting does two jobs. It fills your storage with produce to sell, and it pays out XP that levels up the farmstead. New levels unlock more buildings, crops, upgrades, and staff roles. Enter Build mode to buy new patches and place them on the farm grid.
| Crop patch | Price |
|---|---|
| Carrot Patch | 50 coins |
| Lettuce Patch | 90 coins |
| Tomato Patch | 200 coins |
Patches are cheap compared to upgrades, so adding a few early is an easy way to grow your output. Ripe crops show a floating green timer tag until they are ready. When they are, run down each row and collect them. Every pickup pops a small gain, like +3 Lettuce, along with coins and XP.

Reaching Level 3 unlocks a batch of new items in the build catalog.
- Strawberry Patch
- Porch Post
- Big Leaf Pile
- Lightning Rod
- Lamp Post
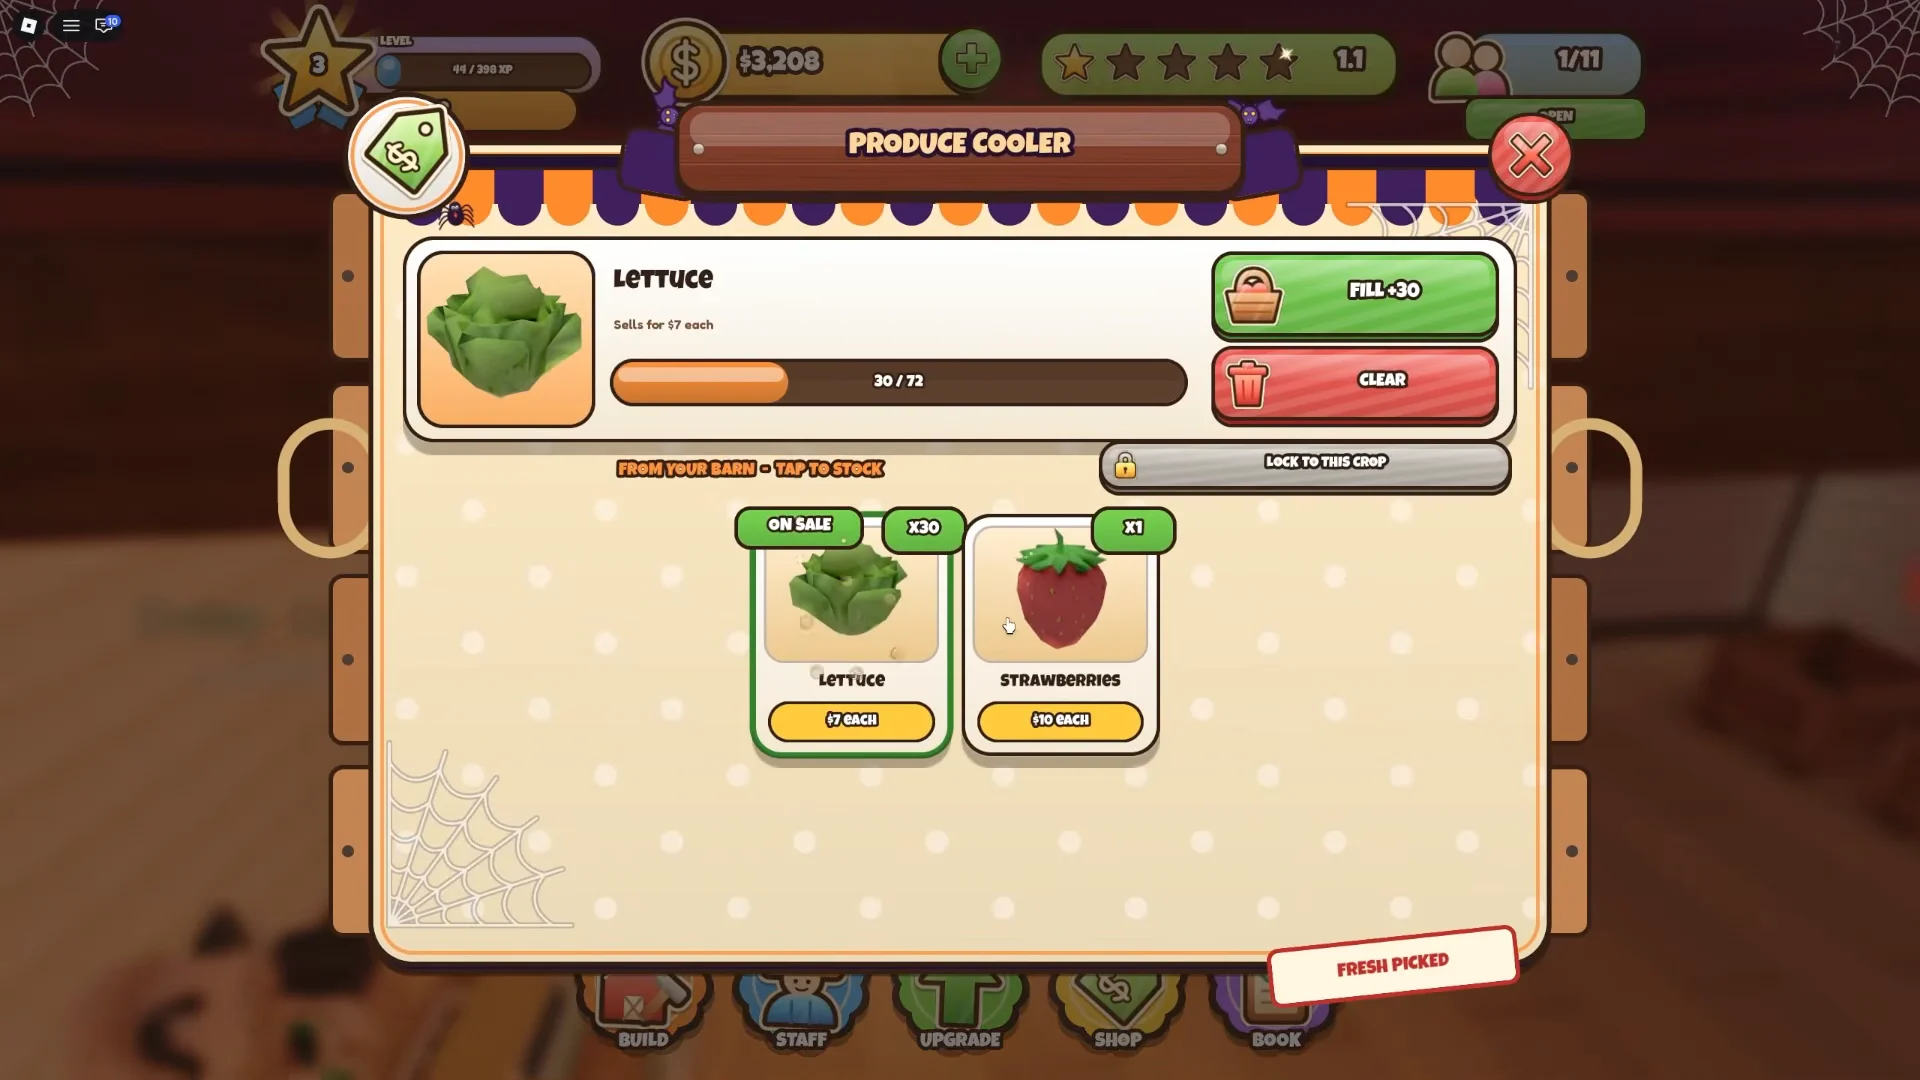
You know the level-up landed when the YOU REACHED LEVEL 3! banner appears. After a harvest pass, carry the fresh carrots, lettuce, and strawberries back to the store and fill the crates and coolers. If a Barn full... message shows up, storage is capped, and the fix is to move produce onto the stands before harvesting more.
Hiring staff: Stocker, Janitor, and later roles
You start with a cashier named Daisy and a U-Pick attendant named Hank. Everything else is hired from the Staff menu’s hire catalog. Each worker shows an overhead tag with their name, level, and role.
| Staff role | Price or unlock | Job |
|---|---|---|
| Stocker | 1,400 coins | Moves produce from racks to stands |
| Janitor | 1,400 coins | Sweeps trash, keeps store clean |
| Farmhand | Level 4 | — |
| Loader | Level 5 | — |
| Stall Manager | Level 15 | — |
The Stocker is the hire that saves the most time, since it takes over the restocking you would otherwise do by hand. A newly hired Stocker can show as idle when there is nothing to move, so keep produce in storage for it to carry.
Until you hire a Janitor, cleaning is your job. Litter shows a SWEEP prompt, and trash cans need emptying. A clean store is part of keeping profits up, so do a quick sweep whenever you pass through.
Staff build up fatigue as they work. Give tired workers a break from the Staff menu so they stay efficient.
Free coins: Daily Rewards, playtime gifts, and Farm Goals
Three free sources of coins stack on top of your sales. The Daily Rewards calendar pays coins and items for logging in on consecutive days. The Gifts menu unlocks rewards as you keep playing during a single session.

| Playtime | Gift |
|---|---|
| 10 minutes | 163 coins |
| 20 minutes | 194 coins |
| 35 minutes | 1,130 coins + 1 min Fertilizer |
| 50 minutes | 1,130 coins + Tree Box |
A full 50-minute session adds up to 2,617 coins from gifts alone, which covers Busier Days with room to spare. The Farm Book’s Farm Goals add more. Goals are split into Chapter, Daily, and Weekly tasks, and each completed one pays a cash bonus when you claim it from the Farm Book menu.
Run Your Own Farmstead codes for extra cash
Codes are the fastest one-time boost, and TYSM4EVERYTHING alone pays out more than five Busier Days upgrades’ worth of cash. The game is currently running its Halloween event, which is where the Candy Corn code fits in.
| Code | Reward |
|---|---|
TYSM4EVERYTHING | 10k Cash + boosts |
RELEASE | $380 |
FARMSTEAD | 10 min Fertilizer |
HALLOWEEN | 300 Candy Corn |
Use fertilizer to speed crops from planting through harvest; save it for when you plan to replenish all your stands at once, rather than during a quiet period.
TYPE YOUR CODE... box exactly as written. Keep the capital letters and leave out any extra spaces.If the game says you already redeemed a code, that account has claimed it before. If it says the code expired, entering it again will not help, so move on to the next one. Once the cash lands, the order of spending stays the same: Busier Days, a Stocker, then Staff Training at Level 3, with cheap crop patches filling the gaps between them.