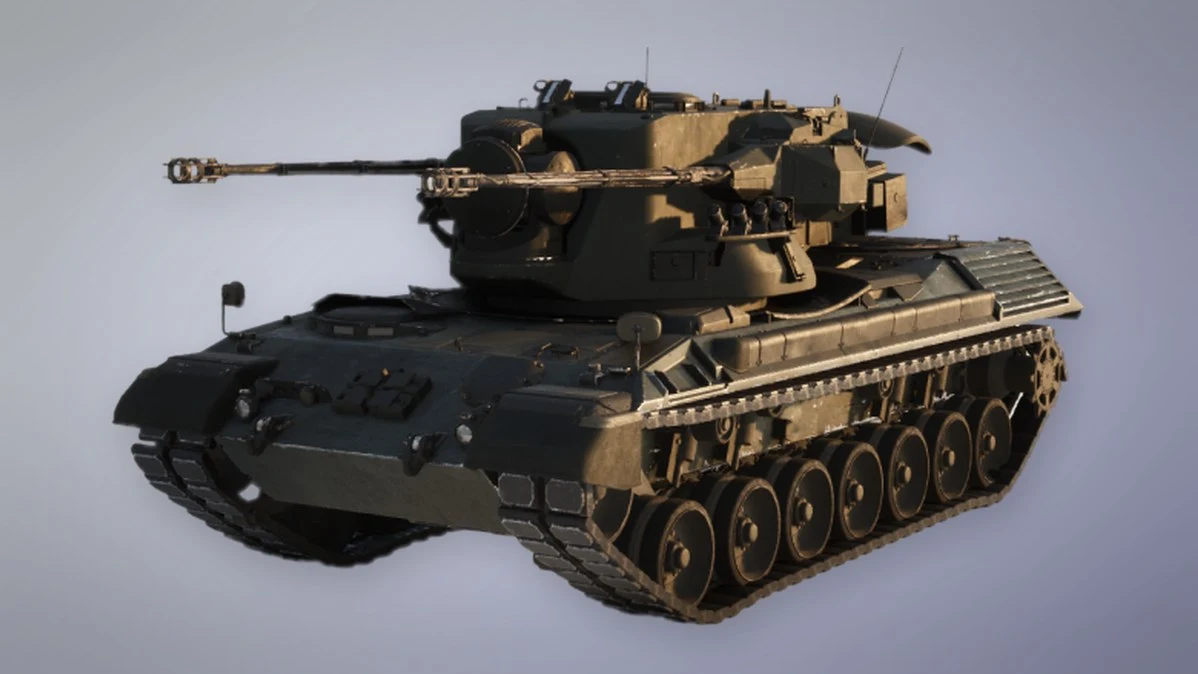
WARDOGS Season 2 added three new targets to the battlefield. The Wolf-110 is a light utility vehicle, the T-72 is a main battle tank, and the Flakpanzer Gepard is an anti-air tank. None of them takes damage evenly. Each has armor zones that soak rockets and weak zones that fold quickly. If you hit the wrong panel, you can empty a launcher into a tank that drives away.
Quick answer: One RPG-7 or MAAWS kills the Wolf-110 unless it hits a tire. The T-72 dies to 3 RPGs on its rear or turret back. The Gepard dies to 3 RPGs on its radar, turret rear sides or engine deck.
Kill counts for the Wolf-110, T-72 and Flakpanzer Gepard
Here is every Season 2 vehicle side by side, with the cheapest and costliest ways to finish each one with rockets. The cheapest route is always the rear or the top of the vehicle. The front costs you the most.
| Vehicle | Weakest zone (RPG-7) | Toughest zone (RPG-7) | One IED on the rear |
|---|---|---|---|
| Wolf-110 | 1 hit, main body | Tires absorb the hit | Destroys it |
| T-72 | 3 hits, rear hull or turret back | 4 hits, front and sides | Sets it on fire |
 Flakpanzer Gepard | 3 hits, radar, turret rear sides, engine deck | 6 hits front, up to 7 on low tracks | Destroys it |
The Gepard is the hardest of the three to kill. It soaks more damage overall than the T-72, and its armor is split into more layers.
RPG-7 and MAAWS hits by armor zone
Wolf-110: avoid the tires
The Wolf-110 has very little health. A single RPG-7 or MAAWS rocket anywhere on its main body destroys it. The exception is the tires. Each tire works as its own damage buffer. A rocket that lands on a tire punctures it and passes only part of the damage to the vehicle, so the Wolf survives a shot that would otherwise have killed it. Aim at the body panels above the wheel line.
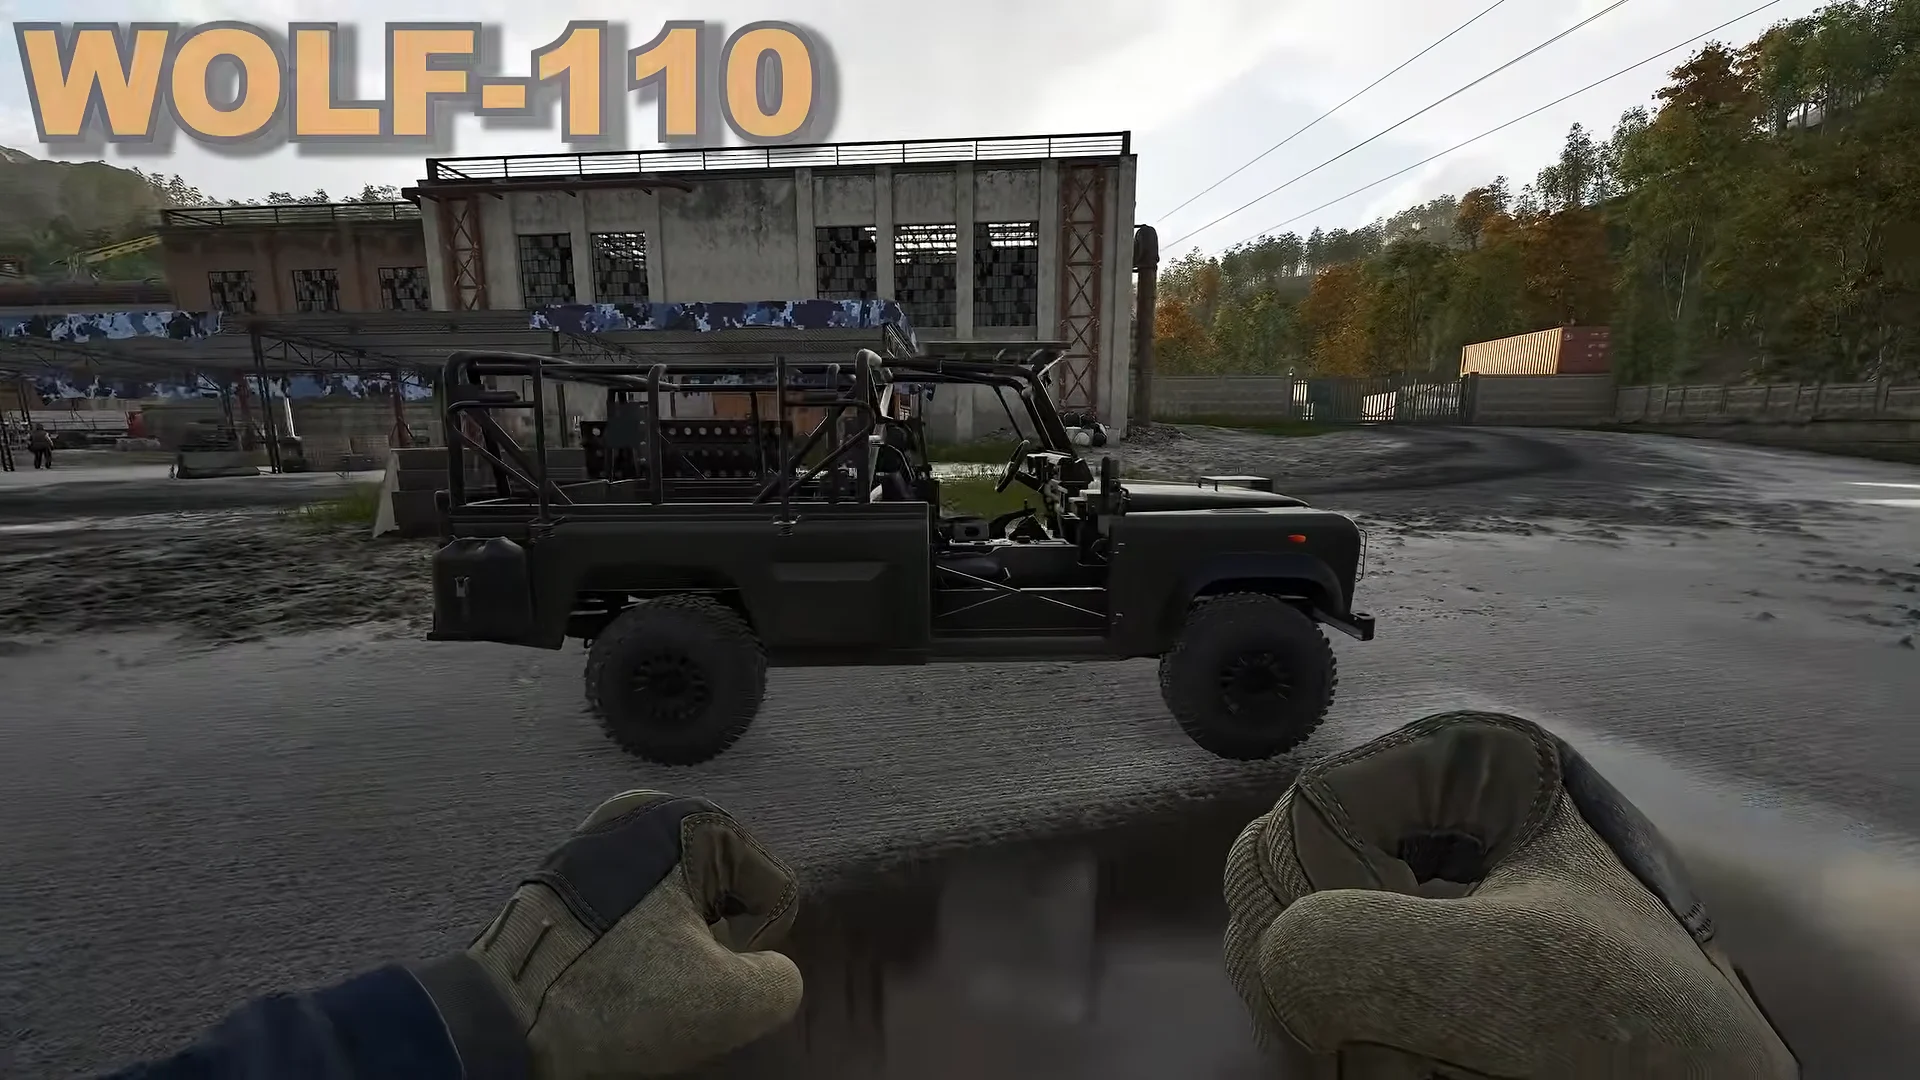
If a Wolf is parked, you may not need a launcher at all. You can shoot the passengers inside instead.
T-72: hit the rear hull and turret back
The T-72 has two damage tiers. The front plate and upper front sides take about 20–25% damage per RPG-7. The rear hull plate over the engine and the back half of the turret take about 40% per rocket.
| T-72 zone | Damage per RPG-7 | RPG-7 hits to kill |
|---|---|---|
| Front plate | 20–25% | 4 |
| Upper front sides | 20–25% | 4 |
| Rear hull (engine) | About 40% | 3 |
| Turret rear and rear sides | About 40% | 3 |
A four-rocket kill and a three-rocket kill can be a difference of a few steps. If the tank is turned toward you, flank it before you fire.
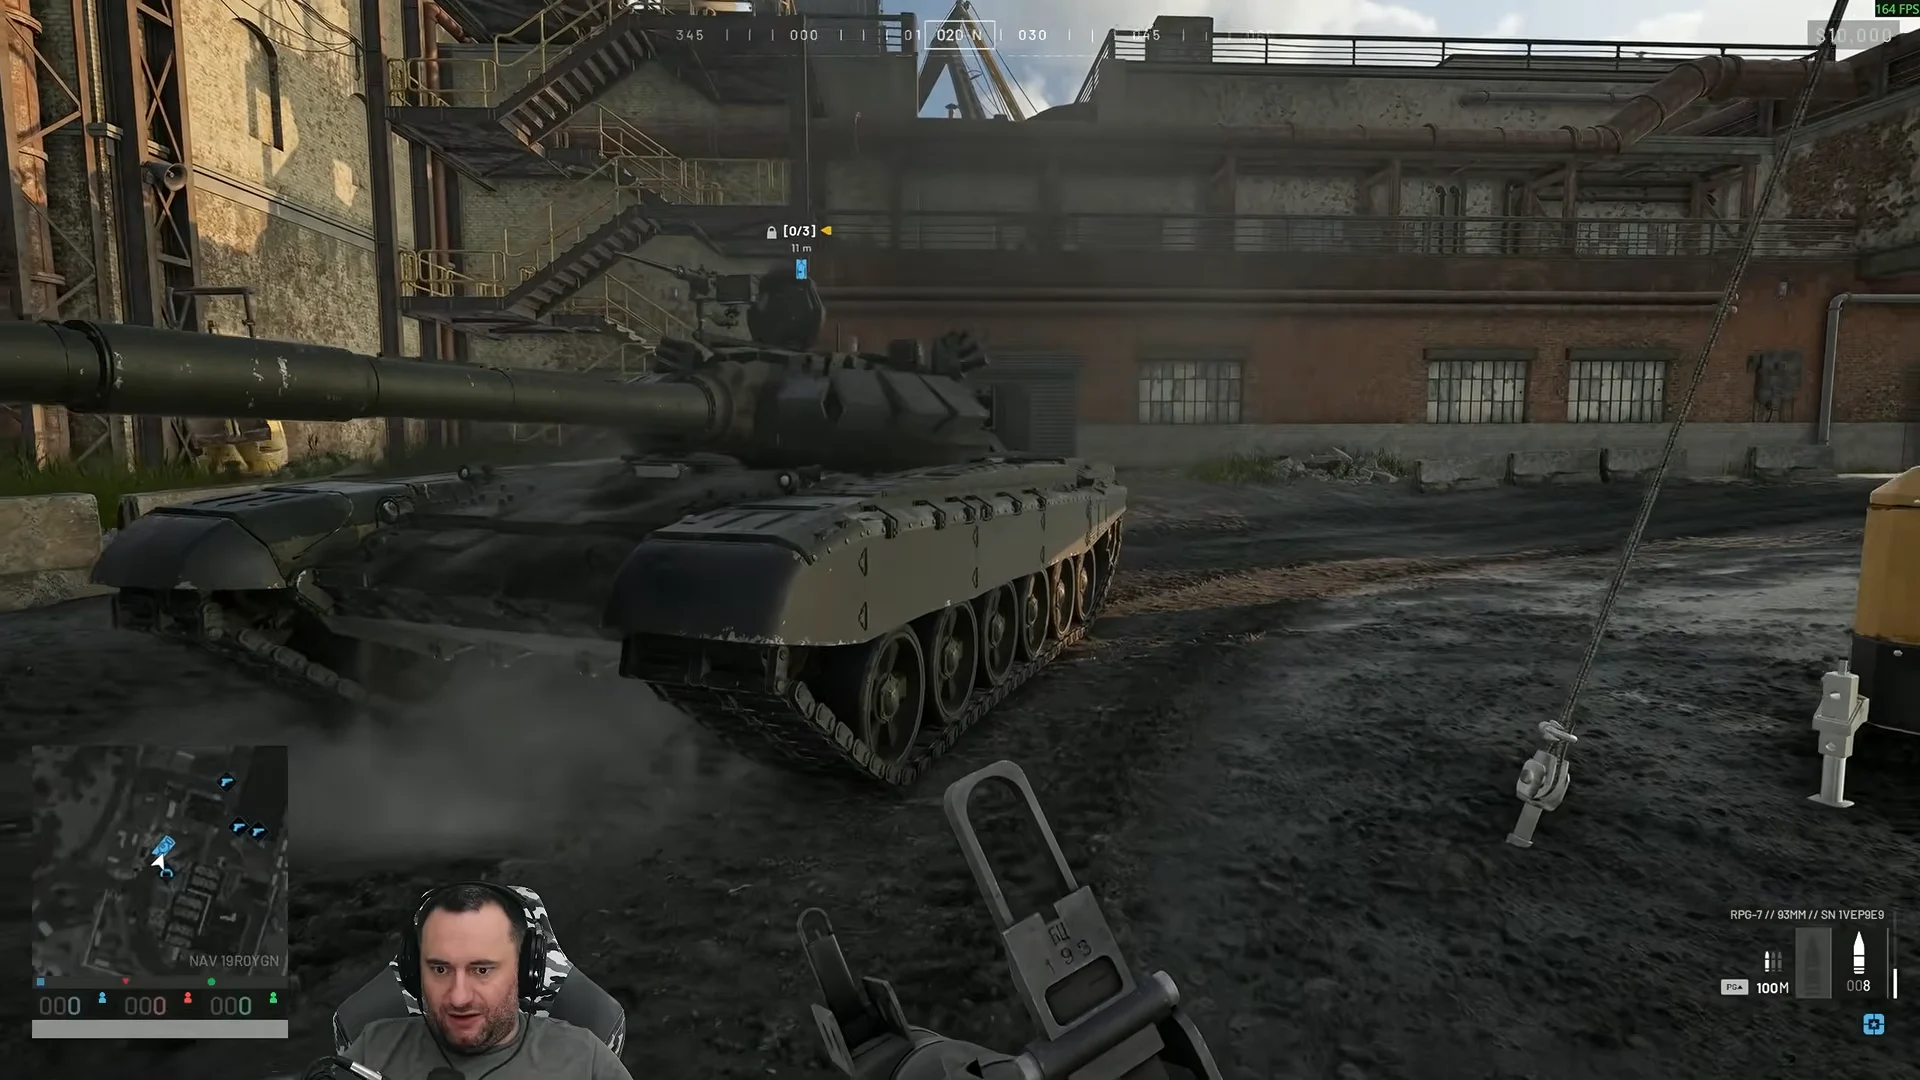
The MAAWS hits harder. It kills a T-72 in two shots from almost any angle. One MAAWS into the rear engine compartment does 85–90% damage, so a single rifle round or grenade could be enough to finish it.
Flakpanzer Gepard: radar, turret rear sides and engine deck
The Gepard spreads its armor across more zones, and the hit counts range from 3 to 7. Shooting the front plate costs six rockets and will not track the vehicle. On the sides, rockets above the tracks or into the turret side take five hits. Low shots into the track assemblies take six or seven, because the tracks absorb the first hit.
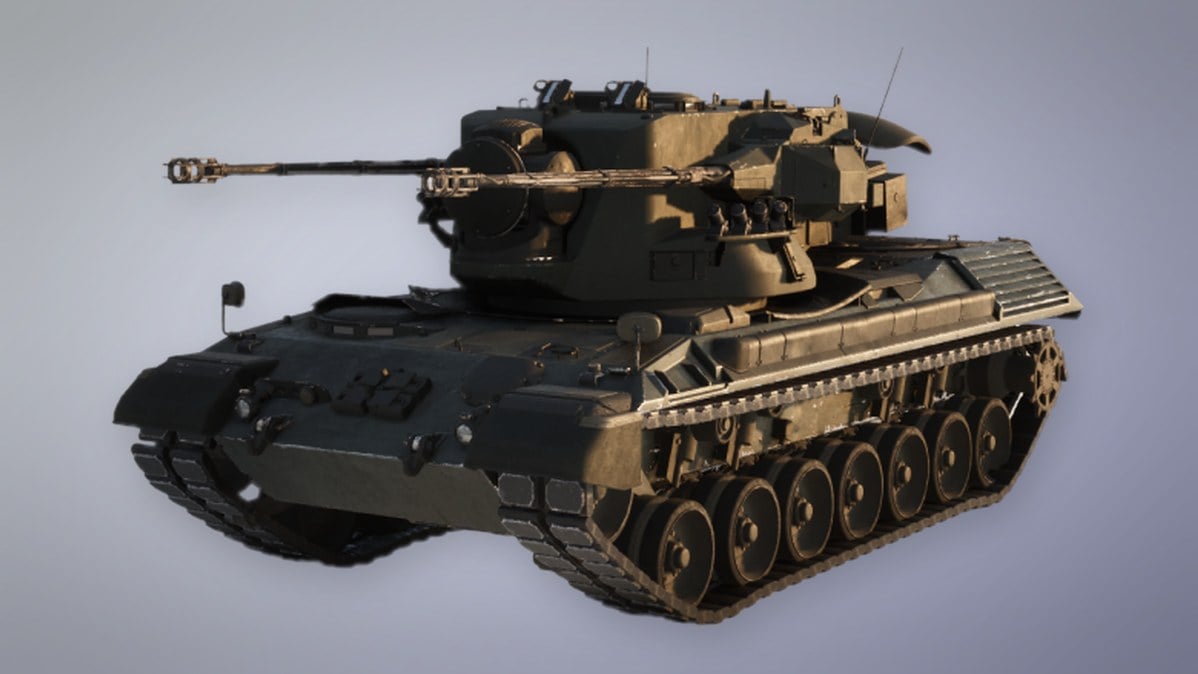
| Gepard zone | RPG-7 hits to kill |
|---|---|
| Front plate | 6 |
| Lower side, through the tracks | 6–7 |
| Upper side and turret side | 5 |
| Lower rear hull | 5 |
| Boxed section under the radar | 5 |
| Rear side vents | 4 |
| Turret rear sides | 3 |
| Radar dish and radar sides | 3 |
| Top engine deck and vent strip | 3 |
The rear has a trap. The lower rear hull looks like an engine shot, but it takes five rockets and does not disable the engine. Aim higher, at the turret’s rear corners or the radar.
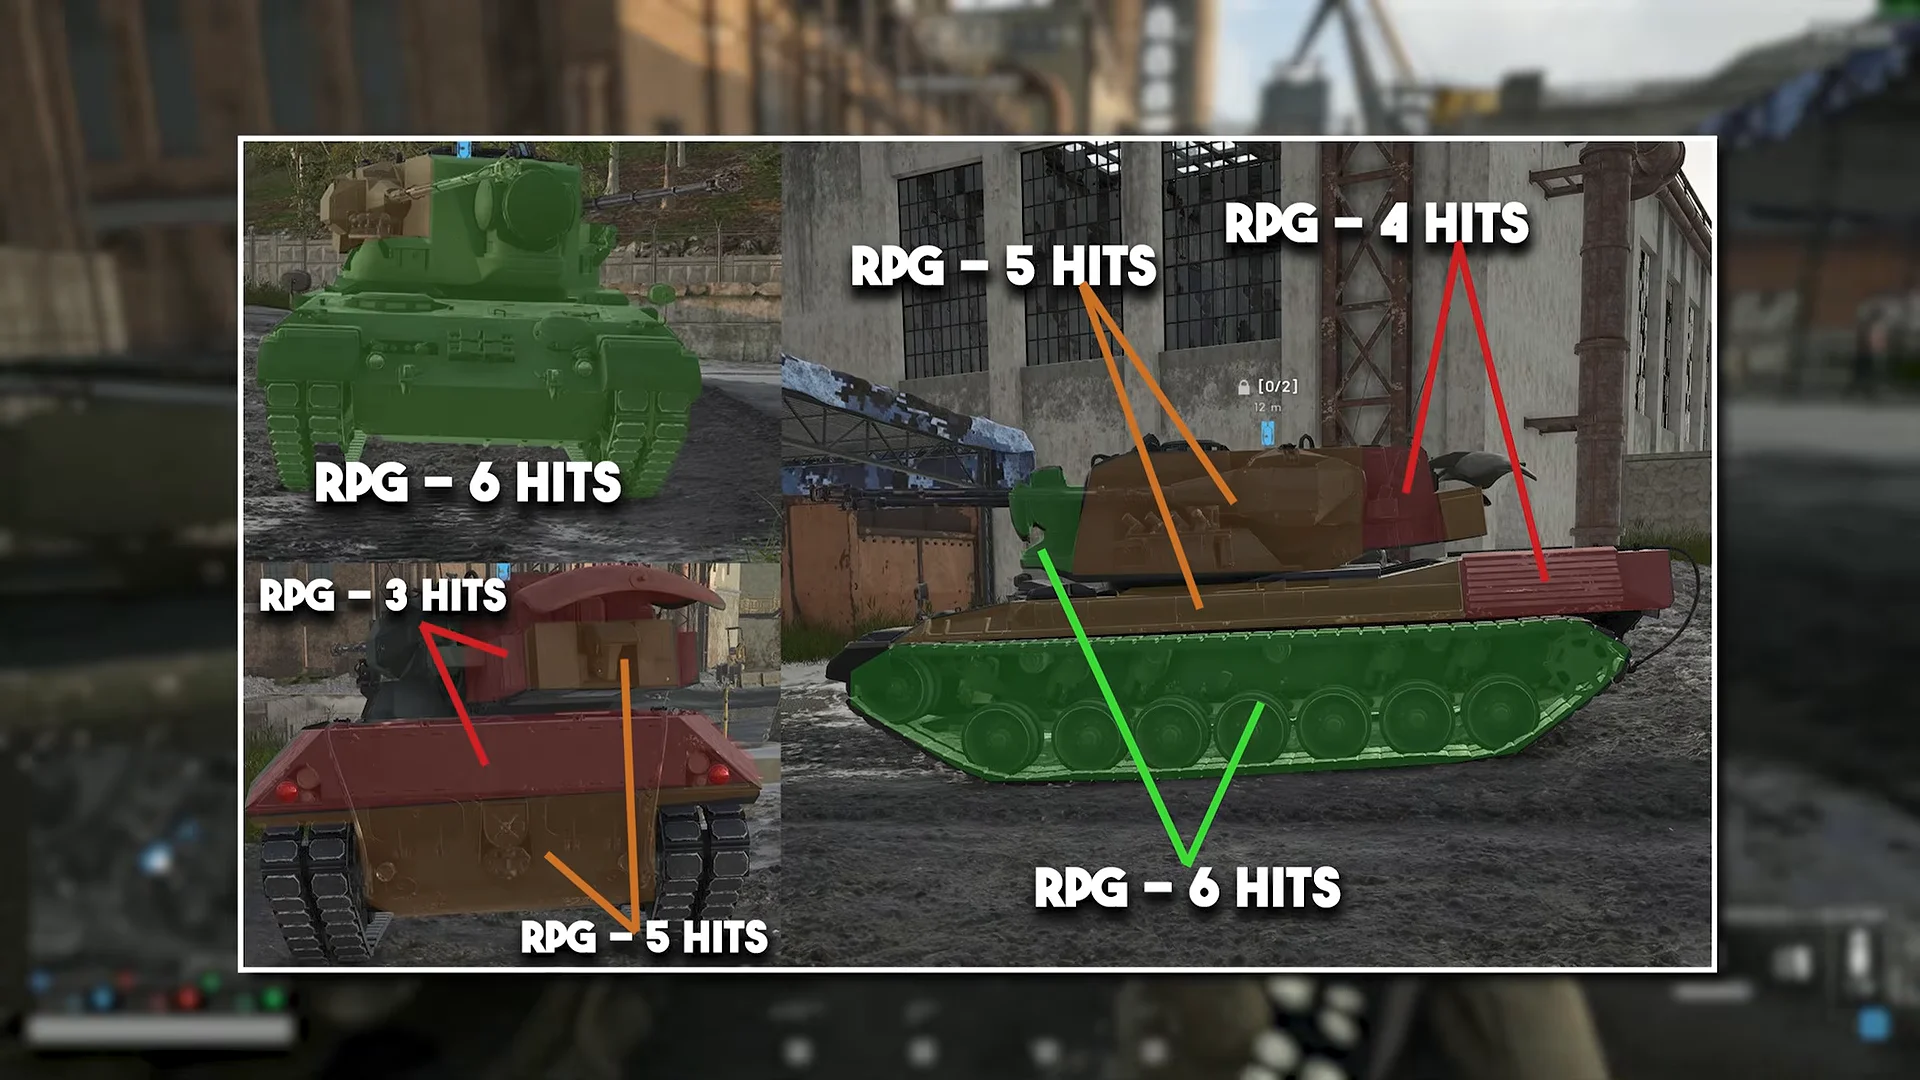
With a MAAWS, the Gepard usually goes down in two shots and sometimes needs three. Hits on the rear and right side give the most consistent results. Turret hits do not.
The top engine deck is also exposed to aircraft. A Little Bird with rocket pods, the AH-6R [Rockets], can fire down onto the deck and get the same three-hit result infantry get from behind. That means attacking the one vehicle built to shoot helicopters down, so come in fast and leave fast.
C4, IED and grenade counts per vehicle
Placed explosives follow the same rule as rockets. The rear is where they do the most damage. The IED gives the most reliable result of any explosive.
| Vehicle | IED | C4 | Grenades |
|---|---|---|---|
| Wolf-110 | 1 anywhere on the body | Rear bumper may only set it on fire | 3–4 |
| T-72 | 1 on the rear sets it on fire | 4 front/sides, 2 rear (fire), 3 rear (kill) | 2 disable the engine |
| Flakpanzer Gepard | 1 on the rear destroys it | 5 front/sides, 3 rear | Impractical |
Wolf-110. An IED kills it wherever it sits on the main body, including in the bed. C4 near the rear bumper is less certain and can leave the Wolf burning instead of destroyed. Three or four grenades finish it. Spreading the blasts across the hull works better than stacking them on the engine.
T-72. Placement is crucial. An IED hit to the rear engine bay ignites the tank, while a hit to its front or sides deals only 50–60% damage. Four C4 charges on the front or sides destroy it. Two charges at the rear start a fire; three destroy it instantly.
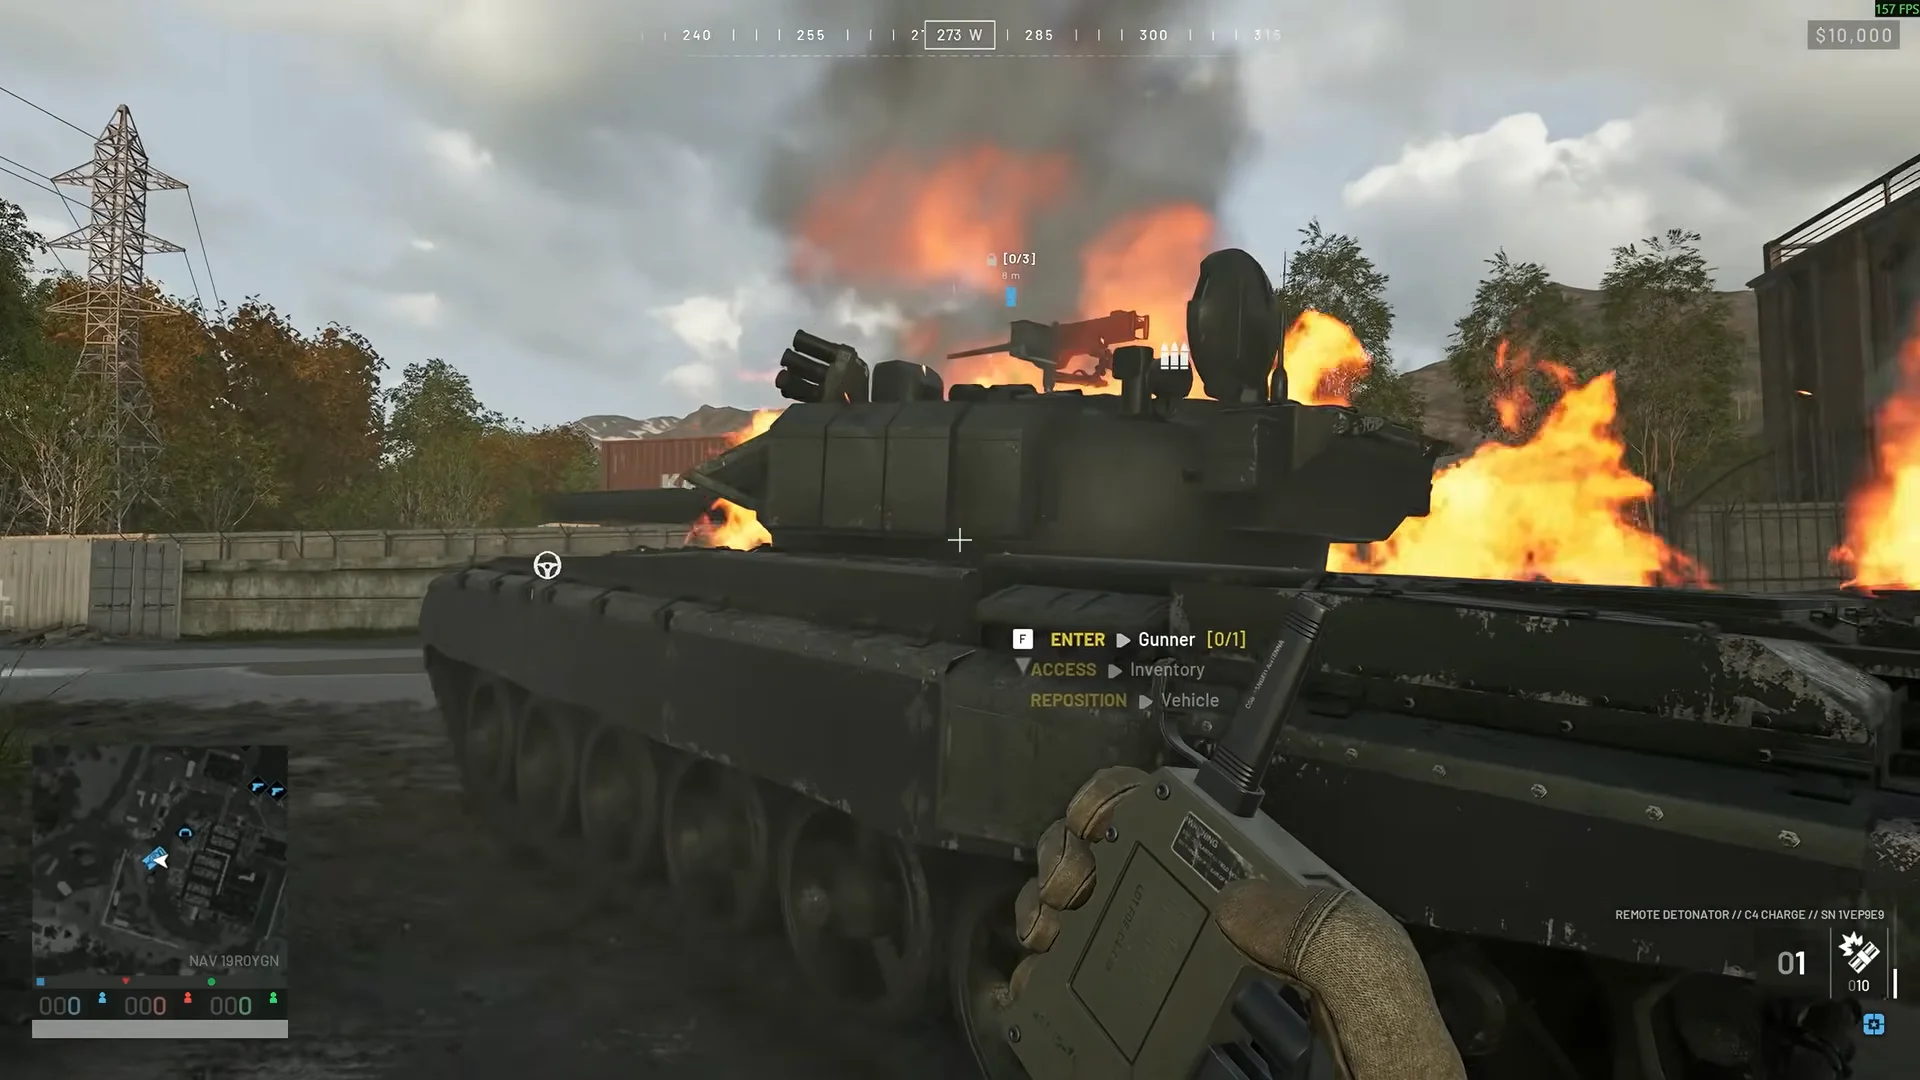
Flakpanzer Gepard. One IED on the rear destroys it. Avoid placing IEDs on the front. C4 takes five charges on the front or sides and three on the rear. Grenades are close to useless here. They can bounce through the tracks without doing damage, and engine hits only count when the grenade lands directly on top of the deck.
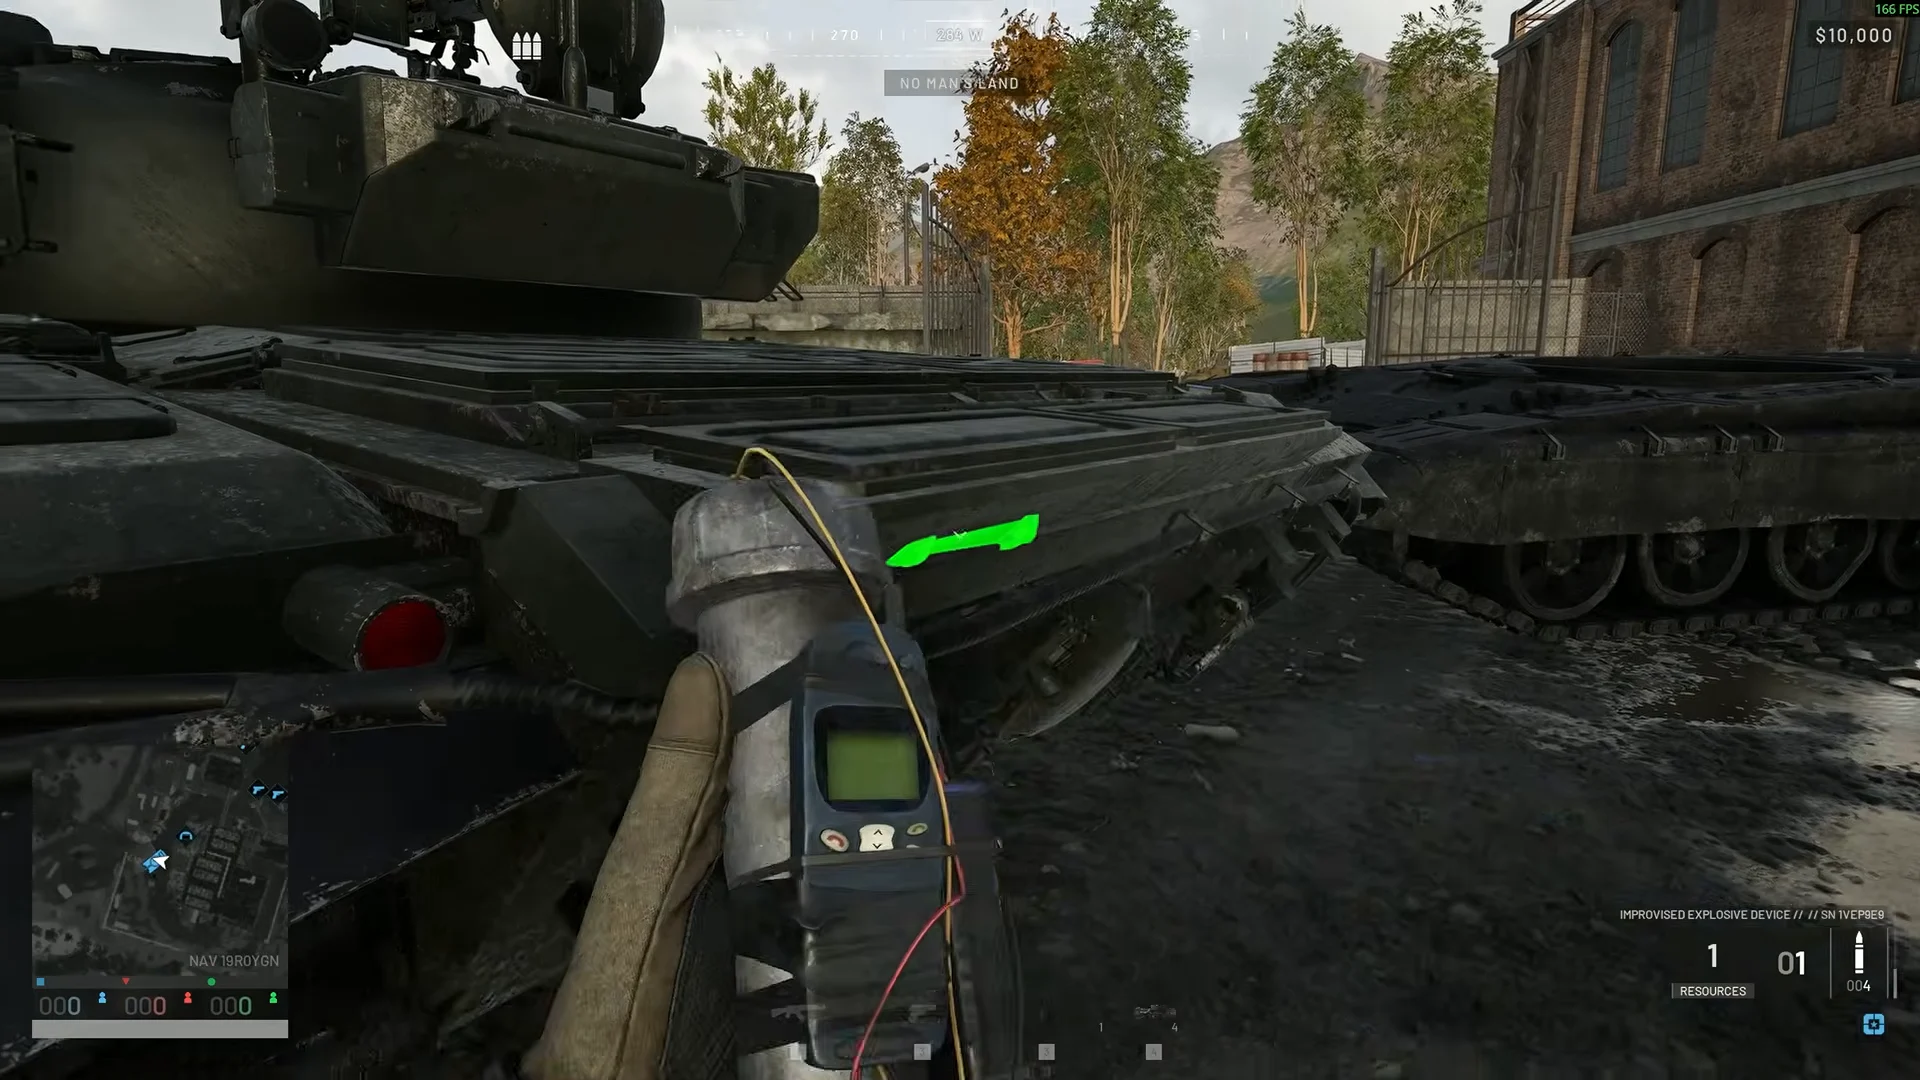
Explosive damage varies from attempt to attempt, and the same placement can give different results. Carry at least one more charge than the table says, especially against the Gepard.
Tracking a tank and punishing the repair
You don’t always need to destroy a tank to stop it. A single RPG-7 or one C4 charge on a T-72’s tracks immobilizes the tank and damages the track. The crew then has to get out to repair it. You’ll know the track hit worked when the tank stops moving.
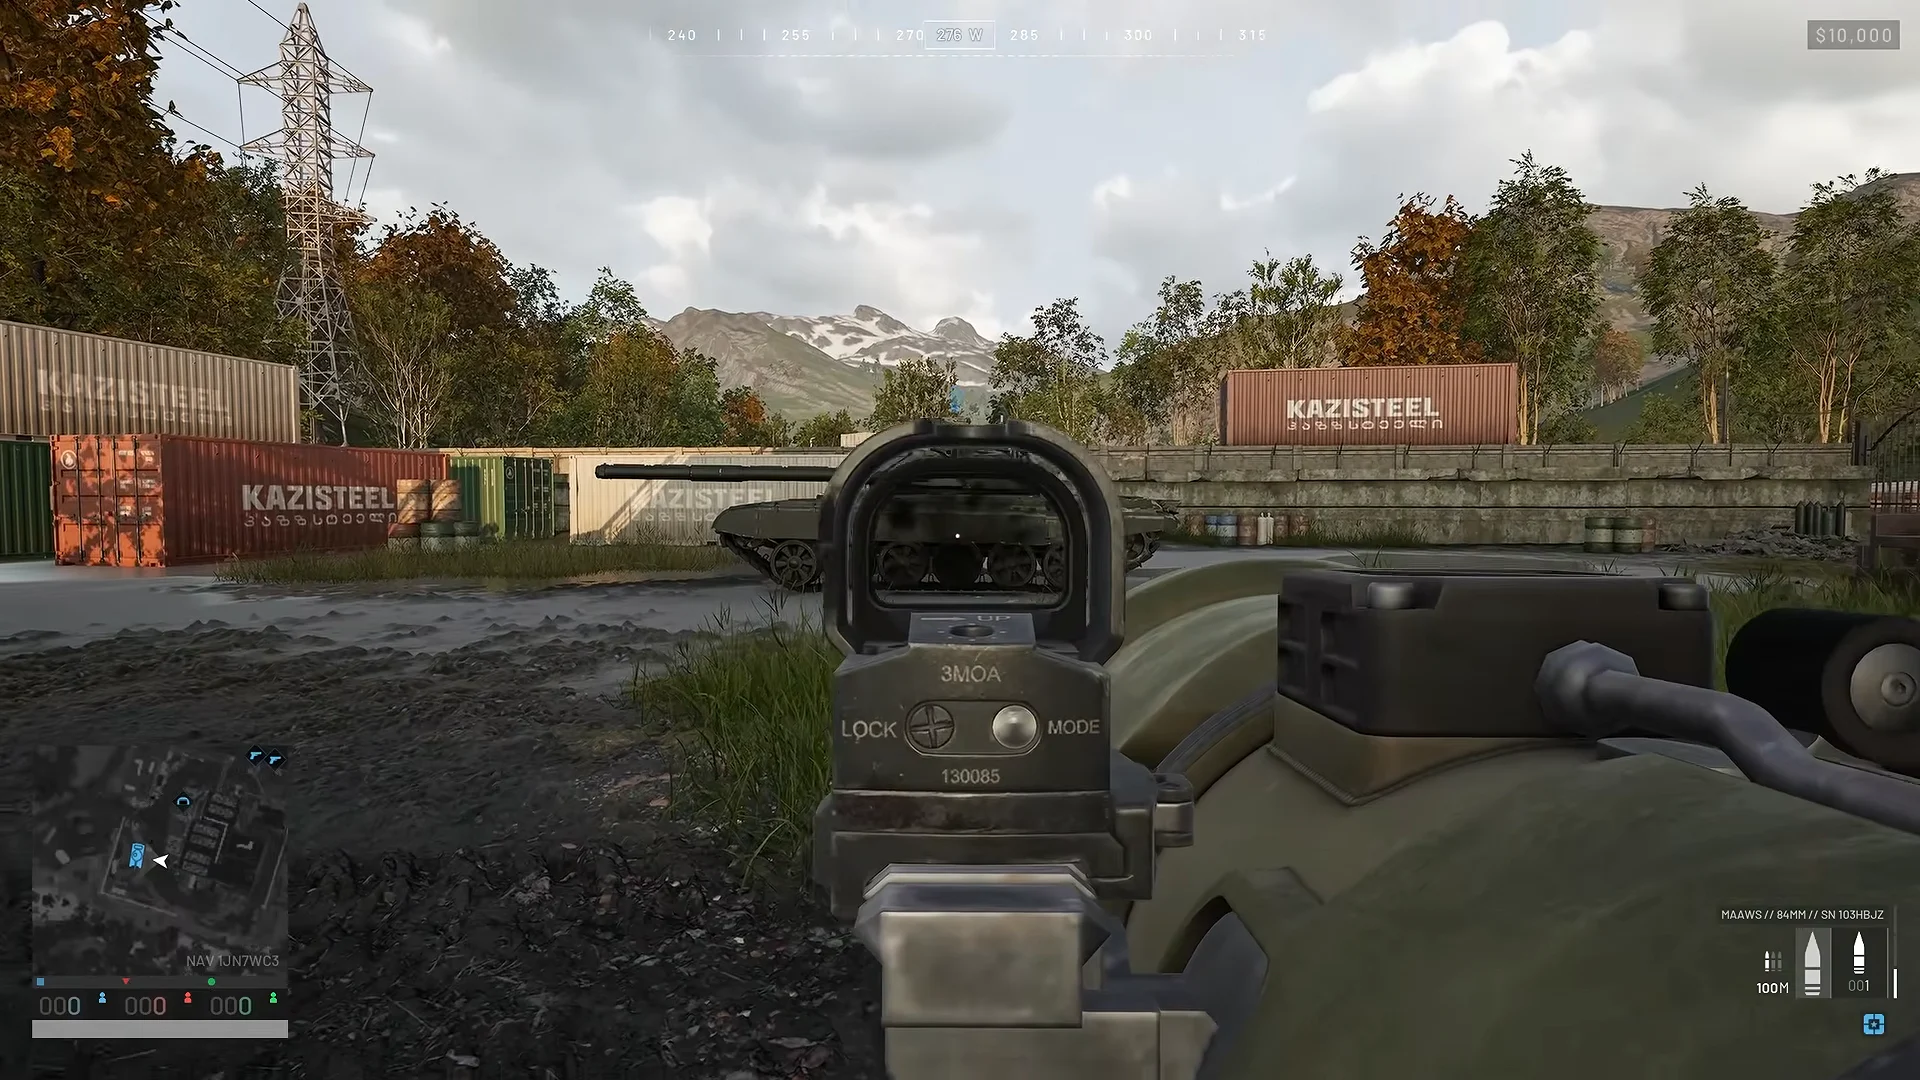
That repair is your chance to attack. A crew working on the track is standing outside its armor, so either shoot the crew or walk around to the rear and use the three-hit zones while the tank can’t turn. Disabling a T-72’s engine also pays well, even if the tank survives. Two grenades into its engine bay are enough to do it.
The Gepard is harder to stop. Rockets fired at its front plate will not track it, and low side shots lose their first hit to the tracks.
RPG-7, MAAWS and Gepard stats
Before you choose a launcher for tank hunting, compare the two. The RPG-7 is cheaper, unlocks earlier and has a larger blast radius. The MAAWS fires a faster shell and turns a T-72 into a two-shot target.
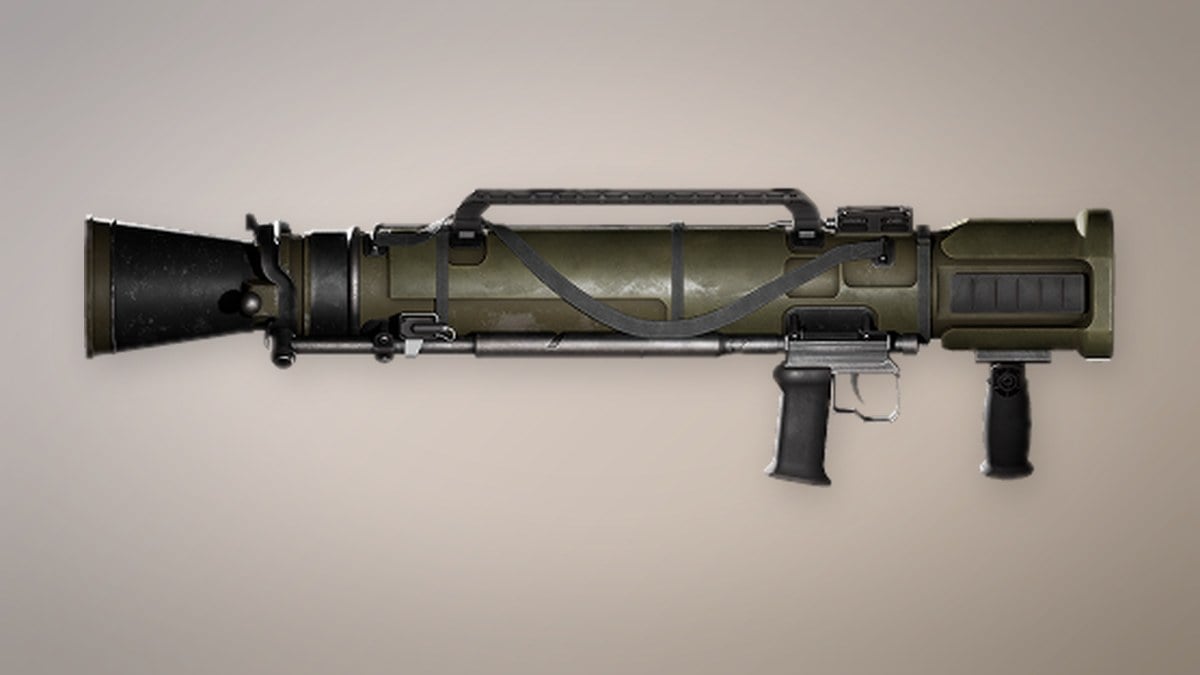
| Stat | RPG-7 | MAAWS |
|---|---|---|
| Vendor price | $2,000 | $2,600 |
| Calibre | 93mm rocket | 84mm anti-tank shell |
| Damage per shot | 110 | 100 |
| Explosive radius | 12 m | 10 m |
| Muzzle velocity | 100 m/s | 230 m/s |
| Weight | 6.3 kg | 7.0 kg |
| Unlock | Support level 5, $30,000 | Support level 20, $125,000 |
Both launchers are reusable tubes with the same rate of fire. The RPG-7’s slower rocket needs more lead on a moving vehicle, and its zeroing goes out to 500 m. The MAAWS shell arrives at more than twice the speed.
To attack the Gepard’s engine deck from the air, you’ll need the AH-6R [Rockets]. It costs $12,500 from the vendor and unlocks at Pilot level 20 for a one-time fee of $250,000. It seats two and has a top speed of 350 km/h.
A Gepard is available only from the vehicle dealer in your faction’s safe zone; none spawn on the map. It’s costly to operate: each one costs $10,000 and uses 10 litres of fuel per kilometre, compared with 8 litres per kilometre for the L2A6 and SPH-2.
| Flakpanzer Gepard | Value |
|---|---|
| Vendor price | $10,000 |
| Class and variant | Tank, Anti Air |
| Top speed | 65 km/h |
| Fuel capacity | 110 litres |
| Fuel burned per km | 10 litres |
| Seats | 2 |
With a top speed of 65 km/h, the Gepard can’t get away from infantry who have flanked it. Wherever you are on the map, the plan stays the same. Get behind the vehicle or above it, avoid tires and front plates, and save your IED for the tanks.