DMZ is back in Call of Duty: Modern Warfare 4 with its own 70-level progression track. It sits apart from the Level 1–55 ladder used in Multiplayer and Warzone. Almost every level adds something to your Forward Operating Base, including stations, 3D Printer recipes, crafting ingredients, Survival Kits, operator skins, and permanent boosts to stash space and bounty payouts. Level 1 gives you nothing. The first unlocks arrive at level 2.
Quick answer: To reach level 70 in DMZ, players need 1,165,573 total DMZ XP. The 3D Printer becomes available at level 2, the Vendor at 5, the Gunsmith at 10, and the Dog Tag Case at 20.
DMZ launch access and when progress starts counting
DMZ Early Access went live globally on Tuesday, October 20 at 10AM PT for players who digitally pre-ordered Standard or Vault. The required update has been out on every platform since Monday, October 19. Everyone else gets DMZ on Friday, October 23, when Campaign, Multiplayer, and DMZ launch together on PS5, Xbox Series X|S, PC, and Nintendo Switch 2.
Early Access is not a throwaway preview. XP and Weapon XP earned there carry into your Modern Warfare 4 career progression and unlocks, and that includes Weapon Camos.
How DMZ XP is earned
You only earn DMZ XP by deploying into Hajin, the DMZ Exclusion Zone. Dying doesn’t wipe it. Whatever XP you earned during a run stays with you whether you exfil or not. These activities pay out:
- Successful exfils, plus the Deployment Bonus
- Story Missions, at around 12,500 XP each
- Dynamic Operations, at roughly 4,500 to 8,000 XP
- Side Ops
- Kills on hostiles, enemy operators, and bosses
- Reviving other players
DMZ XP carries over to your 1–55 Multiplayer and Warzone player level, but the reverse isn’t true: XP earned in either of those modes won’t advance your DMZ level. To progress in both at the same time, play DMZ.
DMZ level vs. operator Traits
DMZ progression belongs to your account, not to an individual operator. XP earned while playing as any Active Duty operator advances that account-wide level, and every operator can access its station and reward unlocks. Trait Points and Dog Tag rank are tied to individual operators instead. They advance using the same DMZ XP but remain with the operator who earned them.
Rescuing an operator with Missing in Action status restores their purchased Traits, unused Trait Points, and Dog Tag rank. Your DMZ level stays safe regardless.
DMZ XP required per level
The cost of each level stays fairly flat. Level 2 takes 15,050 XP, and going from 69 to 70 takes 18,634 XP. The grind is long because there are 69 steps, not because the last few levels spike. The totals below are cumulative.
| DMZ level | Total DMZ XP | Key unlock |
|---|---|---|
| 2 | 15,050 | 3D Printer |
| 3 | 30,180 | Sedative Inhaler |
| 4 | 45,378 | Reece, Tacticals |
| 5 | 60,638 | Vendor |
| 10 | 137,806 | Gunsmith |
| 15 | 216,344 | Simone, +1 Operator Slot |
| 20 | 296,209 | Dog Tag Case |
| 25 | 377,379 | +5% Discount |
| 30 | 459,845 | +10% Bounty Payout |
| 70 | 1,165,573 | Advanced SERE Kit |
DMZ milestones that change your FOB
Most levels give you a recipe or a pair of ingredients. A smaller set of levels expands what the FOB itself can do, and those are the ones to plan around.
| Upgrade | DMZ levels | Result |
|---|---|---|
| FOB stations | 2, 5, 10, 20 | 3D Printer, Vendor, Gunsmith, Dog Tag Case |
| 3D Printer categories | 4, 7, 12, 28 | Tacticals, Lethals, Field Upgrades, Fire Support |
| Bounty payout | 30, 40, 50, 70 | +10%, +25%, +50%, +100% |
| Item stash | 22, 45, 70 | +18 slots each (40 to 94) |
| Weapon stash | 35, 60 | +6 slots each (12 to 24) |
| Vendor stock | 18, 32 | +1 weapon, then +4 items |
| Gunsmith discount | 25 | 5% off all purchases |
| Operator slot | 15 | +1 Operator |
| Operator skins | 4, 9, 15, 19 | Reece, Coffey, Simone, Hector |
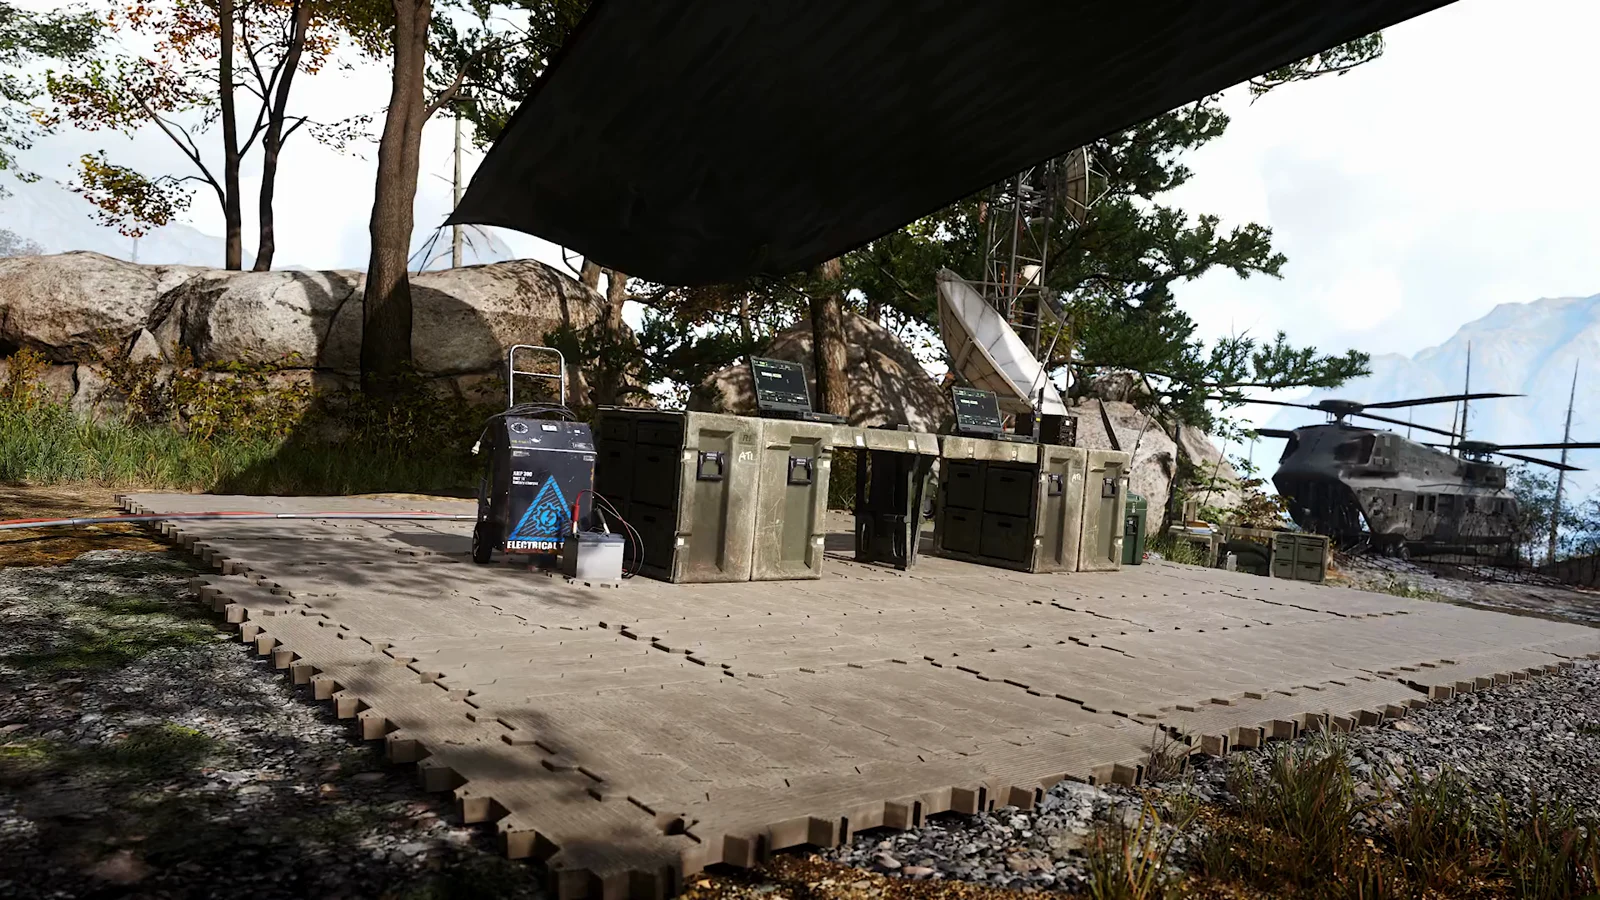
Each station serves a different purpose. Use the 3D Printer to make Gear, Backpacks, Consumables, and Upgrades. The Vendor trades weapons and items for DMZ Cash, with its inventory refreshed daily. At the Gunsmith, you can purchase any weapon covered by a Weapon Manual you own, then customize it using unlocked attachments. The Dog Tag Case holds a set number of extracted enemy operator Dog Tags; 3D Printer upgrades can increase that capacity.
Dog Tag Case bounty payout tiers replace one another as you progress. At level 70, claimed bounties award twice the standard DMZ Cash amount; the four tiers aren’t combined.
Every DMZ level reward from 2 to 70
A recipe stays unlocked as a 3D Printer blueprint, letting you print that item whenever you have its materials. Ingredients, consumables, and Survival Kits arrive in your stash as drops that can be used once. Epic- or Rare-marked Fire Support is consumed with a single call-in. By contrast, the level 31 UAV is a recipe that you can print repeatedly.
Early DMZ levels: 2 to 24
| Level | Reward | Type |
|---|---|---|
| 2 | 3D Printer | FOB station |
| 2 | 1-Plate Armor Vest, 2-Plate Armor Vest, Bandage, Medkit, Small Backpack, Medium Backpack | Recipes |
| 3 | Sedative Inhaler | Recipe |
| 4 | Reece | Operator skin |
| 4 | Tacticals | 3D Printer upgrade |
| 4 | Smoke Grenade, Concussion Grenade | Recipes |
| 5 | Vendor | FOB station |
| 6 | Rigid Synthetics x2 | Uncommon ingredient |
| 6 | Basic Armor Kit | Uncommon Survival Kit |
| 7 | Lethals | 3D Printer upgrade |
| 7 | Frag Grenade, Throwing Knife | Recipes |
| 8 | Restock Kit | Uncommon Survival Kit |
| 9 | Coffey | Operator skin |
| 9 | Snapshot Grenade | Recipe |
| 10 | Gunsmith | FOB station |
| 11 | Reactive Metals x2 | Uncommon ingredient |
| 11 | Basic Triage Kit | Uncommon Survival Kit |
| 12 | Field Upgrades | 3D Printer upgrade |
| 12 | Ammo Box, Spotter Scope | Recipes |
| 13 | UAV | Epic Fire Support |
| 14 | Armor Box | Recipe |
| 15 | Simone | Operator skin |
| 15 | +1 Operator Slot | Station upgrade |
| 16 | Explosives Equipment Kit | Uncommon Survival Kit |
| 17 | Shock Stick | Recipe |
| 18 | Vendor Upgrade (+1 weapon for sale) | Station upgrade |
| 19 | Hector | Operator skin |
| 19 | Recon Equipment Kit | Uncommon Survival Kit |
| 20 | Dog Tag Case | FOB station |
| 21 | Basic Armor Kit | Uncommon Survival Kit |
| 22 | +18 Stash Slots | Station upgrade |
| 23 | Sticky Grenade (Semtex) | Recipe |
| 24 | Restock Kit | Uncommon Survival Kit |
Depending on the menu, the level 23 recipe and some kit contents are labeled Semtex instead of Sticky Grenade. Both names refer to the same unlock.
Mid DMZ levels: 25 to 49
| Level | Reward | Type |
|---|---|---|
| 25 | +5% Discount | Gunsmith upgrade |
| 26 | Gas Mask | Recipe |
| 27 | Triage Kit | Epic Survival Kit |
| 28 | Fire Support | 3D Printer upgrade |
| 28 | Care Package | Recipe |
| 29 | Detonators x2 | Uncommon ingredient |
| 30 | +10% Bounty Payout | Station upgrade |
| 31 | UAV | Recipe |
| 32 | Vendor Upgrade (+4 items for sale) | Station upgrade |
| 33 | Electronics x2 | Uncommon ingredient |
| 34 | Large Backpack | Epic consumable |
| 35 | +6 Weapon Stash Slots | Station upgrade |
| 36 | Molotov Cocktail | Recipe |
| 37 | 3-Plate Armor Vest | Epic consumable |
| 38 | Control Unit x2 | Uncommon ingredient |
| 39 | Biomaterials x2 | Uncommon ingredient |
| 40 | +25% Bounty Payout | Station upgrade |
| 41 | Thermite | Recipe |
| 42 | Trap Equipment Kit | Uncommon Survival Kit |
| 43 | Structural Alloy x2 | Rare ingredient |
| 44 | CPU x2 | Rare ingredient |
| 45 | +18 Stash Slots | Station upgrade |
| 46 | Recon Equipment Kit | Uncommon Survival Kit |
| 47 | Nitro Compounds x2 | Rare ingredient |
| 48 | Self-Revive Kit | Recipe |
| 49 | Binding Catalyst x2 | Rare ingredient |
Late DMZ levels: 50 to 70
| Level | Reward | Type |
|---|---|---|
| 50 | +50% Bounty Payout | Station upgrade |
| 51 | Stock Rod x2 | Rare ingredient |
| 52 | Inflatable Decoy | Recipe |
| 53 | High-Tenacity Fibers x2 | Rare ingredient |
| 54 | Ballistic Gel Armor Kit | Epic Survival Kit |
| 55 | Disposable Parachute | Recipe |
| 56 | Printed Circuit Board x2 | Rare ingredient |
| 57 | Nylon Cloth x2 | Rare ingredient |
| 58 | Care Package | Rare Fire Support |
| 59 | Combat Drone | Epic Fire Support |
| 60 | +6 Weapon Stash Slots | Station upgrade |
| 61 | Medium Weapon Backpack | Epic consumable |
| 62 | Door Breacher Charge | Ultra consumable |
| 63 | 2-Plate Helmet Armor Vest | Epic consumable |
| 64 | Revive Pistol | Field Upgrade |
| 65 | UAV | Epic Fire Support |
| 66 | Crossfire | Fire Support |
| 67 | Defibrillator | Uncommon consumable |
| 68 | Durable Gas Mask | Epic consumable |
| 69 | Parachute | Legendary consumable |
| 70 | +18 Stash Slots, +100% Bounty Payout | Station upgrades |
| 70 | Advanced SERE Kit | Legendary Survival Kit |
DMZ Survival Kit contents by level
Each Survival Kit opens into a bundle of items. Several kits appear twice on the track. The second time, you get another copy of the same kit, not a new one.
| Kit | Levels | Contents |
|---|---|---|
| Basic Armor Kit | 6, 21 | 2-Plate Carriers, Armor Box |
| Restock Kit | 8, 24 | Medium Backpacks, Munitions Box, Armor Box |
| Basic Triage Kit | 11 | Bandages, Med Kit, Painkillers, Radiation Blockers |
| Explosives Equipment Kit | 16 | Frag Grenades, Sticky Grenades, C4, Proximity Mines, Gun Store Weapons Locker Key |
| Recon Equipment Kit | 19, 46 | Seeker Drone, Recon Drone, Heartbeat Sensors, Snapshot Grenades, weapons locker key |
| Triage Kit | 27 | Bandages, Med Kits, Self Revives, Painkillers |
| Trap Equipment Kit | 42 | Razor Wire Traps, Trip Wires, Proximity Mines, Claymores, Gun Store Weapons Locker Key |
| Ballistic Gel Armor Kit | 54 | Ballistic Gel, 2-Plate Carriers, Armor Boxes |
| Advanced SERE Kit | 70 | Operator Rescue Beacons, Weapon Insurance Contracts, Self Revives, Med Kits |
DMZ bosses: Commander materials and Lieutenant blueprints
Leveling unlocks the recipes, but the 3D Printer’s highest-tier crafts need materials that only drop from bosses. Hajin has 13 boss fights, all tracked on the Boss Board. There are 3 Commanders that spawn dynamically and repeatedly across the map, and 10 Lieutenants tied to specific points of interest or conditions. Boss kills also count toward your DMZ XP.
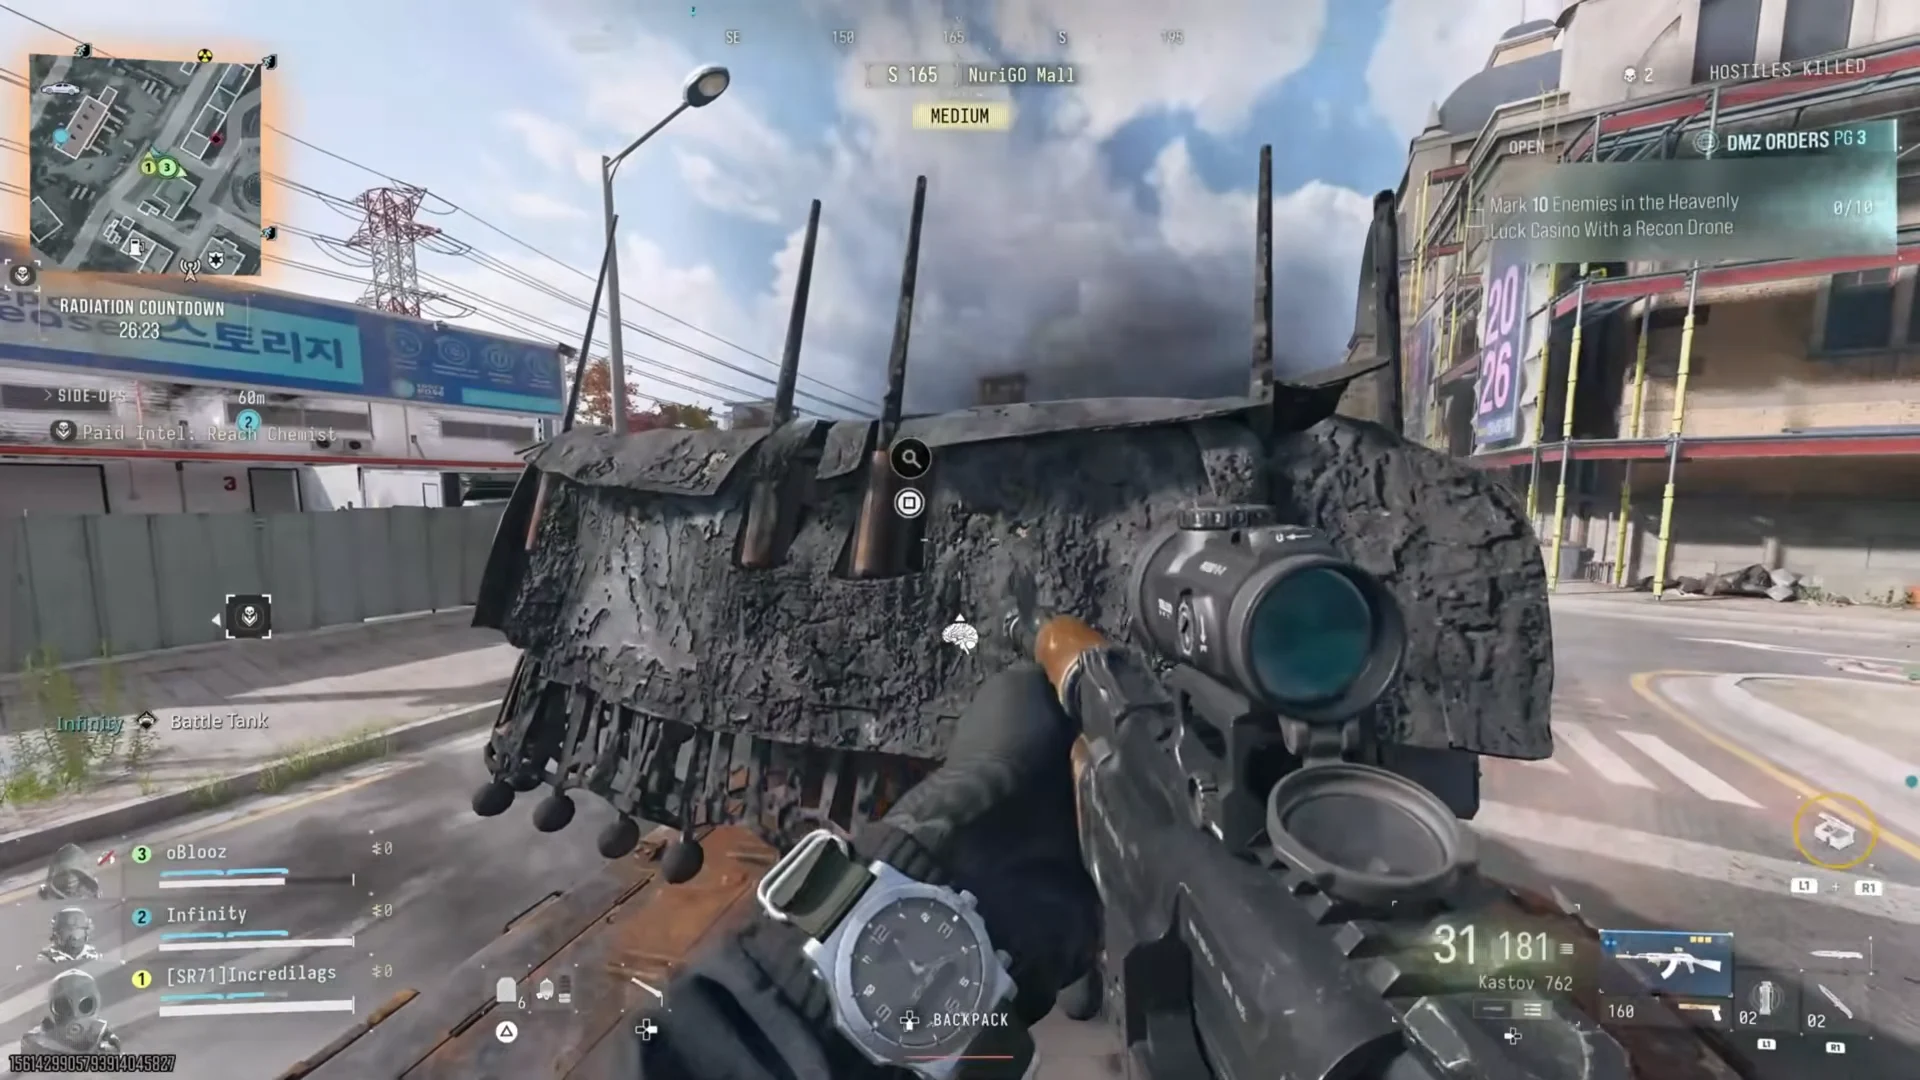
Commander: Tank
Small-arms fire and grenades barely affect the Tank; destroy it with rocket or projectile launchers. After it goes down, loot its three compartments, located at the front, rear, and top.
Commander: Deathstalker
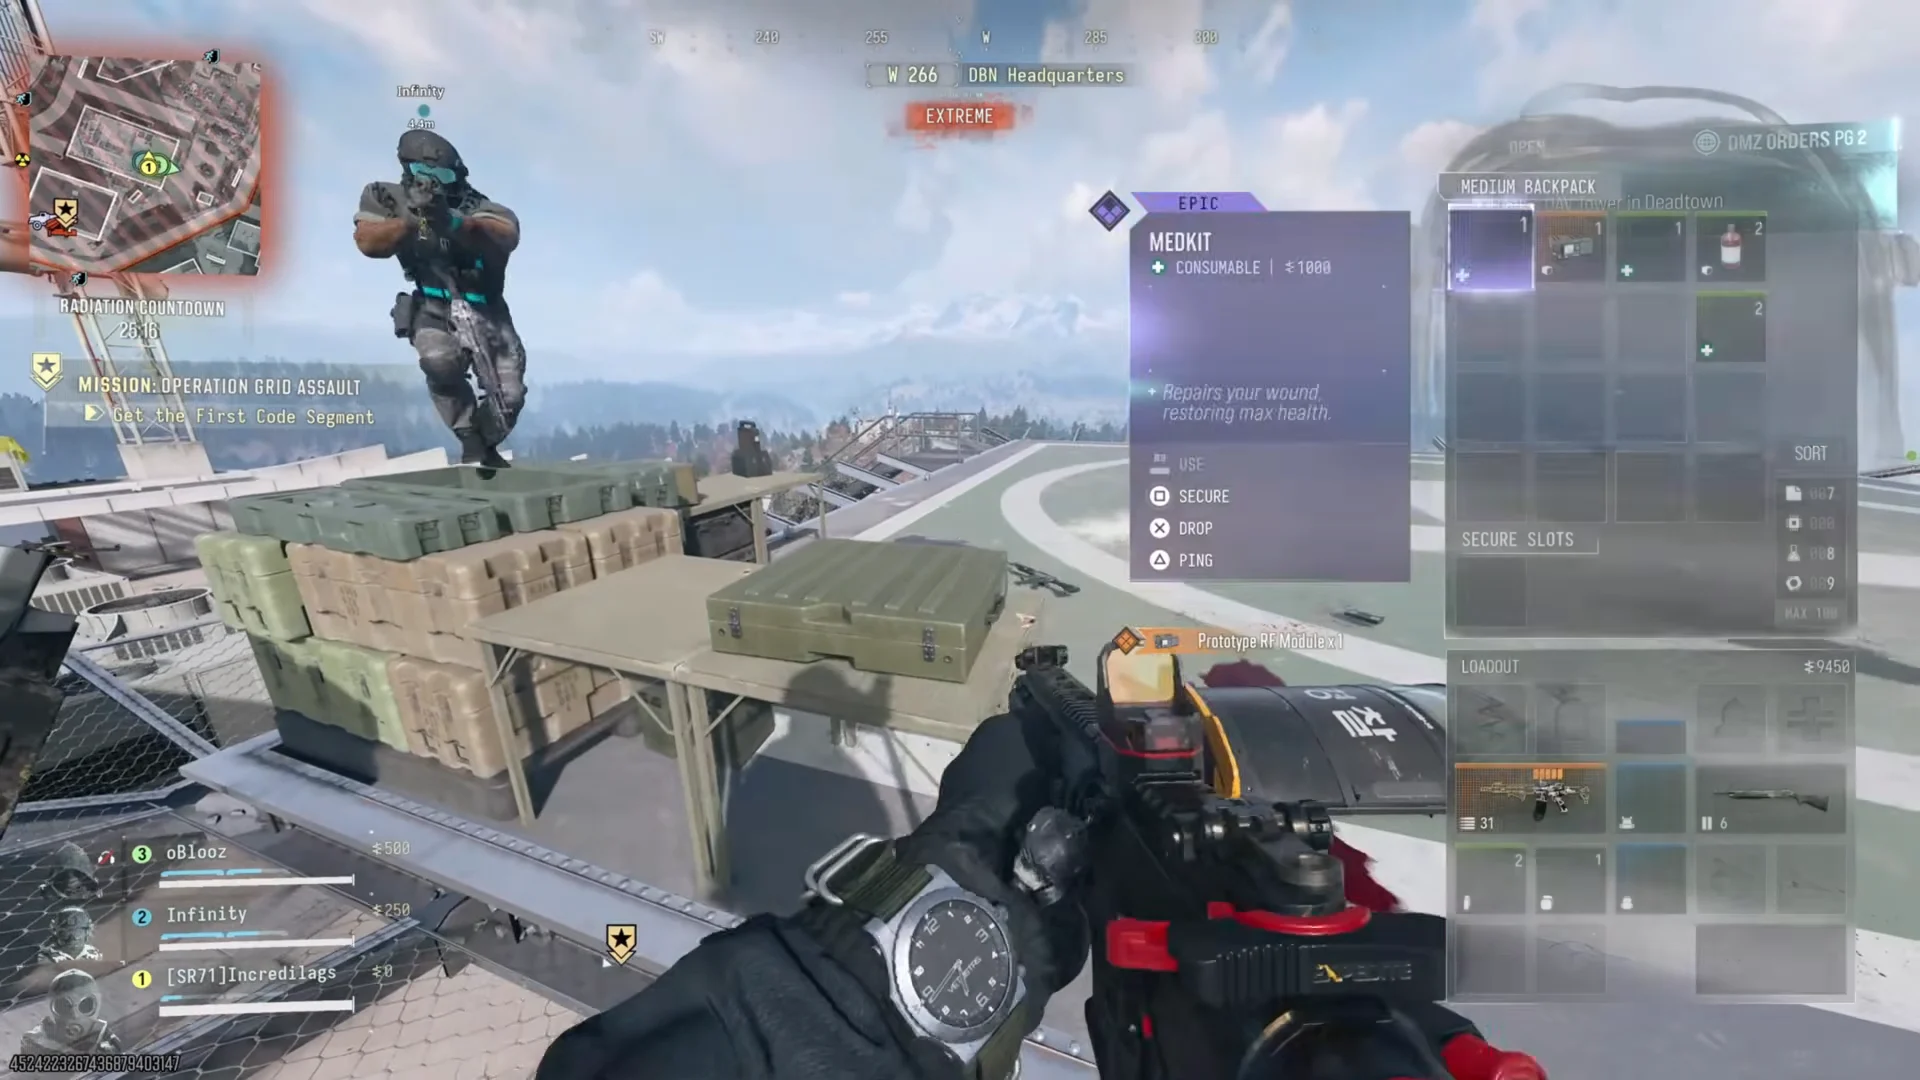
Deathstalker is a machine-gun- and rocket-equipped attack helicopter protected by armor. Its drop is the Legendary Prototype RF Module, a 3D Printer requirement for both the Fulton Drop Marker and Large Secured Backpack.
Commander: Colossus
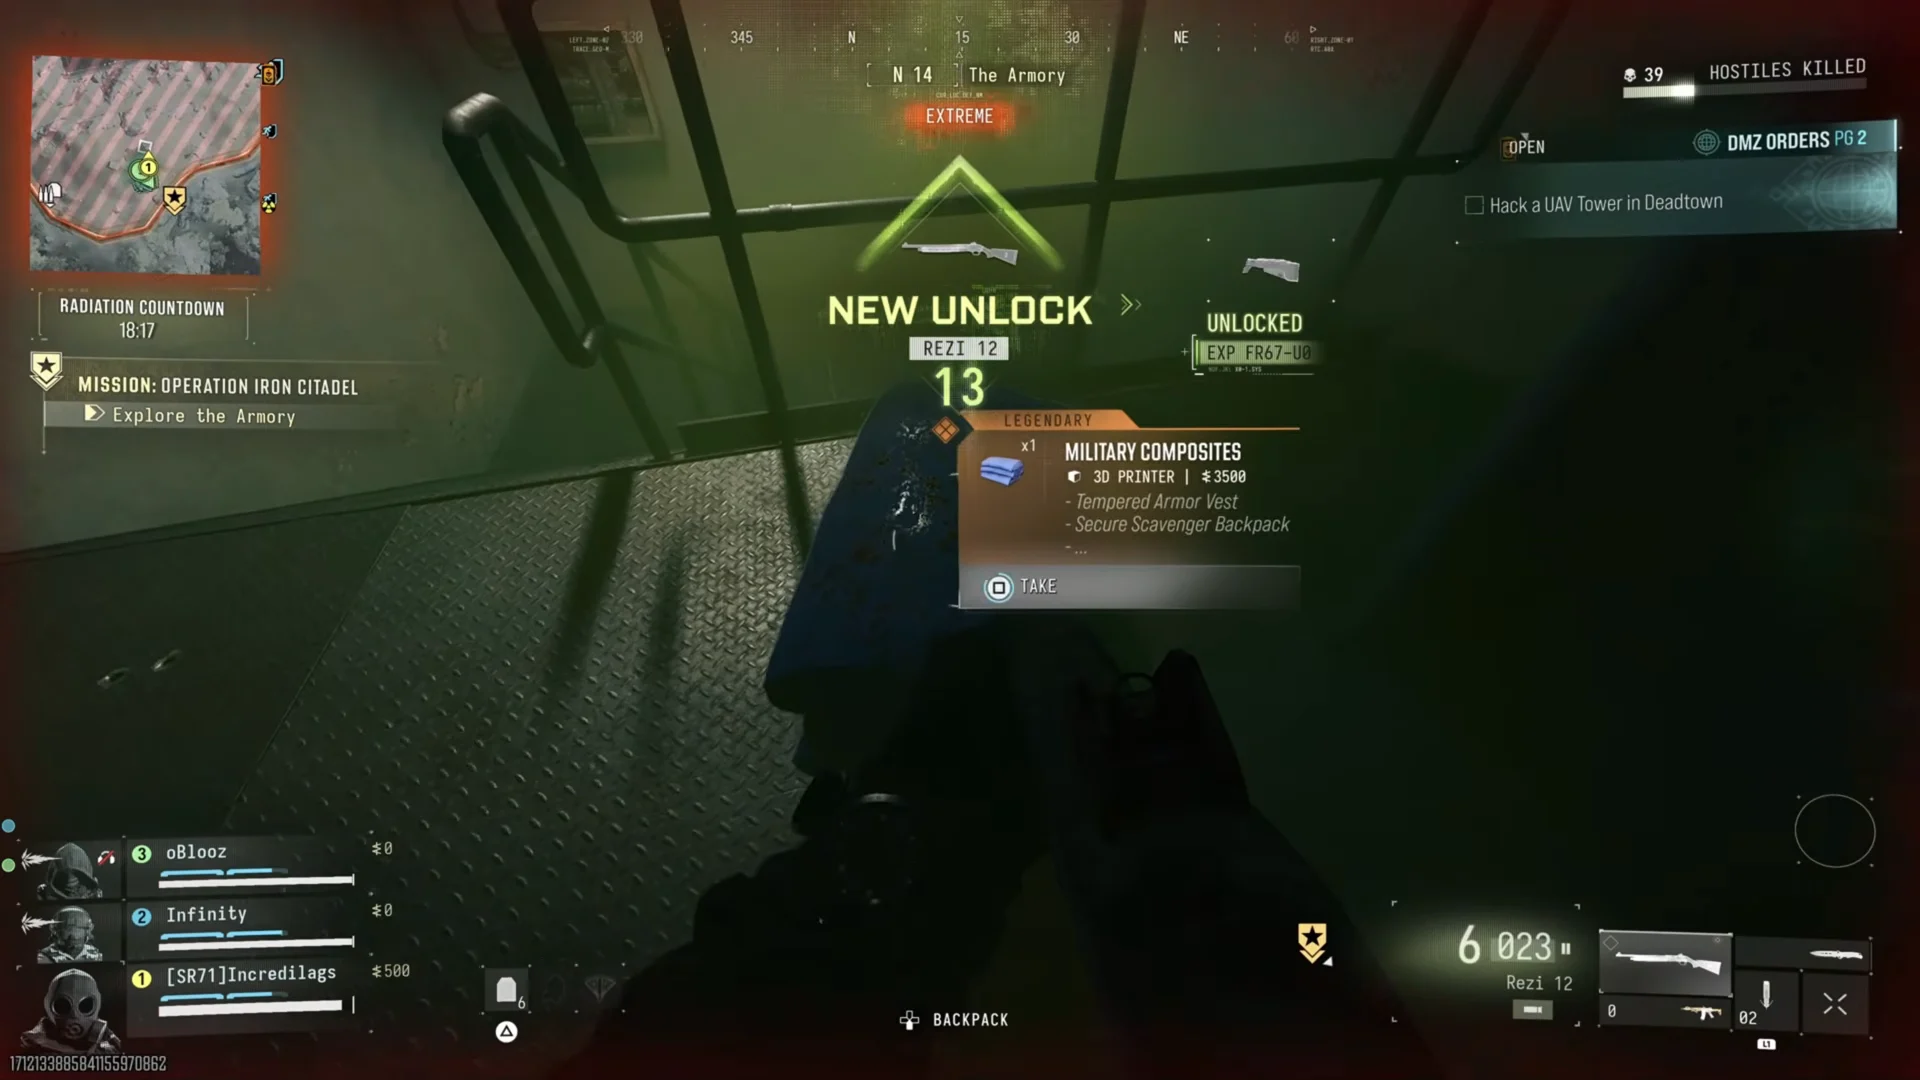
A Juggernaut named Colossus wears heavy armor and wields a nuclear turret that deals high damage. Defeating him yields Legendary Military Composites, used in advanced equipment such as the Armored Hard Vest and Secure Scavenger Backpack.
All 10 DMZ Lieutenants and their rewards
Lieutenants drop unique weapon blueprints, keys, and their own dog tags. You need those dog tags to finish the Boss Board and to extract with proof of the kill.
| Lieutenant | Location | Threat | Reward |
|---|---|---|---|
| Bale | Re-Education Center | Medium | Type 73 LMG |
| Gorani | Mujin Pass | Medium | Incissor (Legendary DMR) |
| The Doctor | Mirae General Hospital | Low | Doctor’s Salve, Command Office Key |
| Jin-Tae | Heavenly Luck Casino | High | Highroller’s Fortune (ISO Nightshade) |
| Jang-Ui | Netshin Tech Complex | Extreme | Hyeon Burst (Epic assault rifle) |
| Warden | The Citadel | Critical | Incarcerator (Ultra X58 SMG) |
| The Scavenger | Cheongun Village | Low | Oris 8.6 marksman rifle |
| Roze | DBN Headquarters | Extreme | The Kraken (Legendary sniper) |
| Iskra | Cheonwang Peak Array | Medium | Warlord shotgun |
| The Chemist | Haneul Nuclear Reactor | High | Revenant (Legendary marksman rifle) |
Several Lieutenants have mechanics that change how you approach them. Warden carries a riot shield. Jang-Ui sits inside the Netshin Tech Complex in The Grid. The Scavenger spawns around the bodies of dead players and enemies, and climbing a Lieutenant Hunt Tower reveals his position on the map. The Chemist sits in the Haneul reactor’s radiation zone. The yellow area there does minor radiation damage, while the red core shreds gas masks quickly, so a hazmat suit is the safer choice.
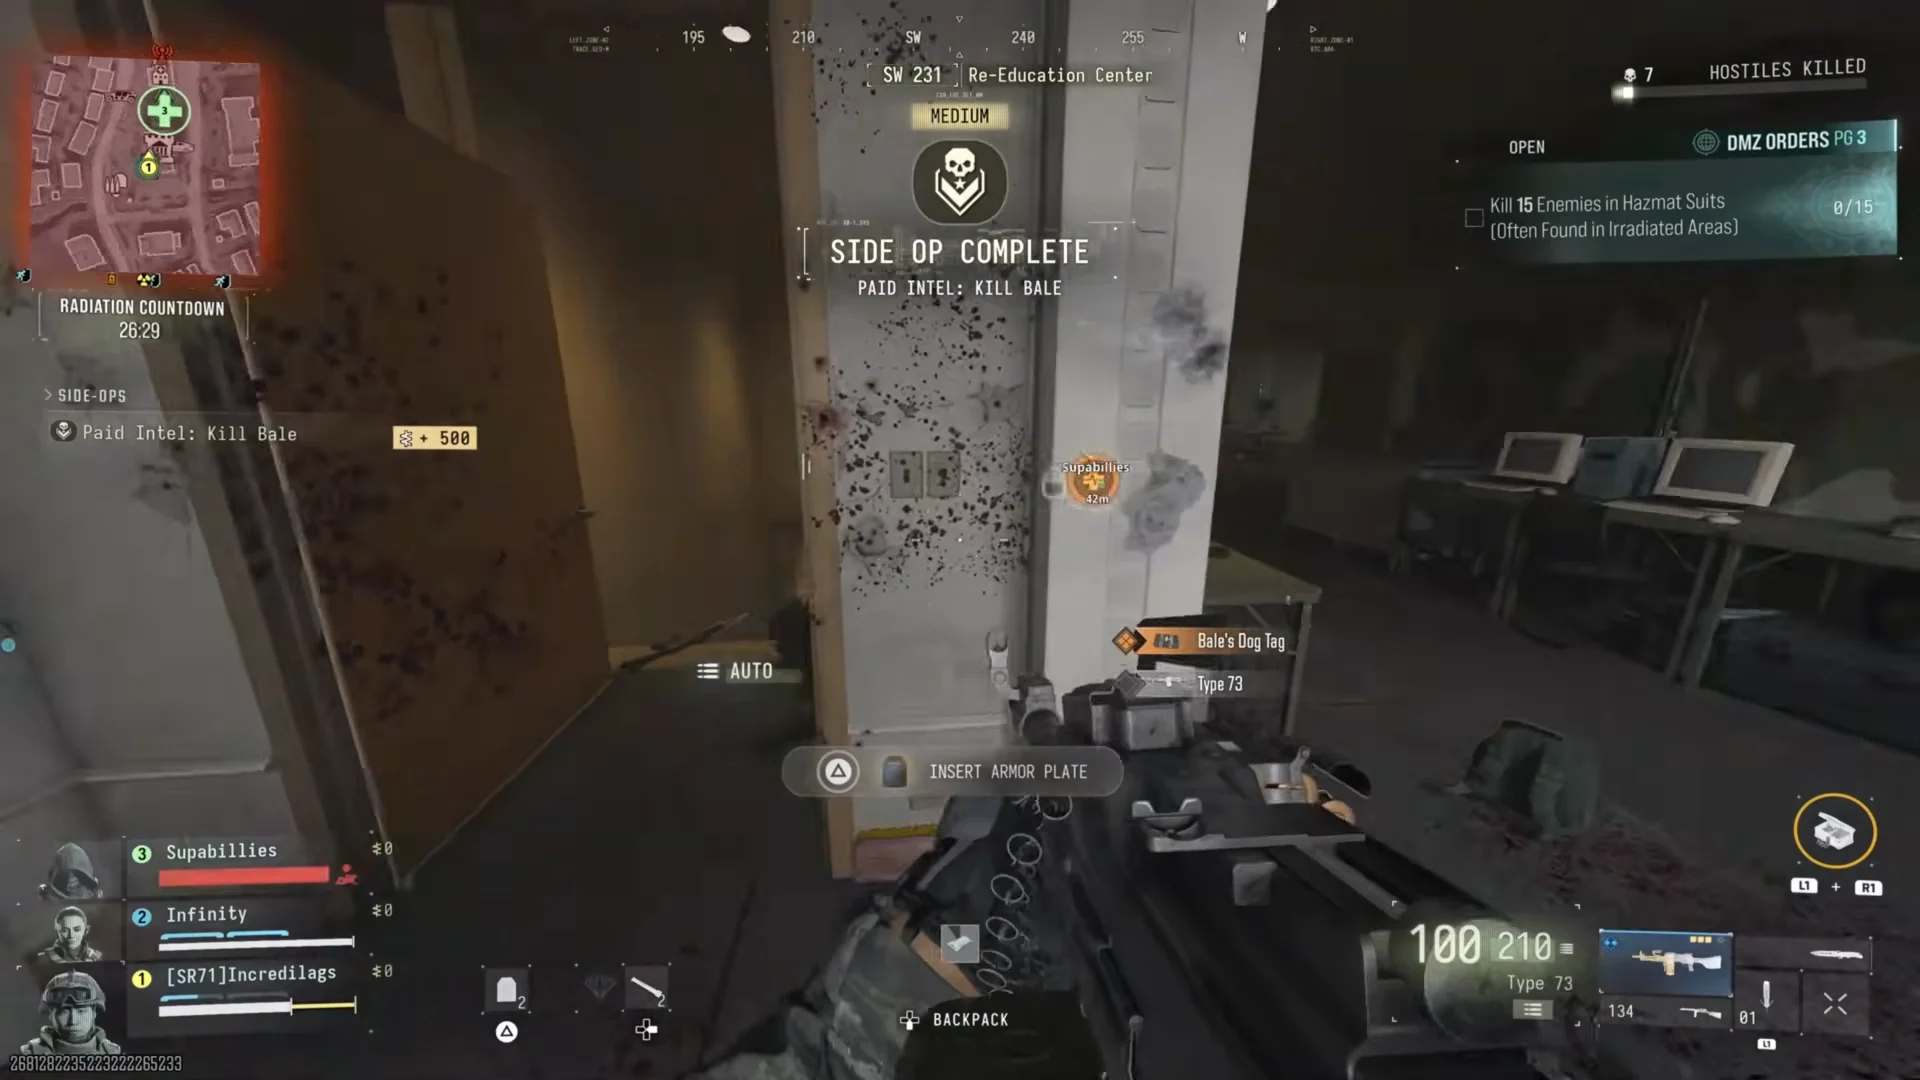
Bale is at the Re-Education Center. Killing him gets you his Type 73 LMG and Bale’s Dog Tag.
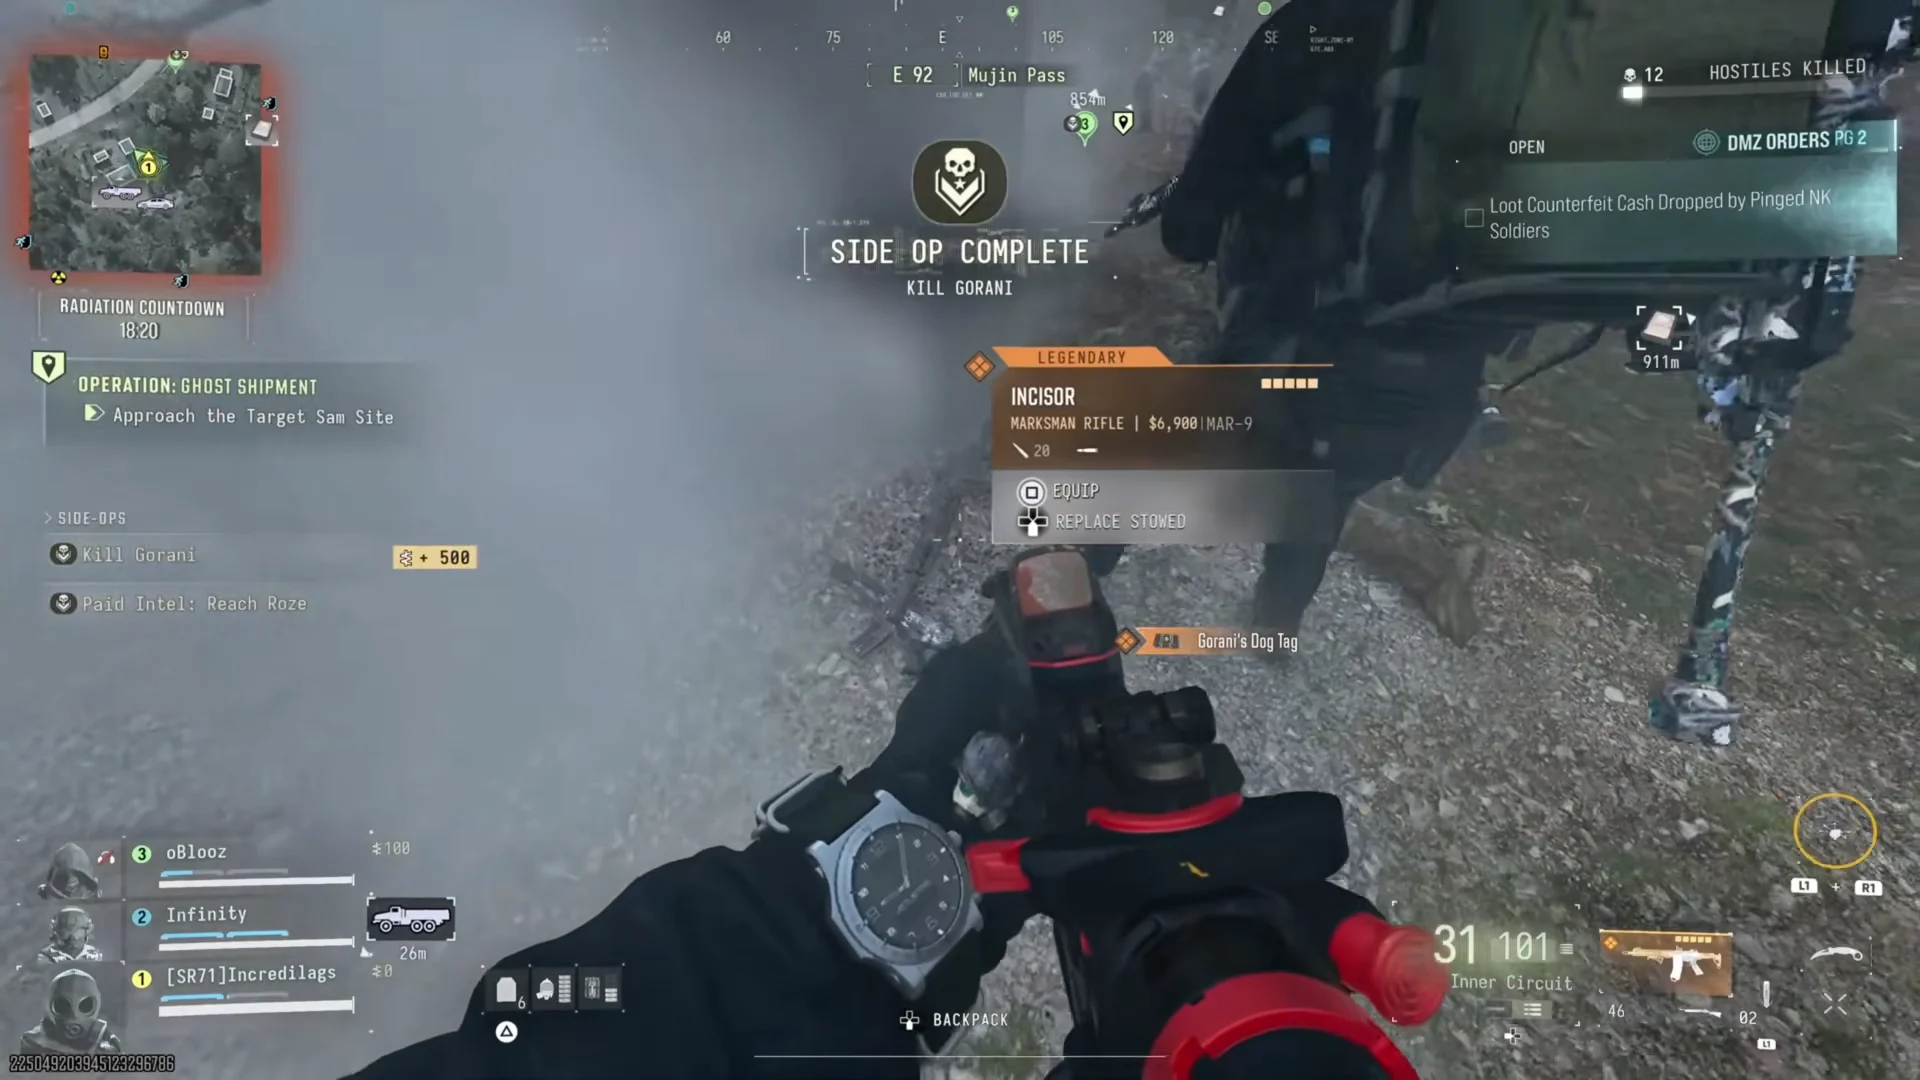
Gorani hides among ghillie-suited decoy clones in the fog around Mujin Pass, so you have to find the real target before the kill counts. Doing that completes the Kill Gorani side op and drops the Incissor blueprint.
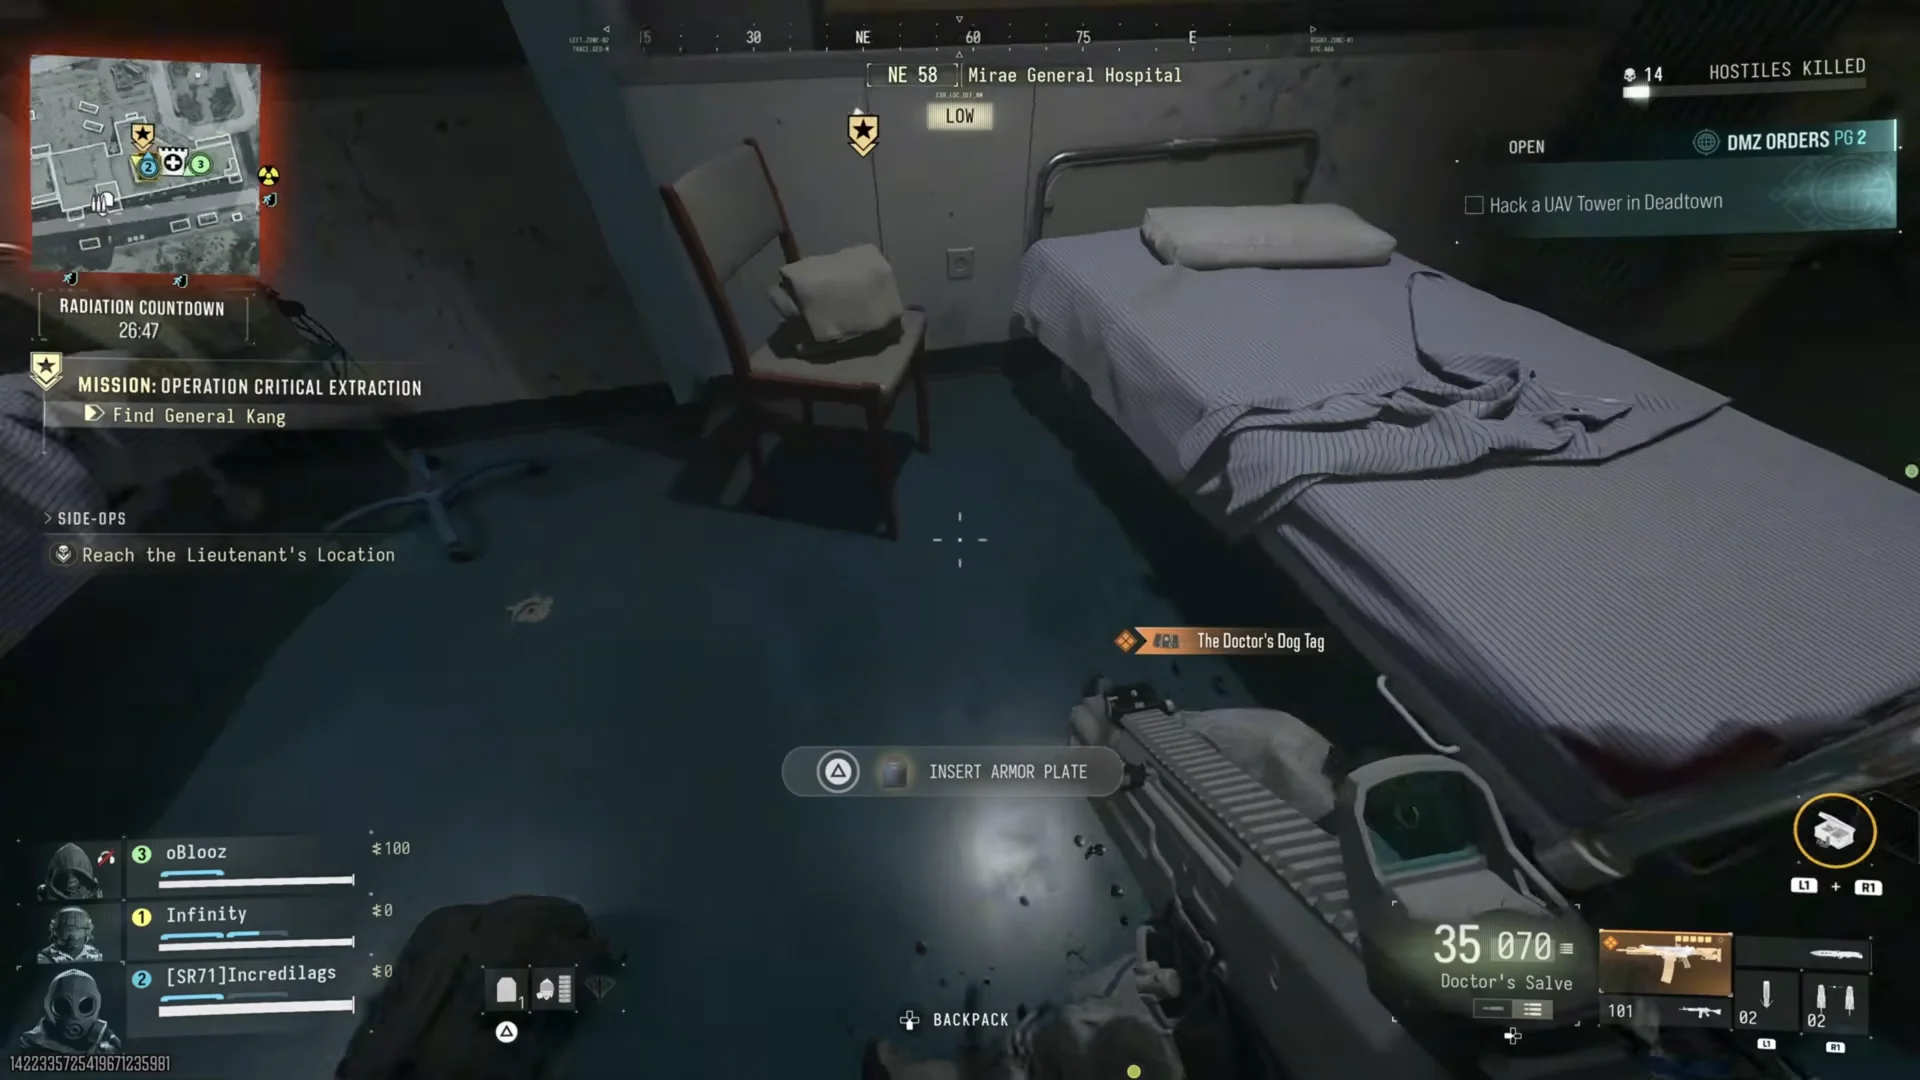
The Doctor is at Mirae General Hospital. He drops the Doctor’s Salve battle rifle blueprint plus a Command Office Key. The key opens a locked office on the hospital’s top floor that holds two extra weapon cache crates.
How to check your DMZ level and next unlock
The DMZ Progression station in your FOB shows this same track. Once a deployment ends, check the Level tab on the after-action screen to verify a level-up. There you’ll see your current DMZ level increasing, the next unlock, and Dog Tag rank progress, all advancing with the same DMZ XP. Return to the FOB to find newly unlocked stations added to the base and new recipes available to print at the 3D Printer.
Because the XP cost per level barely changes, the fastest route to 70 is simply steady deployments. Story Missions pay the most per objective, and every kill, revive, and exfil adds to the total. Each level you bank also counts toward your 1–55 player level at the same time.