Gaming Guide

MW4 DMZ Operation Shopping Hacks Story Mission Walkthrough

From the encampment laptop to the rooftop Fulton, with the keypad code, four K9 cores, the lab breach and the Bio-agent Sample.

From the encampment laptop to the rooftop Fulton, with the keypad code, four K9 cores, the lab breach and the Bio-agent Sample.

Image: Infinity Ward

Operation Shopping Hacks is a DMZ story mission in Call of Duty: Modern Warfare 4. It takes place entirely in and beneath NuriGO Mall on the Hajin map, and you select it from the Story Missions tab on the Hajin deployment map (the DMZ basics cover how deployments work). The mission runs as one chain. You crack a laptop, get through a keypad door, restore power, harvest robot dogs for parts, hack and defend a lab, steal a sample and leave from the roof.

Quick answer: Hack the encampment laptop for the keypad code, start the annex generator, slot four K9 Battery Cores, hack and defend five lab computers, take the Bio-agent Sample, then Fulton out from the mall roof.


Operation Shopping Hacks objective list

The mission tracker reads MISSION: OPERATION SHOPPING HACKS and steps through these lines in order. Use it to check where you are in the chain.

OrderObjective lineLocation
1Hack Laptop at EncampmentMall shops
2Use Code [your code] to Unlock Mall SecurityUnderground parking
3Explore the Security AnnexSecurity Annex
4Power the Lab Door with Robot Cores 0/4K9 CORE TERMINAL
5Wait for the Lab Door to OpenLab door
6Hack Into 5 Lab Computers 0/5Robotics lab
7Network breach (Computers Running 5/5)Robotics lab
8Wait for the Lab Servers to RebootRobotics lab
9Loot the Lab’s VaultLab vault
10Escape to the Rooftop ExfilMall roof

Loadout and enemies at NuriGO Mall

Large parts of the mission happen in the dark. The Security Annex stays unlit until its generator runs, and the lab corridors and parking garage have no lights at all. Night Vision Goggles solve that. If you arrive without a pair, the tent at the encampment carries a PICK UP NVGS marker during this mission, and a pair also sits in the annex offices. The in-game description reads: “Night vision goggles that allow sight in near total darkness. Users can toggle between normal vision and night vision.”

Pack armor plates and a weapon that copes with groups (the first-deployment survival tips apply here too), because the lab breach pulls in waves of soldiers. Expect these hostiles along the route:

  • North Korean soldiers in the mall stores, parking garage, annex and lab.
  • K9 robot dogs patrol the mall concourse and atrium, and they drop the cores you need.
  • Small hostile drones outside the mall. Shoot them down before they close in.

Keypad code and the Security Annex generator
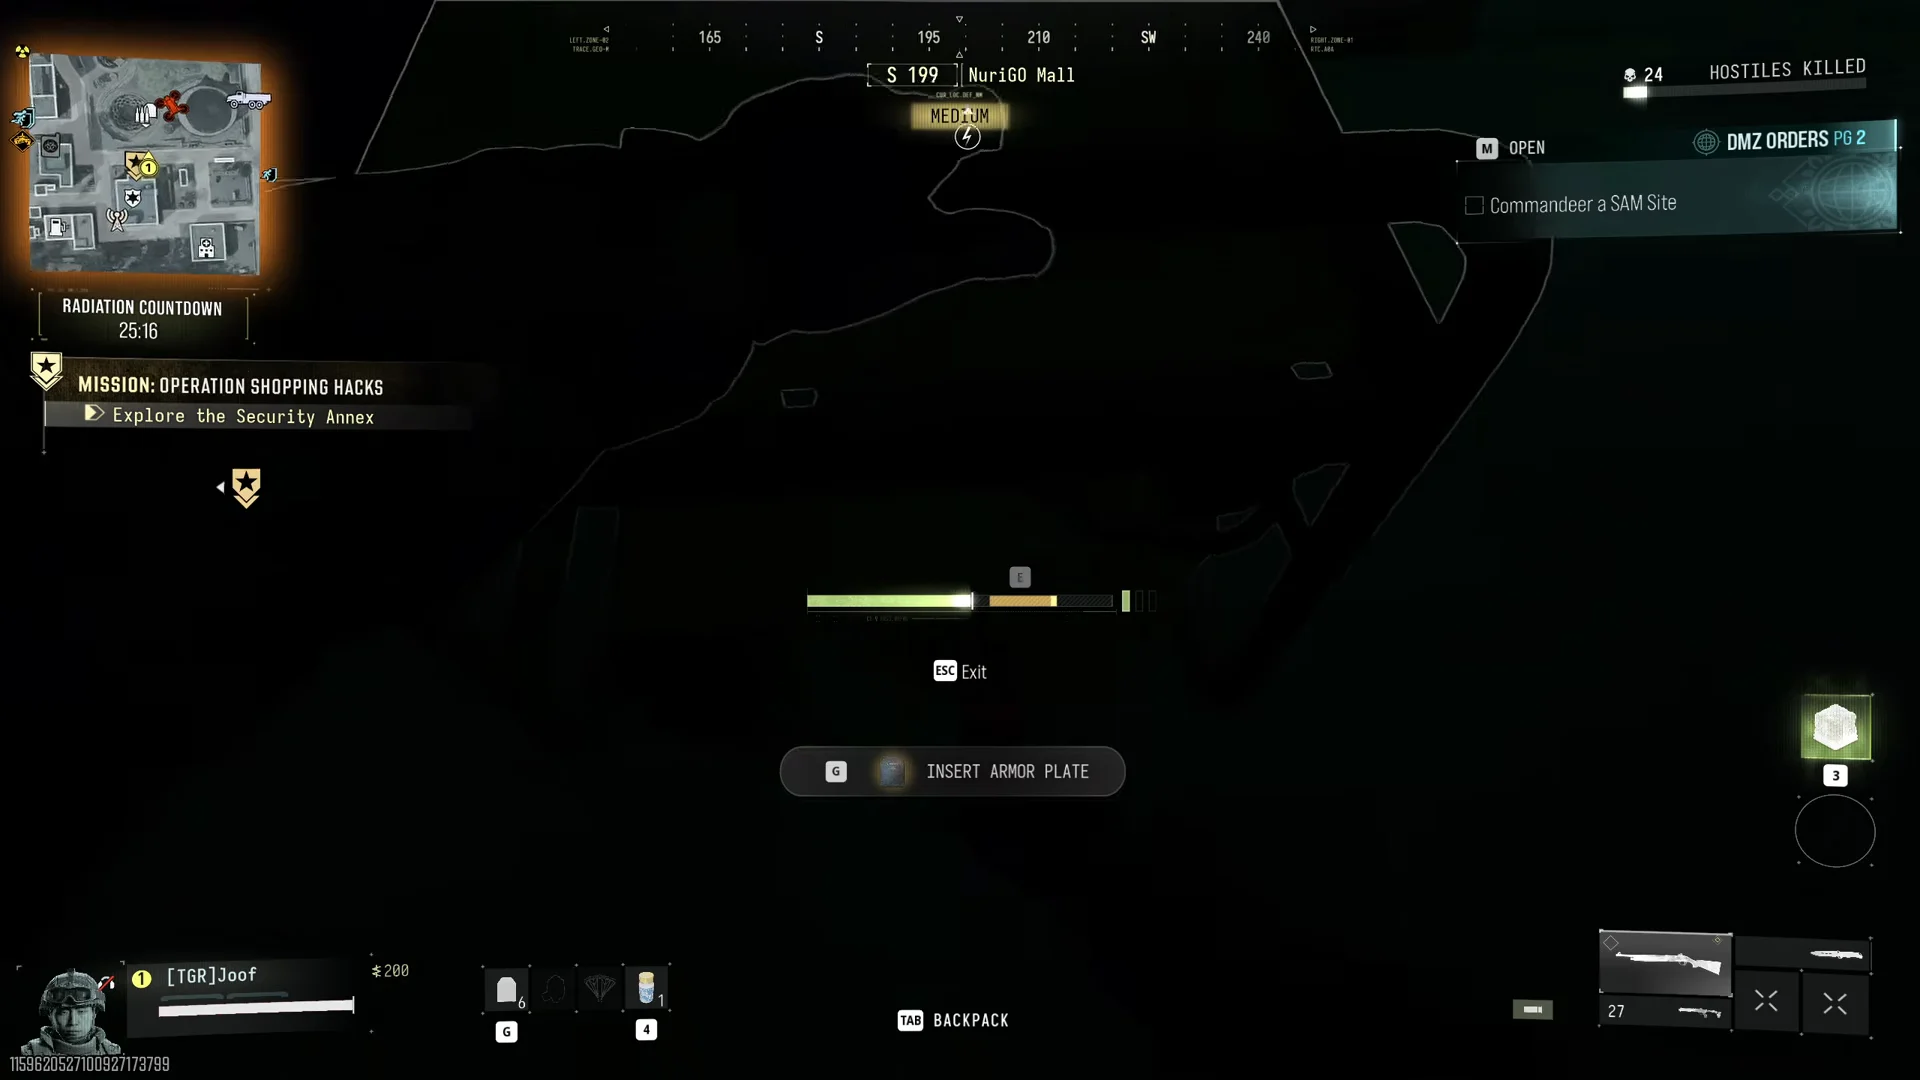
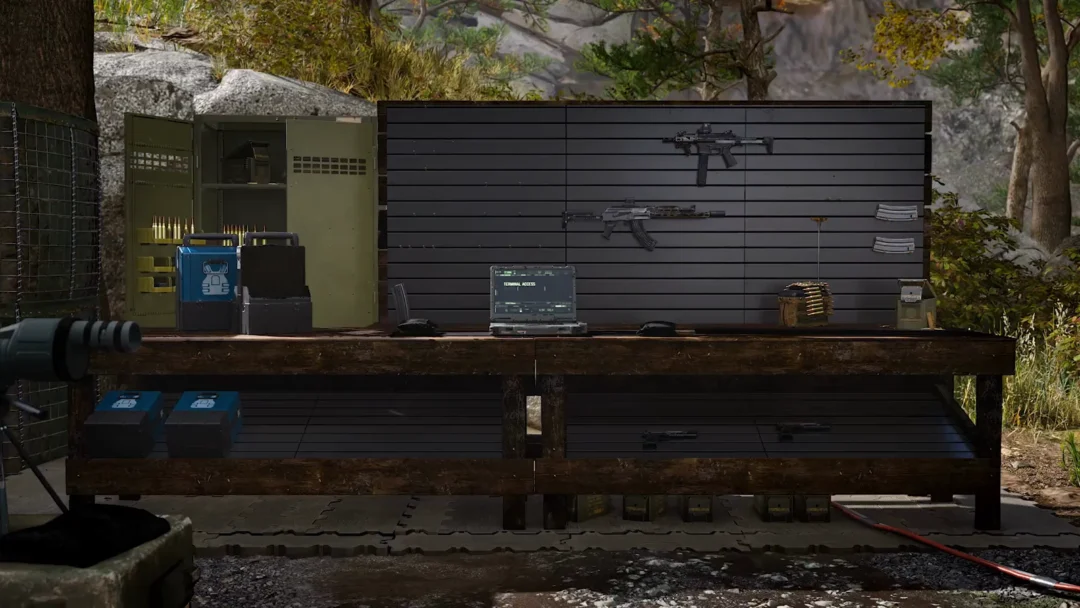
Clear the soldiers from the shops around the encampment at NuriGO Mall. Go to the open laptop and hold interact once HOLD TO HACK appears. When the hack finishes, a note reveals the security office keypad code.
Read the code from the laptop note. It is not fixed: the code changes from one match to the next, so a code copied from a guide will not open your door. The objective line repeats your code, for example Use Code 1438 to Unlock Mall Security in one match and Use Code 4937 to Unlock Mall Security in another. Enter the four digits your own note shows.
Go outdoors, descend the underground parking ramp at Entrance 36, and locate the security door labeled UNLOCKS VIA KEYPAD – LOCKED. Enter the code using the keypad.
Find the portable generator inside the Security Annex and choose TURN ON THE GENERATOR. Pull its cord to start a timing bar, then press when the marker enters the target zone.
Security Annex generator timing06:07Security Annex generator timing
The generator pull is a timing meter; hit the target zone to bring power back to the Security Annex. Shown at 06:07 in TheGamingRevolution’s video. Image: Infinity Ward

Pulling before the marker is aligned will damage you. Wait until it lines up, then pull again; repeat until the generator activates and the lights return.

Check the rooms in the annex. A laptop note there refers to the K9 Laboratory and its robot patrol units; you can also find one K9 Battery Core in an annex container.

K9 Battery Cores for the lab door

The lab door runs off the K9 CORE TERMINAL beside it, and the objective counts up from Power the Lab Door with Robot Cores 0/4. Each K9 BATTERY CORE carries the description “Used to power robots and door circuitry.” Beyond the core in the annex container, the rest come from the robot dogs patrolling the mall concourse and atrium. Destroy a dog, pick up the core it drops and return it to the terminal.
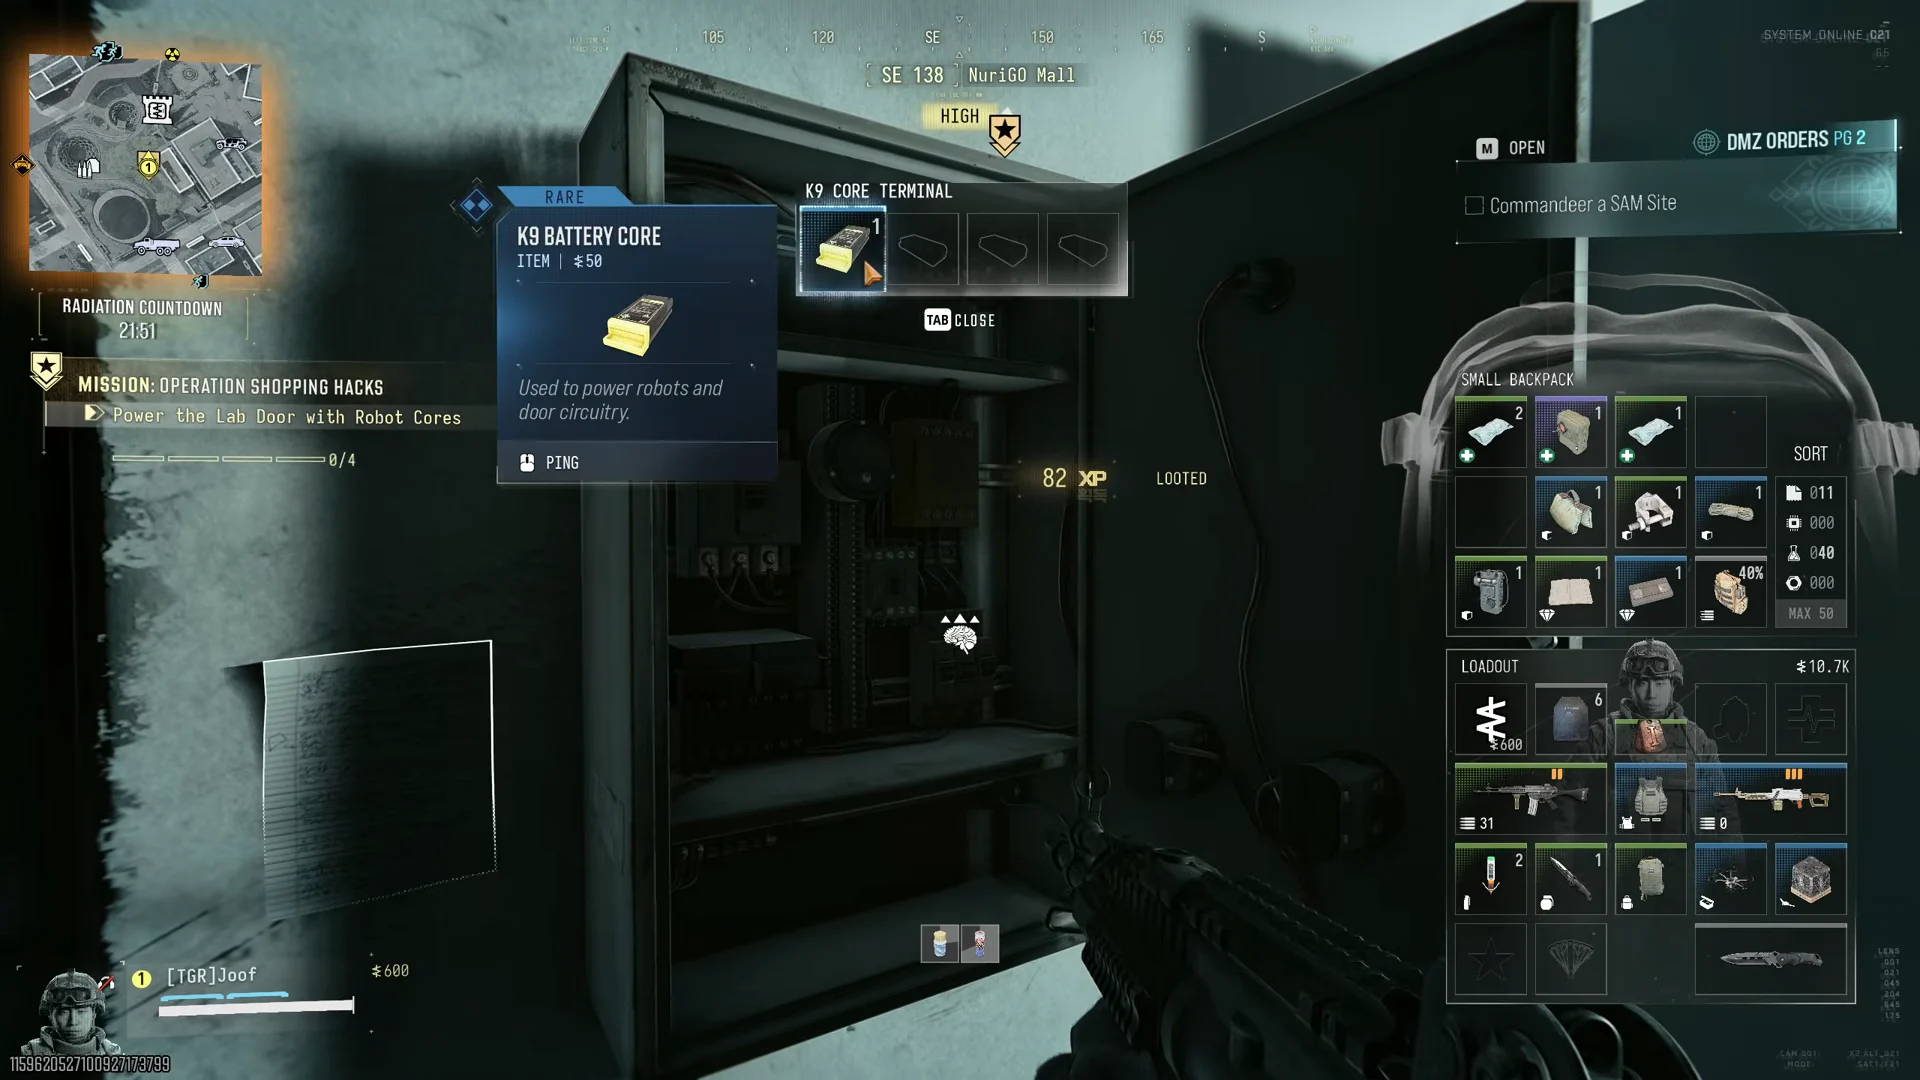
K9 Core Terminal robot cores09:32K9 Core Terminal robot cores
Insert K9 Battery Cores at the K9 Core Terminal until the counter reaches 4/4. Shown at 09:32 in TheGamingRevolution’s video. Image: Infinity Ward

Once the terminal reads 4/4, it surges and the objective switches to Wait for the Lab Door to Open. Stand back until the door slides open.


Robotics lab hack and network breach
Enter when the NURIGO MALL ROBOTICS LAB OPENED banner appears. The objective now reads Hack Into 5 Lab Computers 0/5.
Find the five laptops spread through the lab rooms. Hold HOLD TO HACK on each one until the count is complete.
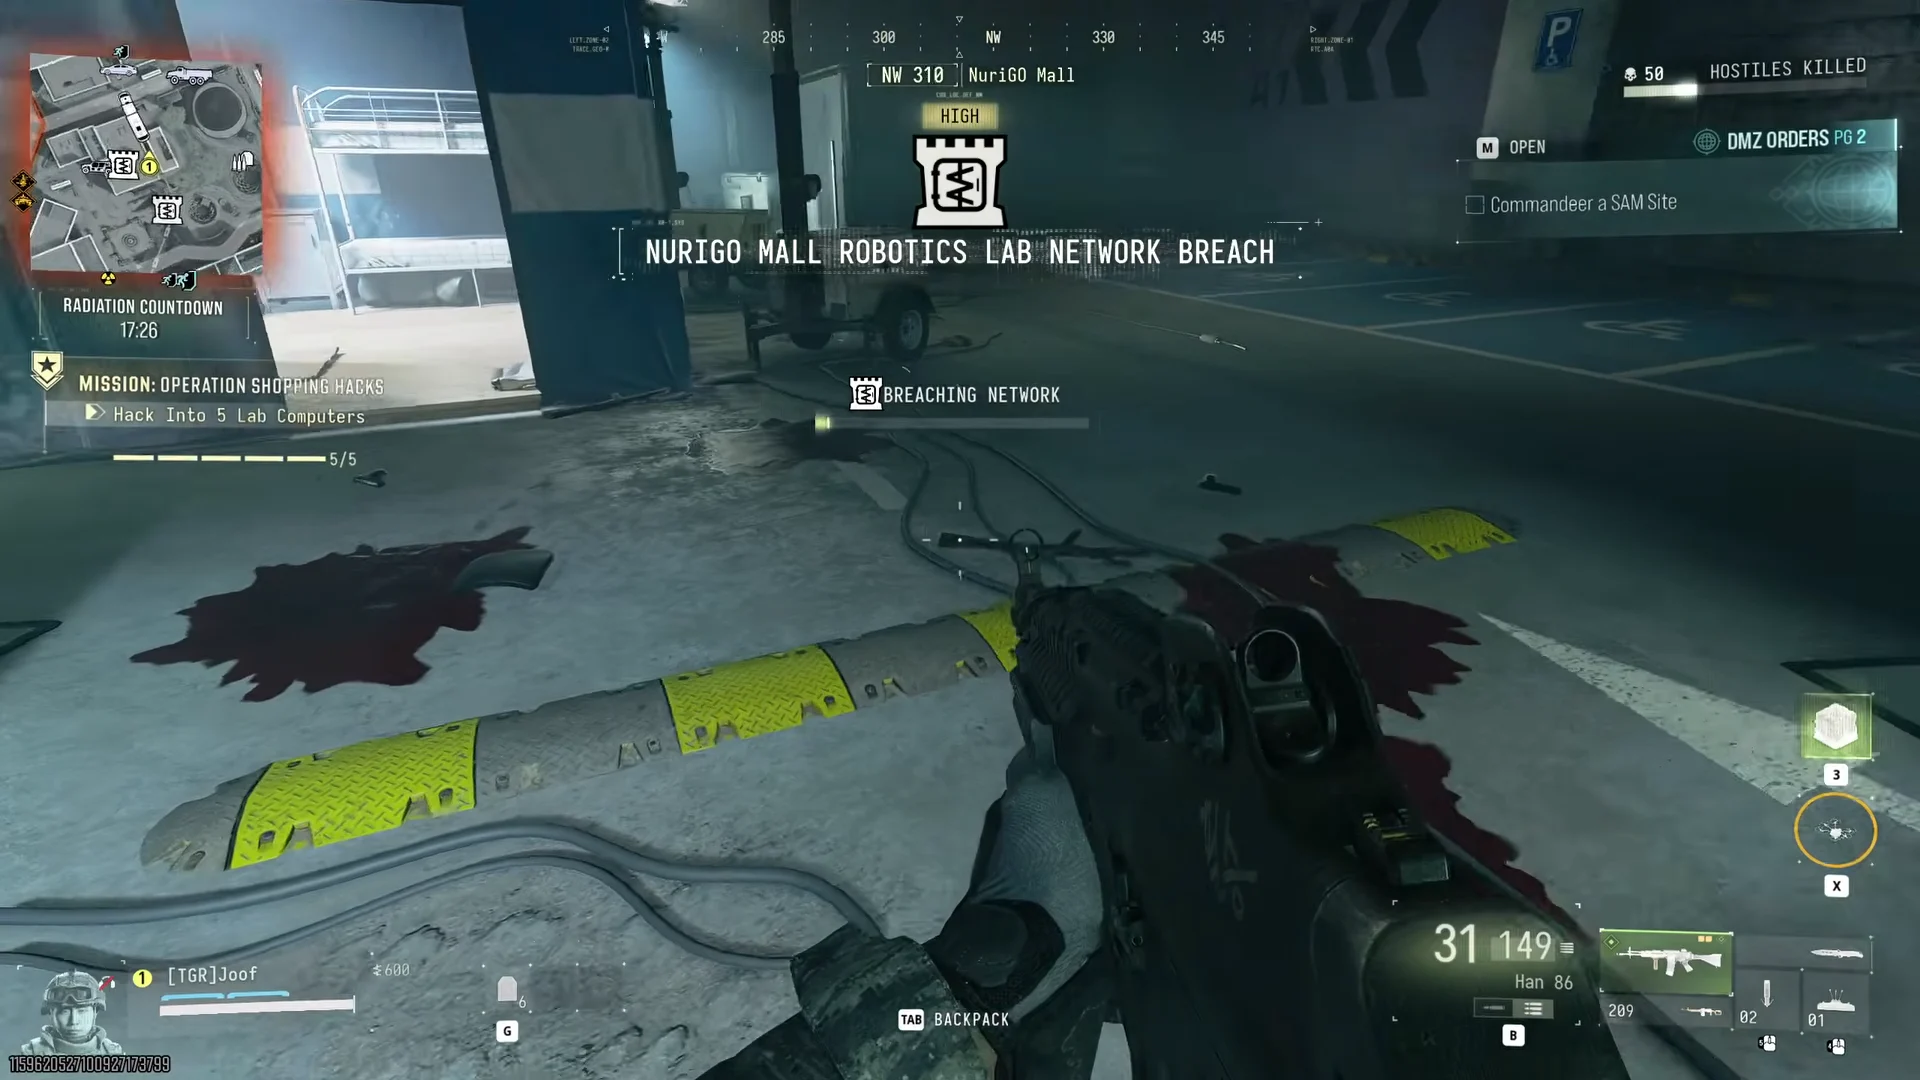
Defend the lab once NURIGO MALL ROBOTICS LAB NETWORK BREACH starts. A BREACHING: ETA countdown runs alongside Computers Running: 5/5, and soldiers push in through the lab doors.
Robotics lab network breach13:57Robotics lab network breach
The network breach banner marks the defense phase; keep all five lab computers running until it ends. Shown at 13:57 in TheGamingRevolution’s video. Image: Infinity Ward
Keep an eye on the Computers Running counter. If it falls, such as to 4/5, find the laptop that shut down and hold interact to restart it. Then go back to defending.
Hold out until NURIGO MALL ROBOTICS LAB SCRAMBLED appears. That banner confirms the breach is finished, and the objective moves to Wait for the Lab Servers to Reboot. Give it a moment for the next step to unlock.

Bio-agent Sample and the rooftop Fulton exfil
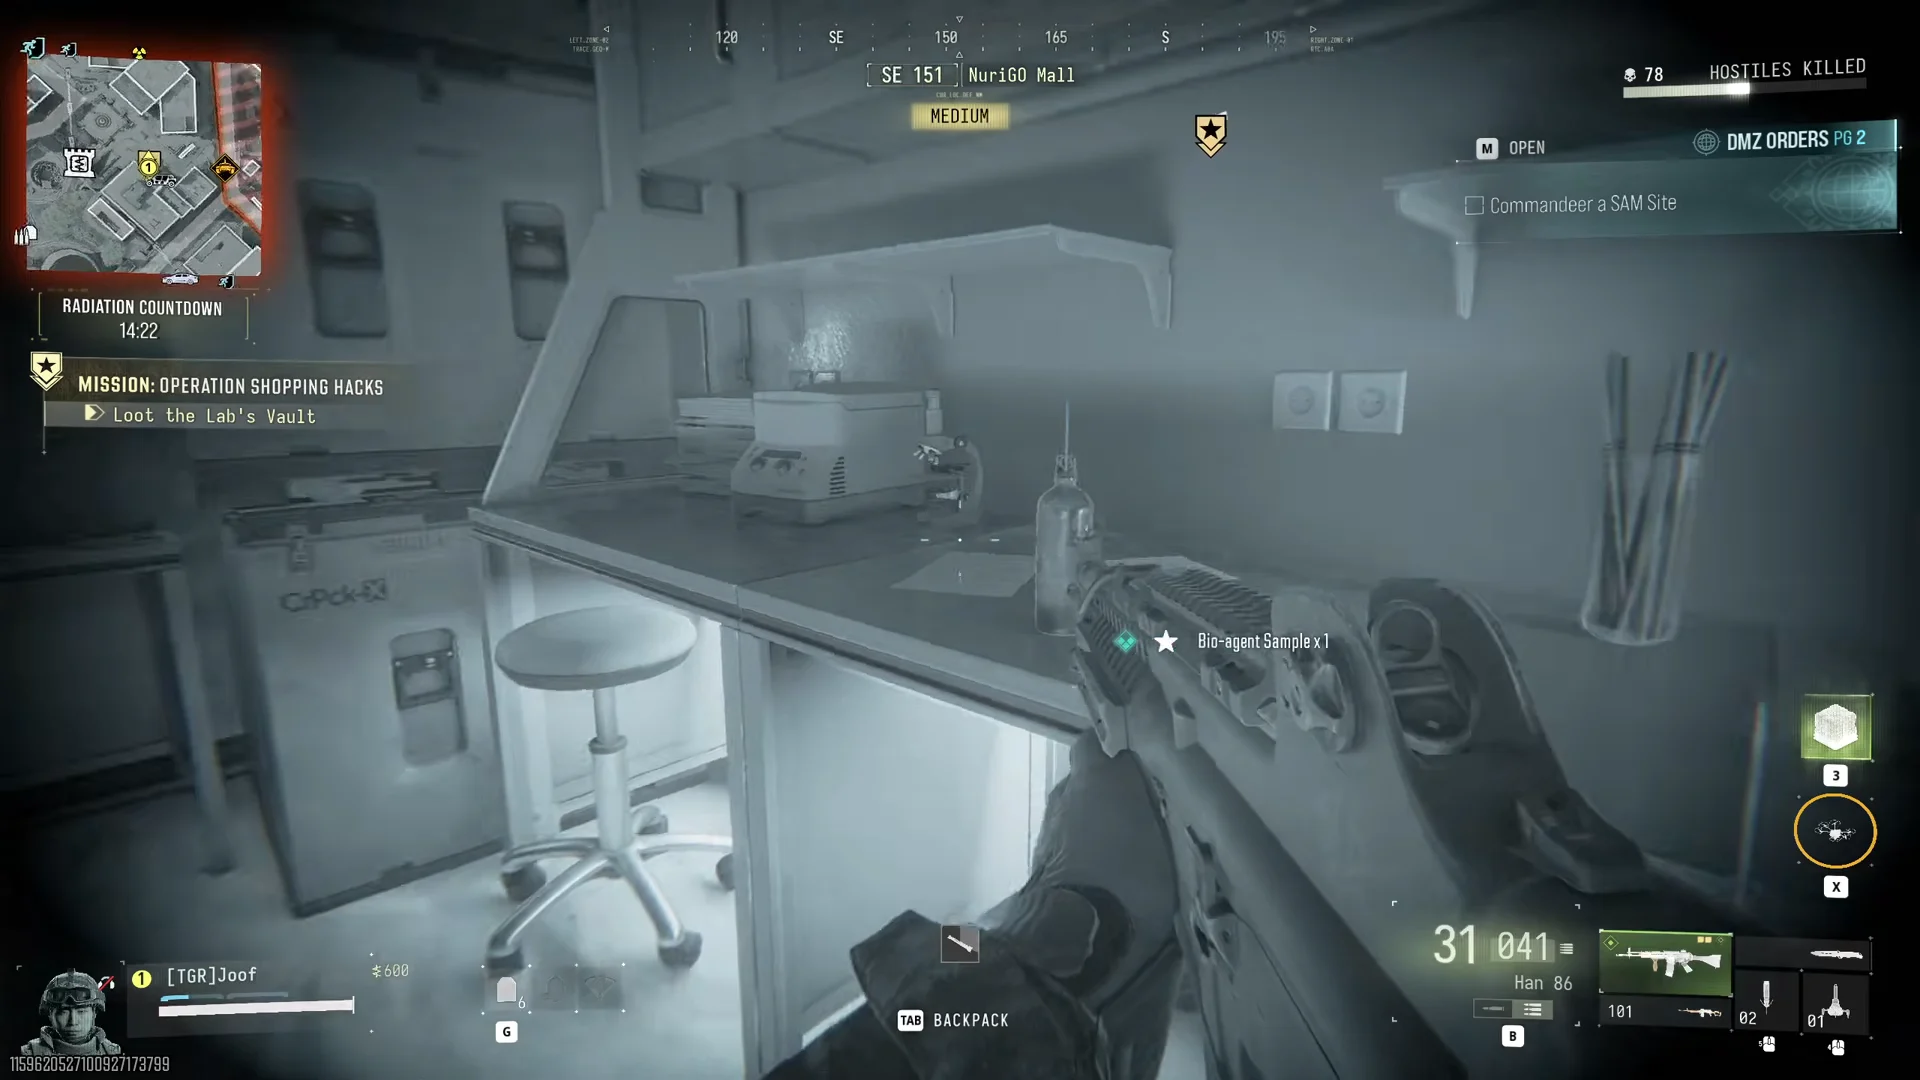
When the objective says Loot the Lab’s Vault, enter the vault, which is now open. Take the Bio-agent Sample (MISSION ITEM) off the lab bench.
Bio-agent Sample in vault17:01Bio-agent Sample in vault
The Bio-agent Sample waits on the lab bench inside the vault and triggers the escape objective. Shown at 17:01 in TheGamingRevolution’s video. Image: Infinity Ward
Leave through the garage. Unlock the deadbolt on the exit door to get out.
Ride the escalator up through the mall and head out to the plaza. Keep an eye on the sky for drones on the way.
Use the yellow ascender rope on the mall’s outer wall to reach the roof. Cross it and climb the ladder to the upper roof, where the exfil crate is marked.
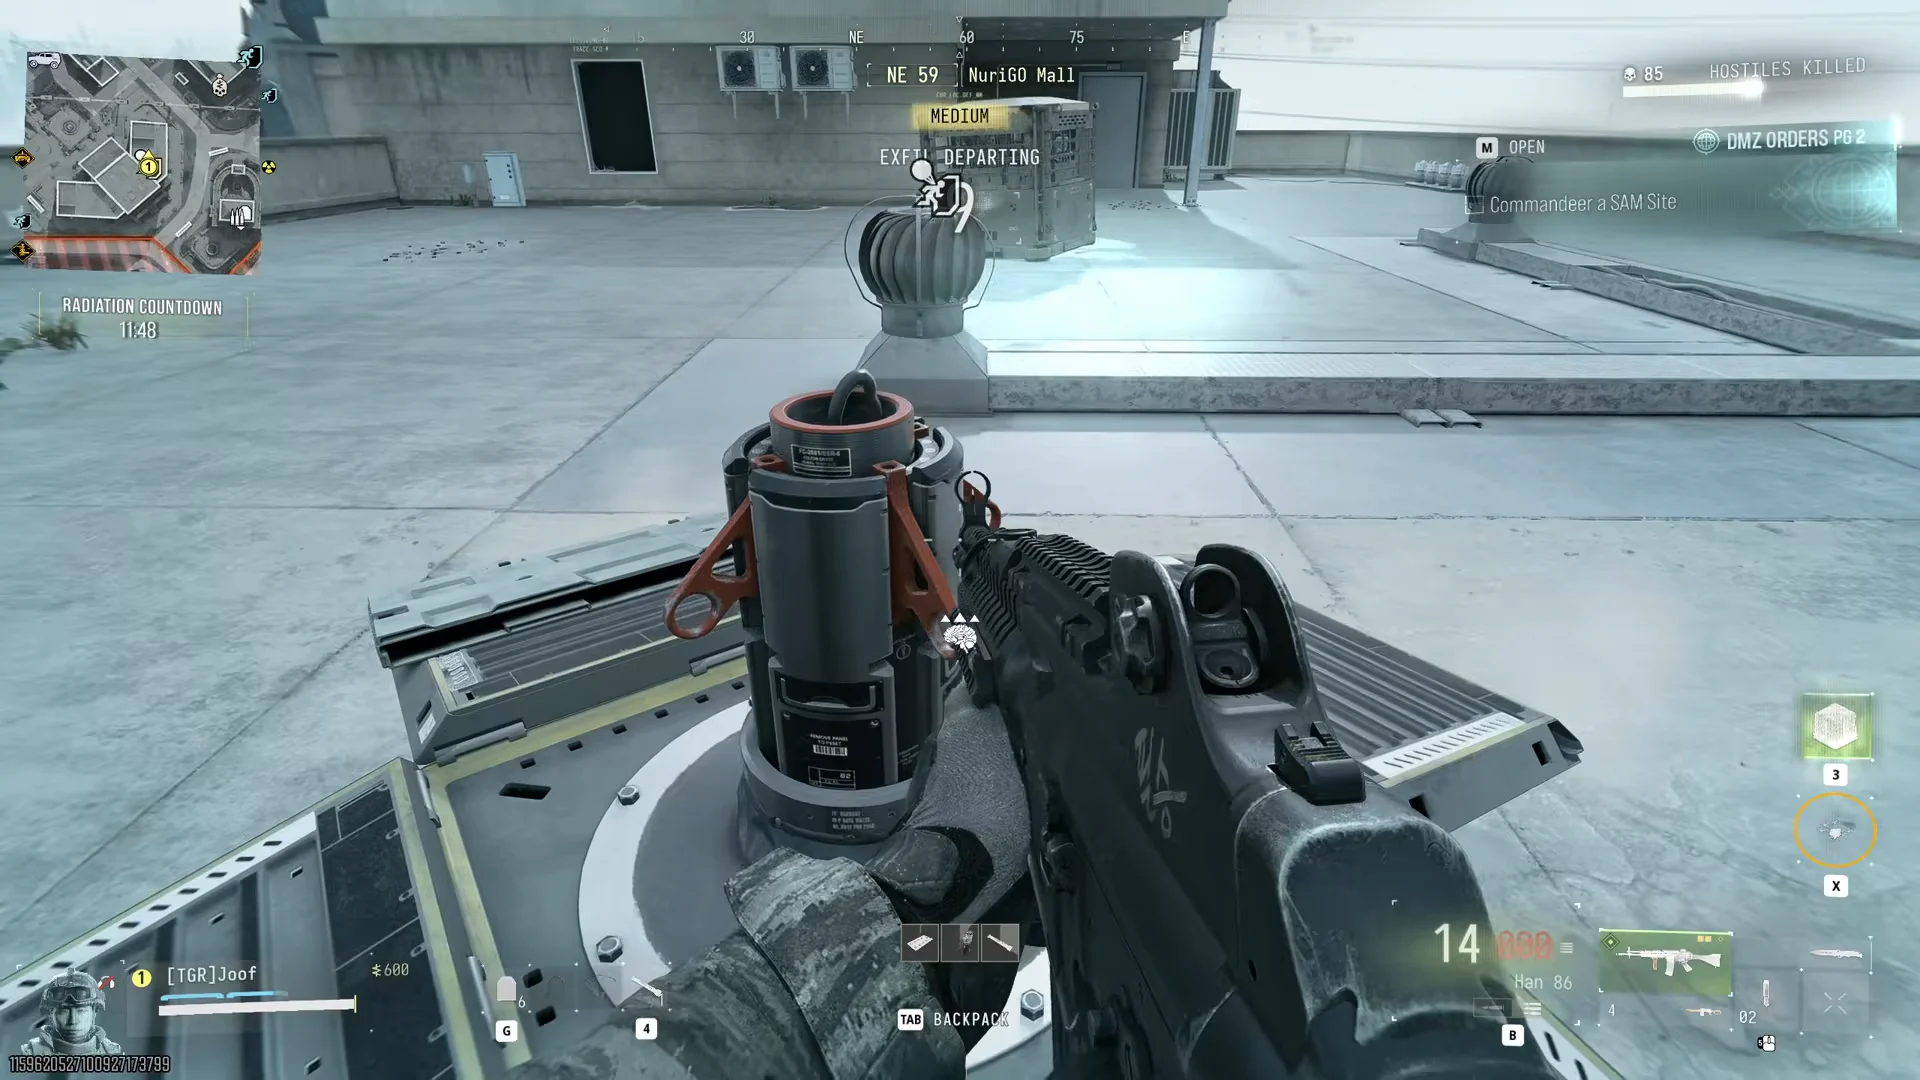
The crate is stamped AIR TRNSP. Hold interact on it when the ACTIVATE FULTON prompt shows to activate the Fulton. Hold interact again to attach yourself.
Rooftop Fulton exfil departing19:35Rooftop Fulton exfil departing
After attaching to the rooftop Fulton, the EXFIL DEPARTING countdown runs before you are lifted out. Shown at 19:35 in TheGamingRevolution’s video. Image: Infinity Ward

The EXFIL DEPARTING countdown lasts about 10 seconds. When it ends, you are lifted to the extraction plane. Next, the game displays MISSION COMPLETE – STORY MISSION and then EXTRACTION SUCCESSFUL. The extraction summary shows a Story Mission Payout of $5,000, in addition to any cash you banked during the match.