The Mirae Electrical Room key in Call of Duty: Modern Warfare 4 DMZ opens a single locked key door under Mirae General Hospital. Finding the right floor of the parking garage is most of the work. After that, it’s one prompt and a room full of containers.
Quick answer: Enter the hospital’s northwest parking garage (map square F5), go down to B2, find the purple wall marked “Danger”, and use the “MIRAE ELECTRICAL ROOM – UNLOCK” prompt on the grey double door.
Mirae Electrical Room key details
The key shows up in your inventory as “MIRAE ELECTRICAL ROOM”. Its description reads “F5 – Unlocks the electrical room in the northwestern basement parking garage within Mirae General Hospital.”
- Rarity: RARE
- Type: KEY
- Value: 100
- Storage: backpack or secure slot
- Known source: rewards for Operation Critical Extraction, the Mirae General Hospital story mission, include a Mirae key
Before deploying, place the key in a secure slot. It will remain in your inventory if your backpack is lost.
How to reach the Mirae Electrical Room door
On the full map, Mirae General Hospital sits southeast of Cheongun Village. The parking garage is on the hospital’s northwest side, and the HUD shows “Mirae General Hospital” with a LOW threat level around it.
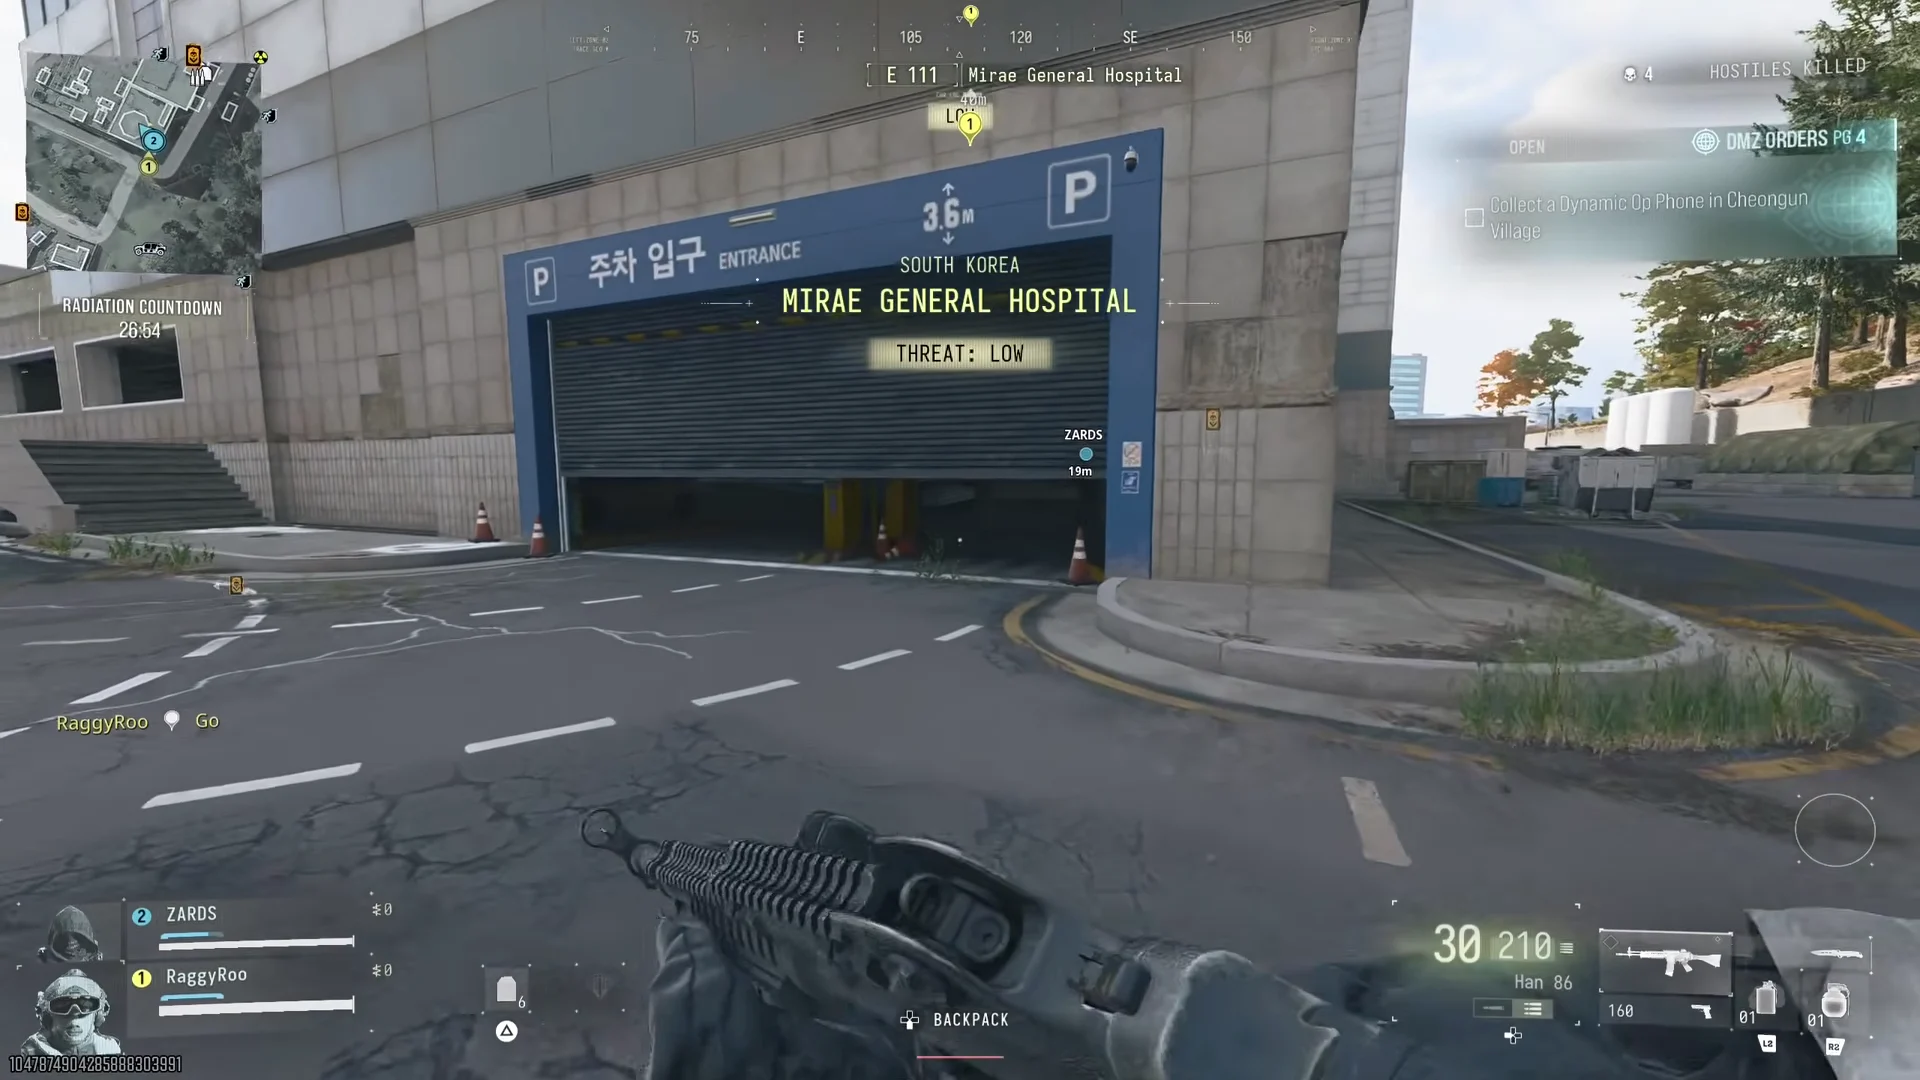
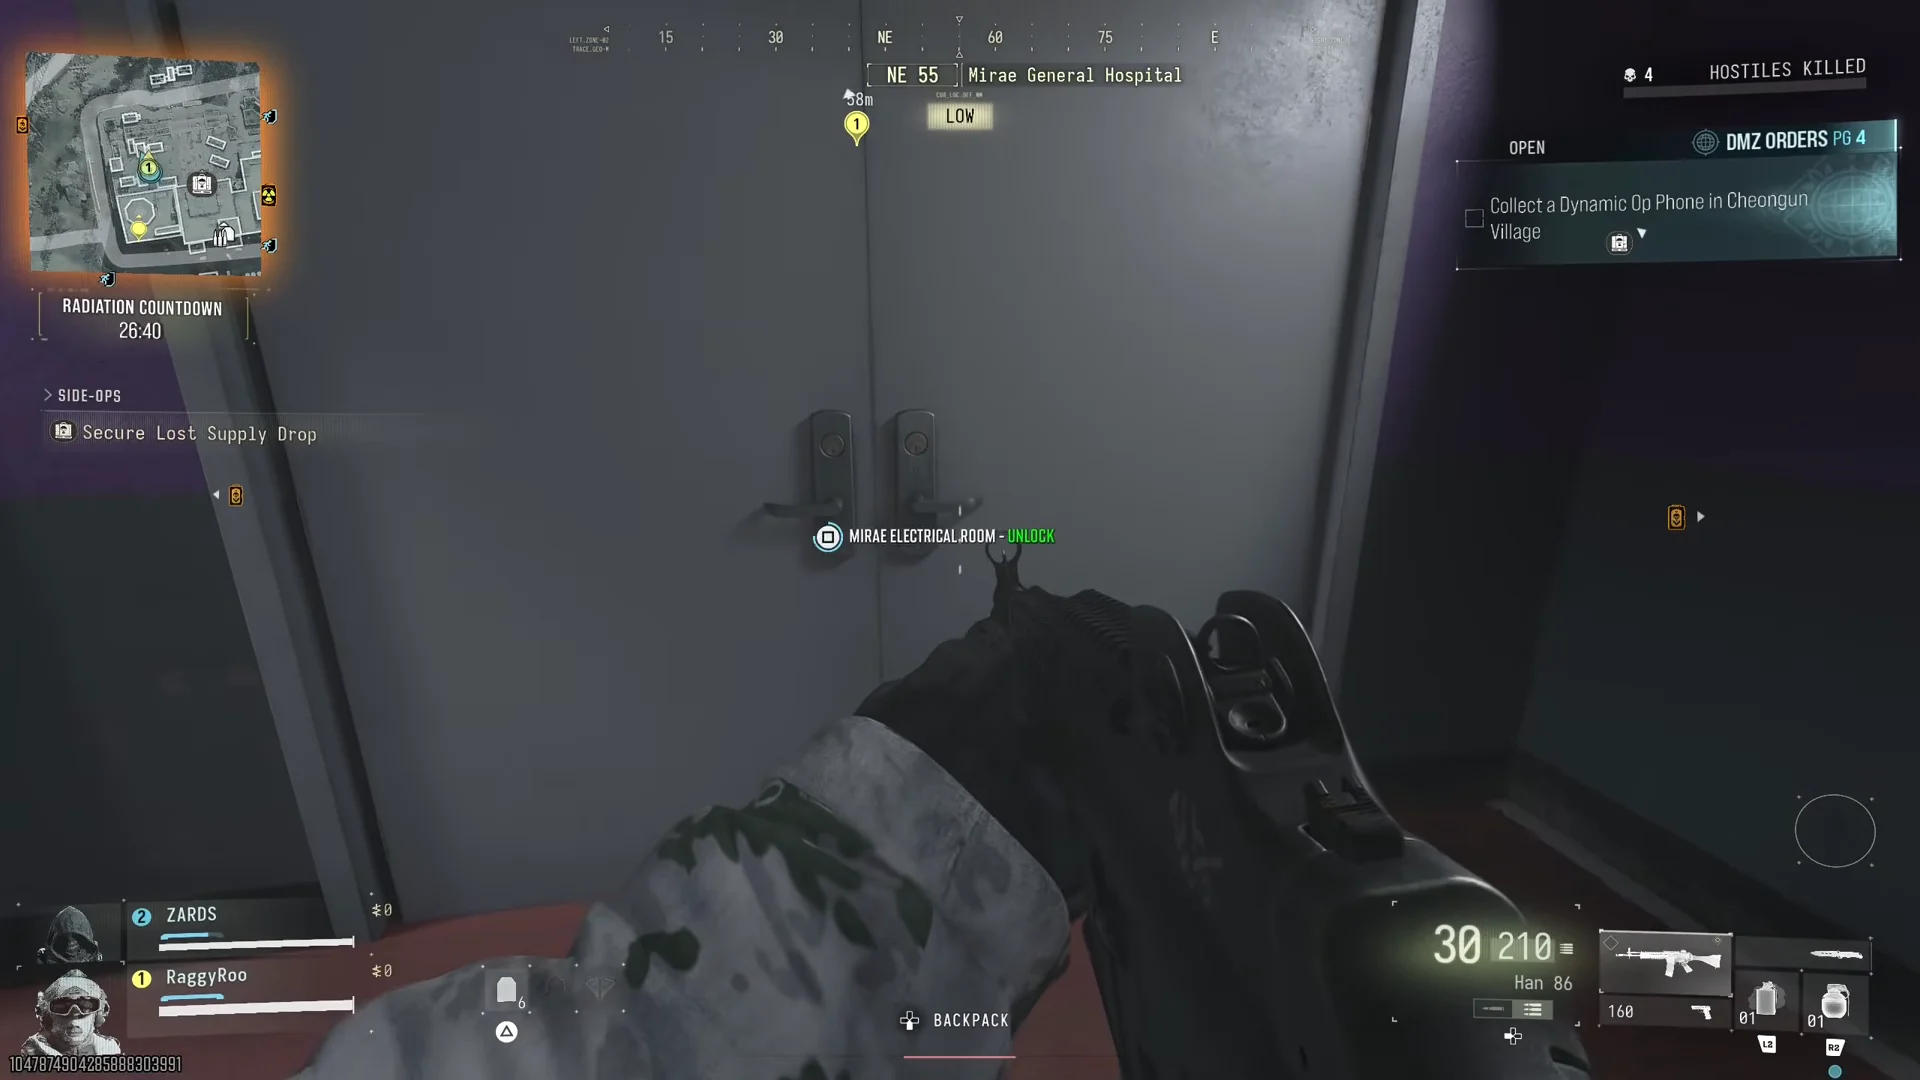
A screen message reading “300 XP DOOR UNLOCKED” confirms the door has opened. Hostiles roam the parking levels, so make B2 safe before pausing to loot.
What’s inside the Mirae Electrical Room
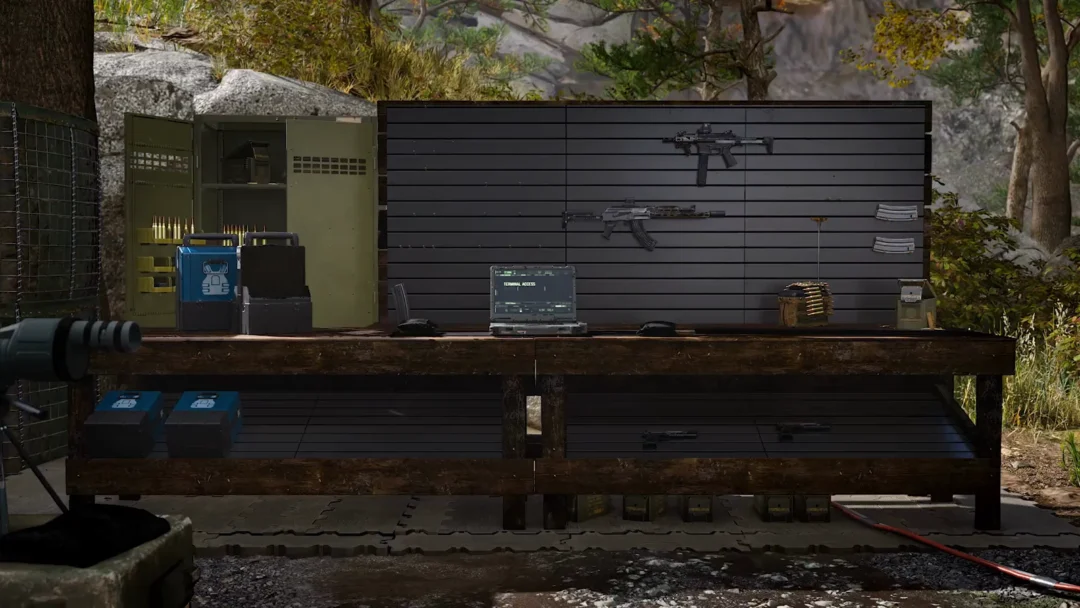
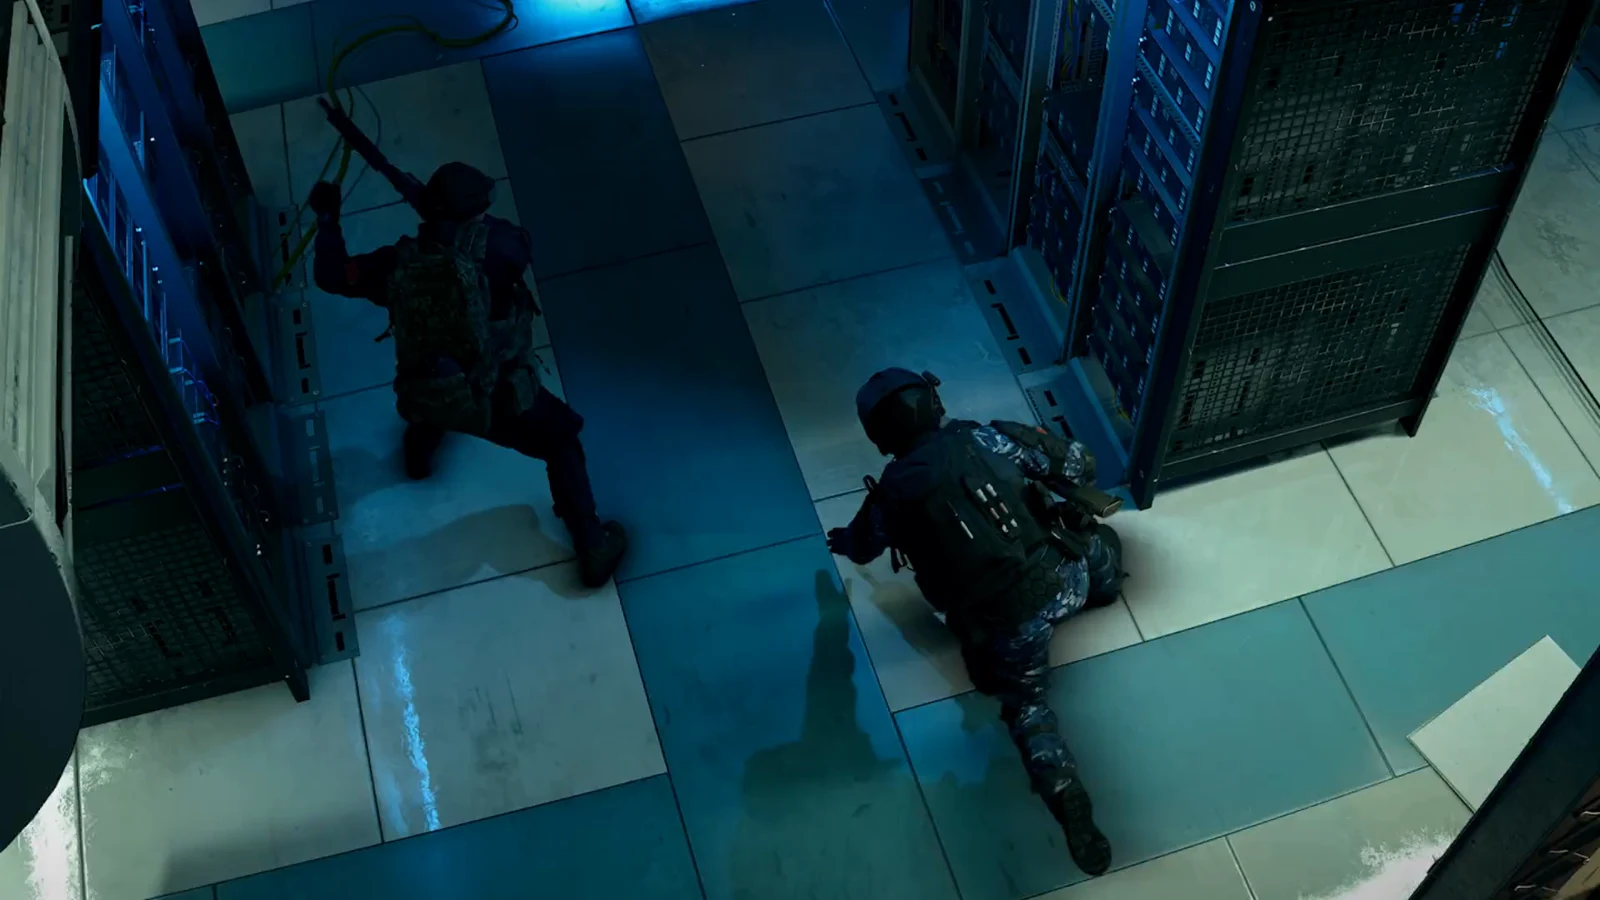
Behind the door is a long room lined with electrical cabinets, metal shelving, lockers and barred windows. The containers can hold a mix of valuables, plates and 3D printer materials. The table below is one example of what they held.
| Spot | Contents (one example) |
|---|---|
| Tool chest | Electronic Sensors, Metals x5 |
| Footlocker | Encrypted Archive, Medkit x1, Synthetics x8 |
| Bag further in | Armor Plate x1, Encrypted Archive |
| Loose pickups | Armor Plate x1, Electronics x4 (two stacks), Electronic Sensors x1 |
| Elsewhere in the room | Sedative Inhaler |
Electronic Sensors are an UNCOMMON 3D printer material with a value of 200, and their item card lists Spotter Scope and UAV among their uses. The Encrypted Archive is a RARE valuable worth 2000, and its description reads “Can be extracted and sold in the FOB for cash.”
That cash is only earned by extracting with Encrypted Archives and selling them at the FOB. Electronic Sensors, Metals, Electronics and Synthetics are used for 3D printer crafting at the FOB.