
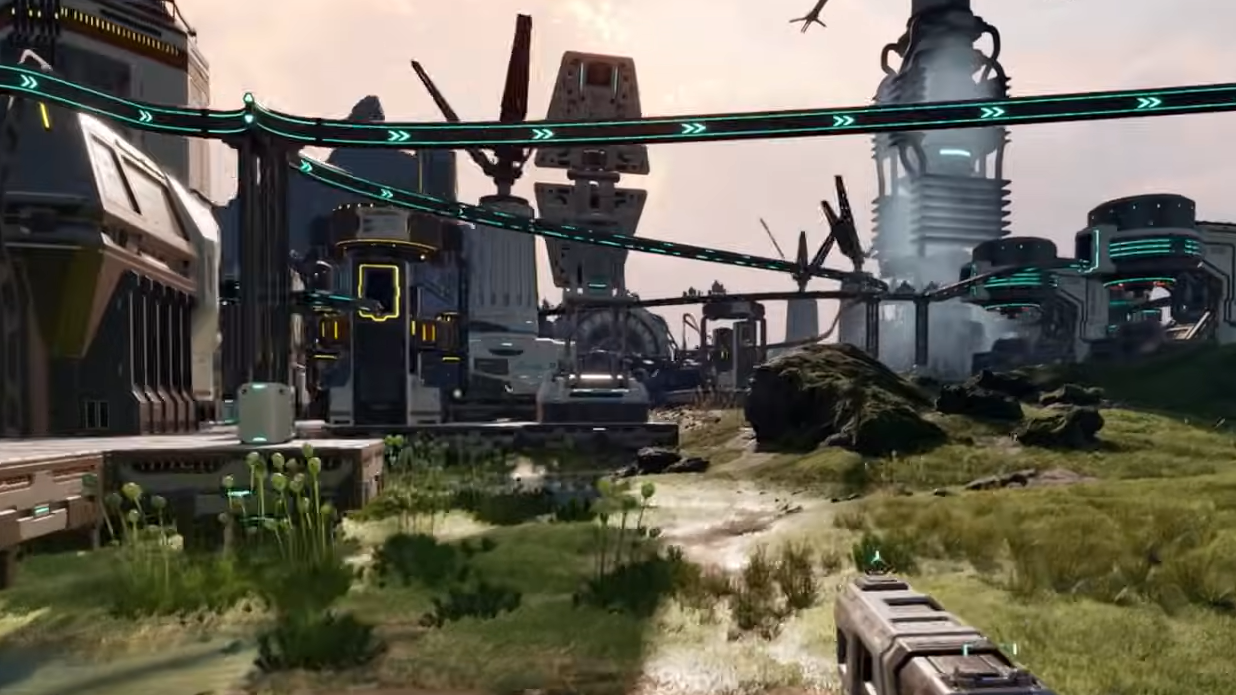
StarRupture doesn’t use visible wires. Power moves through physical contact between foundations, floor pieces, rails, and the structures sitting on them. Once that clicks, getting a stable grid becomes much easier.
How power is generated in StarRupture
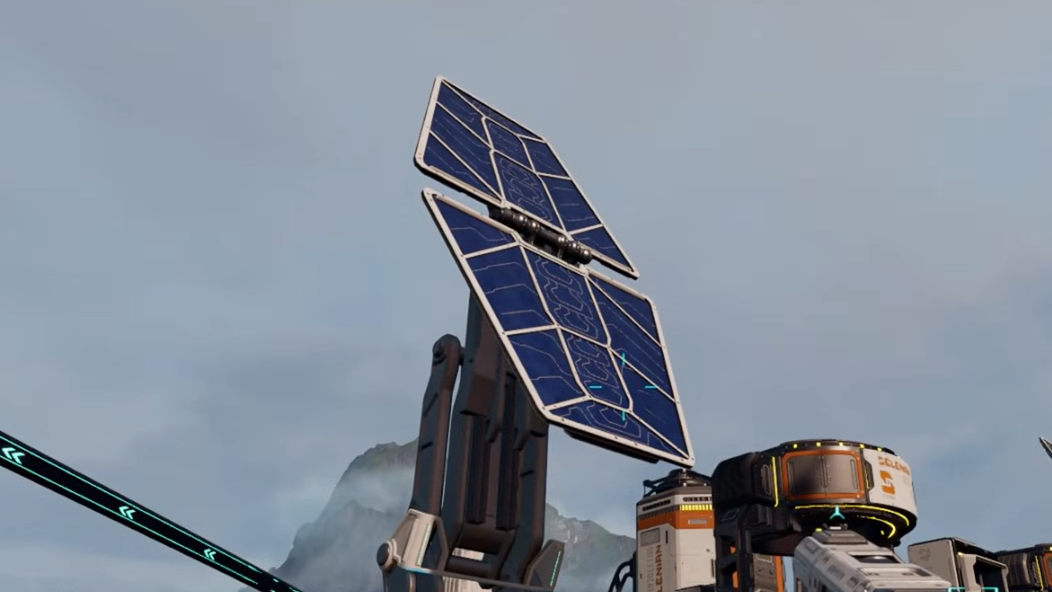
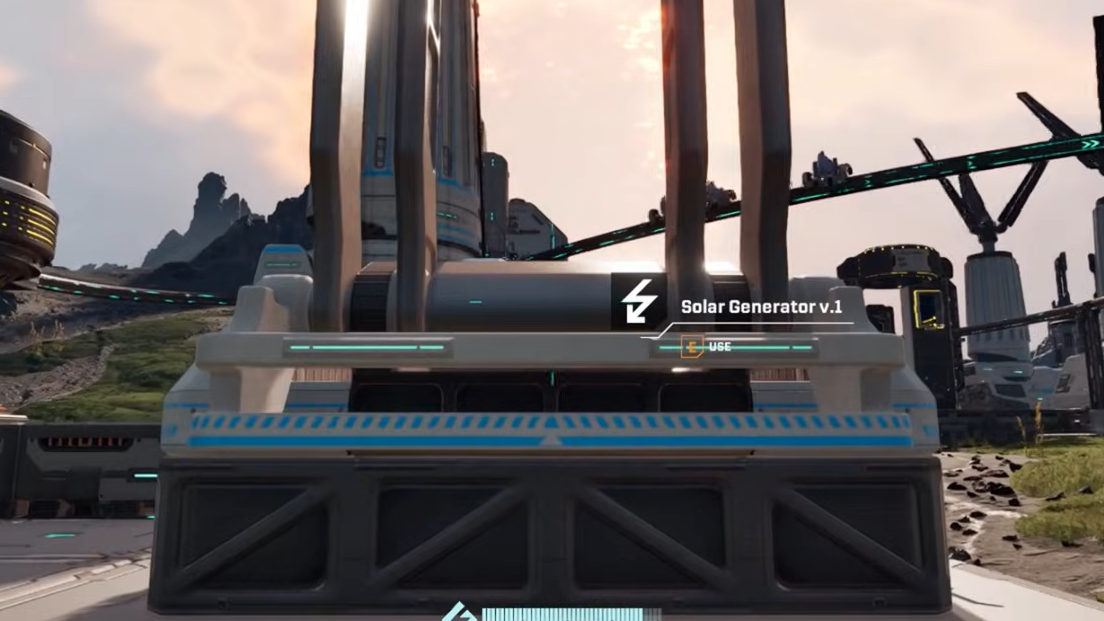
Early on, power comes from simple generators, most notably the Solar Panel or Solar Generator. Each of these produces a fixed amount of energy that can be shared across nearby structures.
Solar power has three important properties in StarRupture:
- It is local – generators don’t “beam” power globally. They only feed structures that are directly or indirectly touching the same continuous grid of foundations, floors, rails, or bridges.
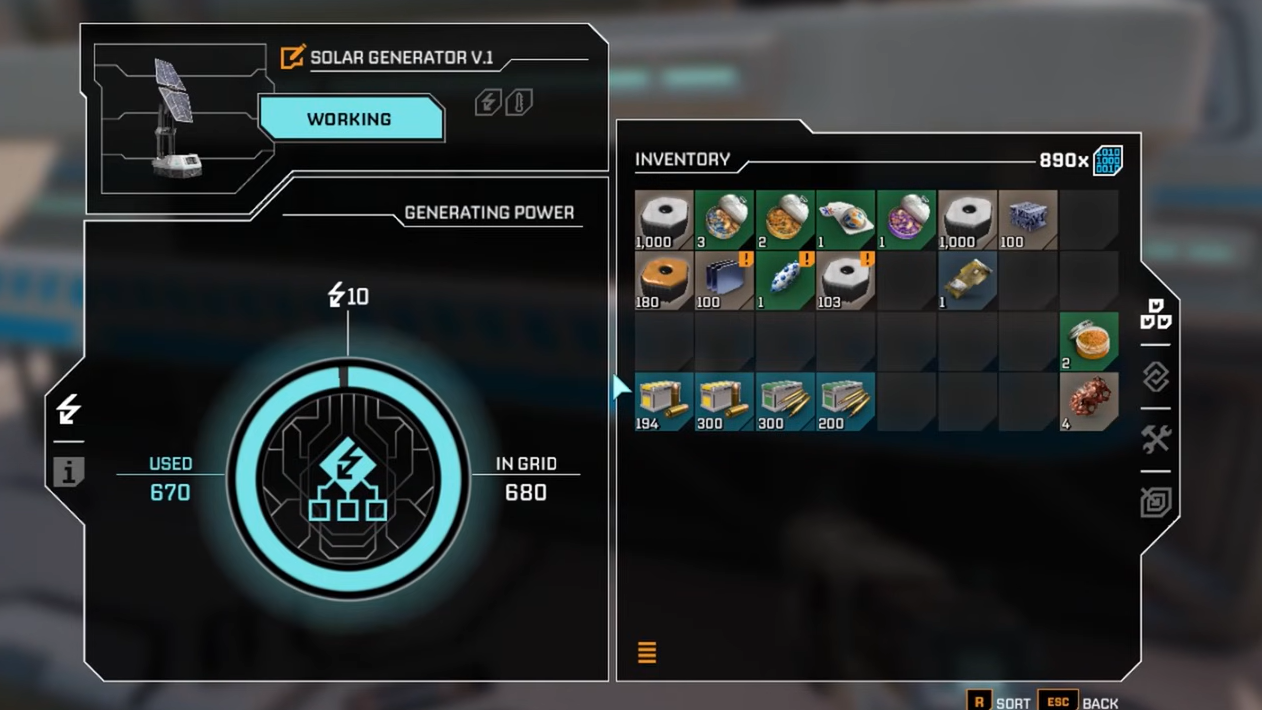
- It is limited – each generator has a maximum output. For example, a Solar Generator provides 10 power, while a Smelter and an Orbital Cargo Launcher each consume 5. One solar unit can run those two together but not much more.
- It is shared – any structure on the same continuous grid draws from the same pool. If everything on that grid needs more power than the generators provide, some machines will shut down or fail to start.
How power flows without cables
Instead of powerlines, StarRupture uses a “conductive footprint” system. If two objects touch through any combination of rails, platforms, walkways, bridges, or foundations, power can pass between them.
In practice, that means:
- Direct contact works – placing a Solar Generator so its base physically touches a machine’s foundation is enough to power that machine.
- Indirect contact also works – if the generator sits on one platform, and a Smelter sits on another, a rail or extra platform between them will carry power from one to the other.
- Every gap breaks the grid – even the smallest break in rails or floor pieces interrupts the circuit. Visually neat but slightly misaligned rails often explain “mysterious” power failures.
Think of every connected floor, rail, and bridge as one large metal plate. As long as the generator and all consumers stand on that same unbroken plate, they will share power.
Connecting a machine directly to a generator
This is the simplest and most reliable way to get something online, especially early in the game.
This “touching foundations” pattern works for Ore Extractors, Smelters, Orbital Cargo Launchers, storage units, and most other powered structures.
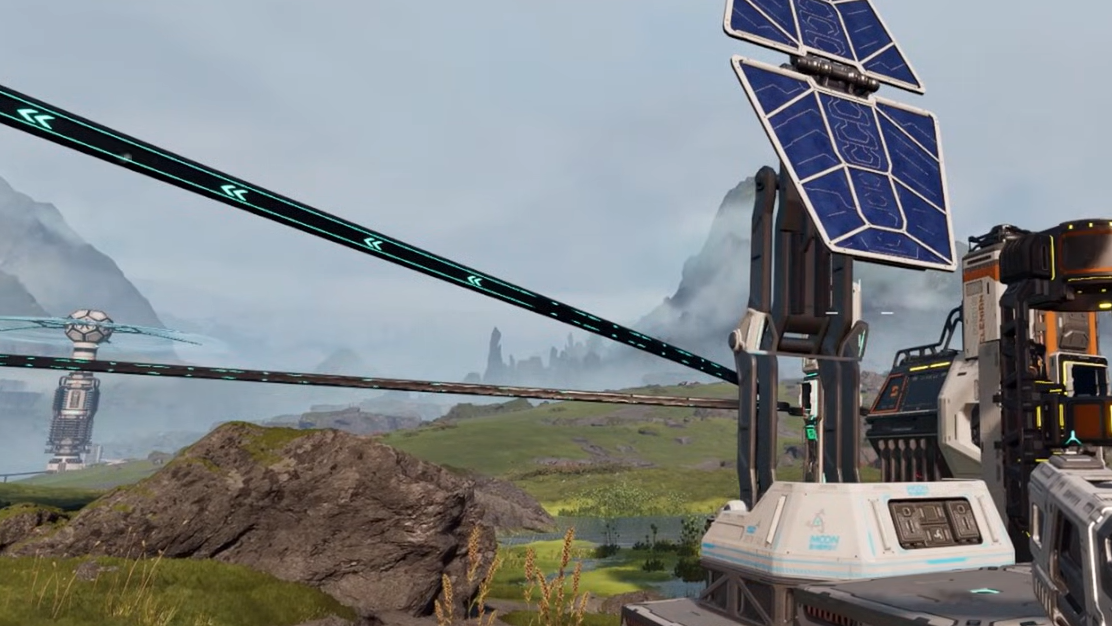
Using rails to carry power across distance
As your factory sprawls away from the Base Core, direct placement becomes impractical. Rails solve both logistics and power at the same time.
Rails in StarRupture do two jobs:
- They move items between extractors, Smelters, storage, and launchers.
- They act as conductive track, carrying power along their length.
To use rails as a power link, follow the same principle: create one continuous run with no gaps from a powered structure to an unpowered one.
Powering remote production lines step by step
When you push into a new area, it’s easy to drop an Ore Excavator and a few machines and forget the grid altogether. A simple pattern helps avoid that.

– A generator cluster near your Base Core or an existing powered platform.
– A pair or group of Solar Generators placed right next to one of the local machines, like a Smelter or Launcher.

If the grid is continuous but the machines still won’t run, you’ve likely exceeded the generator output for that cluster. Add another Solar Generator to that local grid, again making sure its base touches the existing powered platform or machine.
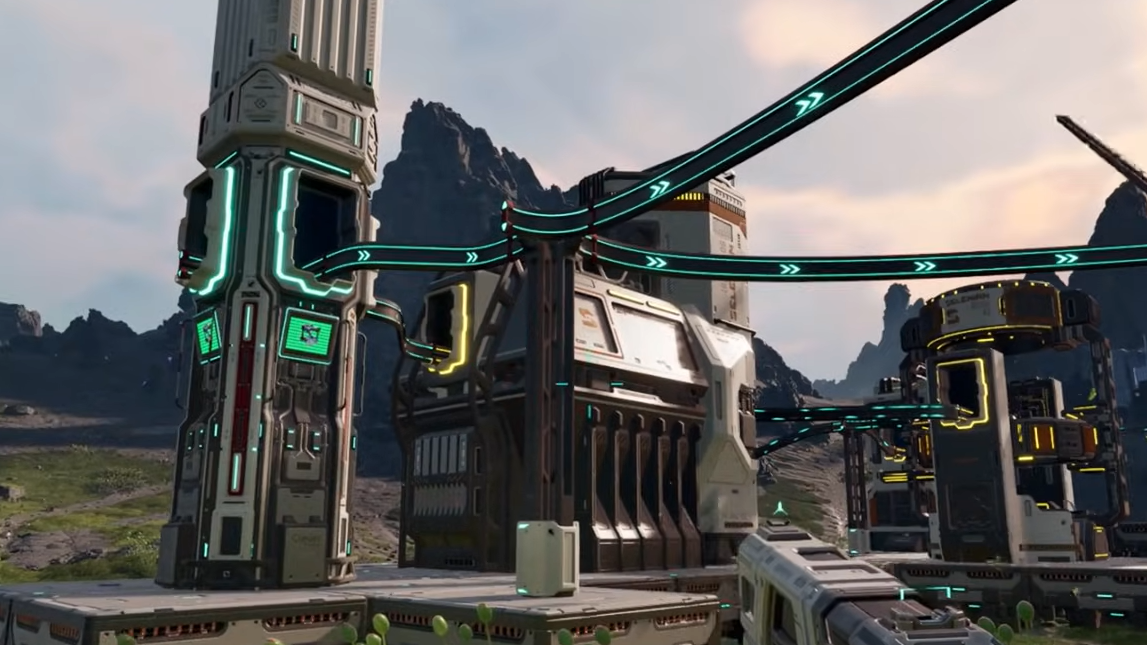
Using platforms, walkways, and bridges as power buses
Rails aren’t the only way to distribute energy. Any buildable floor piece that counts as a structural foundation will conduct power.
That includes:
- Platforms from the Module Components tab.
- Walkways and other floor tiles used for paths between buildings.
- Bridges connecting raised walkways or platforms across gaps.
Platforms are especially useful in cramped or uneven terrain where rails are awkward, such as around calcium ore deposits with limited flat ground. You can tuck Solar Generators into a small, clear area, then run a single row of platforms to the extractor sitting on the rock.
Managing power budgets and avoiding overload
Because each generator has a fixed output, you can’t endlessly daisy-chain machines on a single small grid. Some quick arithmetic keeps things stable.
| Structure | Example power value | Notes |
|---|---|---|
| Solar Generator | 10 (output) | Early-game baseline power source |
| Smelter | 5 (consumption) | One per grid half-fills a solar unit |
| Orbital Cargo Launcher | 5 (consumption) | Pairs neatly with a Smelter on one Solar Generator |
On that example grid, a single Solar Generator can fully power one Smelter and one Orbital Cargo Launcher (5 + 5 = 10). If you then attach an Ore Extractor that needs its own power and doesn’t have a local source, the load may exceed 10 and something will shut off. Fixing it is as simple as:
As you unlock more advanced generators later, you can consolidate huge networks onto fewer, higher-output sources. The contact rules stay the same even as the hardware improves.
Diagnosing “no power” when everything looks connected
Most power problems in StarRupture fall into a few predictable patterns. Running through them systematically saves a lot of frustration.
– A missing rail between two segments.
– A platform that stops one tile short of the machine.
– A generator placed on bare ground instead of a platform that touches the grid.
Once you internalize that every rail, platform, and bridge is part of a hidden power bus, planning bases in StarRupture becomes much more deliberate. Group machines with similar loads on their own grids, size generators to match, and use rails or walkways as the backbone that quietly feeds both items and electricity across your outposts.