Where Winds Meet lets you load someone else’s character design straight into your own game using a short code or a QR image. The feature lives in the creator and the Appearance menu, so you can copy a community look, tweak it, and make it yours in a couple of clicks.
Quick answer: Open the character creation or Appearance menu, select Import Customization Data in the bottom left, paste the code into the Enter Customization Code field, then press the Apply button in the bottom right. Only cosmetics you already own will load.
Where the import option lives
You can import data both while building a new character and after you have already entered the world. Both entry points sit in the Appearance menu. The system handles two kinds of presets, full character appearances and outfits, so a single code can carry either a face or a wardrobe setup depending on what its creator saved.
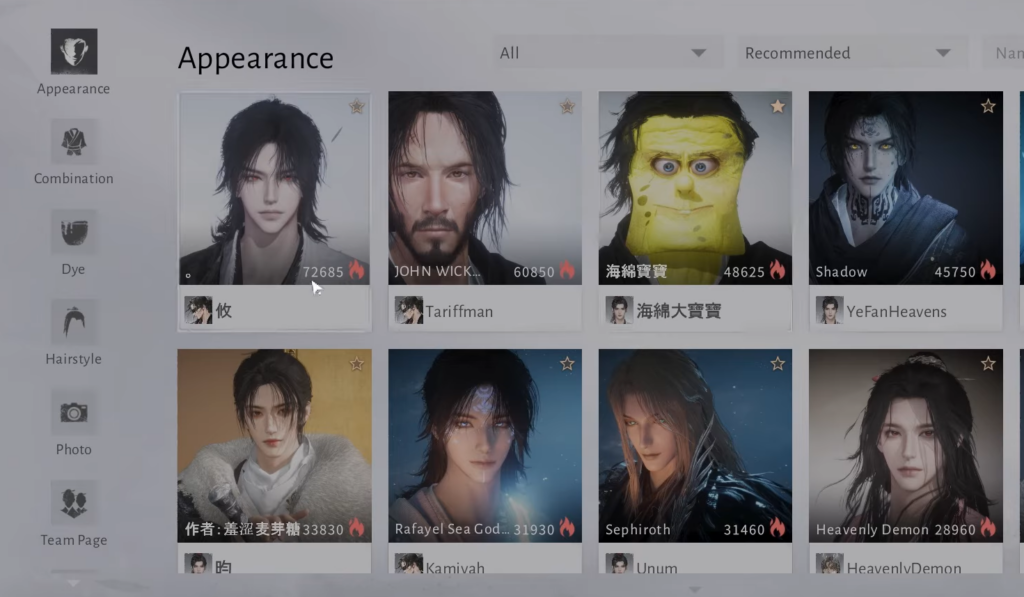
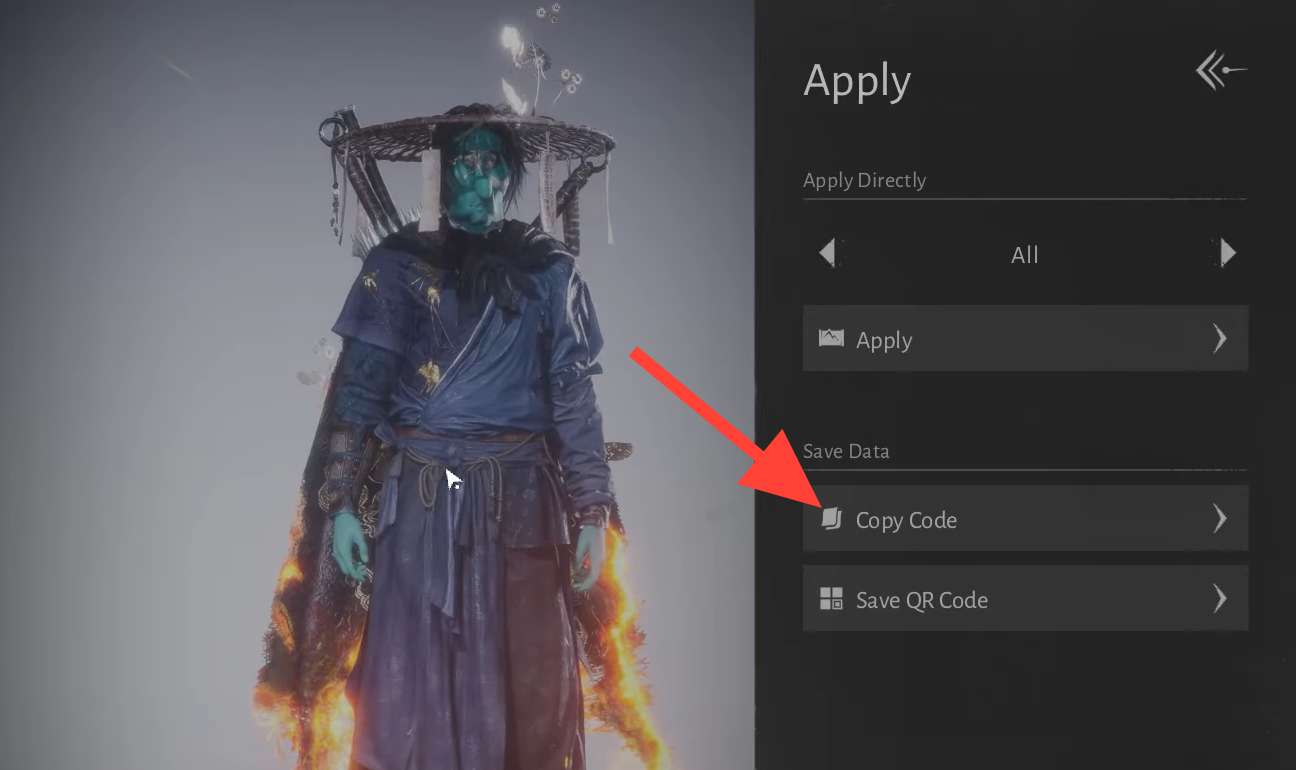
When you open the import window, you get two ways to load a design. You can type or paste a customization code, or you can upload an image that contains a QR code. The text code is the faster of the two. QR images work, but reading them takes a little longer.
Import a character code step by step
ARTaT or ARTaR, though some designs are shared as numeric character IDs instead.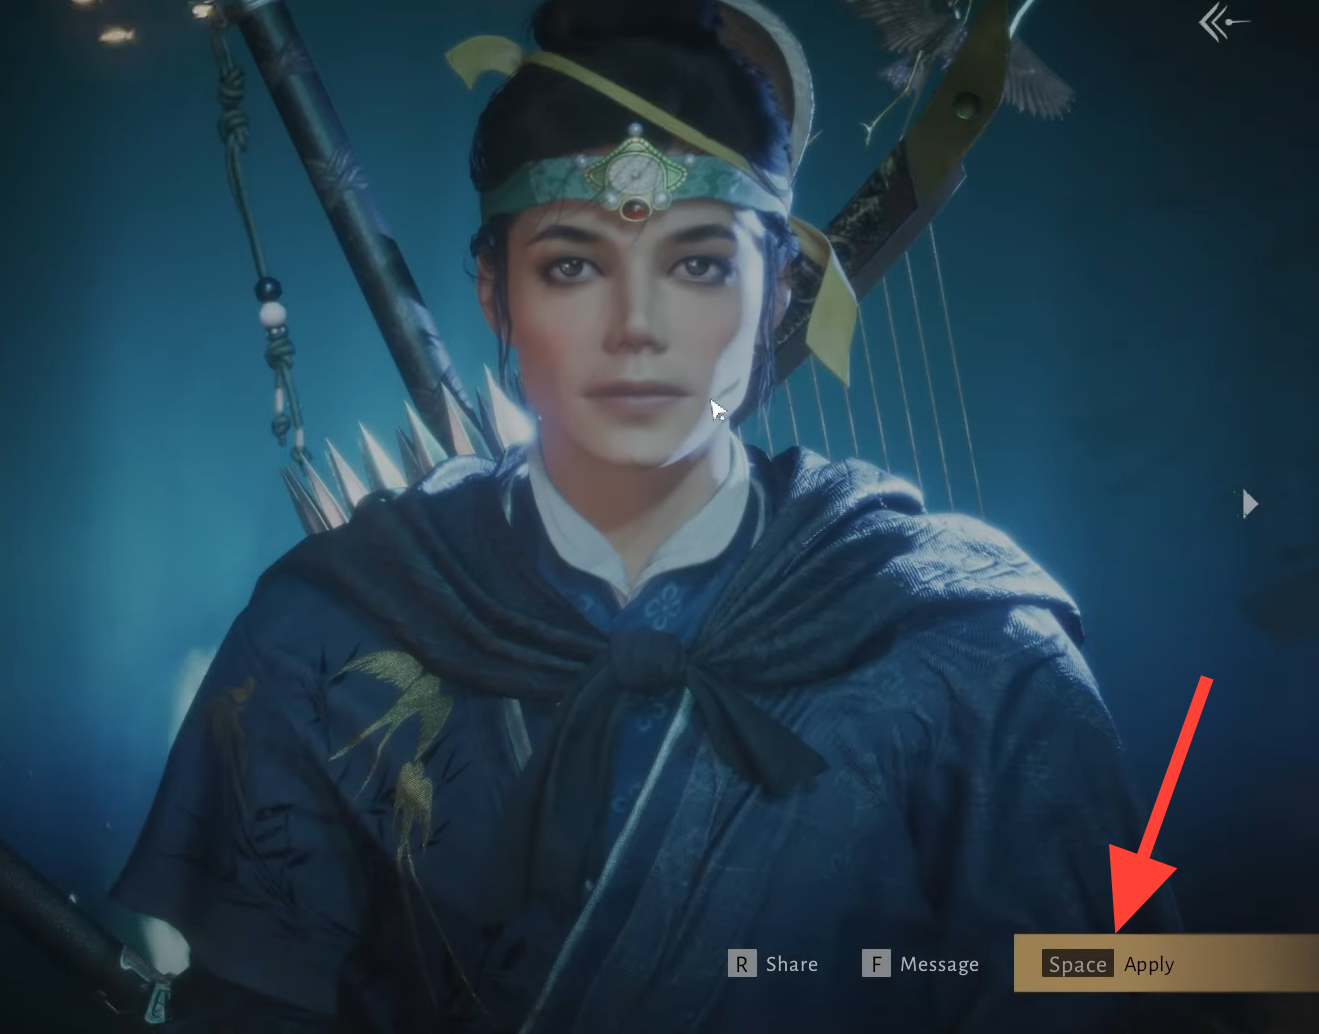
What actually applies when you import
The creator copies sliders and shaping values, but it does not hand you items you don’t have. Hairstyles, clothes, and other cosmetics that you do not own will be skipped, and only the ones already in your account load onto the character. That is the most common reason an imported look comes out different from the screenshot you saw.
You will know the import worked when the live preview switches to the new face or outfit. After that, you can keep refining with the face, body, hair, makeup, and accessory editors before confirming.
Note: If a code reports as expired, the original creator has removed that preset from their gallery, which makes the code unusable. Find a different code in that case.
Editing your look after character creation
Your appearance is not locked in. The current build gives you one free full re-customization, which is useful once you have seen your character in cutscenes, different lighting, and gear. Beyond that first free pass, appearance and gender changes use specific items.
| Change | Item needed | Cost / source |
|---|---|---|
| Appearance edit | Water Lady Script | 200 Echo Jade in the shop; also from events and quests, with the first around Level 10 |
| Gender change | Transformation Pill | Premium item for 1,280 Echo Beads; sometimes given free during events |
Echo Jade is a non-premium currency, so appearance edits are reachable through normal play. Gender changes are pricier and tied to a premium currency, though the developers have handed Transformation Pills out for free during events. There is no fixed schedule for those giveaways, so treat your starting gender as the choice you want to keep unless a free pill is available.
With the import flow handling the heavy lifting, copying a community design is mostly about owning the right cosmetics and pasting a working code. Load the look, confirm the preview changed, and adjust the details until the character reads the way you want.