Training in Be a Soccer Legend is how you turn spare time between fixtures into a higher overall rating. Each drill gives you five tries, scores every attempt in points, and adds those points to a bar that raises your OVR by one when it fills. The catch is that training is rationed. After you finish a session, the menu locks until you play another match, so training and your fixture list move forward together.
Quick answer: Play a match, open Training from the career hub, pick Finishing, Passing or Set Pieces, and use all five tries. Every 1,000 PTS earned adds +1 OVR.
Be a Soccer Legend training rules
The Training menu holds three drill types. They all work the same way. You get five attempts, each attempt earns points based on how hard or accurate it was, and the session ends on a results screen. What changes between them is what the game rewards.
| Drill | In-game brief | Points on offer |
|---|---|---|
| FINISHING | Just finish! Hitting the target is worth more | Goal 100, Target 250, Bullseye 350 |
| PASSING | Long balls, through the lines and assists | Hard pass up to 150, Assist +100 |
| SET PIECES | Corners and free kicks, score any way you like | The target is worth more |
A few rules apply to every drill, whichever one you pick:
- Every session lasts exactly five tries.
- Points from a session go toward your next OVR, and 1,000 points add +1 OVR.
- A finished session also pays XP and coins.
- Once a session ends, the Training menu reads “Play a match to train” and the drills show LOCKED.
- Completing a match unlocks training again.
That lock shapes how you play the whole career. Training is not something you can grind in one sitting. The rhythm is match, train, match, train. Your OVR climbs from both halves of that loop, because strong match performances also move your rating.
Unlock training by playing a match
If the Training tab shows “Play a match to train”, you have to clear a fixture first. It can be a league game or a cup tie. Matches in Be a Soccer Legend are not full 90-minute simulations you control end to end. The game skips through the match and stops at a set number of “chances”, usually four or six. Each chance is a short, interactive moment where you draw lines to pass, cross, play a through ball or shoot. The score at full time comes from how many of those chances you convert, along with what the opponent does with theirs.
Starting the fixture
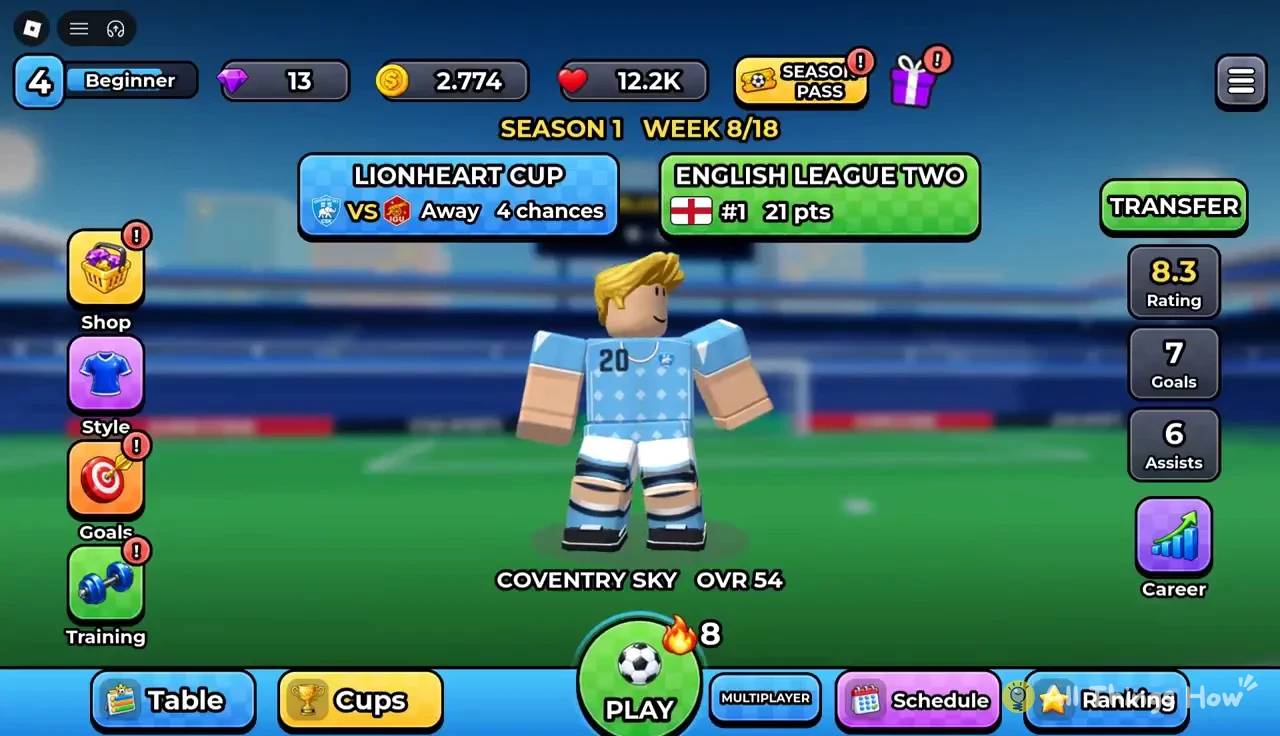
Your career hub is the home screen. It shows your club kit, your OVR, your level, and buttons for Shop, Style, Goals and Training. The season week counter, such as WEEK 8/18, tells you where you are in the league calendar. To start your next fixture, tap the large PLAY button in the middle of the screen.
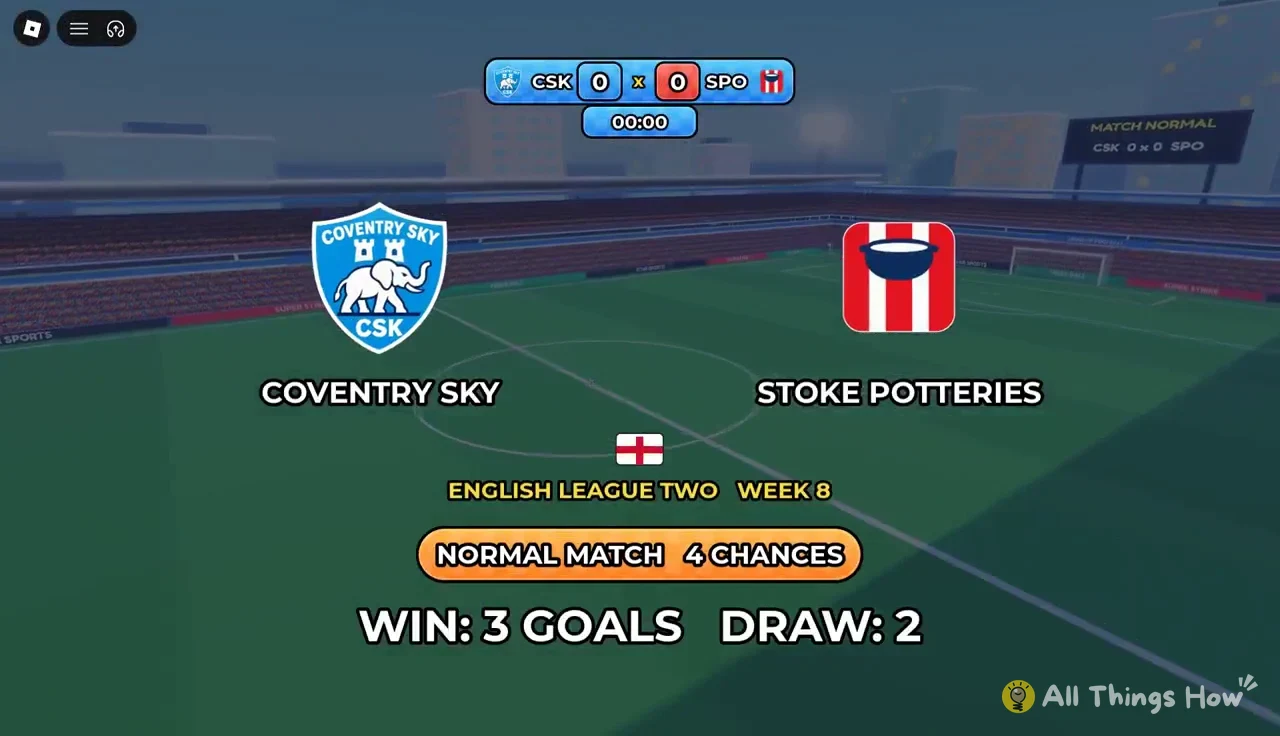
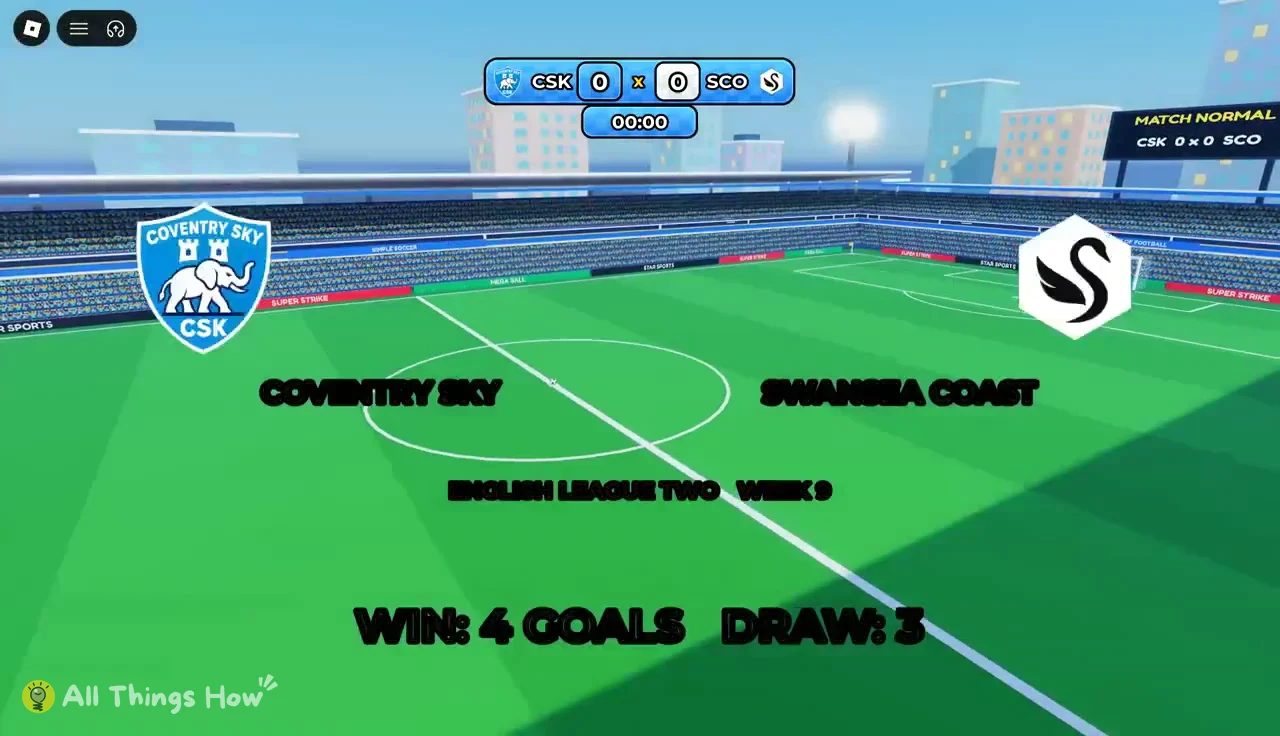
Before kickoff, a setup screen names the competition, the opponent, whether you are home or away, and how many chances the match will give you. An intro card then shows both teams and a 0–0 scoreboard as play begins.
Playing open-play chances
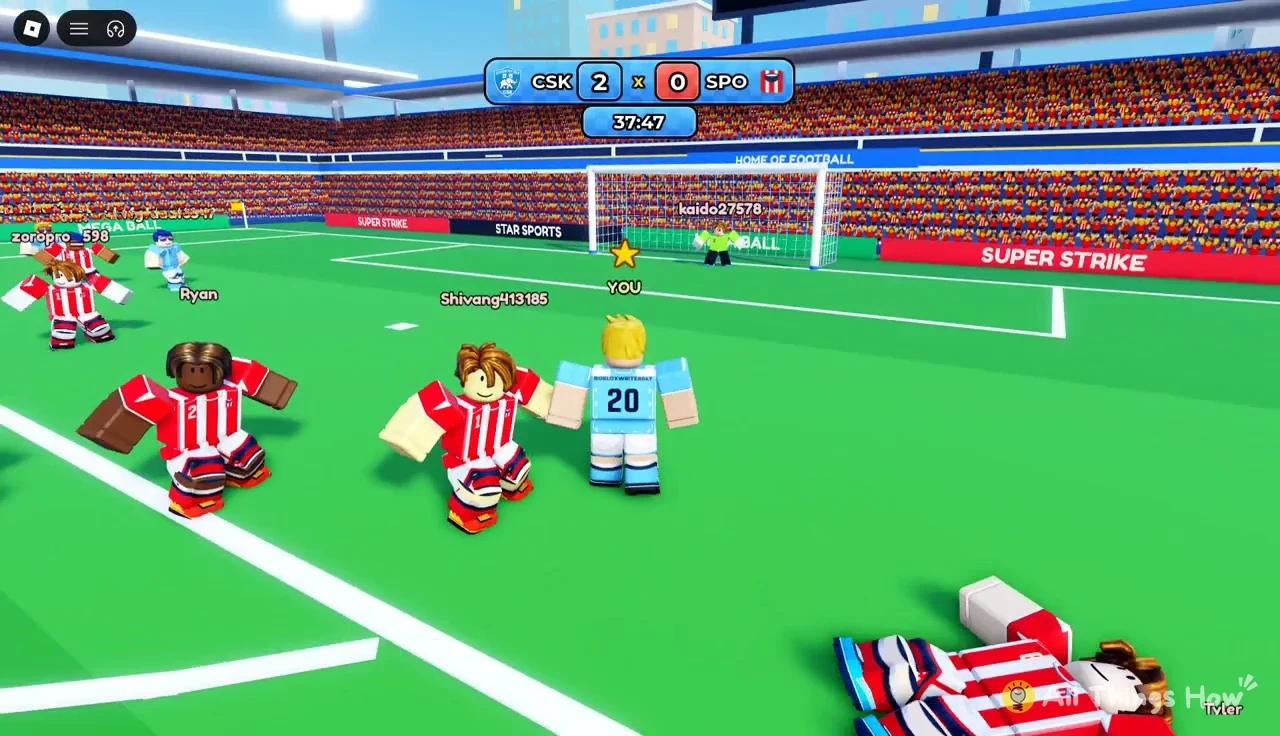
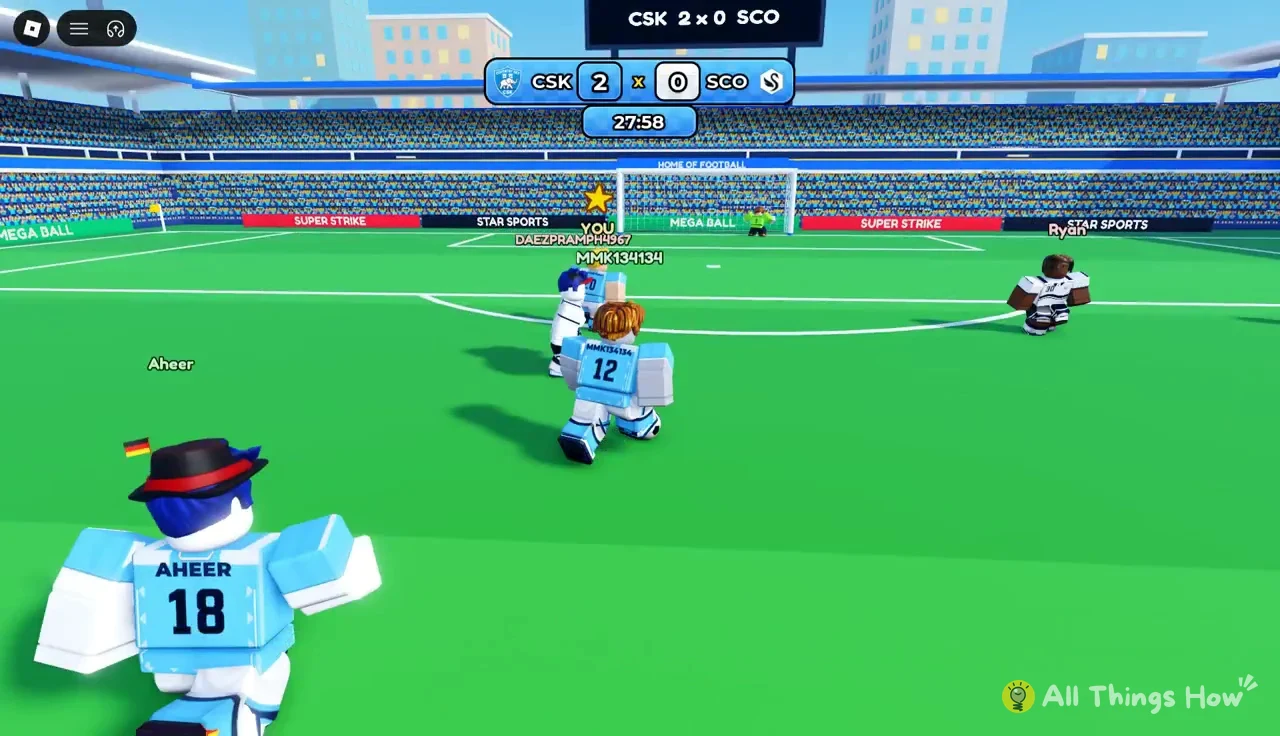
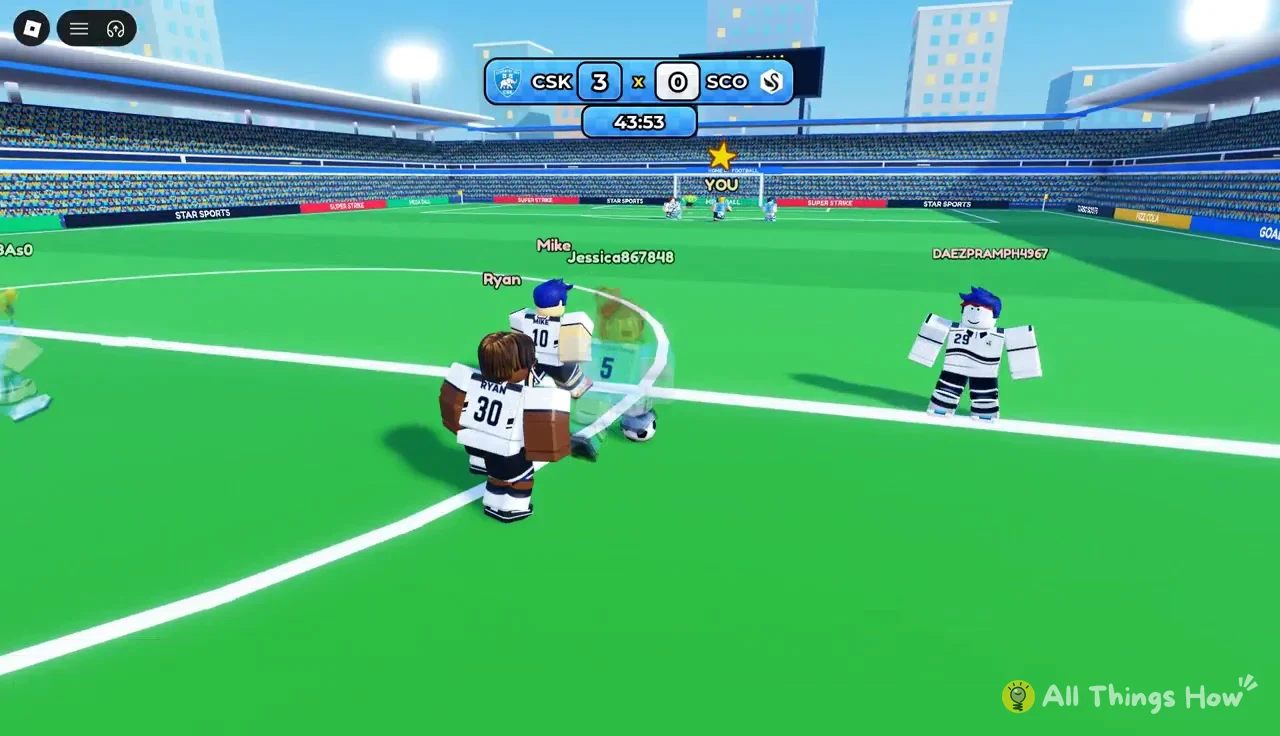
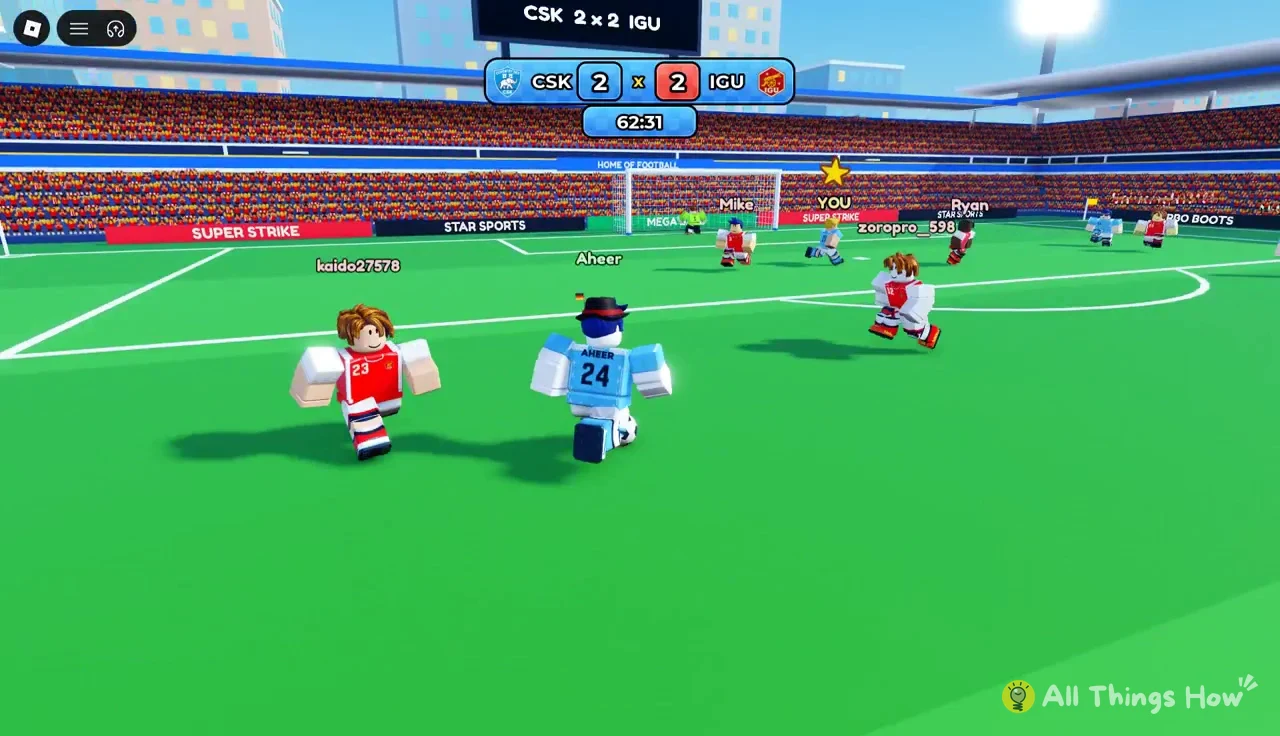
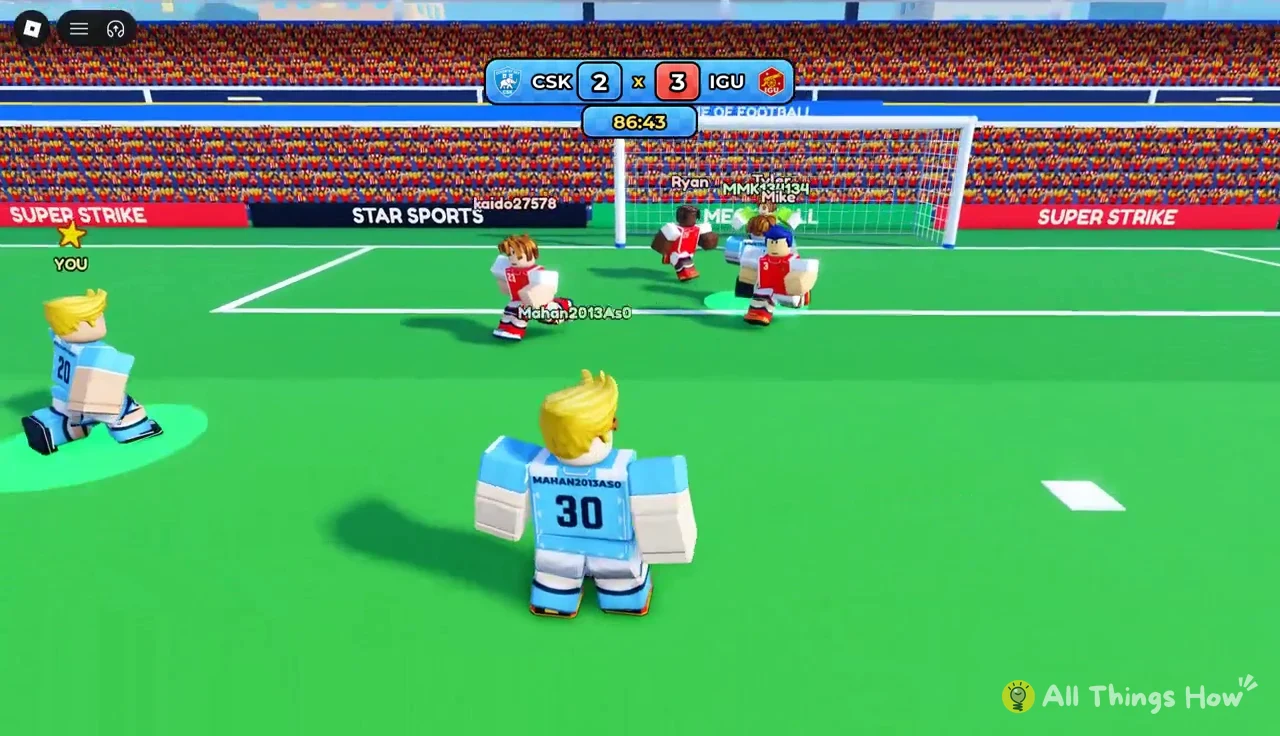
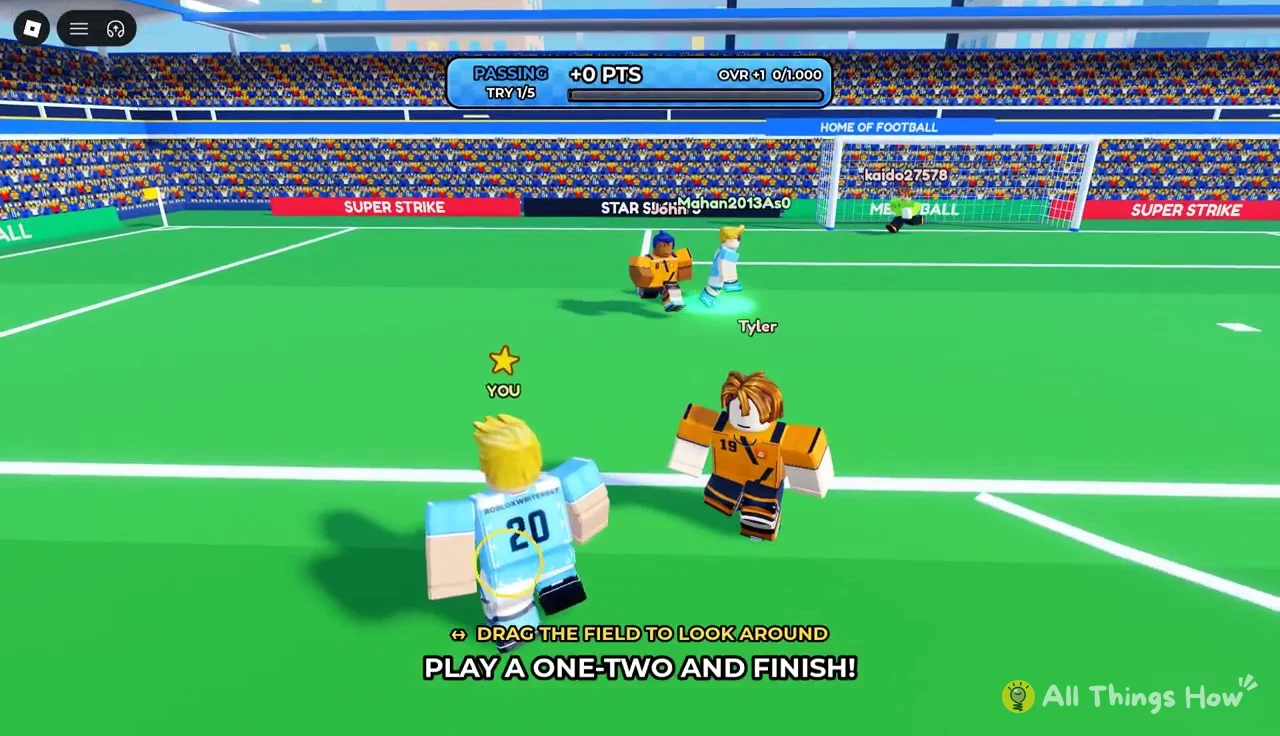
Every action uses the same control. Draw a line from the ball to where you want it to go, and the ball travels to the end of that line. A yellow star labelled “YOU” floats over your player, so you can always find yourself in a crowd. A green circle marks the teammate you are targeting. “DRAG THE FIELD TO LOOK AROUND” means you can pan the camera to spot open runners before you commit.
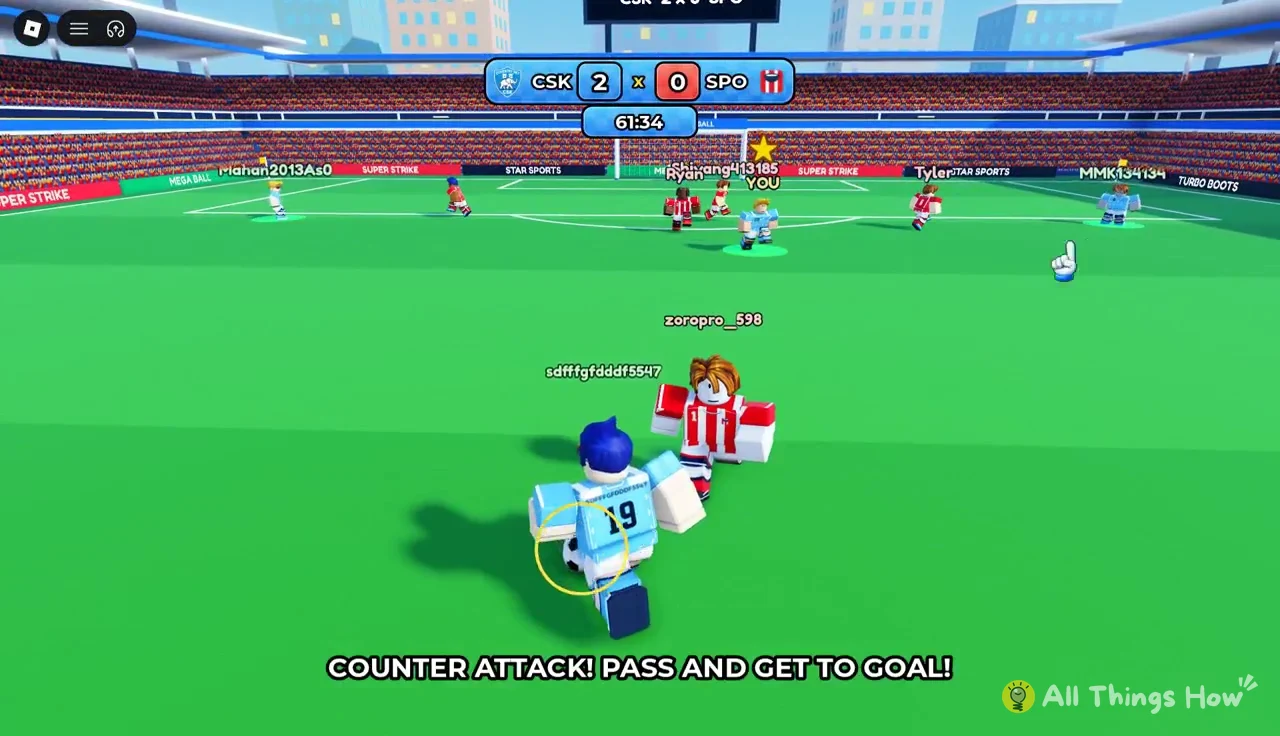
Chances often start deep in your own half and build forward over several touches. A goal-kick routine might pass through three or four teammates before it reaches the box. A switch of play can begin with a long pass across midfield, which the game flags with a “LONG BALL!” banner.
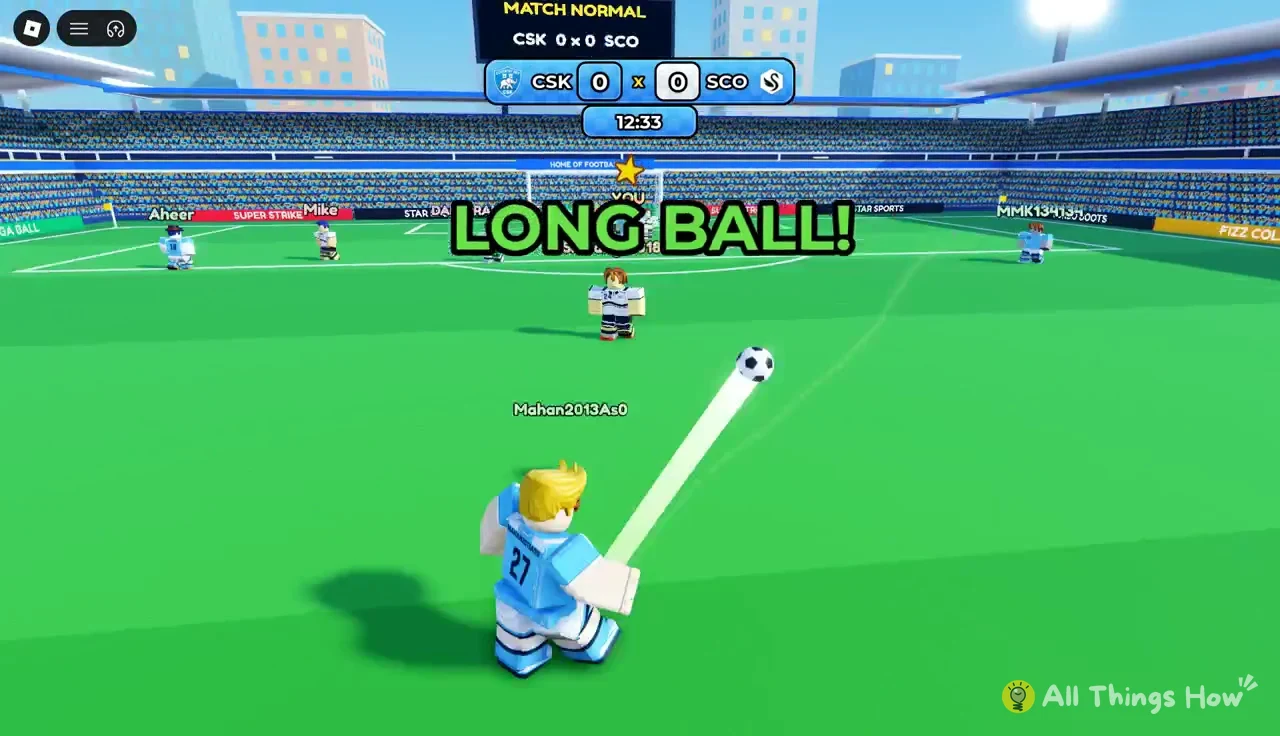
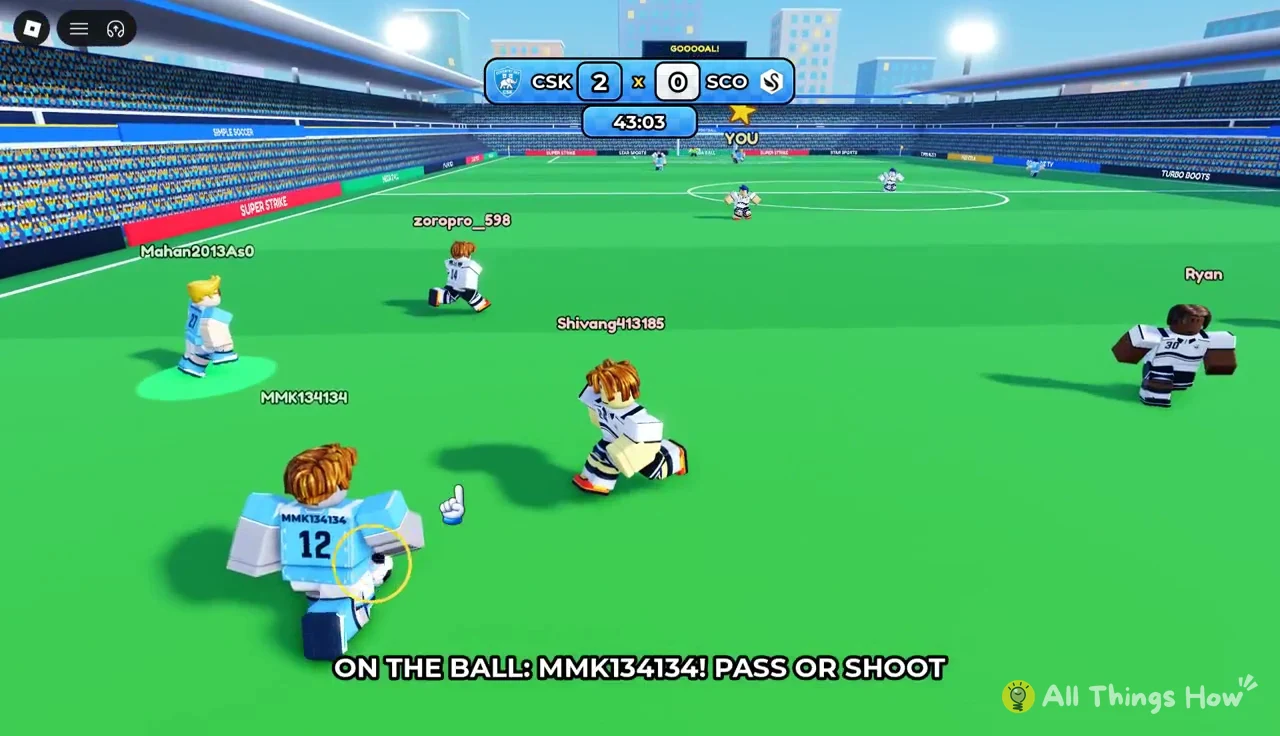
When the ball reaches a teammate, the game names who is on the ball and asks you to choose. “ON THE BALL: [name]! PASS OR SHOOT” appears for a teammate. “YOUR BALL! PASS OR SHOOT” appears when the ball reaches you. Passing keeps the move going. Shooting ends the chance one way or the other.
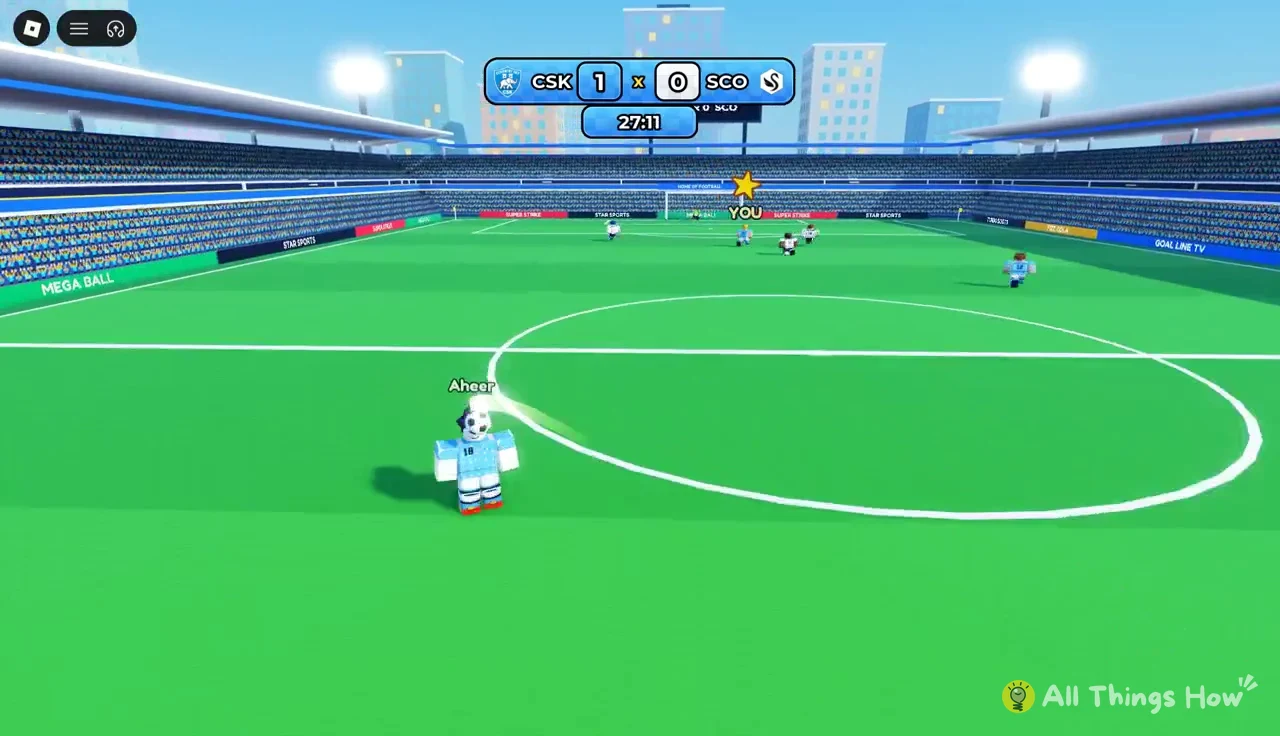
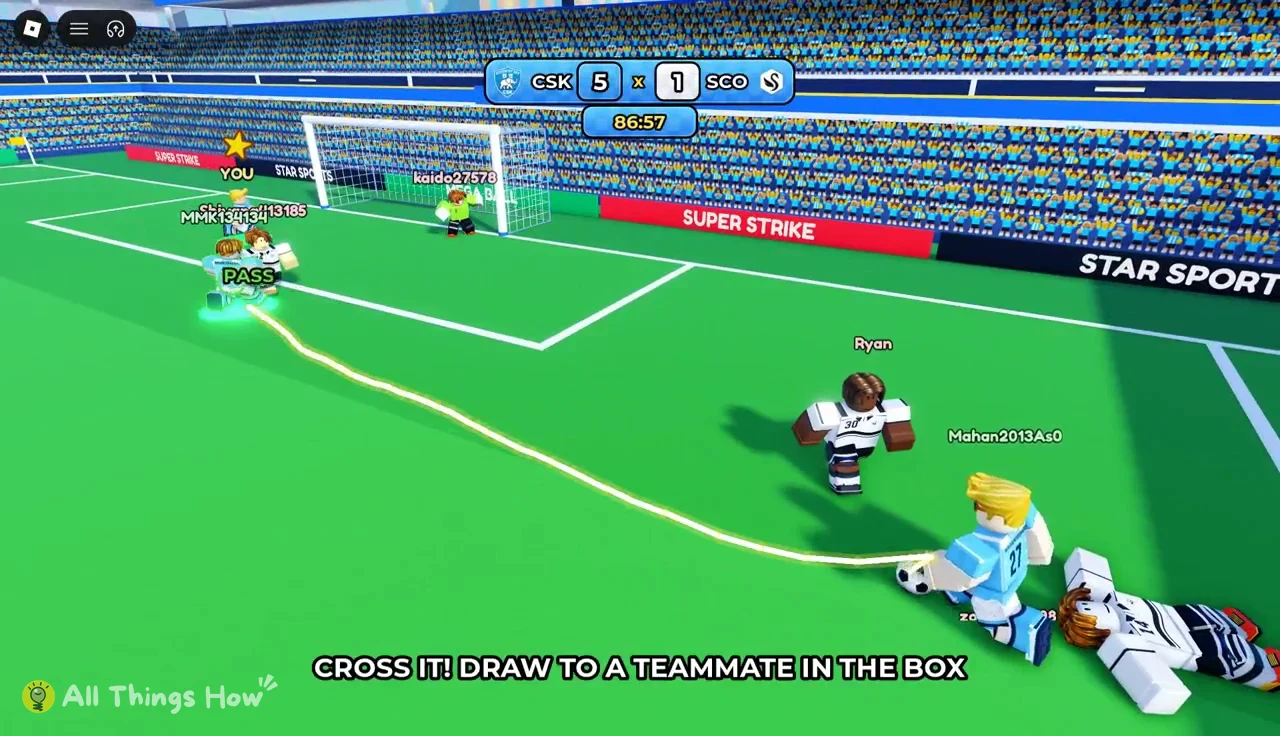
On the wings, an “OVERLAP!” banner marks a run outside the ball. “CROSS IT! DRAW TO A TEAMMATE IN THE BOX” tells you to drag the line onto a runner near goal. Reach the byline and you get “BYLINE!” with “CUT IT BACK LOW OR SHOOT!”. Low balls across the face of goal often set up tap-ins. The “PASS” label shows on screen while you draw a pass toward a teammate in the box.
Not every shot goes in. A long-range effort can be saved, and a parried ball can drop loose. When that happens, “REBOUND! SHOOT QUICK!” gives you a second, faster attempt. A chipped finish over a keeper who has come off his line is one way to score from it. Some moves also trigger a “SPECIAL SHOT” cutscene that plays out on its own.
Penalties and free kicks
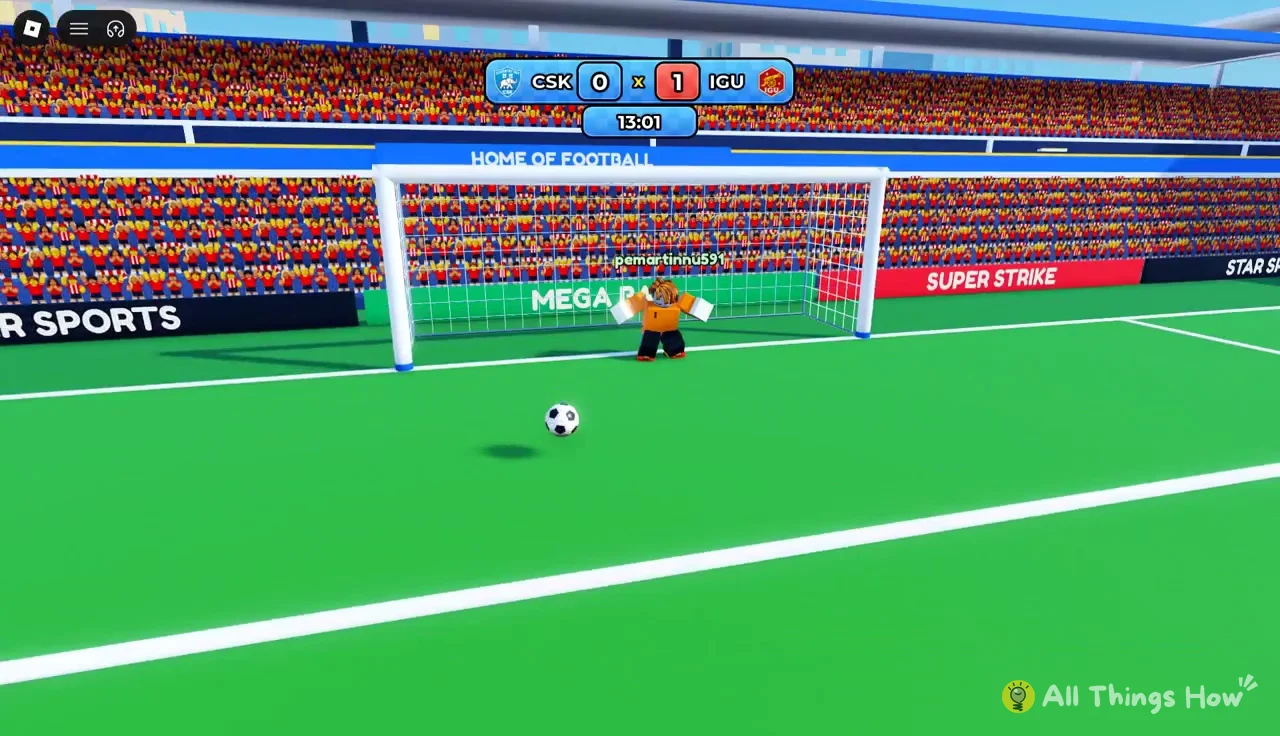
Some chances are dead-ball situations, and they can go either way. “PENALTY AGAINST YOU!” puts you in goal with “YOU’RE THE KEEPER! WATCH THE SHOT AND DIVE!” and the options DIVE LEFT and DIVE RIGHT. If you don’t dive, the game shows “NO DIVE! THEY SCORE”. When you win a penalty, “PENALTY!” and “PICK YOUR CORNER!” appear, and you draw the shot into the corner you want.
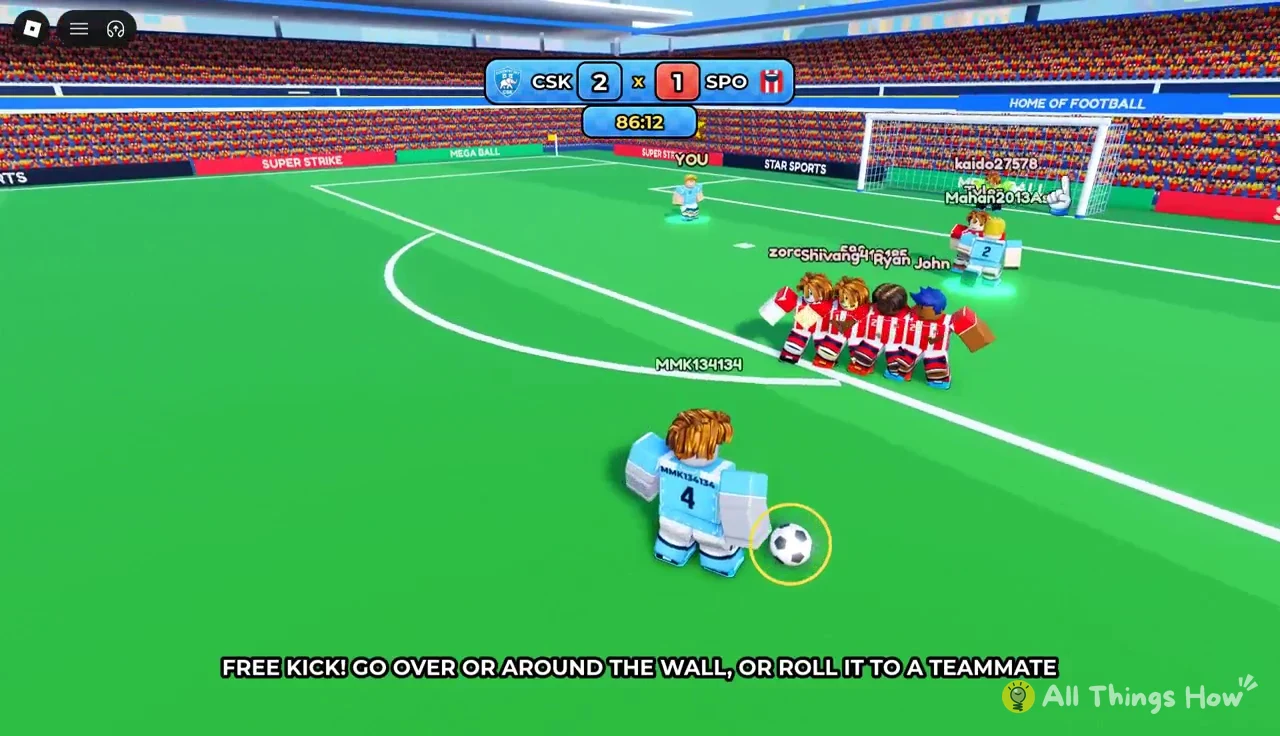
Free kicks give you two routes. You can curl the ball over the wall directly, or roll it short to a teammate and strike from a new angle. The prompt on screen lays out both options before you draw.
Cup ties and extra time
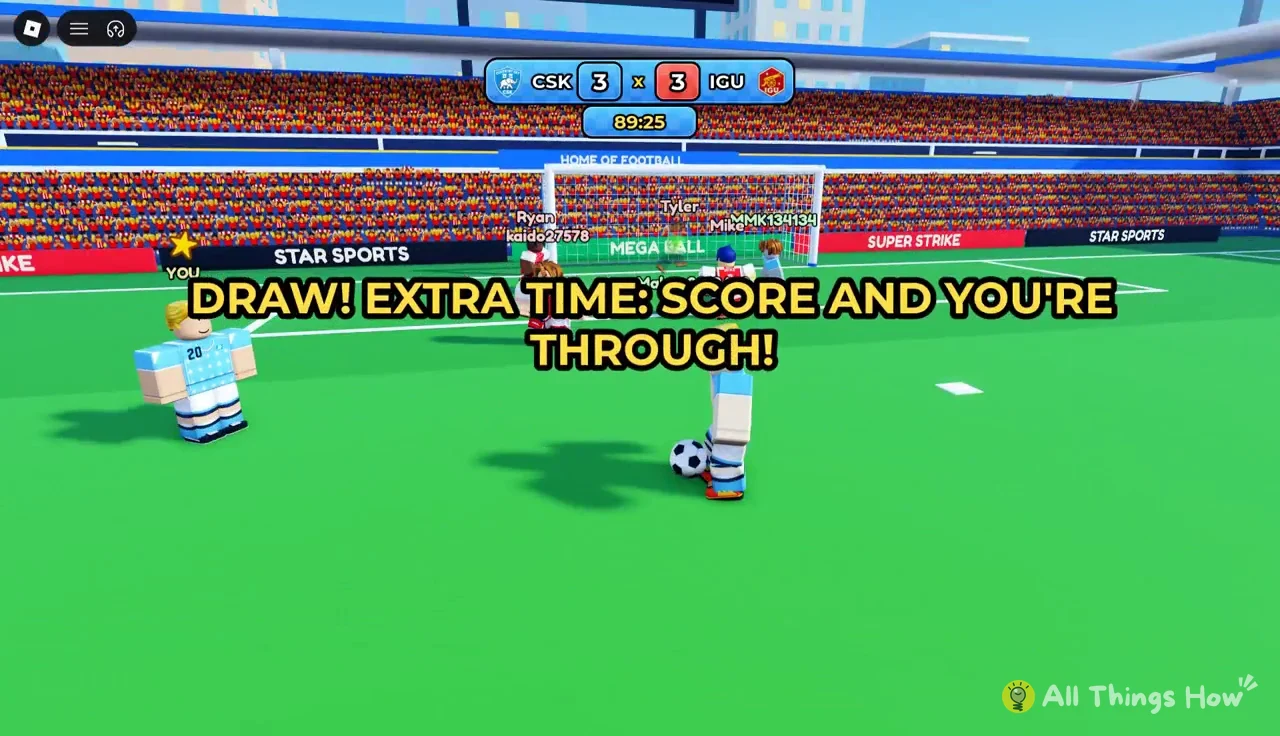
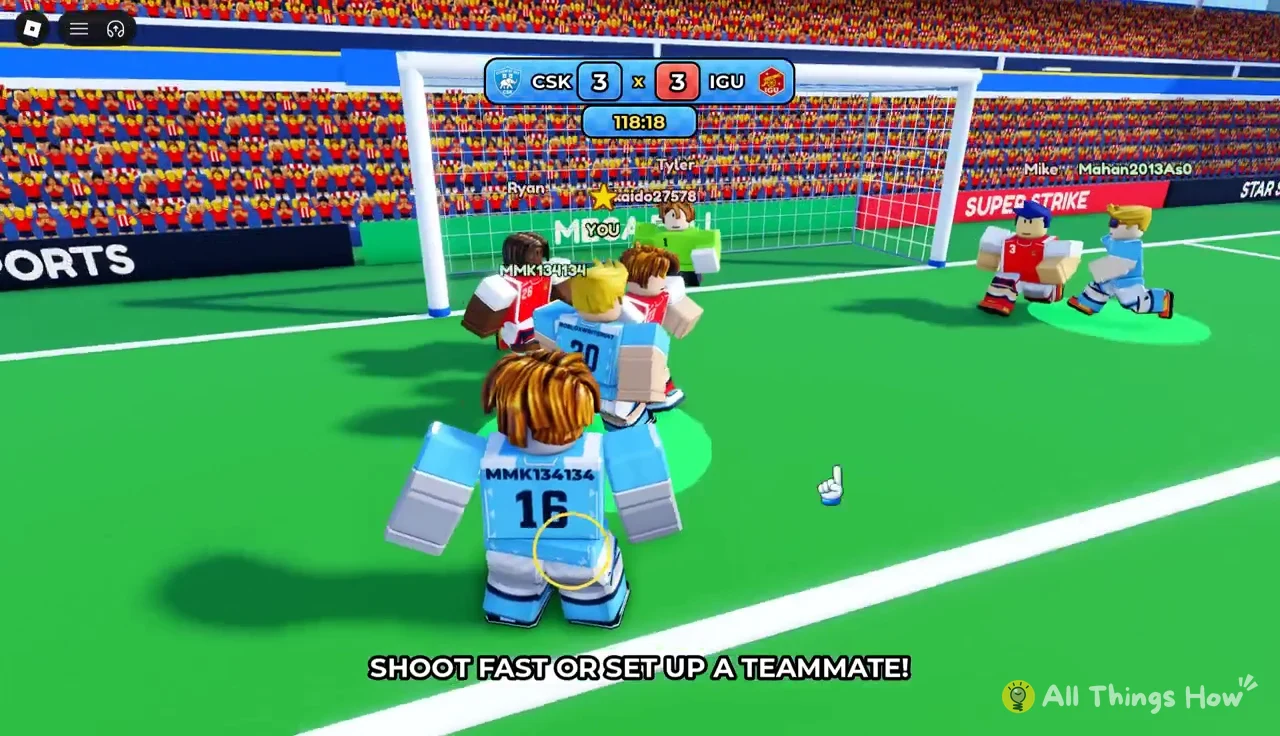
Cup matches need a winner. If you are level after your regular chances, the game shows “DRAW! EXTRA TIME: SCORE AND YOU’RE THROUGH!” and gives you another chance with “EXTRA TIME! SCORE TO GO THROUGH!”. During that chance, “SHOOT FAST OR SET UP A TEAMMATE!” pushes you to act quickly. Scoring sends you through, and the results screen marks it as “WON IN EXTRA TIME!”.
Full time, ratings and rewards
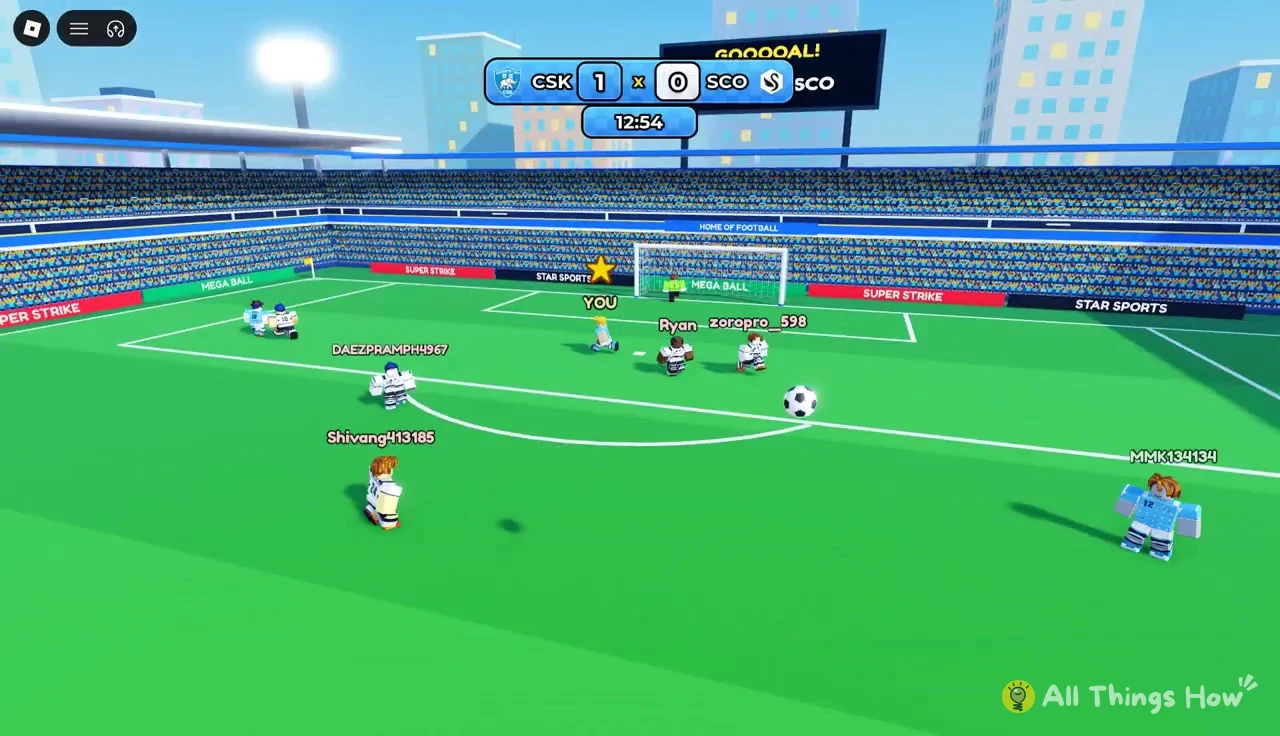
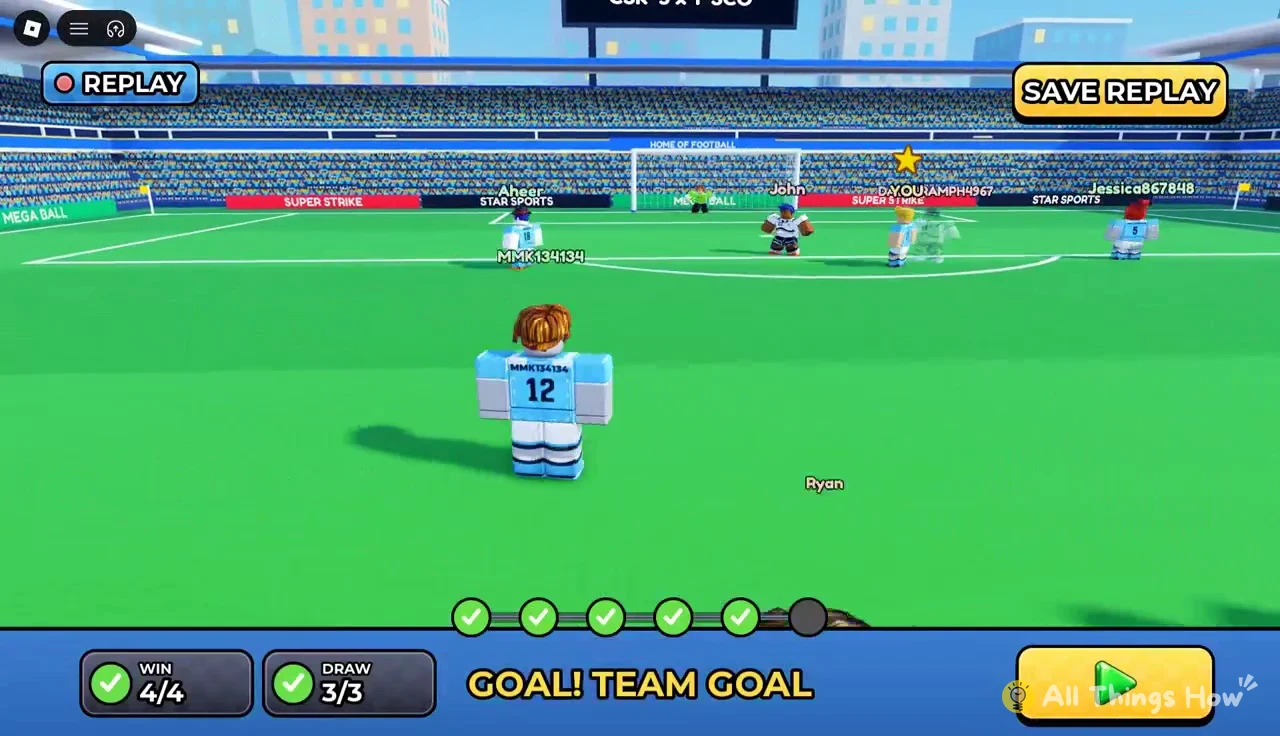
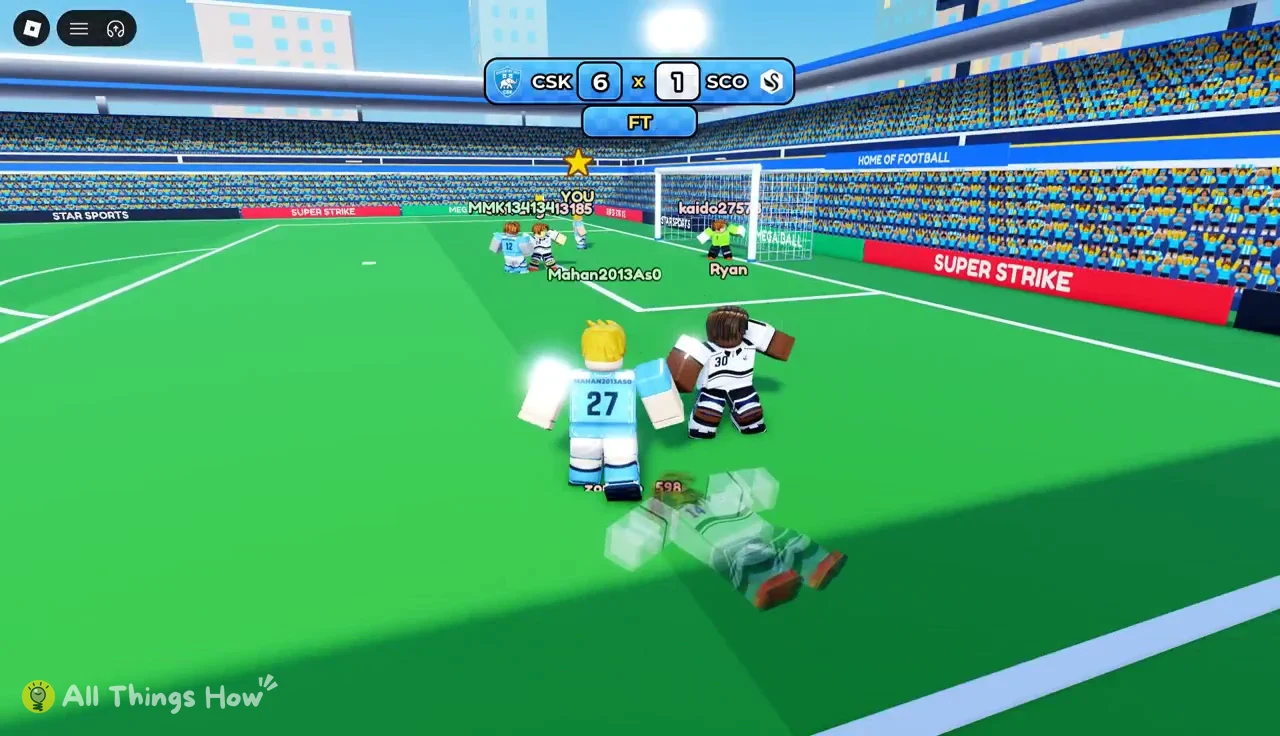
Goals can be replayed. A replay screen shows the clip with a “SAVE REPLAY” option if you want to keep it. At full time, a final-score banner marked “FT” closes the match.
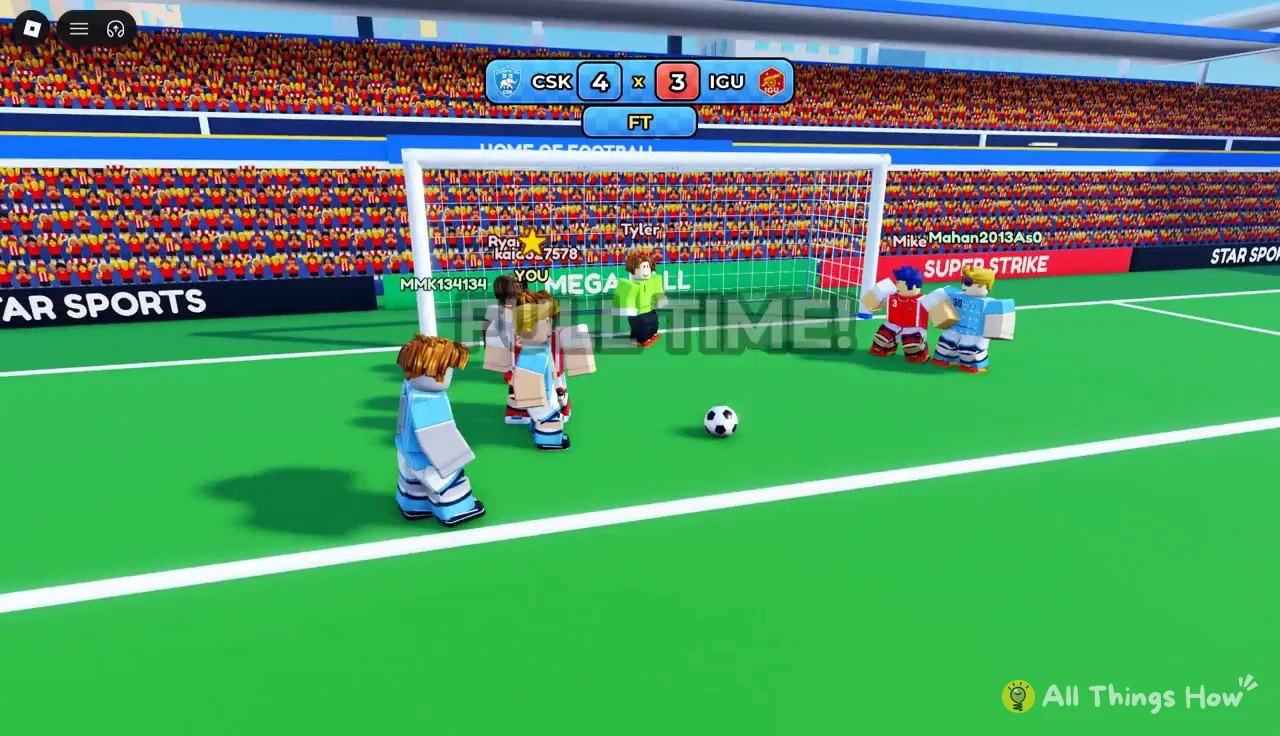
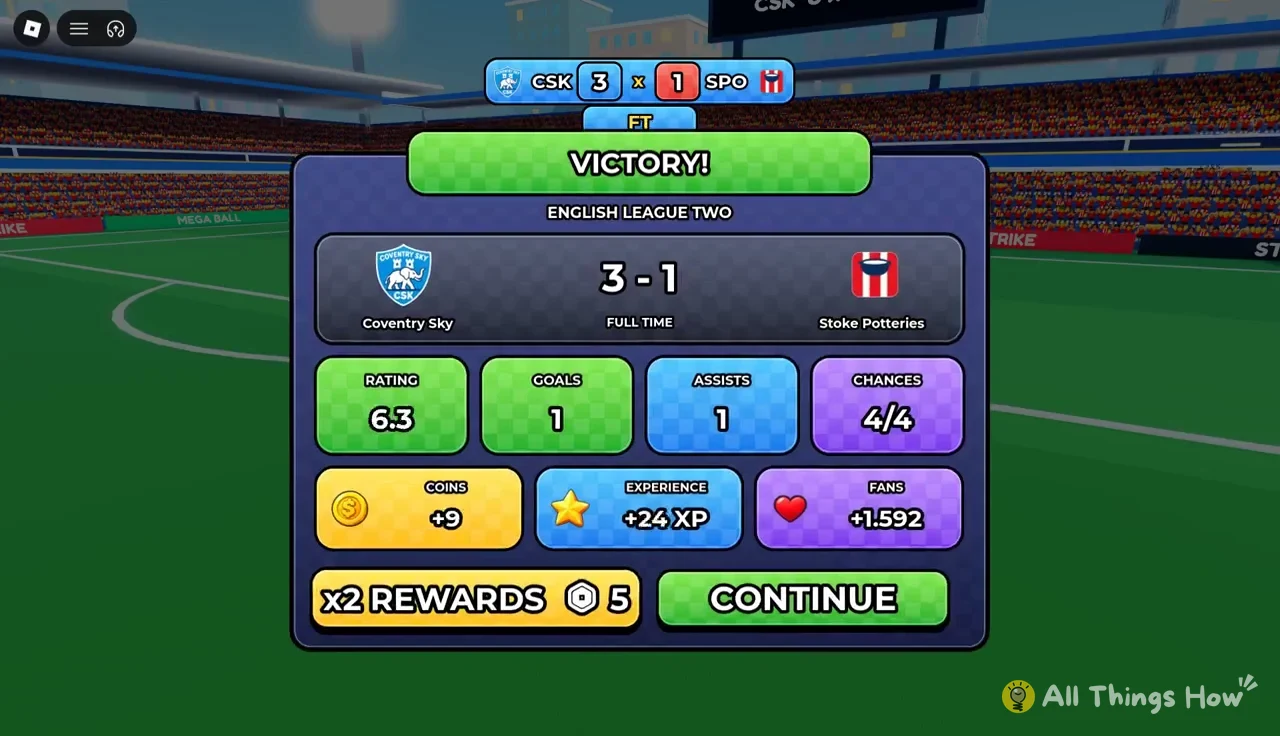
After the whistle, the victory screen lists the score, your match rating, and your goals and assists, followed by the rewards you earned. A big performance can earn MAN OF THE MATCH, with ratings as high as 10.0. After some matches there is a PRESS CONFERENCE where a reporter asks a question and you choose an answer. A team-first reply such as “My teammates. Their work created the opportunities.” earns +80 FANS and +20 COINS. Tap Continue to return to the hub. Training is now unlocked.
How to run a training session
Finishing drill scoring
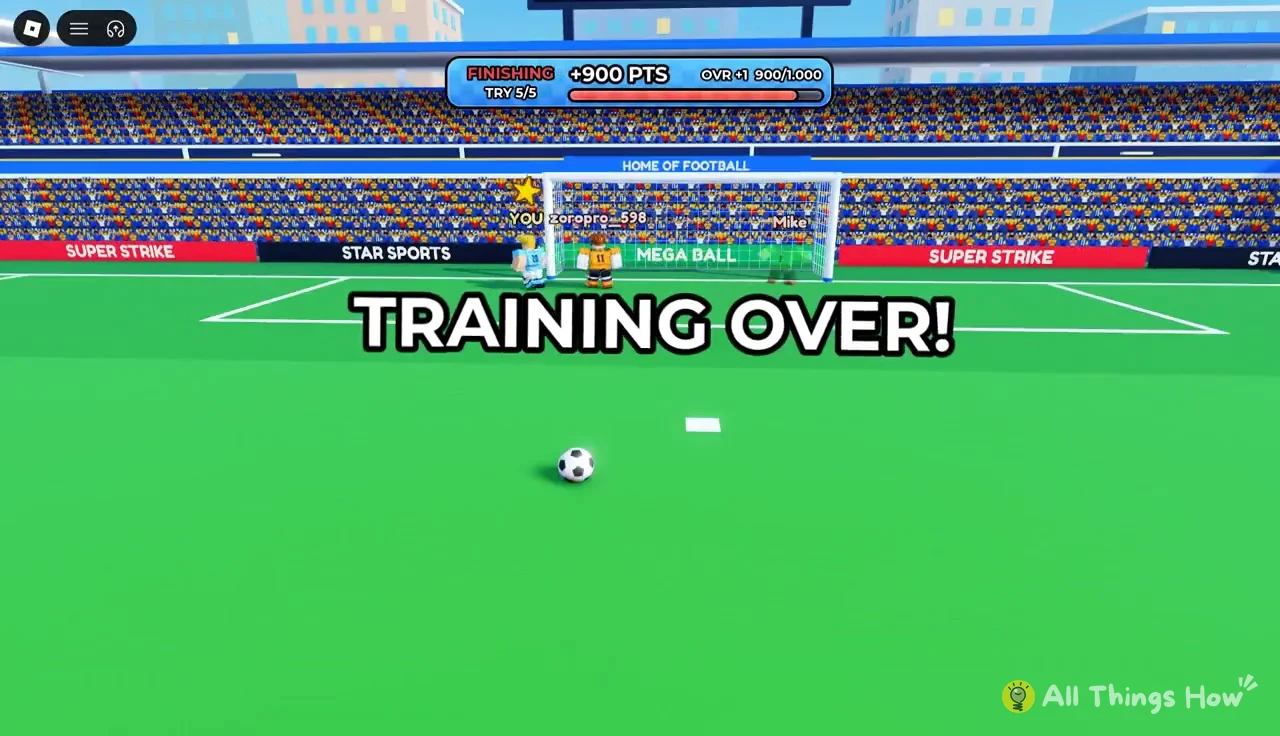
Finishing is five shots at a goal fitted with a target board. Any goal is worth 100 points. Landing the ball in the target ring is worth 250. Hitting the bullseye is worth 350. The brief, “Just finish! Hitting the target is worth more”, sums it up. A plain goal never scores zero, but accuracy is where the points are.
Banners confirm each result as it happens. “GOAL!” is a standard finish, “TARGET 250” is a ring hit, and “BULLGOAL! +350” is a bullseye. Aim the same way you would in a match by drawing the line to the exact spot on the frame, since the ball stops where your line ends. A five-shot round mixing goals, target hits and a bullseye can reach +900 PTS. That round also pays +85 XP and +51 coins, and the progress bar reads “900 / 1.000 PTS TO THE NEXT OVR”.
Passing drill scoring
Passing rewards ambition. The brief asks for “difficult passes: long balls, through the lines and assists”. A hard pass is worth up to 150 points, and setting up a goal adds +100. Simple square balls earn little, so look for passes that cut through the defence. The drill opens with the “Training Passing 5 Tries” card.
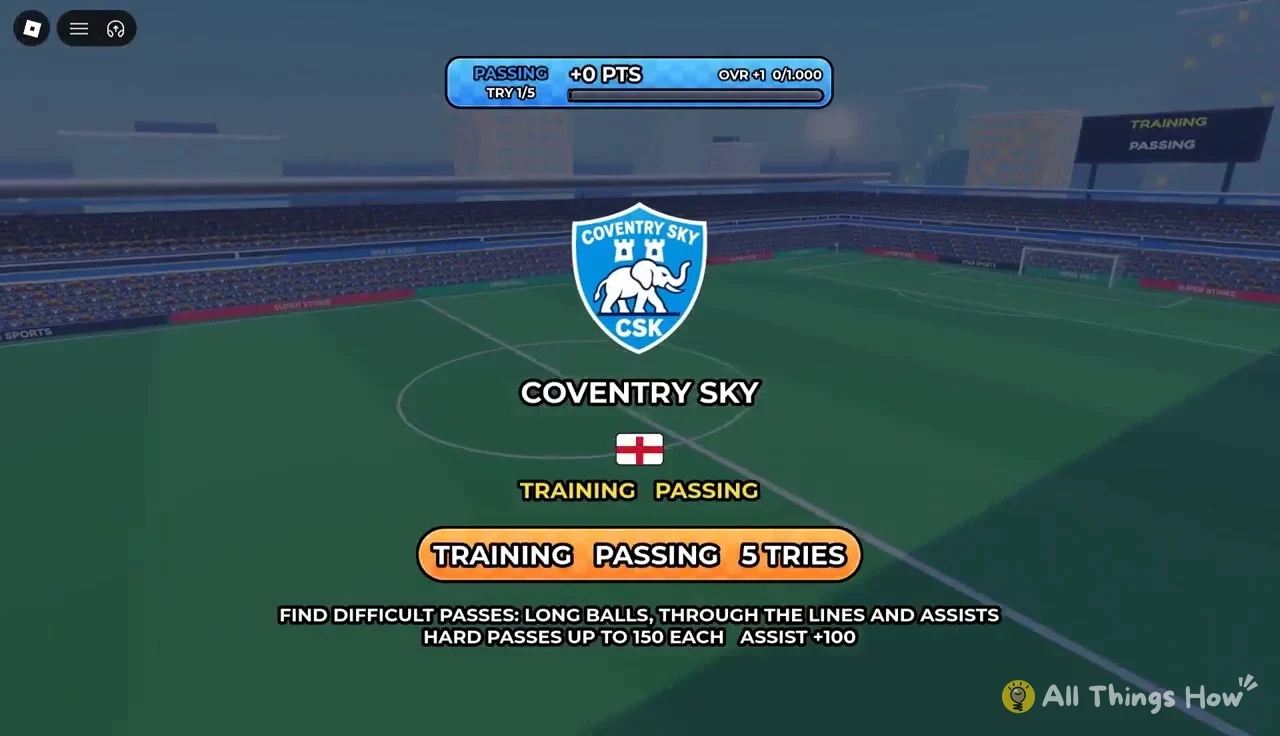
Each try sets a specific task. “PASSING — TRY 1/5”, for example, asks you to play a one-two and finish. Later tries cover line-breaking passes, through balls and assists. The scoring banners are worth learning:
| Banner | Points |
|---|---|
| LINE-BREAKING PASS! | +60 to +90 |
| LONG PASS! | +50 |
| ASSIST! | +100 |
| THROUGH BALL! / ONE-TWO! | Flags the pass type |
Points stack within a try. A line-breaking pass that leads straight to a goal earns the pass value and the assist bonus, which makes a passing move that ends in a finish the best-paying outcome.
Set Pieces drill scoring
Set Pieces covers corners and free kicks. Its brief is “score any way you like, the target is worth more”. It follows the same logic as Finishing. Any goal from a dead ball counts, and placing it on the target pays a bonus. The same five-try limit and results screen apply. The free-kick choices from matches, either going over the wall or rolling it short, are the skills this drill practises.
Training points, OVR and the daily objective
Your OVR goes up by one each time you reach 1,000 training points. The progress line on the results screen shows how close you are. A 900-point session leaves you 100 short, and your next session will finish the bar. Combined with strong match ratings, this is how a player moves from OVR 54 to OVR 56 over a few rounds of fixtures.
Training also counts toward the Daily Objectives in the Goals menu. “Finish 1 training session” pays +100 coins and sits next to “Play 2 matches” (+100 coins) and “Win 1 match” (+150 coins). Complete all three and you get an extra +5 GEMS bonus. These rewards have to be claimed from the Goals menu. Because two matches unlock two training sessions, a normal day of play covers all three objectives without extra effort.
Make the Training tab your first stop after every match. A session you skip is not banked. Training locks again after one session, so the only way to fall behind is to play two matches in a row without training in between.