Your dock in Net a Fish is where the fishing happens. The Hub is a shared area where you trade with other players, buy potions, join a crew, claim quest rewards and spend pearls. You can get there in a couple of seconds from anywhere on your base. Knowing what each stall sells before you arrive keeps you from wasting a trip or an expensive Black Market purchase.
Quick answer: Press the Hub button at the top of your main screen. The game shows a “TELEPORTING To the Hub…” screen and drops you among the Hub’s merchant stalls.
How to get to the Hub from your dock
Your first visit doesn’t require anything. You don’t need a rebirth level, a payment or an item to enter. Some stalls inside do have rebirth limits, and those are covered below. The game also pushes you toward the Hub early with a banner reading “Trade fish with other players! Visit the Hub.”
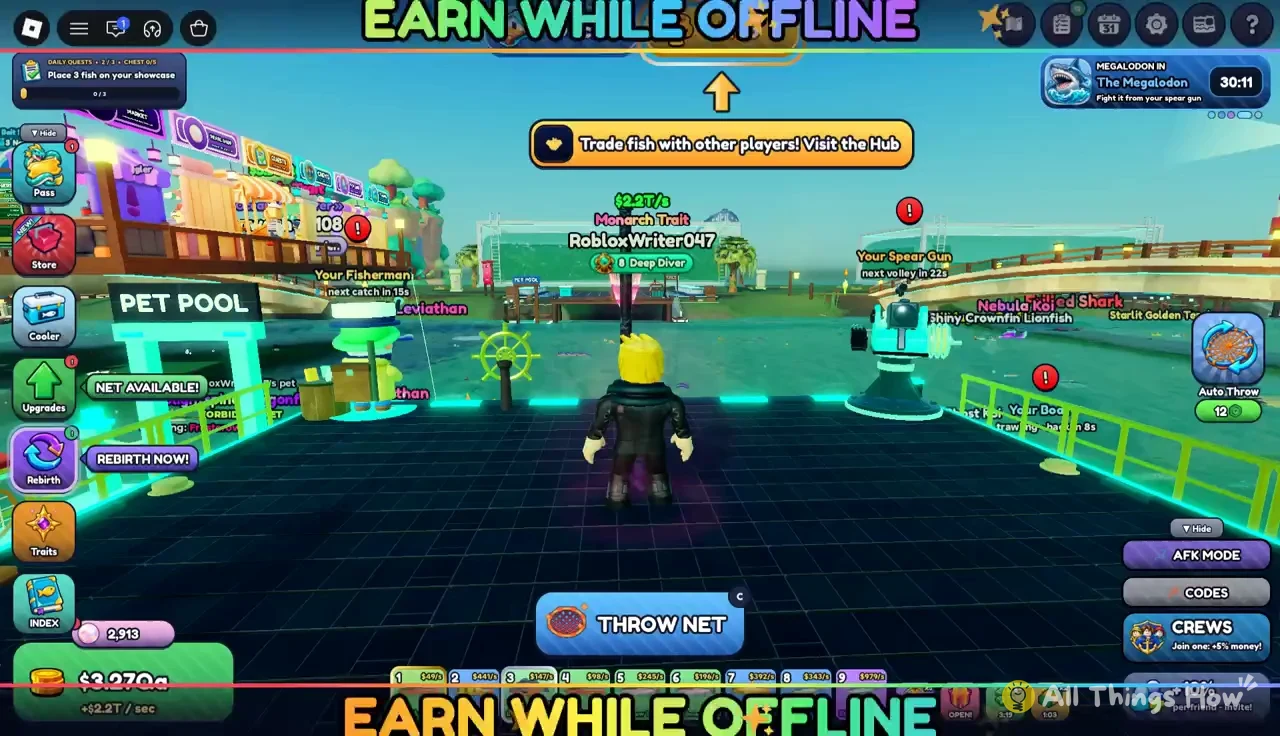
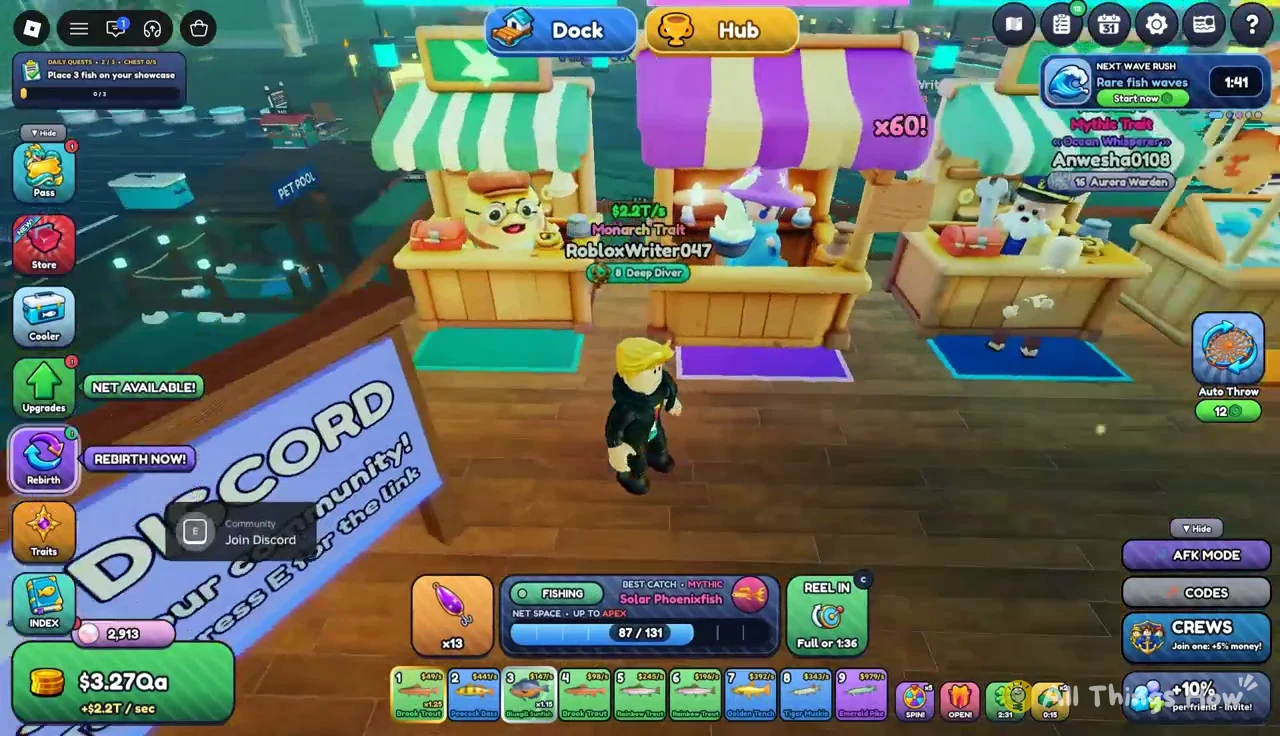
Every stall in the Net a Fish Hub
The Hub has six interactive stalls. Walk up to one and its name appears as an E prompt. Press E to open its menu.
| Stall | What it does | Pays with |
|---|---|---|
| Trade Master | Player-to-player fish trades | Fish |
| Potion Shop | Timed cash and net space boosts | Cash |
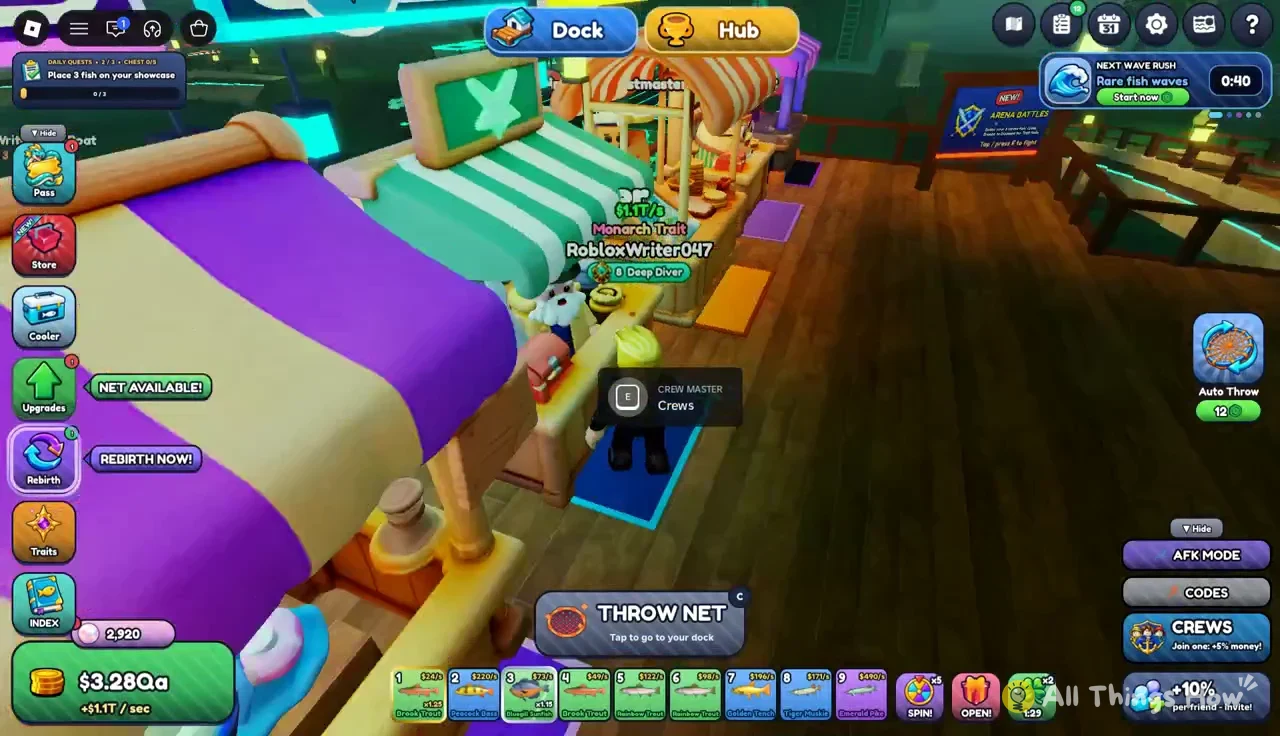
| Crew Master | Browse and apply to crews | Free |
| Quest Board | Claim finished contracts | Free |
| Pearl Shop (Pearl Diver) | Nets, lures, rerolls, clams | Pearls |
| Black Market (Silas the Smuggler) | Crates, top potions, pearls | Cash |
Trade Master
The Trade Master opens the Trading screen. It shows your rebirth, who you’re allowed to trade with, and how many trades you have left today. To start a trade, walk up to another player and press Y, or use the REQUEST button in the menu. Each side can put in up to nine fish. Both players see the full offer before either one presses CONFIRM.
The game limits trading so high-rebirth players can’t flood newer ones with fish. The rules are fixed:
- You can only trade with players within 5 rebirths of yours. At Rebirth 8, that means Rebirth 5 to 13.
- You get 20 trades per day.
- The daily count resets at 00:00 UTC.
- Each trade holds up to 9 fish per player.
Potion Shop
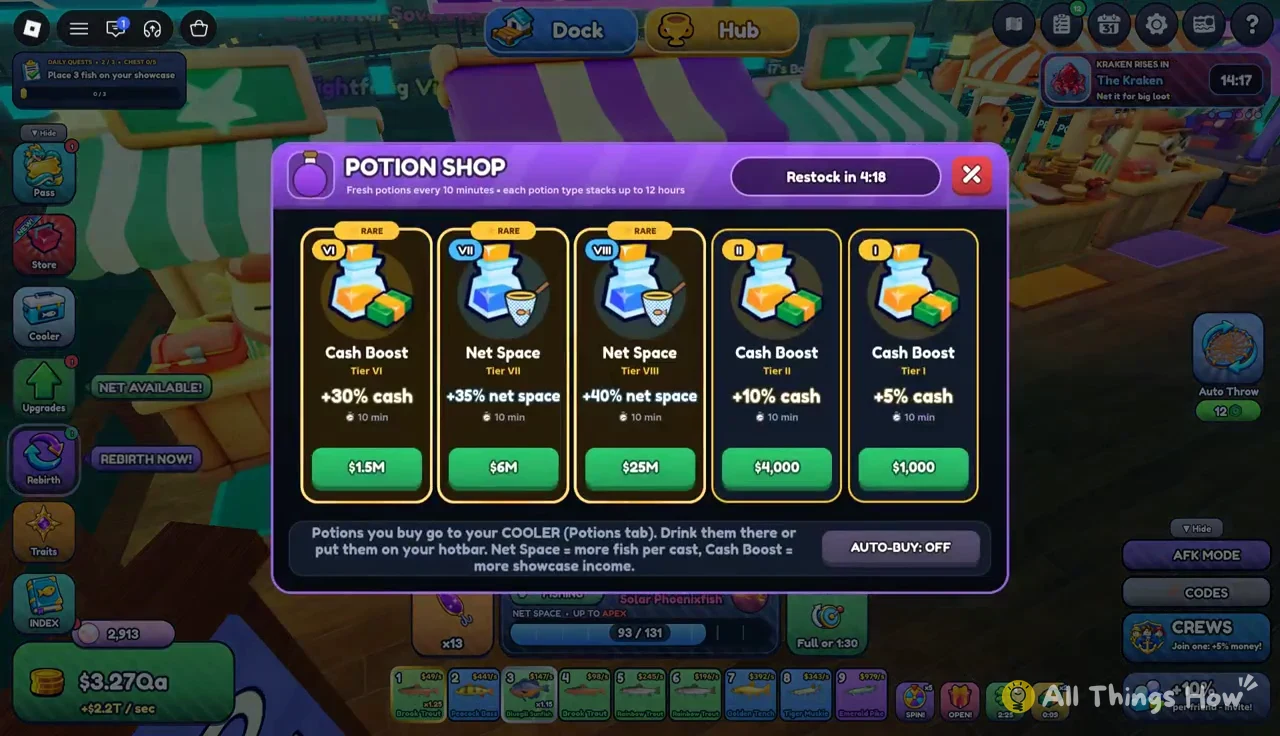
The Potion Shop sells two lines of tiered potions. Cash Boost raises your cash earnings. Net Space raises how many fish one cast can hold. Each potion lasts 10 minutes, and higher tiers give a bigger bonus at a much higher price. Potions stack up to 12 hours, so you can buy several and leave them running. The shop also has an Auto-Buy toggle.
| Potion | Effect | Duration | Price |
|---|---|---|---|
| Cash Boost Tier I | +5% cash | 10 min | $1,000 |
| Cash Boost Tier II | +10% cash | 10 min | $4,000 |
| Cash Boost Tier VI | +30% cash | 10 min | $1.5M |
| Net Space Tier VII | +35% net space | 10 min | $6M |
| Net Space Tier VIII | +40% net space | 10 min | $25M |
Click a potion’s green purchase button to buy it. The effect starts on your next casts, so Net Space potions pay off most when a lot of fish are around your dock.
Crew Master
Walk up to the Crew Master and press E on the “Crews” prompt to open the crew list. Every crew has a rebirth requirement. The strongest crews ask for Rebirth 30+ or 35+, so newer players won’t qualify for them yet. If you meet a crew’s requirement, you submit an application and wait for that crew to accept you.
Quest Board
The Quest Board holds contracts that you complete during normal play on your dock. You come back to the board to claim them. Each contract pays a cash amount plus pearls, and pearls are what you spend at the Pearl Shop. You can’t finish a contract at the board itself. It’s only where you collect the reward once the progress is done.
| Contract | Cash reward | Pearls |
|---|---|---|
| Catch 32 fish | $3.16T | 5 |
| Fuse fish once (in your Fish Cooler) | $6.32T | 8 |
| Catch 2 mutated fish | $12.63T | 12 |
Pearl Shop
The Pearl Diver runs the Pearl Shop, which only takes pearls. You earn pearls from Quest Board contracts and from medals in the Fish Frenzy mini-game. A Bronze Medal, for example, pays +10 pearls. You can also buy pearls at the Black Market. Items in the shop are sometimes discounted, and the Mystery Clam was on sale at the price below.
| Item | Price |
|---|---|
| Weekly Lure | 180 pearls |
| Mystery Clam | 350 pearls |
| Mutation Reroll | 390 pearls |
| Pet Treat | 560 pearls |
| Moonpearl Net | 5,000 pearls |
Black Market
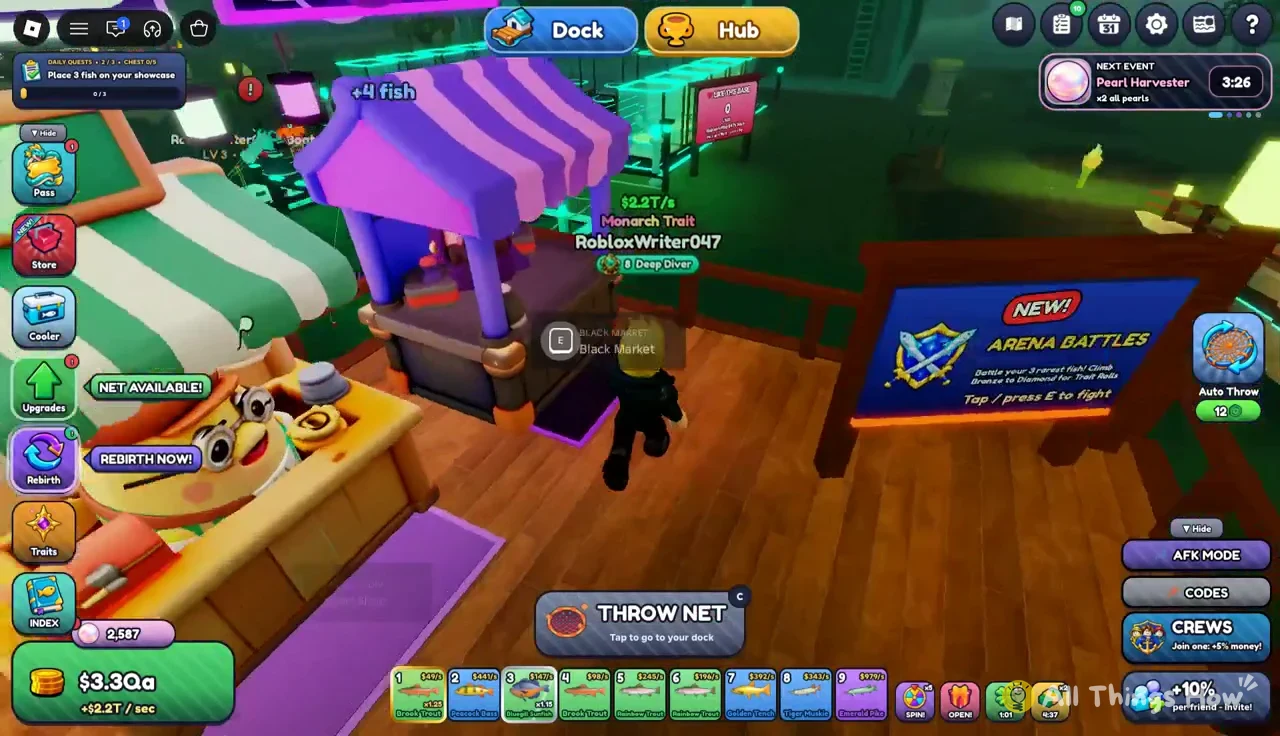
Silas the Smuggler runs the Black Market. Look for the “E Black Market” prompt. It’s the Hub’s late-game cash sink, and its prices start in the hundreds of billions. It’s also the only stall on this list that sells pearls for cash.
| Offer | Price |
|---|---|
| 1x Ocean Crate | $680B |
| Tier X Potions | $510B |
| 200 Pearls | $340B |
Leaving the Hub when a Tsunami Warning hits
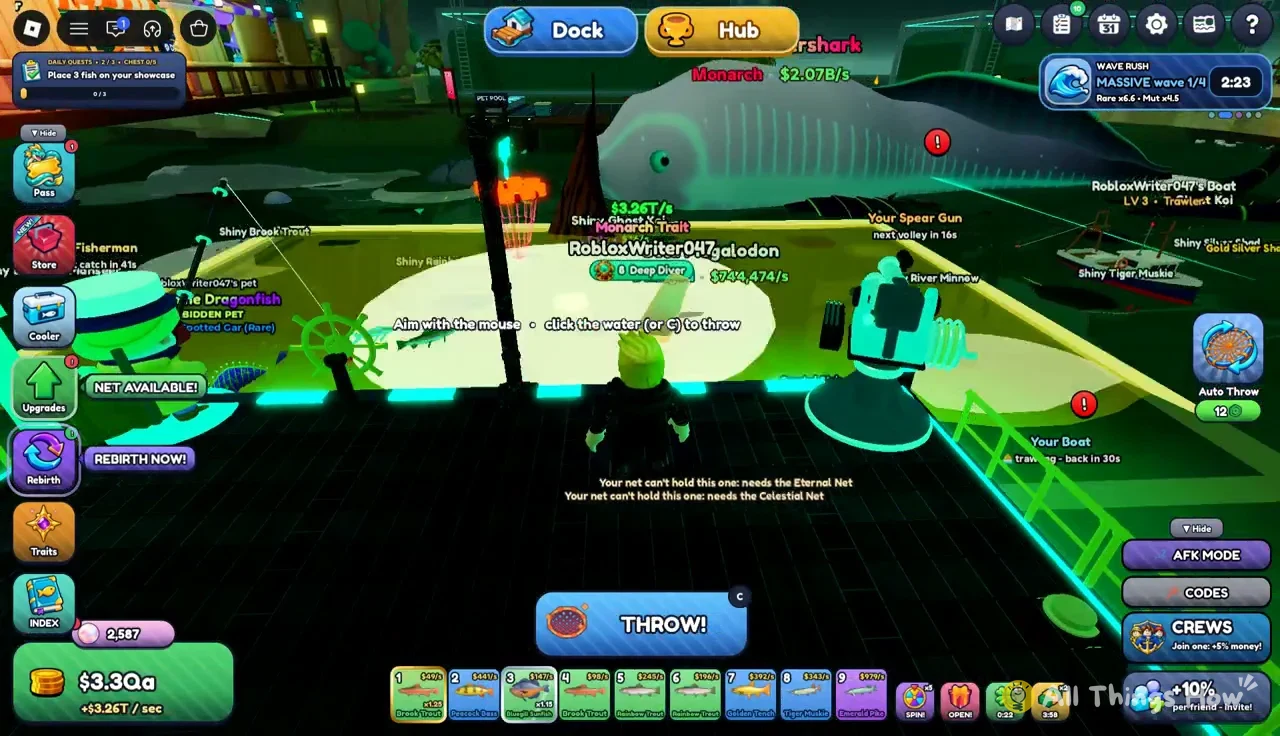
Events are announced wherever you are, including the Hub. The one to watch for is “TSUNAMI WARNING | WAVE RUSH! 4 waves of rare fish incoming!” Wave Rush happens at your dock, not in the Hub. When that banner appears, stop shopping and teleport back to your private dock. Any Net Space or Cash Boost potion you just bought makes those four waves worth more.
Once you’re home, open your Fish Cooler first. It lets you manage the fish you’re holding and can auto-equip the best ones into your showcase tanks. Those tanks are where your per-second income comes from.
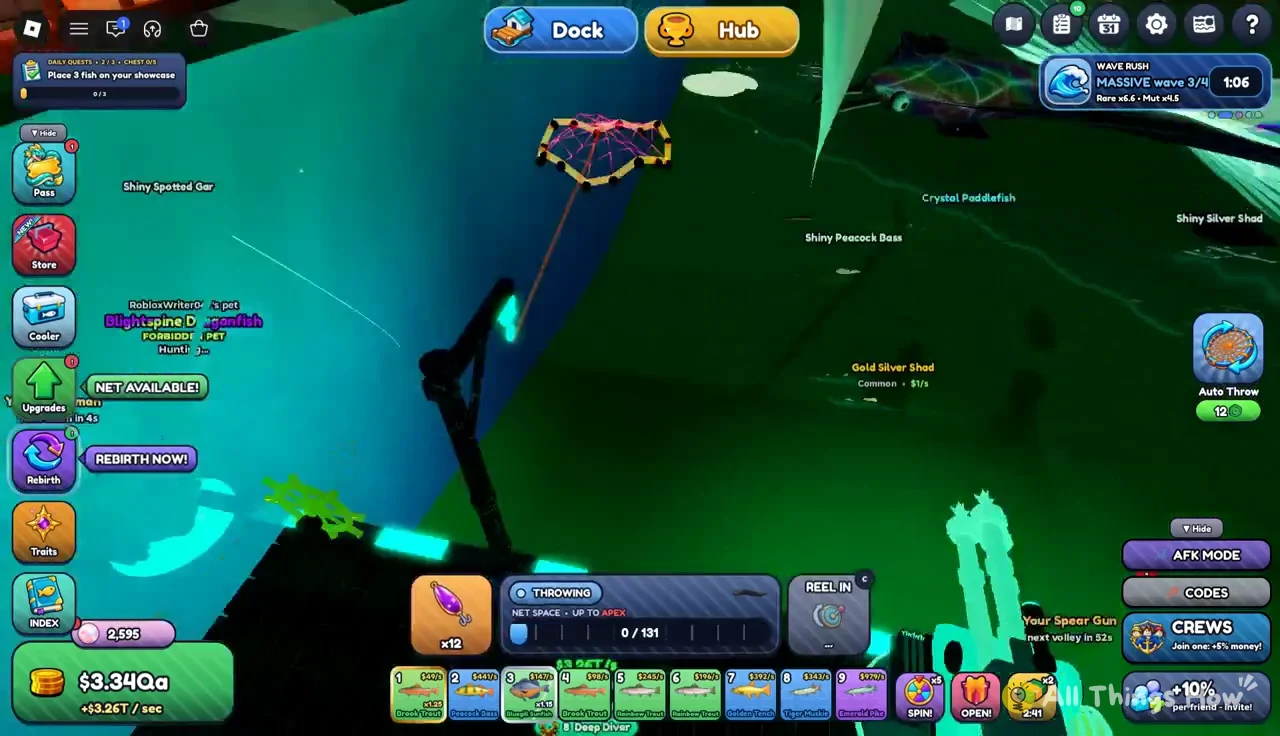
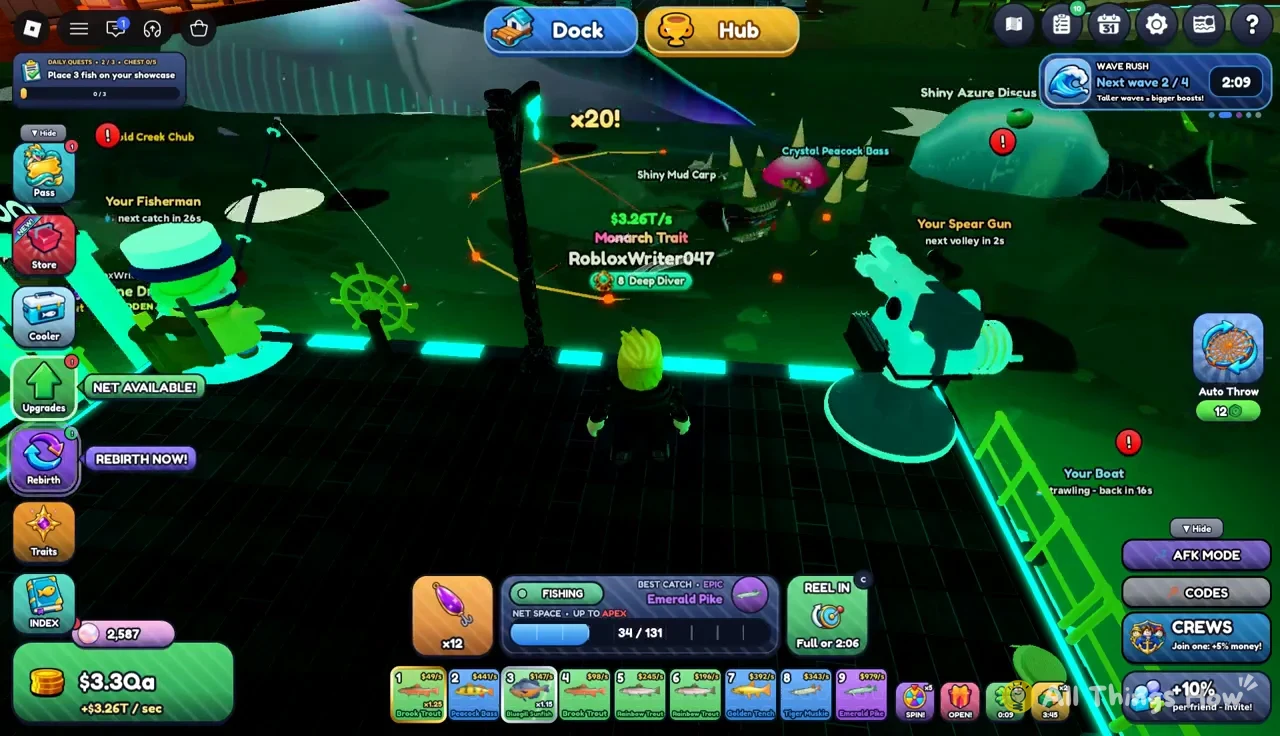
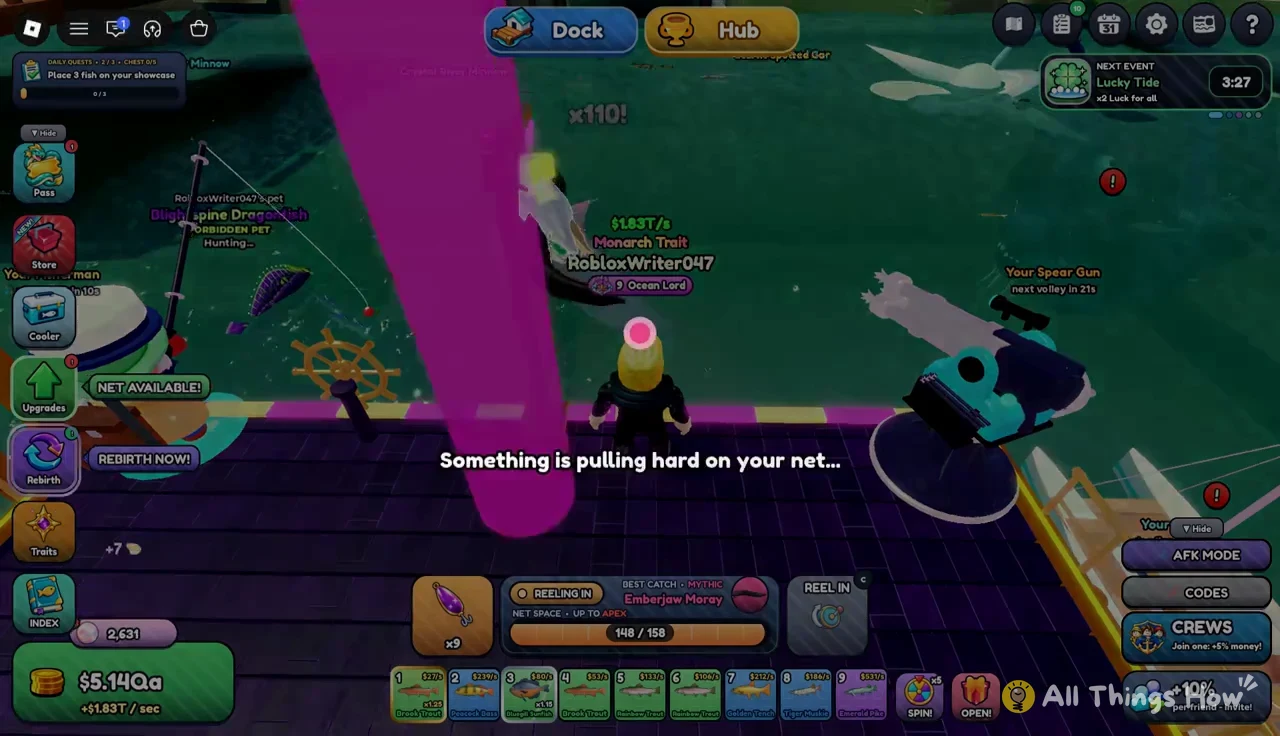
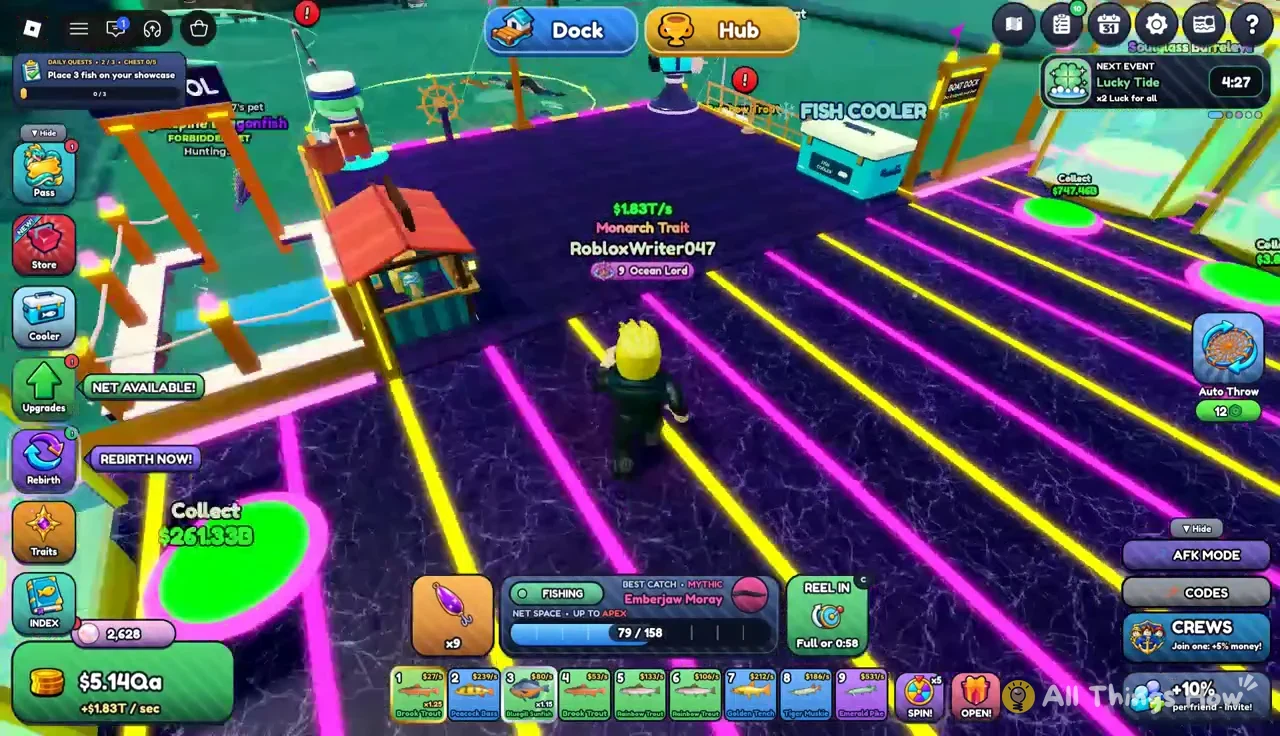
When a high-value target is in range, the panel lists it as the destination catch and the Reel In control counts down. In the frame below, the target is a Mythic Emberjaw Moray.
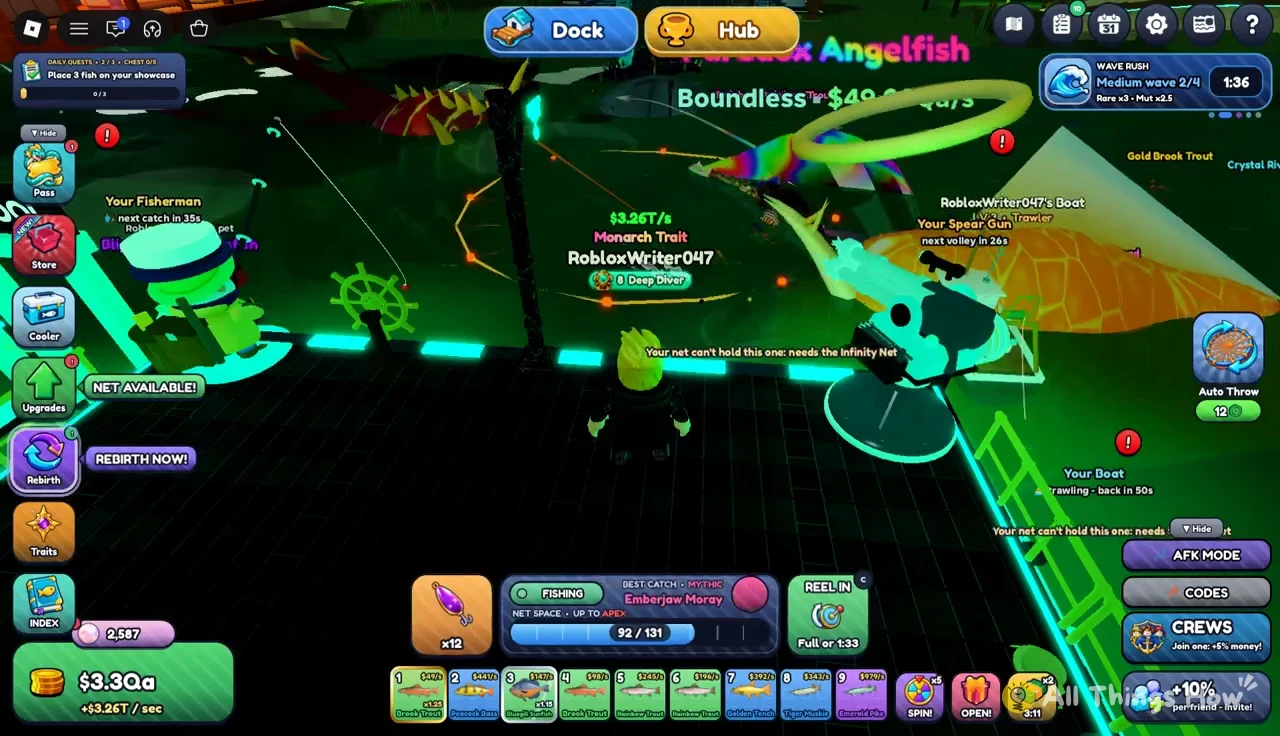
The catch meter fills as the net closes in on that fish. Hold off on reeling while the meter is still climbing toward a rare target.
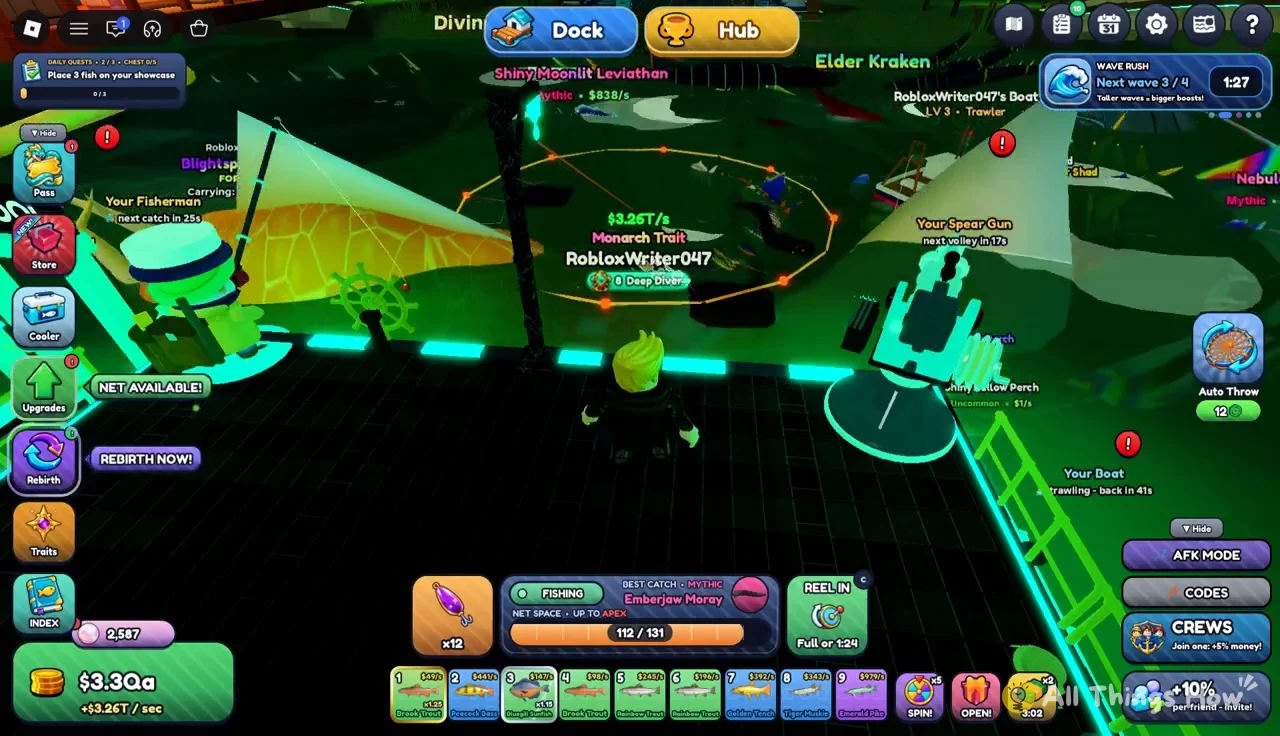
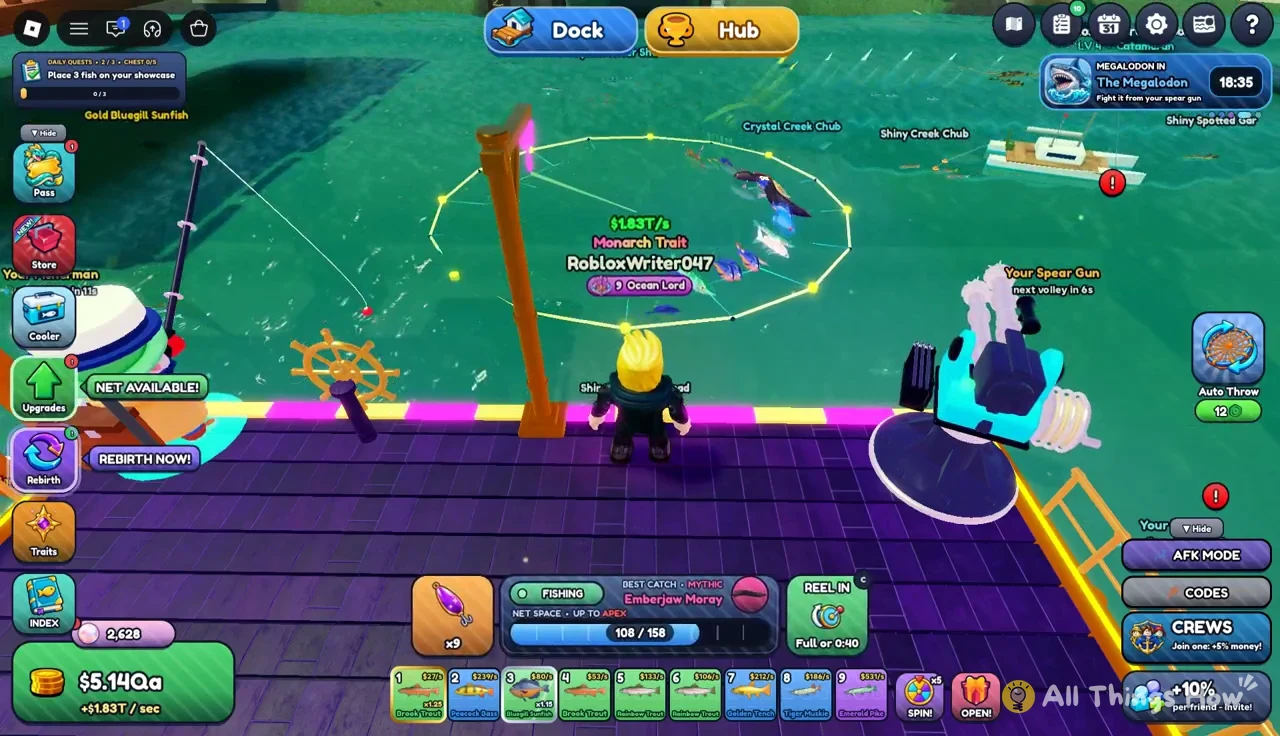
When a heavy fish takes the net, the screen switches to “REELING IN” and warns that something is pulling hard. That warning usually means a high-rarity catch is coming.
Wave Rush catches and what they earn
Every rare catch gets a pop-up showing its rarity, its odds and how much it earns per second in your showcase. Shiny versions carry a x1.15 mutation. These are the fish that pay for the Hub’s priciest stalls.
| Fish | Rarity | Odds | Earns |
|---|---|---|---|
| Shiny Solar Phoenixfish | Mythic | 1 in 30,000 | $1,045/s |
| Emberjaw Moray | Mythic | 1 in 15,000 | $2,138/s |
| Shiny Emberjaw Moray | Mythic | 1 in 15,000 | $1,862/s |
| Great Hammerhead | Apex | 1 in 90,000 | $15,696/s |
Many other species pass through the Fishing panel during a session. A Shiny Mythic Abyssal Angler King is one example.
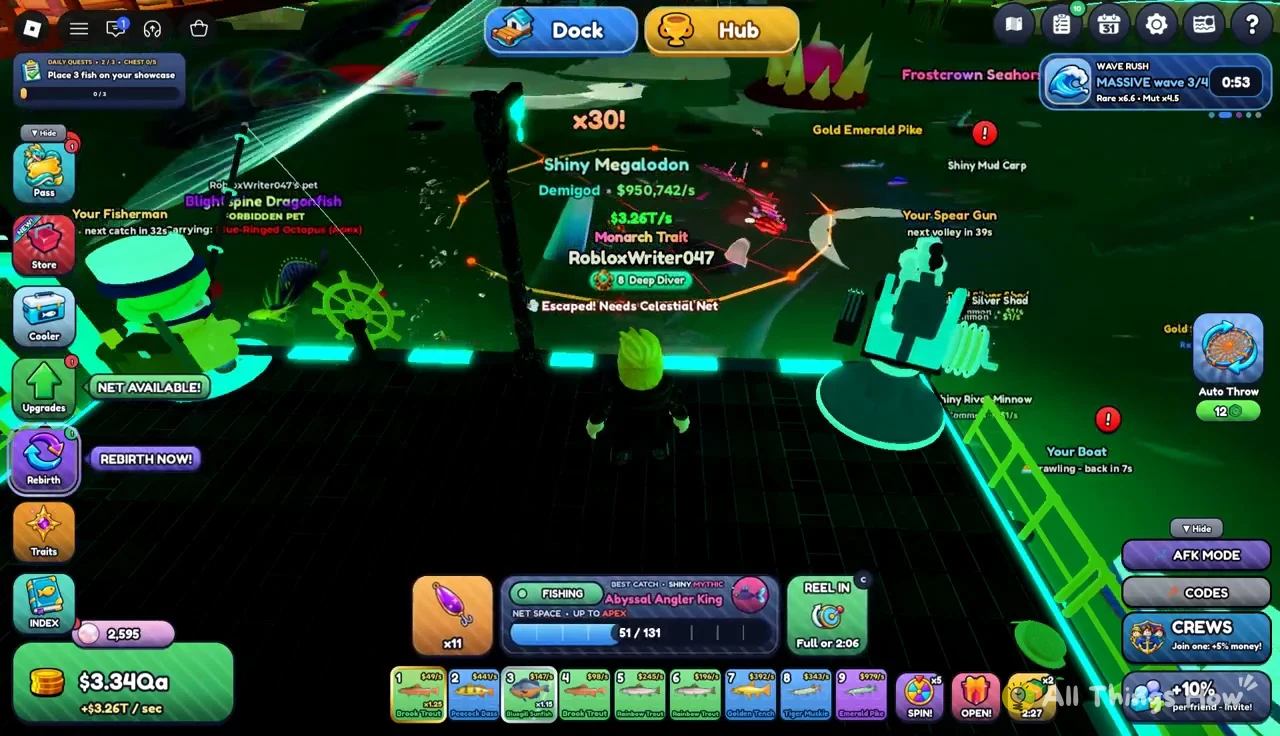
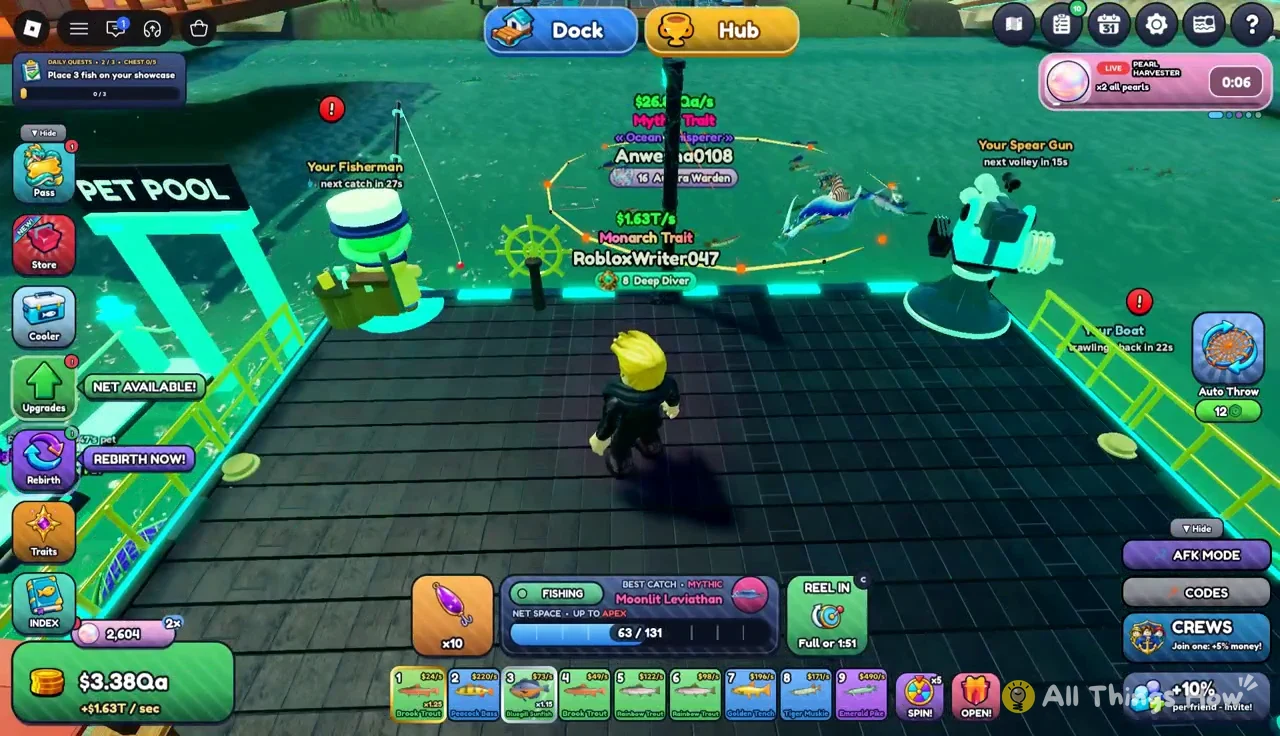
Large targets like the Moonlit Leviathan show up on the same panel. The Reel In button tells you the cast is still active.
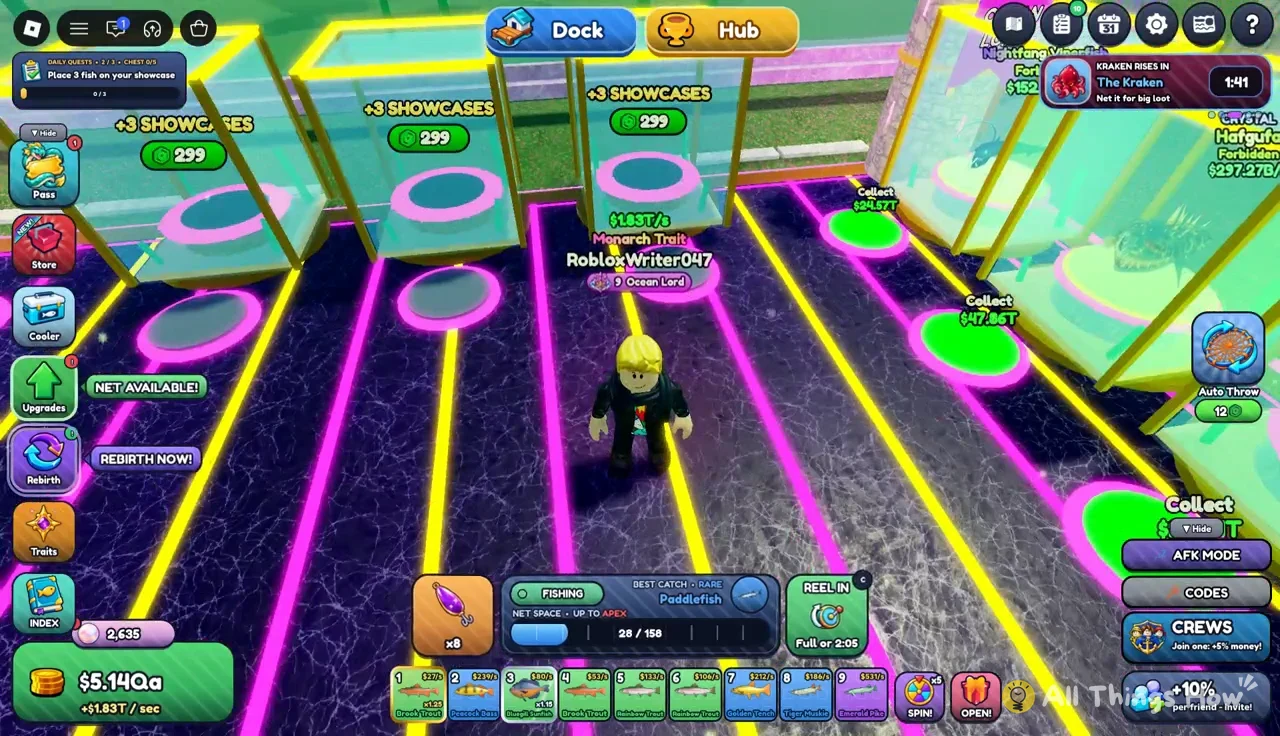
Lower-tier fish still fill the net between big catches. A rare Paddlefish, for example, still counts toward fill-based contracts like “Catch 32 fish” on the Quest Board.
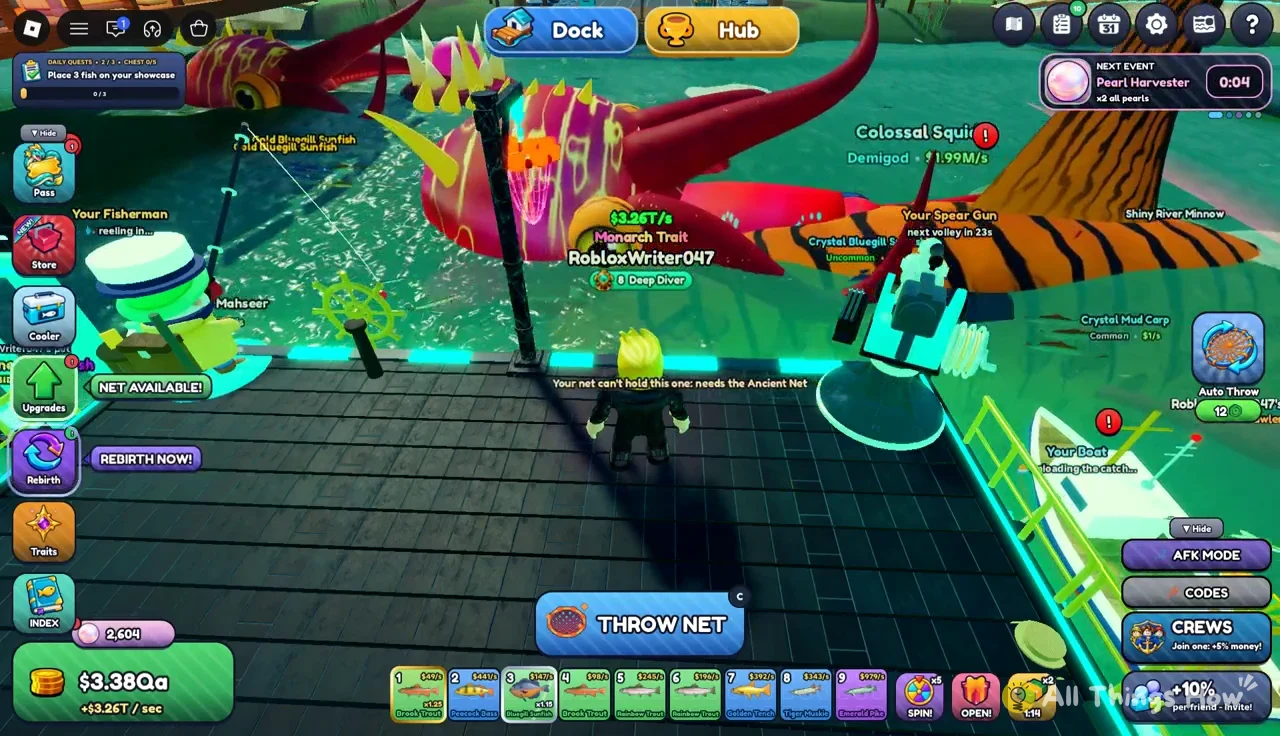
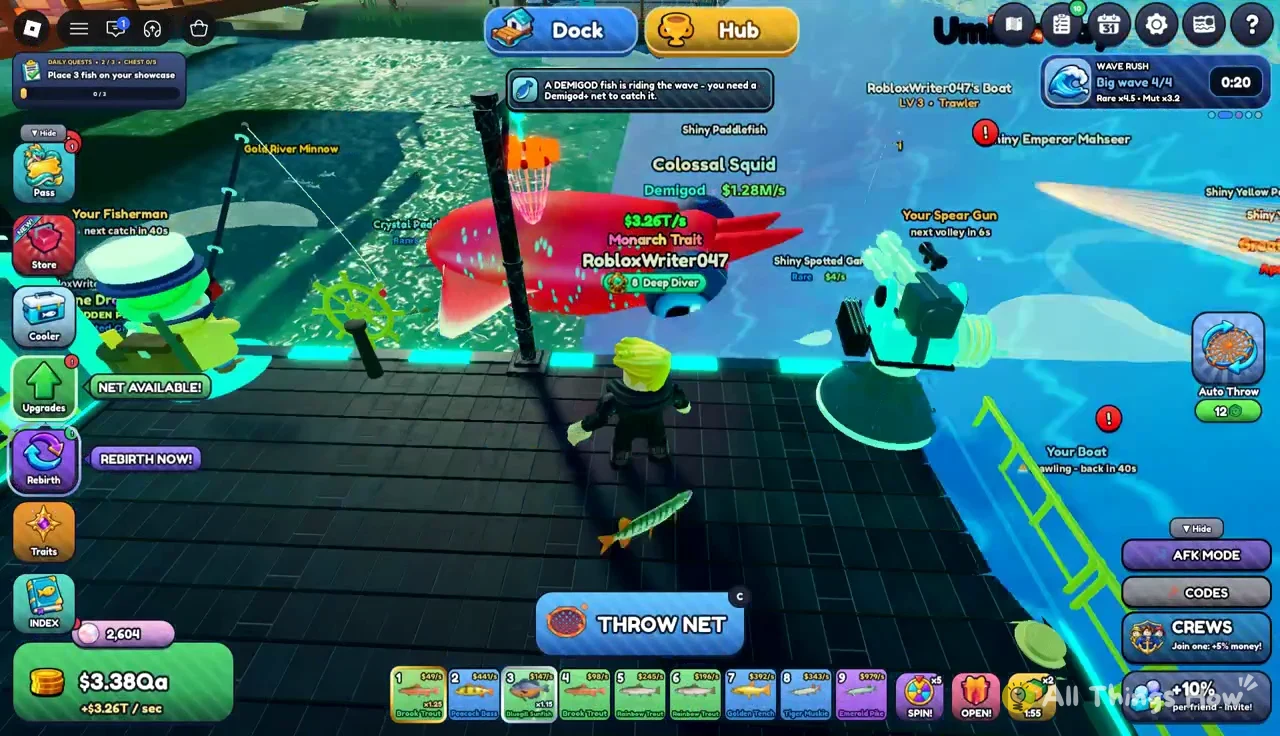
Some giants can’t be caught with your current gear. Aim THROW NET at a Colossal Squid without the right equipment and a warning says the catch requires the Ancient Net. Creatures like the Colossal Squid and Umbra Ray will keep swimming past until you upgrade.
A net warning doesn’t use up anything. It only tells you that fish is outside your current net’s limit, so pick a different target.
You can also throw the net from your boat, which works the same way as casting from the dock.
If you’d rather not click every cast, turn on Auto Throw. Your character keeps casting on its own, which also makes a short Hub trip less costly.
Rebirth limits that control what the Hub lets you do
Your rebirth number is the gate for two Hub features. It sets your trading window at the Trade Master, which is 5 rebirths either side of your own. It also decides which crews you can apply to at the Crew Master. A rebirth costs money plus a lifetime caught-fish milestone, and it changes the title on your name tag.
Going from Rebirth 8 to Rebirth 9, for example, changes “Deep Diver” to “Ocean Lord.” The screen reads “You are now an Ocean Lord • 6 new things!” and lists these rewards:
- x3.25 money
- Ocean Lord base
- Ocean Lord title
- Sixth Sense upgrade
- Ironclad boat unlock
- Fisherman and Spear Gun max level raised to 12
After a rebirth, your trading window moves up too. At Rebirth 9, you can trade with Rebirth 4 to 14.
Dock upgrades that are not sold in the Hub
The Hub doesn’t sell nets, boats or helper upgrades for cash. The one exception is the Moonpearl Net in the Pearl Shop. Everything else is bought back on your dock from the Upgrades menu and from NPCs standing on your base. Decide what you need from these before you spend in the Hub, because both draw from the same cash.
| Upgrade | Where | Price | Effect |
|---|---|---|---|
| Leviathan Net (Tier 14) | Upgrades menu | $110M | 145 fish per cast, 38 ft width |
| Spear Gun – Barbed Tips | Spear Gun menu | $360M | Spear Gun upgrade |
| Catamaran (hull 4 / 19) | Boat Dock | $300B | 2x boat speed, holds up to Monarch |
| Fisherman – Fishing Rod Lv 4 | Fisherman | $18,000 | Helper upgrade |
| Fisherman – Quick Hands Lv 4 | Fisherman | $21,000 | Helper upgrade |
| Fisherman – Bigger Bucket Lv 4 | Fisherman | $25,000 | Helper upgrade |
| Fisherman – Range Lv 4 | Fisherman | $32,000 | Helper upgrade |
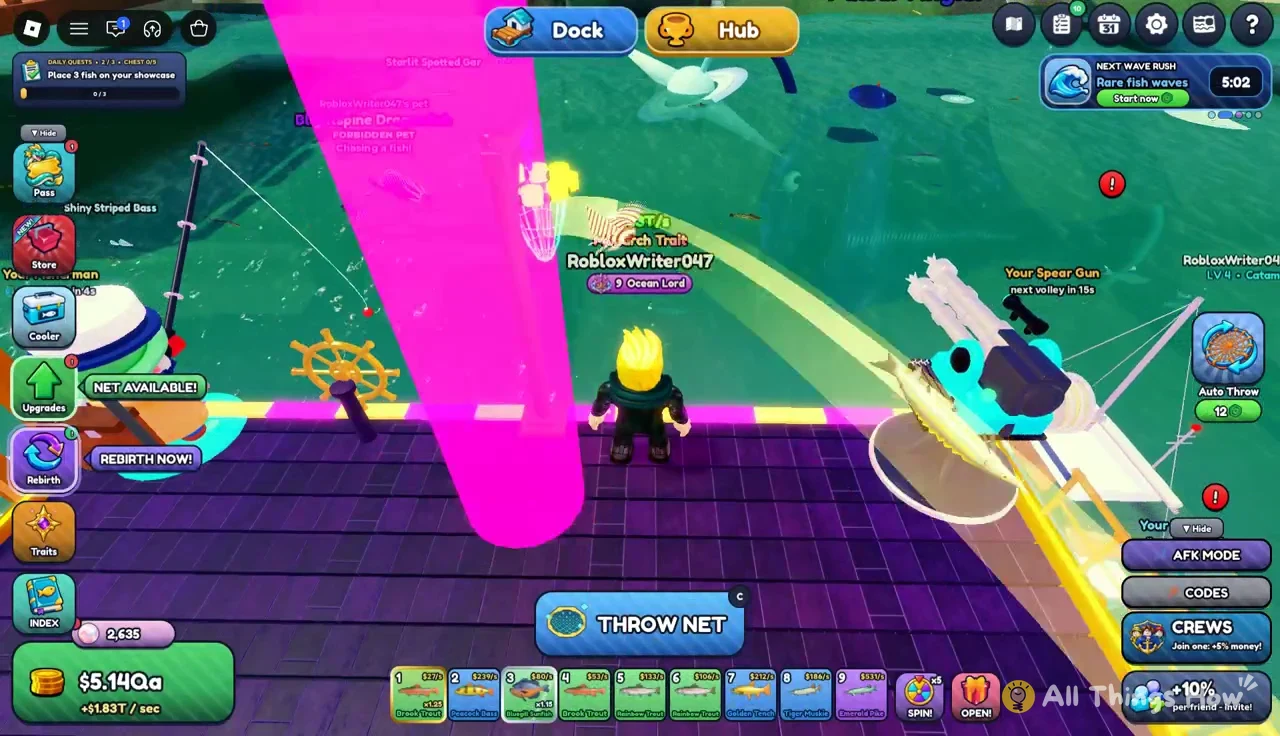
A new net takes effect on your very next cast. You throw it with the same THROW NET button.
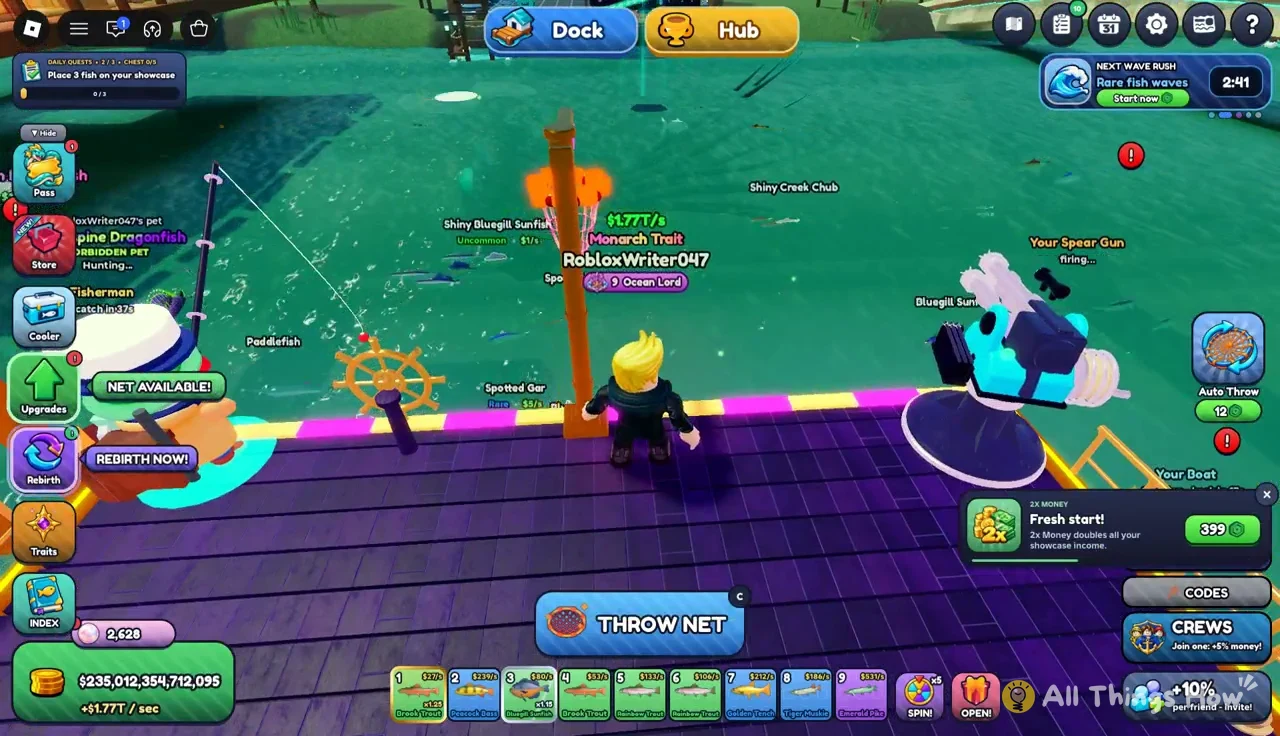
The wider 38 ft Leviathan Net covers more water per throw. Aim the cast zone where fish are bunched together before you press THROW!.
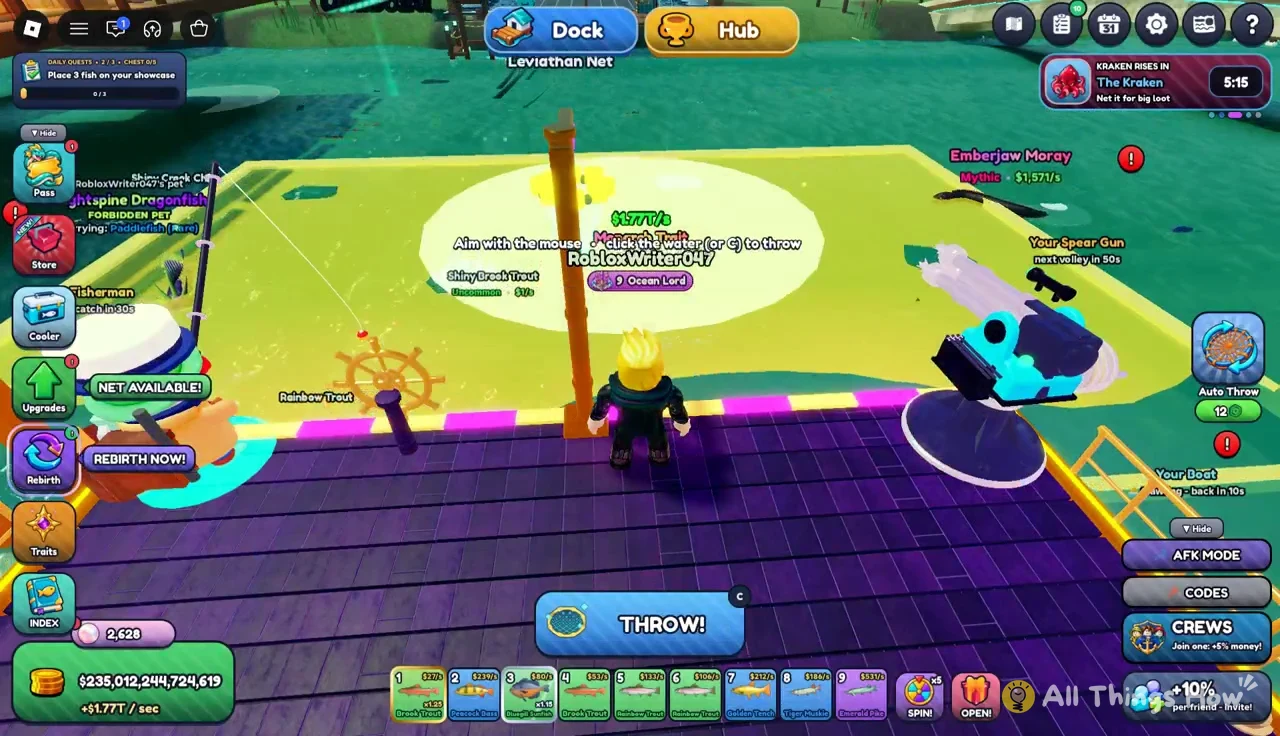
The bigger net makes repeat casting worth more during events and potion windows.
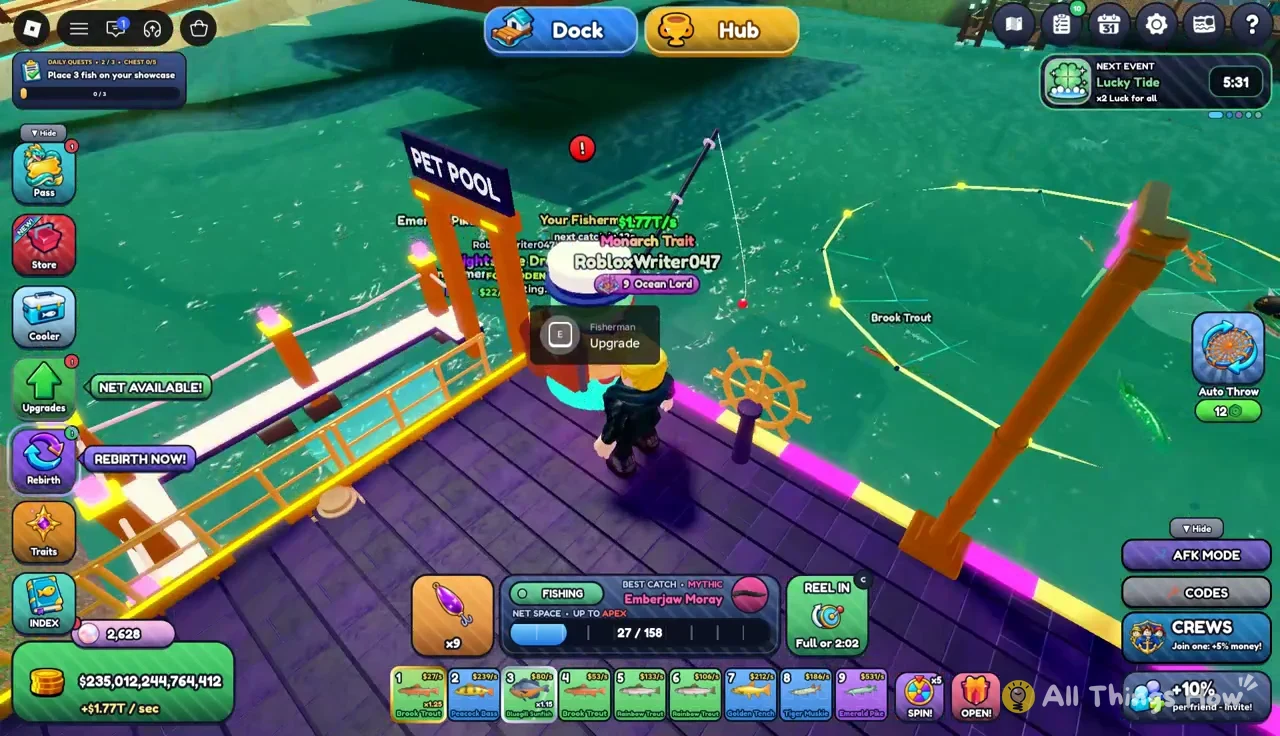
Fisherman upgrades are bought from the Fisherman NPC on your dock. Walk up to him and press E on the “Fisherman Upgrade” prompt. His Tackle Box level is upgraded from the same menu.
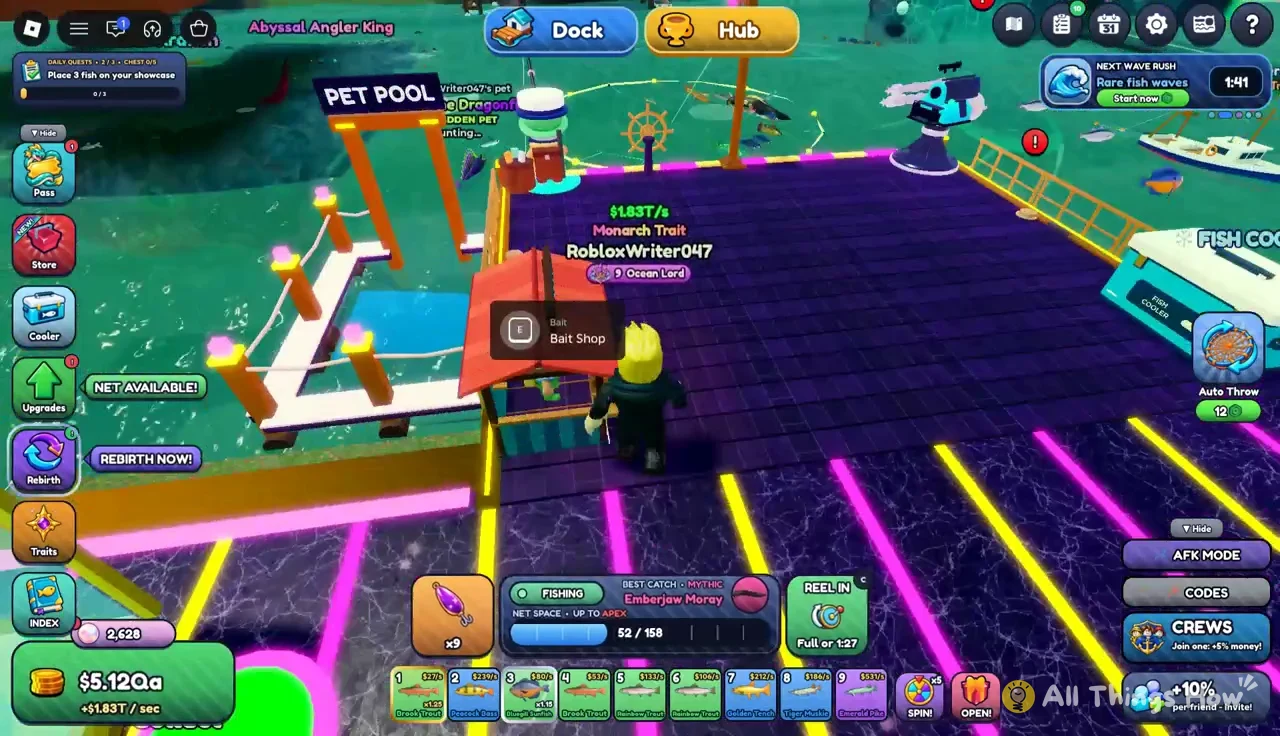
Bait is also bought on your dock rather than in the Hub. Press E at the “Bait Shop” stall to see each bait’s stats and the rebirth level it requires. You collect showcase cash from your base tanks as well, which is how most of your Hub spending gets funded.
A good routine is to fund your dock upgrades first. Then use the Hub for potions before an event, for Quest Board pearls, and for trades within your rebirth window. Save the Black Market for when your showcase income can absorb a purchase in the hundreds of billions.