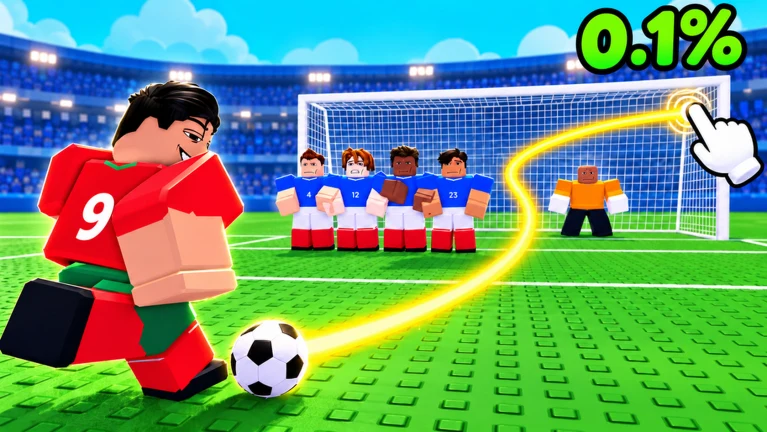
Multiplayer in Be a Soccer Legend is not a free-running 11-a-side match. It is a turn-based duel. You and one opponent trade attacking possessions, and you play every pass and shot by drawing a line from the ball. Wherever the line ends, the ball goes. Tied scores go to sudden death, and the result is recorded on a win counter on the results screen.
Quick answer: Each player gets three attacks, shown as CHANCE 1/3 to 3/3. Each touch has a 6-second ball clock, and each attack allows up to 10 passes. If the score is tied after three chances, the match goes to SUDDEN DEATH.
Joining a Be a Soccer Legend multiplayer match
Be a Soccer Legend is a Roblox experience from Mog_Games. You need a Roblox account and nothing else to play a head-to-head match. Servers hold a maximum of 6 players, so the opponents you can face are the other people in your server. You join from the game’s Roblox page.
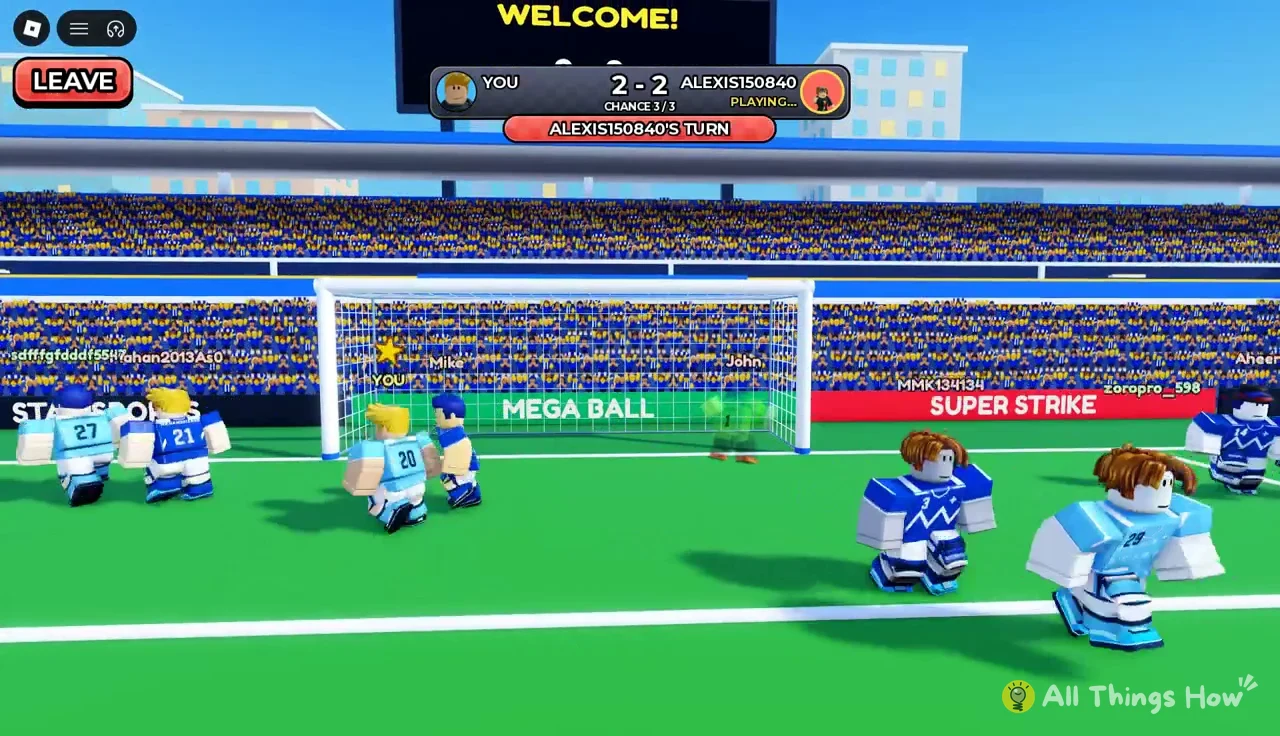
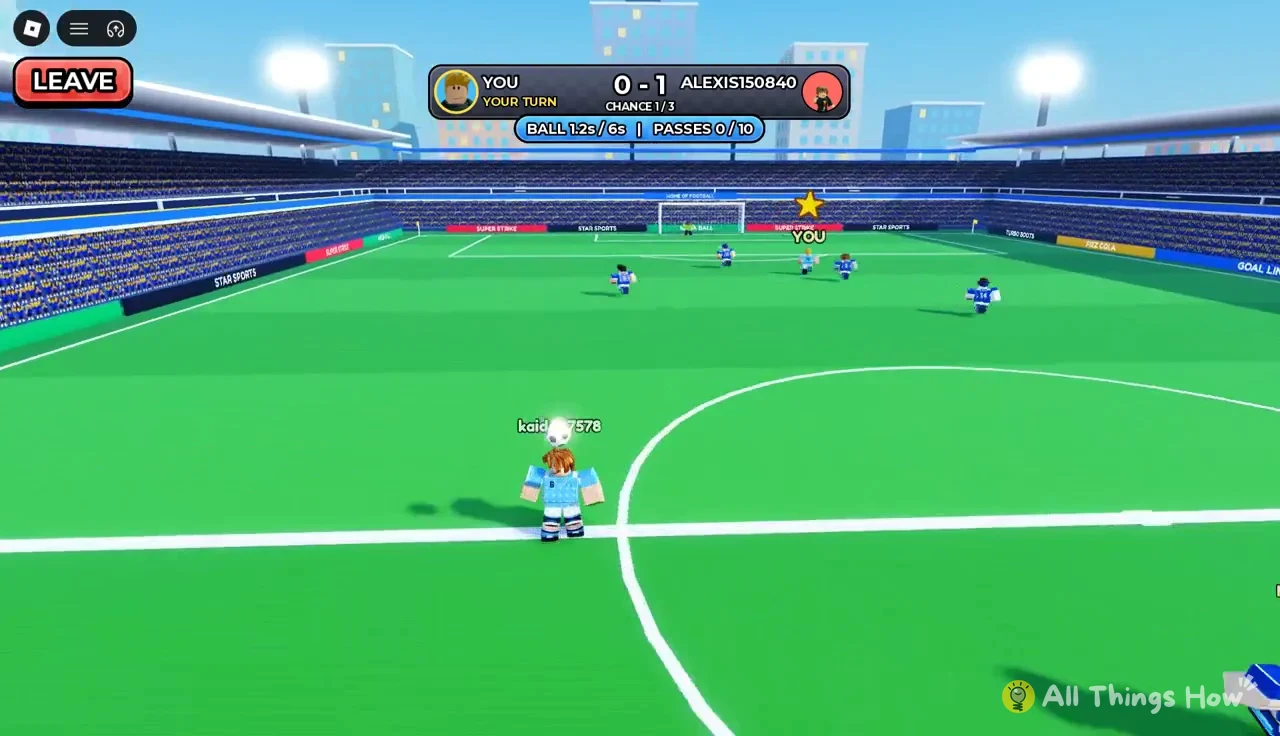
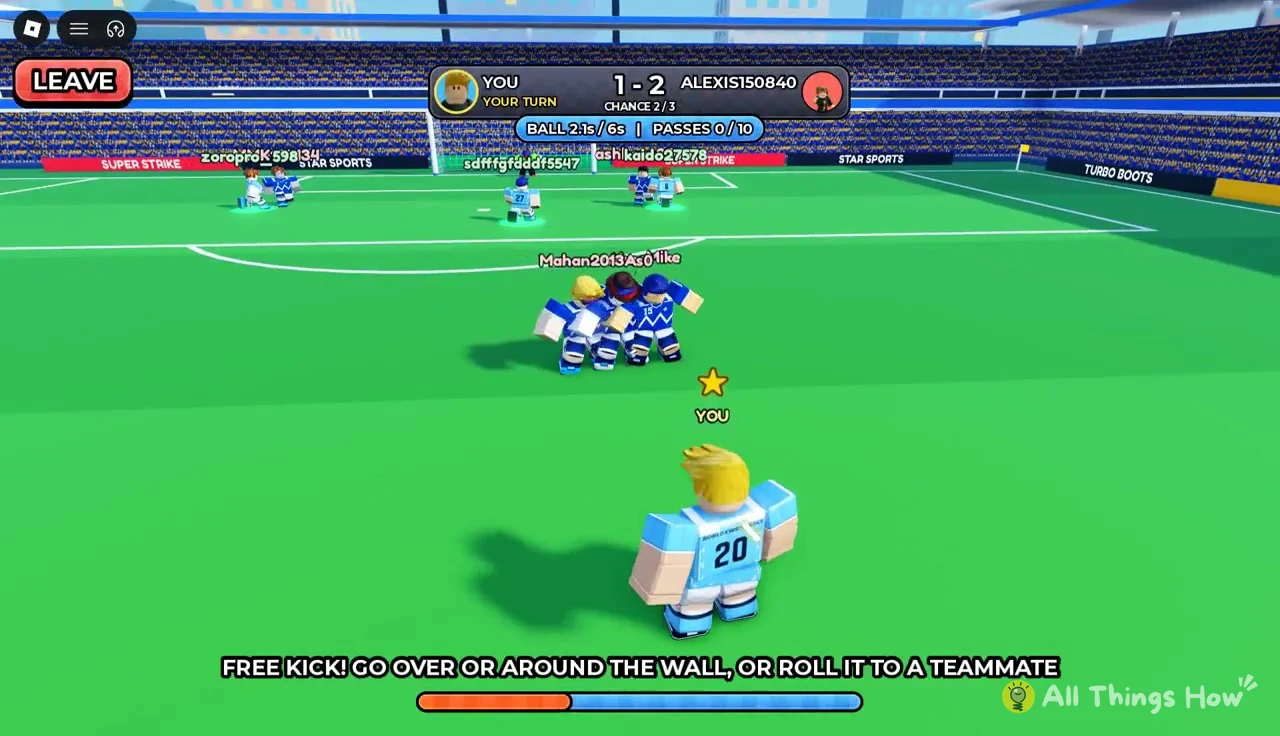
Once a match starts, your own avatar takes the field. It keeps its face, hair, and head accessories, but the game dresses it in a light blue and white team kit with your username and a squad number on the back. Teammates wear the same kit, each with a name and number tag above their head. A yellow star labeled “YOU” marks your character, which helps when you are picking a passing target in a crowded box.
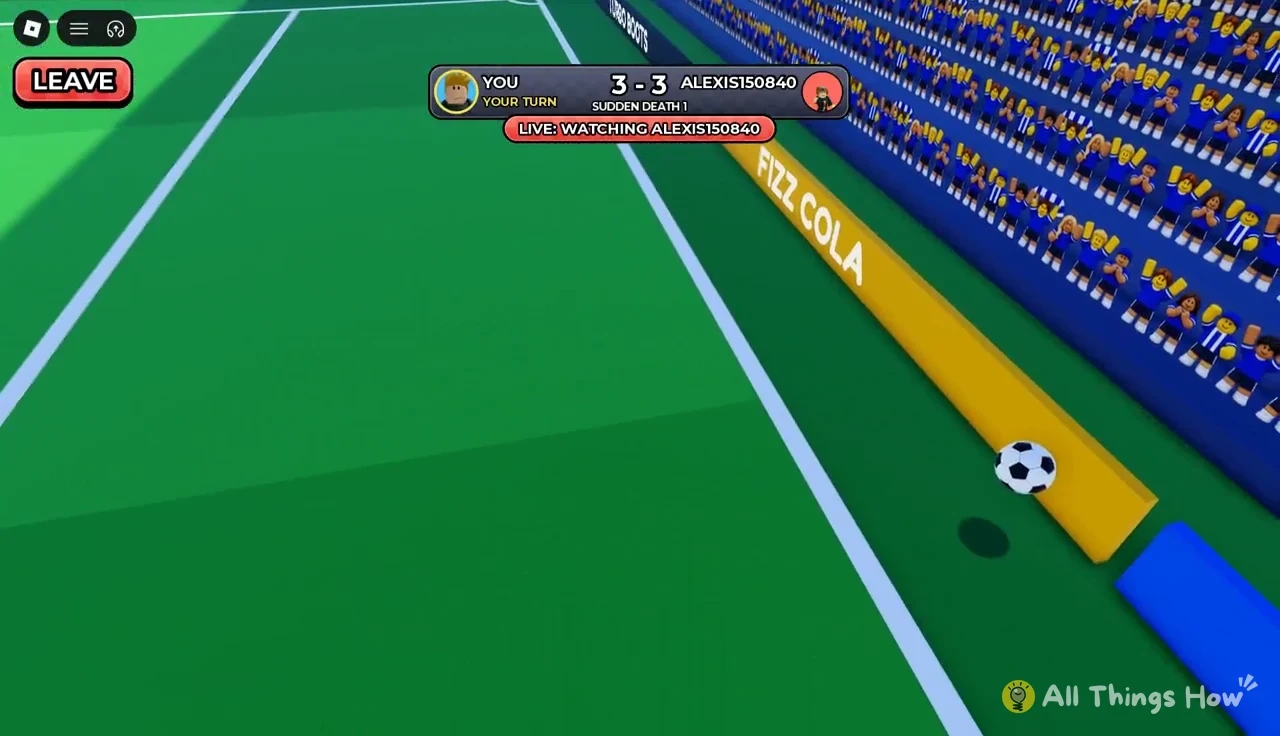
The scoreboard bar across the top shows “YOU” on one side and your opponent’s username on the other. Under it, a sub-bar tracks the current touch and how many passes have been used.
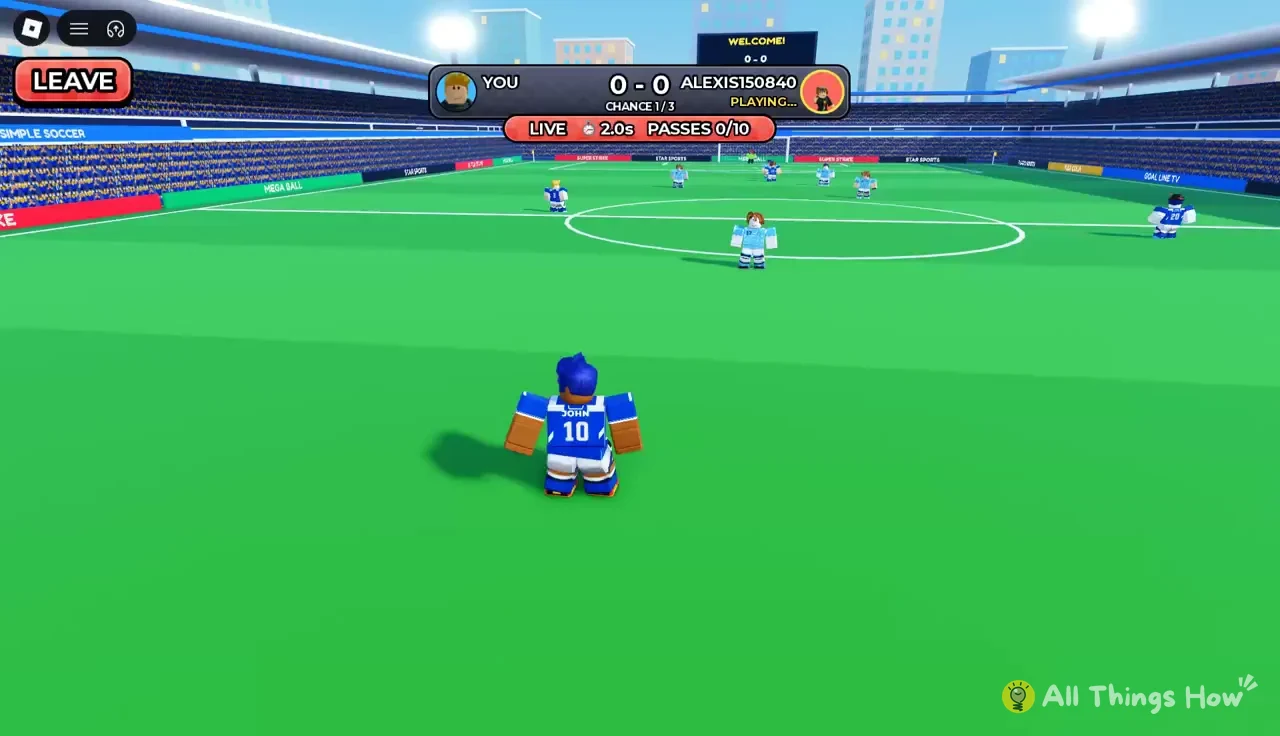
Match format: three chances each, then sudden death
A match is a series of alternating attacks. One player attacks while the other watches, and then the roles swap. When the opponent has the ball, the sub-bar reads “LIVE: WATCHING” followed by their username, along with their live ball timer and pass count. While you watch, you cannot do anything. Your input only matters when the bar switches to “YOUR TURN!”.
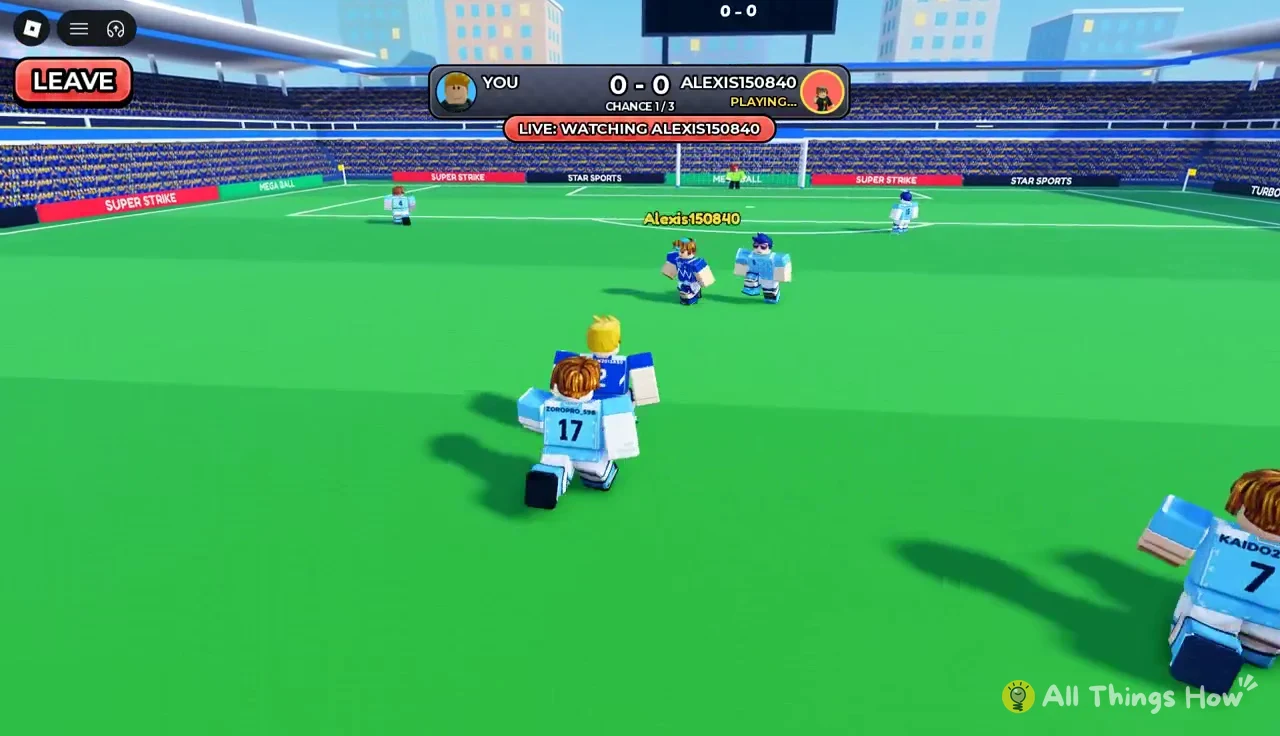
| Phase | Scoreboard label | Attacks per player |
|---|---|---|
| Regulation | CHANCE 1/3 to CHANCE 3/3 | 3 |
| Tiebreak | SUDDEN DEATH 1 | 1 per round |
| Result | VICTORY! / WIN / LOSS | — |
Because the attacks alternate, you always know the stakes when your turn comes. If the opponent scored on their chance, you need to answer just to stay level. If they missed, a goal puts you ahead. The scoreboard does not move on to the next chance until both players have attacked.
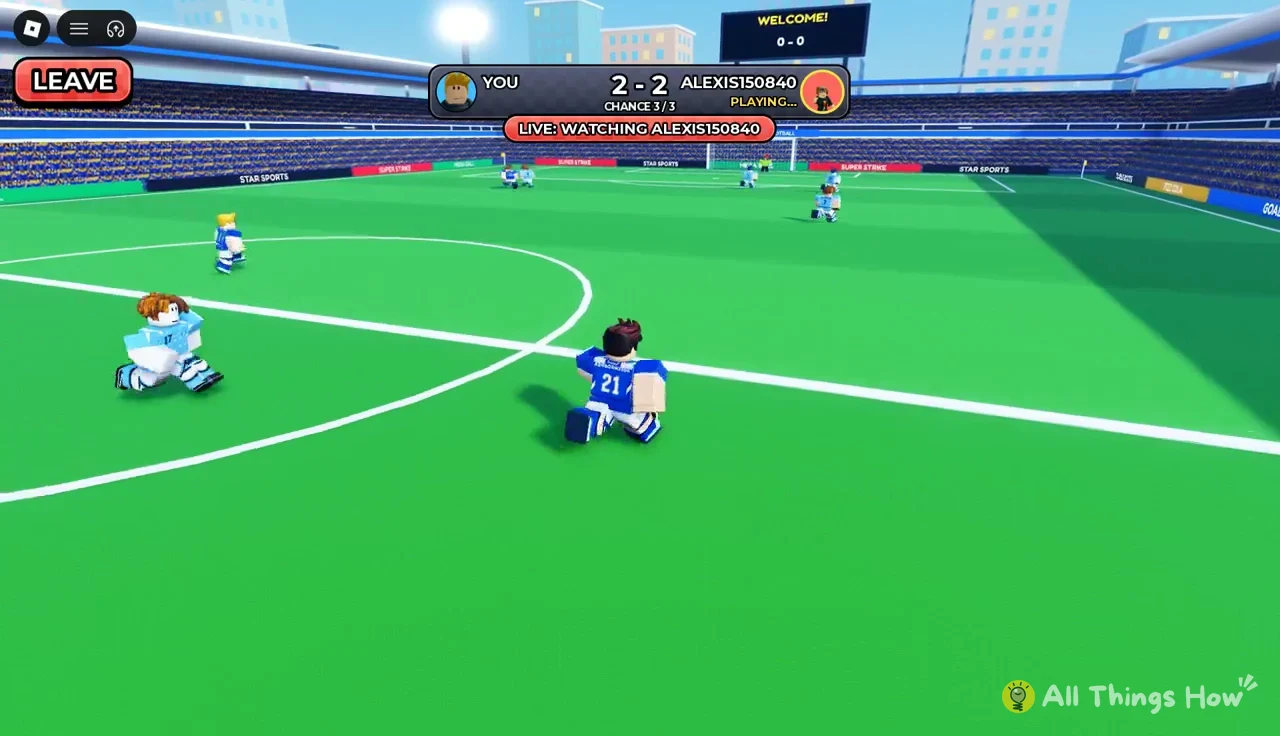
Attack rules: ball clock, pass limit and drawn lines
Every possession runs under the same limits, and both are shown on screen the whole time. The HUD reads something like “BALL 5.3s/6s | PASSES 1/10”. The first number is how long the current player has been on the ball. The second is how much of the pass allowance you have spent.
- 6 seconds per touch. The ball clock resets each time a new player receives the ball.
- 10 passes per chance. The counter climbs with every completed pass.
- Draw to play. Drag a line from the ball to pass, cross, play a through ball or shoot.
- Drag to look. Dragging the field moves the camera so you can spot runners before committing.
- Defenders react. Opposing players sprint at the ball carrier and can tackle, block or knock them down, ending the attack.
The two limits pull in opposite directions. Six seconds is enough time to read the field, but not to hesitate. Ten passes is plenty for a patient build-up, but every extra touch gives defenders another chance to close in. When you aim, curved white and yellow trajectory lines show the ball’s path, and glowing cyan rings appear under teammates who can receive it.
How to play your attack
When the bar flips to “YOUR TURN!”, you control the whole move. You don’t only control your own avatar. Every teammate who receives the ball becomes yours to direct until the shot.
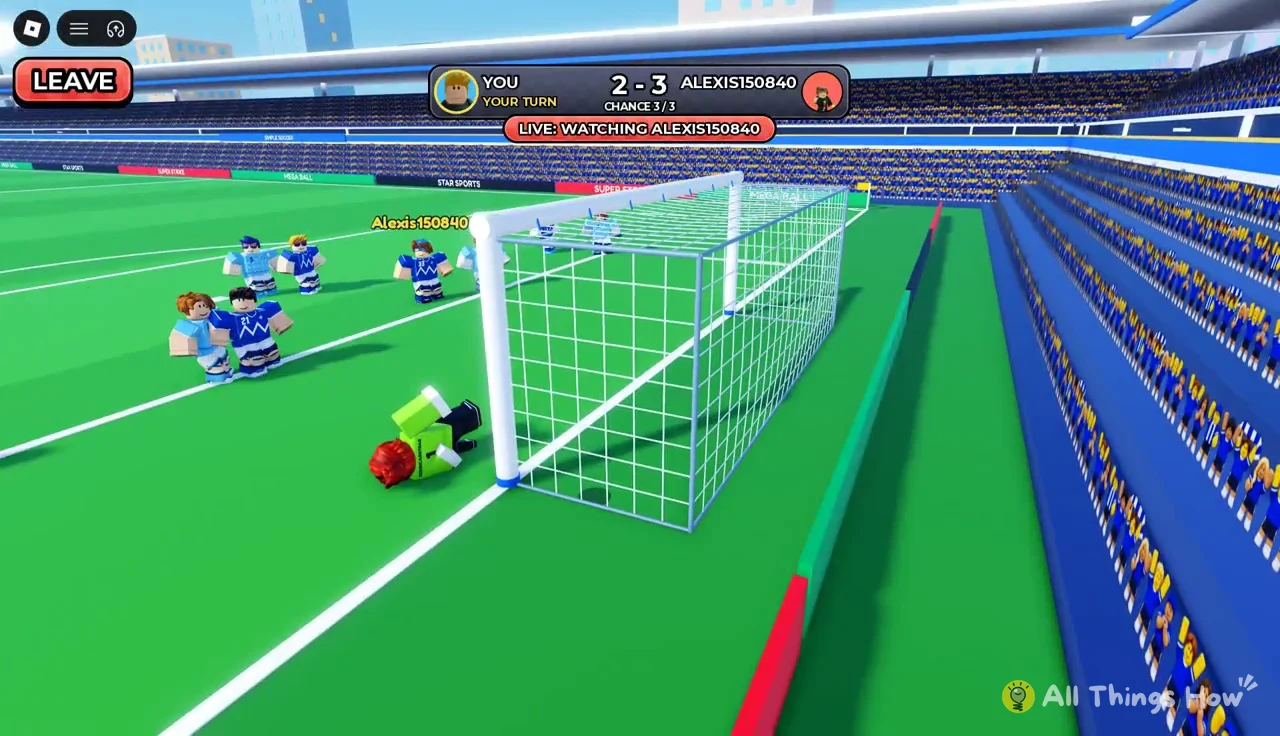
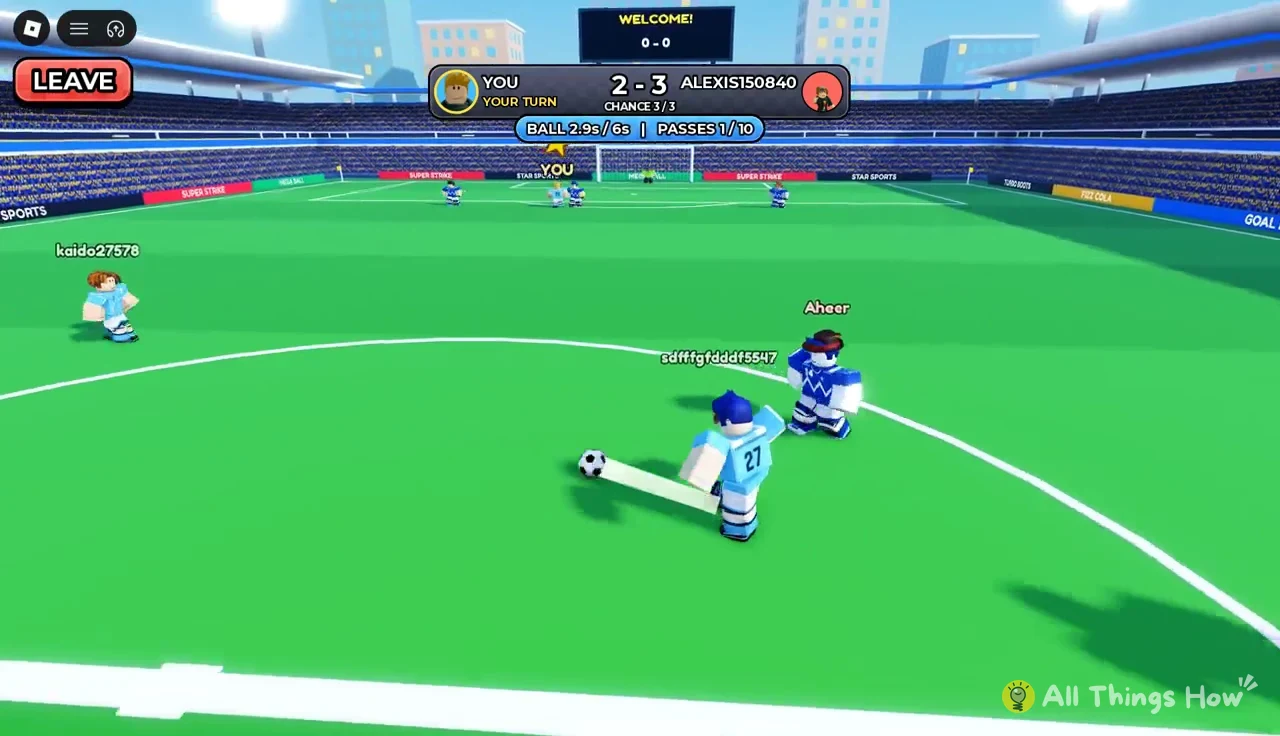
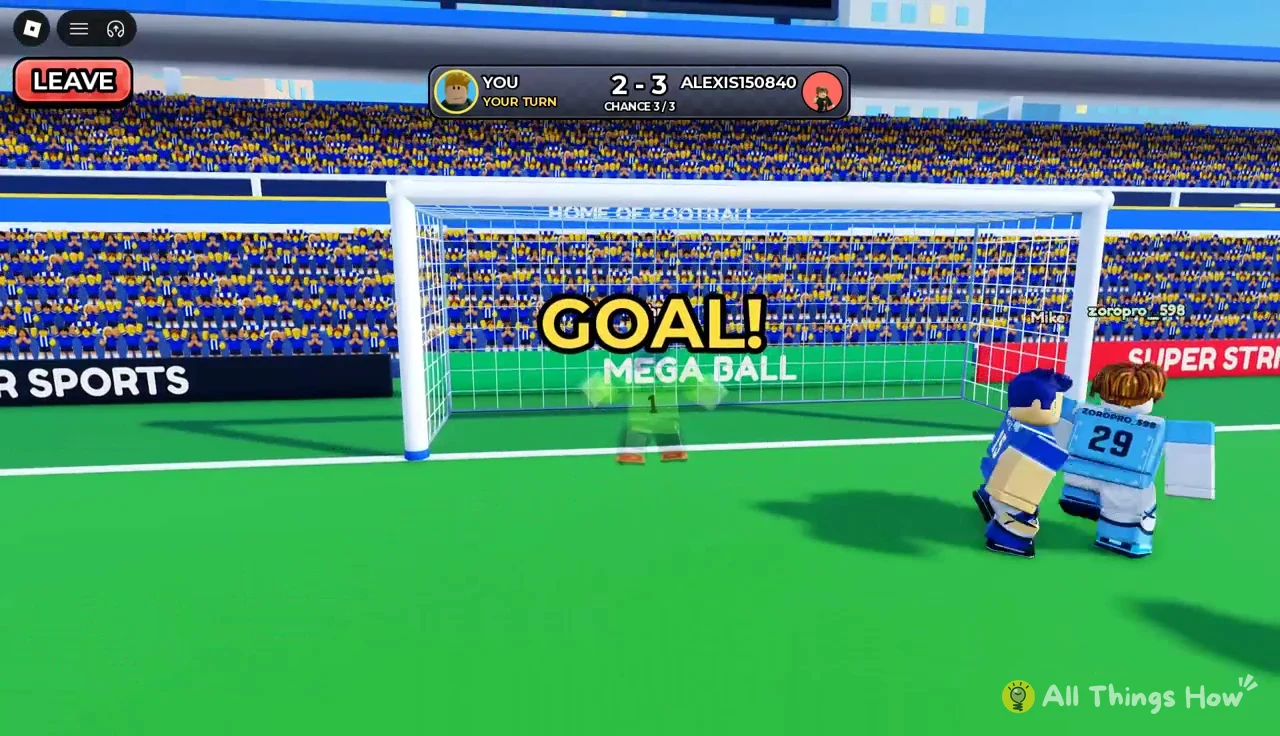
Free kicks and edge-of-the-box starts
Set pieces can create an opening instead of a midfield start, with the prompt identifying the situation. On a “FREE KICK!”, a wall blocks your path and the instruction gives you three choices: lift the ball over the wall, curl it around the wall, or roll a pass to a teammate. A power meter rises beneath the instruction as you aim. Rolling the ball short is often the safer option, keeping the attack going until you have a better angle to shoot.
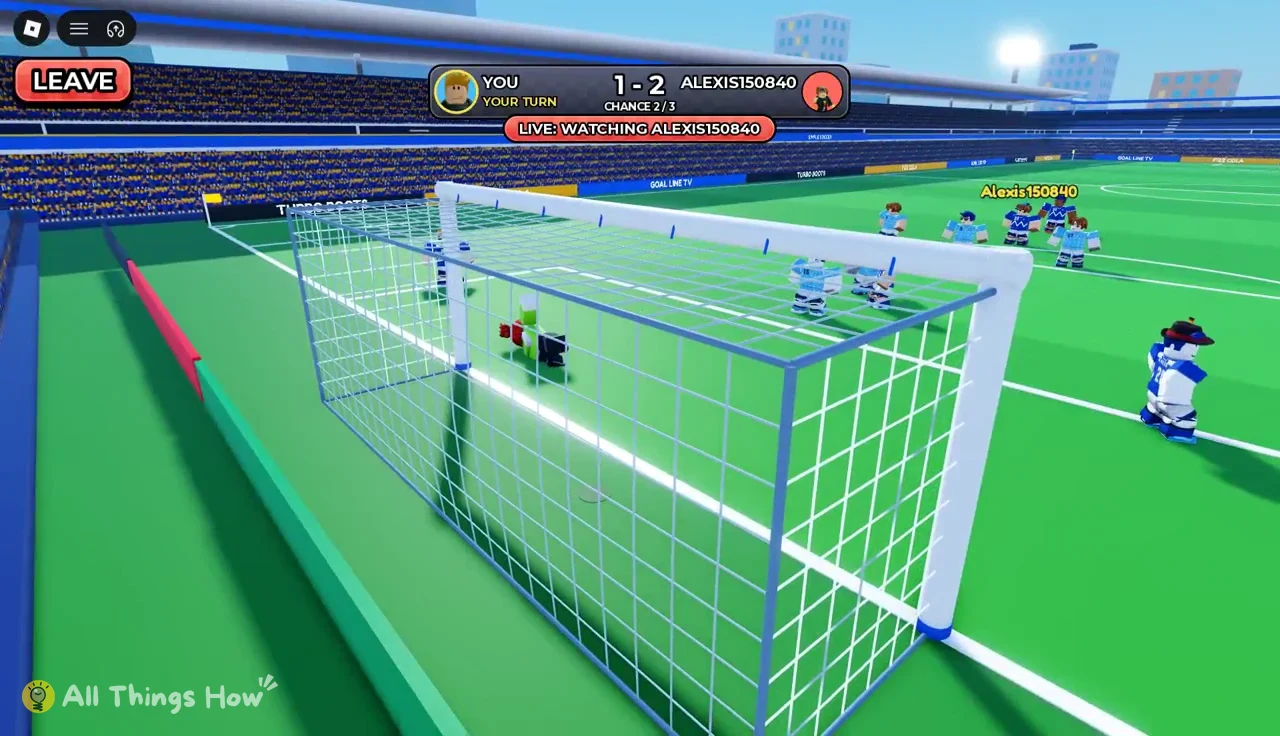
An “EDGE OF THE BOX!” start places you beside the penalty area. The prompt gives you three choices: take a shot, pass to a teammate, or use a one-two. For a one-two, pass the ball to a teammate and receive it straight back. This takes the shooter beyond the first defender while using very little of the clock.
Defending when your opponent has the ball
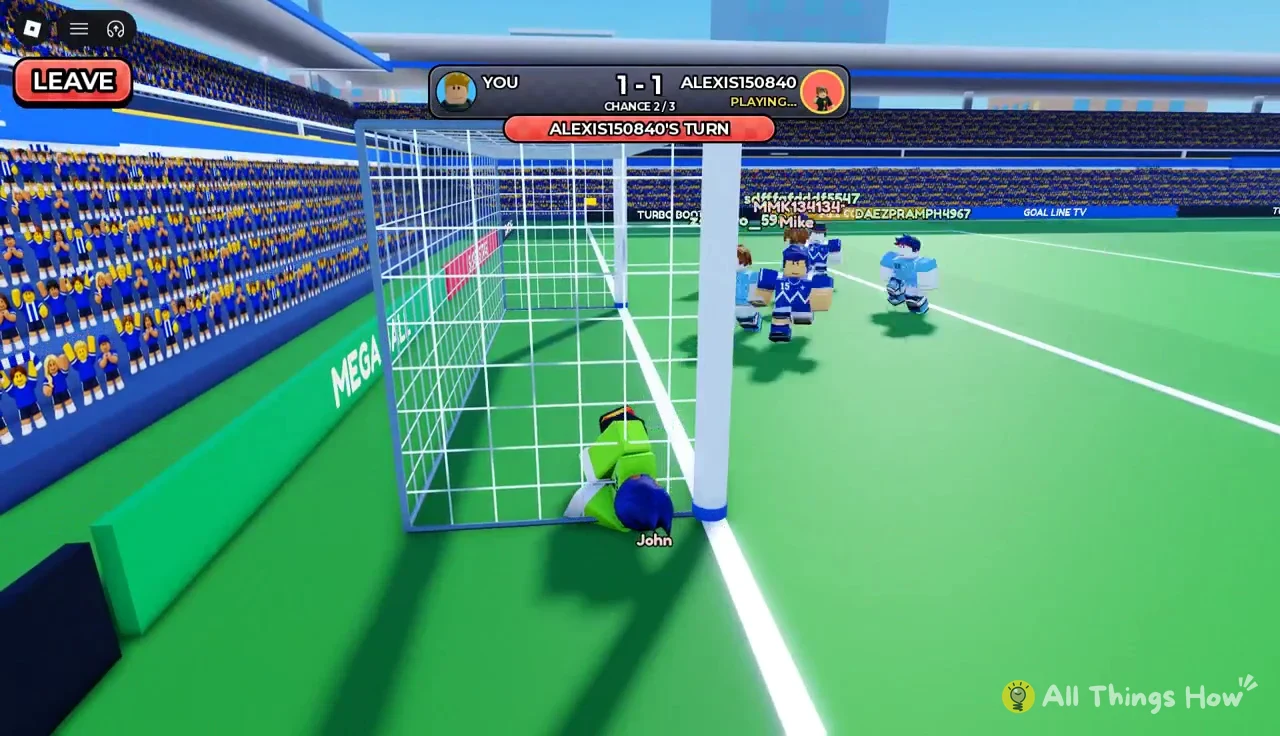
You don’t draw anything on defense. During the opponent’s chance, your defenders sprint at whoever has the ball and try to tackle or block. Your goalkeeper dives to stop shots. A save that only just reaches the ball shows the “FINGERTIPS!” callout, and the keeper can push shots out of play. The opponent’s attack also ends if they lose the ball to a tackle. All you can do in that phase is watch the LIVE feed and plan your reply.
Sudden death rules in Be a Soccer Legend
If the score is level after both players finish CHANCE 3/3, the scoreboard switches to “SUDDEN DEATH 1” and the match goes to extra time. Each player gets one more attack, in the same alternating order. The game prompts “EXTRA TIME! SCORE TO GO THROUGH!”. The first player to lead once both sides have had equal turns wins, so a miss followed by a goal from the other player ends the match immediately.
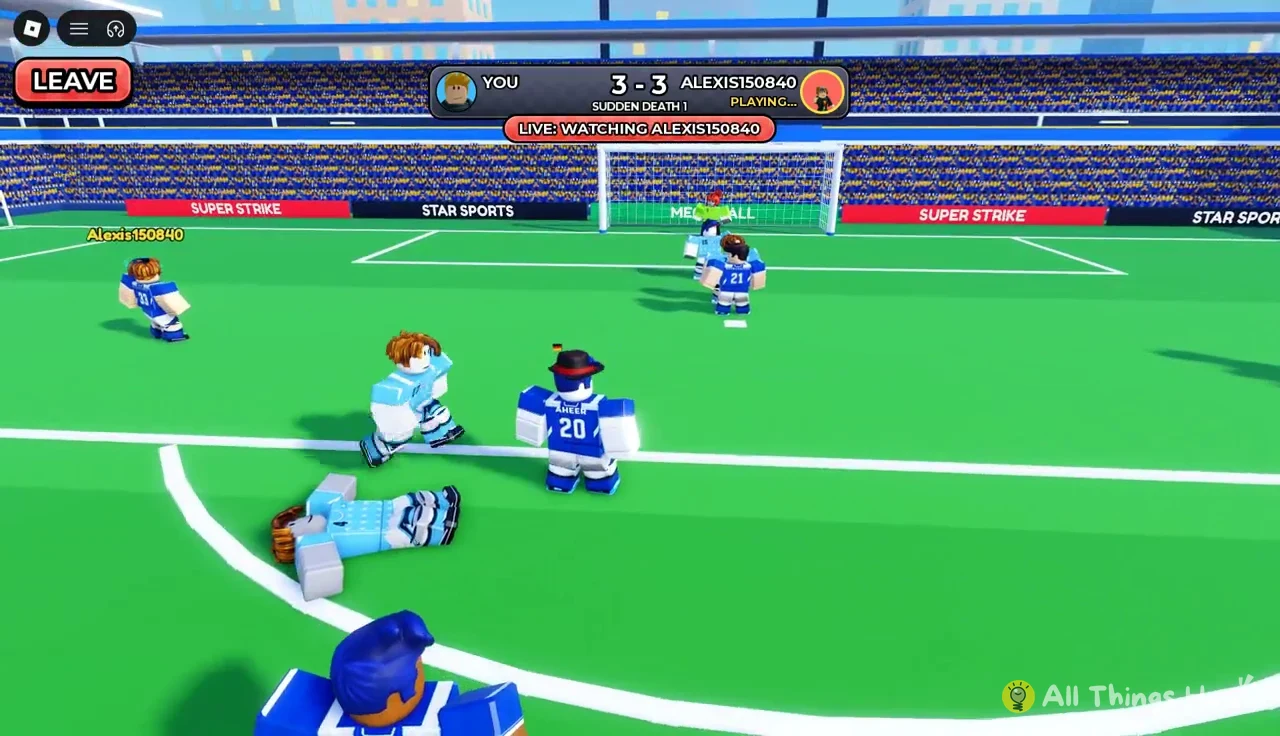
Sudden death attacks can also start from set positions, such as the edge of the box, so read the prompt before you draw your first line. If the opponent has just missed, you don’t need anything fancy. Any clean finish wins it.
Results screen: wins, rematches and Quick Match
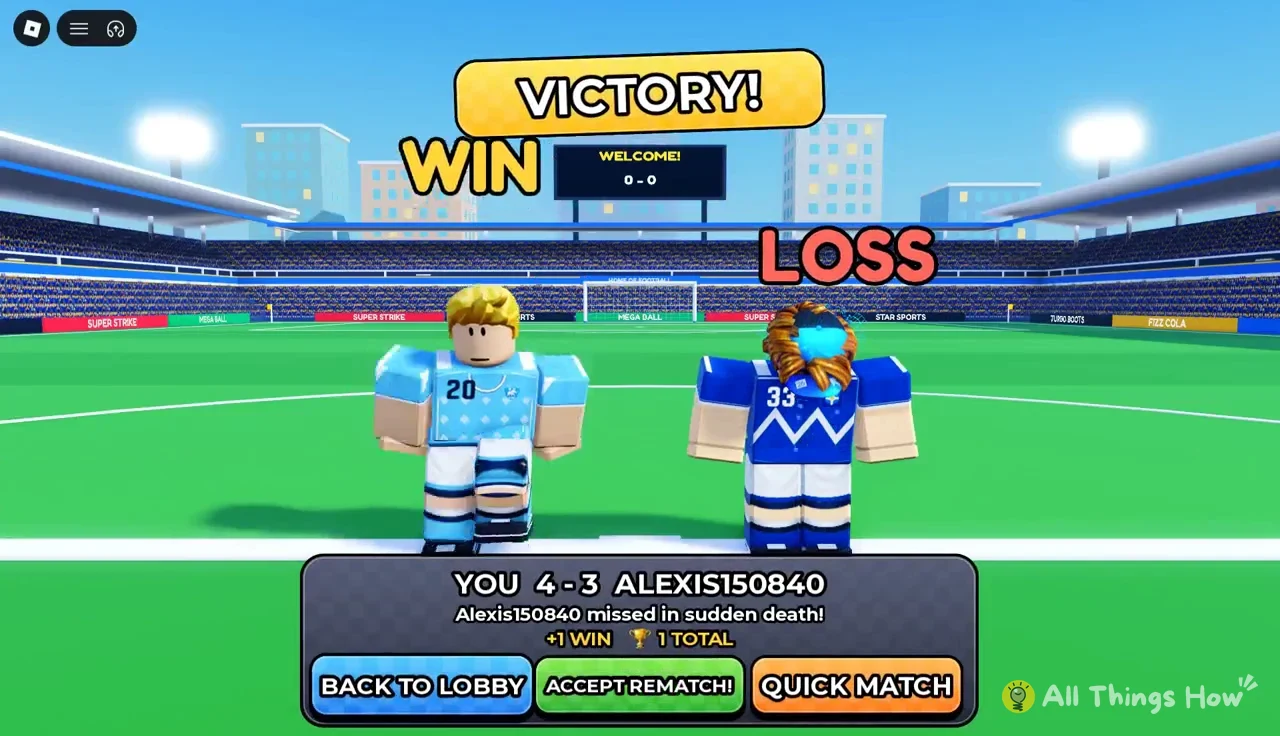
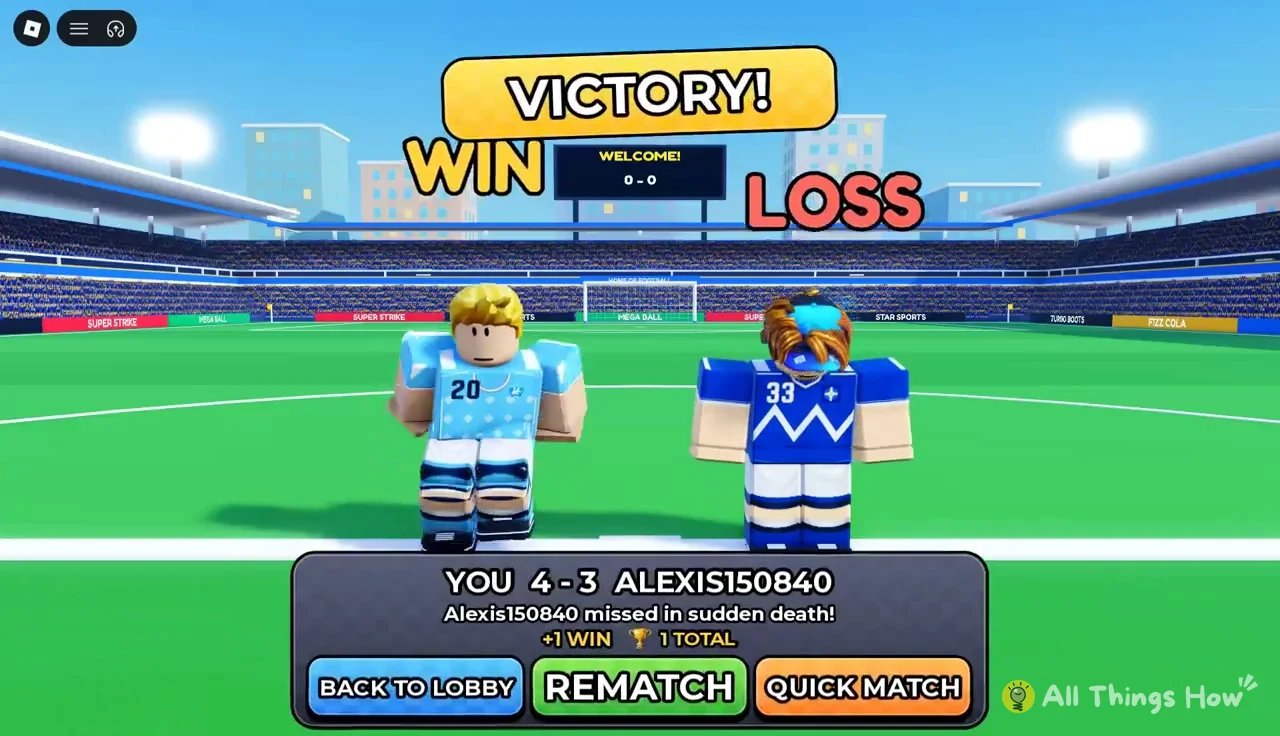
When the match ends, a results banner shows “VICTORY!” along with WIN or LOSS and the final score. If the match was decided in extra time, a line under the score names the player who missed in sudden death. A win adds +1 WIN to your record, and the screen shows your running total right next to it. That counter is how you confirm a result was recorded.
| Button | What it does |
|---|---|
| BACK TO LOBBY | Leaves the match and returns to the lobby |
| REMATCH | Asks the same opponent to play again |
| ACCEPT REMATCH! | Accepts a rematch the other side requested |
| QUICK MATCH | Starts a new match without going back to the lobby |
If the rematch button changes to “ACCEPT REMATCH!”, the other player has already asked to play again. Accept it to replay the same pairing straight away. Quick Match is the fastest way to keep playing against someone new.