Every pack in Steal an Anime Pack sits somewhere along a single long route that starts at your base and runs through a chain of themed zones. Each zone puts up a sign with a recommended speed. The further you go, the bigger the number gets, climbing from the hundreds into the hundreds of billions. That number tells you how fast you need to be to grab a pack there and get it home before the guardian catches you.
Quick answer: There are 12 zones. They start with Sakura’s Domain (900+ speed) and end with World of Apes (400B+). Only raid a zone when your speed stat meets its sign.
Steal an Anime Pack zone list and recommended speeds
The zones run one after another in a fixed order, starting from the base Safe Zone. The game shows each zone’s name and its “Recommended Speed” on the way in. The table follows the order you reach them on foot.
| Order | Zone | Recommended speed |
|---|---|---|
| 1 | Sakura’s Domain | 900+ |
| 2 | Grand Blue | 10k+ |
| 3 | Snowy Zone | 40k+ |
| 4 | Volcanic Zone | 170k+ |
| 5 | Beast Zone | 700k+ |
| 6 | Demon Realm | 2.5M+ |
| 7 | Cosmic Zone | 18M+ |
| 8 | Divine Realm | 700M+ |
| 9 | Omniversal Zone | 2.5B+ |
| 10 | Eternals Kingdom | 10B+ |
| 11 | Monarch Empire | 75B+ |
| 12 | World of Apes | 400B+ |
The jumps are not even. Moving from Volcanic Zone to Beast Zone asks for about four times the speed. Cosmic Zone to Divine Realm asks for nearly forty times as much. Early zones open up quickly with treadmill training. The back half of the map takes far more speed gains to reach, which is where the Aura and Coach multipliers come in.
Every route starts from the same place. That is your base, with the pen, treadmill, shops and machines grouped around it. The HUD shows your cash and your per-second income the whole time.
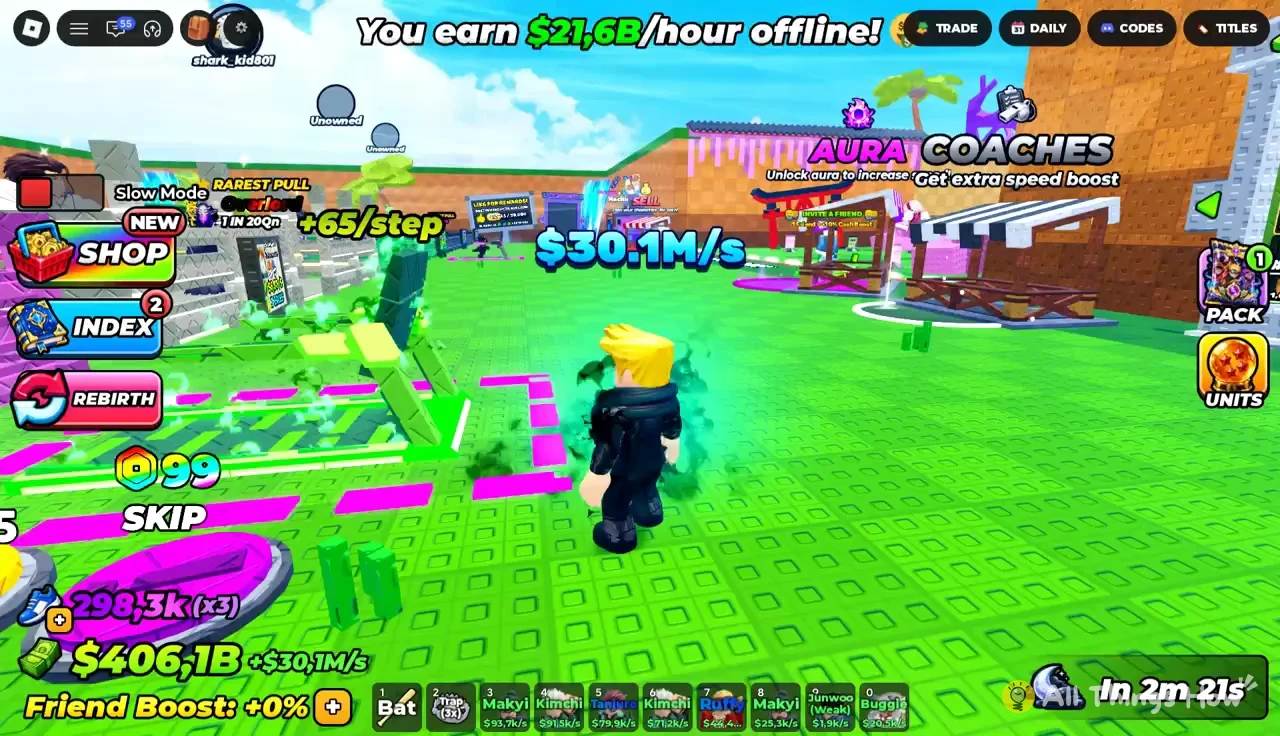
As you approach each zone, its entrance displays the recommended speed. You can check whether you are fast enough before you commit to a run.
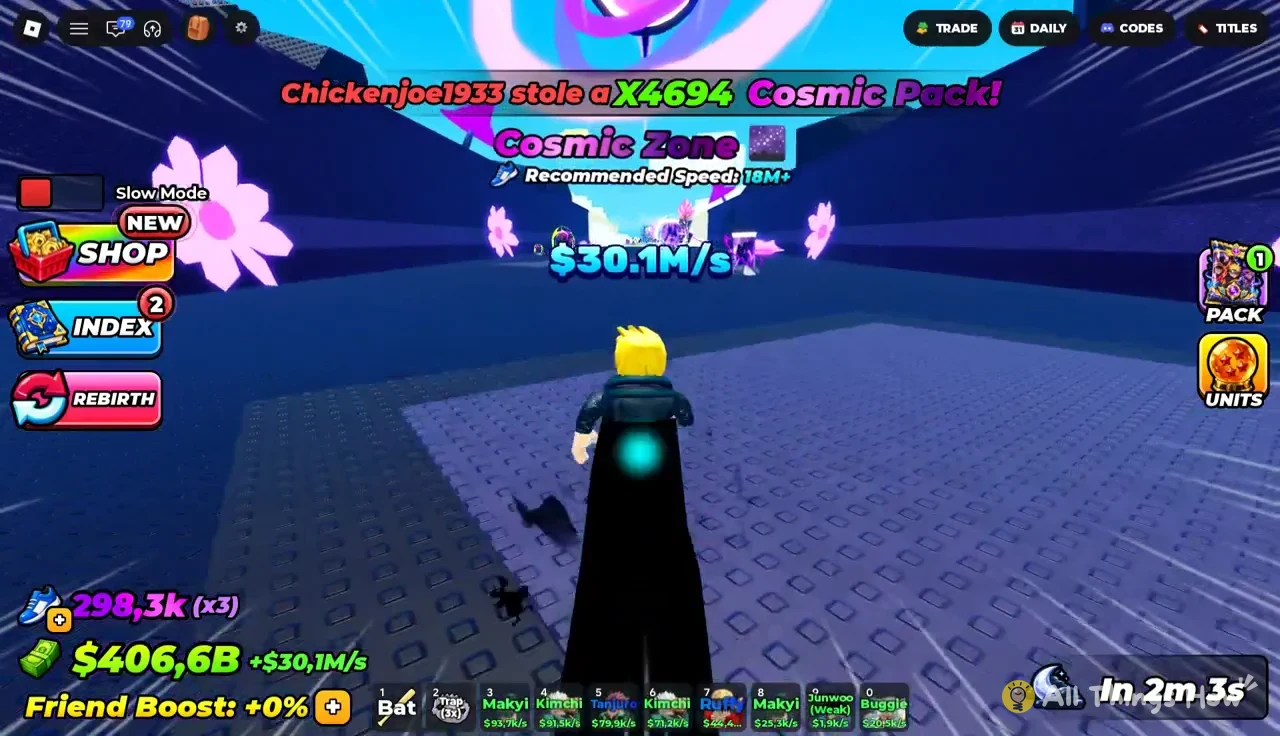
How the route from the Safe Zone to World of Apes is laid out
The map is one continuous track. You leave the base through a gate, follow the path through Sakura’s Domain, and every zone after it connects straight to the next. You cannot skip ahead to Divine Realm. To reach it you have to run through the seven zones before it, and you have to run back through all of them while carrying a pack.
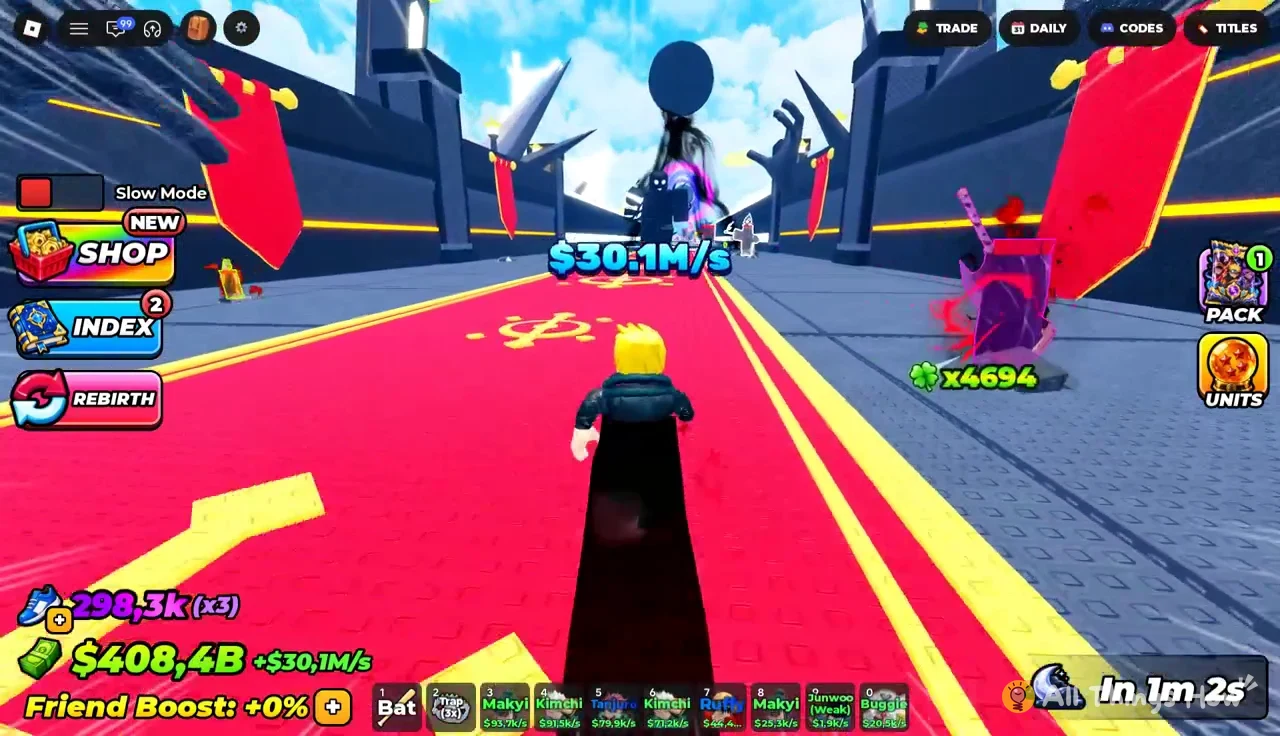
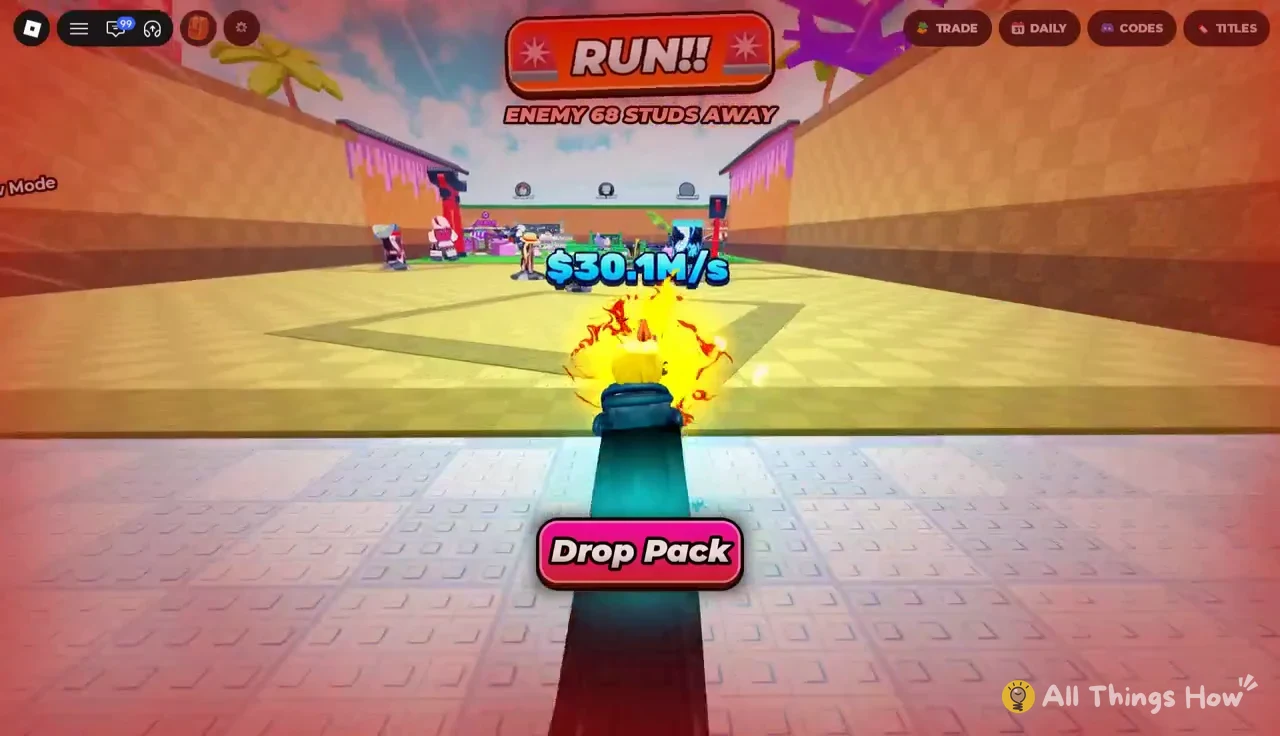
World of Apes is the last stop. Past it, the only way to go is back the way you came. That matters for planning. Every trip is a round trip, and the return leg is the dangerous one, because that is when a guardian is chasing you.
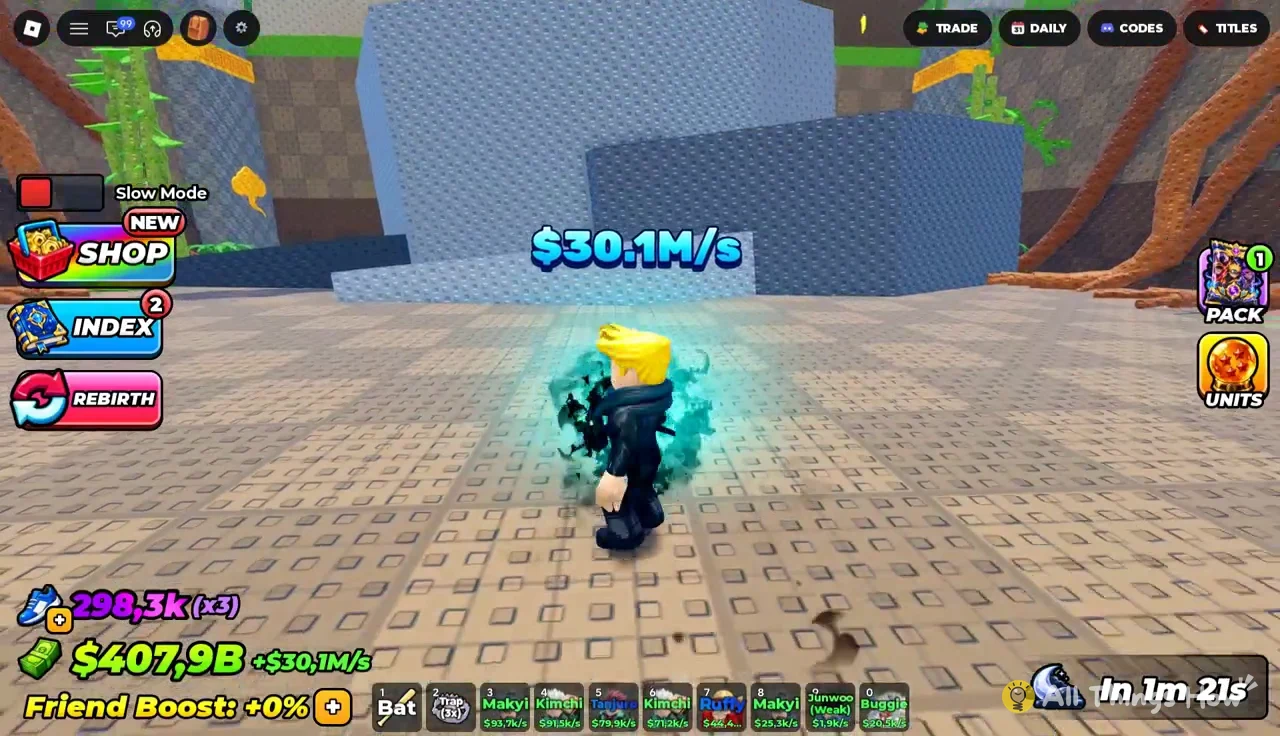
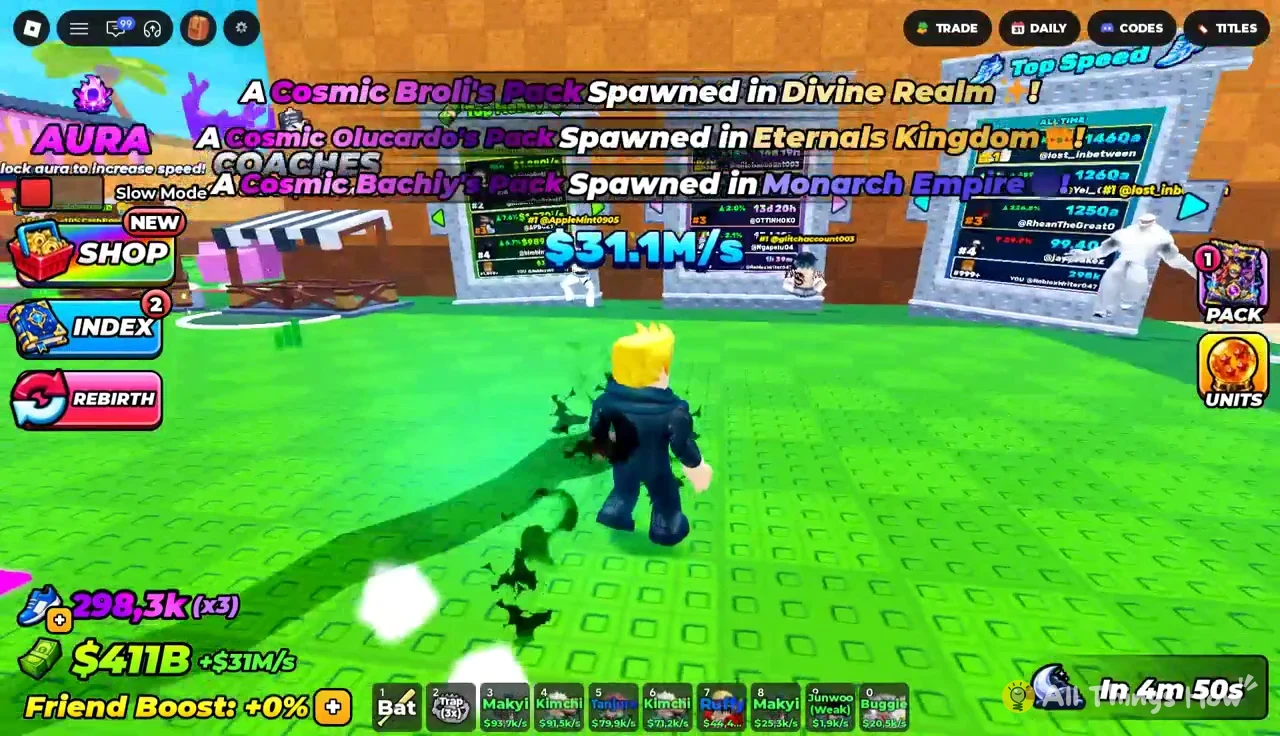
The side menu includes a Slow Mode toggle alongside the Shop, Index and Rebirth buttons. On the narrower raised sections of the course, it helps to know where that toggle sits.
How to steal a pack from any zone
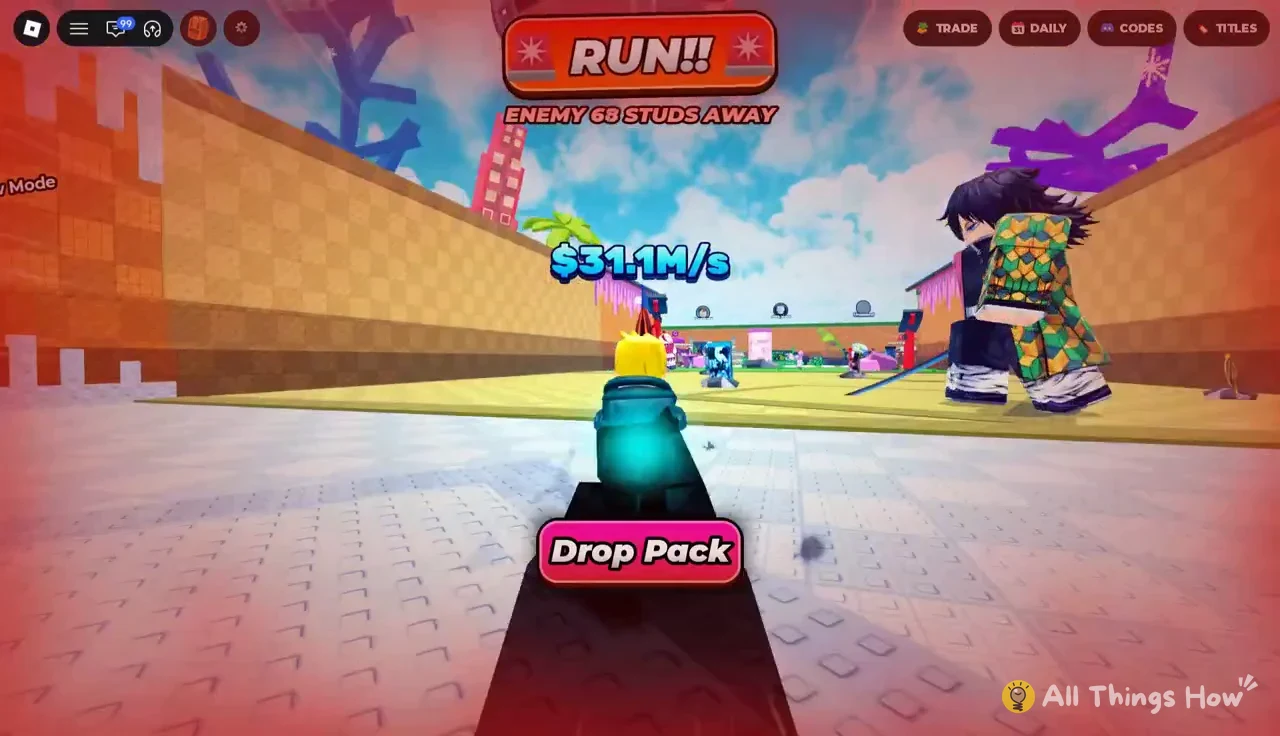
The steal loop works the same way in every zone. Only the guardian’s threat and the pack sizes change. Before you leave, make sure your speed meets the sign of the zone you are aiming for. Below the recommendation, the guardian can close the gap before you get home.
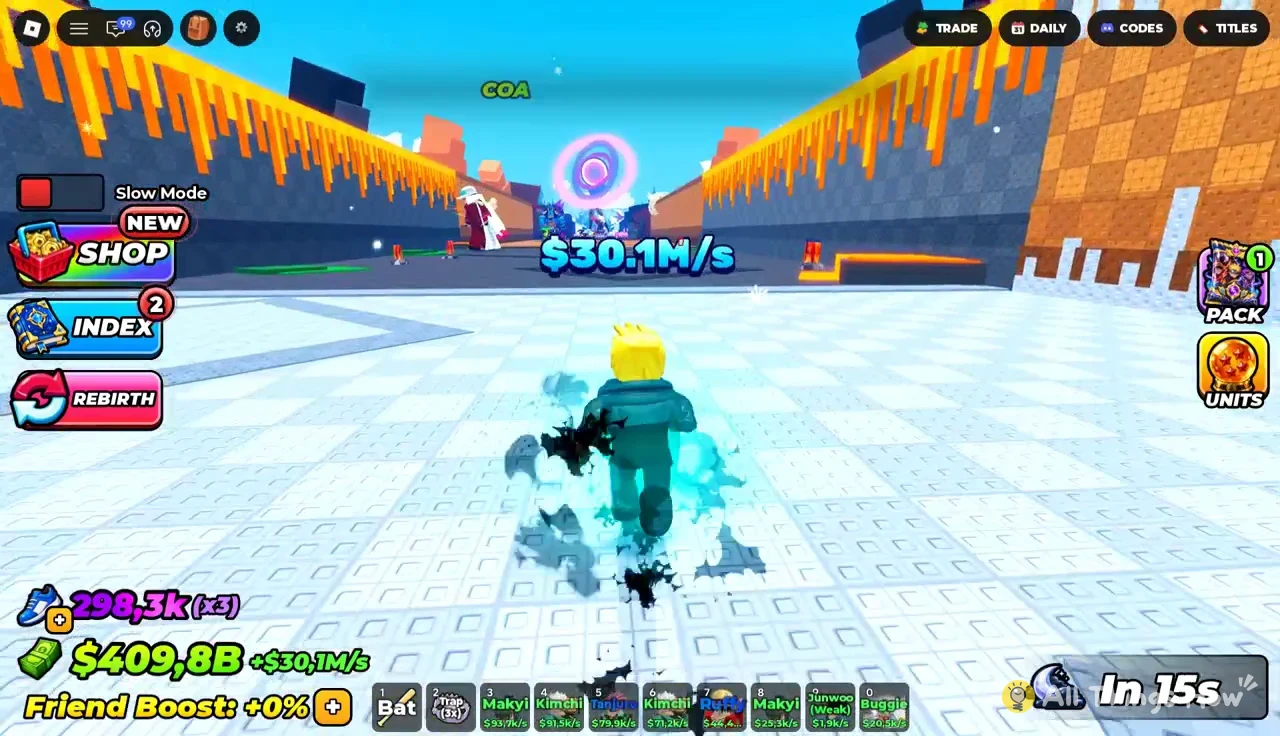
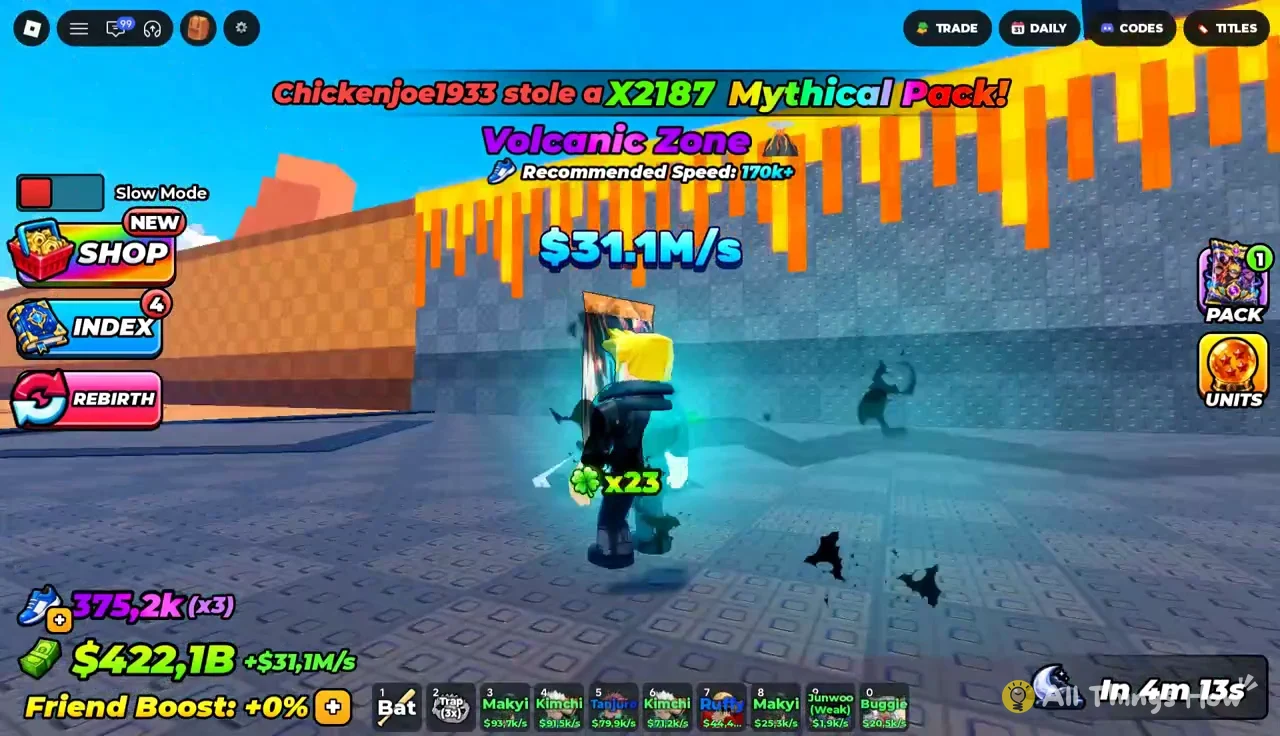
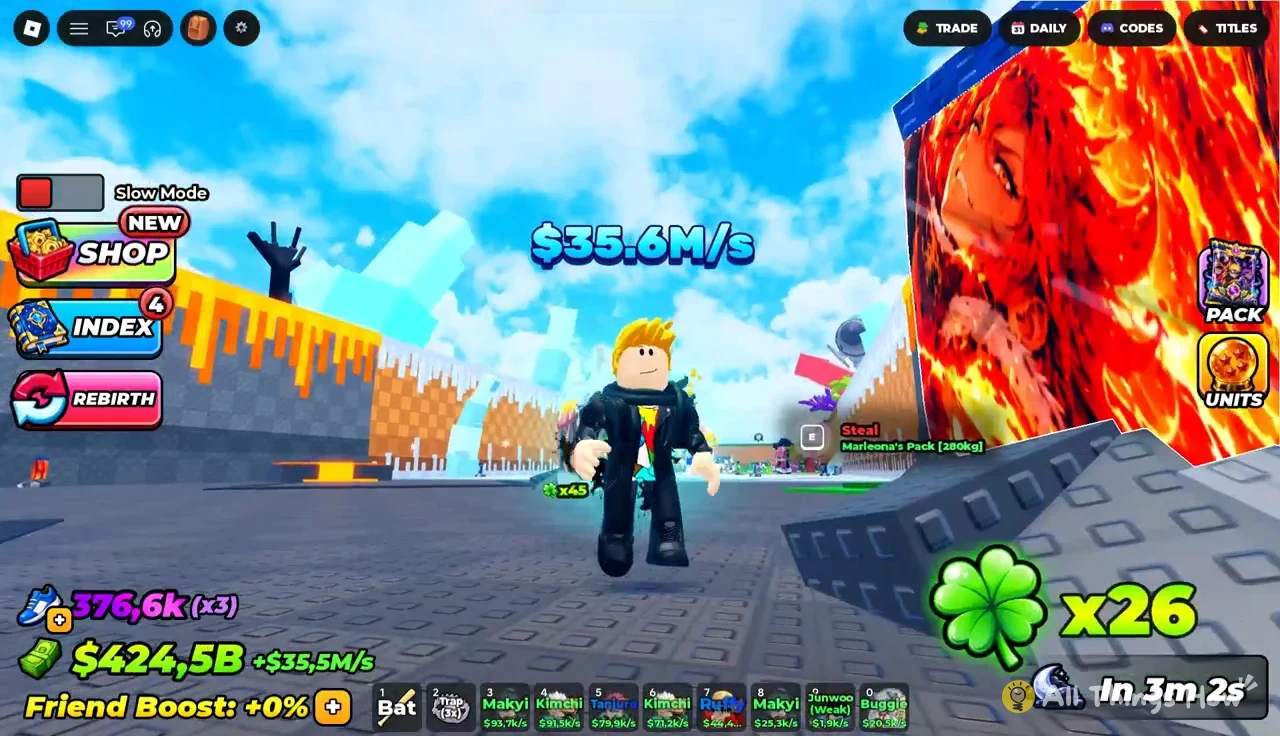
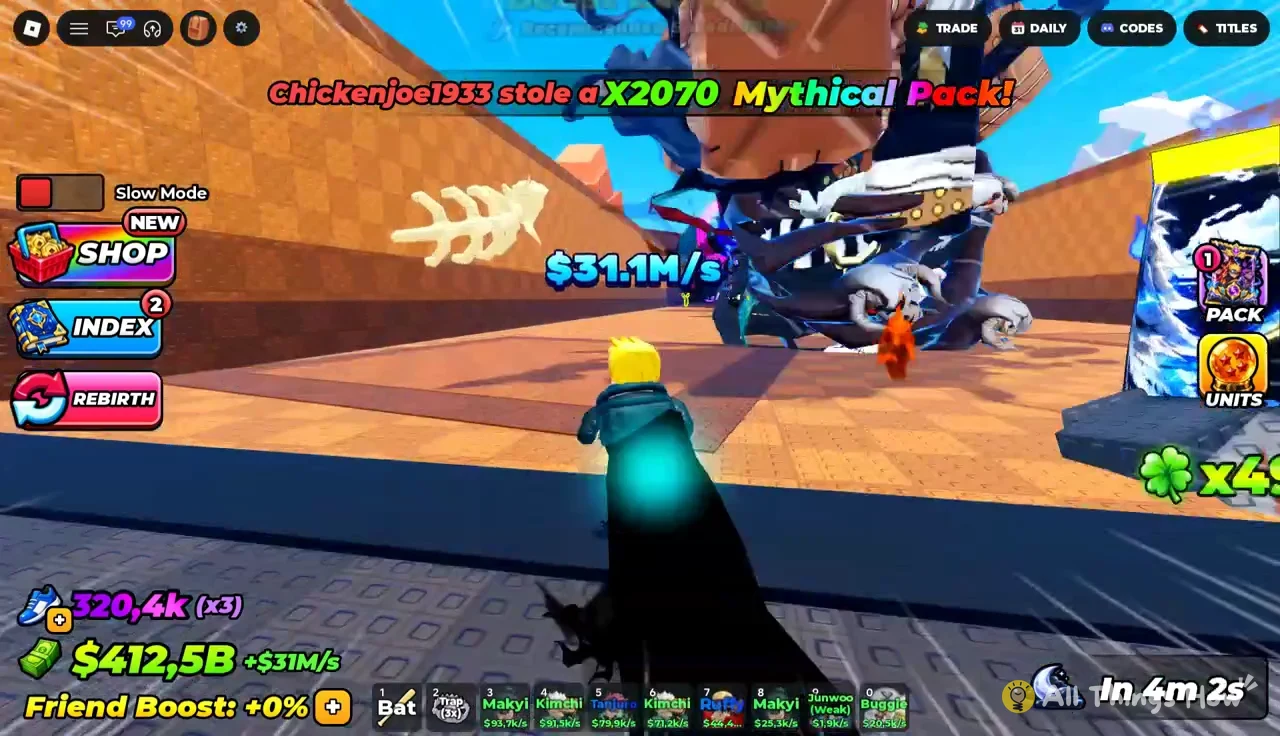
Rarer packs announce themselves. When a Mythical pack is in play, a theft alert appears on screen. Other players in the server see it too, so expect company.
Example packs by zone
Pack weight varies even inside a single zone. The Volcanic Zone alone can hold anything from a single-digit pack to one weighing several hundred kilograms.
| Pack | Zone | Weight |
|---|---|---|
| Natzu’s Pack | Volcanic Zone | 9kg |
| Shinro’s Pack | Volcanic Zone | 115kg |
| Marleona’s Pack | Volcanic Zone | 280kg |
| Perfect Cel’s Pack | Beast Zone | 91kg |
Weight matters because heavier packs hatch heavier characters, and heavier characters earn more cash. A big pack from a zone you can safely clear is often worth more than a gamble on a zone above your speed.
Opening stolen packs in the pen
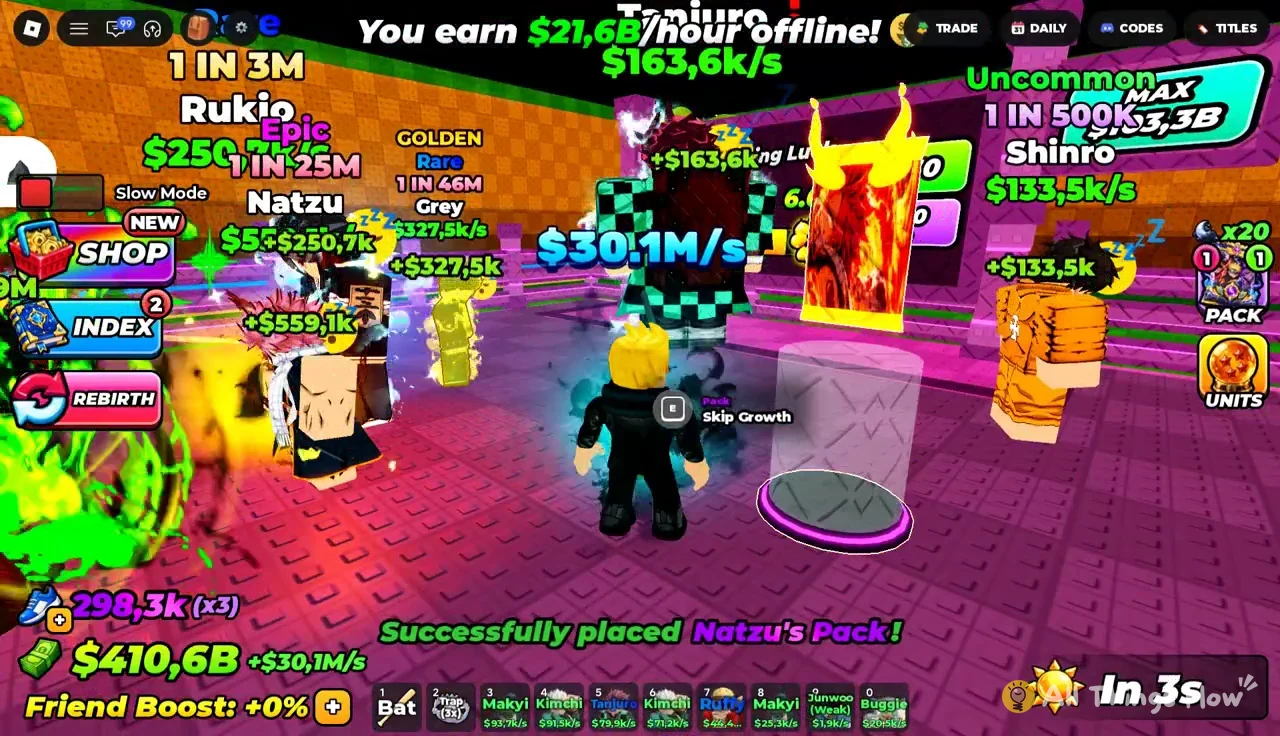
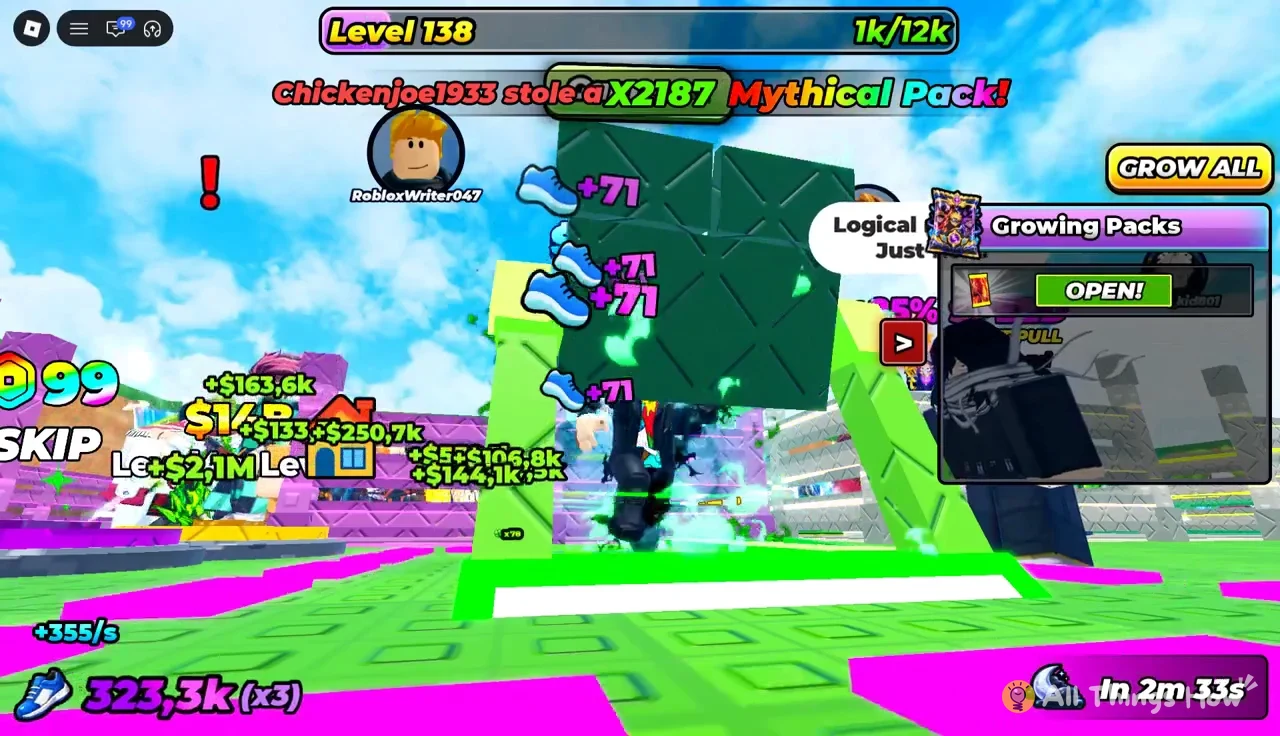
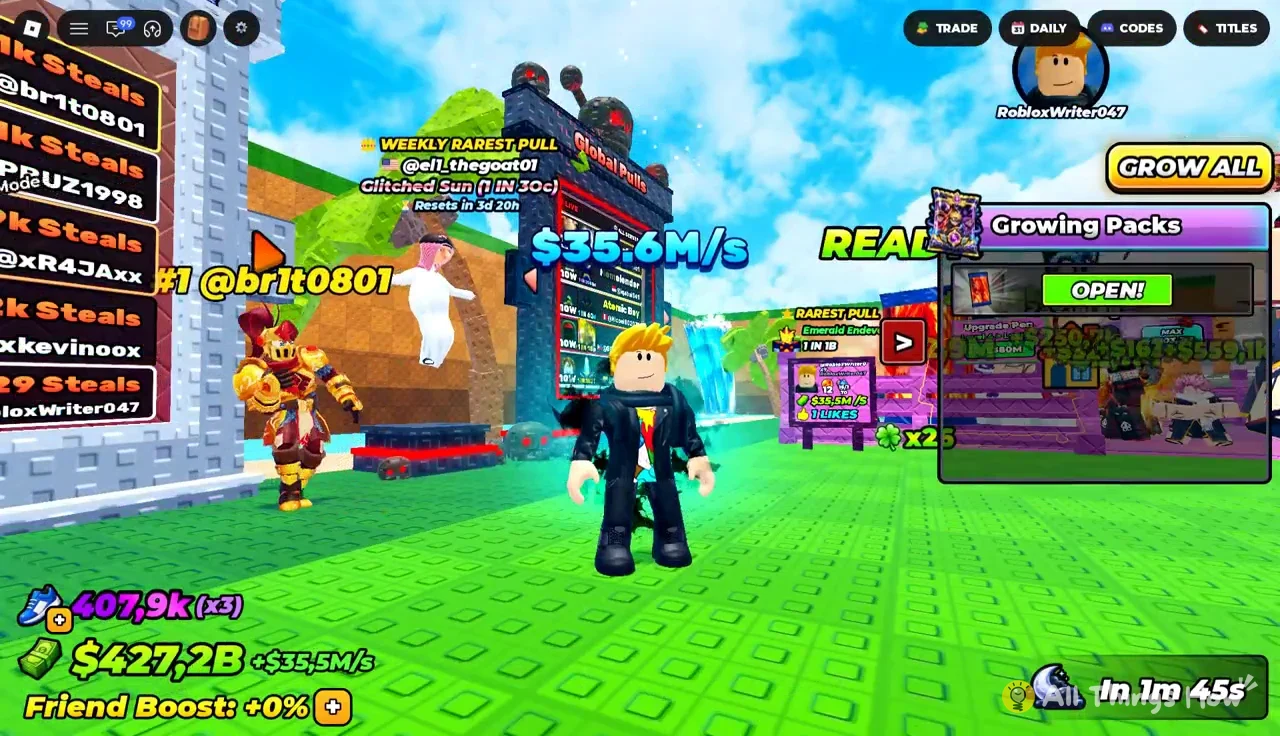
A placed pack does not hatch right away. It grows, and its progress shows as a percentage. Once it reaches 100 percent, or once you use Skip Growth, the Growing Packs panel shows a green OPEN! button. Press it to hatch the character.
The roll result shows as a line such as “You Rolled Endevor!” Variants are announced separately. An Emerald roll, for example, reads “Your Endevor came out EMERALD! (x4.5 cash).” Rarity labels run from Common and Uncommon through Rare, Epic, Legendary, Mythic and Cosmic. Some characters also show rarity odds, such as a Marleona marked 1 IN 1M.
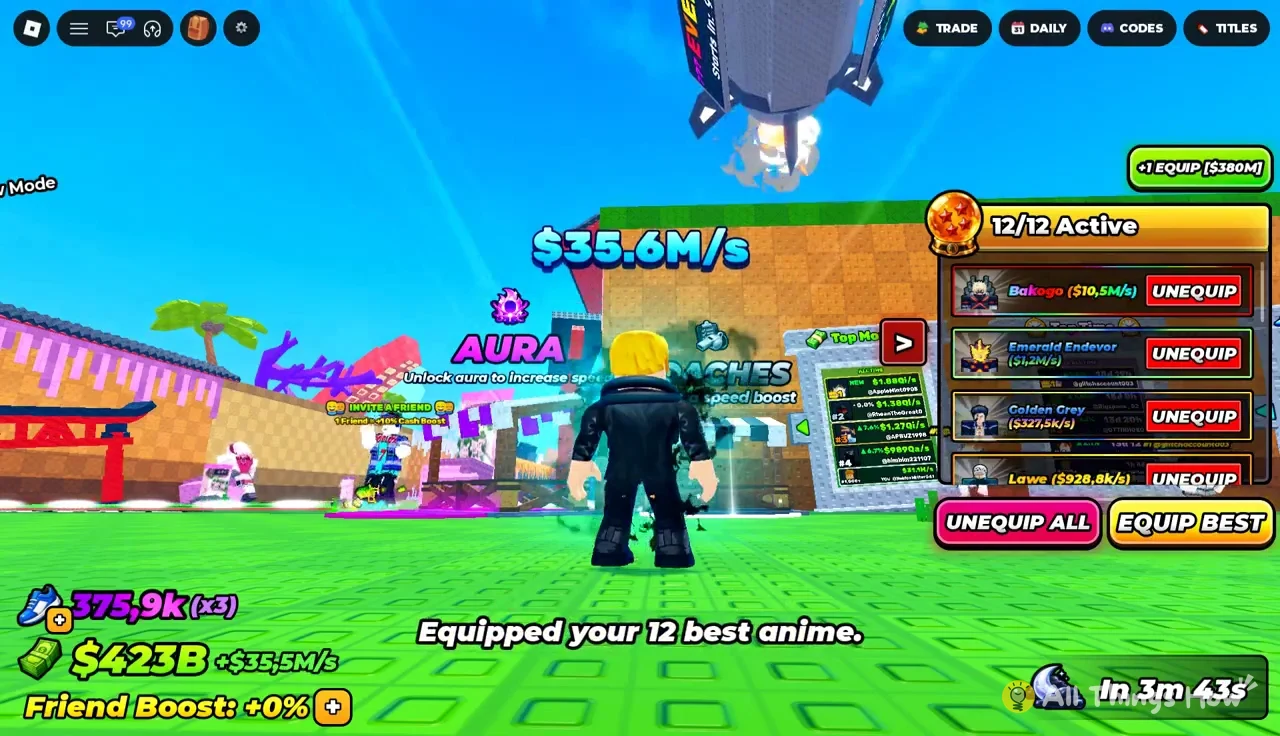
New characters slot into your active roster automatically when they beat what you already have. The roster holds 12, and the Equip Best button fills it with your strongest units. You will see “Equipped your 12 best anime.” when it changes something, or “Your best anime are already equipped.” when nothing needs to change.
More pen space means more packs growing at once. The pen can be upgraded with cash. Going from Level 4 to Level 5, for example, costs $380M and adds +$2,9M to income.
Raising your speed to reach higher zones
Your speed stat is what decides which zones are realistic, and it has three levers. The treadmill raises it directly. Auras multiply it. Coaches add a percentage on top.
Treadmill training
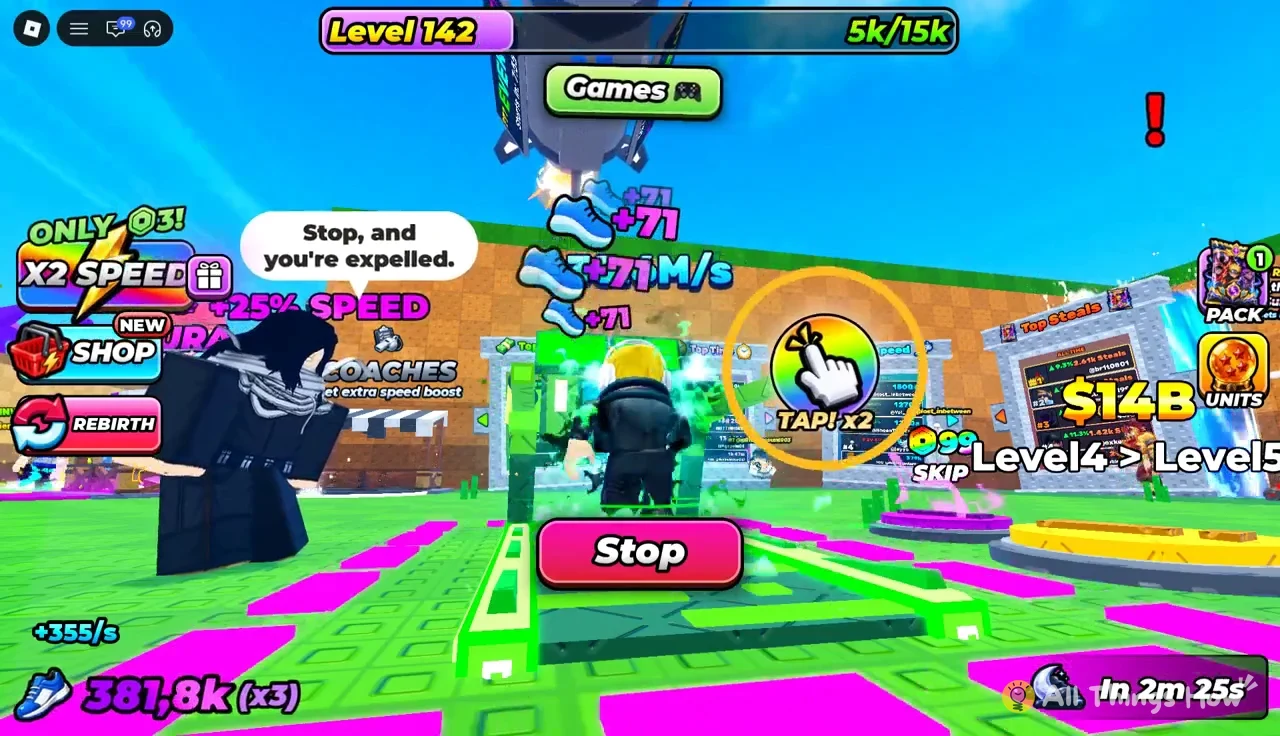
Step onto the green treadmill at the base and run. Each step adds speed and moves your level toward the next “LEVEL UP!” A per-step payout is shown as you go, and a large Stop button ends the session. An E-key Treadmill Skip prompt also appears at the machine.
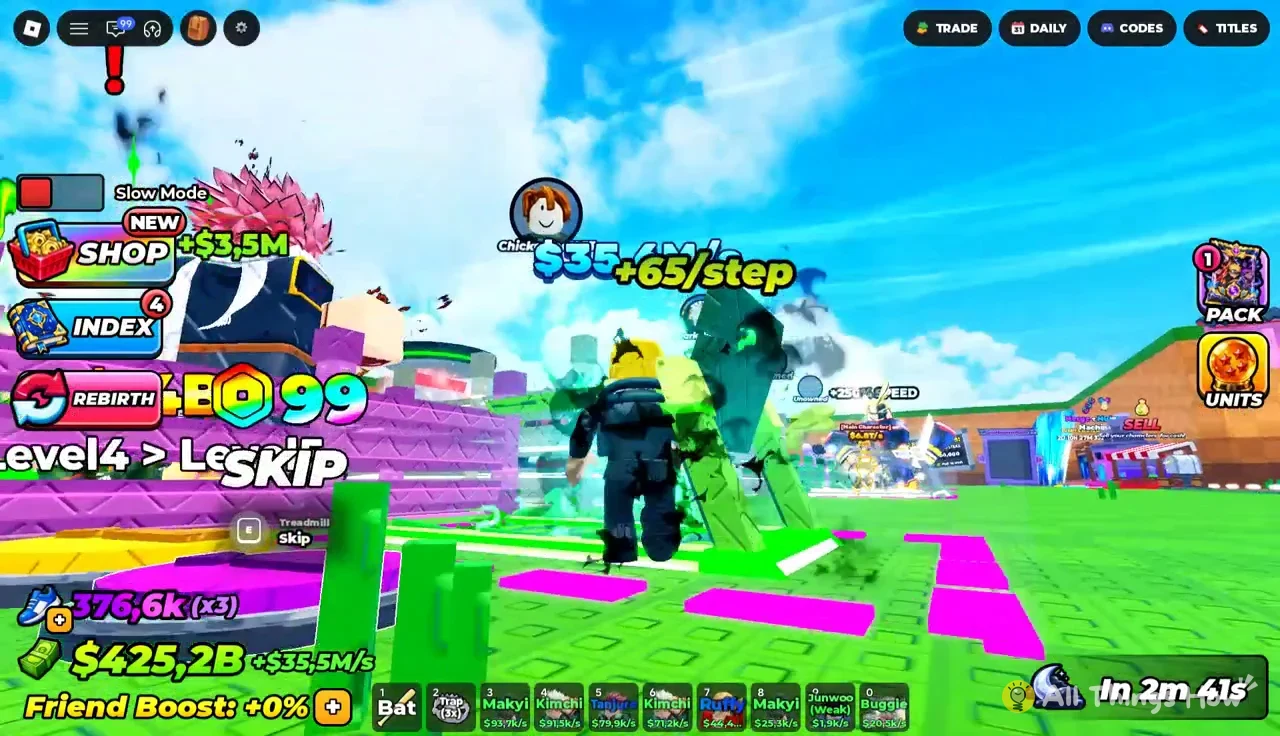
Training is not purely passive. Yellow and green circles pop up with “TAP! x2”, “TAP! x3” or “TAP! x4”. Hit them on time to build a combo, which climbs from COMBO 2 up through COMBO 9 and speeds up your gains. A late tap shows “MISS”, and breaking the chain shows “COMBO LOST”. Occasional bonuses such as “LUCKY STEP x5!” add an extra boost.
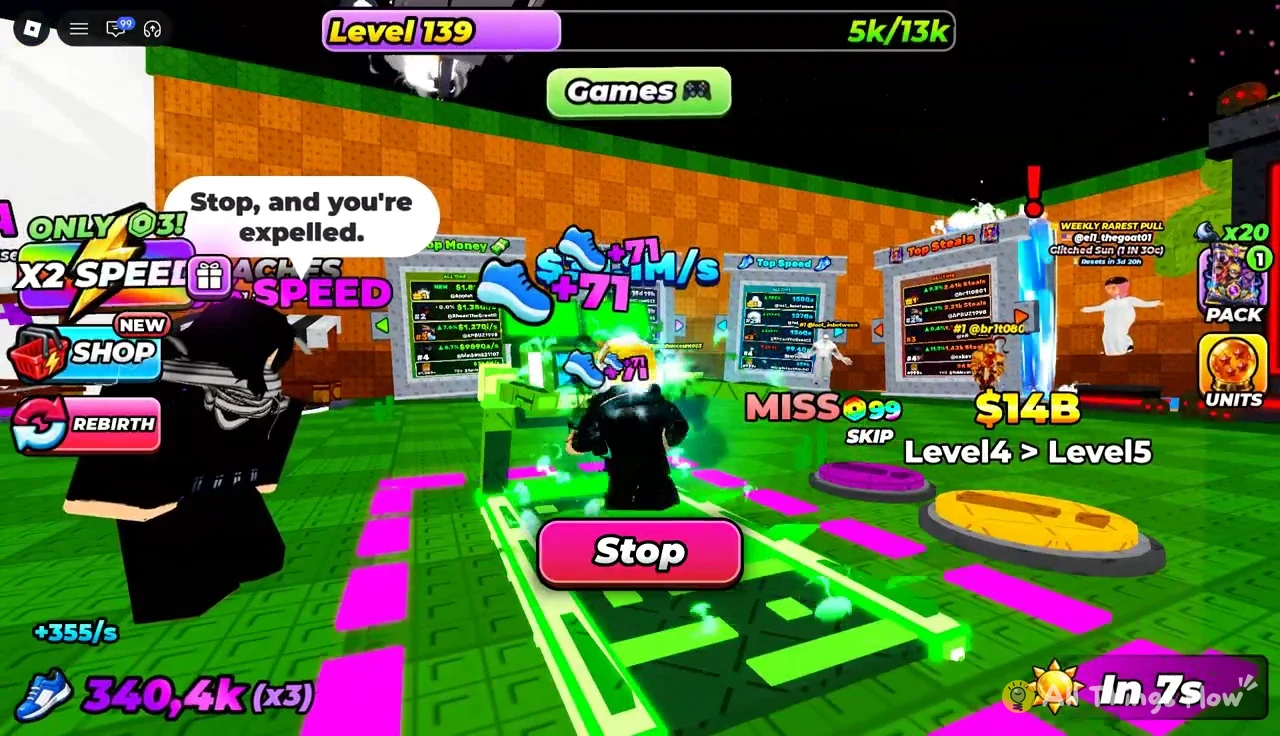
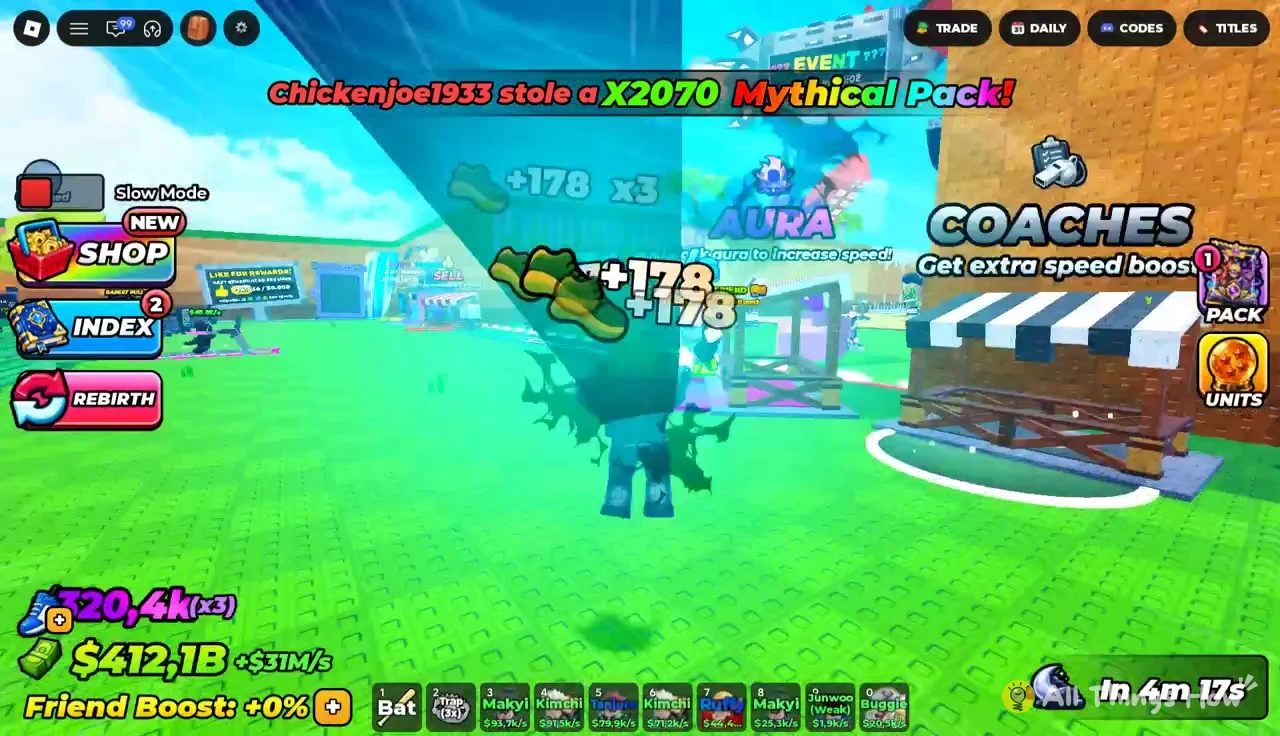
For scale, Level 148 lands at a little over 480k speed. That clears the Volcanic Zone’s 170k+ comfortably but still falls short of Beast Zone’s 700k+.
Auras
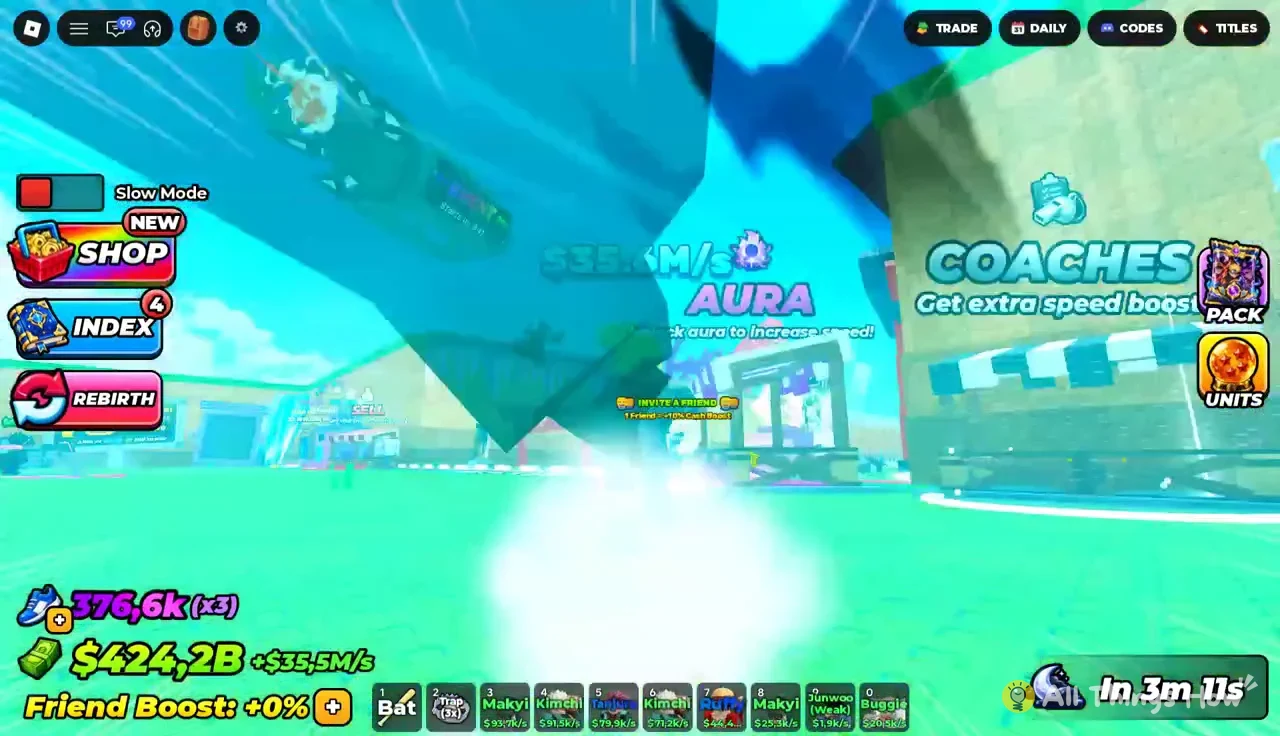
Auras are speed multipliers bought at the Aura stand at base. Each can be paid for with in-game cash or Robux, and an on-screen AURA prompt lets you click your aura while running.
| Aura | Rarity | Speed | Price |
|---|---|---|---|
| Energy Aura | Common | x1,5 | Starter |
| Toxic Aura | Uncommon | x2 | $56k or 29 Robux |
| Electricity Aura | Rare | x2,5 | $5,6M or 99 Robux |
| Shadow Aura | Epic | x3 | — |
| Light Aura | Legendary | x4,5 | $42B or 249 Robux |
| Demon Aura | Mythic | x6 | $3,5T or 499 Robux |
| Galaxy Aura | Cosmic | x8,5 | $65T or 799 Robux |
Energy Aura is available to equip from the start. Shadow Aura shows no listed price once owned. Because these are multipliers, upgrading your aura stretches every point of treadmill speed further. That is the practical route toward the billion-plus zones.
Coaches
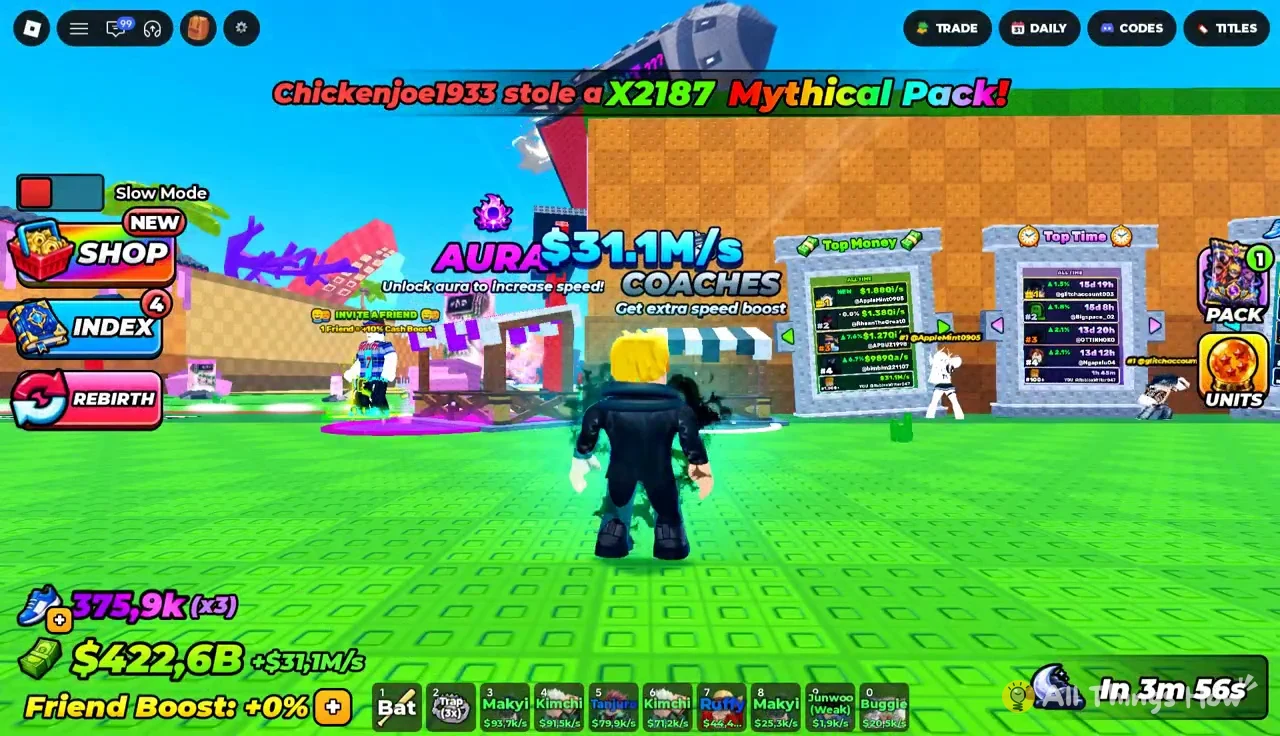
Coaches sit on their own stand near the leaderboards and add a flat percentage to speed. An active coach applies while you train on the treadmill.
| Coach | Rarity | Speed | Price |
|---|---|---|---|
| Eraser Hero | Epic | +25% | $150B |
| Tengu Master | Legendary | +40% | $1T or 179 Robux |
| Guy Might | Mythical | +60% | $5T or 249 Robux |
Merging duplicate packs from the same zone
Repeat runs into a zone often turn up the same pack more than once. Instead of opening duplicates separately, take them to the Merge Machine at base. Its rule is simple: “Put 2 same packs in to merge them into a bigger one!” The weights add together. A 457 KG and a 43 KG Shinro’s Pack combine into a single 500 KG Shinro’s Pack, and the game confirms it with “MERGED!”
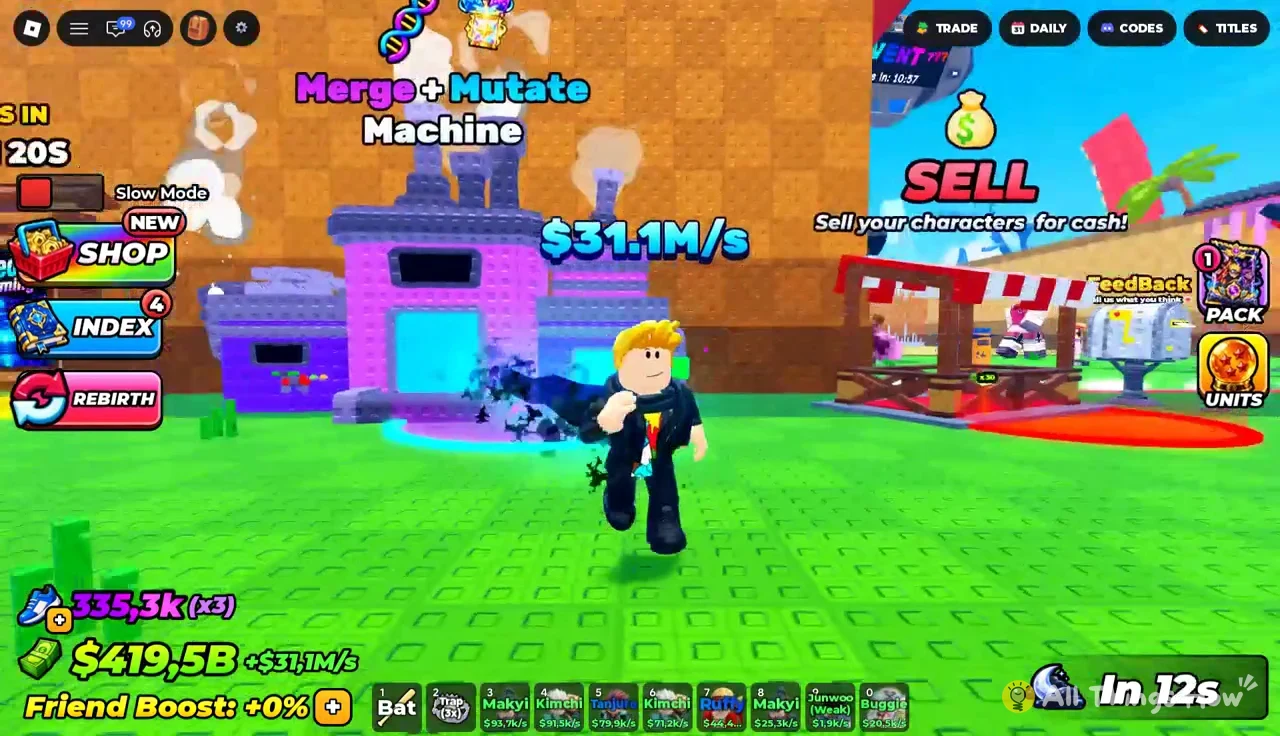
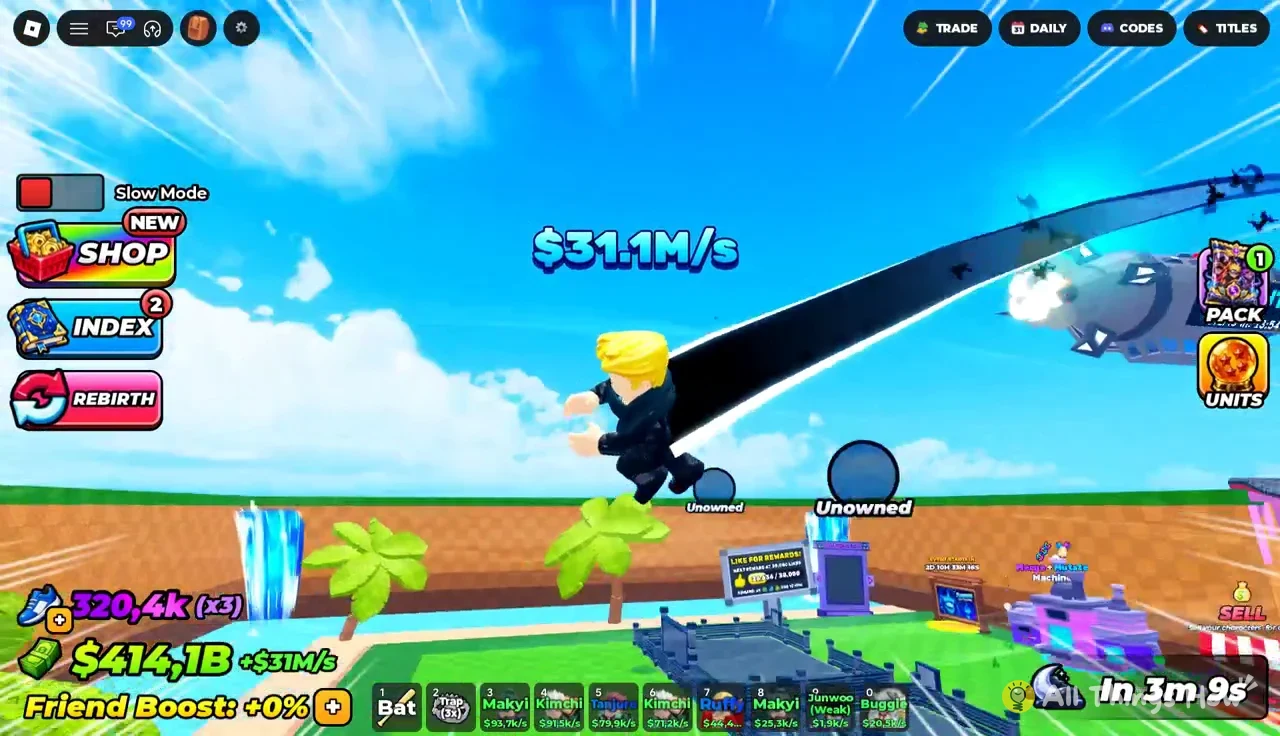
Bigger packs hatch heavier characters, and heavier characters earn more cash. More cash then pays for the Auras and Coaches that open the next zone. The Mutate Machine sits next to the Merge Machine, and the SELL station is close by.
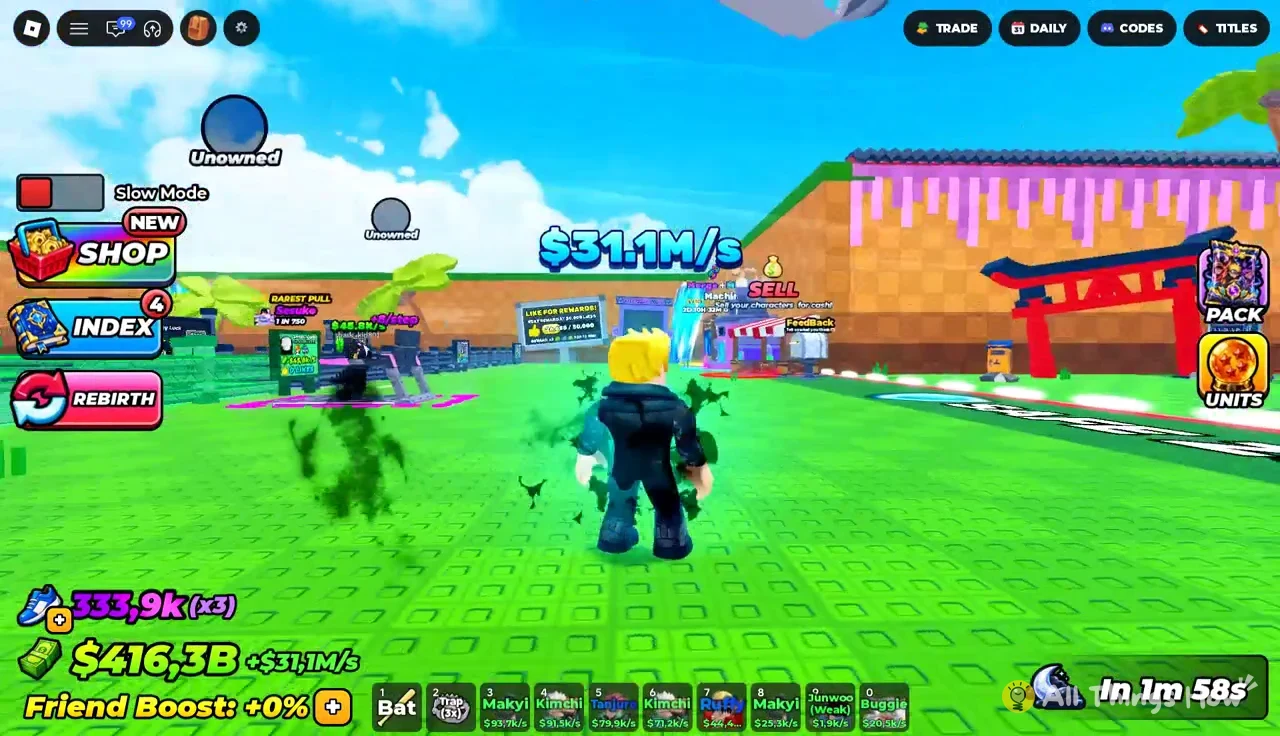
Once a merged or freshly stolen pack is in the pen, head back out. Work the highest zone your speed sign clears, train between runs, and the next zone on the list comes within reach.