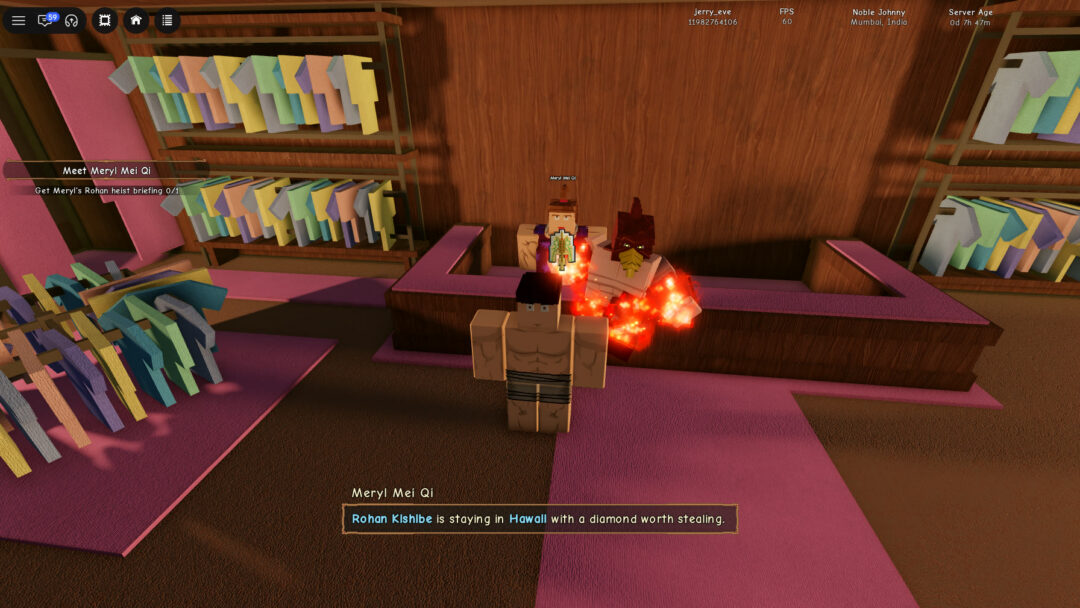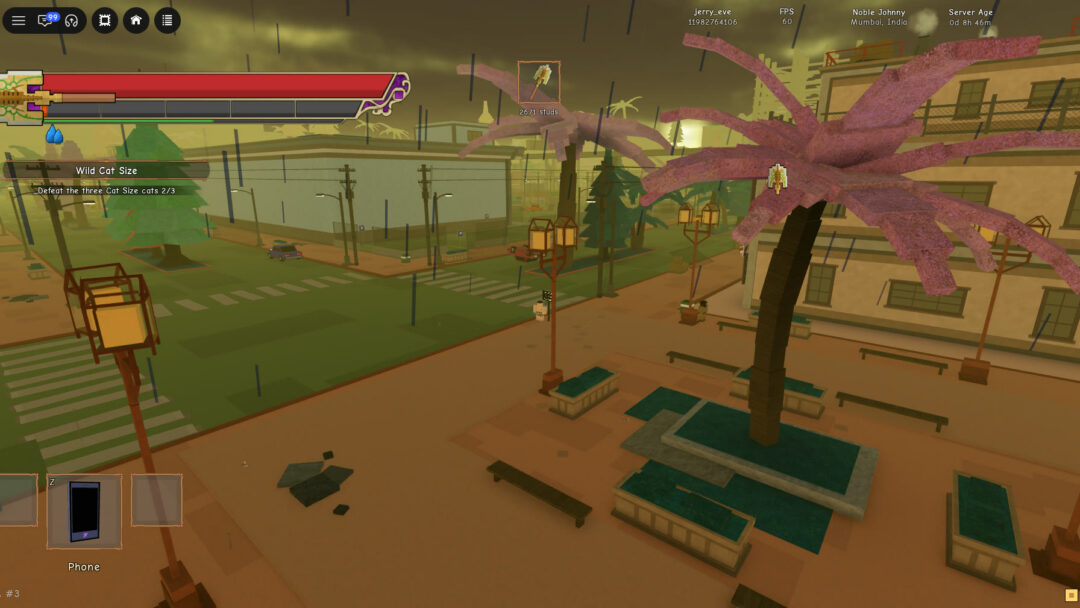
Stand Out doesn’t make you wander O’ahu looking for the people who matter. The phone’s Maps app keeps a running list of characters, places and quests. Tap any row and the map jumps to its pin and tells you how many studs away it is. The catch is that the list doesn’t explain itself. Shops sit next to people, quests sit next to buildings, and two of the characters you’ll bump into in person don’t appear on it at all.
Quick answer: Press z, open Maps, hit “Filters”, pick the NPCs tab and tap a name. The map moves to that pin and shows your distance in studs.
How to find any NPC with the Stand Out phone map
z to pull out the phone. It opens on a grid of app icons, so you don’t need to dig through menus.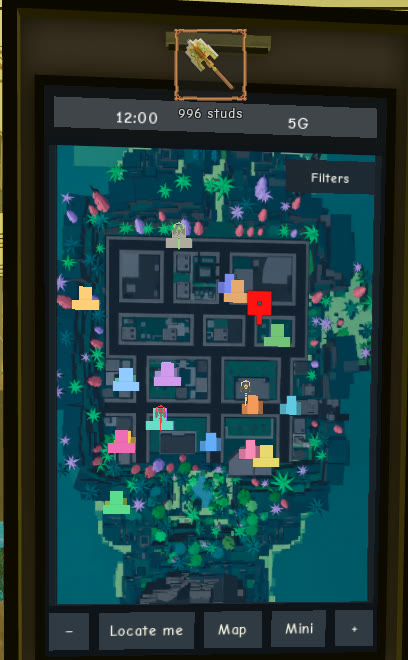
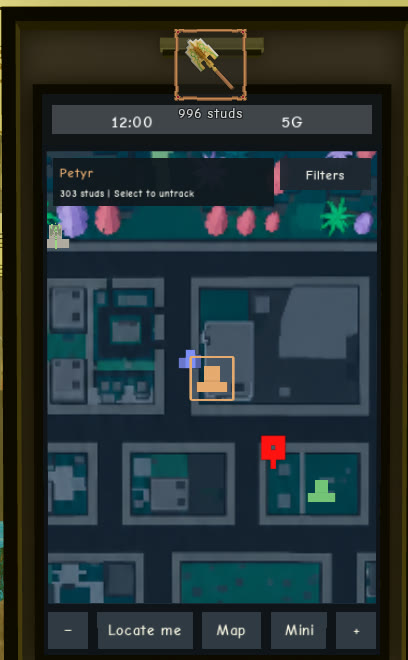
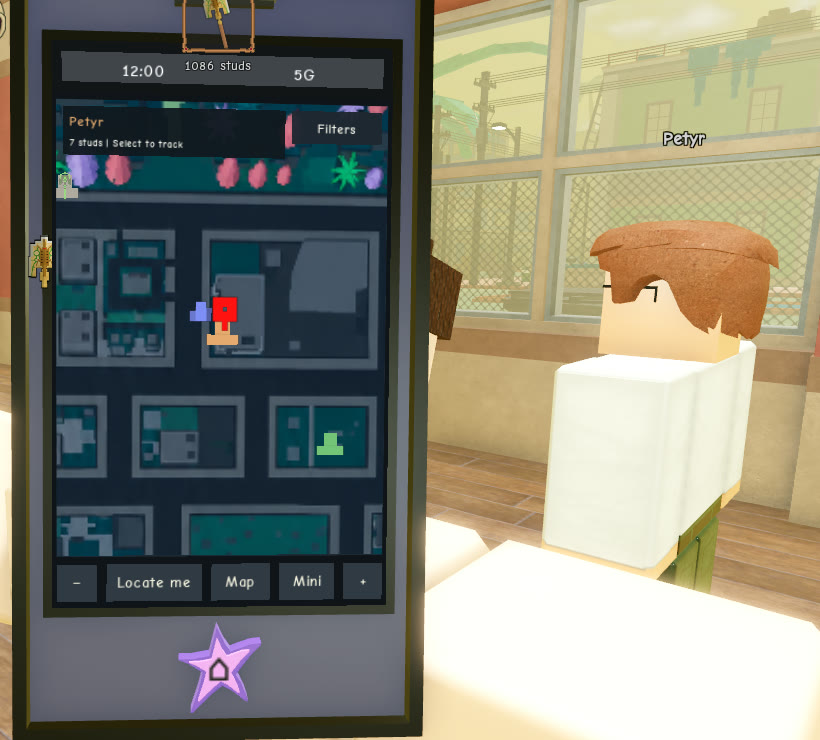
That distance number updates as you move, so it works as a live “how far am I” readout rather than a note stuck to the pin. Petyr is a good example. From across the map his row reads “303 studs | Select to untrack”. Standing next to him inside the Police Station, it reads “7 studs | Select to track”. When the number gets that low, look for the floating name plate. Characters carry plain white text above their heads, such as “Petyr” or “Jodio,” so you can pick them out of a crowd.
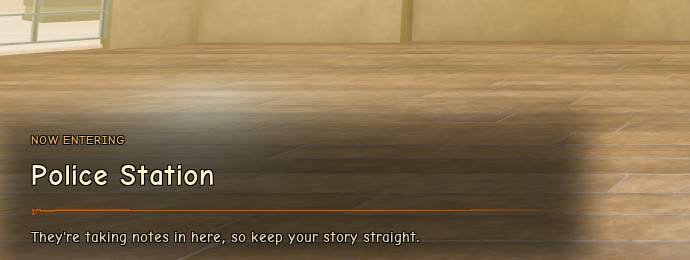
Named buildings also announce themselves when you walk in. Stepping into the Police Station prints “NOW ENTERING”, then “Police Station”, then the line “They’re taking notes in here, so keep your story straight.” It’s a quick way to confirm you’re in the right place.
Every row on the NPCs tab
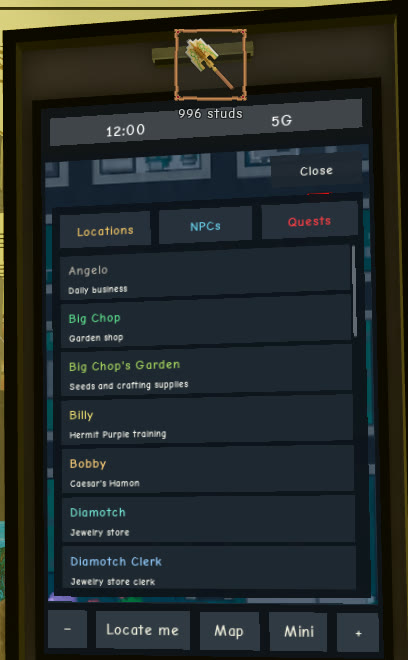
The NPCs tab is a single alphabetical list that mixes people, places and quests. That’s why Big Chop’s Garden, a shop, appears between Big Chop and Billy. The Locations tab contains just the place entries. The tables below group the entries by type, with each row showing the line printed beneath the name on the map.
People
| Name on the map | Line under the name |
|---|---|
| Angelo | “Daily business” |
| Big Chop | “Garden shop” |
| Billy | “Hermit Purple training” |
| Bobby | “Caesar’s Hamon” |
| Diamotch Clerk | “Jewelry store clerk” |
| Donatello | “Bizarre Adventures (raids)” |
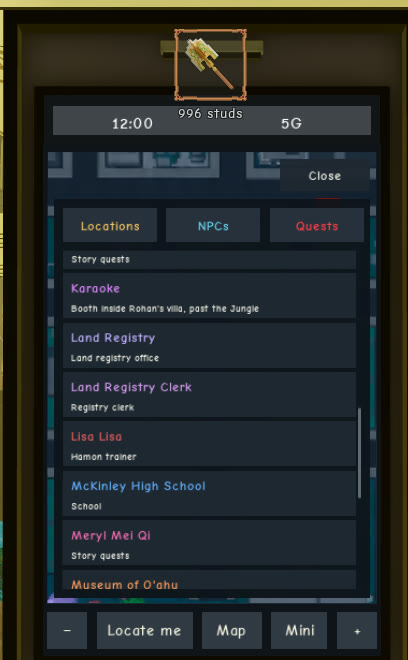
| Jodio | “Story quests” |
| Land Registry Clerk | “Registry clerk” |
| Lisa Lisa | “Hamon trainer” |
| Meryl Mei Qi | “Story quests” |
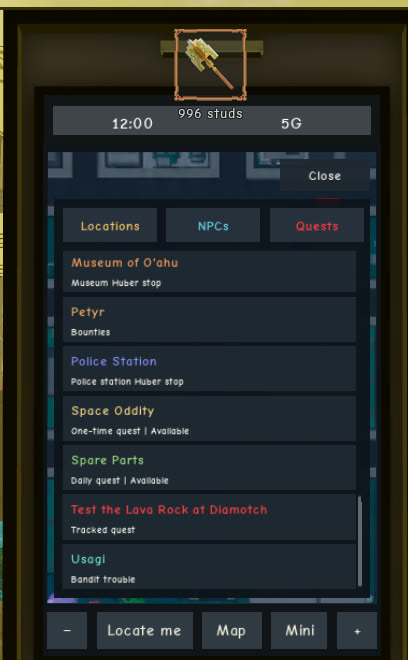
| Petyr | “Bounties” |
| Usagi | “Bandit trouble” |
Those lines are the fastest way to match a name to a need. If you want bounties, the map lists Petyr. Two names share “Story quests”, Jodio and Meryl Mei Qi. For seeds or crafting, the map lists Big Chop as “Garden shop” and his storefront separately below.
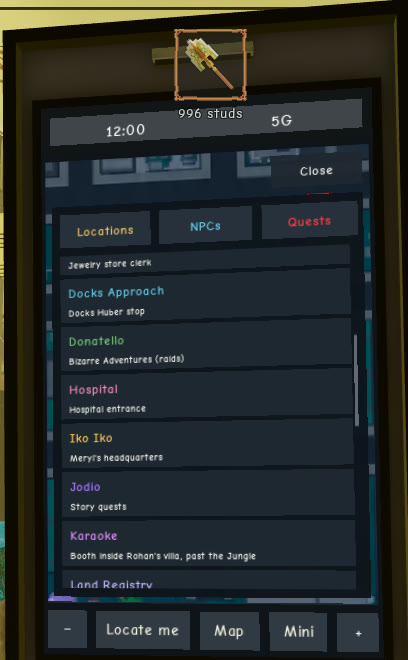
Places
| Name on the map | Line under the name |
|---|---|
| Big Chop’s Garden | “Seeds and crafting supplies” |
| Diamotch | “Jewelry store” |
| Docks Approach | “Docks Huber stop” |
| Hospital | “Hospital entrance” |
| Iko Iko | “Meryl’s headquarters” |
| Karaoke | “Booth inside Rohan’s villa, past the Jungle” |
| Land Registry | “Land registry office” |
| McKinley High School | “School” |
| Museum of O’ahu | “Museum Huber stop” |
| Police Station | “Police station Huber stop” |
Quests
| Row | Line under it |
|---|---|
| Spare Parts | “Daily quest | Available” |
| Space Oddity | “One-time quest | Available” |
| Test the Lava Rock at Diamotch | “Tracked quest” |
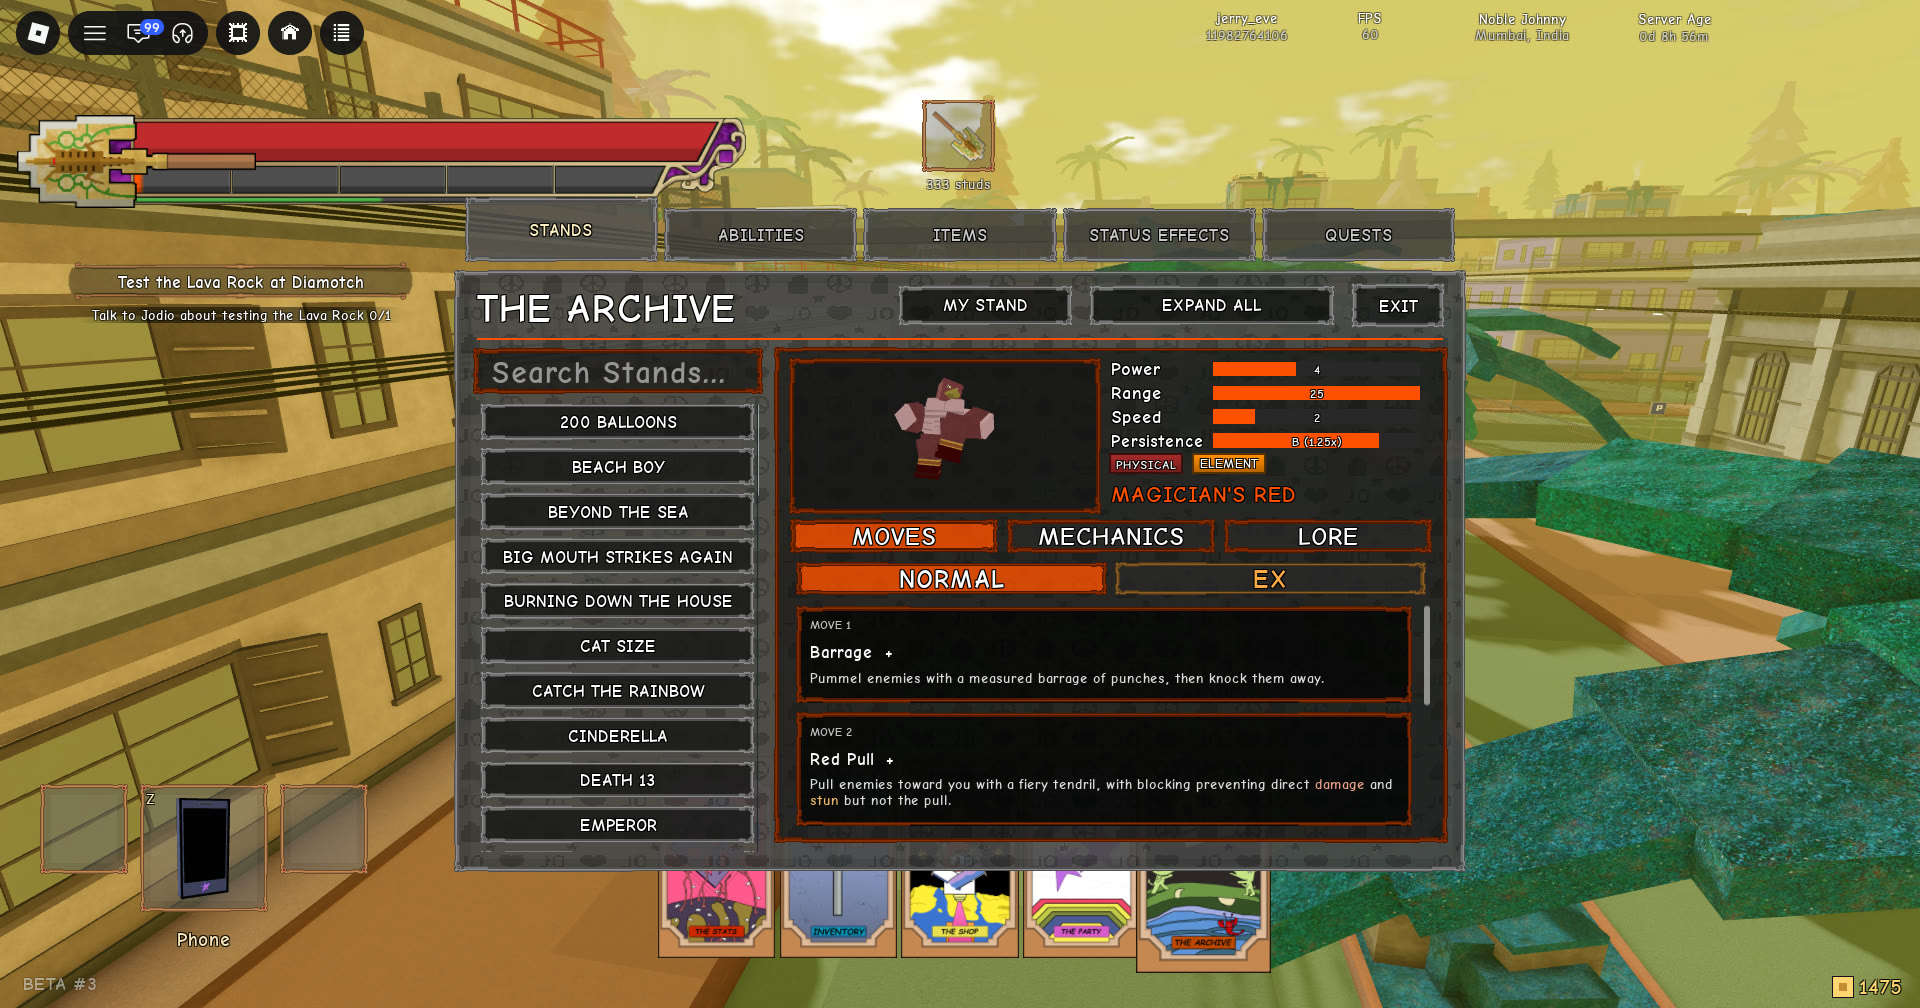
The quest rows reflect your own save, so they change with your progress. They aren’t a full catalog of every quest in the game. When “Test the Lava Rock at Diamotch” is running, the tracker in the top left reads “Test the Lava Rock at Diamotch” with “Talk to Jodio about testing the Lava Rock 0/1” underneath. That makes Jodio the first story-quest name you’ll need to find.
Where Billy, Lisa Lisa, Jodio, Usagi and Petyr stand
A map pin tells you roughly where to go. These five spots are what you’ll see when you arrive.
Billy in the Hospital
Billy lies in a hospital bed. His map row says “Hermit Purple training”, but if you’re after Hamon, he points you elsewhere:
“Hamon? That’s Lisa Lisa’s department. She’s by the big pillar. Bring dalas, she doesn’t teach for free.”
The only reply available is “1. Thanks.”
Lisa Lisa at the training grounds
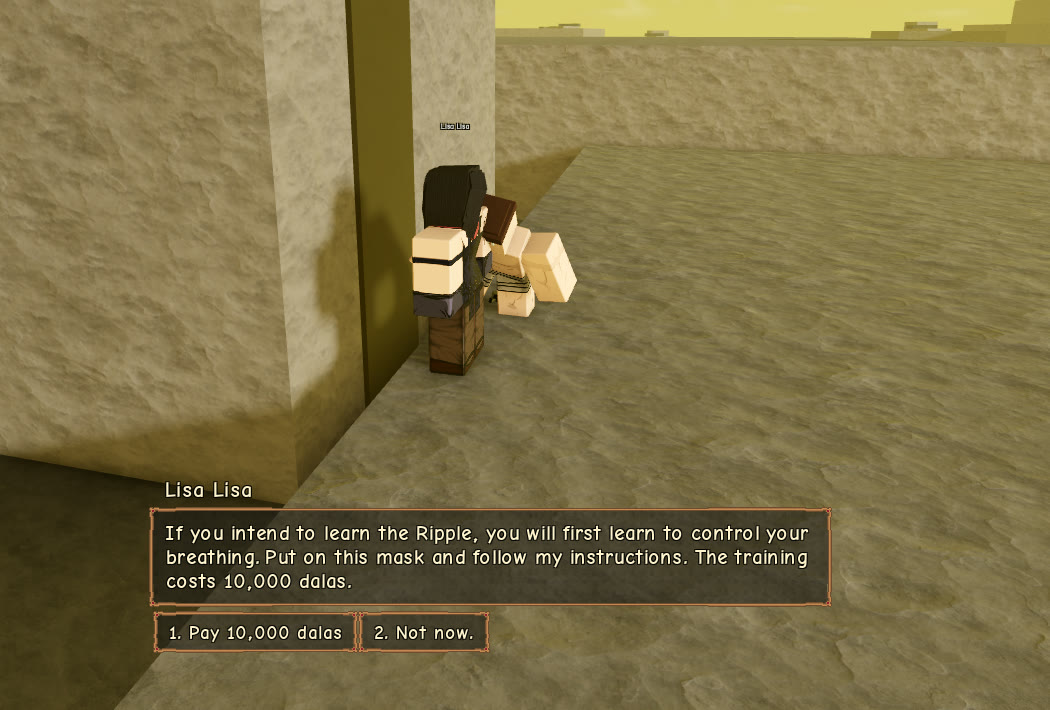
Lisa Lisa waits at the training grounds on open stone paving, beside a very large plain stone pillar. Her map row reads “Hamon trainer”. Talk to her and she lays out the terms: “If you intend to learn the Ripple, you will first learn to control your breathing. Put on this mask and follow my instructions. The training costs 10,000 dalas.” You can pick “1. Pay 10,000 dalas” or “2. Not now.” The full route is in our guide on how to get Hamon in Stand Out.
Jodio, Usagi, Dragona and Paco by the fence
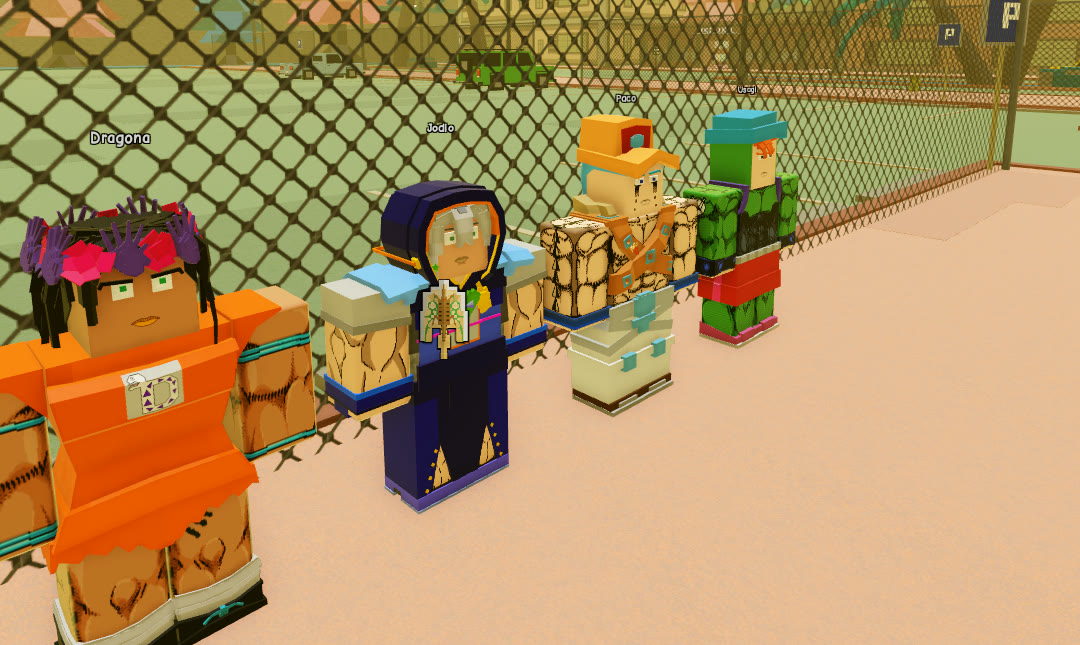
At Jodio’s pin, you’ll find a paved parking area and a parking sign behind a chain-link fence. Four characters stand in a line there, each carrying a cardboard box. Their labels identify them, in order, as Dragona, Jodio, Paco and Usagi.
You won’t find Dragona or Paco in the phone list; go to Jodio’s pin to reach them. Usagi appears separately under “Bandit trouble”.
Petyr in the Police Station
Petyr’s map row reads “Bounties”; the bounties themselves are covered in our Stand Out bounties list. He stands on the ground floor of the Police Station, next to a chain-link partition, with a desk of monitors and a chest of drawers behind him. Once the “NOW ENTERING” banner clears and your readout drops to single-digit studs, look for his white “Petyr” name plate.
For every other name, the map pin is your only lead. Tap the row, follow the stud count down, and watch for the name plate when you get close.