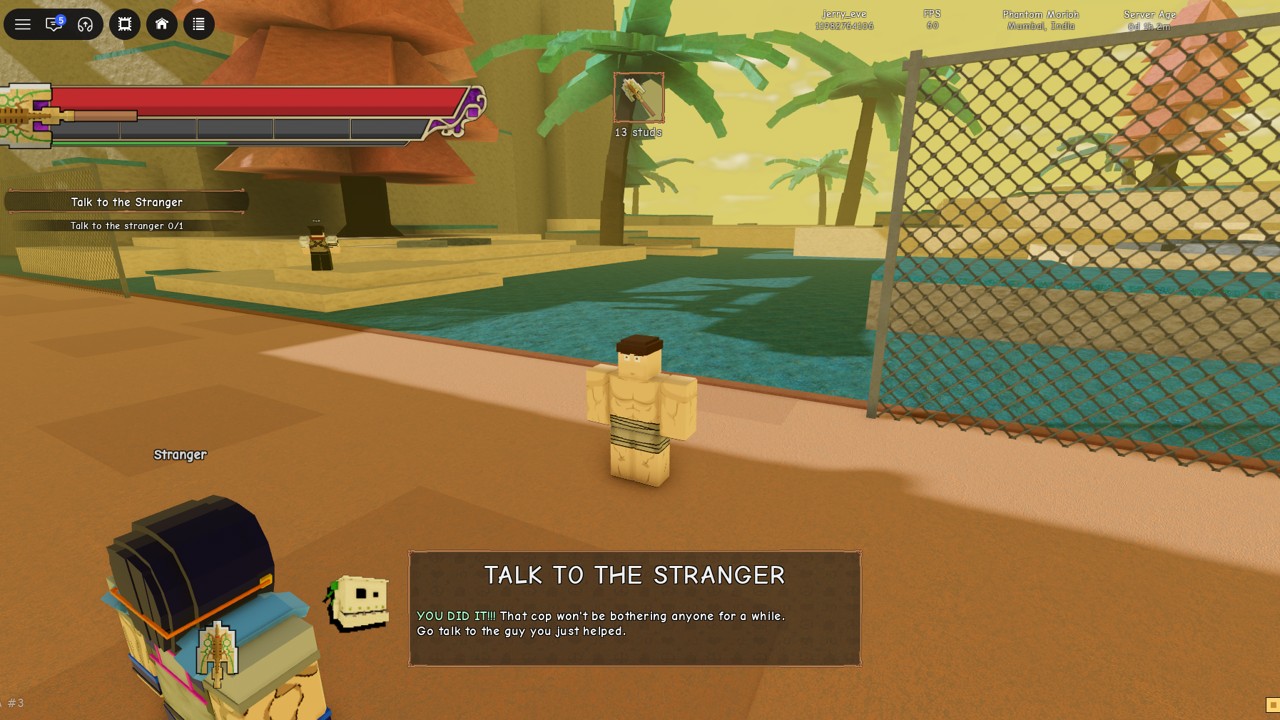
Stand Out drops you on a beach next to a pickup truck and gives you very little direction after that. The opening storyline runs as a fixed chain of tracker objectives, each one replacing the last. It starts with a man labelled Stranger and ends when Meryl Mei Qi takes a diamond and a watch off your hands at Iko Iko. The stretch from the first objective to that hand-in takes about an hour of play. Most of the EXP and arrows come from two places, the Diamotch jewellery store chain and the Meryl hand-in.
Quick answer: The order is Jodio, the sand arrow, your first Stand, Stand Basics, Diamotch, the food bag, the Charming Man ambush, then Meryl Mei Qi. Diamotch pays 3200 EXP, 2 Arrows and 1 Diamotch Watch.
Stand Out opening quest order and rewards
The rows below follow the tracker order.
| # | Tracker title | What you do | Reward |
|---|---|---|---|
| 1 | Talk to the Stranger | Talk to Jodio by the pickup truck | Nothing |
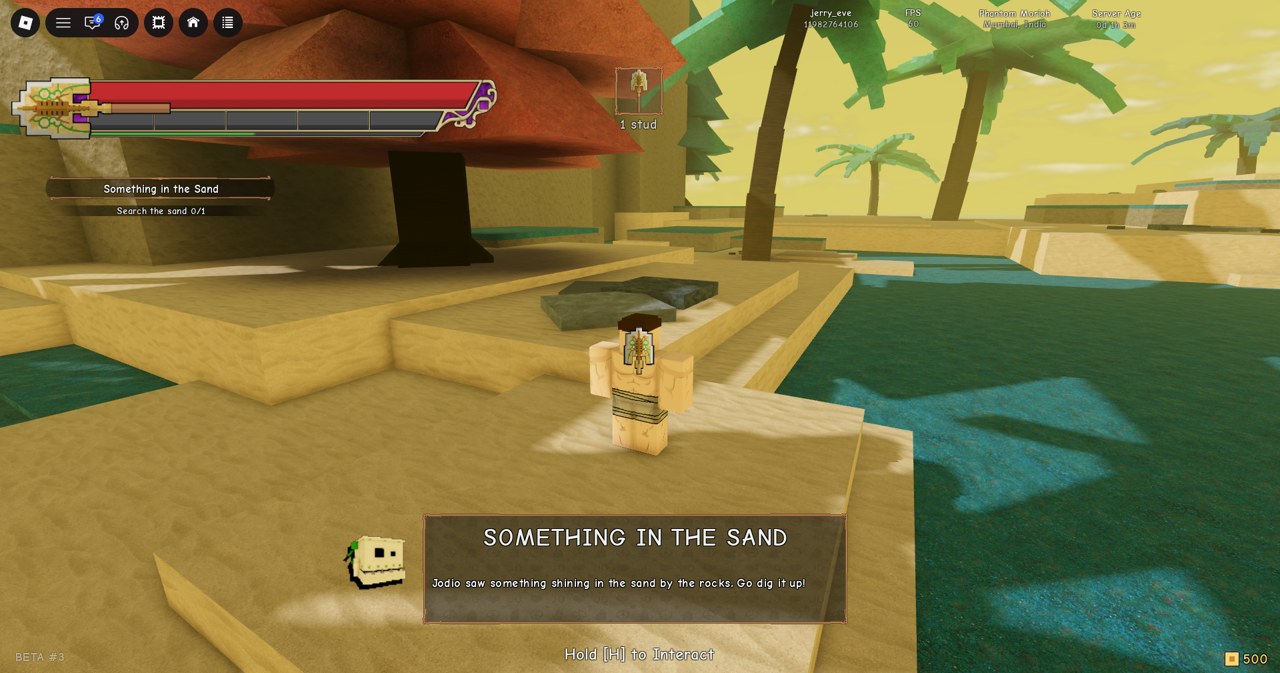
| 2 | Something in the Sand | Search the sand by the rocks | Free Mysterious Arrow |
| 3 | Your First Stand | Use the arrow from the inventory | A Stand, rolled on the spot |
| 4 | Stand Basics | Learn E and L.Ctrl | Nothing |
| 5 | Test the Lava Rock at Diamotch | Eight-step chain at the jewellery store | 3200 EXP, 2 Arrows, 1 Diamotch Watch |
| 6 | Open the Food Bag | Hold H on the bag on the tyre | +450 EXP |
| 7 | Charming Man Ambush | Fight two men with long knives | No reward of its own |
| 8 | Return to Iko Iko / Report to Meryl Mei Qi | Hand Meryl the diamond and watch | +500 EXP, +1 Arrow, +1 Pineapple Seed — Grade F |
| 9 | The Good Stuff, Grow | Purchase a Garden Pot and Dirt Bag at Big Chop. | Where the opening chain hands off |
Jodio, the free arrow and your first Stand
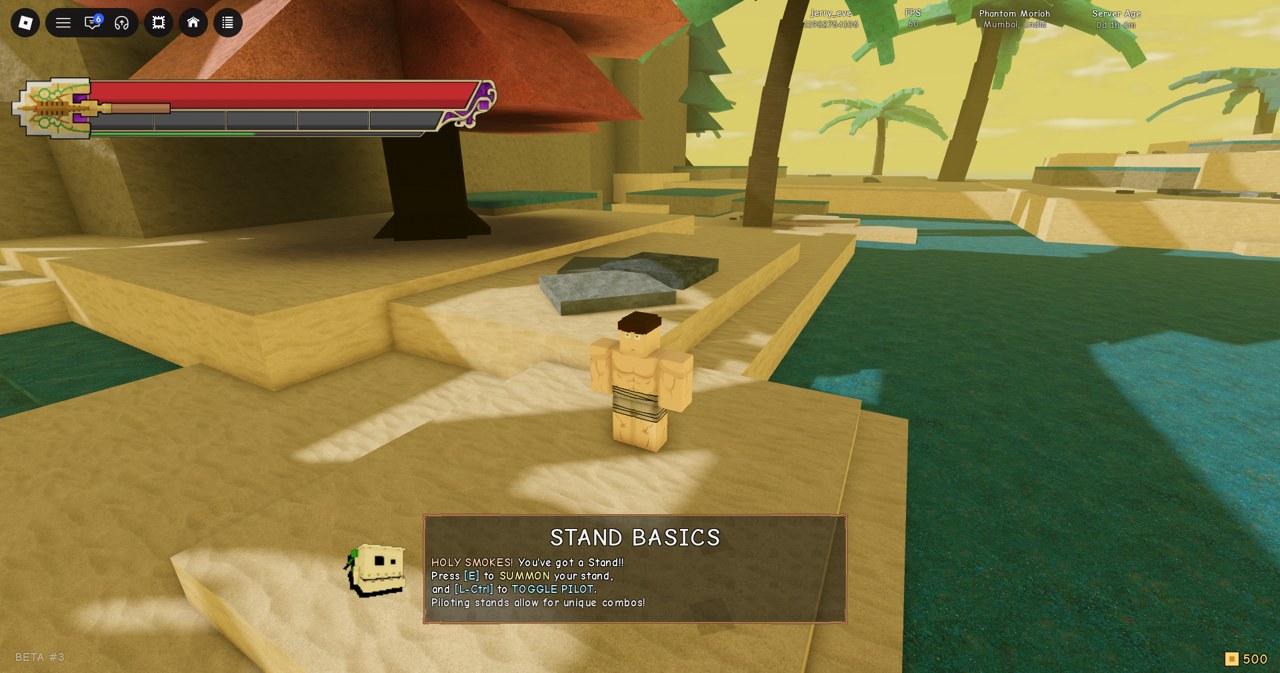
The first four objectives all happen on the beach and pay almost nothing in EXP. They do hand you the tutorial’s free arrow, though, so don’t spend money on an arrow before you get here.
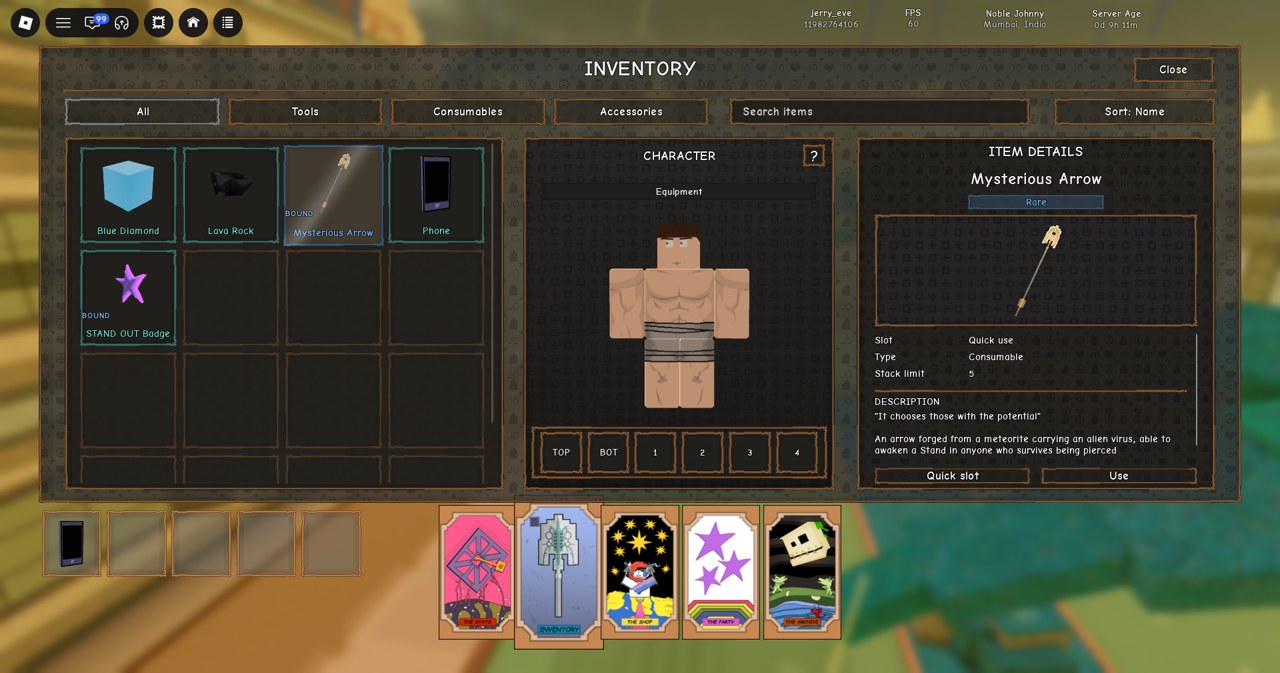
The tutorial arrow is a roll, not a choice. Nothing tells you which Stand you’ll get before you press Use, and two fresh saves can get two different Stands from the same tutorial arrow, such as 200 Balloons on one and Magician’s Red on the other.
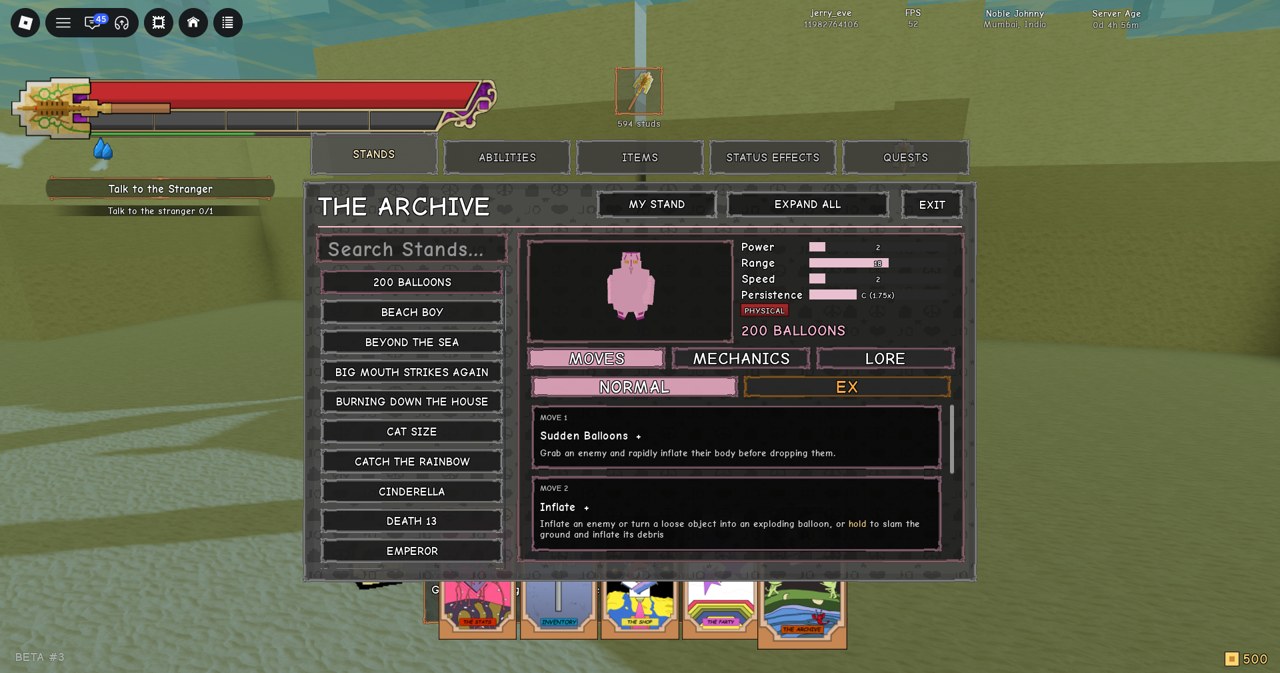
The “STAND BASICS” card follows, and it is the tutorial’s entire lesson on Stands: “HOLY SMOKES! You’ve got a Stand! Press [E] to SUMMON your stand and [L.Ctrl] to TOGGLE PILOT. Piloting stands allow for unique combos.” No reward is attached. To judge the Stand you rolled, check the Stand Out tier list. To roll again, see how to reroll Stands with a Mysterious Arrow and the first Stand and arrow rerolls starter guide.
Test the Lava Rock at Diamotch: the eight-step chain
The next objective reads “Test the Lava Rock at Diamotch” with the counter “Talk to Jodio about testing the Lava Rock 0/1”. It is the longest piece of the opening hour and the best-paying one. The full Lava Rock walkthrough has every line and step. In outline, you accept the job from Jodio, ask the Diamotch clerk to see the watches, sit in the back room, get accused, fight two guards, pick the watch up off the floor, hear the apology and walk back to Jodio.
Jodio’s corner is roughly 380 studs from the jewellery store; as you walk, the tracker pin counts down the distance. Inside, the area card displays “NOW ENTERING — Diamotch”. The back-room sofa prompts you with “Hold [H] to Sit”.
- Total: 3200 EXP, 2 Arrows and 1 Diamotch Watch.
- Per step: Six of the eight steps award 450 EXP each; the guard fight awards 500 EXP.
- Level ups: printed on steps 1, 3 and 7.
The guard fight, tracked as “Defeat Diamotch Security 0/2”, is the toughest fight in the opening chain. The two guards can take health from 103 down to 5 of 103 before the second one falls. A health item on the hotbar used mid-fight buys you room to finish them.
Open the Food Bag and the Charming Man Ambush
Once you hand the result back to Jodio, the tracker immediately becomes “Open the Food Bag” with “Open Jodio’s food bag 0/1”. His line is “The watch came back? Then the Lava Rock works. I picked up food too, grab some if you want. It’s on the tire over there.” The bag sits on a tyre near his corner. Hold H on it, and a bar fills for about a second. The game confirms it with “Quest Completed! | +450 EXP”.
The next tracker objective is “Charming Man Ambush” with “Defeat Charming Man 0/1”. It gives you no destination pin. Two matching opponents, both named Charming Man and armed with a long knife, attack in the open street near Jodio’s corner. Their hits deal heavy damage: one exchange can drop health from 103 to 50, and one punch can send you roughly 100 studs down the street.
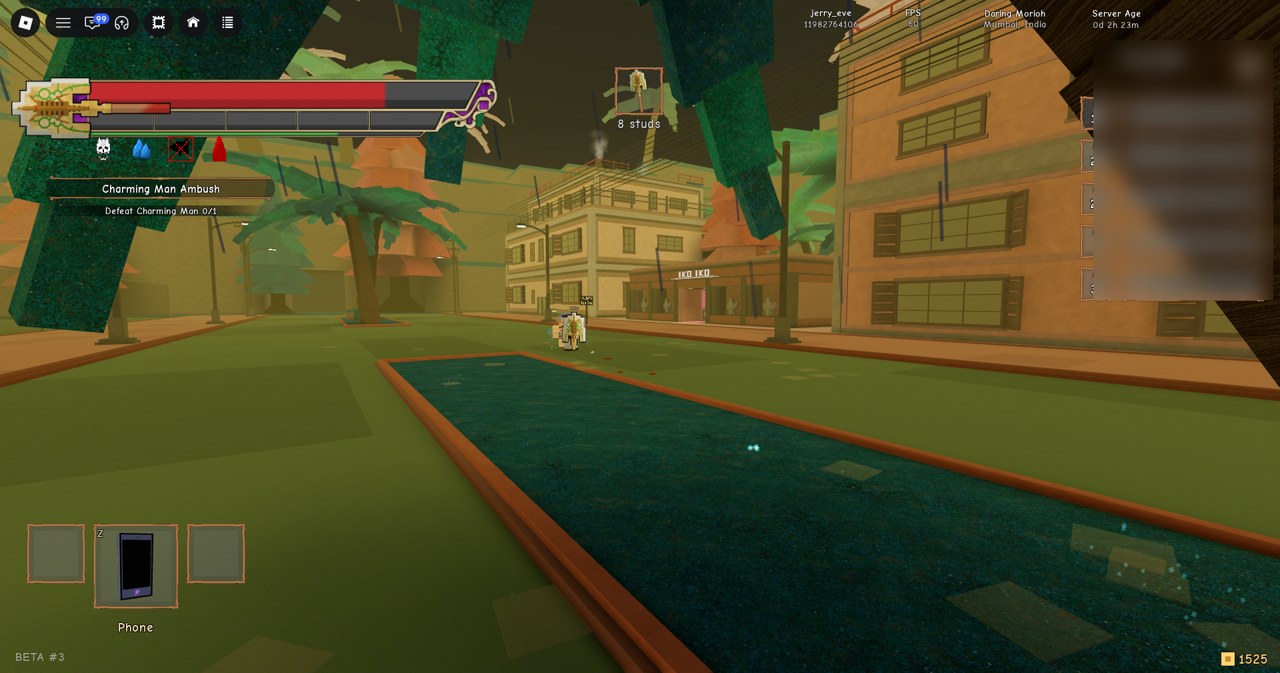
- Keep clicking them for light punches.
- Use R to throw a heavy punch between bursts.
- Break off when your health bar is low. It refills to 103/103 about a minute after you get clear.
Don’t wait for the counter to tick over. You know the ambush is done when the tracker changes to “Return to Iko Iko”, and that can happen while the fight is still going on screen. The ambush prints no reward of its own; the next payout comes at the hand-in. The Charming Man Ambush guide covers the fight and the hand-in in full.
Report to Meryl Mei Qi at Iko Iko
Iko Iko is a shop front with a painted sign and an open, orange-lit doorway. Walk inside and Meryl Mei Qi offers two replies, “1. Hand over the diamond and watch.” and “2. Not yet.”. Pick the first one.
The reward message reads “Quest Completed! | +500 EXP | +1 Arrow”, followed by “Level Up!” and “+1 Pineapple Seed — Grade F”. During the street fight, the player list shows level 12; immediately after turning in the quest, it shows level 14. Completing this step also opens the phone’s Bounties board, where a Tier 1 job pays Dalas x23-27 (see the full bounties list). The app pays nothing before the hand-in.
The tracker then moves to “The Good Stuff, Grow” with “Buy a Garden Pot and Dirt Bag from Big Chop 0/1”. That is where the opening chain hands you over to the next part of the story.
Unspent stat points piling up along the way
Each Level Up in the chain brings a notice such as “You have 3 unspent stat points”, and the total continues to climb. It hits 21 by the third Diamotch step and 27 by the seventh. Expect to reach Meryl with 20-odd points unspent. The stat points guide covers spending them and the Archive.
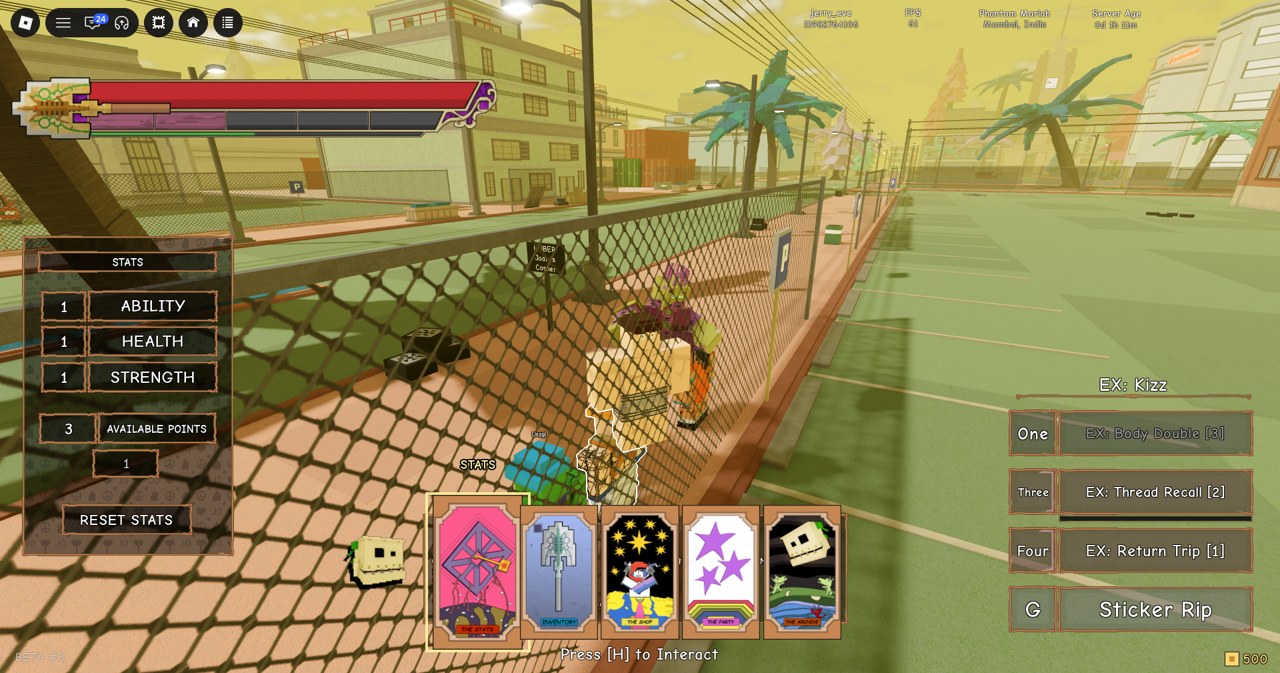
To spend them, press M and open THE STATS, the first card in the row. The STATS panel lists ABILITY, HEALTH and STRENGTH, each with a number, a 1 stepper, the AVAILABLE POINTS count and a RESET STATS button. One point buys one level of one stat. For example, taking HEALTH from 9 to 10 drops available points from 3 to 2.
Getting between Jodio, Diamotch and Iko Iko
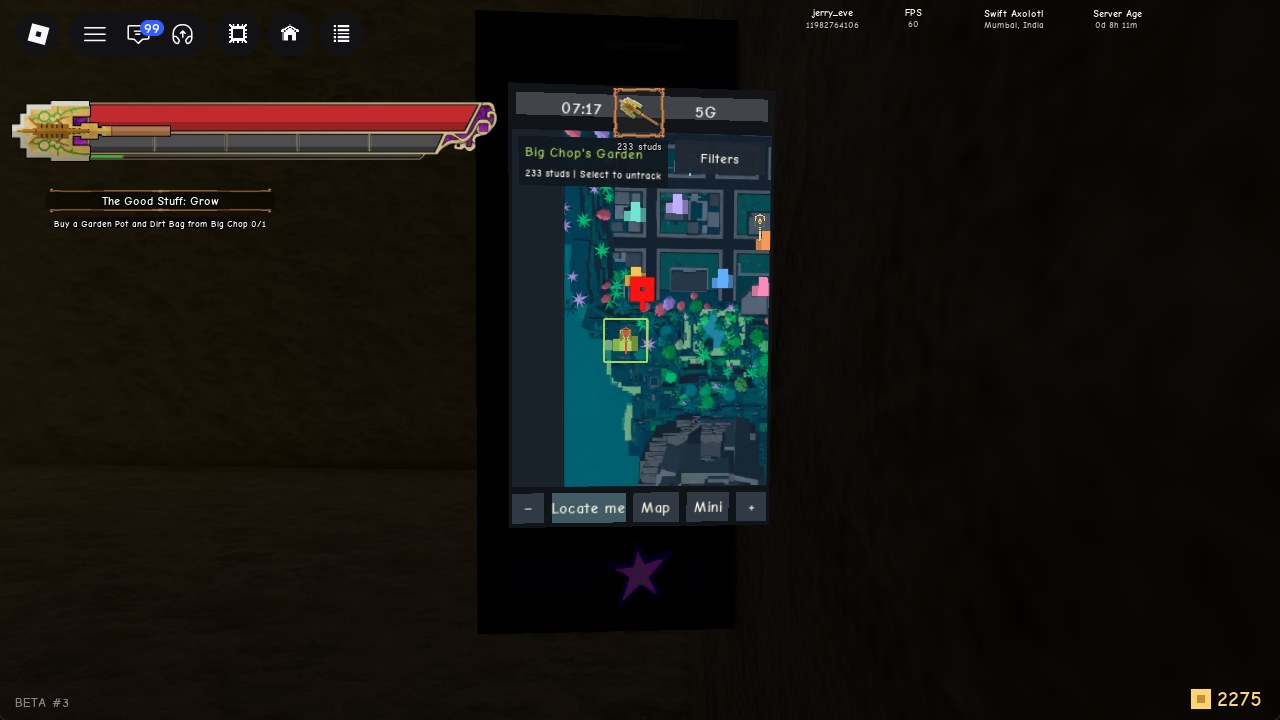
The phone occupies quick slot 1 and is opened with Z. Tap an icon to select it, then tap it again to launch; you can still move with the phone open. The Map app keeps north at the top and displays the tracked quest’s name and distance in studs across the top. Your position appears as a red arrow within a yellow box, and the destination is pinned. Its controls are Locate me, Map / Mini and − / +.
Huber is the taxi app, one of the phone apps. It opens on “Where to?” with the pickup set to “Nearest clear street”, and the button reads “Call Hubert | 50 dalas”, though it shows Free on a brand-new save, which starts with 500 Dalas. Call from a road, because calling from anywhere else doesn’t bring a cab. Once you’re inside, the app lists the stops. Those stops change depending on where you were picked up, and Diamotch, Rohan’s Villa Trail and Docks Approach all appear from different pickups. The Huber taxi guide has the details.
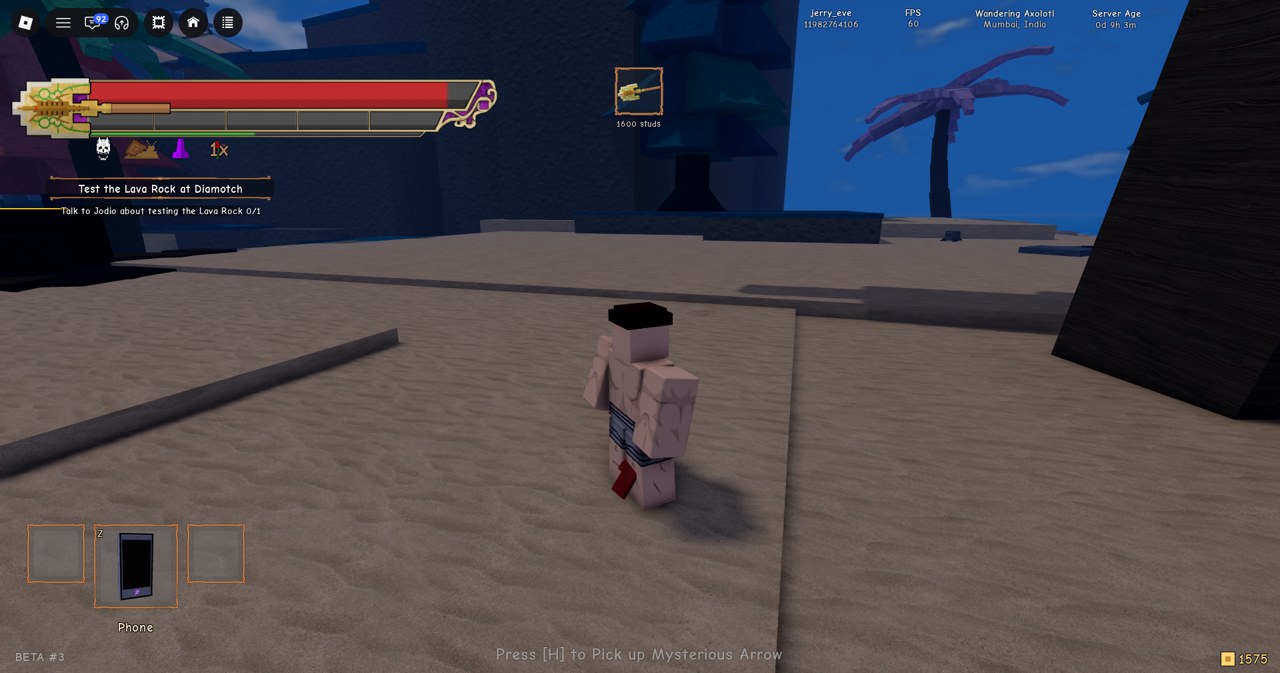
You can find arrows beyond the hand-in rewards as well. Along with the two from Diamotch and the one from Meryl, Mysterious Arrows also lie on the ground in the world. Pick one up using the prompt “Press [H] to Pick up Mysterious Arrow”; the workbench in Big Chop’s Garden has arrow recipes (see every arrow recipe).