Placement in Toilet Tower Defense comes down to two things. You need to get a unit onto legal ground quickly, and you need to put it where enemies stay inside its small attack circle for as long as possible. The Camerawoman is the cheap Basic unit that fills that early role. She has a short reach, so a tile a few steps too far from the path can leave her barely firing. The controls, costs and positions below hold a solo line through the first six waves of the Toilet City base.
Quick answer: Pick hotbar slot 1 ($80), move the template until its circle turns green, press R to rotate, and click to place. Put Camerawomen right on the path edge at turns, then upgrade for $150.
How to place a unit in Toilet Tower Defense
Every placement uses the same short sequence. The game shows two reminders on screen while a unit is in hand: "R" to Rotate Unit! and "X" to Cancel!.
You can tell the placement worked in three ways. The $80 comes off your cash, a white range ring appears permanently under the new unit, and the unit starts firing as soon as an enemy enters that ring. If the circle stayed red, nothing is placed and no cash is spent.
Where to place Camerawoman on the track
A Level 1 Camerawoman has a radius of only 8, so distance from the road matters more than anything else. Slide the template as close to the path edge as the green circle allows. A unit set back on open ground covers only a thin slice of track and wastes most of her already slow 3-second attack cycle.
Turns are the best ground. When a Camerawoman sits on the outside or inside of a bend, the path wraps around her circle, and enemies spend more time in range than they would on a straight run. Corners where two stretches of road pass close together are better still, because one unit can hit the same enemy on the way in and again on the way out.
- Outer and inner edges of turns: the first spots to fill, since the bend keeps enemies in range longest.
- Straight path sections: acceptable for extra coverage once the turns are taken, as long as the unit hugs the edge.
- Near the enemy spawn portal: starts damage early, so tougher enemies arrive at the rest of the line already hurt.
- Further down the defense line: catches leakers before they reach Toilet City.
- Both sides of the street: lets overlapping circles focus the same enemy from two directions.
Map props such as the wooden crates beside the road are not a problem as long as the circle stays green. Tuck a unit against them if that is the closest legal spot to a turn.
Camerawoman stats and upgrade costs by level
The Camerawoman is a Basic unit with three levels. Each upgrade raises damage and radius and cuts the cooldown between shots by one second.
| Level | Damage | Cooldown / Radius | Cost to reach |
|---|---|---|---|
| Level 1 | 50 | 3s / 8 | $80 (placement) |
| Level 2 | 80 | 2s / 10 | $150 |
| Level 3 (max) | 200 | 1s / 12 | $300 |
Taking one Camerawoman from placement to max costs $530 in total. The unit card lists her full progression as DPS 16.6 at Level 1 and 200 at max. That jump is why upgrades matter once heavier enemies show up. A new Level 1 unit adds about 16.6 DPS for $80. The $150 Level 2 upgrade lifts one unit from 50 damage every 3 seconds to 80 every 2 seconds and adds 2 radius. The $300 step to Level 3 takes her to 200 damage every second.
Using the unit panel to upgrade, retarget or sell
Click any placed Camerawoman to open her unit panel in the top-left corner. Use it to check whether a unit is in the right spot and worth investing in. The panel shows the unit’s current level and stats along with the upgrade, targeting and sell controls.
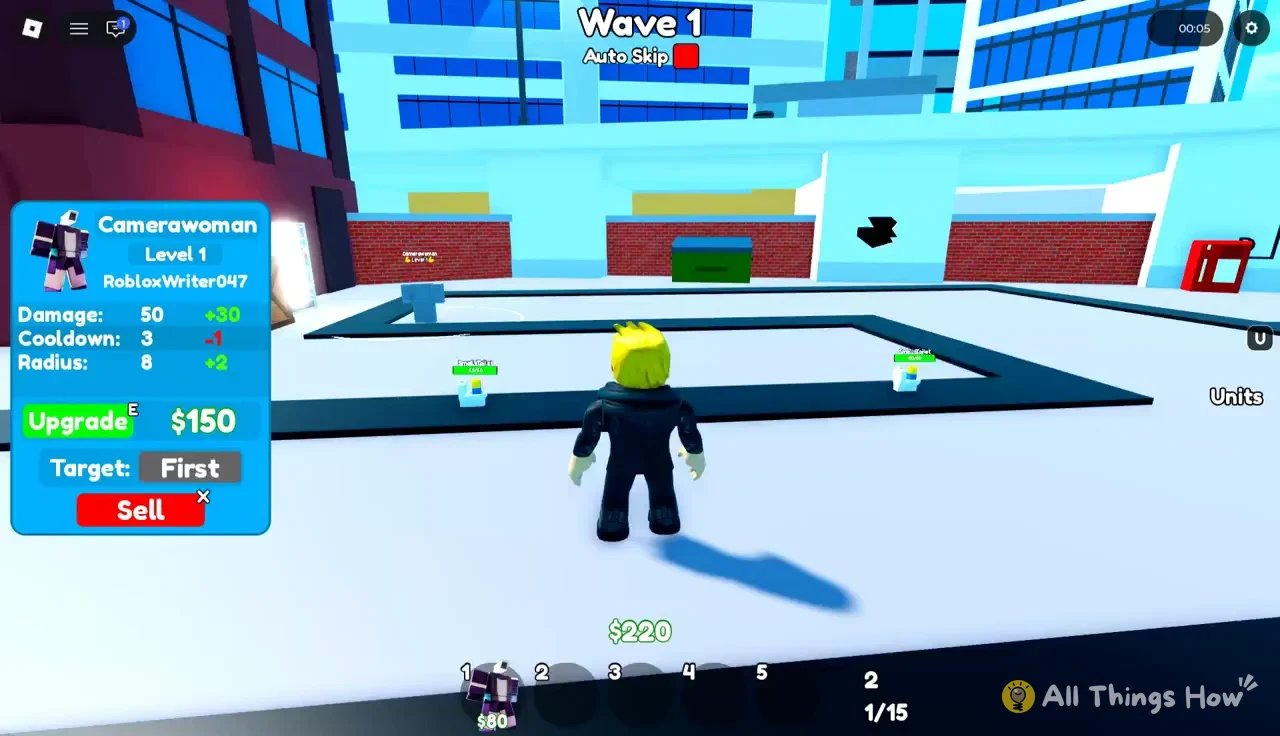
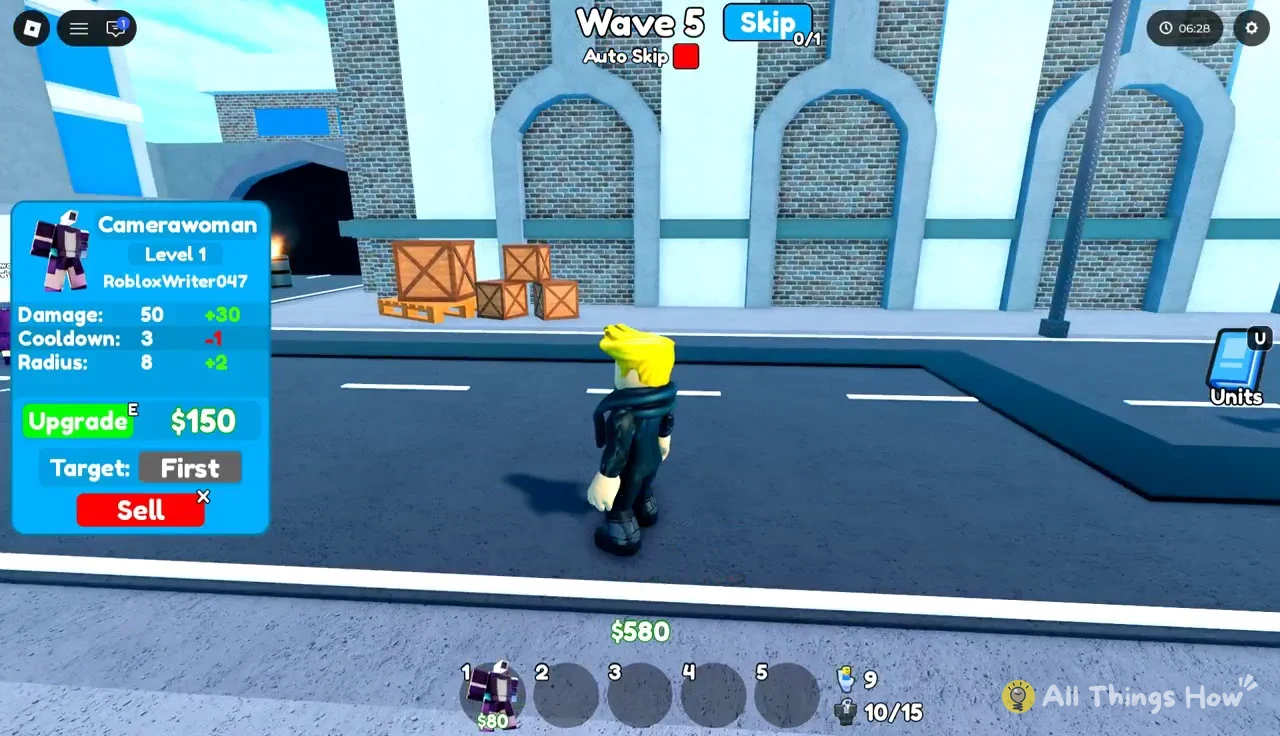
Under the level label, each stat line shows the current value and, next to it, how much the next upgrade adds or removes. At Level 1 the panel reads Damage: 50 +30, Cooldown: 3 -1 and Radius: 8 +2.
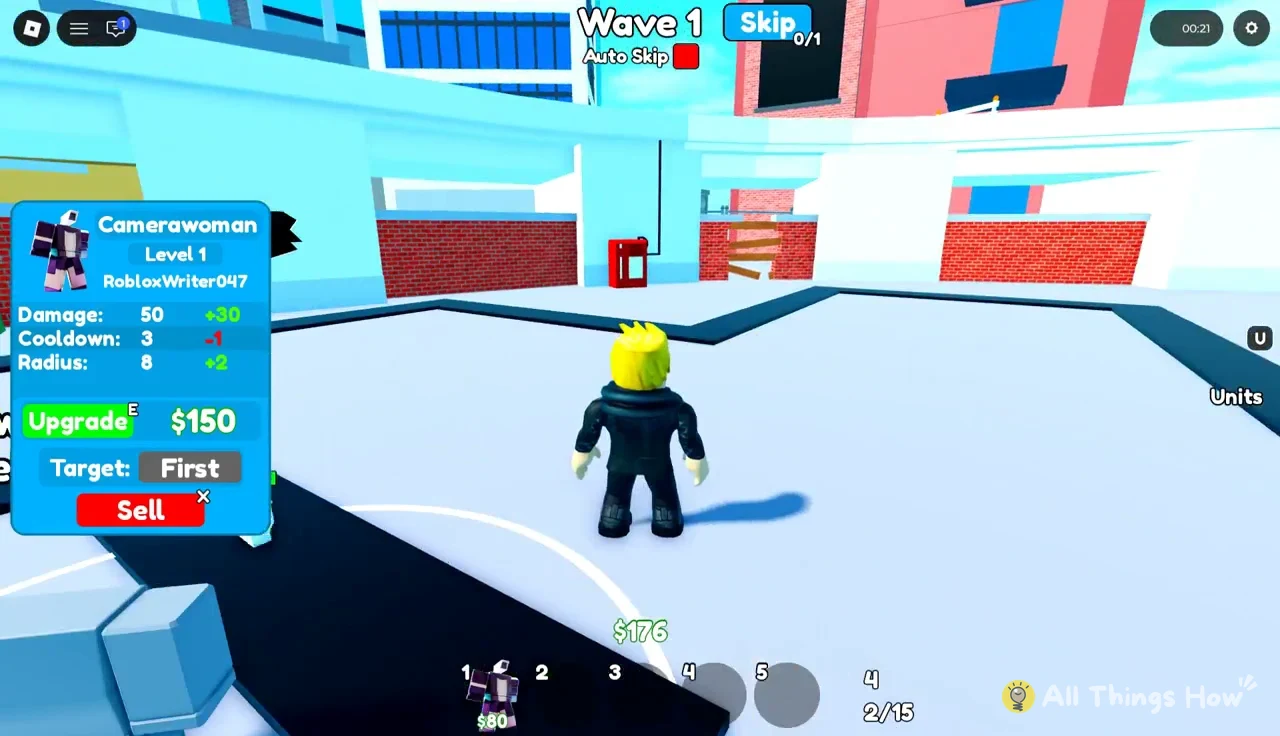
Use the radius preview to judge placement. If a unit at the edge of a turn barely reaches the road at radius 8, the extra 2 from Level 2 can bring a whole extra stretch of path inside her ring. That makes her a better upgrade target than a unit that already covers the bend.
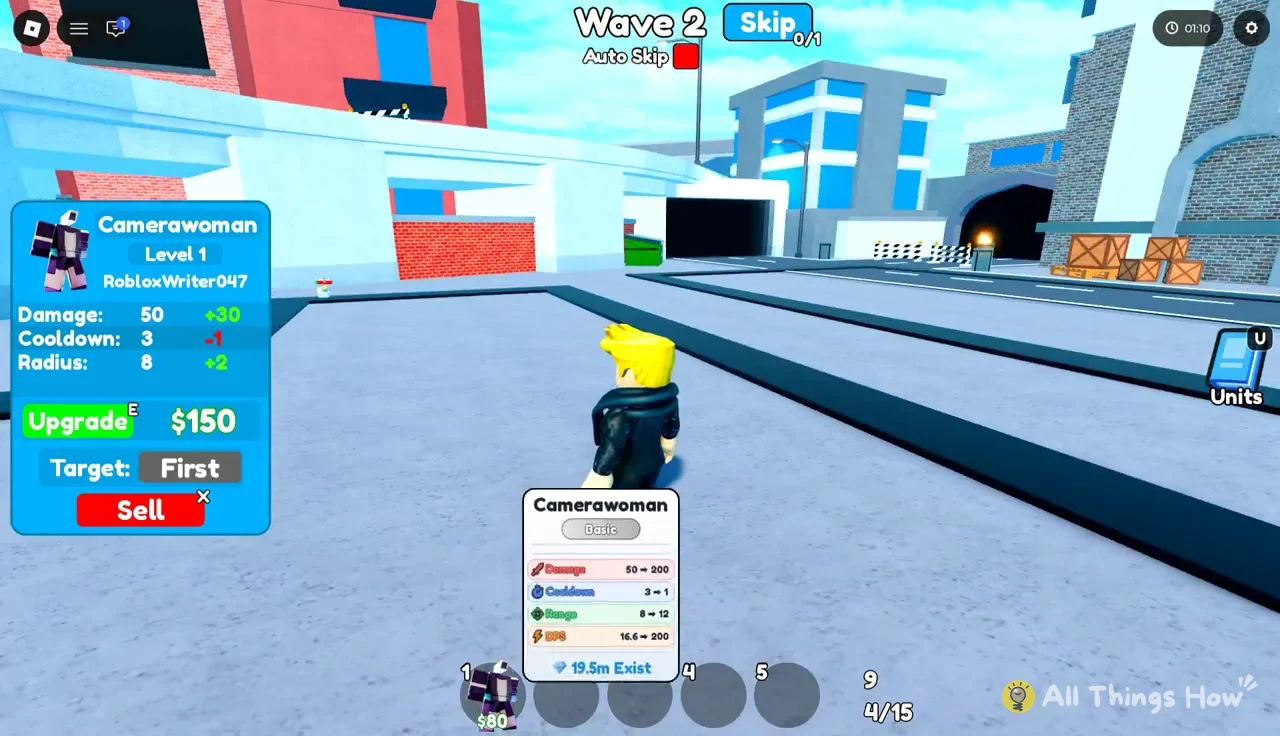
The green button reads Upgrade E $150 at Level 1. Click it or press E while the panel is open to buy the upgrade. The unit’s ring grows right away, and the panel switches to Level 2.
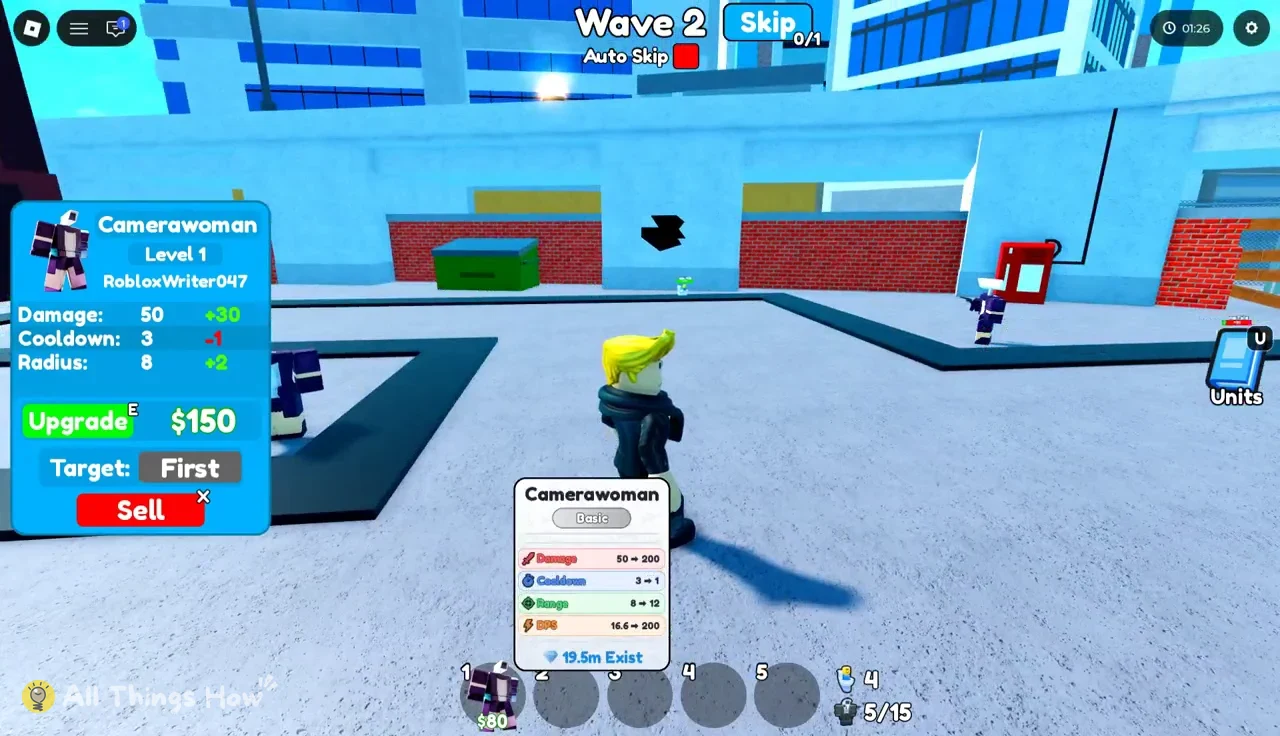
After the first upgrade, the panel shows Damage: 80 +120, Cooldown: 2 -1 and Radius: 10 +2, and the button changes to Upgrade E $300. That final purchase is the largest damage gain in her kit.
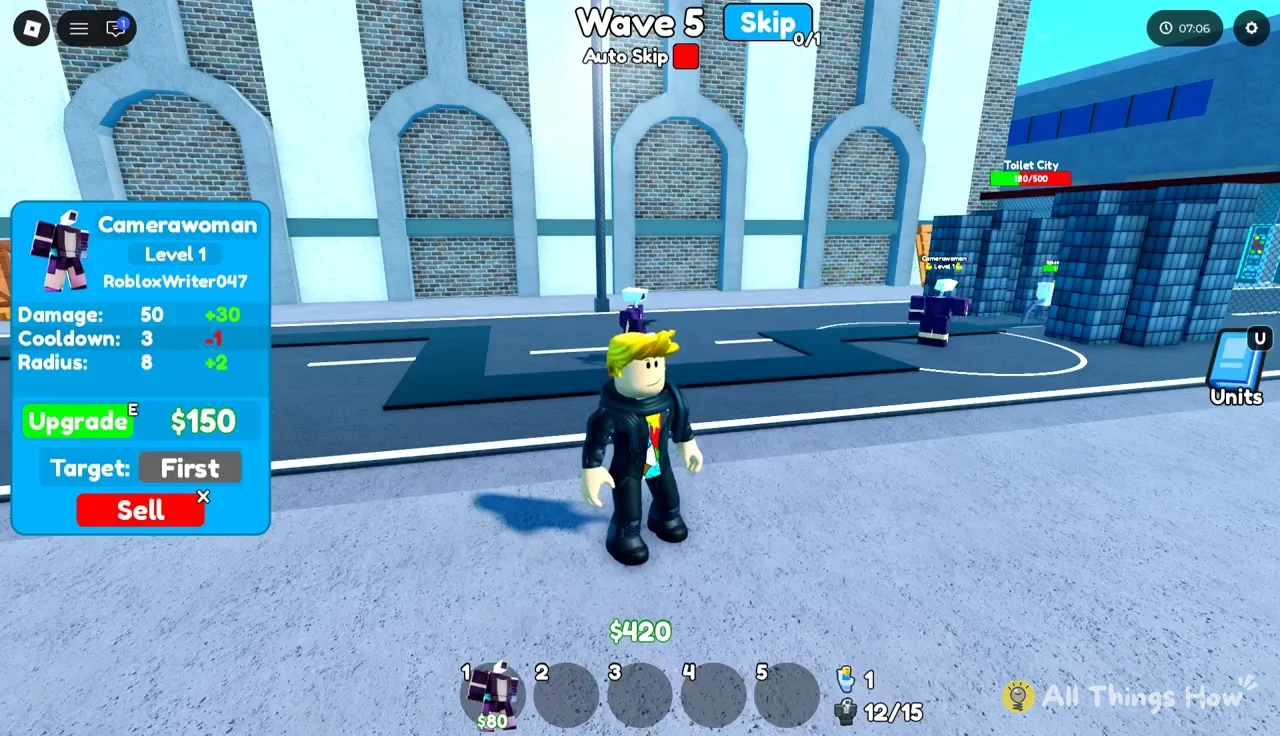
Below the upgrade button are two more controls. Target: First sets the unit to shoot the enemy furthest along the path, which keeps fire on whatever is closest to your base. Sell X removes the unit and returns some cash. Use it when a Camerawoman ends up somewhere with poor coverage and the money is better spent elsewhere.
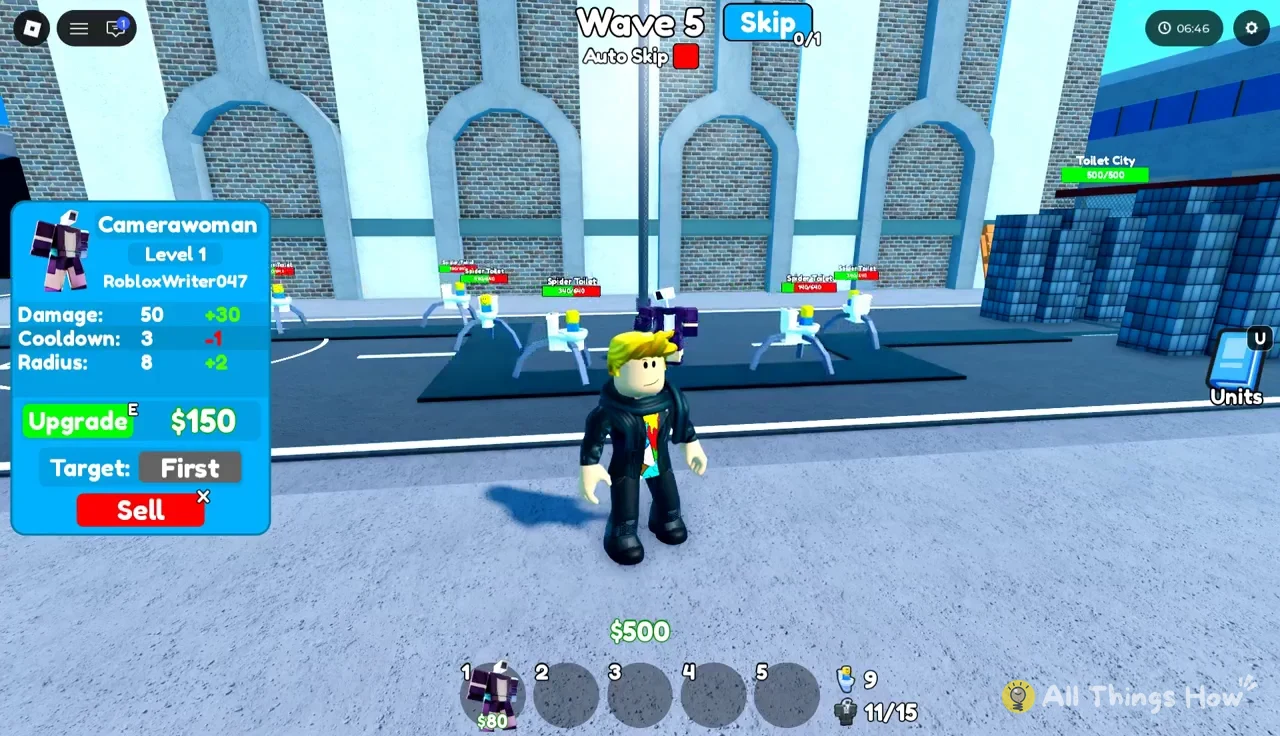
X does two jobs. It cancels a unit you are holding, and it sells the selected unit when a panel is open. Close the panel before you pick up a new unit so a cancel does not turn into a sale.
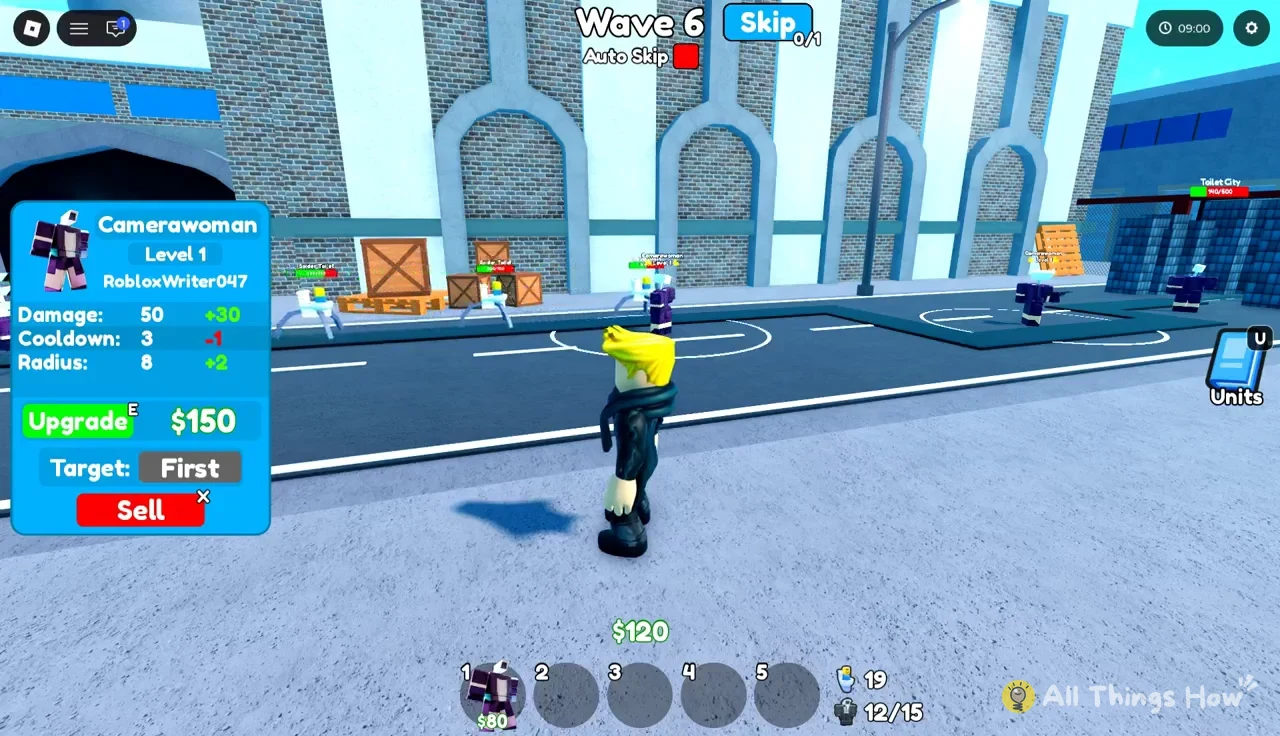
Camerawoman placement plan for Waves 1 to 6
The enemies get much tougher across the first six waves, and your placement count should rise with them. Toilet City, the base at the end of the path, has 500 health, so every enemy that slips through costs you.
| Wave | Enemy | Health |
|---|---|---|
| 1–2 | Small Toilet | 50 |
| 3 | Toilet | 130 |
| 4 | Toilet | 145 |
| 5 | Spider Toilet | 640 |
| 6 | Spider Toilet | 700 |
Waves are separated by a 5-second intermission, and the counter at the top of the screen ticks from Intermission (5) down to Intermission (1). That is enough time for one quick placement or upgrade, but not a full rebuild. Most of your placing should happen while a wave is running.
Waves 1 and 2: cover the turns
Small Toilets have 50 health, the same as one Level 1 Camerawoman shot, so every hit is a kill. Open with two Camerawomen, then add a third against the corner bend before Wave 1 ends. During Wave 2, add three more for six in total. Put one facing the lane turn, one on the straight section, and one near the middle segment of the track.
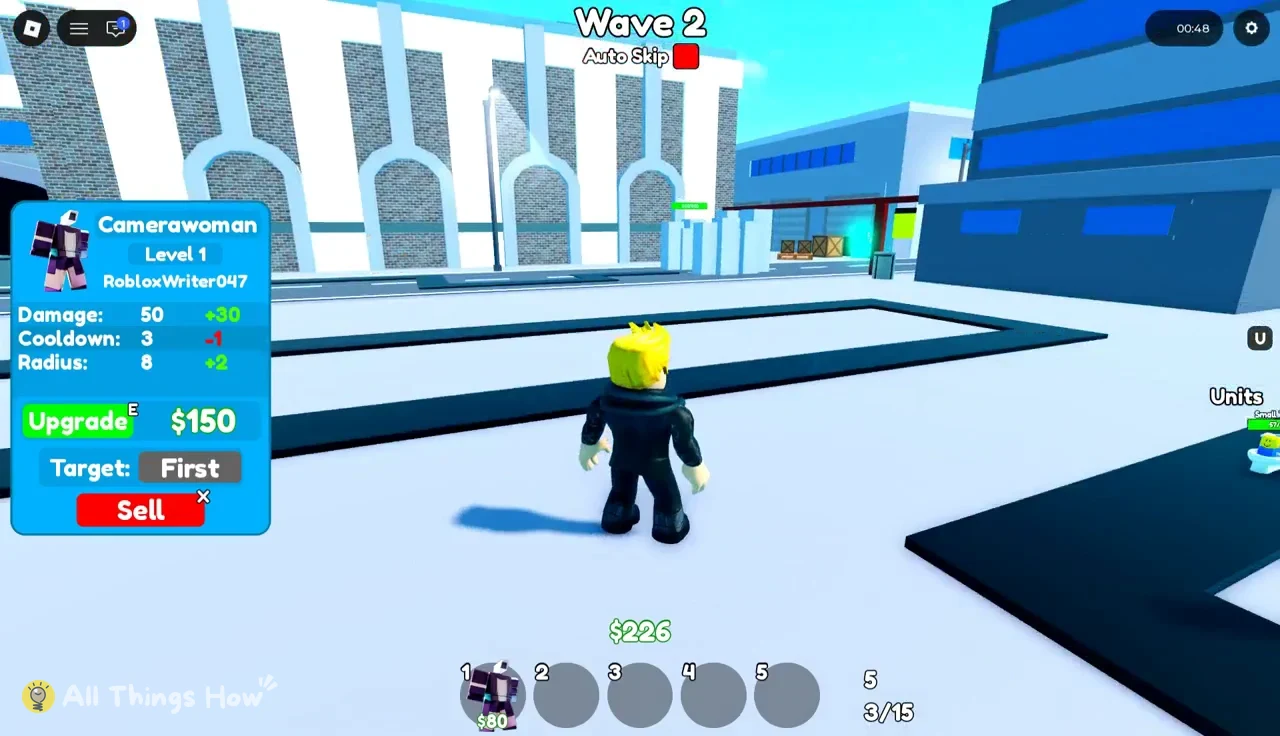
Leave every unit on Target: First at this stage. With one-shot kills, the only thing that matters is removing the enemy nearest the base.
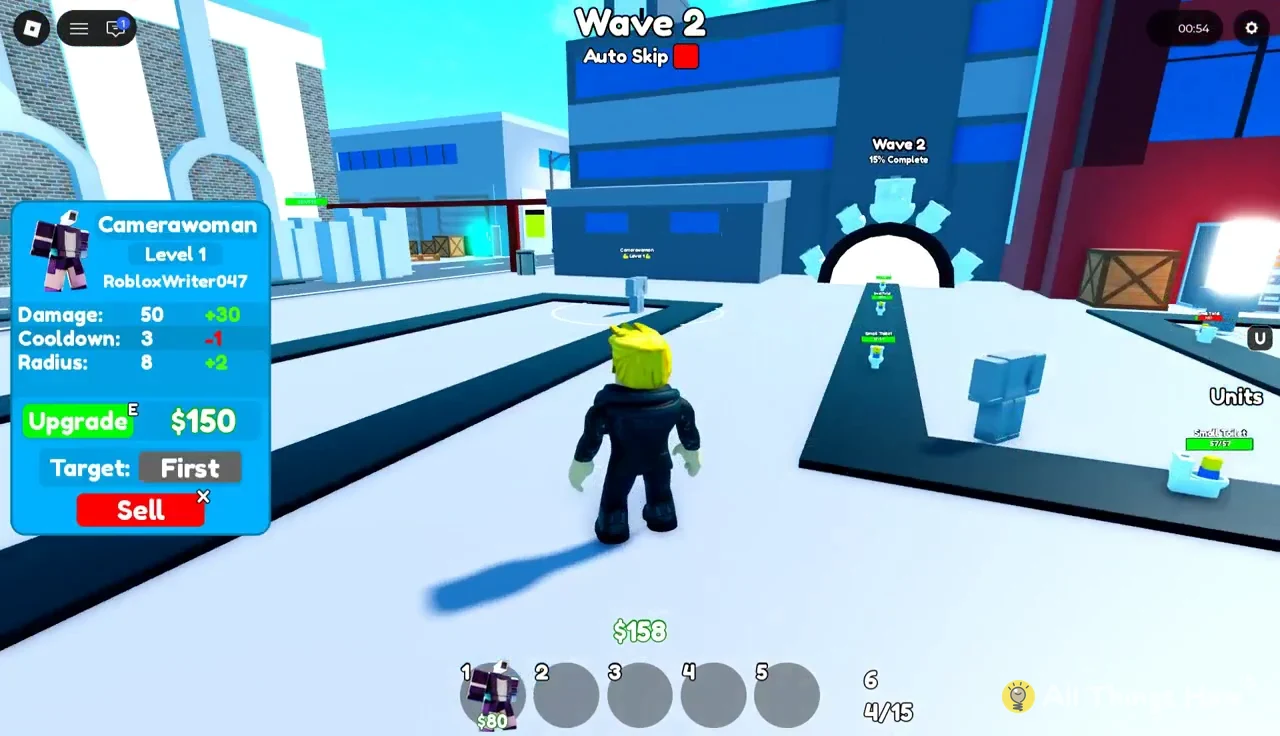
Hold off on upgrades in Waves 1 and 2. At this point another $80 unit on an empty turn adds more coverage than a $150 upgrade on a unit that is already killing everything that walks past.
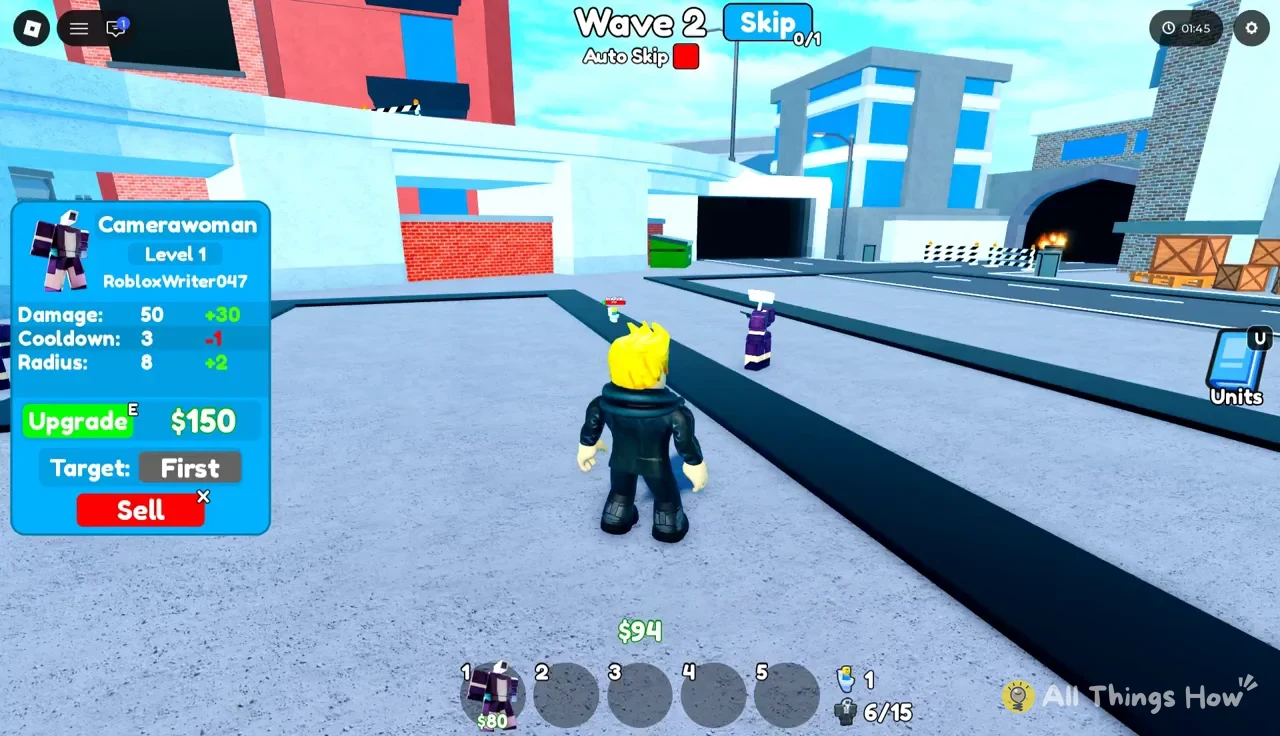
Waves 3 and 4: reach toward the spawn portal
Standard Toilets arrive with 130 health in Wave 3. A Level 1 Camerawoman now needs three hits, so each enemy has to pass through several overlapping rings. The six-unit line holds Wave 3 without changes. Bank the cash it awards.
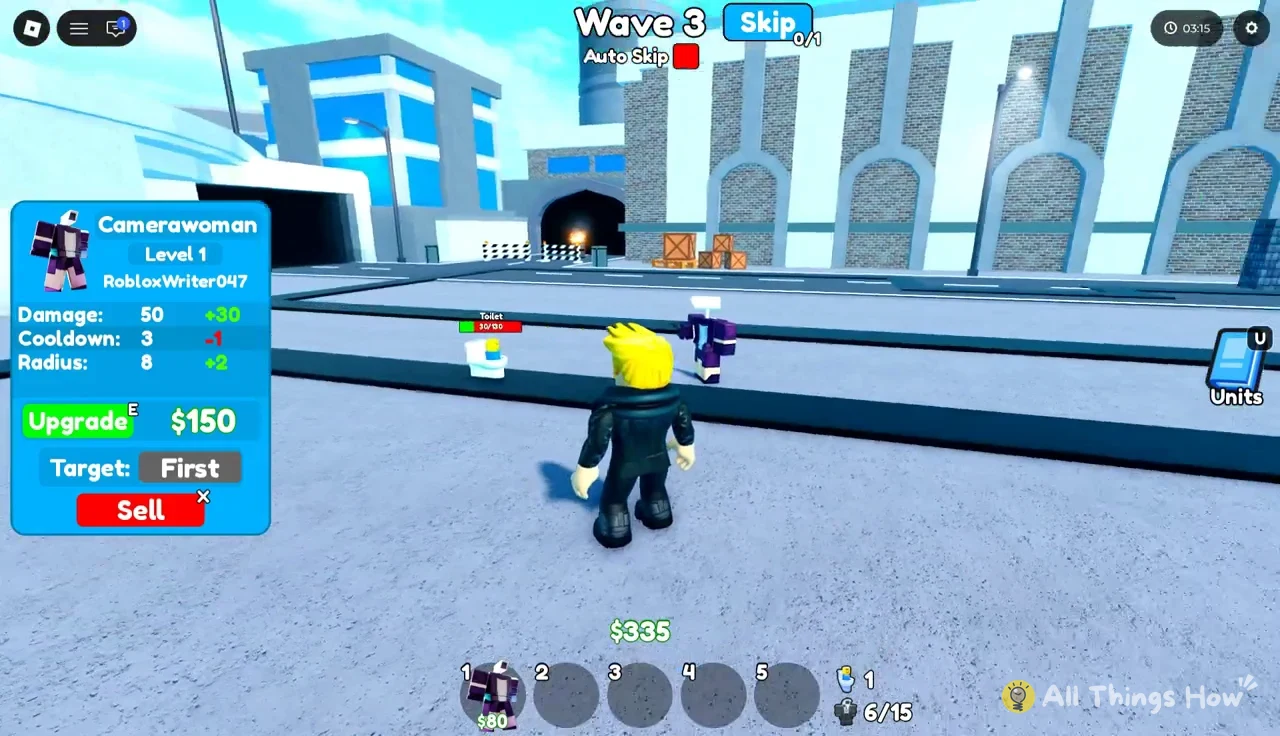
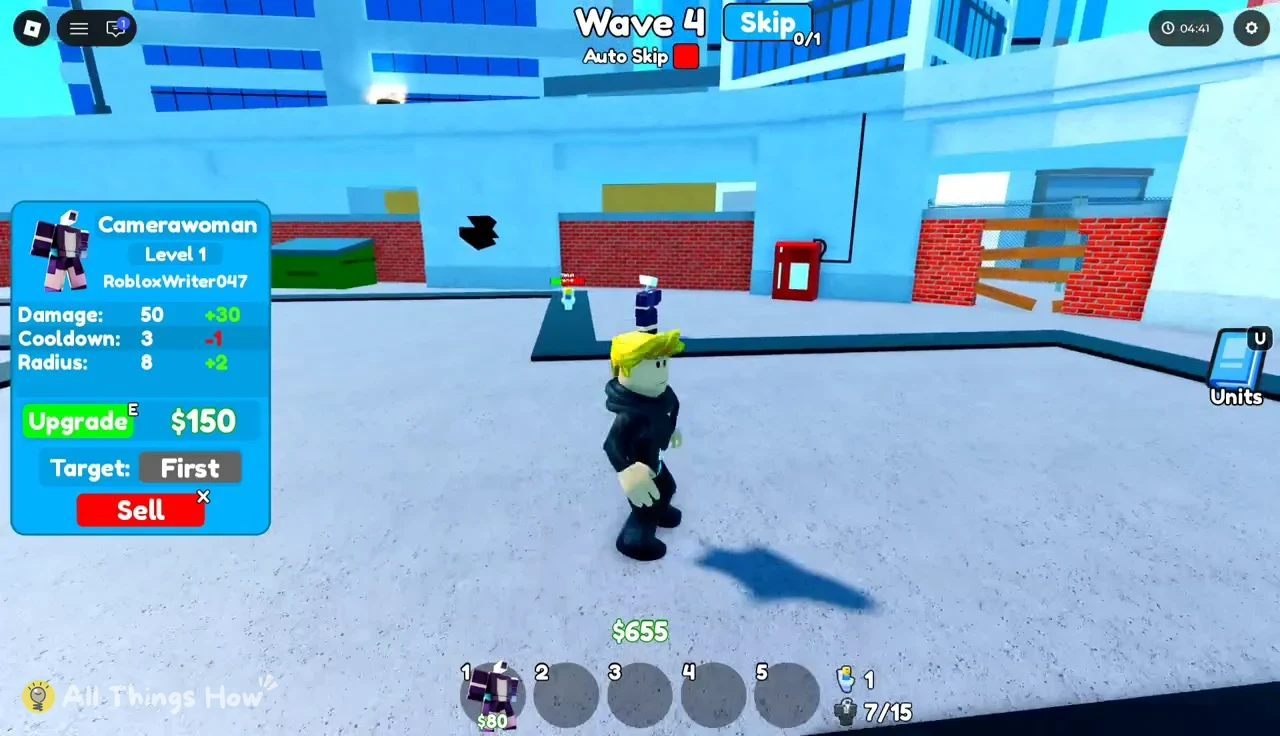
Wave 4 sends bigger groups of 145-health Toilets. Place a seventh Camerawoman near the enemy spawn portal so damage starts the moment they appear and enemies reach the turns already weakened.
Wave 5: double the line for Spider Toilets
Spider Toilets jump to 640 health, which takes 13 Level 1 shots. Spend this wave filling every remaining good spot. Add Camerawomen along the central lane, on the pavement beside a turn, on the opposite side of the street, next to the wooden crates, and further down the defense line. That brings the total to twelve.
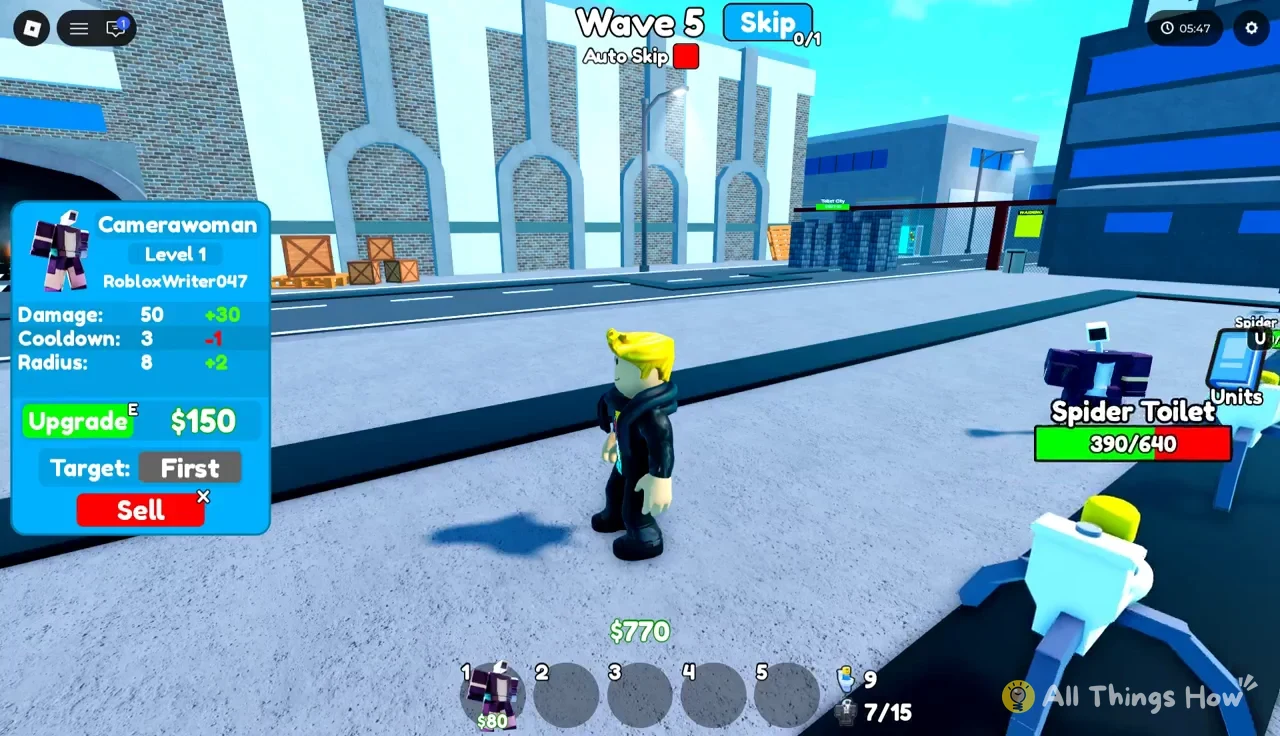
Spider Toilets take long enough to kill that you can watch them walk the full path. Notice which stretches they cross while no ring is firing, and drop the next unit there.
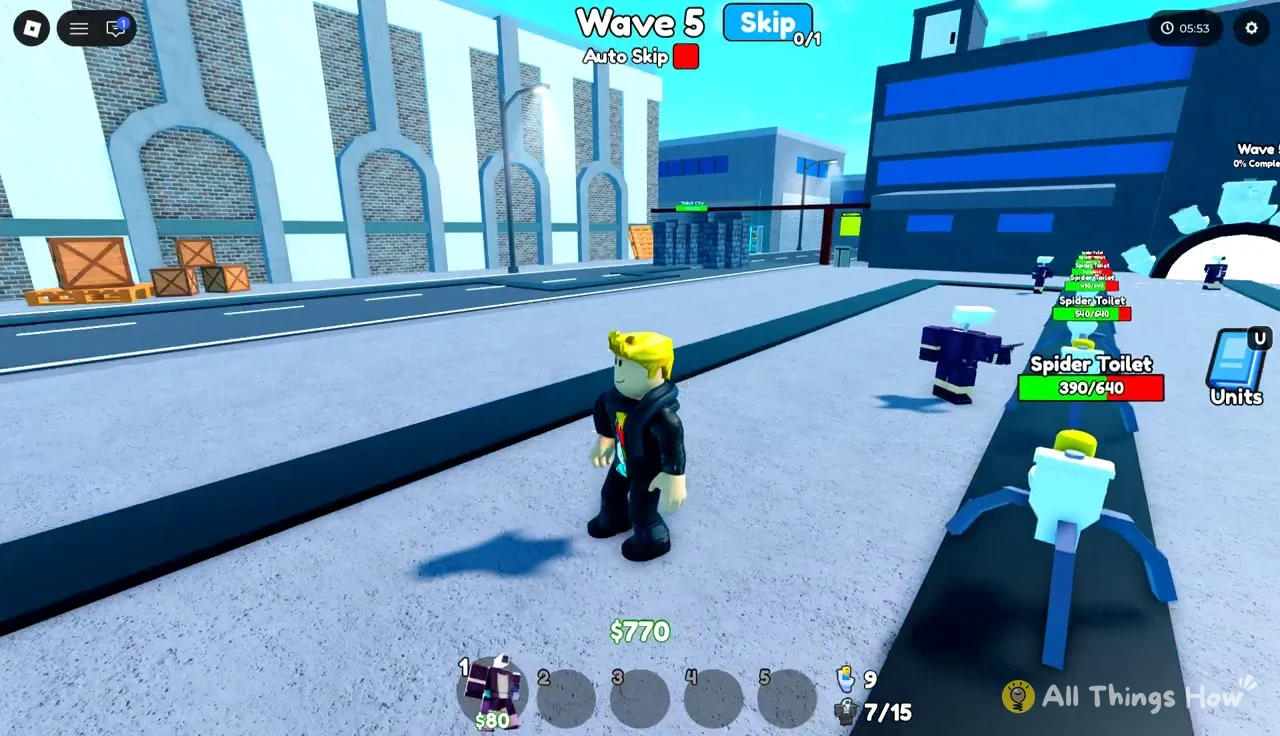
The top-right corner holds the wave controls. Skip 0/1 starts the next wave early, and the Auto Skip toggle moves through waves on its own. With 640-health enemies on the road and placements still going down, leave both alone so the full intermission gives you time to react.
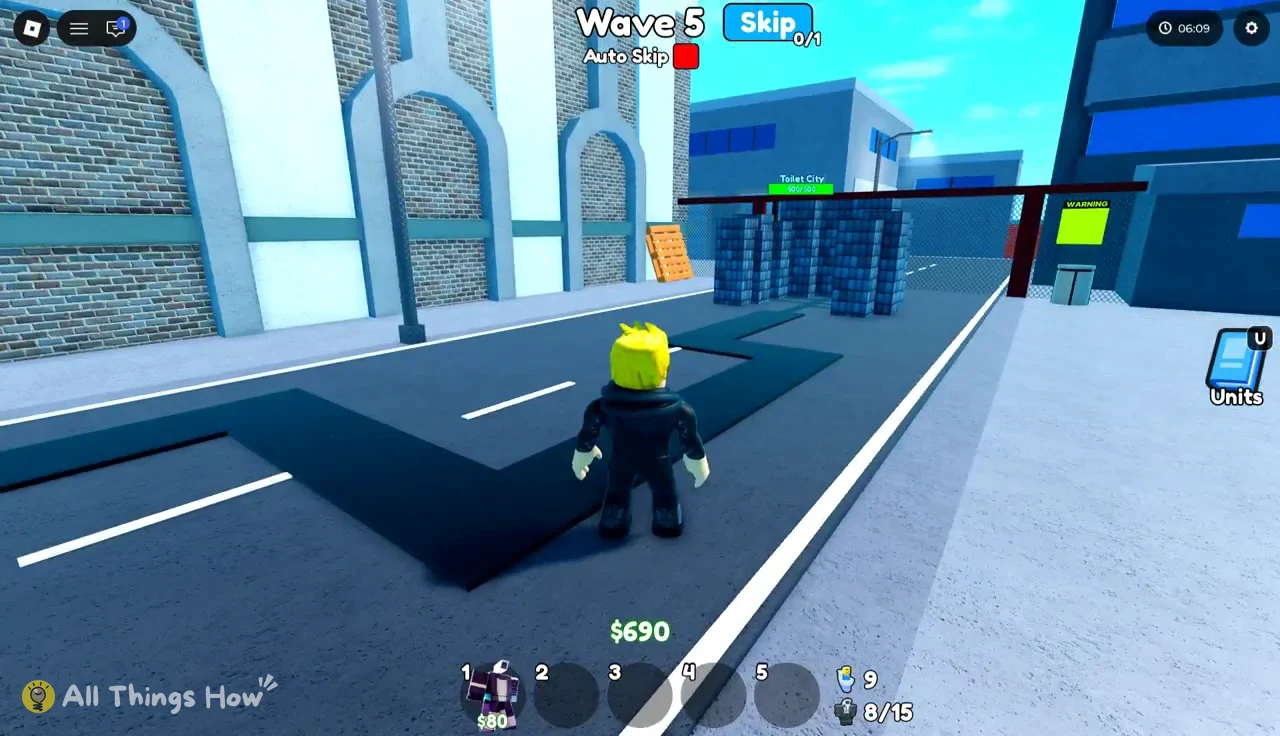
Once all twelve are down, open each panel and check its radius against the road. Any unit whose ring only clips the edge of the path is a good first candidate for the Level 2 radius increase.
Wave 6: switch from placing to upgrading
Wave 6 brings 700-health Spider Toilets. With the good ground already taken, the cash goes into upgrades. Upgrade Camerawomen to Level 2 one at a time for $150 each, starting with units at turns, because their larger ring and 2-second cooldown cover the most track.
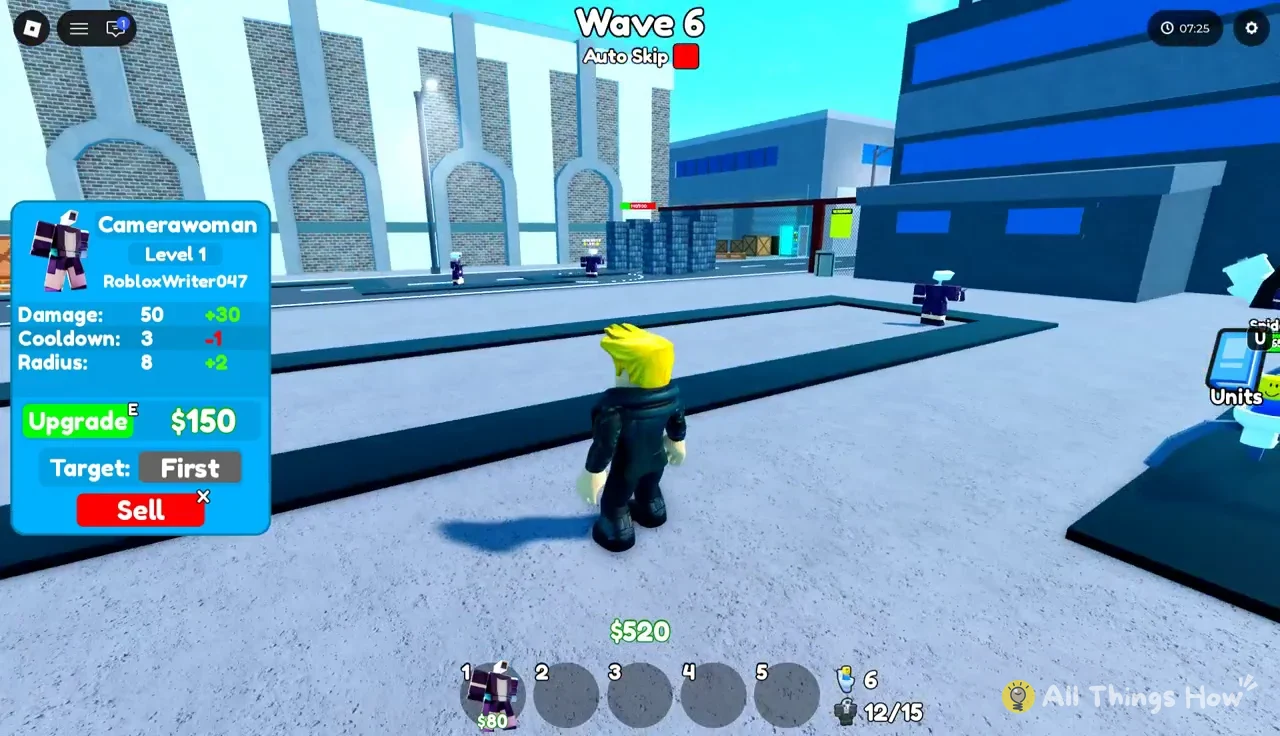
Three Level 2 units at the key bends visibly speed up how fast Spider Toilets melt. Each upgraded unit’s panel then shows the $300 price for Level 3, the next thing to save for as the waves keep climbing.
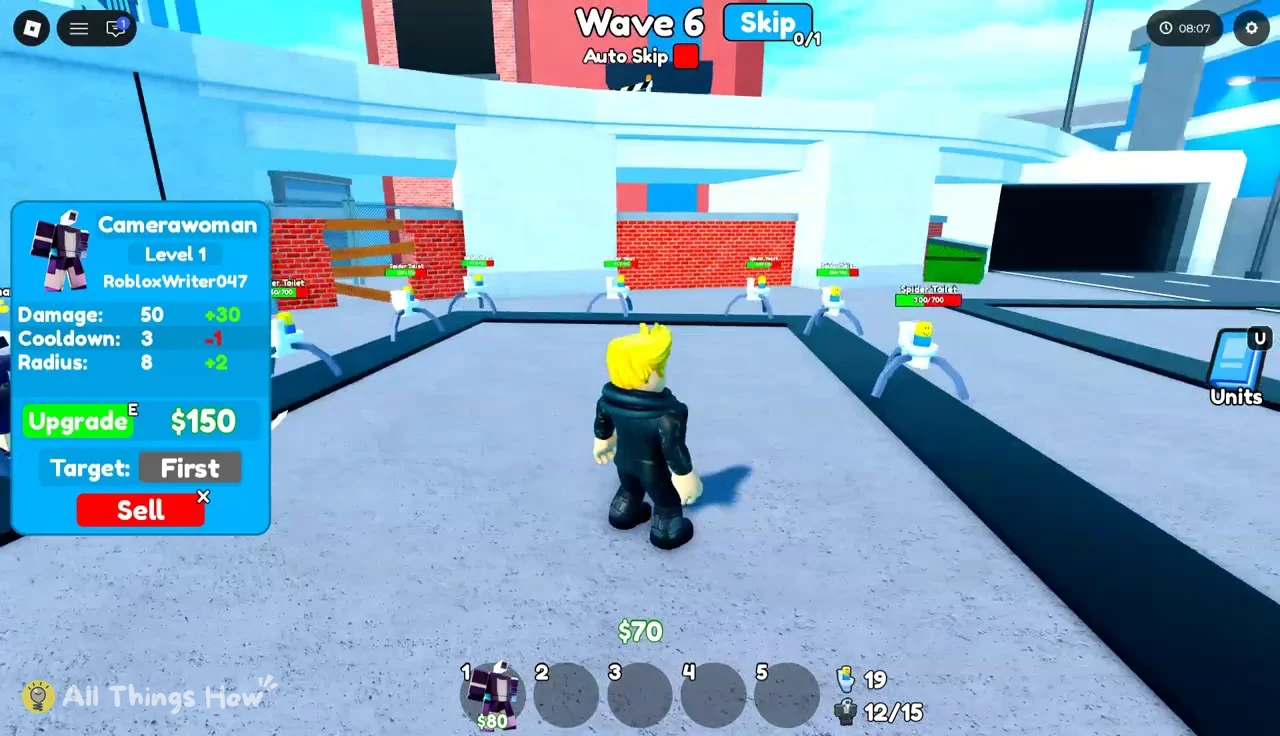
The pattern carries past Wave 6. Fill turns and path edges with $80 Camerawomen while enemies are fragile. Push coverage toward the spawn portal when health starts climbing. Once the map runs out of good green circles, put everything into Level 2 and then Level 3. At max level a single well-placed Camerawoman deals more damage than twelve Level 1 units scattered across open ground.