Unseen Liminality doesn’t tell you where to go. You spawn in yellow carpeted hallways with a flashlight, a camera, and an album, and the game only reacts once you find something. A banner pops up when you enter a notable room, a counter ticks up when you photograph the right object, and a locked set of closet doors stays shut until you bring the right tool. The route below takes you from spawn to the room with “THE END” written on its back wall. It also logs Points of Interest and Picture Spots along the way, so the trip counts toward your completion total.
Quick answer: Explore the yellow corridors, take the Coat Hanger from the metal coat rack, use it on the slatted closet doors, then continue past the golden chair alcove into the bookshelf hall marked THE END.
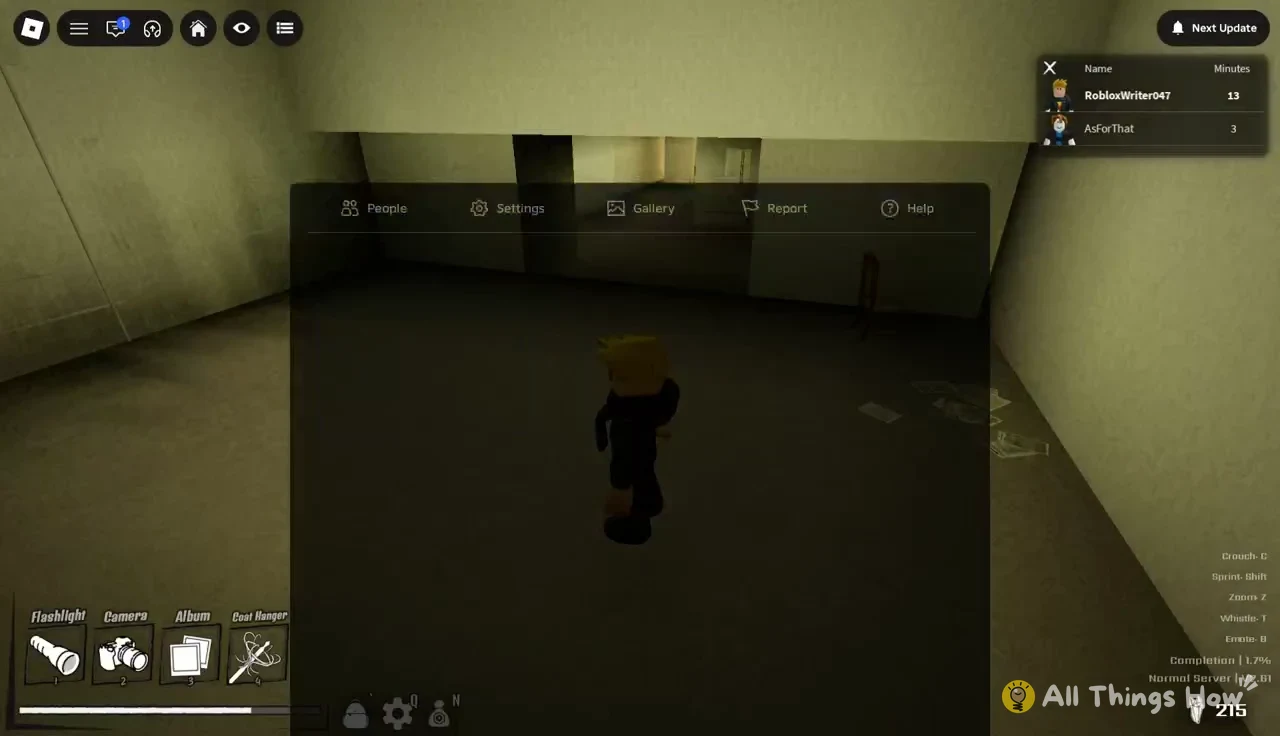
What you carry and what the HUD counts
You don’t need to buy or prepare anything. Every player starts with the same three items in fixed slots, and the route only adds one more. Nothing you use gets consumed. The Coat Hanger stays in your inventory after you use it.
| Slot | Item | What it does |
|---|---|---|
| 1 | Flashlight | Lights dark rooms and stairwells |
| 2 | Camera | Takes photos for Picture Spots |
| 3 | Album | Default third slot |
| 4 | Coat Hanger | Opens the slatted closet doors |
The HUD tracks three separate collections, each with a fixed total. A banner appears on screen whenever one of them goes up, showing the new count against the maximum.
| Counter | Total | How it goes up |
|---|---|---|
| Points Of Interest | 73 | Walk into a marked room |
| Picture Spots | 89 | Photograph a camera-icon spot |
| Entities | 11 | Encounter an entity |
A Completion percentage also sits on screen, and it climbs in small steps as those counters rise. The full route below adds up to just under 2 percent. That gives you a sense of how much of the game lies beyond these corridors.
These controls matter on this route:
Shiftsprints through long, empty hallways.Ccrouches, which you need for the floor-level crawlspace door.Zzooms, which helps you spot distant camera icons.Euses whatever prompt is on screen, either “Door” or “Interact”.Twhistles andBopens emotes. Neither is needed to progress.
The standard Roblox menu still opens over the game, with its People, Settings, Gallery, Report, and Help tabs. The People tab is the quickest way to see who else is wandering the same server.
Picture Spots: how a photo counts
Picture Spots are marked in the world by a floating white camera icon. A photo only counts if you face the marked object when you take it. Snapping random scenery does nothing for the counter. Equip the Camera from slot 2, and its label changes to “Say Cheese!” to show it’s ready. Point it at the object under the icon and take the shot. If it worked, the Picture Spots banner appears with the new count.
The camera has two toggles, Flash and Save Pictures, and both start as Off. Neither one is required for a shot to register. The flash helps in darker corners, and Save Pictures only affects whether your shots are kept.
Camera icons sit on ordinary things, like a trash can, a doorway, a low step, or a sun motif on a wall. Sweep each room with your eyes before you leave, because many of them are easy to walk straight past.
Route from spawn to the tiled pool chamber
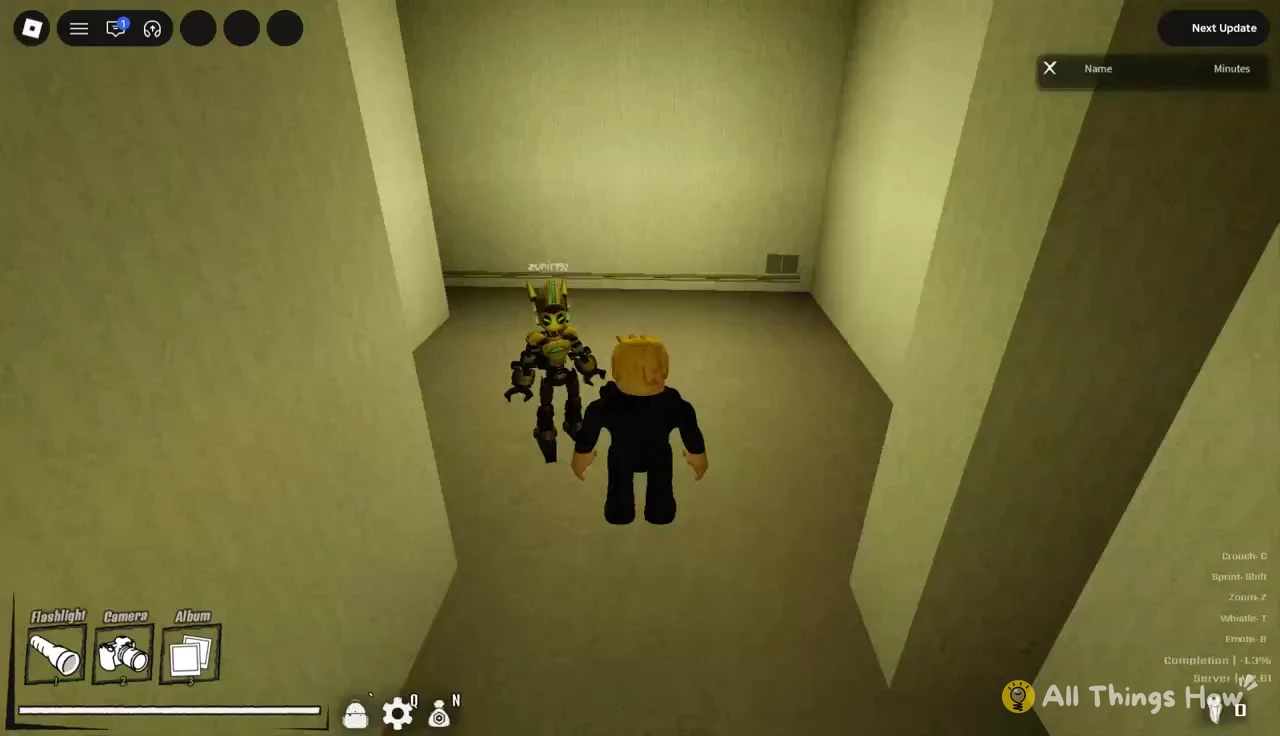
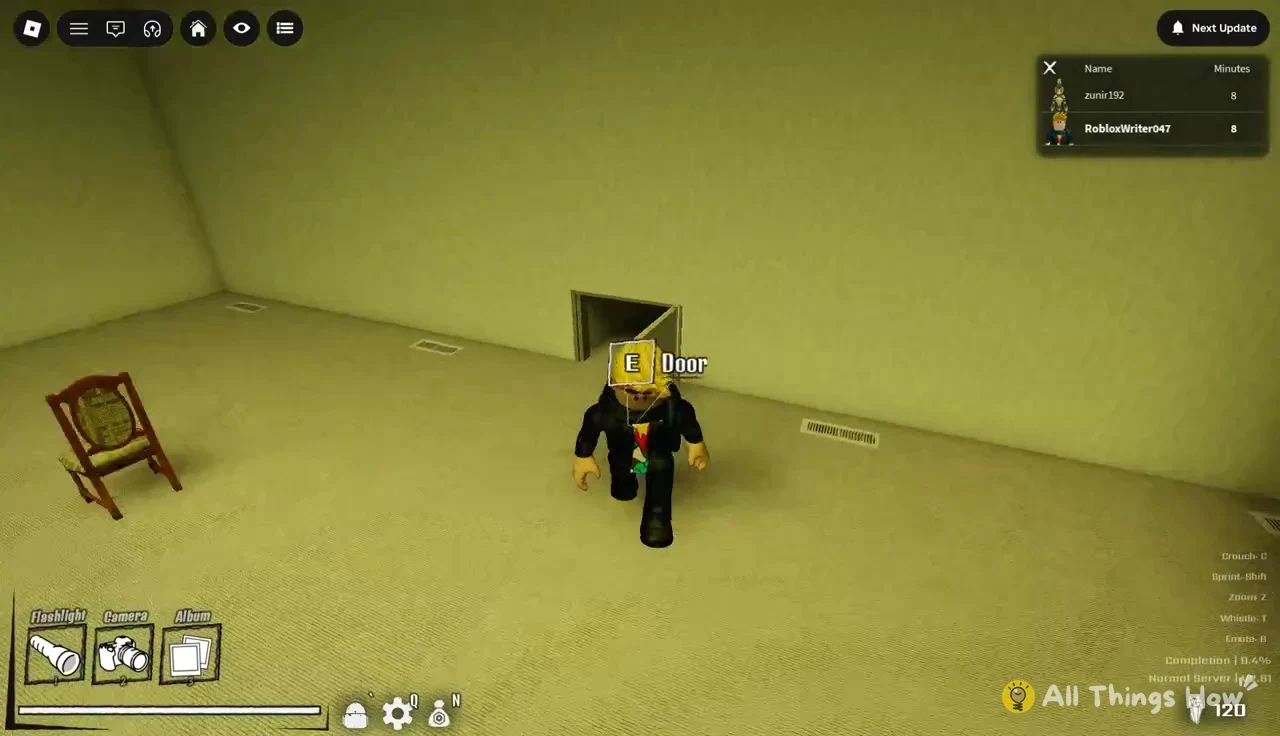
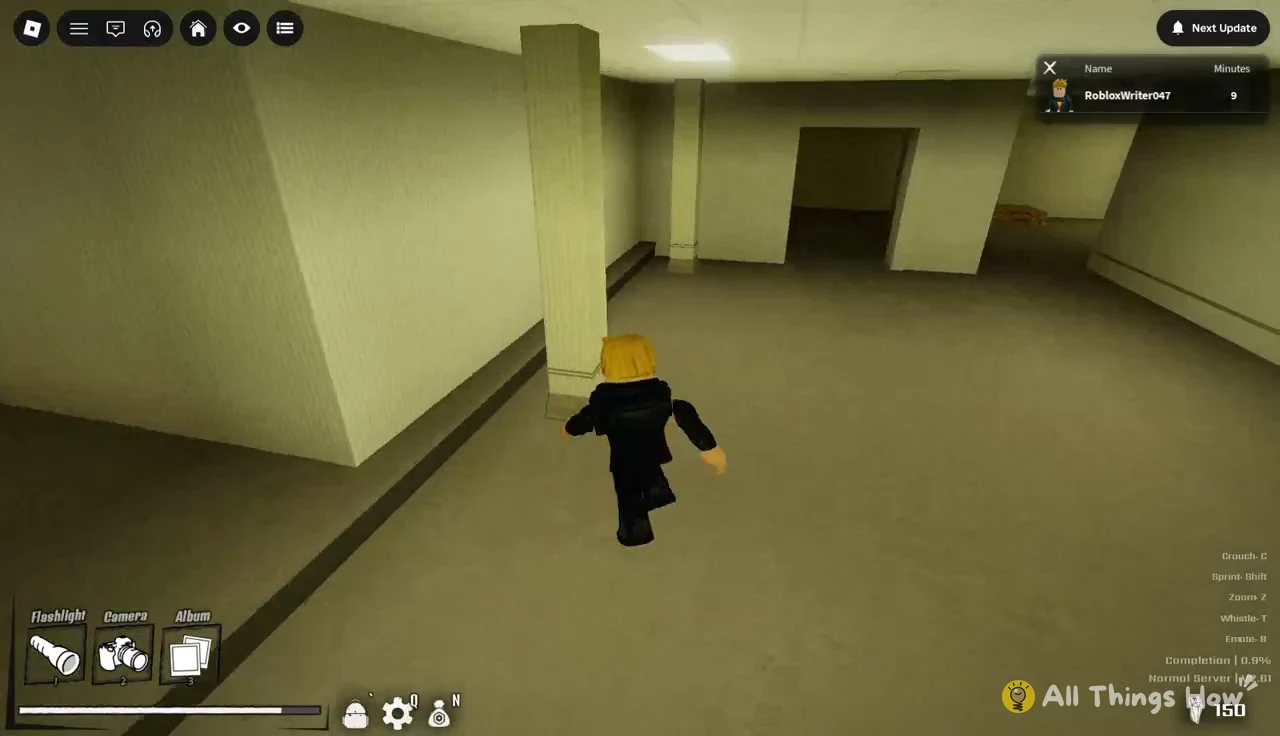
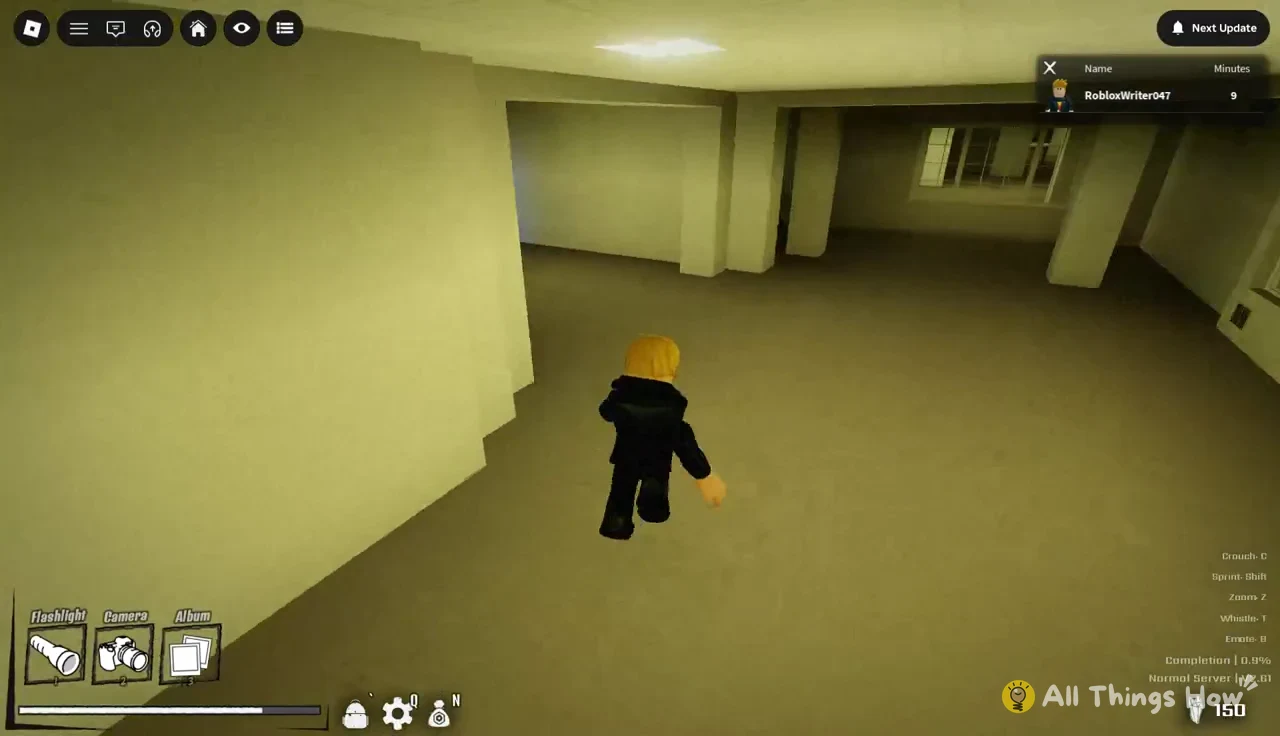
E when the “E Door” prompt appears. Behind them are furnished and empty rooms with chairs, cardboard boxes, and loose papers. None of these trigger anything, but they connect to the rooms that do.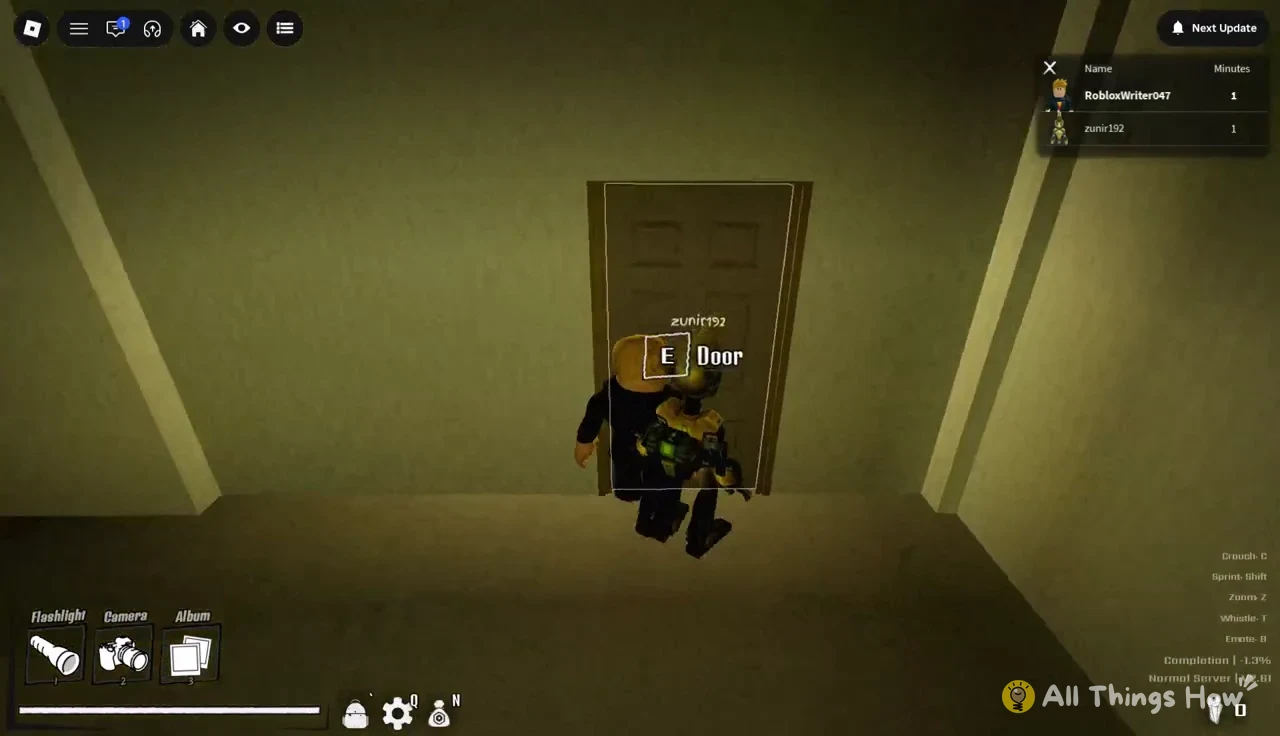
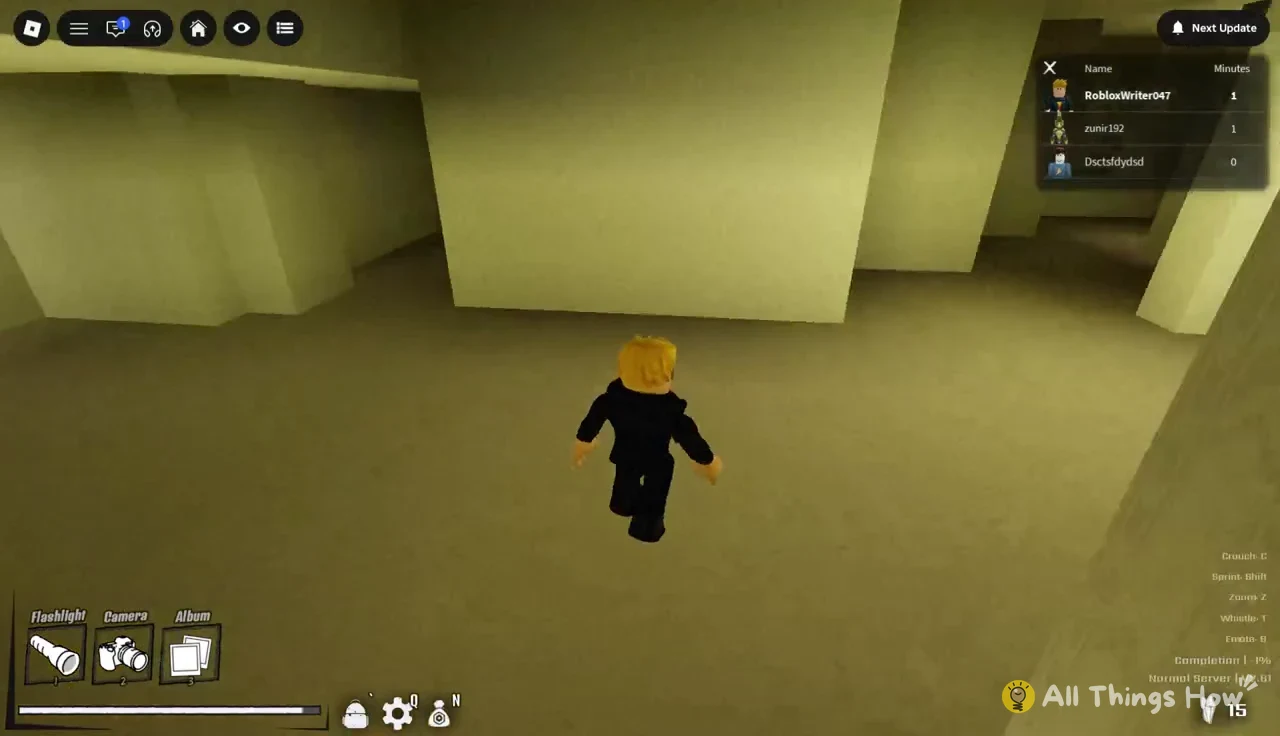
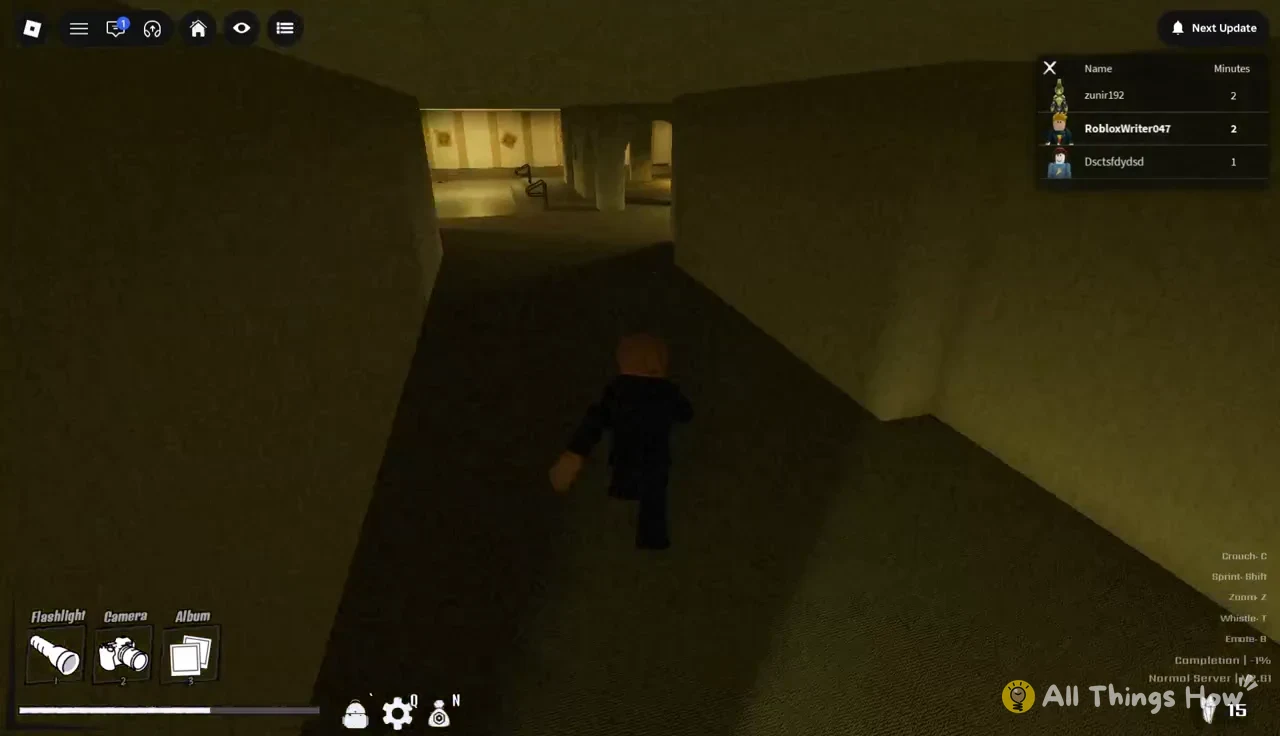
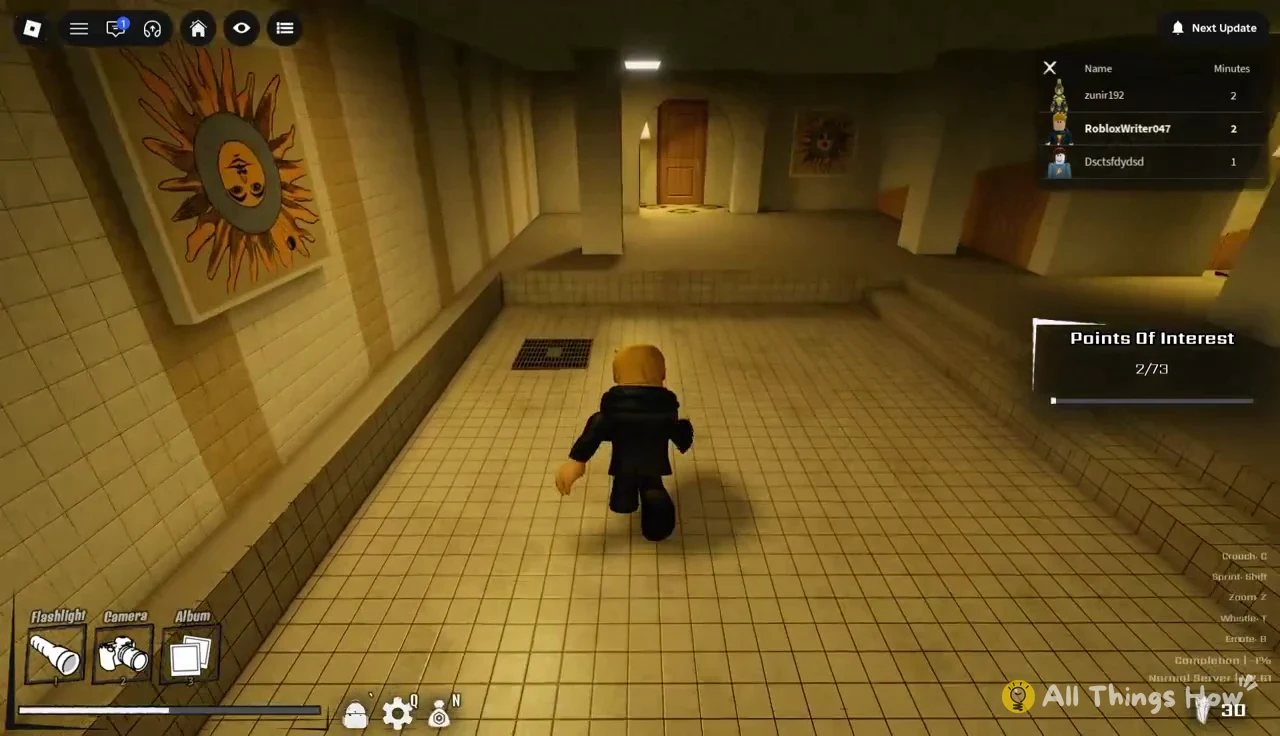
First five Picture Spots on the route
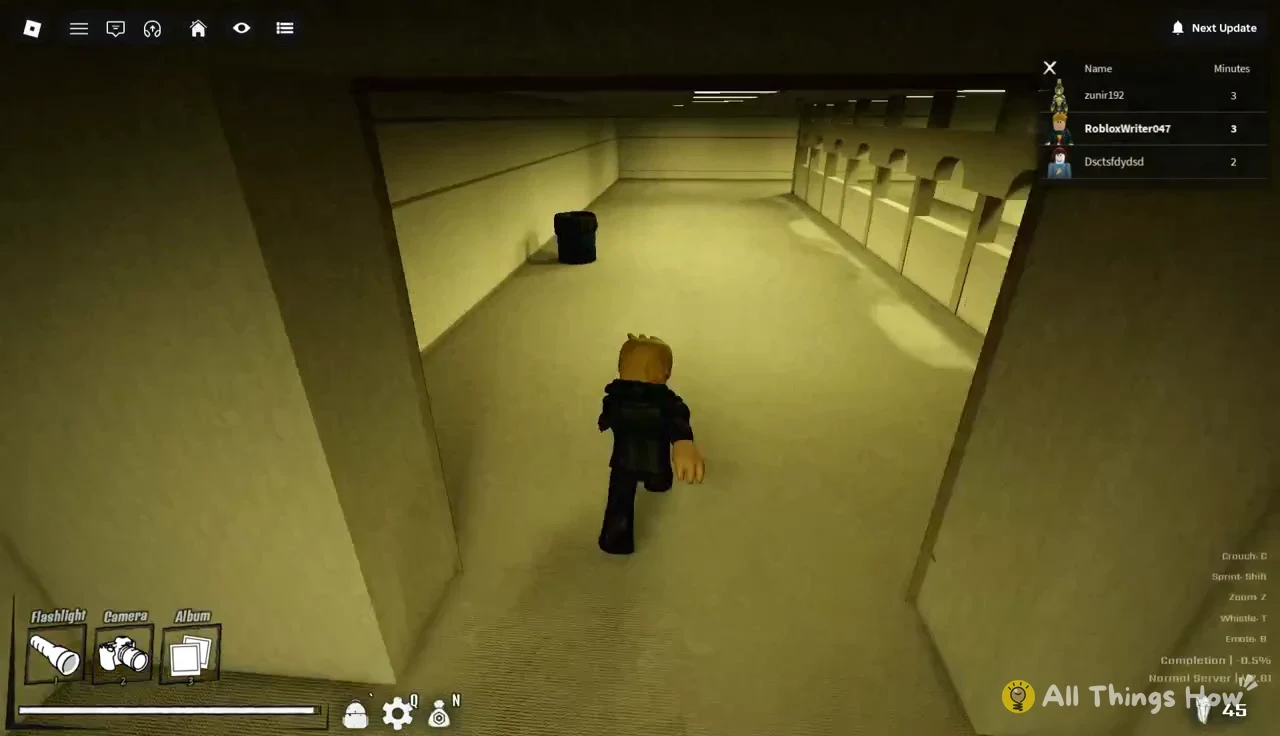
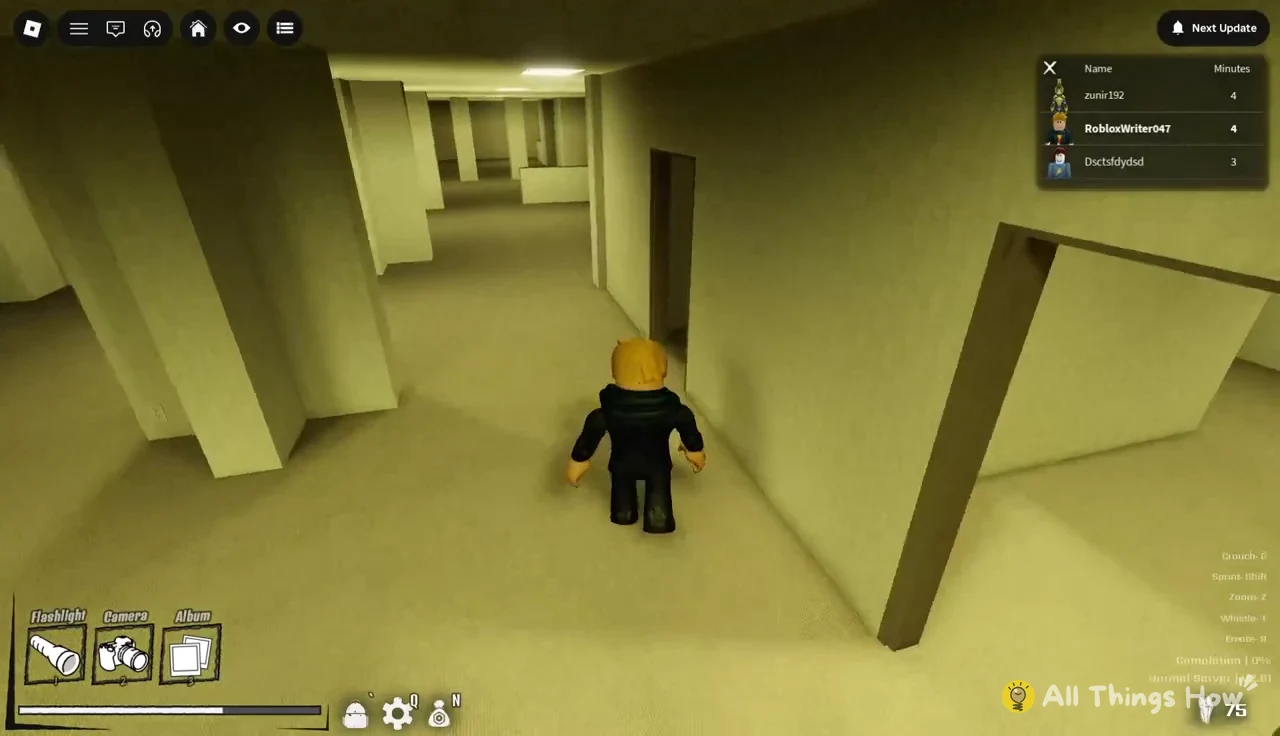
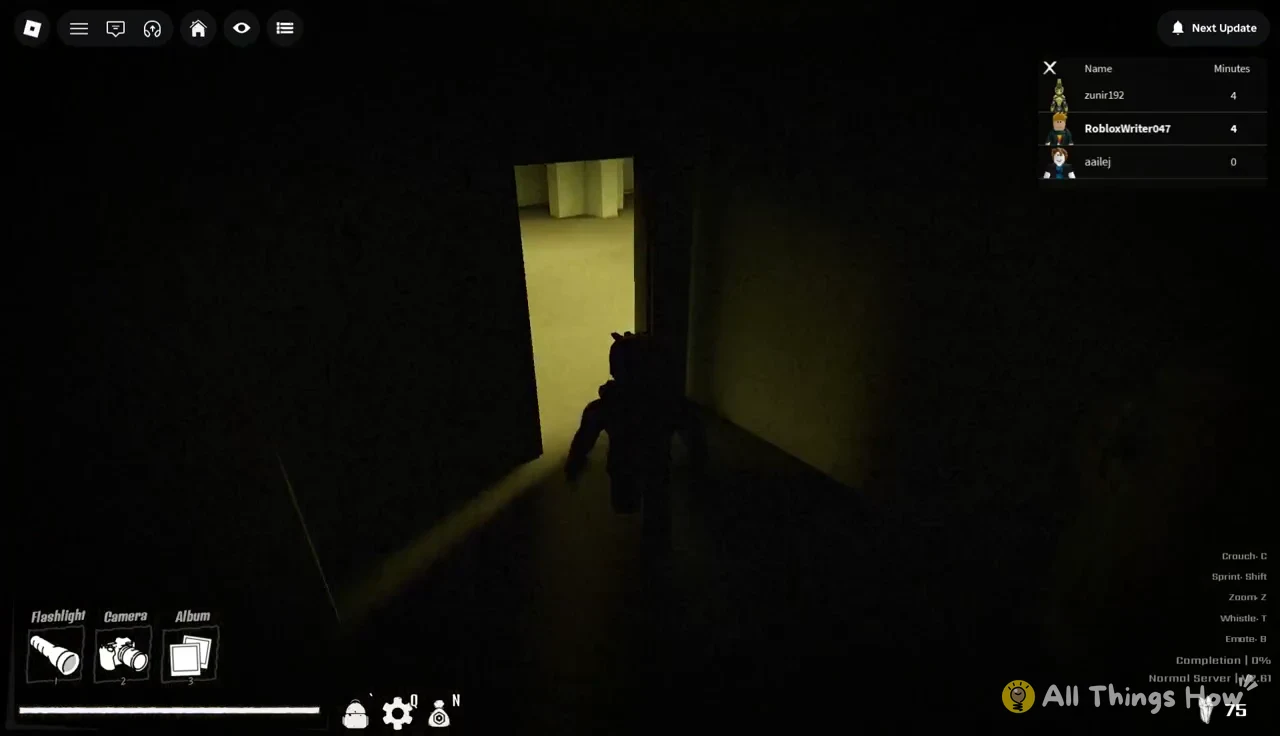
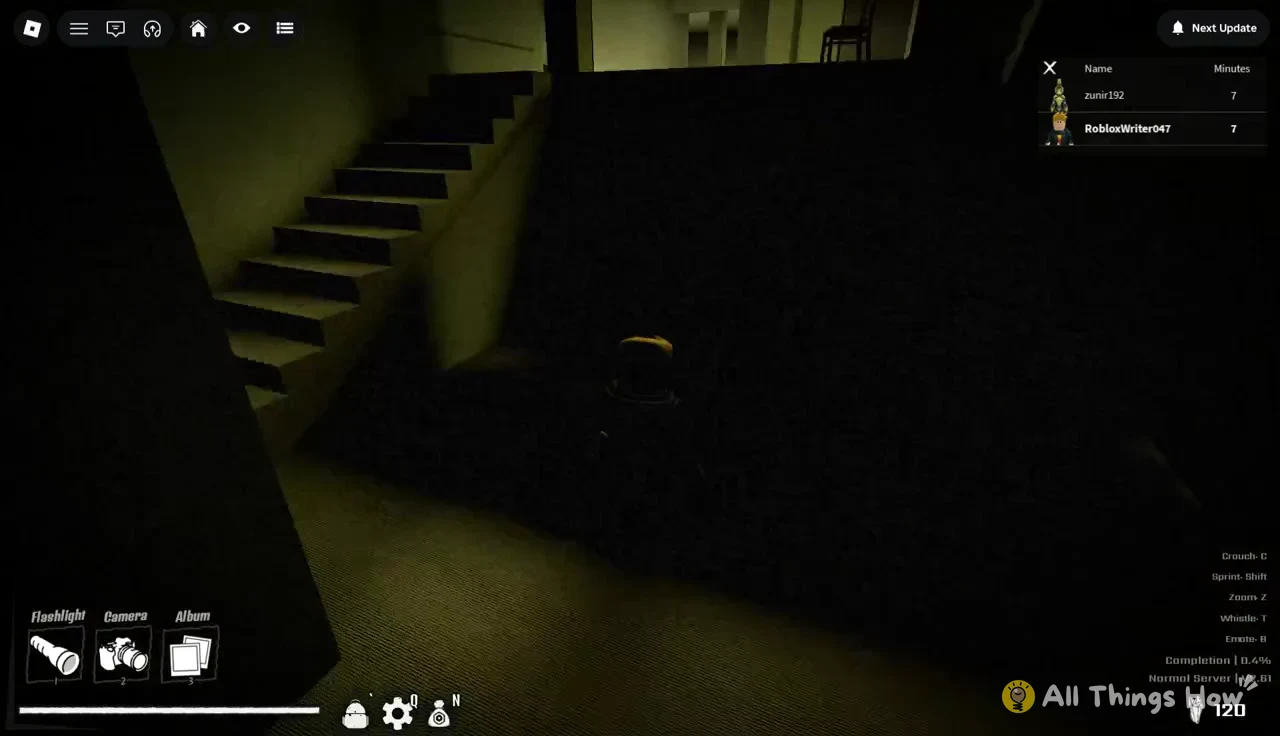
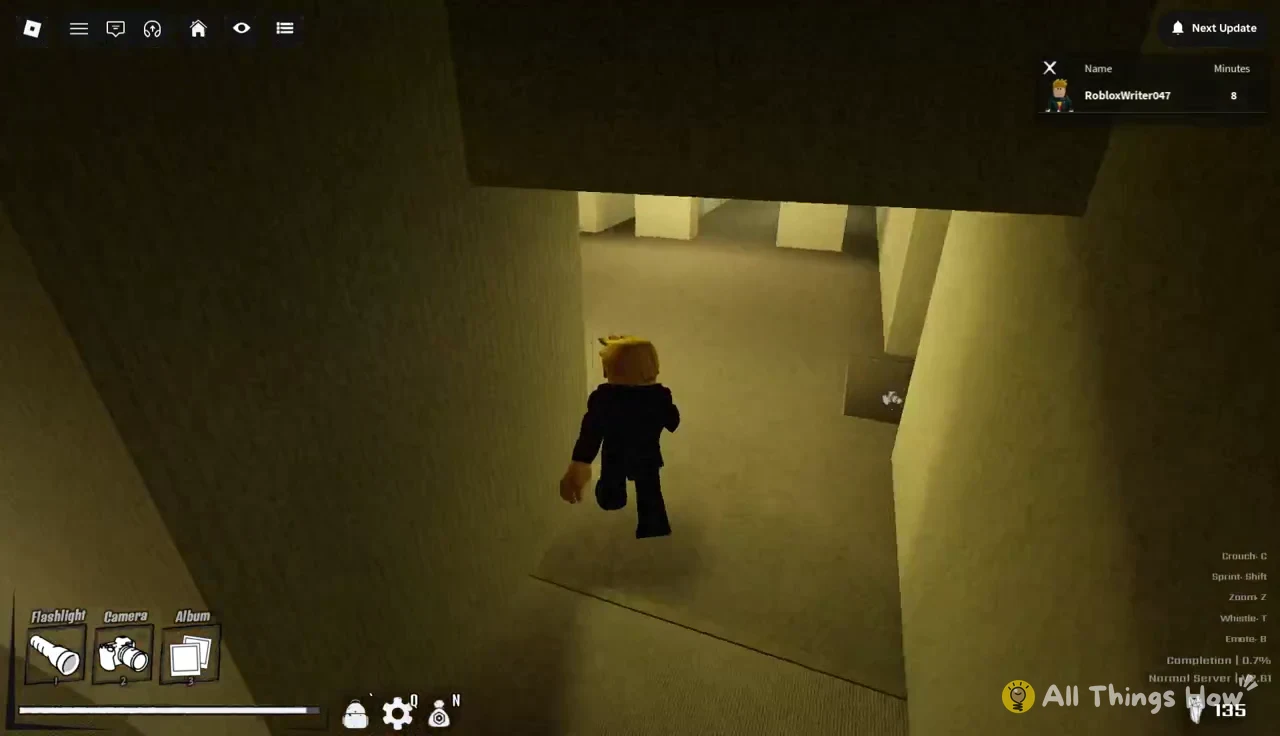
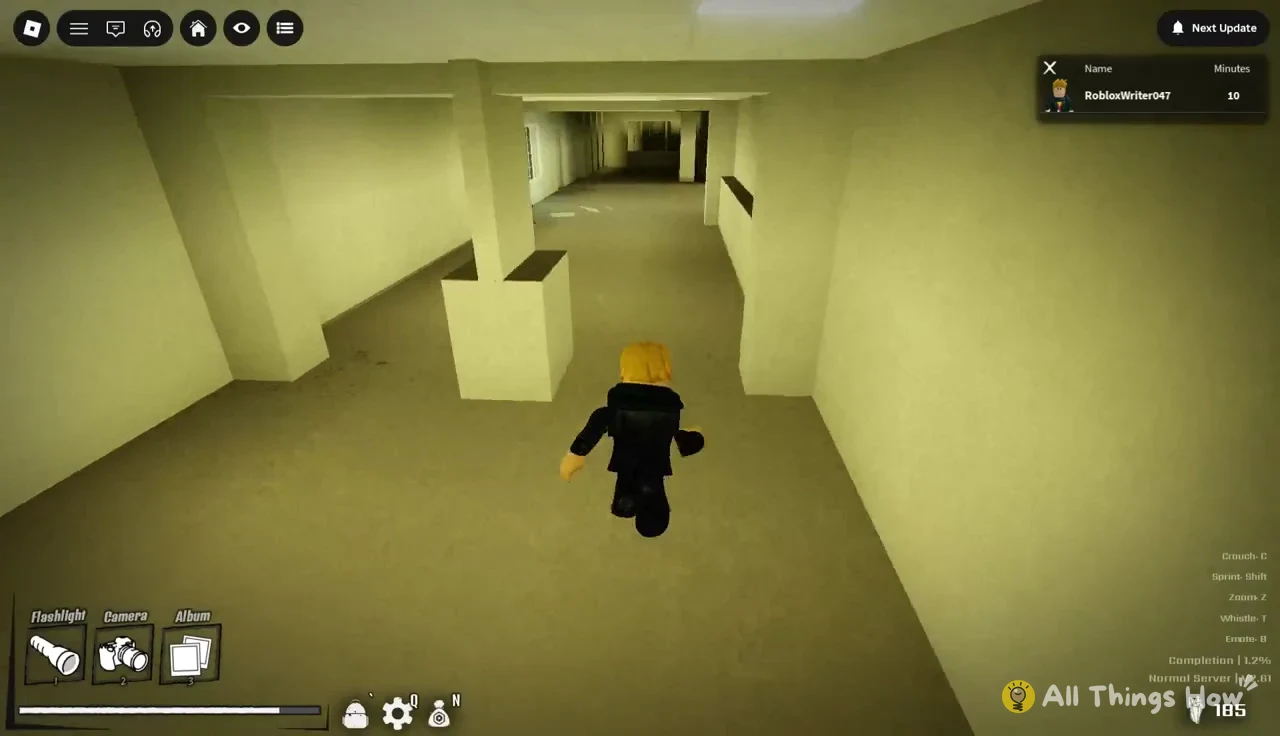
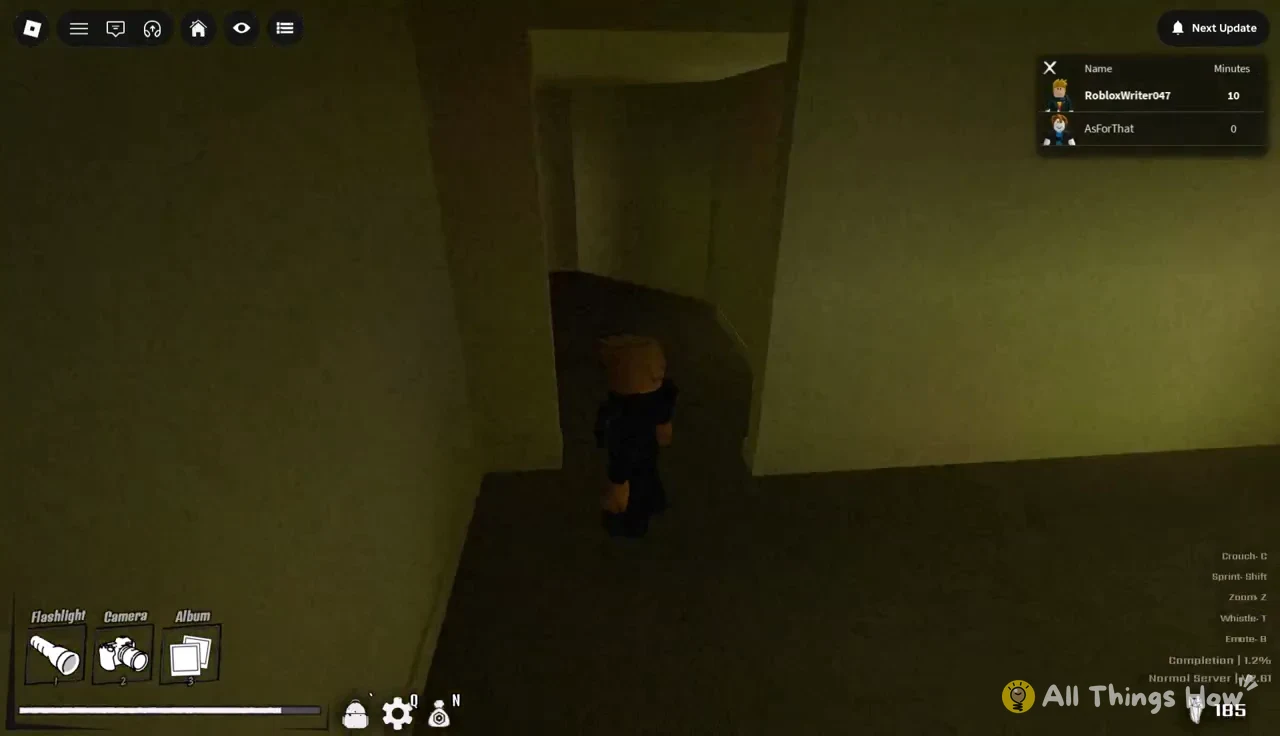
Dark stairwell, crawlspace door and the Sofa Room
Deeper into the corridors, an entity notification can flash on the HUD along with a sudden ambient scare sound. That raises the Entities counter, which tops out at 11. Keep moving. Nothing on this stretch stops you from continuing.
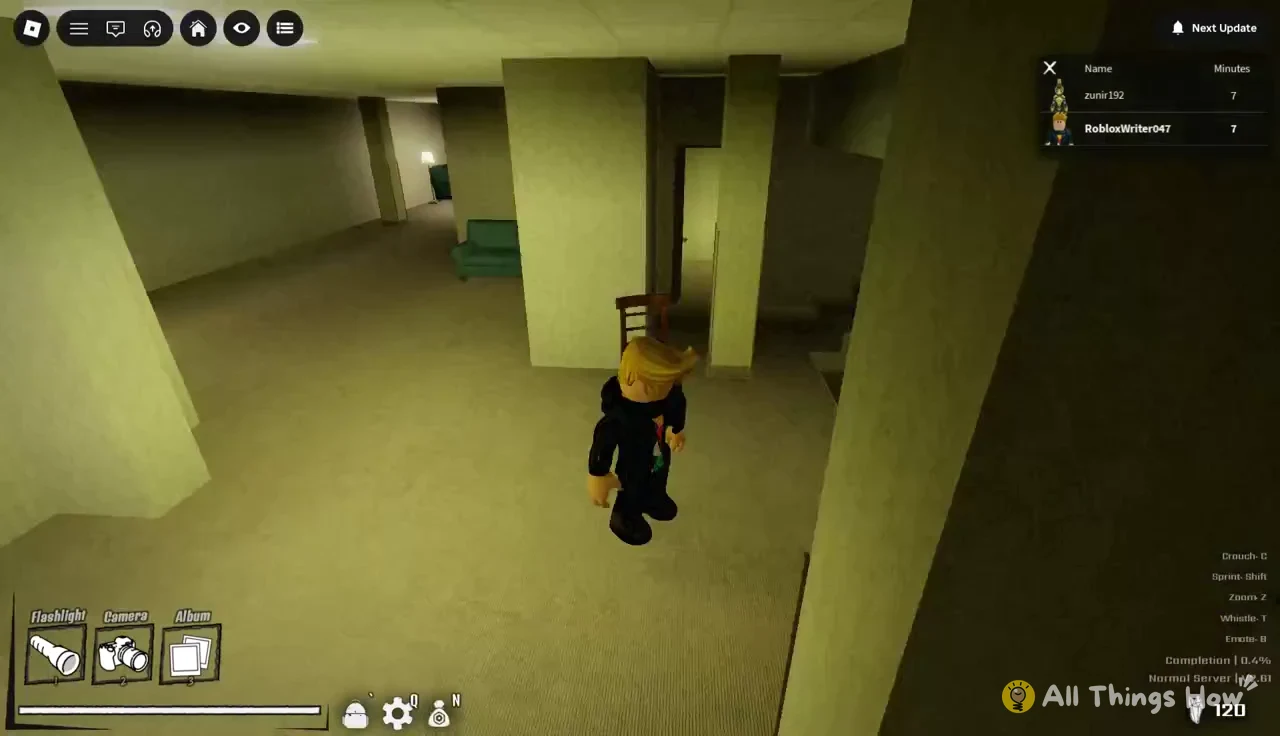
E to open it.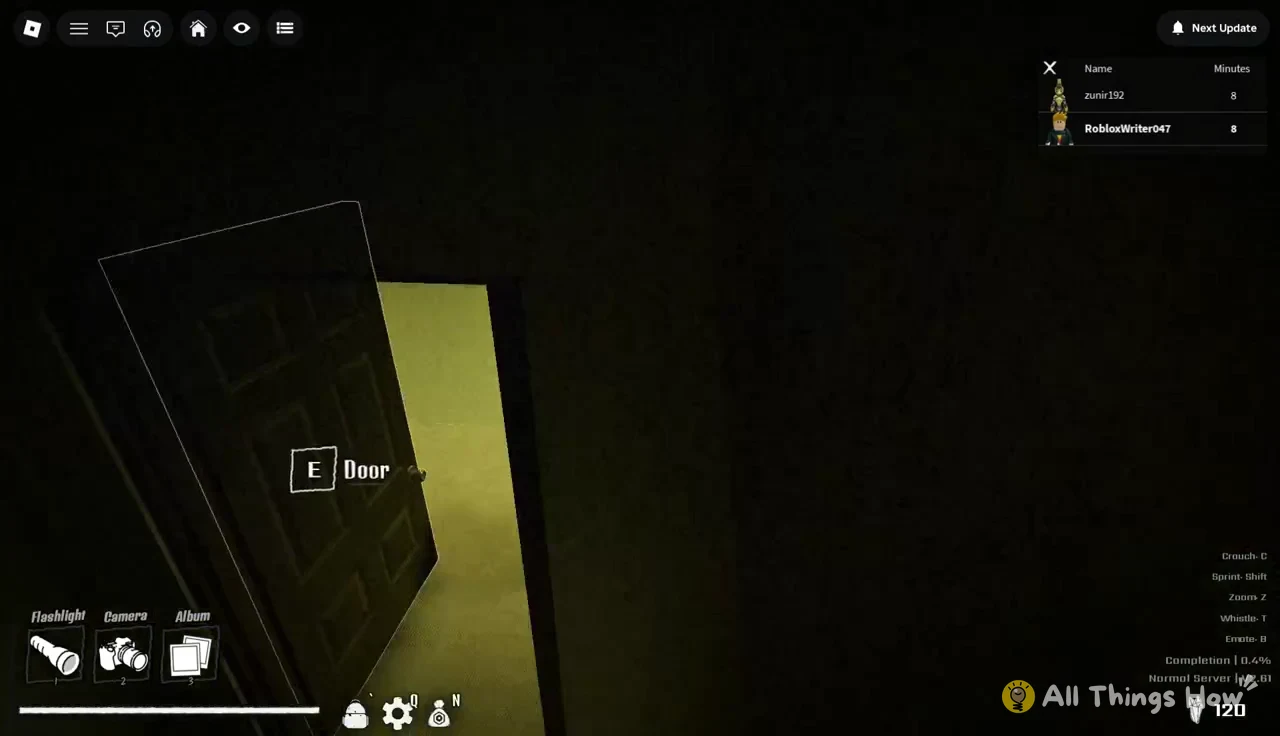
How to open the slatted closet doors with the Coat Hanger
A set of shuttered, slatted closet doors blocks the way forward, and they won’t open on their own. The tool you need is a few steps away, on a standalone metal coat rack near the doors.
E on the rack. The Coat Hanger goes into your inventory with the description “An old coat hanger.” It takes a new slot next to the Album.E on them. The hanger pries the doors open and clears the way into the next corridor. You’ll know it worked when the doors stand open and you can walk through. The hanger stays in your toolbar afterward.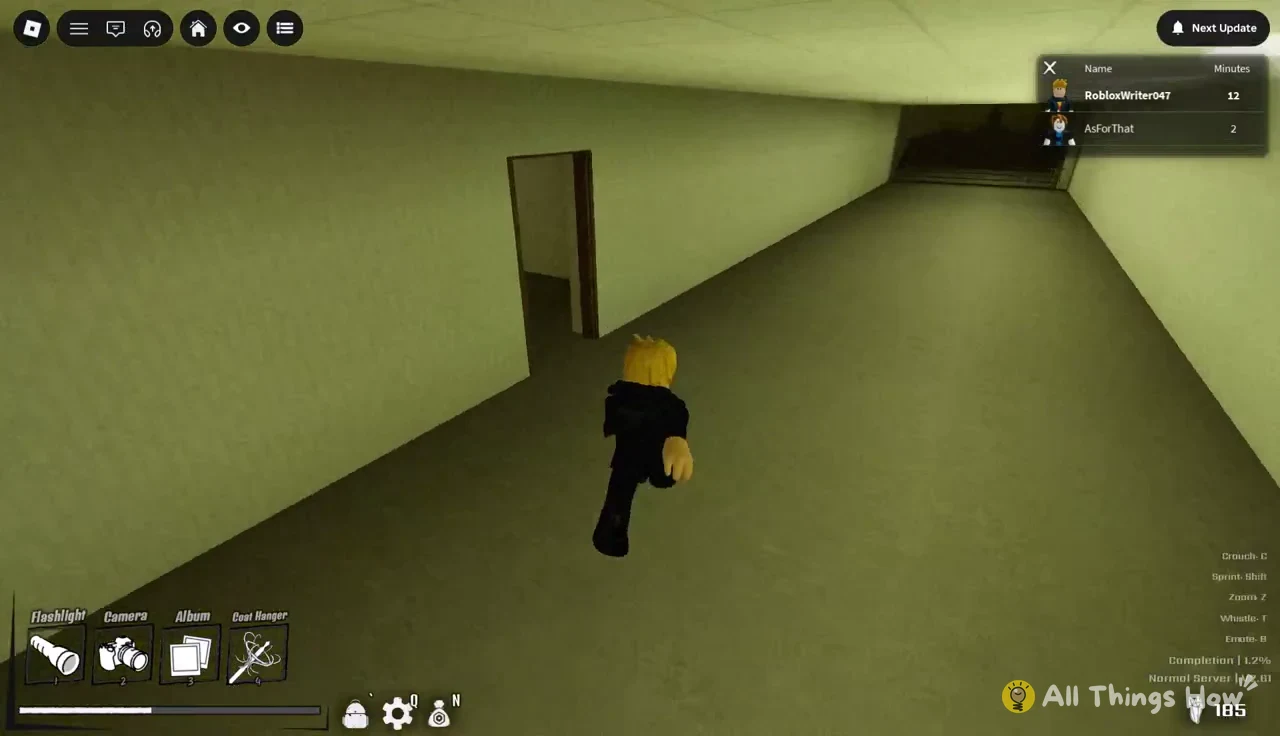
Golden chair alcove and THE END room
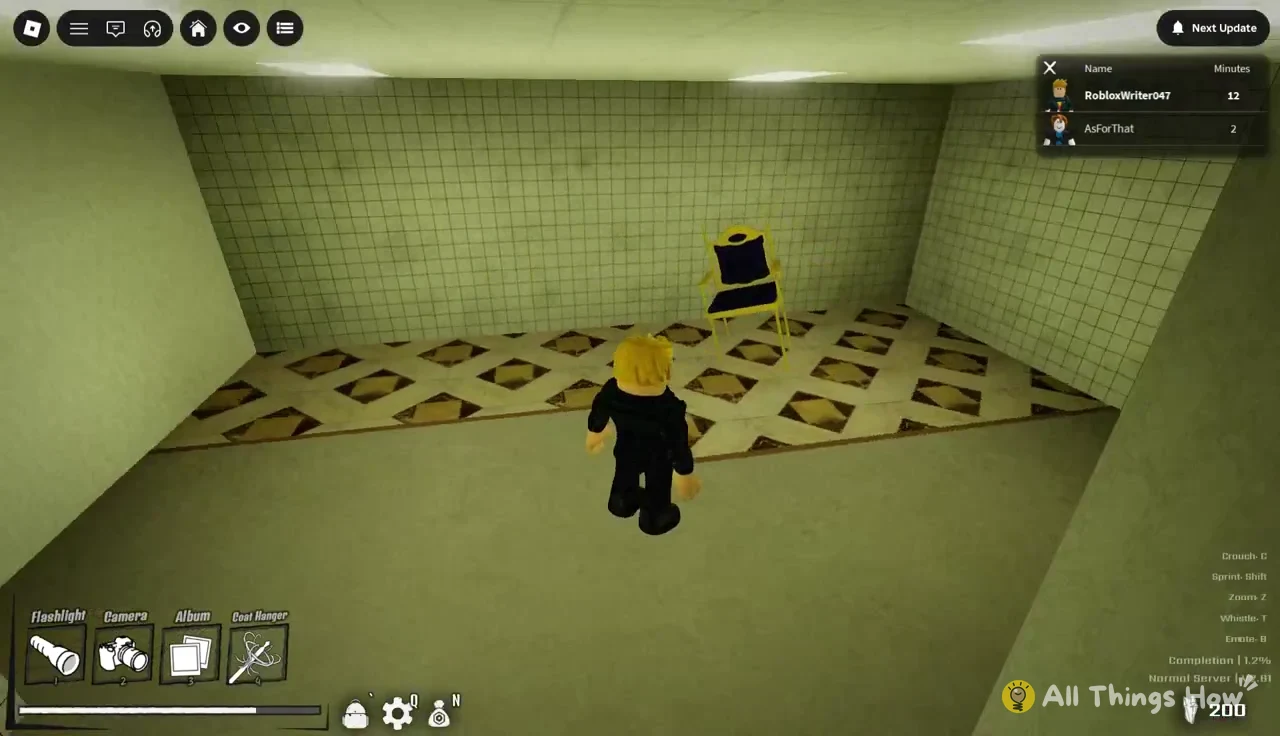
Beyond the closet doors, look for a small tiled room with a single golden chair on a patterned floor. Entering it triggers a Point of Interest banner.
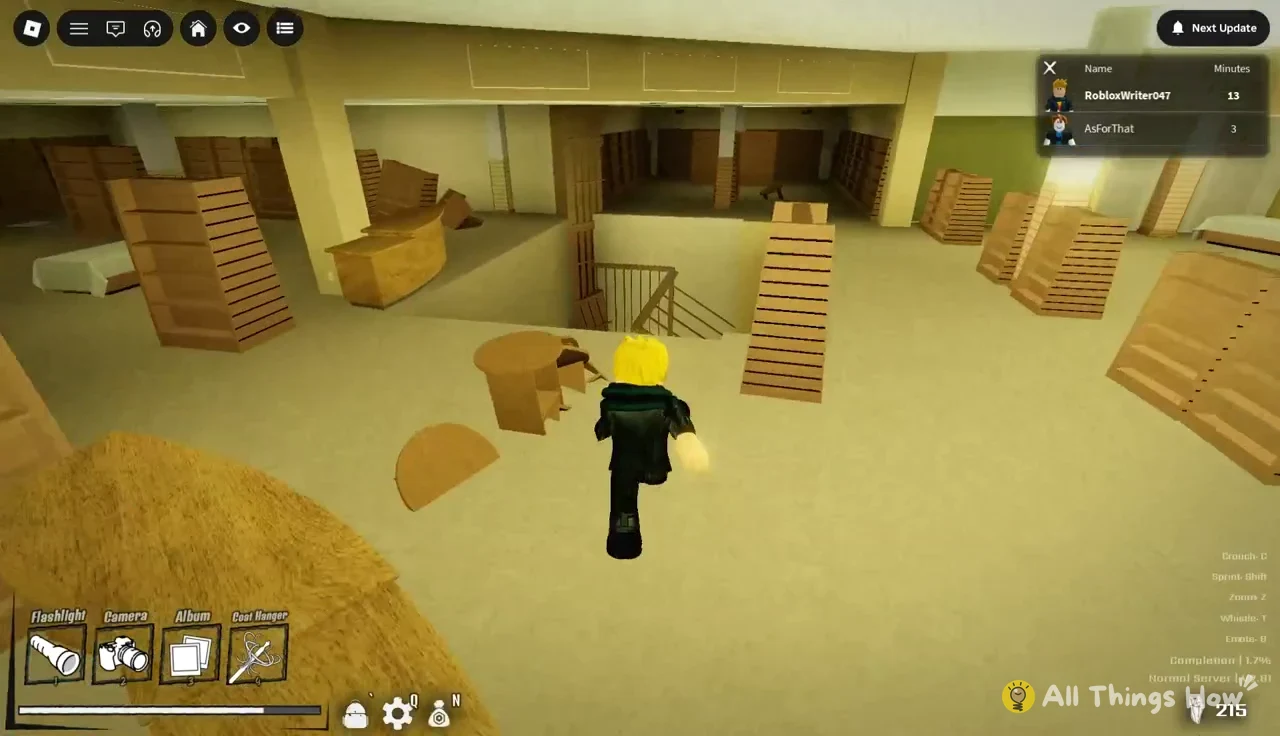
Keep going into the large, dim hall lined with empty bookshelves. “THE END” is written on the back wall, and an old desktop computer sits on the front desk. Walking in logs this room as a Point of Interest too.
Around this room, the whole screen can briefly turn solid blue with “NO SIGNAL” in the middle. It clears by itself after a moment and drops you back into the game. You don’t need to do anything, and you don’t lose any progress.
Backtracking for the Telephone Pole Hall
THE END isn’t a hard stop. At least one more Point of Interest sits on a branch you skip on the way there, so it’s worth going back for it once you’ve seen the computer room.
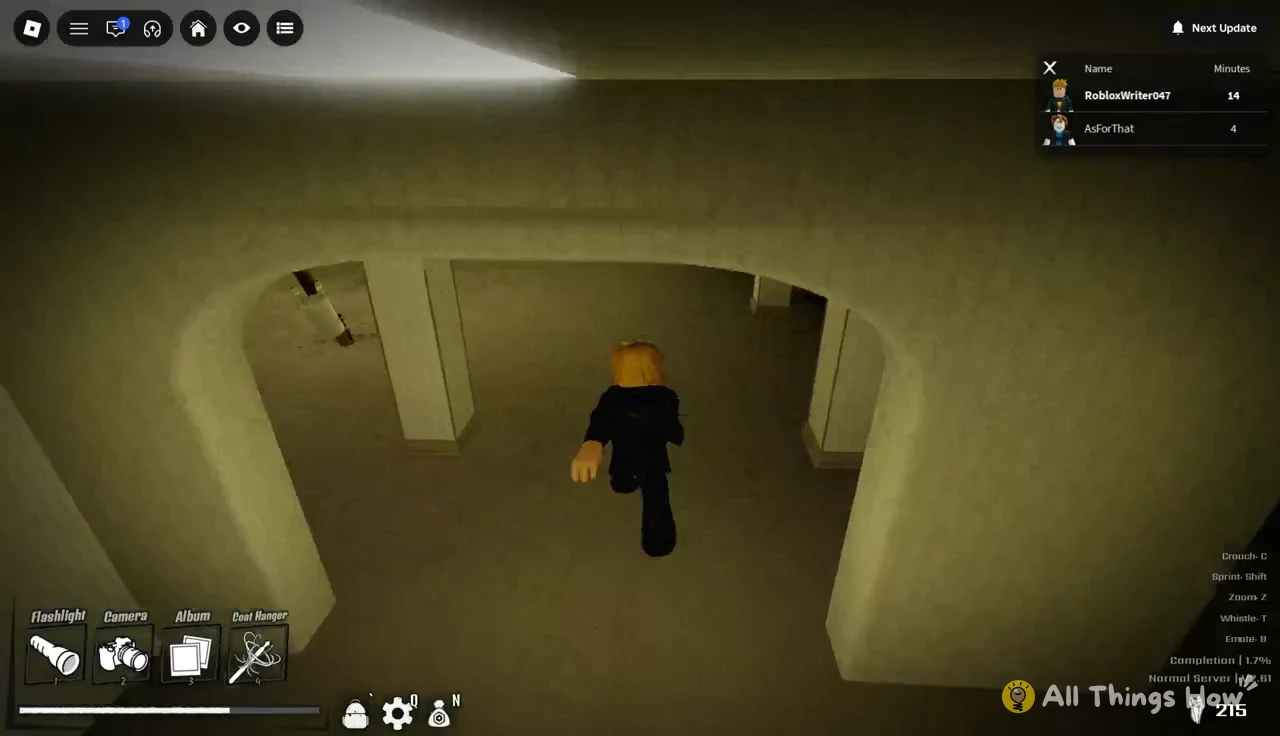
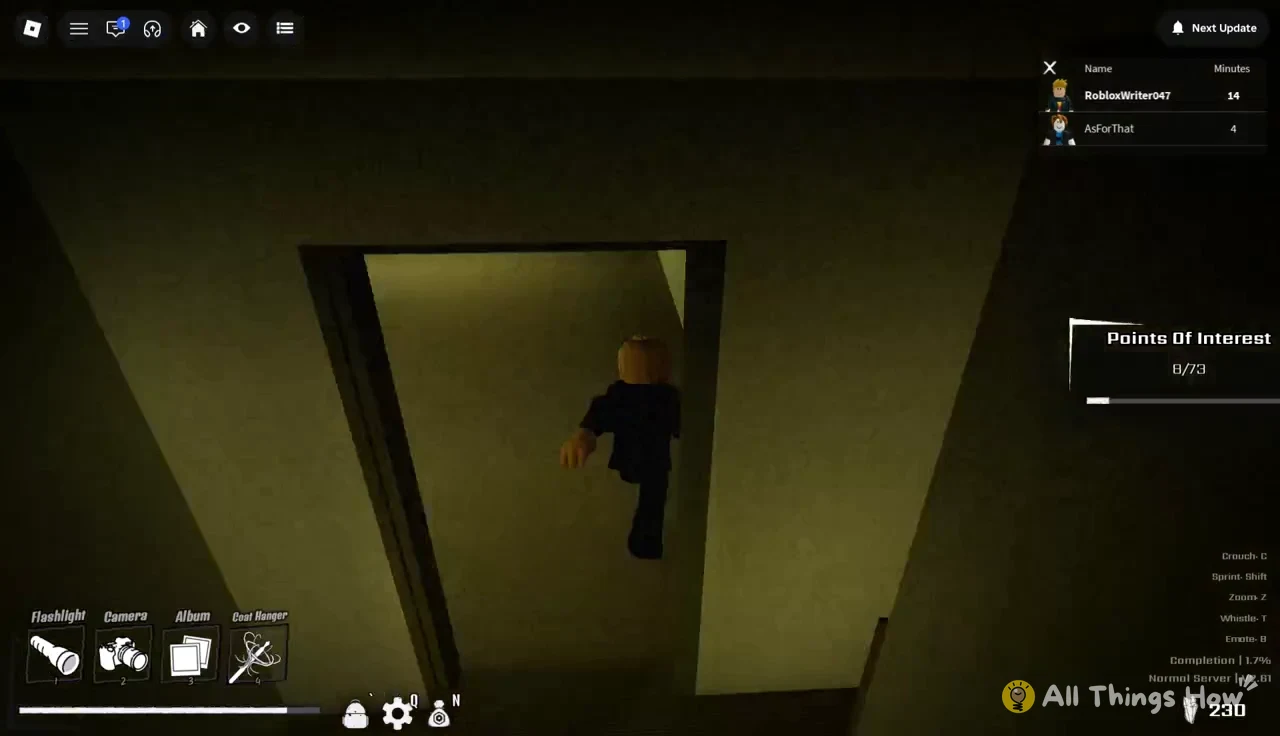
That leaves you with eight of 73 Points of Interest, five of 89 Picture Spots, and the Coat Hanger permanently in slot 4. The completion meter sits just under 2 percent. Everything else is still out there behind more doors, and the camera icons are the clearest sign you’ve found something worth stopping for.