Throw Key for Cars, which shows up in-game as Throw a Car!, runs on one loop. You train on a pull-up bar to level up and gain Power, throw a key down a long track, and every new distance you reach unlocks a car. That car parks on your garage plot and earns cash every second, and you spend that cash on better bars and better keys so the next throw goes farther. The early game takes you from the Forest through the Savanna and into the Desert, and the order you buy things in decides how fast that goes.
Quick answer: Train at the pull-up bar for Power, hit “PERFECT!” on the throw meter, park every new car on your plot, then buy Bar 2 ($50), Bar 3 ($2K), the Brass Key ($4K), Bar 4, Bar 5 and the Steel Key.
How to throw a key in Throw Key for Cars
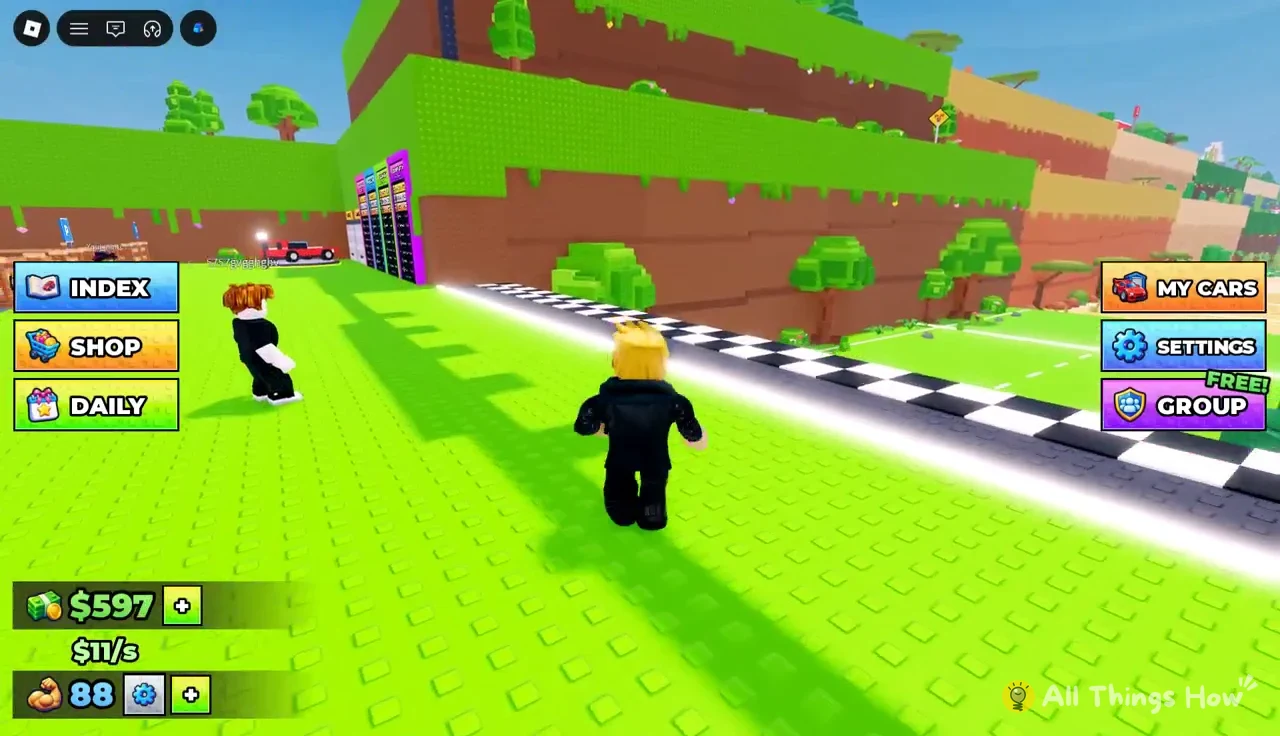
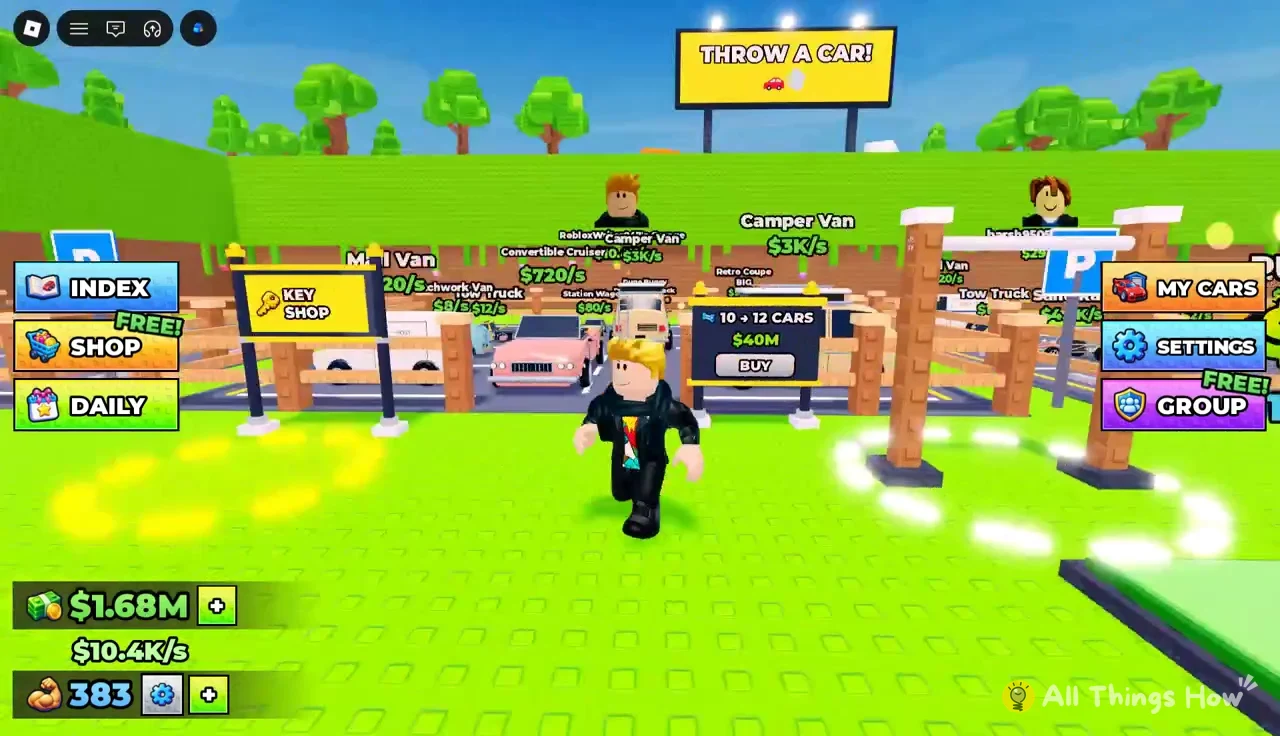
Your garage plot sits next to the road, and yellow dashed arrows on the ground point you toward the Throw Zone at the start of the checkered track. You don’t need to open any menu to throw. Just walk into the zone with your key equipped.
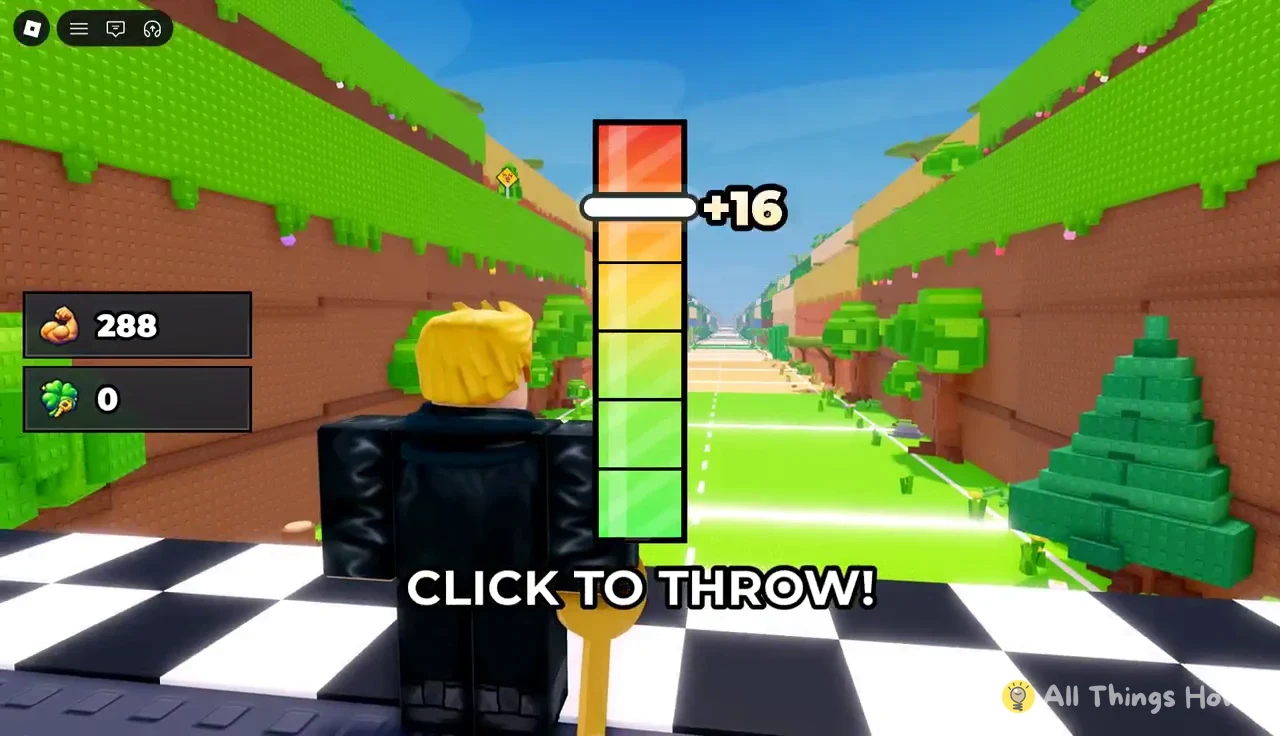
The meter bonus is small next to your trained Power. A perfect +20 on top of 408 Power is worth having, but the real gains in distance come from levels and keys, which is why most of your time goes into the pull-up bar rather than the throw itself.
Pull-up bar upgrades and Power
Every level you gain gives you “LEVEL UP! +5 POWER”, and Power is what pushes your key down the track. You get XP by doing reps on the pull-up bar. Step on the glowing white footprint ring under the bar to start, and press the red STOP button when you want to get off and go throw.
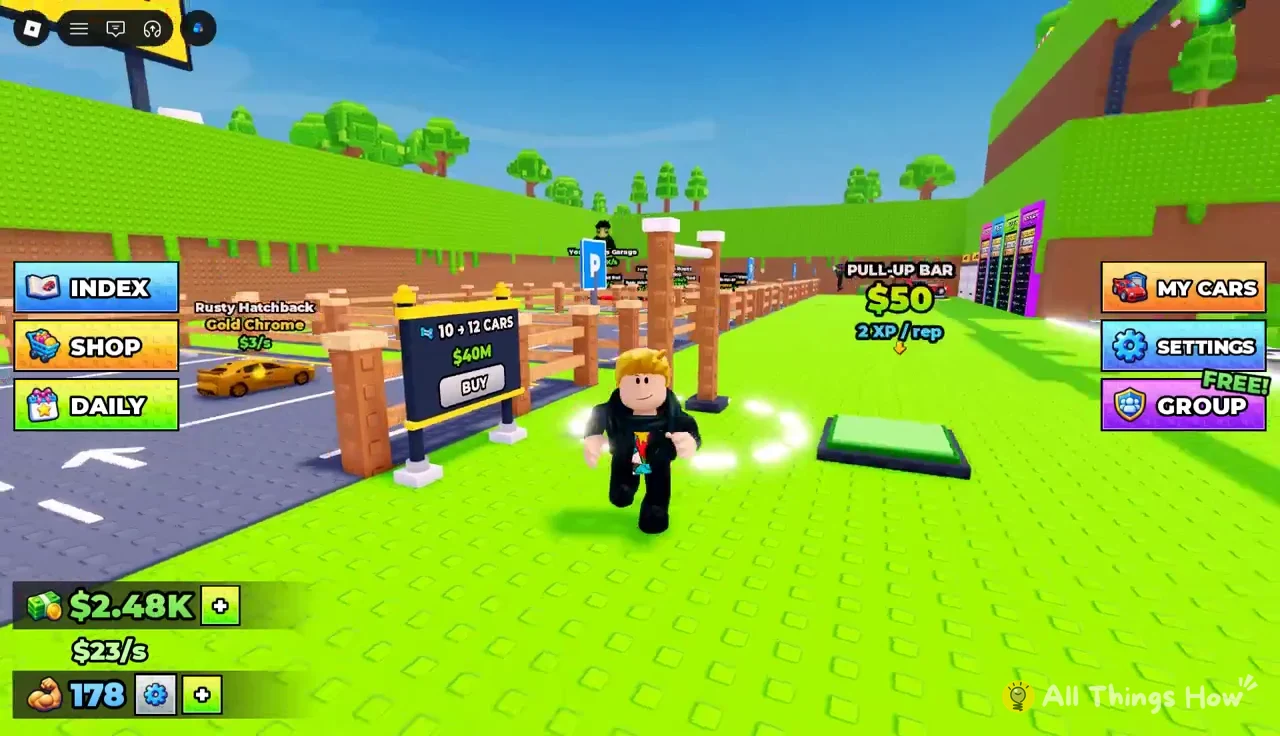
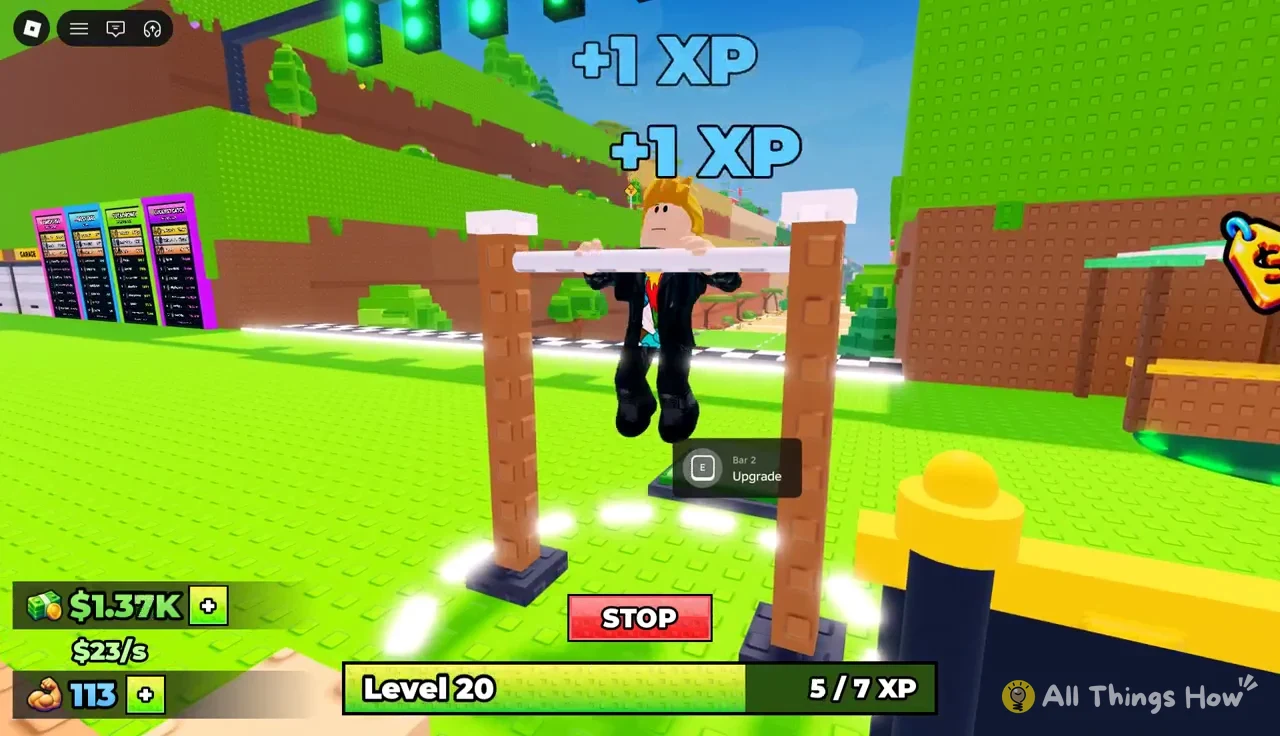
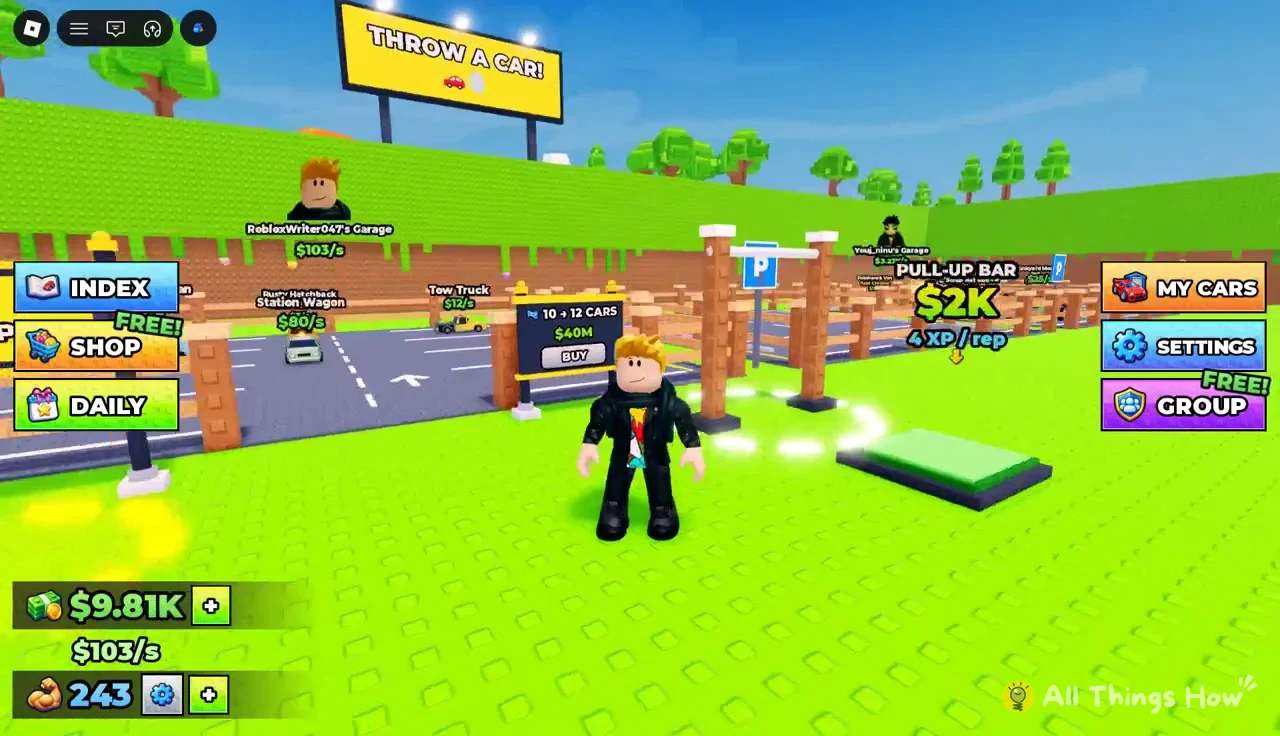
You start on Bar 1. Each upgrade doubles the XP you get per rep, and the game pops up a “YOU CAN NOW BUY” banner as soon as you can afford the next one. To buy it, walk up to the bar and press E on the “Upgrade” prompt.
| Bar | Cost | XP per rep |
|---|---|---|
| Bar 1 | Starter | Base |
| Bar 2 | $50 | 2 |
| Bar 3 | $2K | 4 |
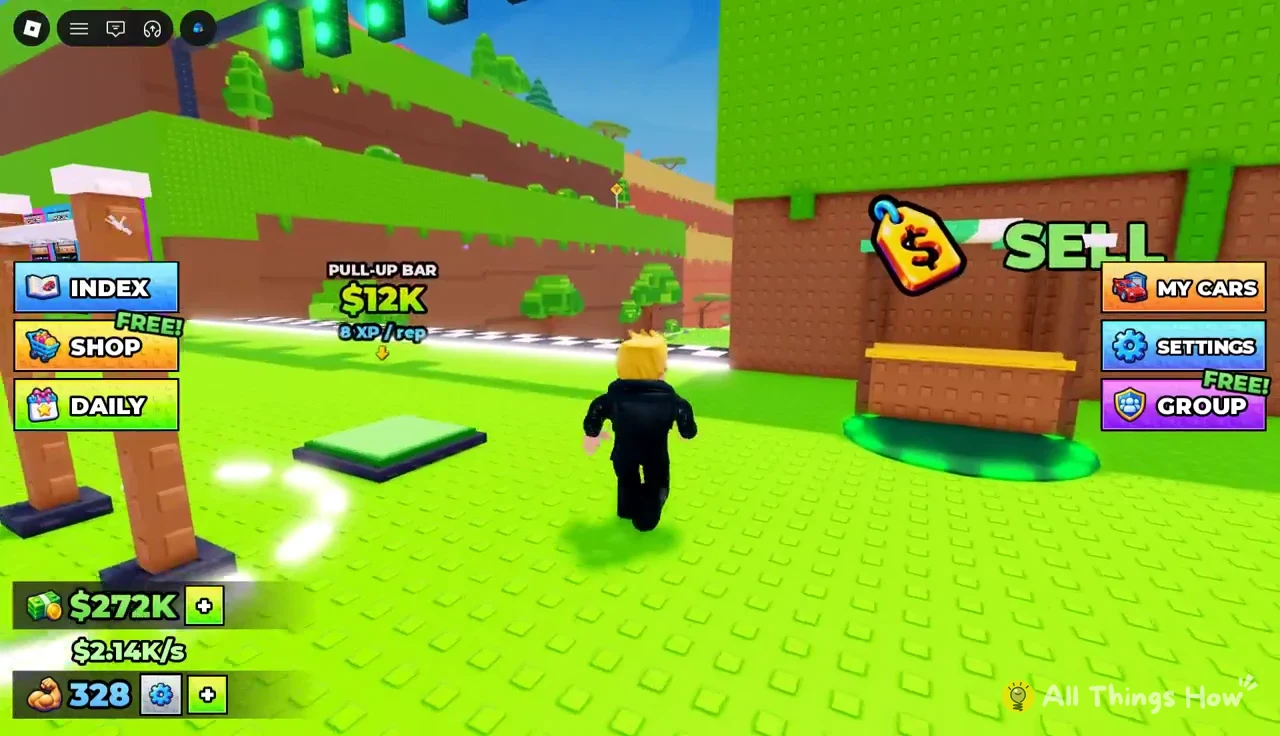
| Bar 4 | $12K | 8 |
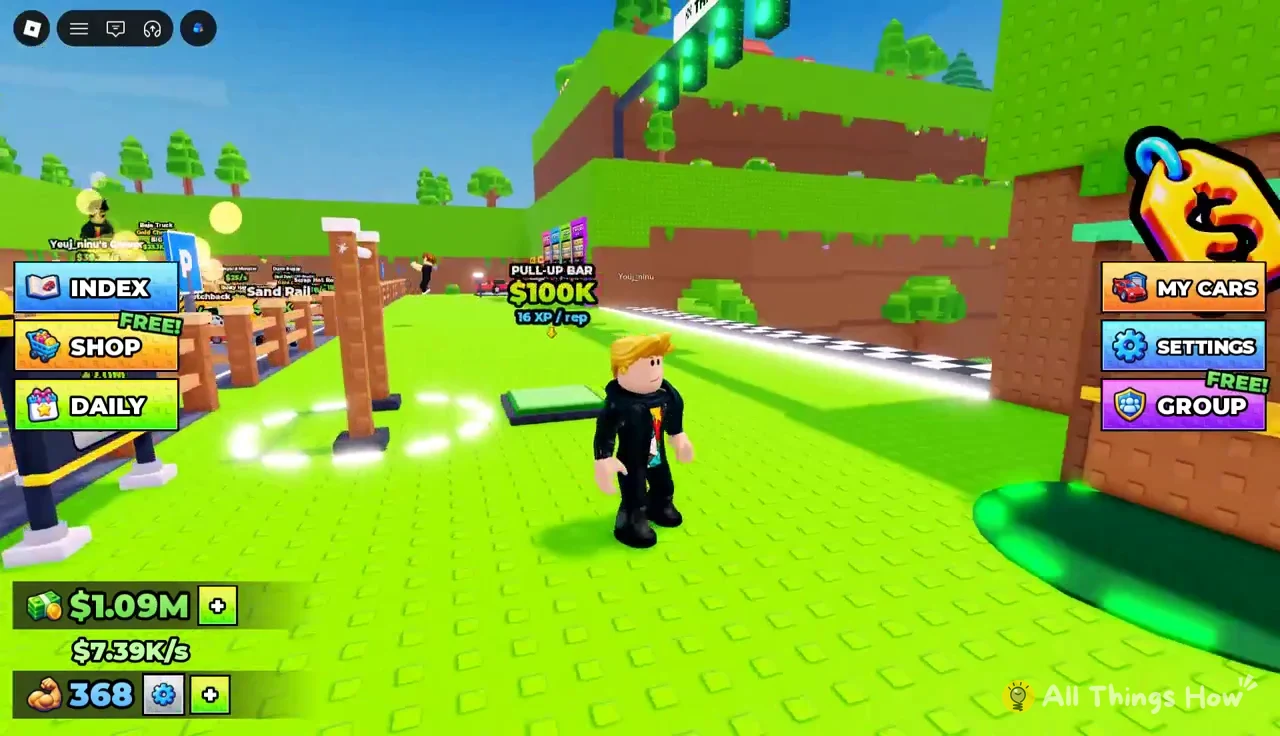
| Bar 5 | $100K | 16 |
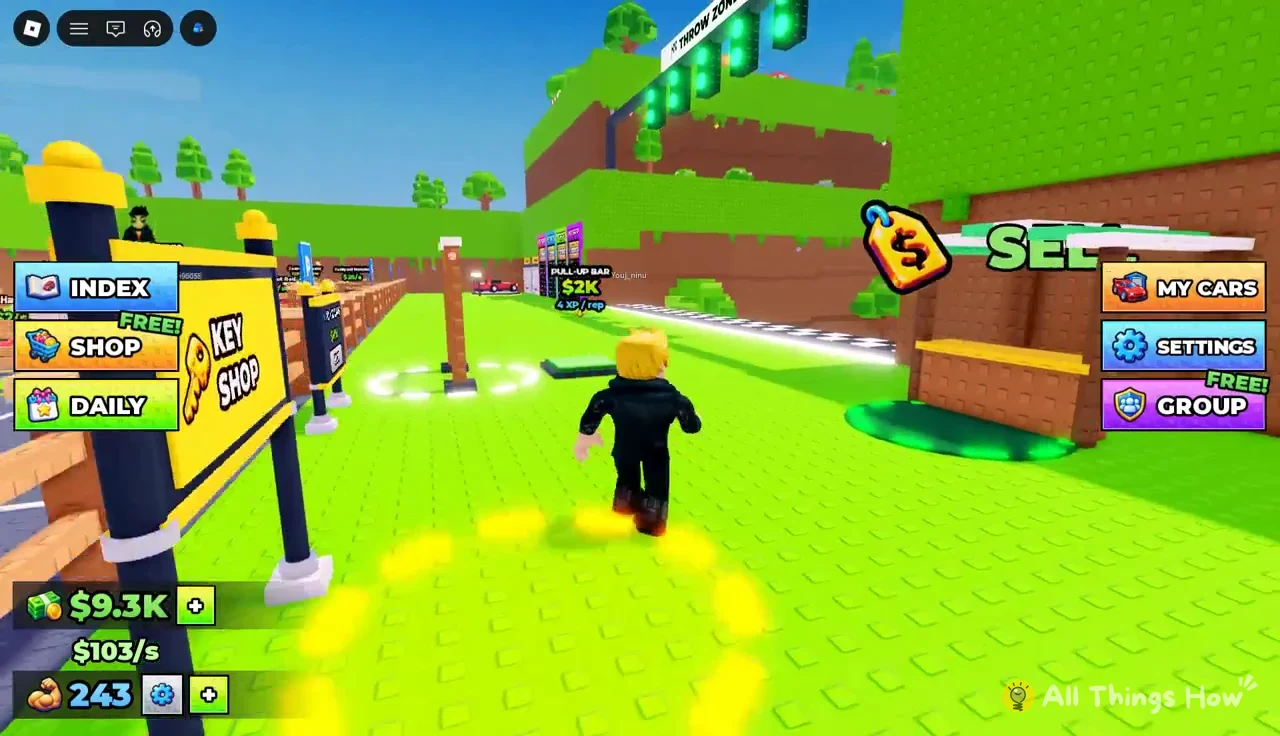
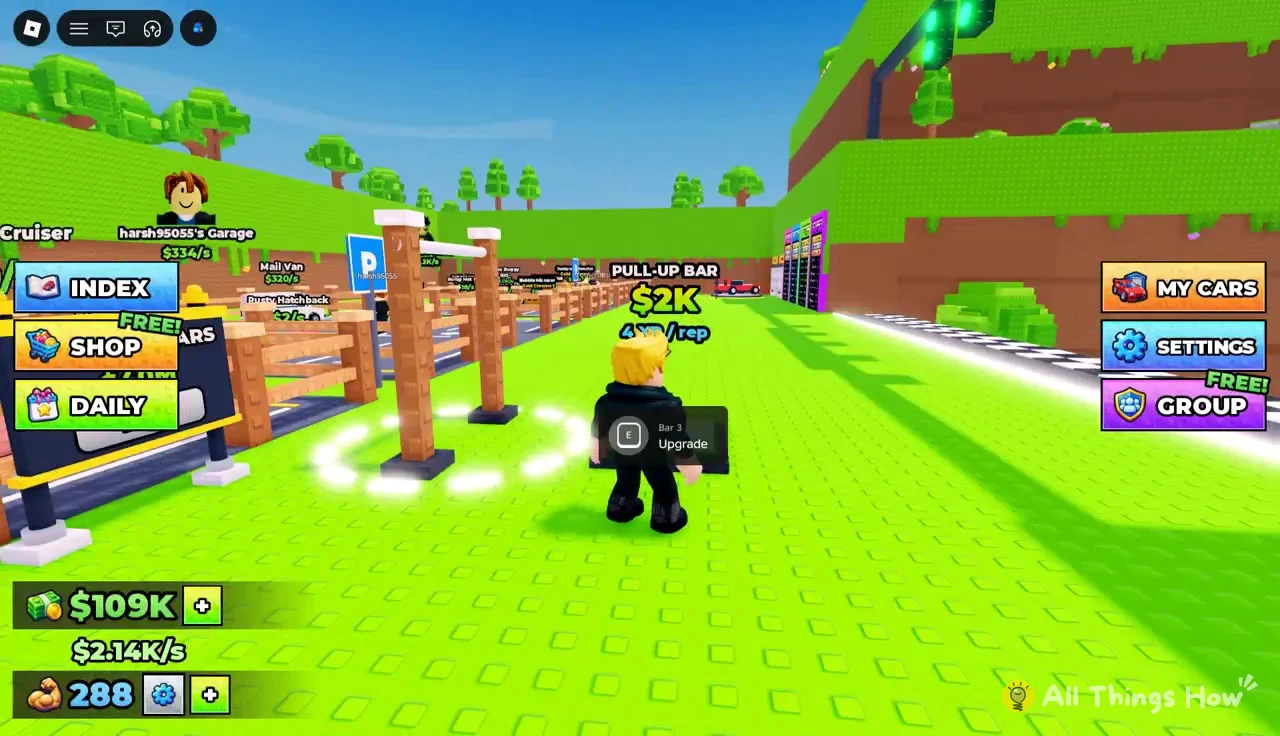
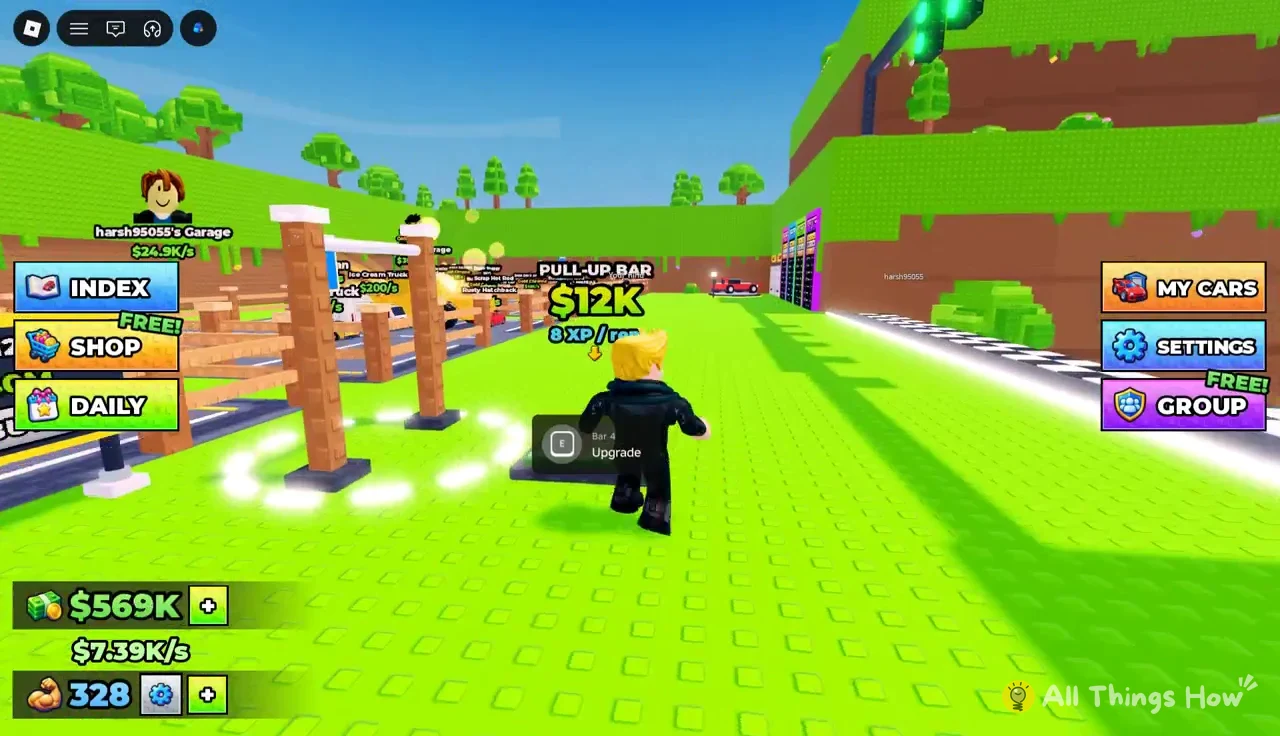
Here’s what that looks like in practice. Bar 1 took a character from Level 15 to Level 33. On Bar 3, getting from 46 to 55 brought Power to 288, Bar 4 carried things to Level 63 and 328 Power, and Bar 5 got to Level 70 at 363 Power and then Level 79 at 408 Power. Because each level is only +5, a cheap bar upgrade pays off quickly, and Bar 2 at $50 is the first thing you should buy.
Key Shop tiers and prices
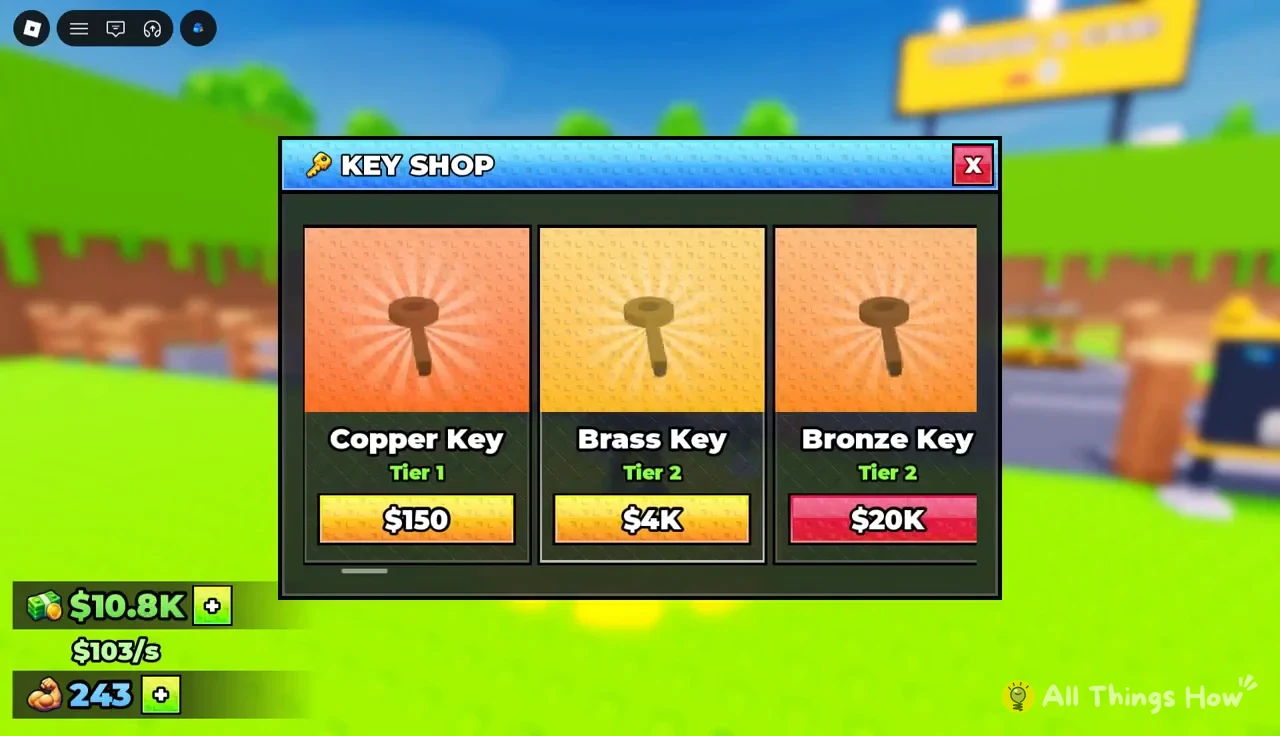
The Key Shop is the kiosk with the glowing yellow ring on the floor around its NPC. Walk into the ring to open it, then scroll through the list. Keys come in 13 tiers with two keys per tier, and a better key sends your throw farther at the same Power. Once you buy a key you have to equip it before your next throw.
| Key | Tier | Price |
|---|---|---|
| Rusty Key | 1 | Starter |
| Tin Key | 1 | No price shown |
| Copper Key | 1 | $150 |
| Brass Key | 2 | $4K |
| Bronze Key | 2 | $20K |
| Iron Key | 3 | $200K |
| Steel Key | 3 | $1M |
| Silver Key | 4 | $12M |
| Chrome Key | 4 | $60M |
| Golden Key | 5 | $650M |
| Platinum Key | 5 | $3.2B |
| Titanium Key | 6 | $30B |
| Carbon Key | 6 | $150B |
| Keycard | 7 | $1.3T |
| Smart Fob | 7 | $6.8T |
| Neon Fob | 8 | $57T |
| Turbo Fob | 8 | $1.5Qa |
| Nitro Fob | 9 | $50Qa |
| Crystal Key | 9 | $120Qa |
| Sapphire Key | 10 | $4Qi |
| Amethyst Key | 10 | $18Qi |
| Magma Key | 11 | $120Qi |
| Inferno Key | 11 | $700Qi |
| Pyramid Key | 12 | $4Sx |
| Scarab Key | 12 | $27Sx |
| Cloud Key | 13 | $180Sx |
You don’t have to buy every key in order. Jumping from the Brass Key straight to the Steel Key at $1M and skipping the Bronze and Iron Keys works fine, since the Brass Key keeps unlocking new cars all the way into the Desert while your Power climbs.
Cars you unlock in the Forest, Savanna and Desert
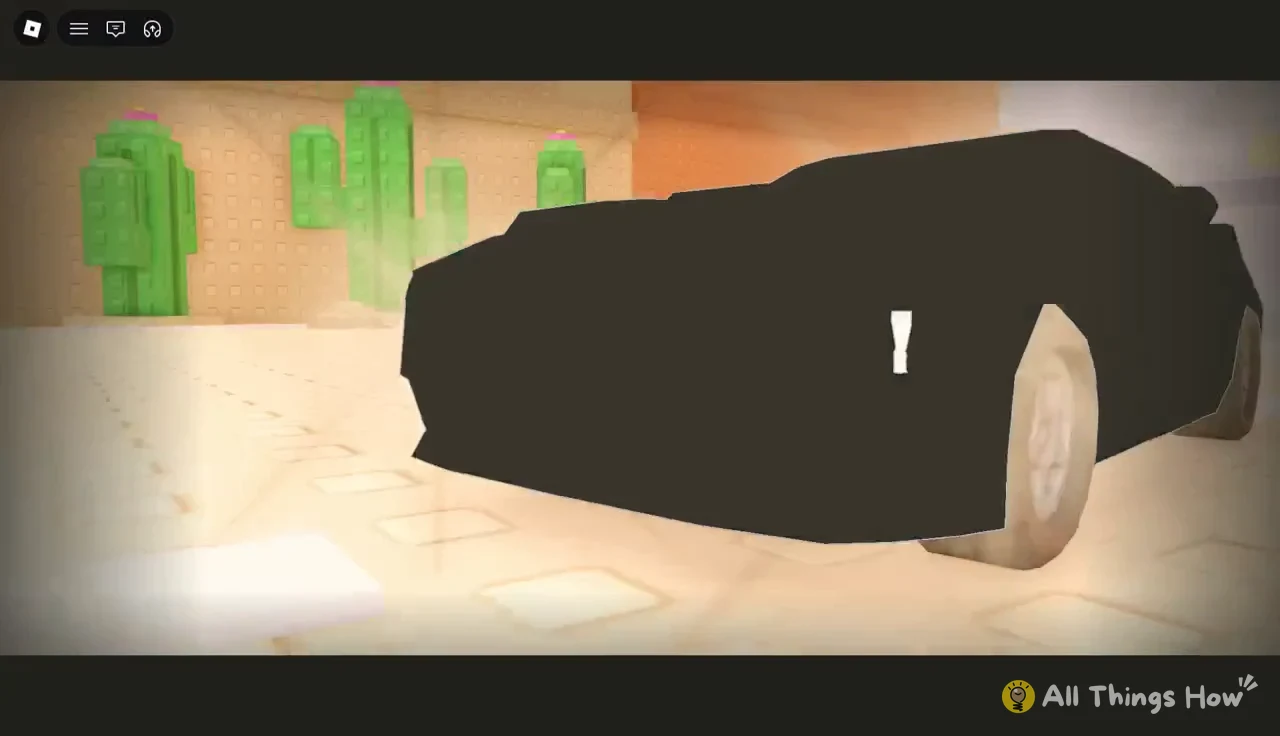
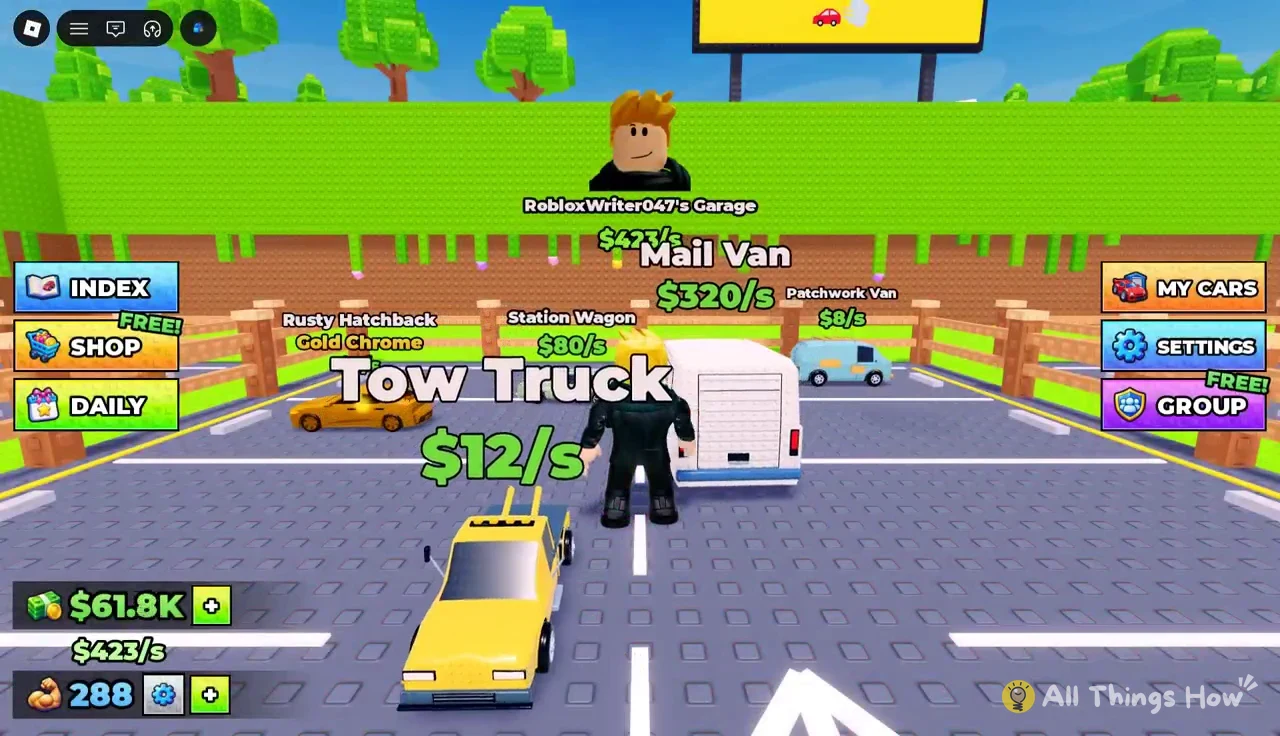
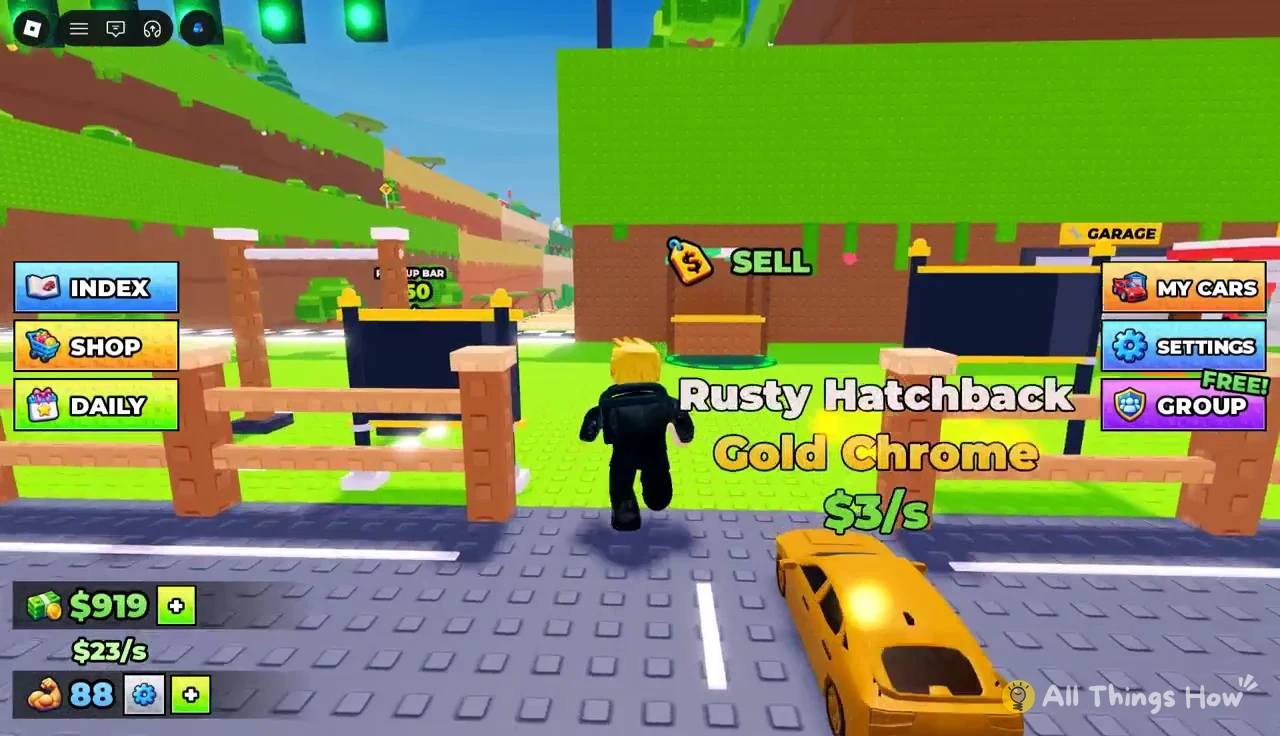
The track goes through the Forest first, then the Savanna, then the Desert. You start with a Patchwork Van ($8/s) and a Gold Chrome Rusty Hatchback ($3/s) already parked, and after that each new distance record gives you another car. Rarity and income don’t always line up, so a Common Station Wagon can out-earn an Uncommon Tow Truck by a lot.
| Car | Rarity | Income | Unlocked at |
|---|---|---|---|
| Tow Truck | Uncommon | $12/s | 106 studs, Forest |
| Station Wagon | Common | $80/s | 198 studs, Savanna |
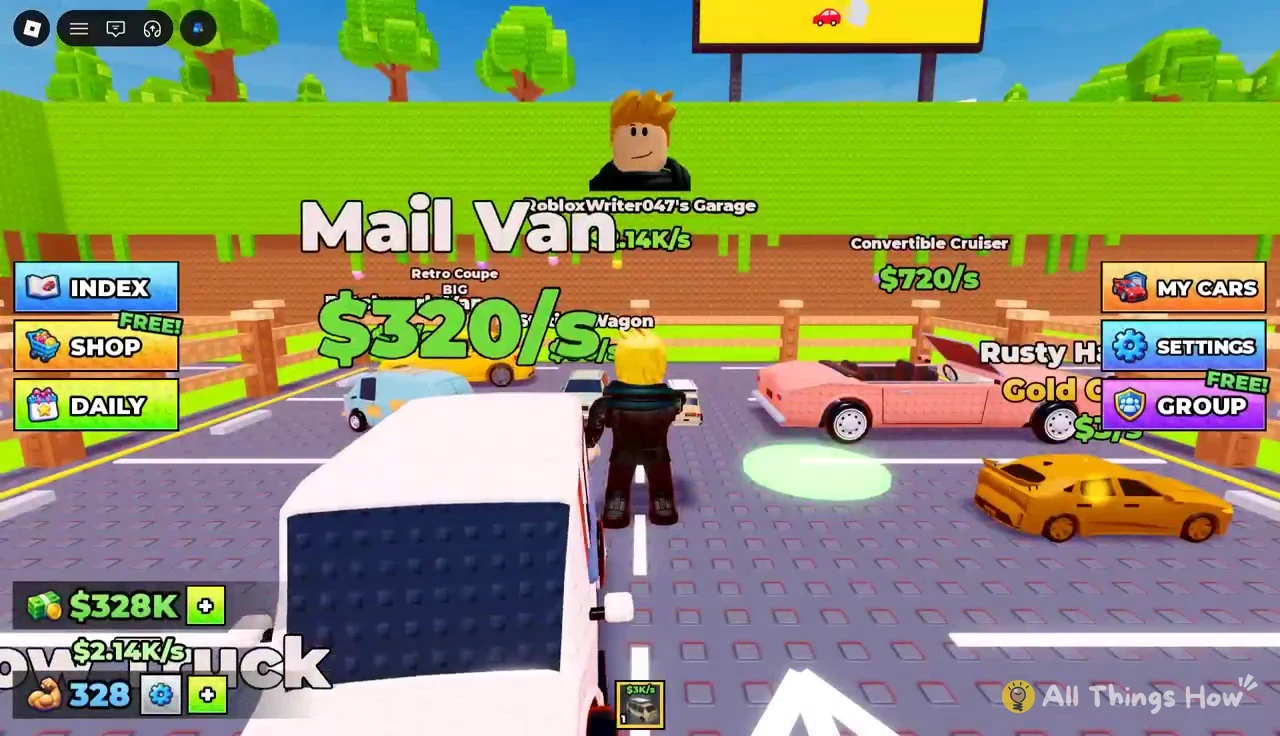
| Mail Van | Uncommon | $320/s | 262 studs, Savanna |
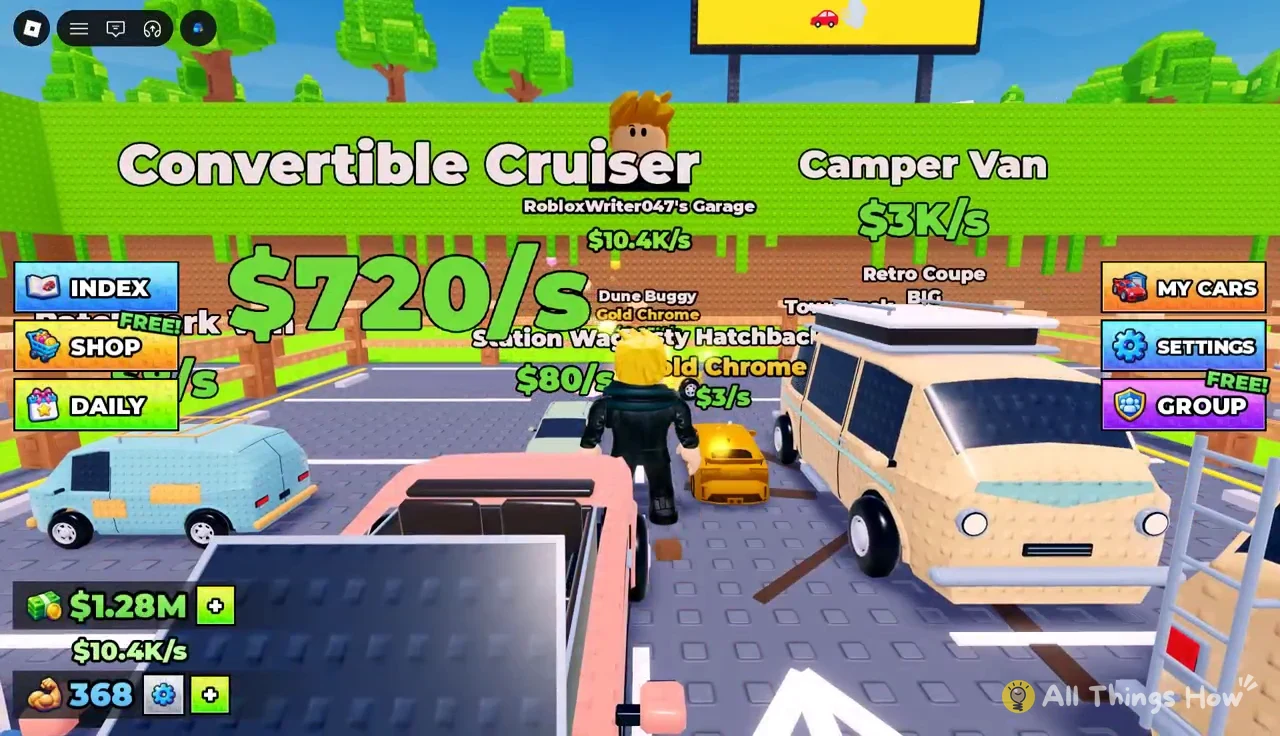
| Convertible Cruiser | Rare | $720/s | 307 studs, Savanna |
| Camper Van | Uncommon | $3K/s | 349 studs, Desert |
| Sun Muscle Car | Rare | $18K/s | 386 studs, Desert |
| Dune Buggy (Gold Chrome) | Common | $2.25K/s | 402 studs, Desert |
The distances in the last column are the throws that unlocked each car, made with the Rusty Key for the first two, the Brass Key from the Mail Van through the Sun Muscle Car, and the Steel Key for the Dune Buggy. Each placement shows up right away in your total income: the Tow Truck took it to $23/s, the Station Wagon to $103/s, the Mail Van to $423/s, the Convertible Cruiser past $1.14K/s and the Camper Van to $5.14K/s.
Parking cars and filling the 10-car plot
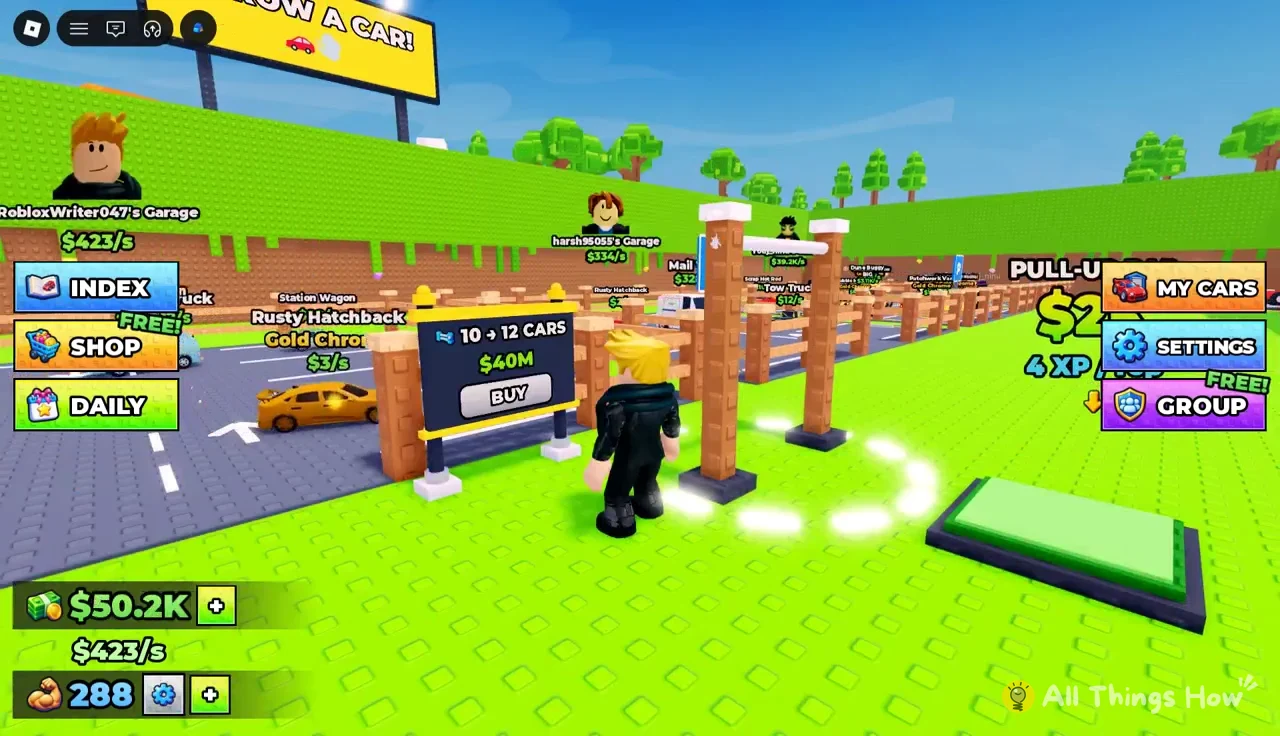
When a car unlocks, walk it to an open parking bay on your plot to place it. Your plot has your username over it, like “RobloxWriter047’s Garage”, and every parked car has a floating $/s tag so you can see what each one makes. You only earn from cars that are on the plot.
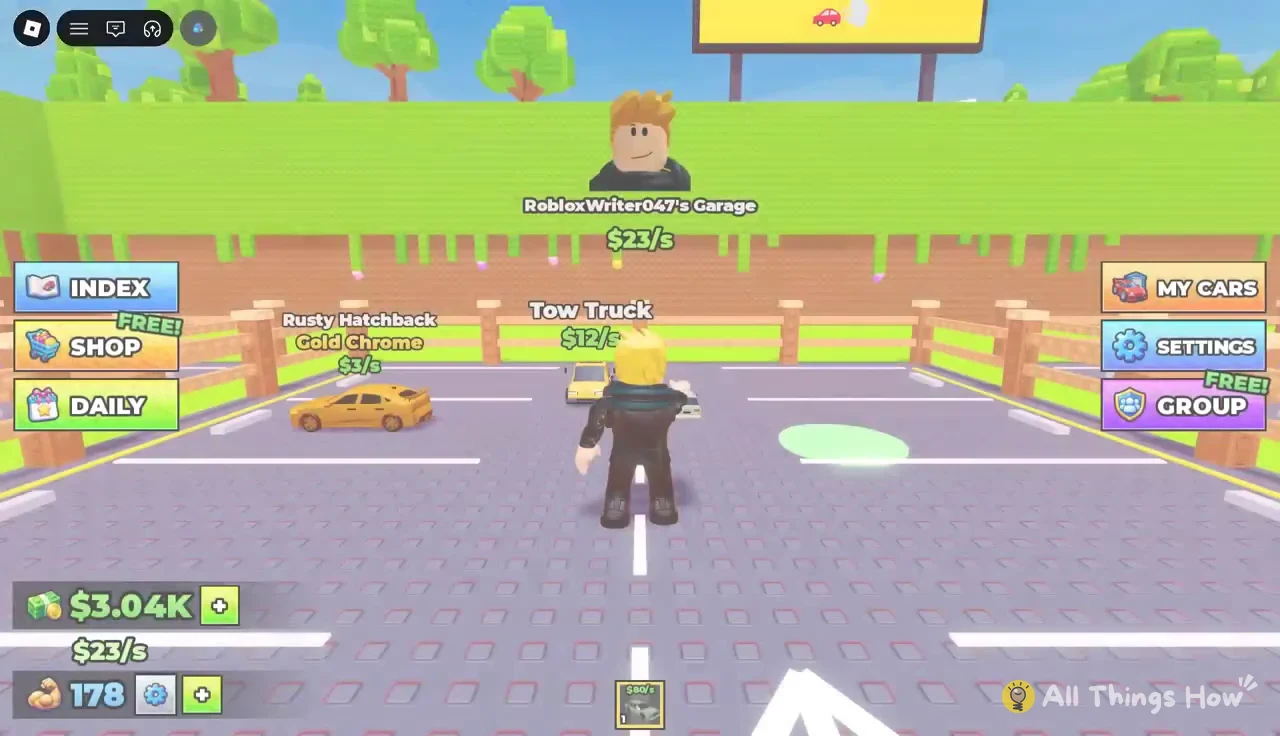
The plot holds 10 cars to start. When it’s full, the next car you unlock skips the plot and you’ll see “Your plot is full! Your car went to your backpack.” That car isn’t earning anything yet, so open MY CARS from the side menu and press EQUIP BEST. The game puts your 10 highest-earning cars on the plot and confirms with “Your best 10 cars are on your plot!” Doing this after the Sun Muscle Car arrived pushed income to $28.4K/s. Do it again any time a new car shows up in your backpack.
There’s a sign at the garage to go from 10 to 12 car slots, and it costs $40M. That’s well past what you’ll have in the early game, so stick with EQUIP BEST until you’re making serious money.
Starter purchase order for Throw Key for Cars
This order gets you from the Forest to the Desert without wasting cash, trading off between training and throwing as each new car raises your income.
You’ll know each step worked when the game tells you: a cutscene plays for every new car, your total $/s goes up the moment it’s parked, and “LEVEL UP! +5 POWER” pops up on the bar as your Power heads toward 400 and beyond. After the Steel Key, the Silver Key at $12M and the Chrome Key at $60M come next.