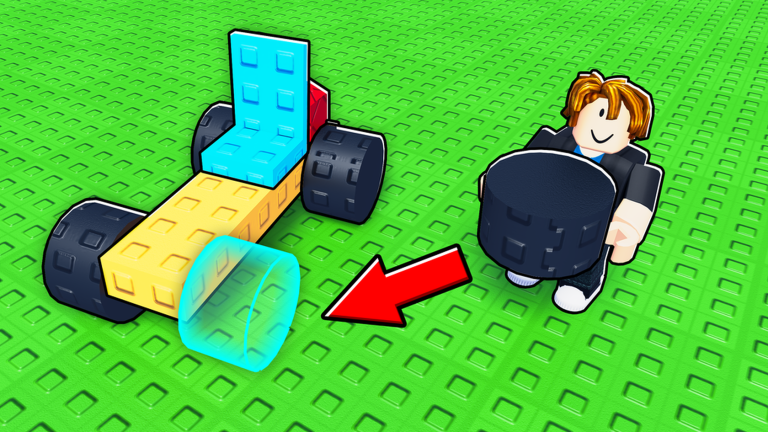
In Runworks’ Roblox vehicle sim, Build a Car to Go Far, you leave your plot and travel down one long track. The farther you go, measured in studs, the more coins you earn. During your first session, you can upgrade from the starter kart to a wooden car with four Road Tires and its own fuel tank. Free rewards by your build pad cover most of the cost.
Quick answer: Claim Day 1’s 1,000 coins, open the free DELIVERIES crate, fit its Sport Rocket to the starter kart and drive once. Then buy a Reinforced Wood Plank, four Road Tires and a Small Fuel Tank (615 coins).
Claim the Day 1 reward and close the startup popups
You spawn on your building pad with three windows stacked on top of each other. None of them block anything for long, but the daily reward one is worth paying attention to, since it’s your first chunk of spending money.
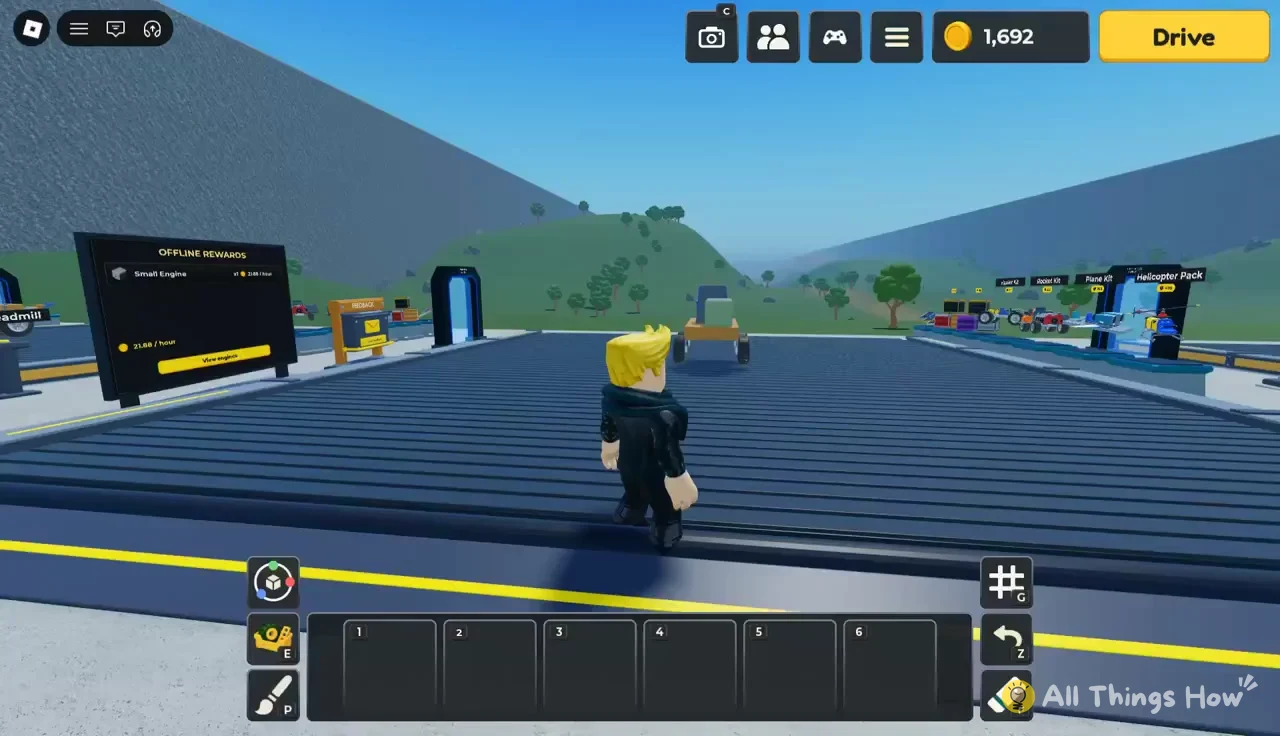
The daily rewards run on a seven-day cycle, and two of the days hand out Legendary parts instead of coins. Logging in each day is the cheapest way to get a better engine early.
| Day | Reward | Rarity |
|---|---|---|
| Day 1 | 1,000 coins | — |
| Day 2 | Sport Rocket | Legendary |
| Day 3 | 5,000 coins | — |
| Day 4 | V6 Engine | Rare |
| Day 5 | 15,000 coins | — |
| Day 6 | 40,000 coins | — |
| Day 7 | Compact V8 | Legendary |
Open the free Performance Booster Crate at DELIVERIES
Free crates show up on the DELIVERIES dock next to your plot. Walk over to the conveyor there, interact with the red Performance Booster Crate and pick Open Crate. Yours rolls a booster, and the first one is typically a Common Sport Rocket worth +60% boost. Press Grab Booster to drop it into your hotbar.
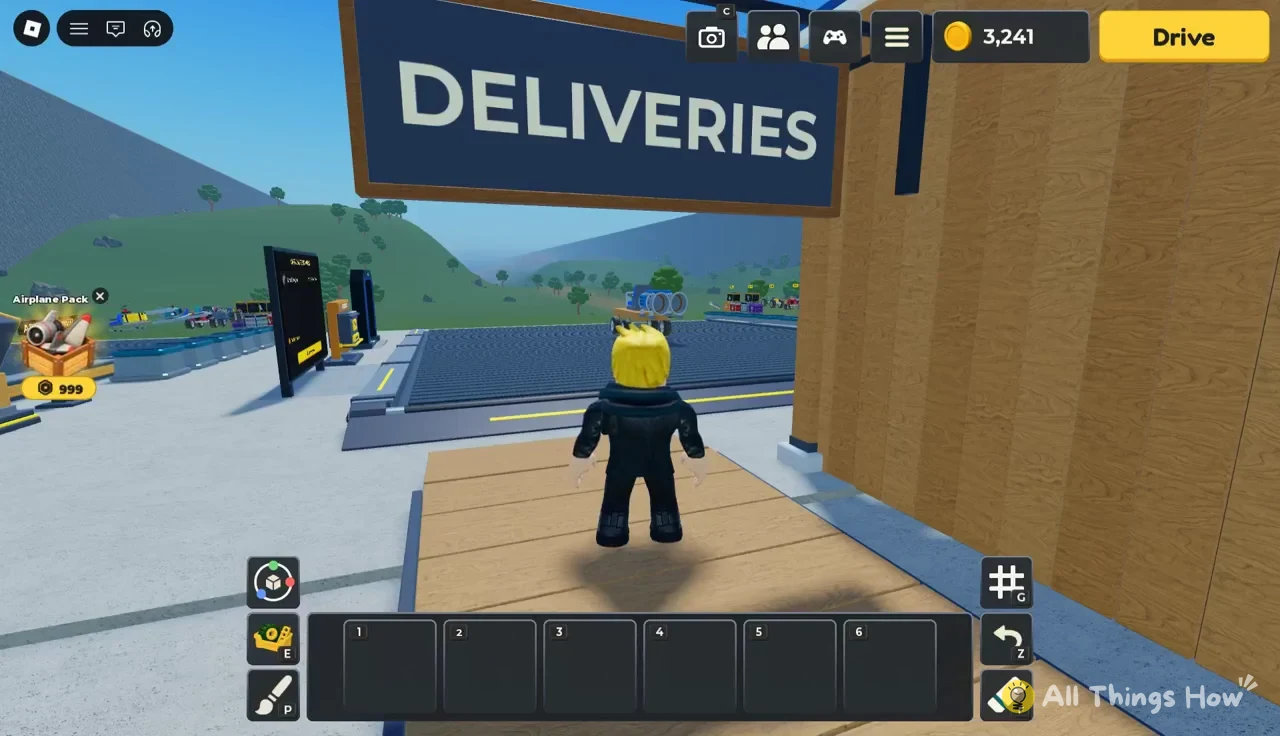
The garage also has a Community reward board offering a FREE PERFORMANCE BOOSTER CRATE once the game reaches 9,000 likes, so check it each time you log in.
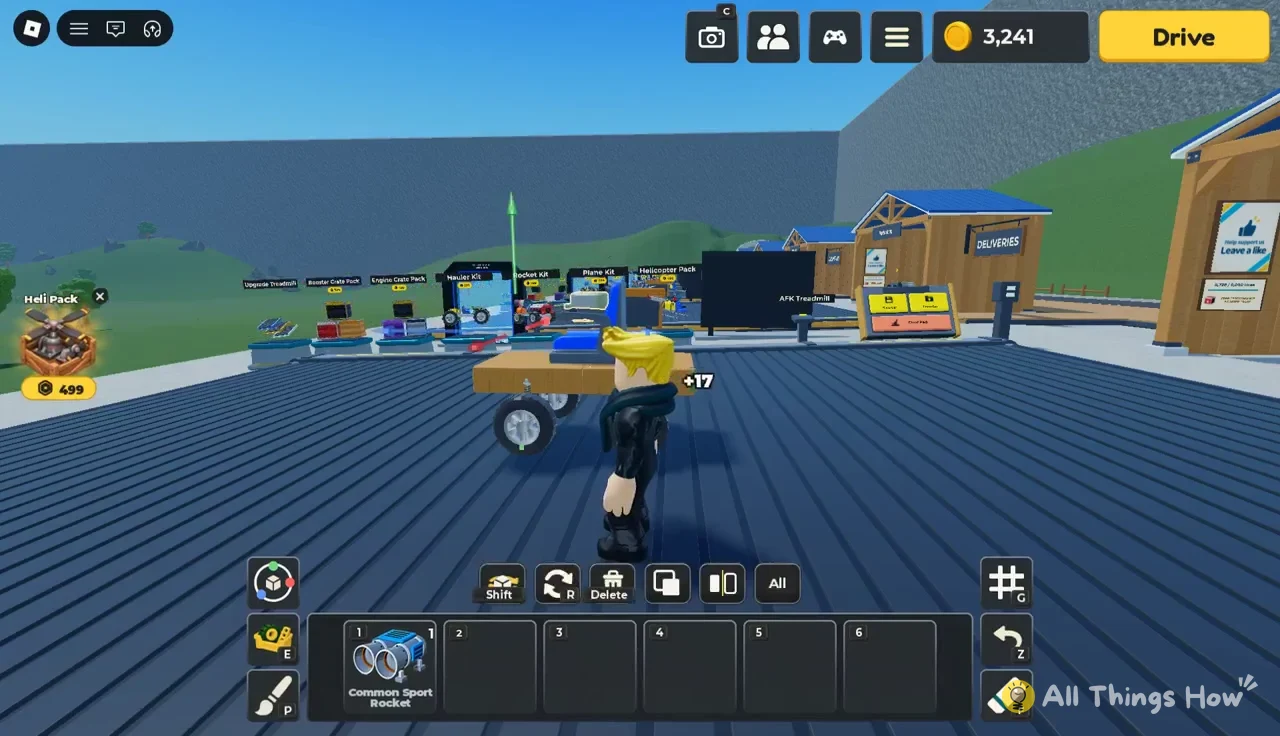
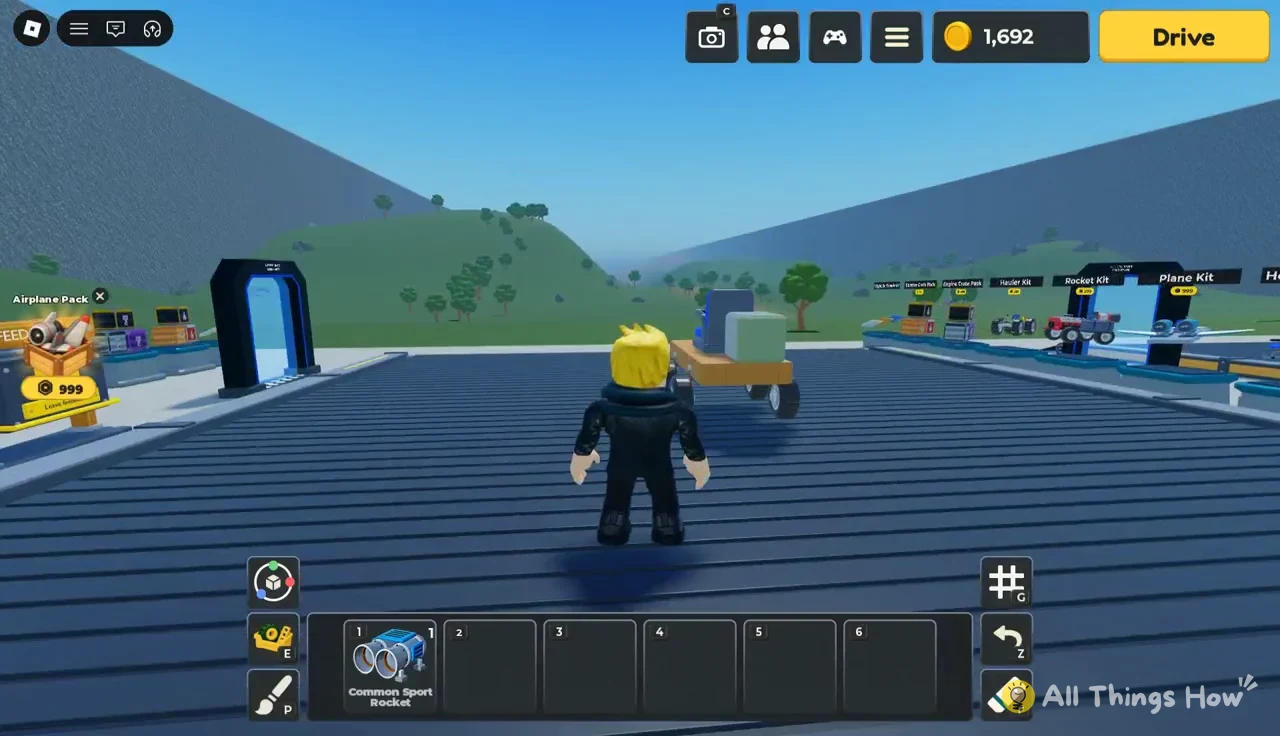
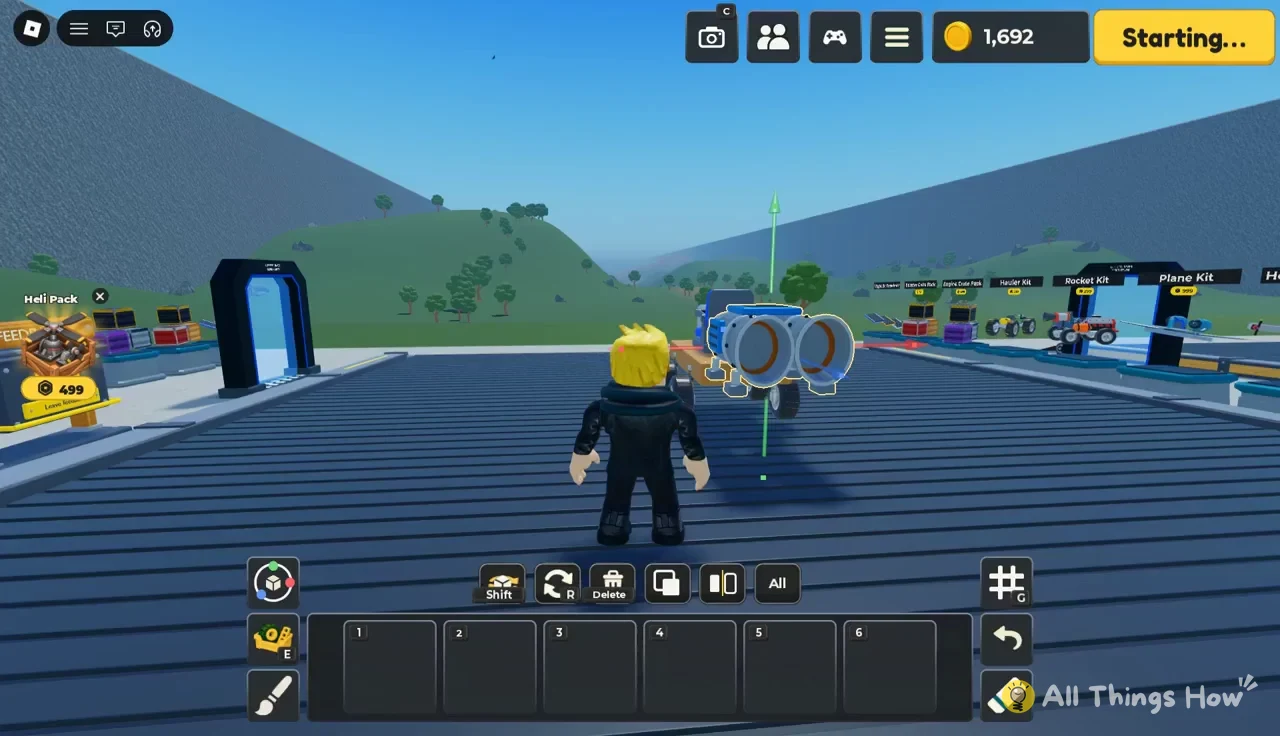
Attach the Common Sport Rocket to the starter kart
Build mode gives you three tools on any selected part, which gets a yellow outline. The colored arrows (red, green and blue) slide the part along each axis, the circular rings rotate it, and a 90-degree toggle snaps rotation to right angles so parts line up cleanly. A red wireframe box means the spot you’re aiming at is blocked or isn’t a valid place to attach.
Drive your first distance run
Walk up to the car and press the yellow Drive button. The screen shows “Starting…” and then sends you down the ramp onto the grassy track.
The controls show along the bottom of the screen while you drive:
- A / D to steer
- W or Space for gas
- S or Ctrl to brake
- E to exit the car
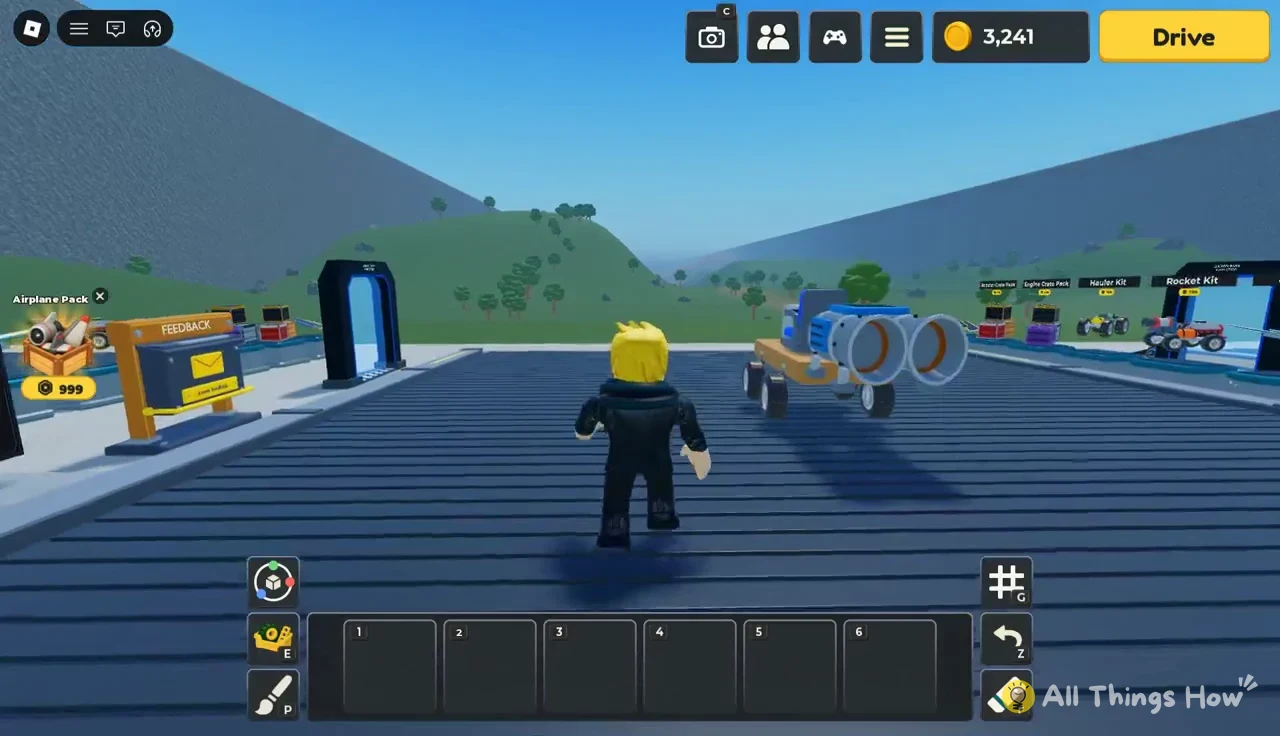
Two gauges track your run. The starter kart’s Gas reads 0.5 / 0.5, and Boost starts at 100%. When the tank empties, the HUD says “Out of fuel · coasting” and the car keeps rolling on momentum, which is when the Sport Rocket earns its spot, because it can keep shoving you forward at high speed after the engine has nothing left. Rockets are fast enough to flip a light kart, and that crash ends the run wherever you land.
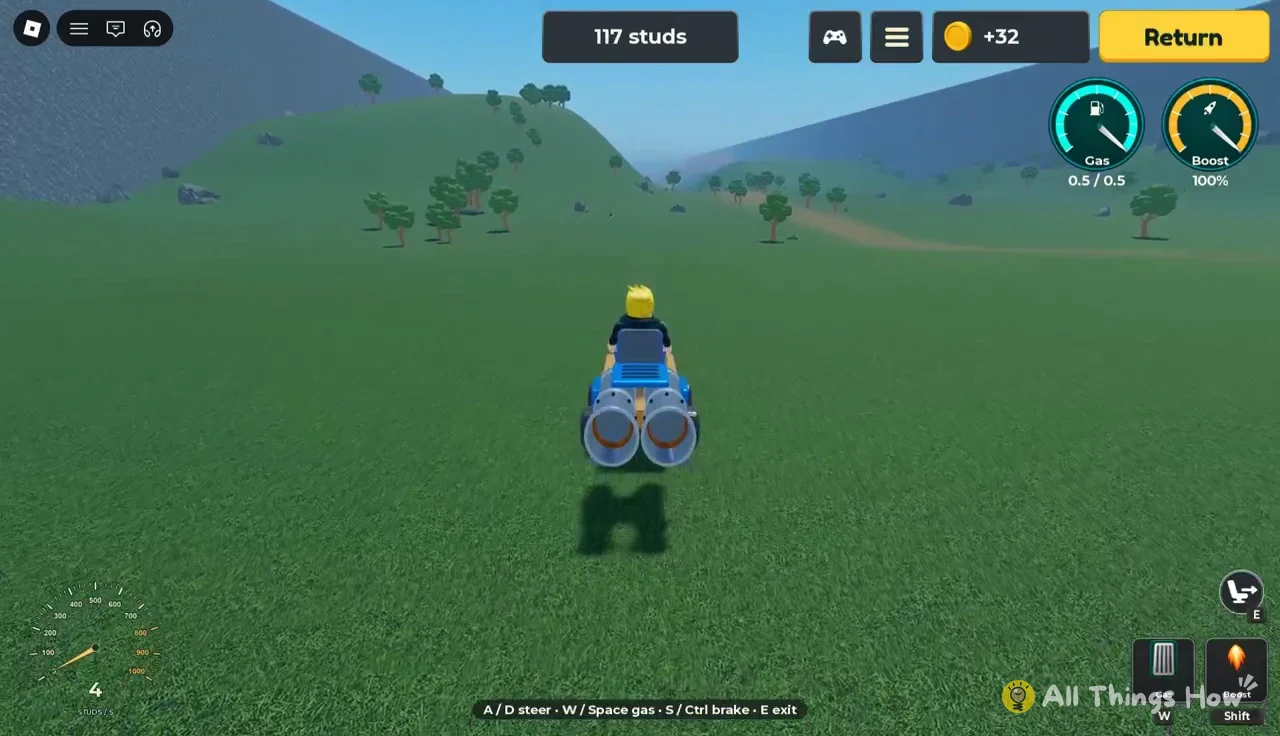
If a crash knocks your engine off, the HUD shows “Engine lost · return to repair.” Either way, the run ends on a results card with your distance, your Best, the coins you Earned and the next zone, plus Back to garage and Drive again buttons. A starter kart with the Sport Rocket that crashes at 2,182 studs pays 1,549 coins, which takes your balance to 3,241 coins once the Day 1 reward is added.
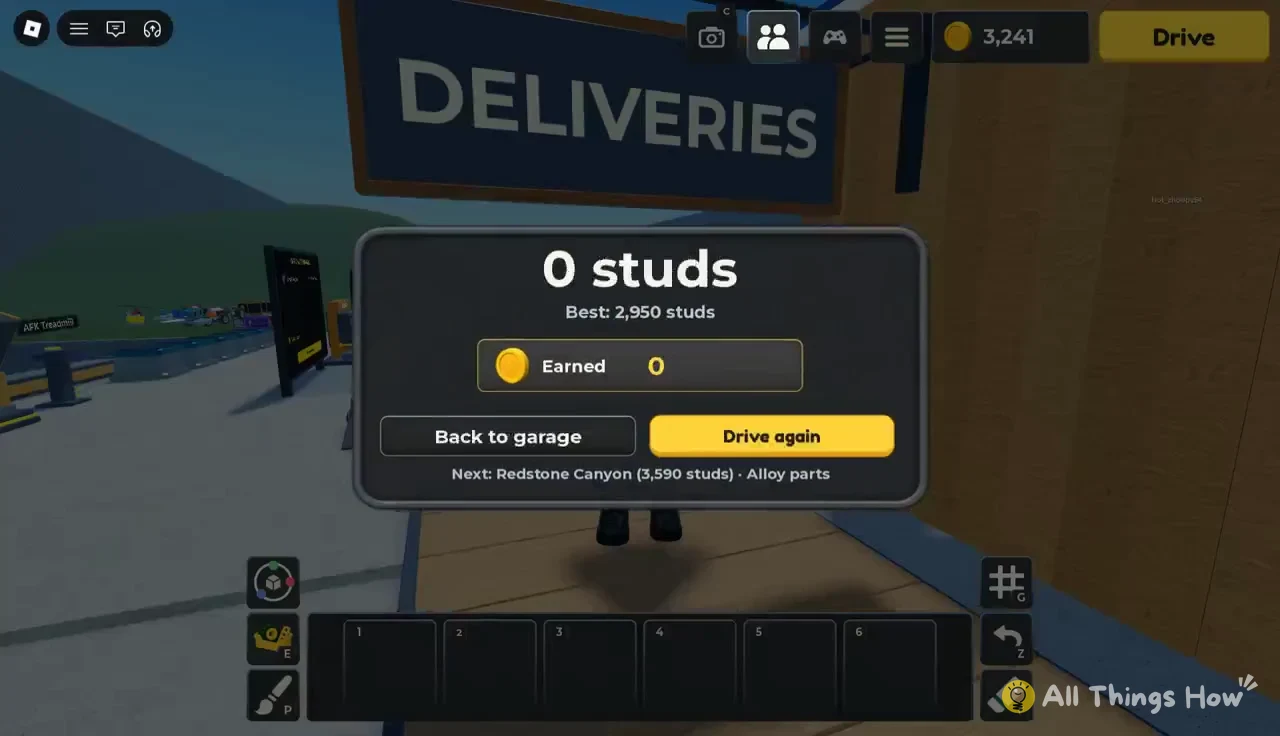
The results card also tells you what’s ahead. The next zone is Redstone Canyon at 3,590 studs, marked with Alloy parts, and a garage sign reads “LOCKED: RIVER 9,300 STUDS.” Your starter kart won’t reach either, which is why the next stop is the Parts Shop.
Parts Shop prices for your first custom car
Press Back to garage and walk to the Parts Shop counter. The Parts menu is split into tabs, with Structure for frame pieces, Wheels, Fuel, and an Engines tab where engine crates are ordered with the Order button.
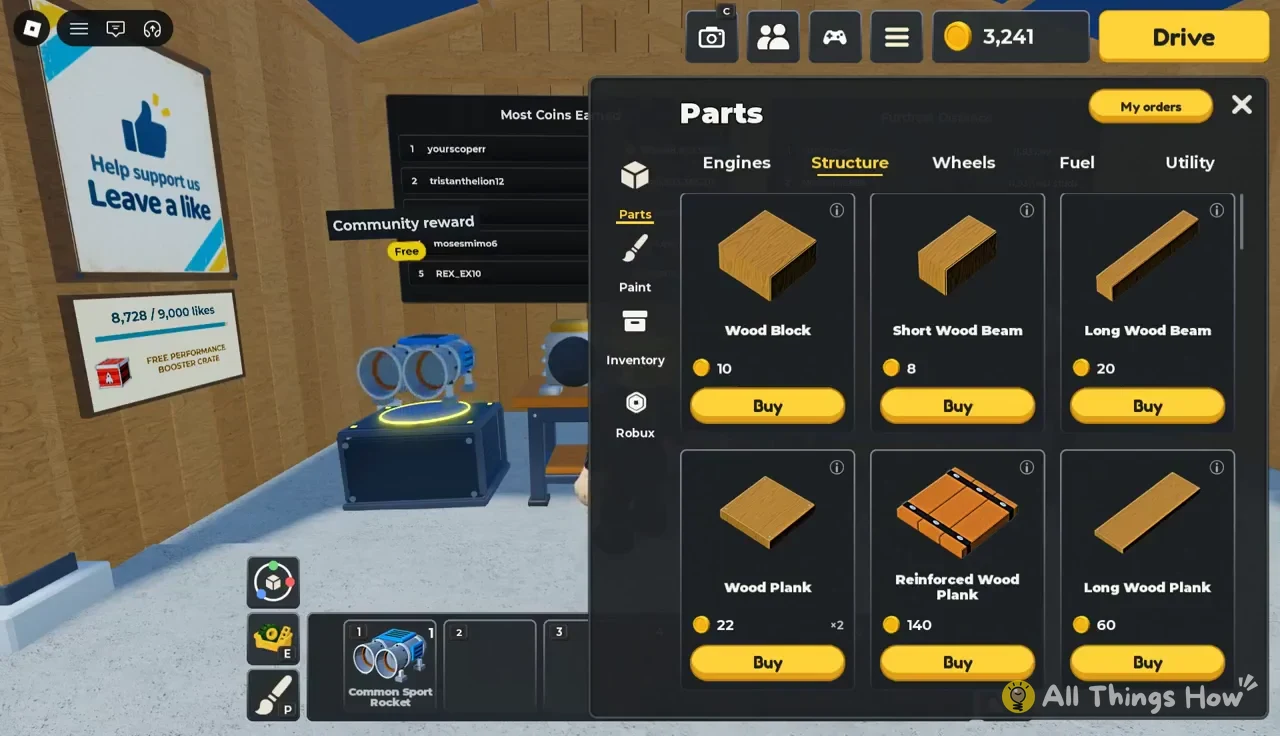
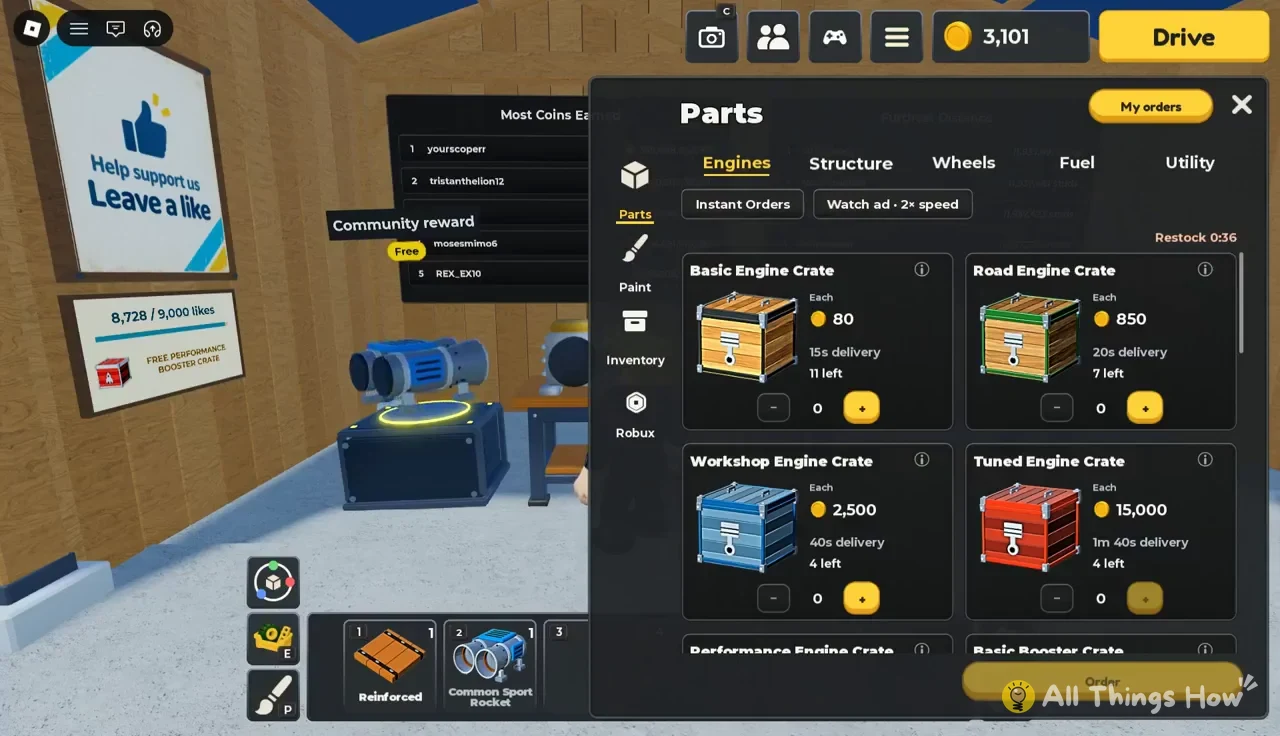
| Tab | Part | Price (coins) |
|---|---|---|
| Structure | Wood Block | 10 |
| Structure | Short Wood Beam | 8 |
| Structure | Long Wood Beam | 20 |
| Structure | Wood Plank | 22 |
| Structure | Reinforced Wood Plank | 140 |
| Structure | Long Wood Plank | 60 |
| Wheels | Small Tire | 25 |
| Wheels | Road Tire | 75 |
| Wheels | Sport Tire | 250 |
| Wheels | Offroad Tire | 300 |
| Wheels | Trail Tire | 1,000 |
| Wheels | Rally Tire | 3,500 |
| Fuel | Small Fuel Tank | 175 |
| Fuel | Fuel Tank | 1,000 |
| Fuel | Large Fuel Tank | 6,000 |
For the build below, buy one Reinforced Wood Plank (140), four Road Tires (300 total) and one Small Fuel Tank (175). That’s 615 coins, which leaves plenty from a 3,241-coin balance. Tires are bought one at a time, so you need four separate Road Tire purchases for a full set. Grab a few standard Wood Planks at 22 coins each if your hotbar runs short while laying the frame.
Build a wooden car with Road Tires and a fuel tank
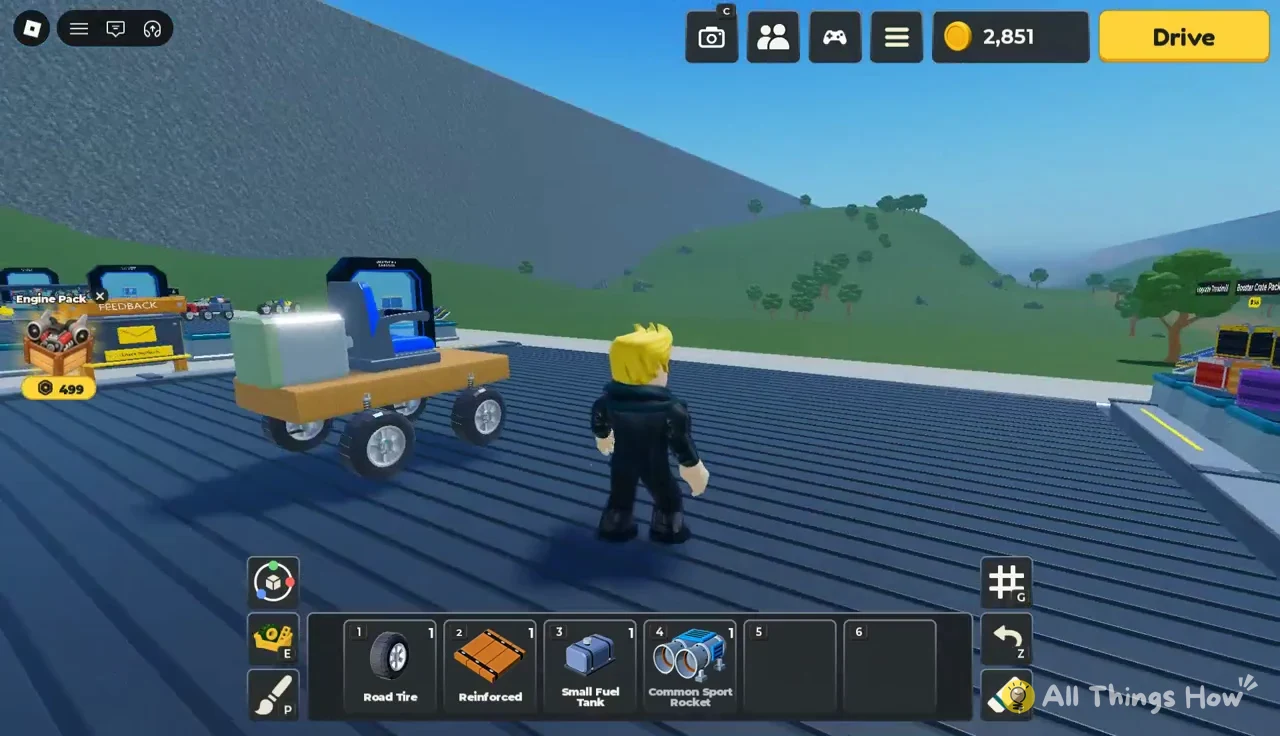
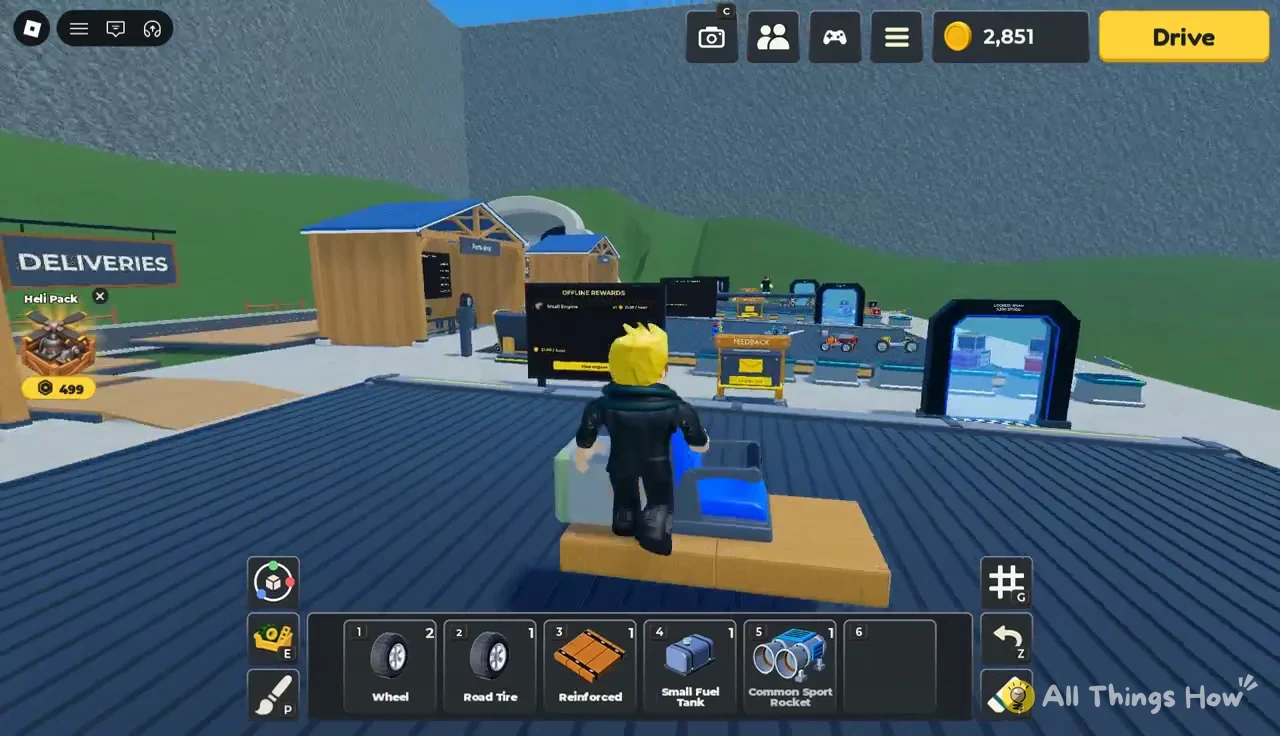
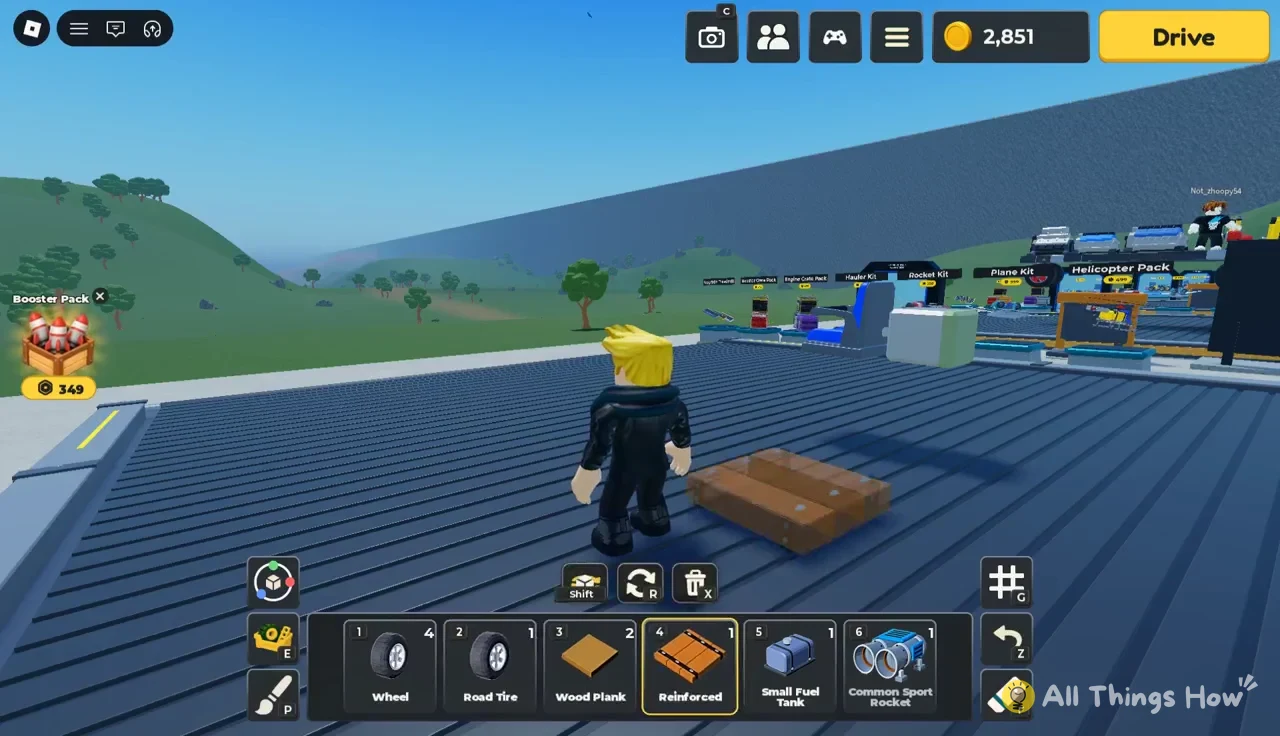
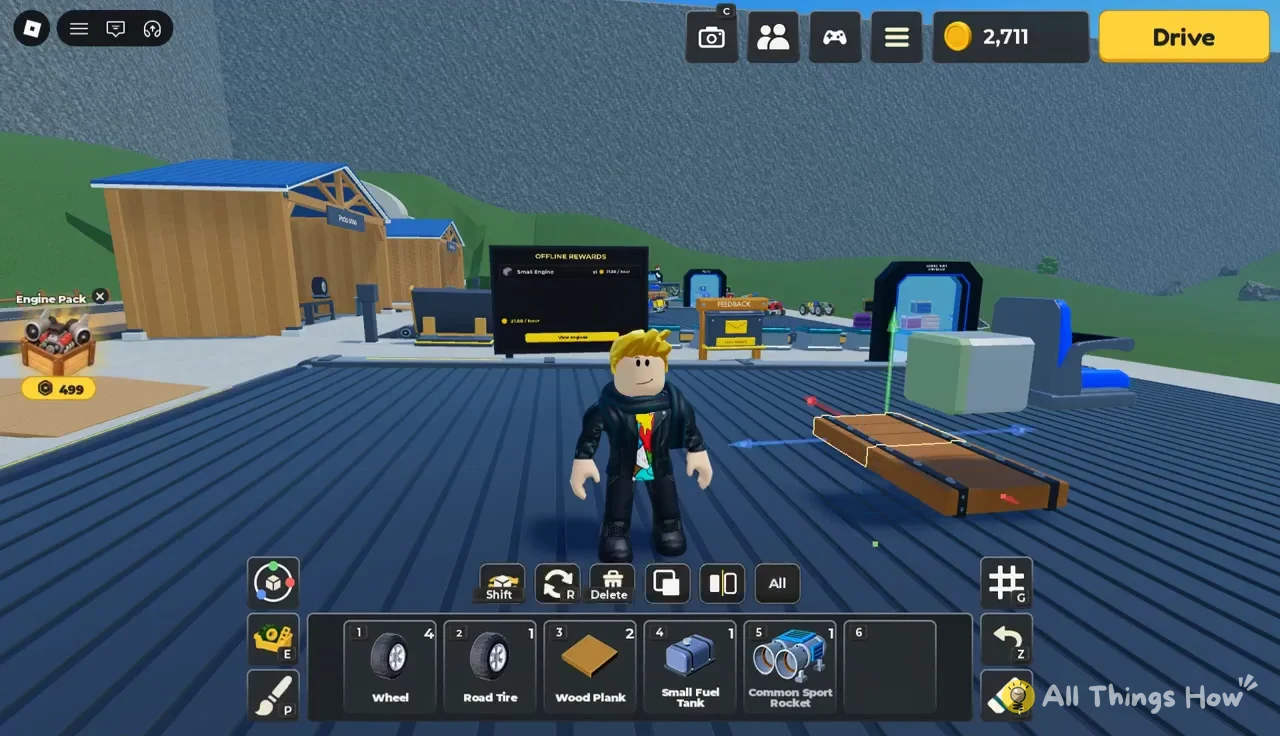
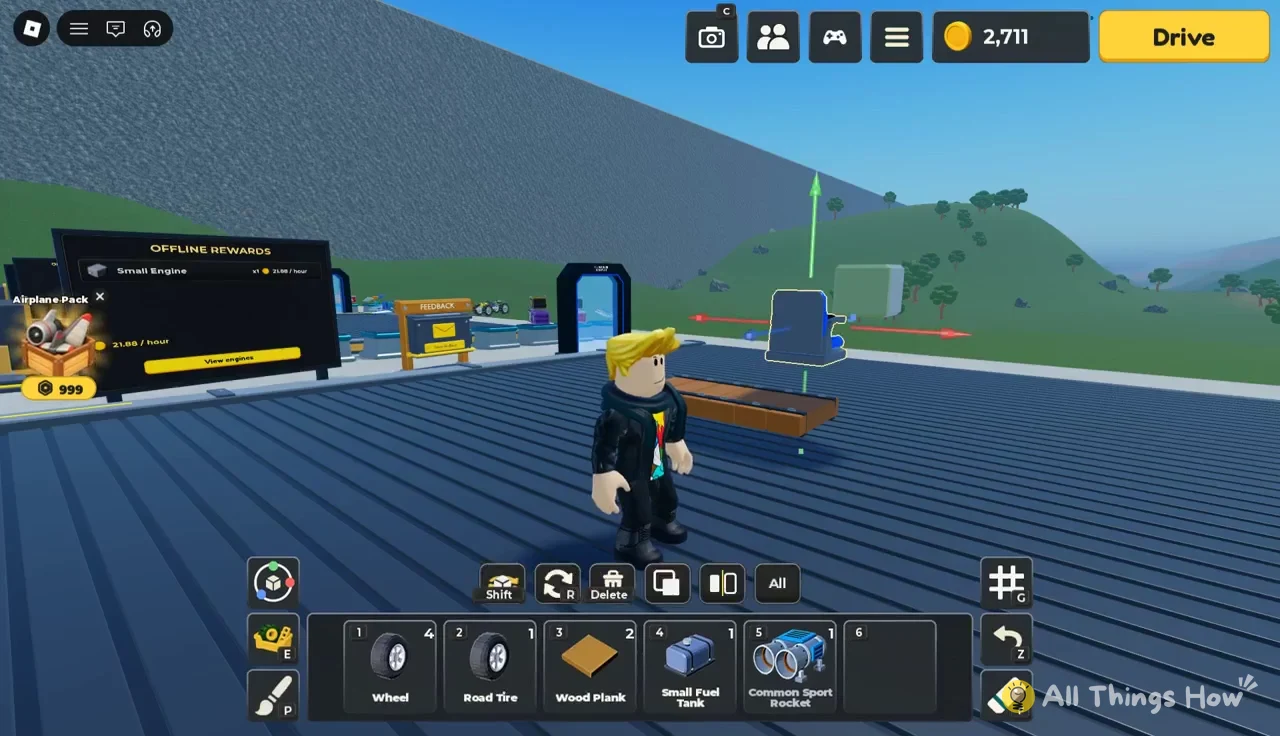
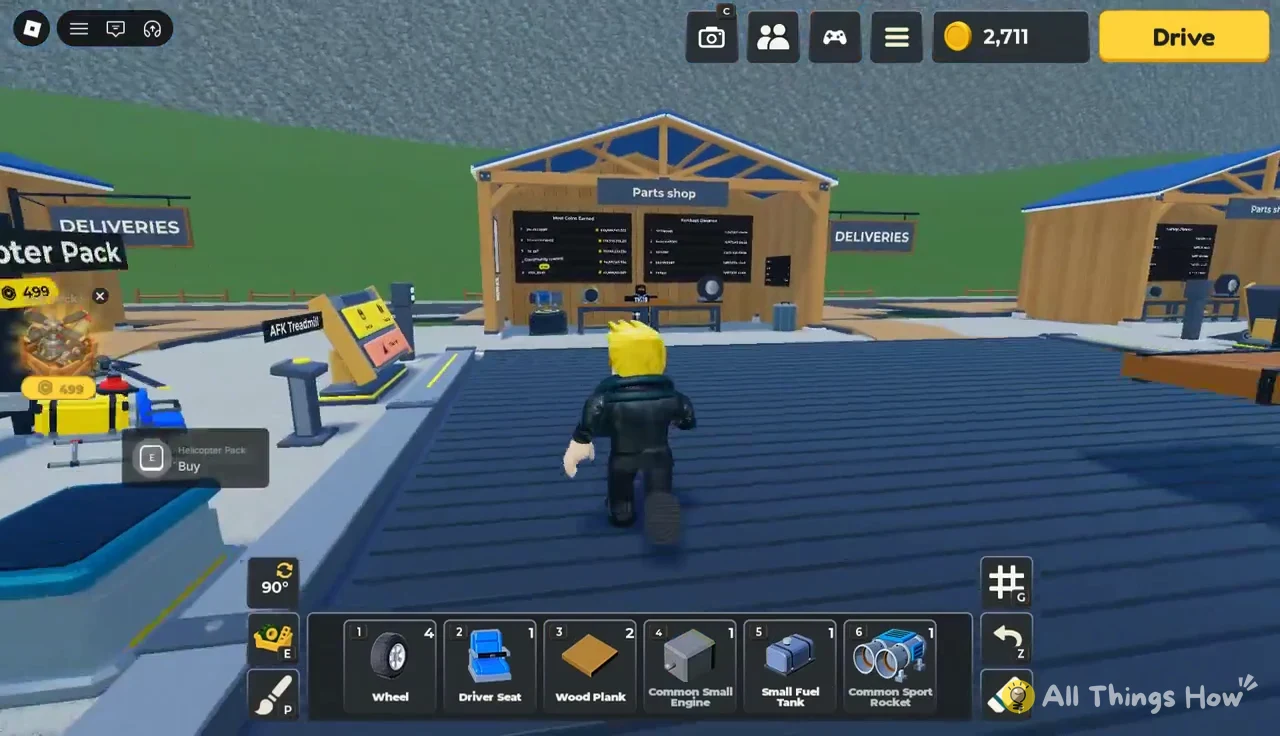
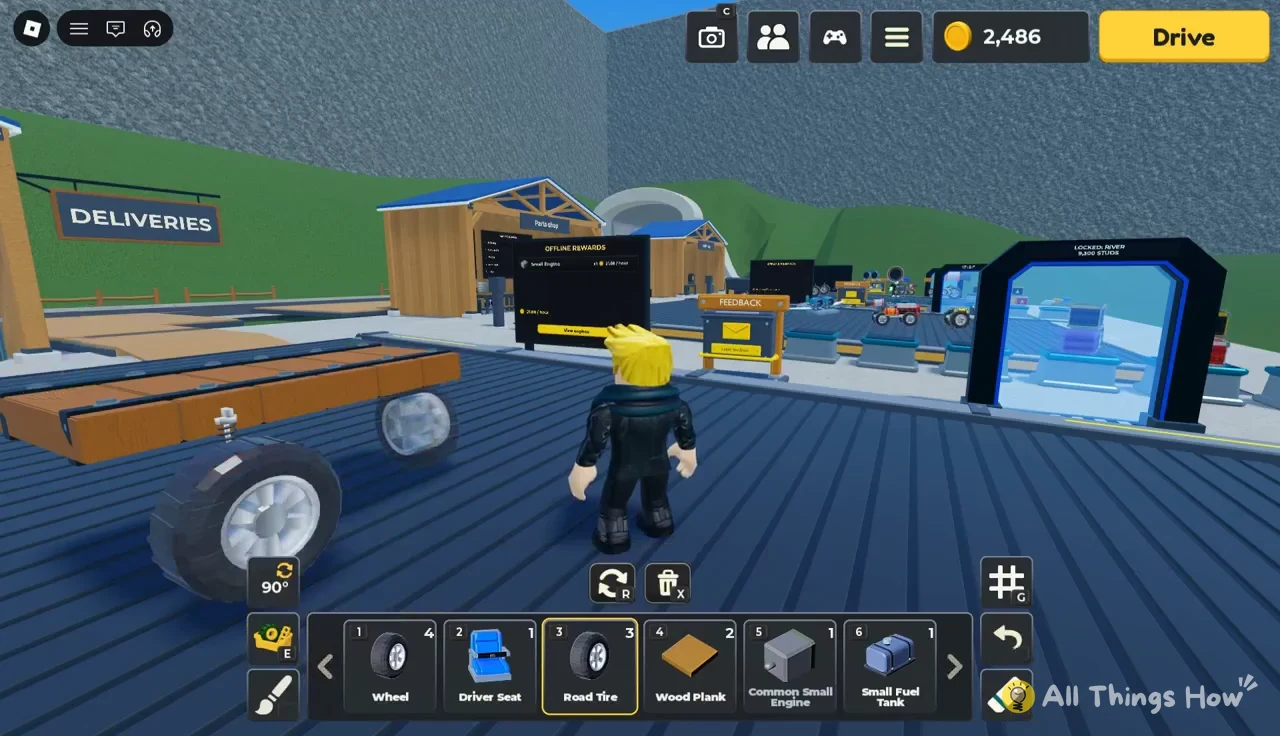
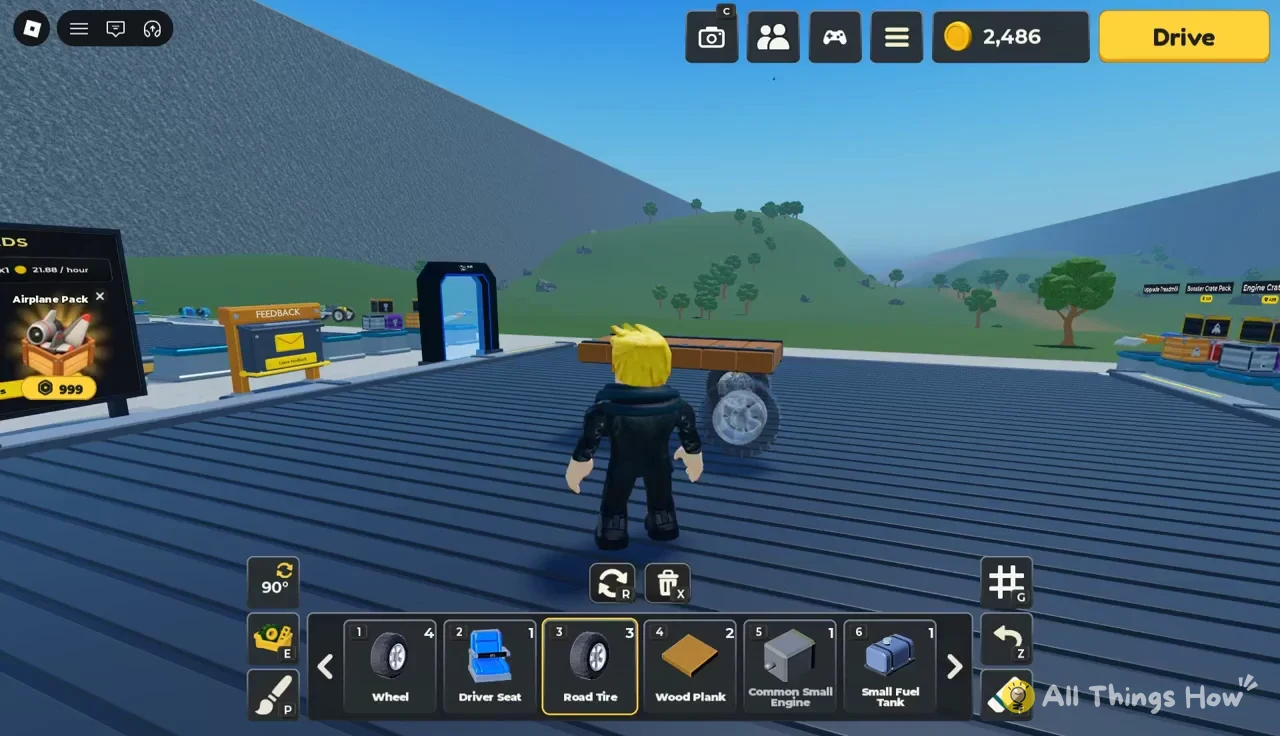
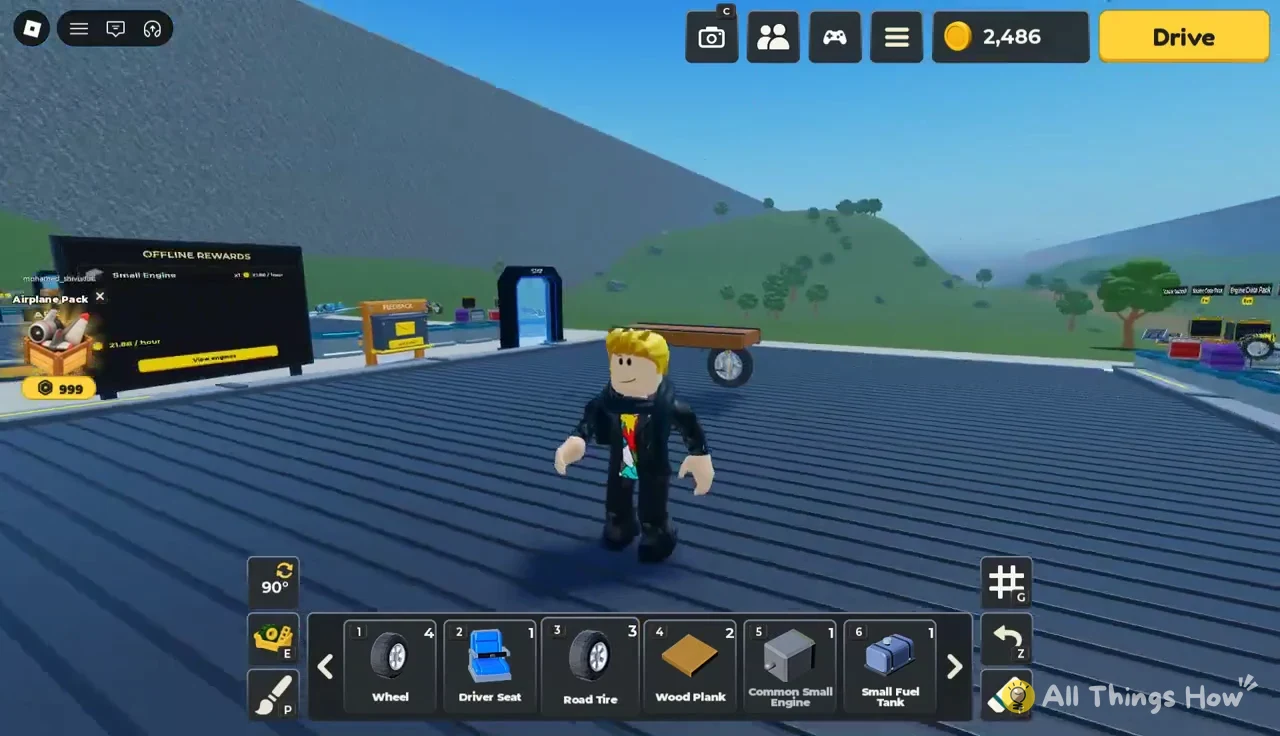
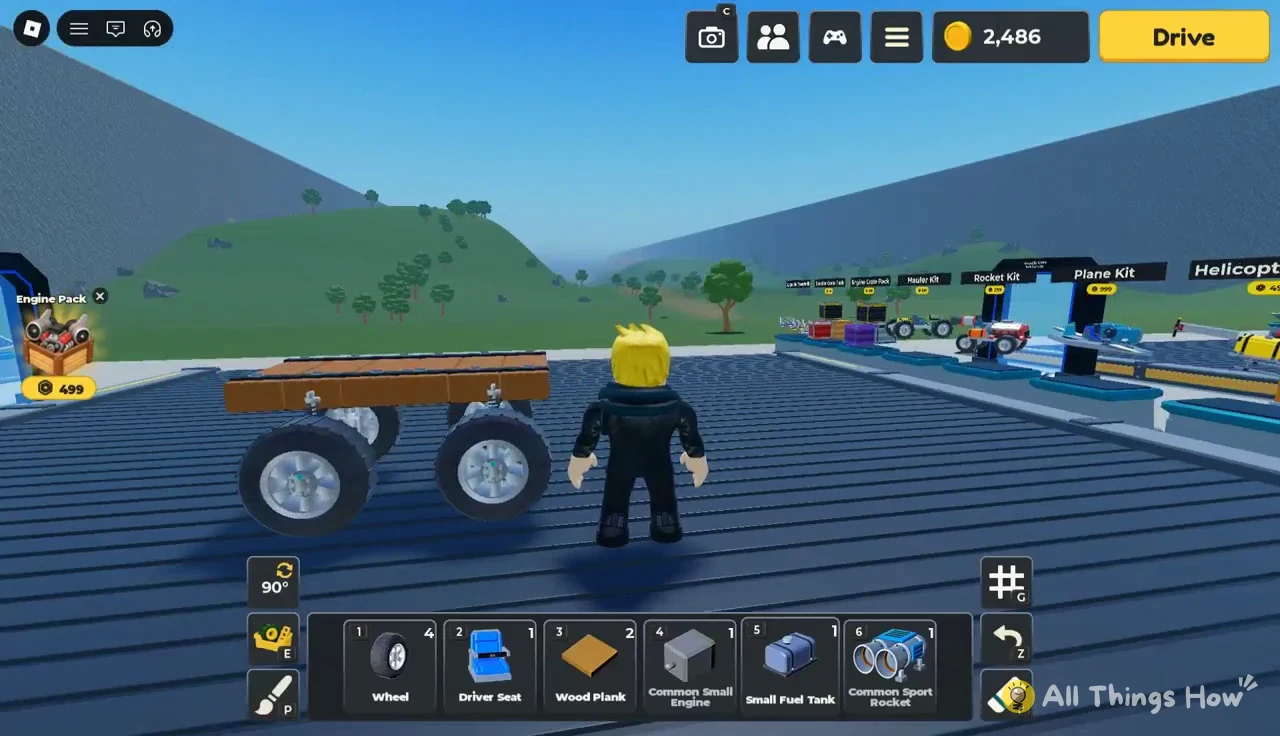
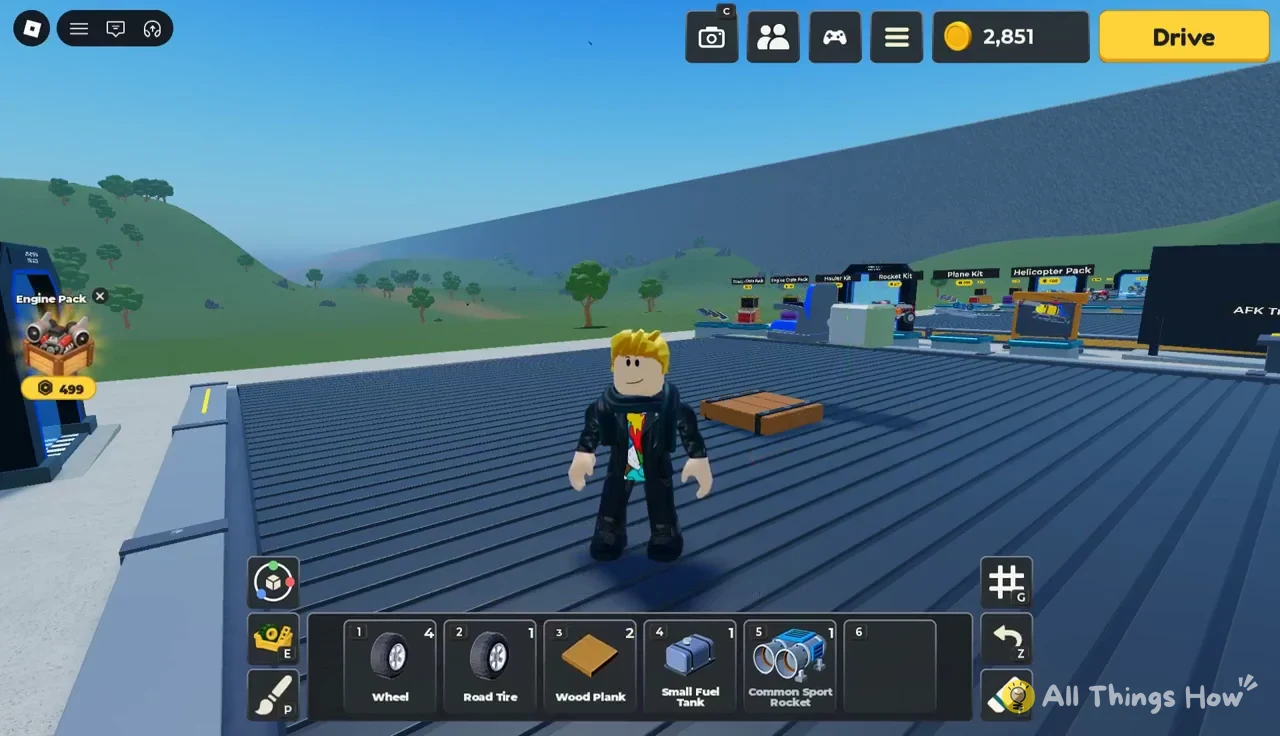
You’ll know the build worked when every part sits on the car without a red box or a warning message, and the yellow Drive button is there when you walk up to it. Press Drive and compare the new distance on the results card with your Best from the starter kart.
Build mode warning messages
When a part won’t place, the game tells you why at the bottom of the screen. These are the ones you’ll run into while building a first car:
| Message | What to do |
|---|---|
| Move it clear of the other pieces. | Slide the part away from what it’s touching |
| Pieces overlapping. | Delete or move the piece inside another |
| Outside the build area. Move it in. | Bring the part back onto the pad |
| Put the tire on the side of a frame piece. | Aim at a frame’s side face |
| Tires can’t attach to the Road Tire. | Mount on the frame, not another tire |
Kits, offline coins and other garage stops
Between your pad and the Parts Shop, the garage has premade kit showcases and paid packs. You don’t need any of them for the build above. The Engine Pack, Booster Pack, Airplane Pack and Heli Pack signs are priced in Robux, and the kit displays show their prices next to each name.
| Item | Price shown |
|---|---|
| Hauler Kit | 199 |
| Rocket Kit | 299 |
| Booster Crate Pack | 349 |
| Booster Pack | 349 Robux |
| Engine Crate Pack | 499 |
| Engine Pack | 499 Robux |
| Helicopter Pack | 499 |
| Heli Pack | 499 Robux |
| Plane Kit | 999 |
| Airplane Pack | 999 Robux |
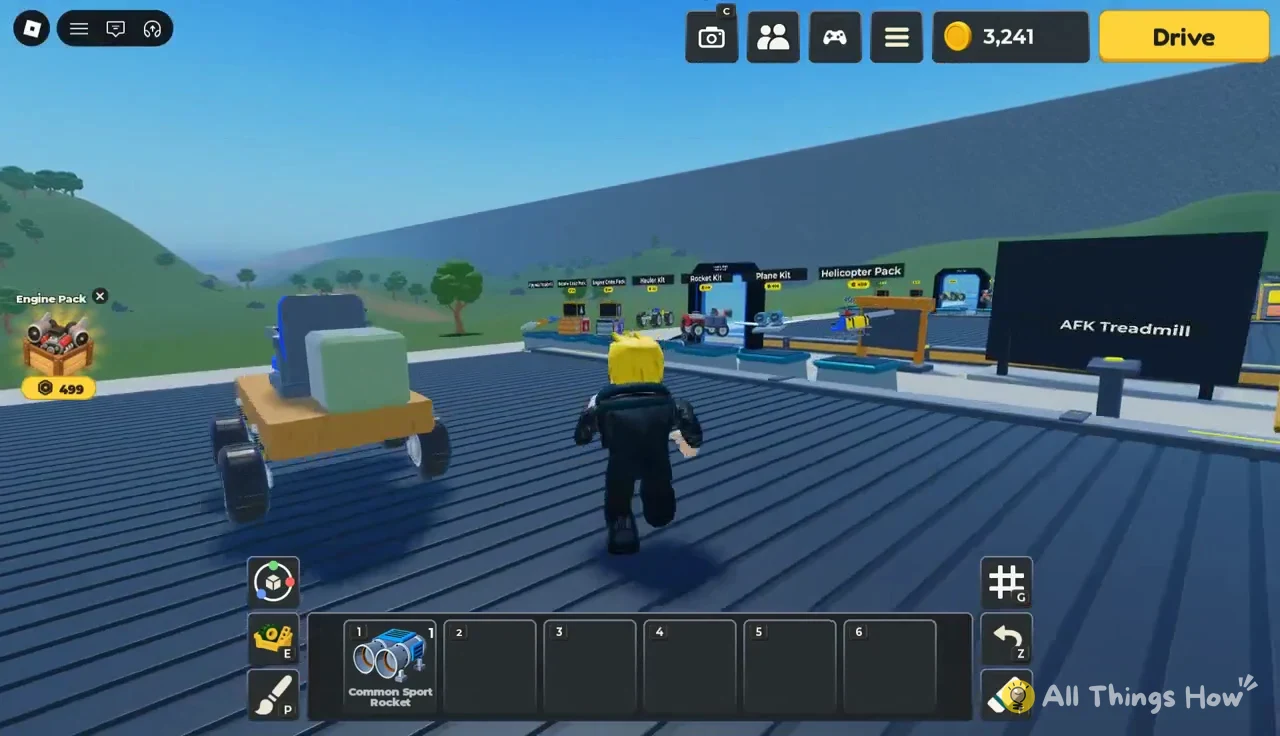
There’s also an Upgrade Treadmill station and a Feedback kiosk, where pressing E on the “Leave feedback” prompt opens a box for bug reports and ideas.
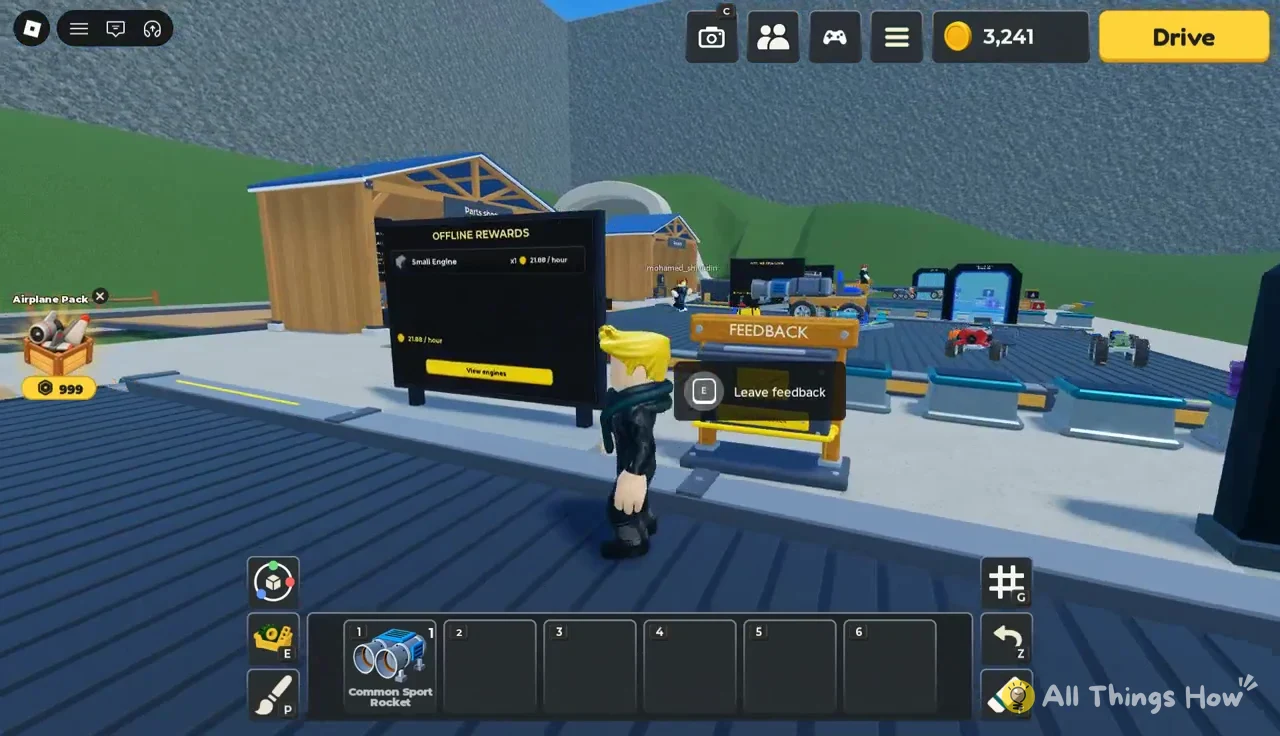
Your car keeps earning while you’re logged off. The Offline Rewards sign shows what’s generating that income: a fresh account has one Small Engine making 21.88 coins per hour, and the View engines button shows which engines count toward it. Better engines from crates and the daily rewards raise that rate.
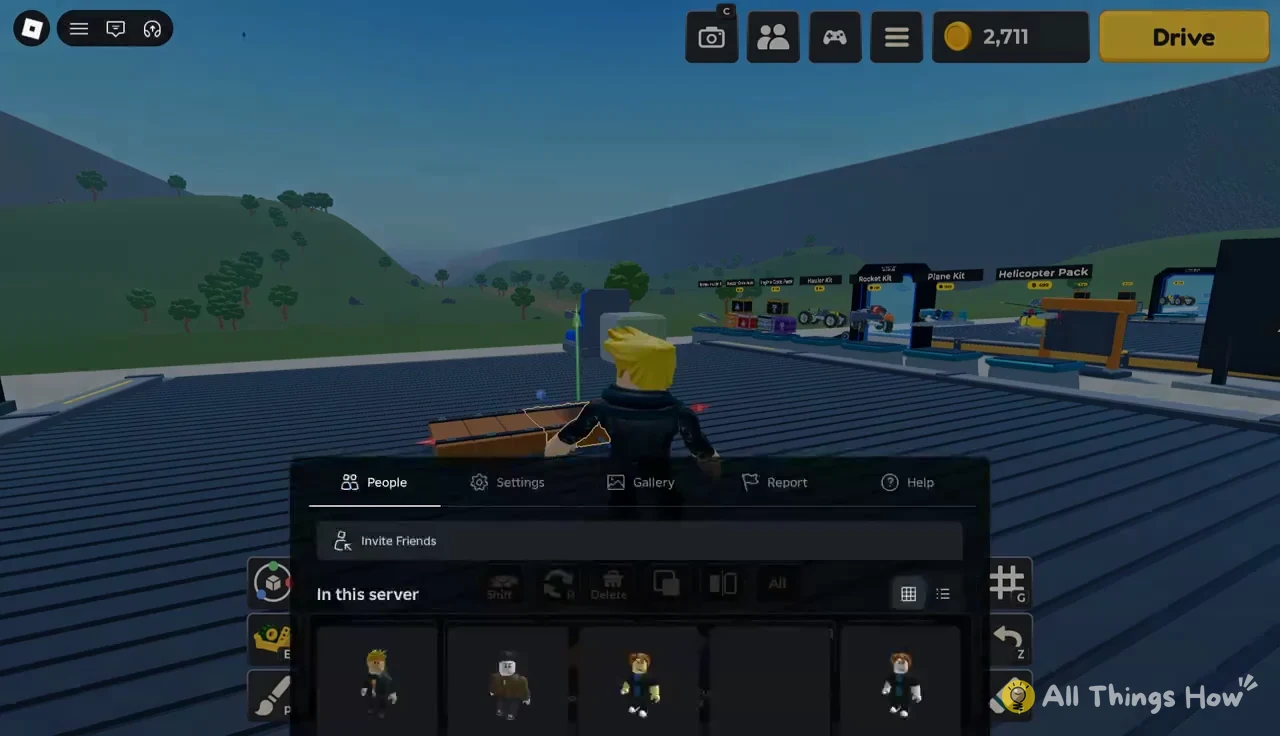
Up to 10 players can join a server, where you can build vehicles and ride around with friends. To check who’s there, open the Roblox menu and select the People tab. Use Invite Friends to bring someone into the server.
Once the wooden car is running, the next goal is Redstone Canyon at 3,590 studs. Bigger fuel tanks (the Fuel Tank at 1,000 coins and the Large Fuel Tank at 6,000) and the Day 2 Legendary Sport Rocket push a run further than the Small Fuel Tank can.