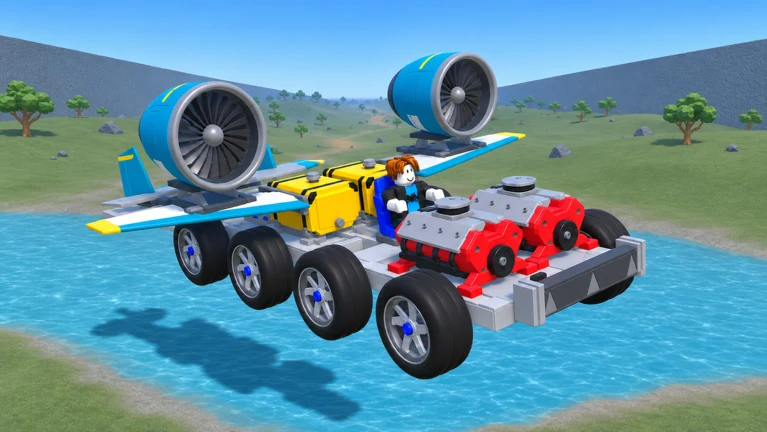
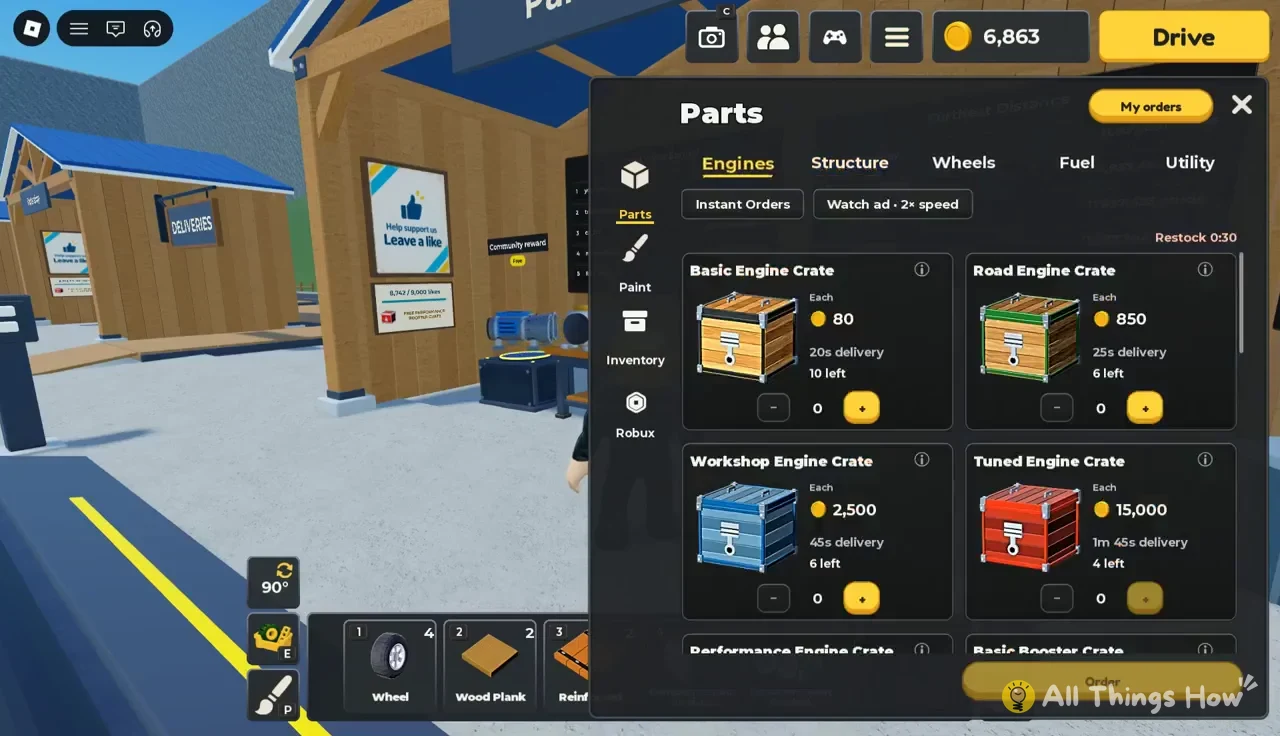
Everything you put on a car in Build a Car to Go Far comes from the Parts Shop counter in your garage. You pay for it with coins you earn by driving, and some parts stay locked until your car has gone far enough down the course. Engines work differently from the rest of the shop. You don’t buy them directly. You order a crate, wait for it to be delivered, and open it to see what engine you get.
Quick answer: Press E at the Parts Shop counter, pick a tab and buy with coins. Engines come from crates, which cost 80 to 10,000,000 coins. Locked parts open at 3,500, 11,200 or 23,780 studs.
How to buy parts at the Parts Shop
The shop counter sits next to your build pad and the Deliveries area, so you don’t have to leave the garage to restock between runs.
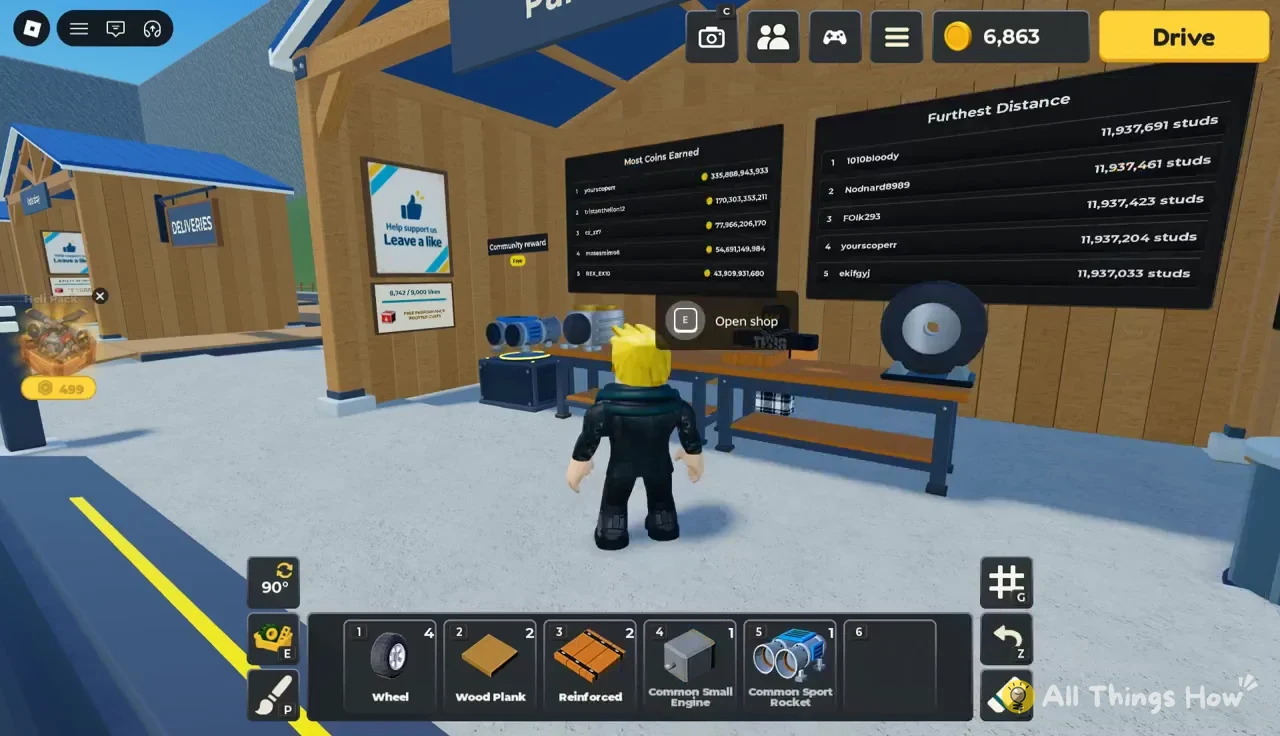
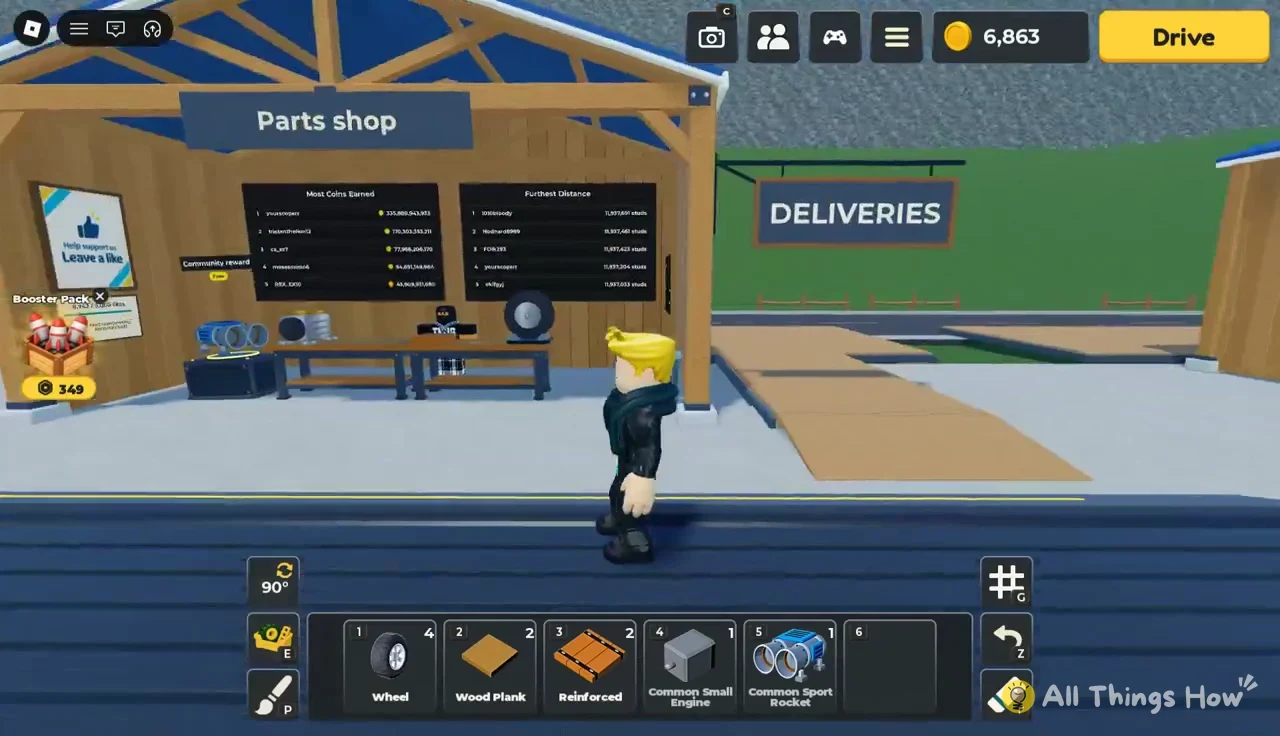
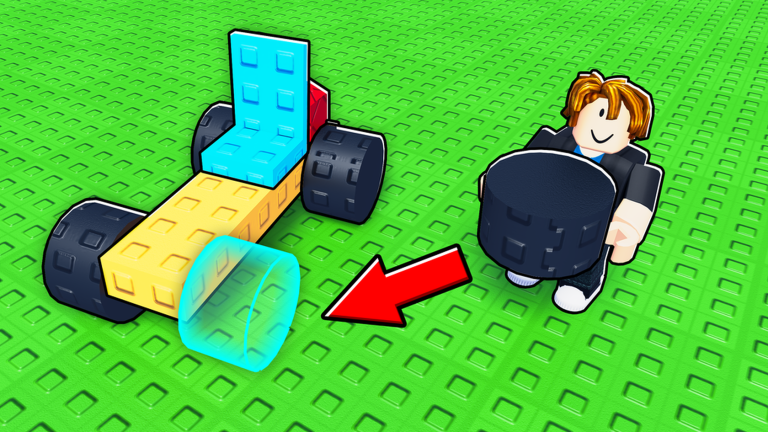
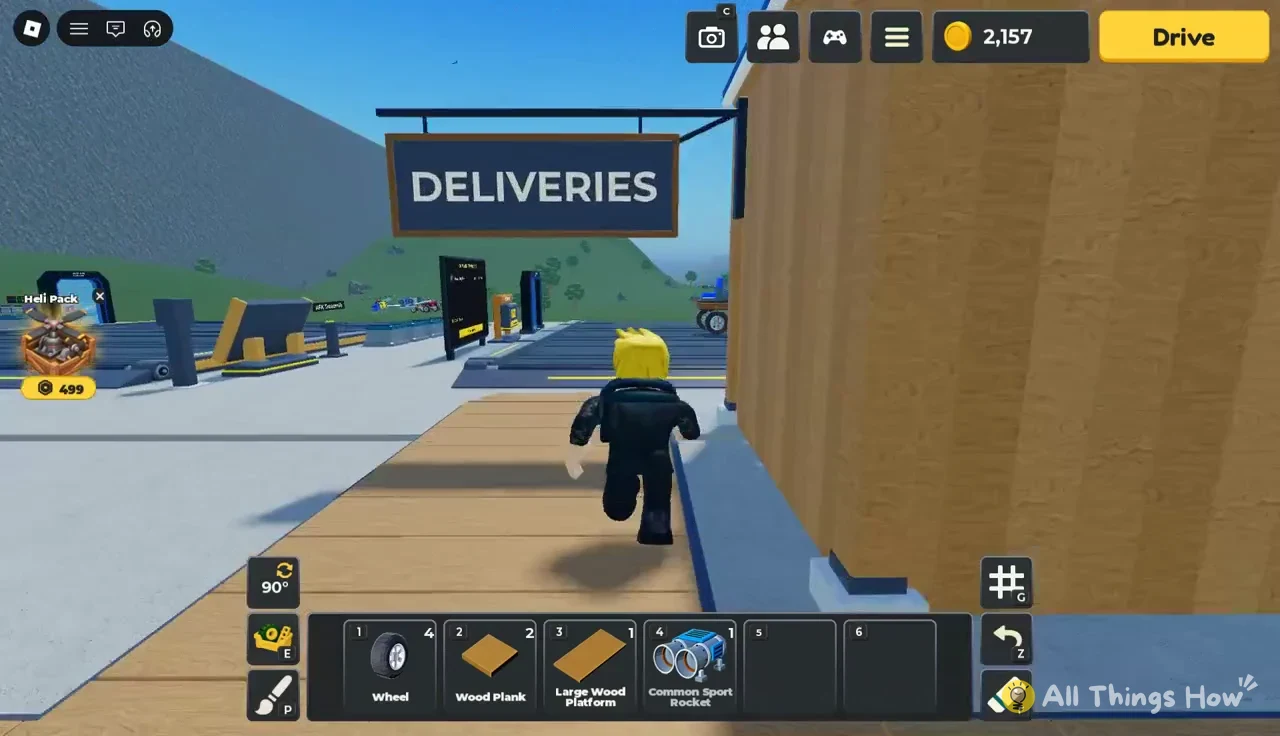
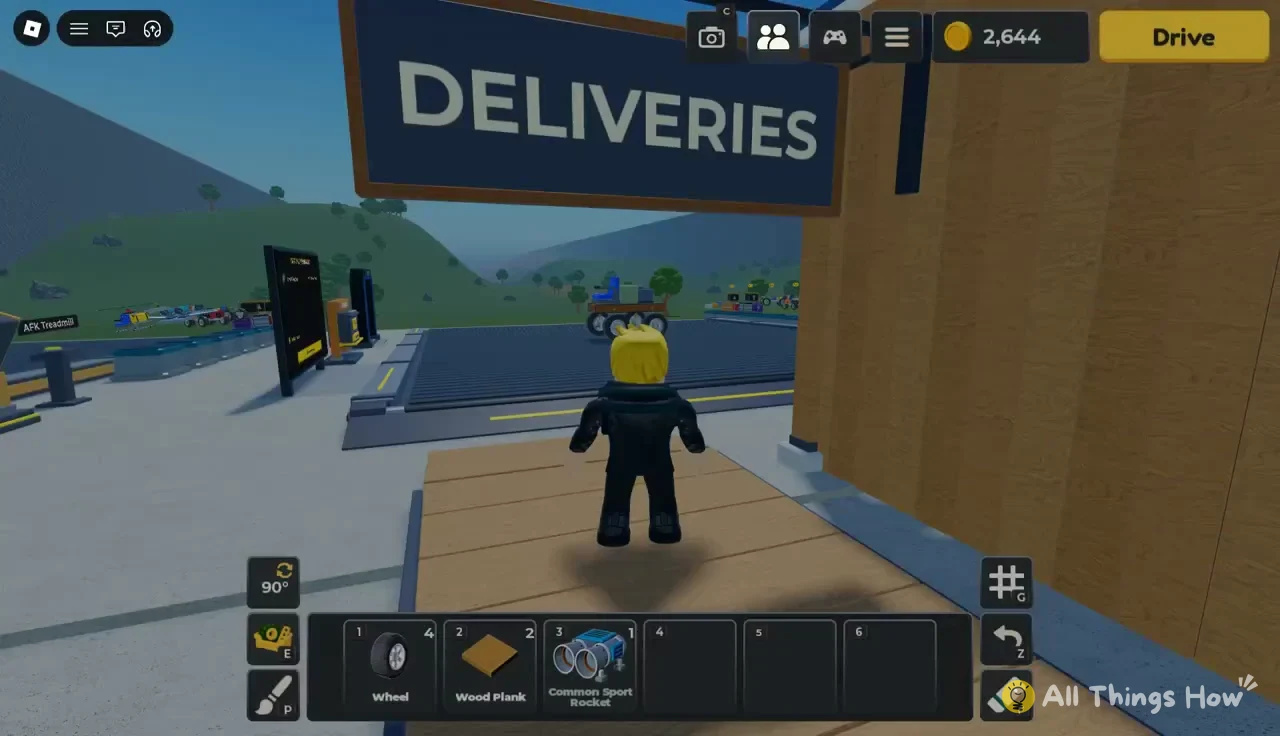
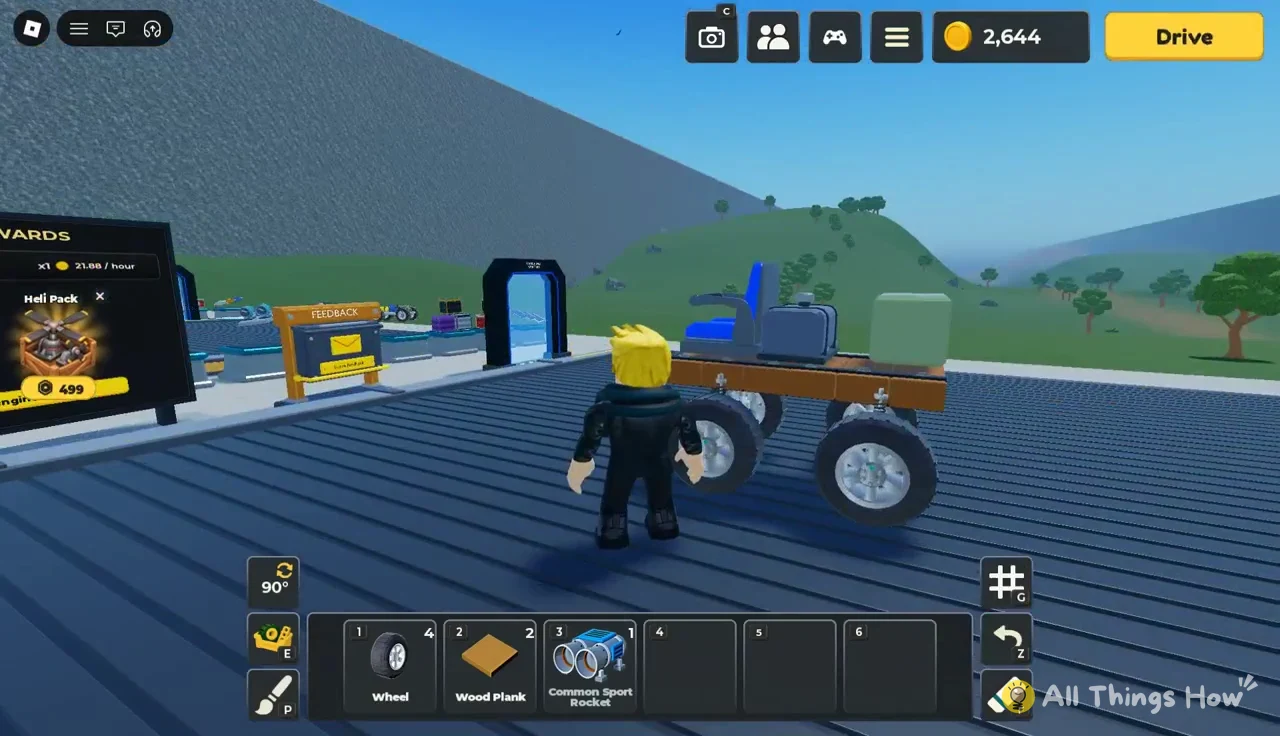
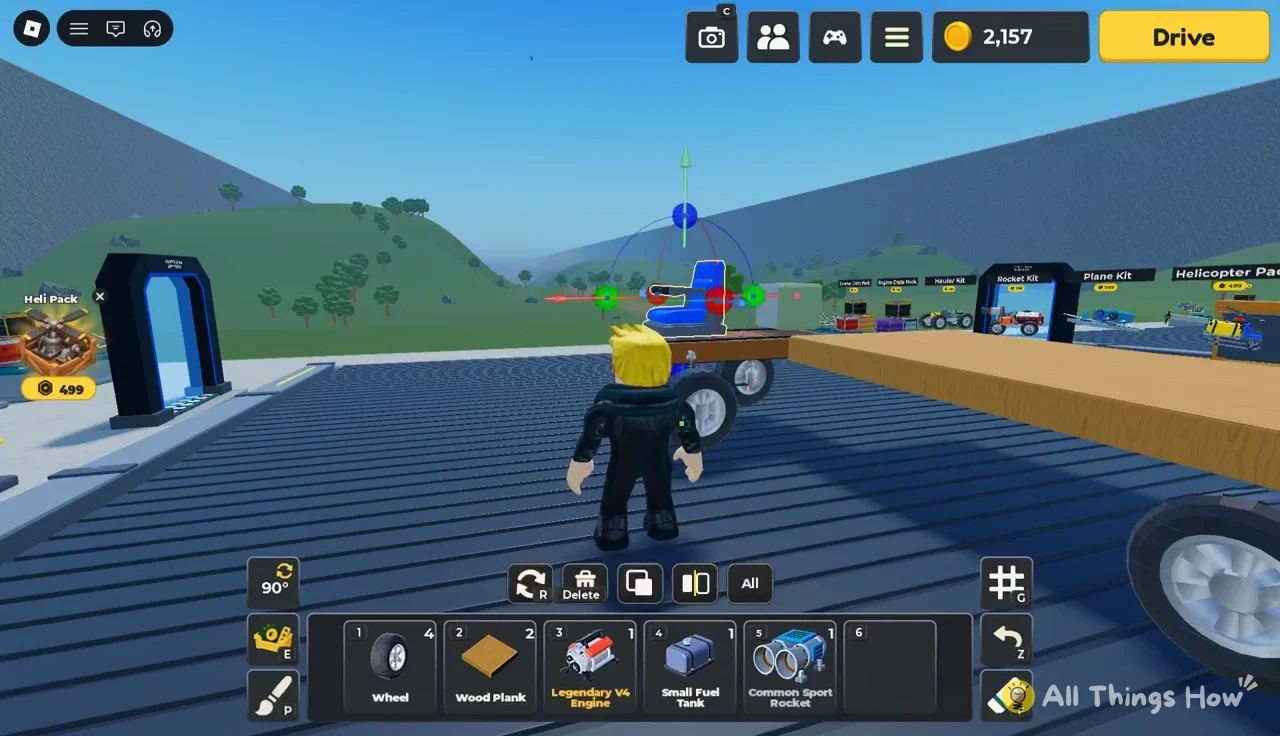
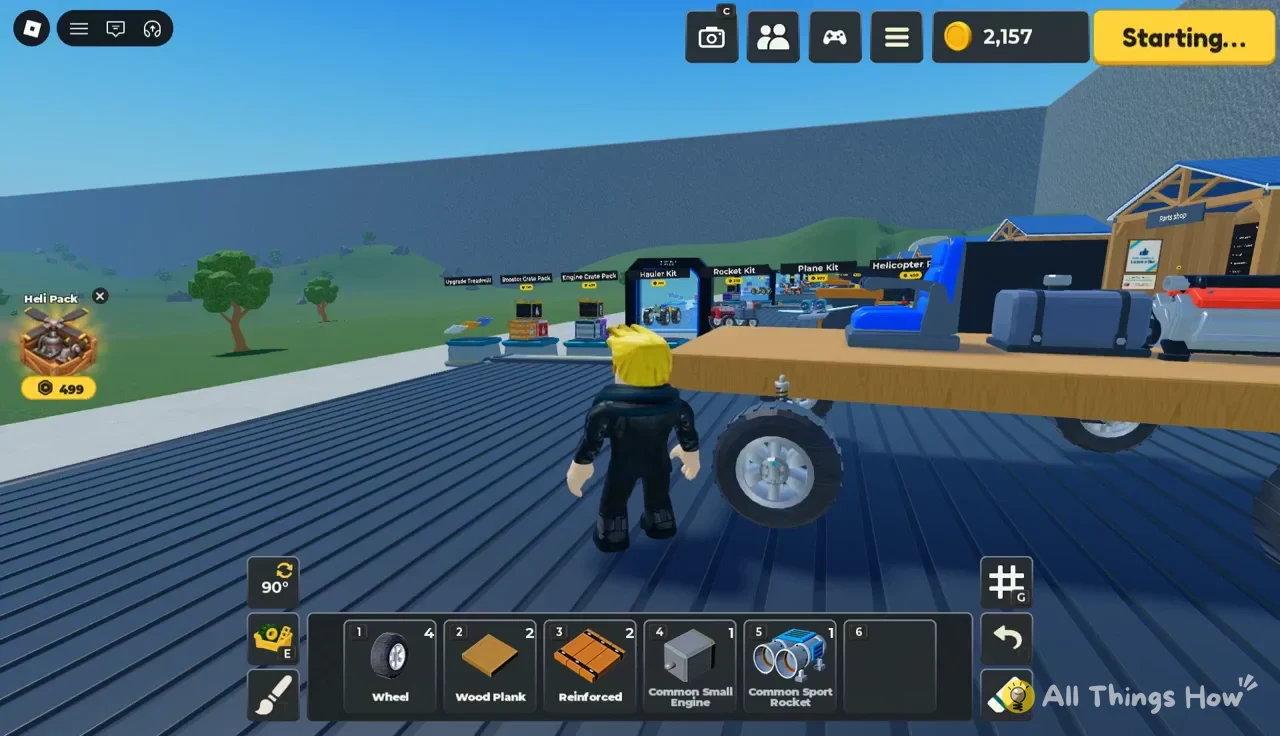
Once a part is in your hotbar, you can carry it straight to the build pad and attach it. A starter build uses basic pieces like a Wheel and a Wood Plank, and the same bar holds anything else you’ve picked up, such as a Common Sport Rocket.
Engine crate prices and delivery times
The Engines tab only sells crates. Every crate tier has its own coin price and a delivery timer that starts once you order. You can skip the wait and get it instantly with Robux or by watching an ad.
| Crate | Price (coins) | Delivery time |
|---|---|---|
| Basic Engine Crate | 80 | 15s |
| Road Engine Crate | 850 | 20s |
| Workshop Engine Crate | 2,500 | 40s |
| Tuned Engine Crate | 15,000 | 1m 40s |
| Performance Engine Crate | 38,000 | 4m 15s |
| Basic Booster Crate | 45,000 | 5m 15s |
| Ultimate Engine Crate | 900,000 | 15m 15s |
| Ultimate Booster Crate | 950,000 | 15m 15s |
| Special Booster Crate | 2,500,000 | 15m 15s |
| Track Engine Crate | 2,500,000 | 15m 15s |
| Jet Engine Crate | 10,000,000 | 15m 15s |
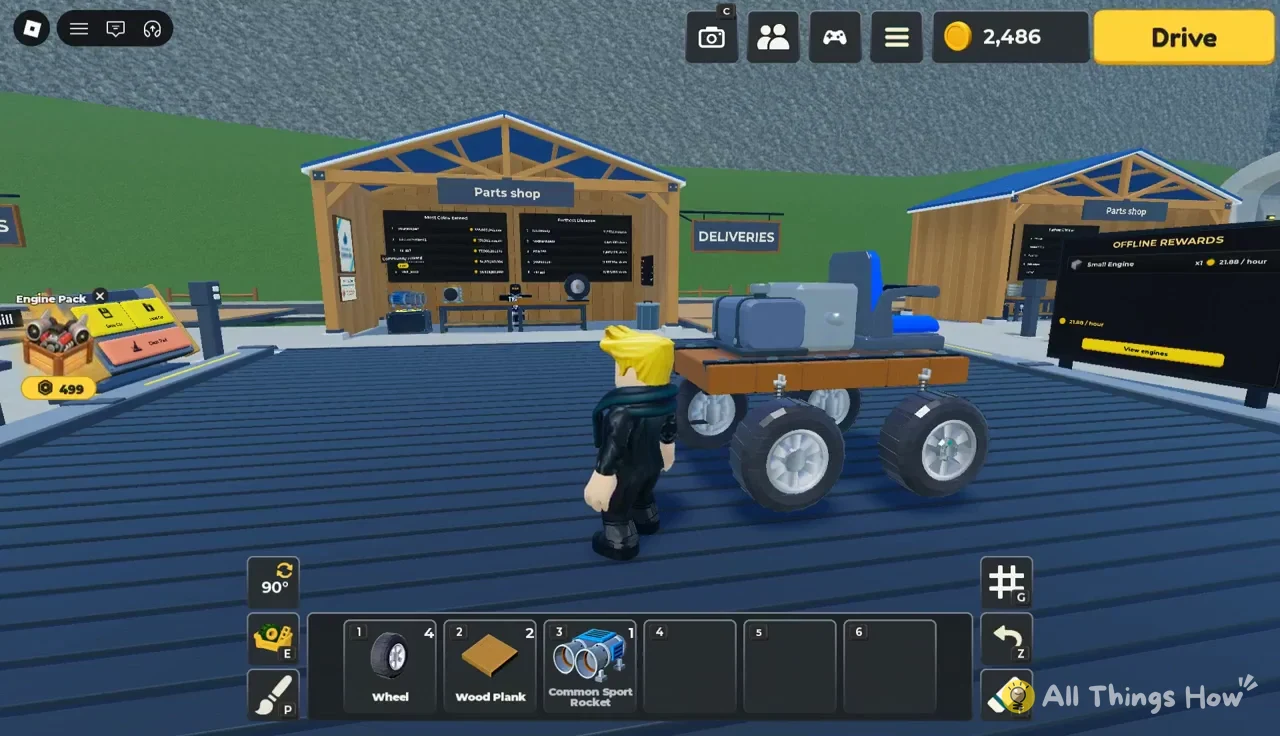
Each engine from a crate comes with a rarity tier and a bonus percentage. For example, a Road Engine Crate can contain a Legendary V4 Engine that gives a +12.3% boost. Your engines keep earning coins while you’re offline. Check the Offline Rewards board in the garage for each engine’s hourly earnings. A Small Engine makes 21.88 coins per hour, and a V4 Engine makes 1,076.25, for a combined total of 1,098.13 coins per hour.
Ordering and opening a crate
Distance unlocks for locked parts
You don’t buy unlocks. You reach them by driving past a distance in a single run. Coins are paid out by how many studs your car covers before it stops, and the same distance counts toward the zone milestones that open up the higher-tier parts.
| Shop lock text | Distance | What it opens |
|---|---|---|
| Reach Canyon | 3,500 studs | Sport, Offroad, Trail, Rally, Touring tires |
| Reach Pine Forest | 11,200 studs | Heavy and steel platform parts, big tires, advanced fuel, glider wings, armor |
| Reach Cliffs | 23,780 studs | Carbon parts, composite fuel, aircraft wing and tail, Disconnector |
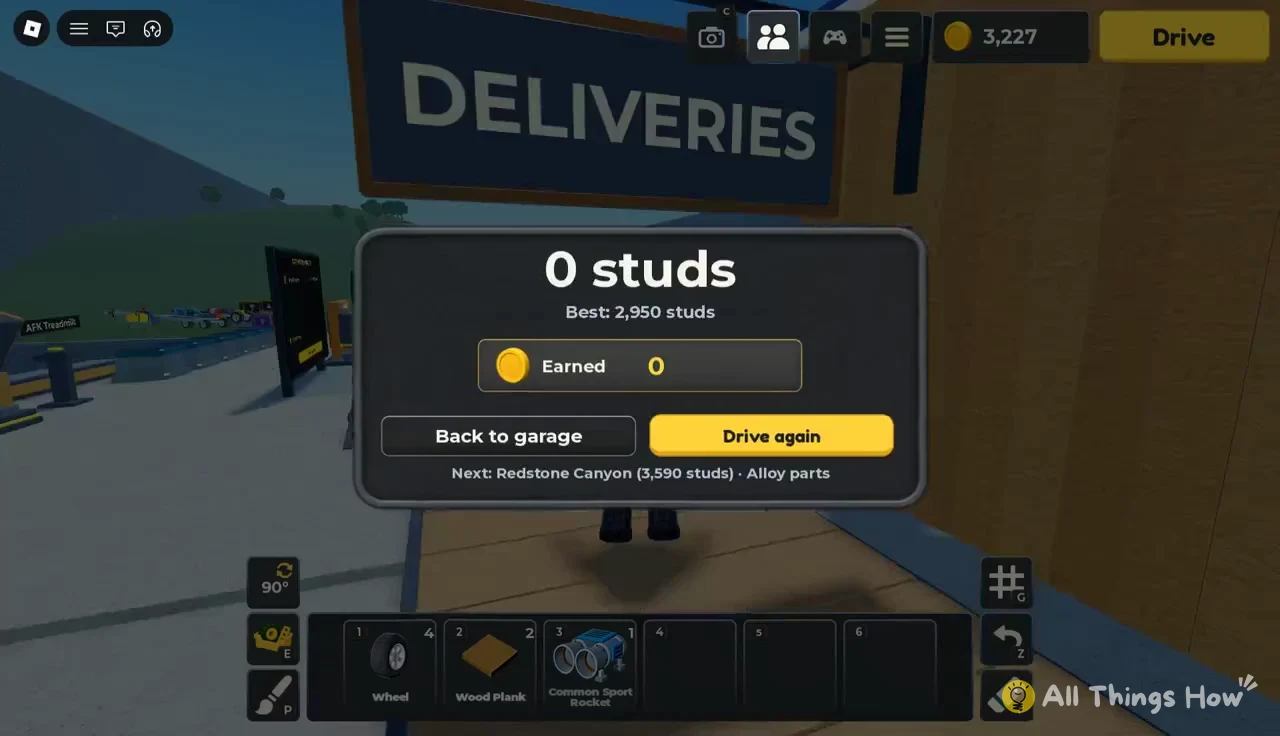
The milestone board in the garage lists zones by their own distances. It shows Redstone Canyon at 3,590 studs, which unlocks Alloy parts, Pine Forest at 11,626 studs with big tires, and River at 9,300 studs. The board’s numbers aren’t the same as the shop’s lock text for Canyon and Pine Forest, so aim a little past the higher figure to be safe.
To start a run, step onto your build pad and press the yellow Drive button at the top right of the screen.
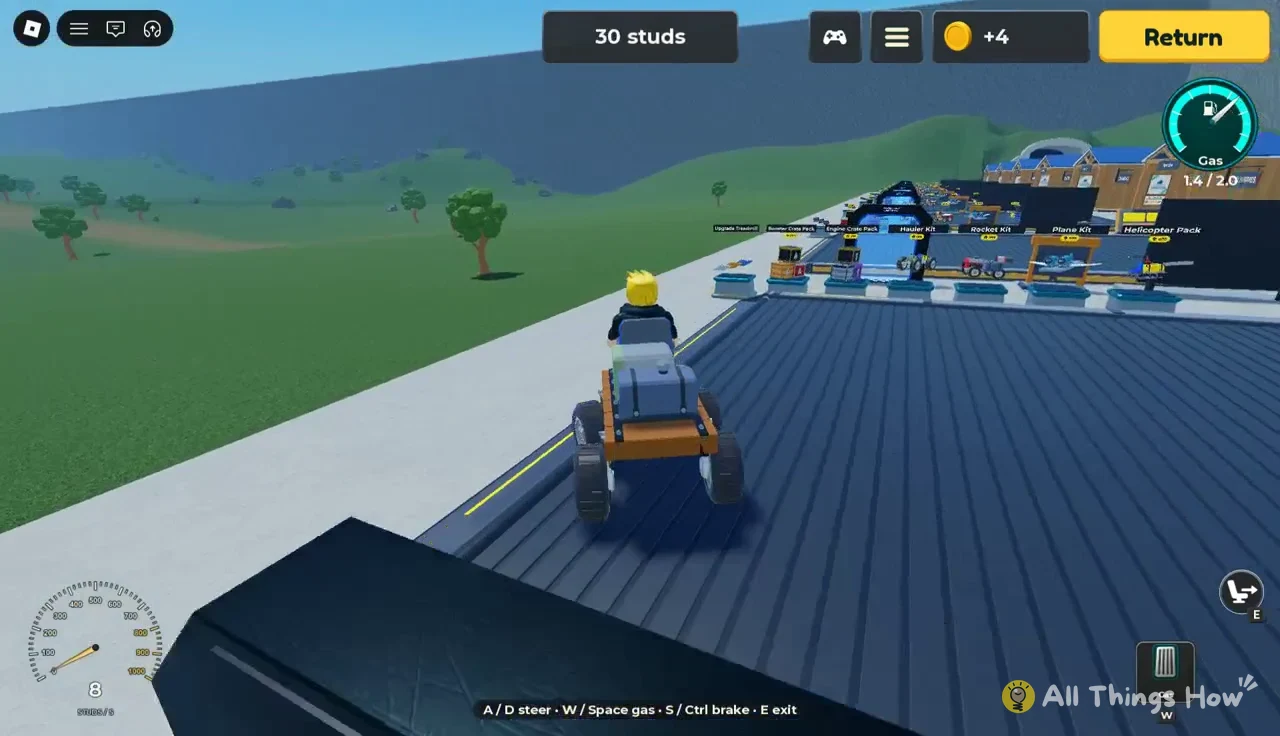
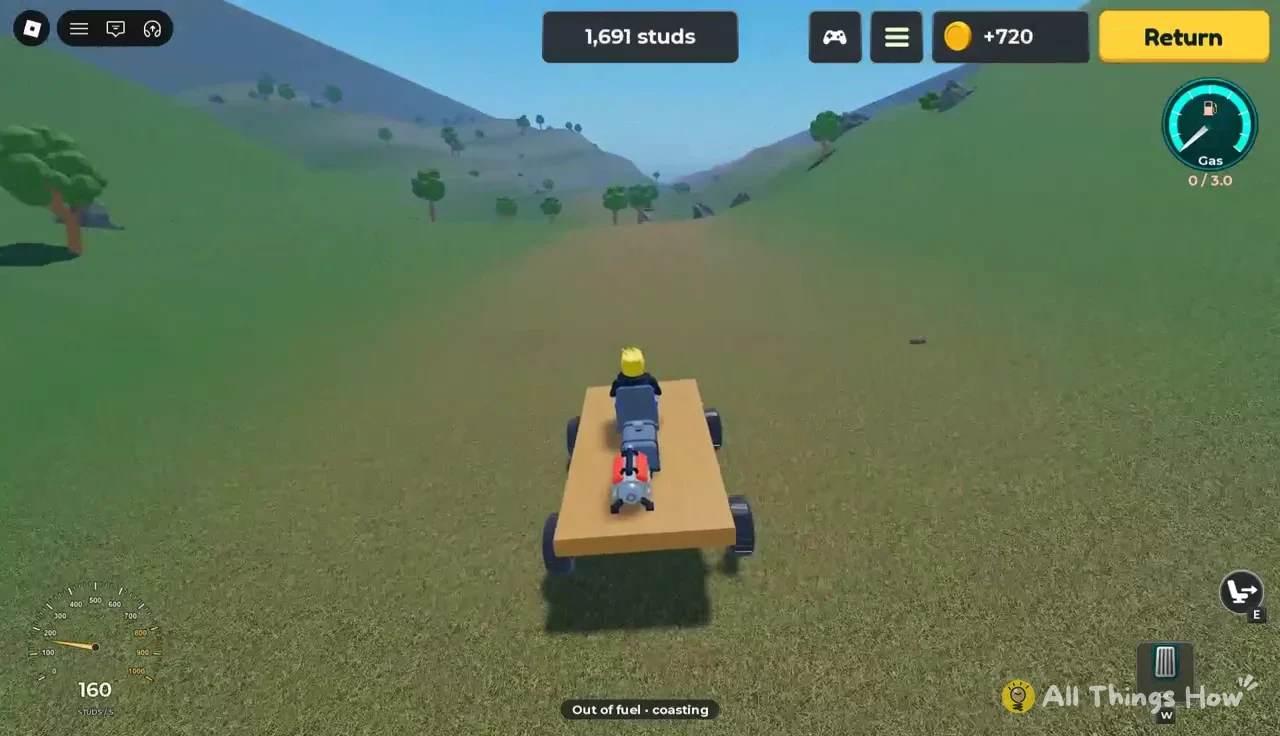
While you drive, A and D steer and W or Space accelerate. Your speed and gas gauges sit on screen the whole time, so you can see exactly how much fuel is left before the car starts coasting.
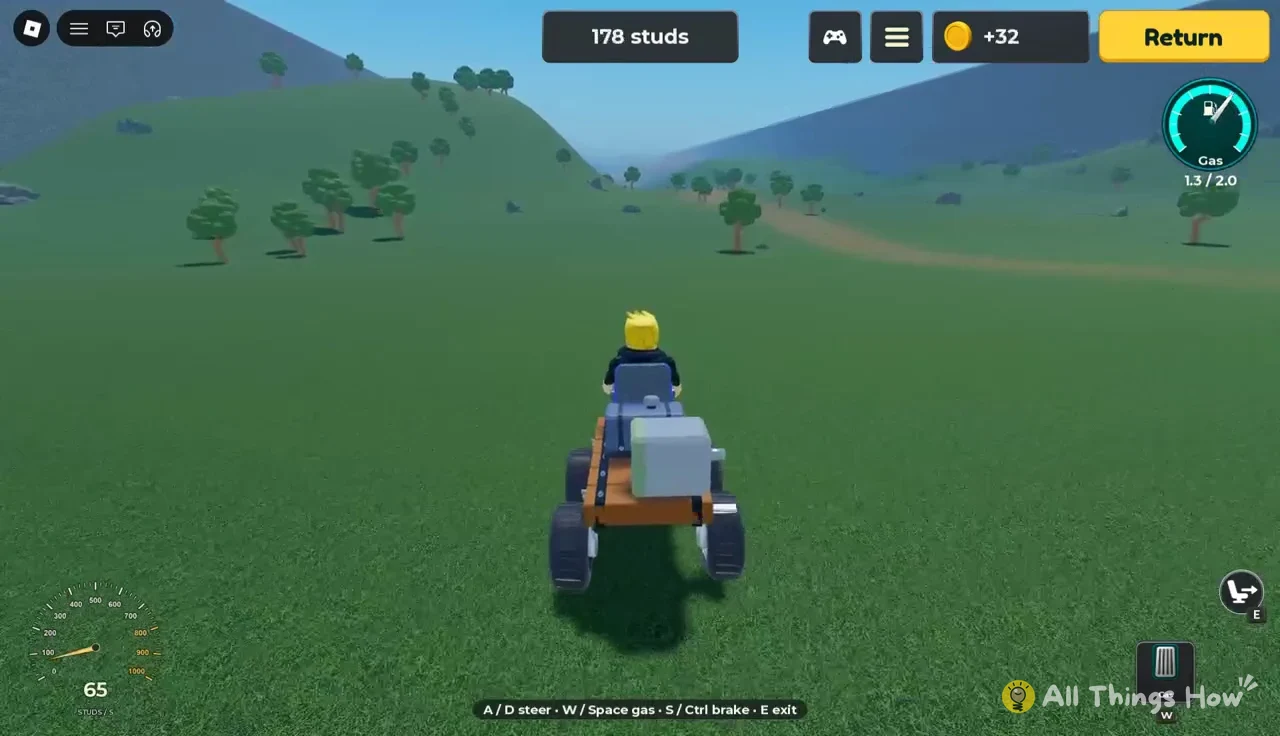
A Return button is also on screen if you want to head back to the garage early. Otherwise the run ends once the gas is gone and the car rolls to a stop.
When the run ends, a results screen shows how far you went and gives you a “Drive again” button so you can restart right away.
Structure part prices
The Structure tab covers every frame piece, from 8-coin wood beams up to carbon platforms. Prices go up with each material: wood, then steel, heavy, alloy and carbon.
Wood and steel
| Part | Price (coins) | Unlock |
|---|---|---|
| Wood Block | 10 | None |
| Short Wood Beam | 8 | None |
| Long Wood Beam | 20 | None |
| Wood Plank | 22 | None |
| Reinforced Wood Plank | 140 | None |
| Long Wood Plank | 60 | None |
| Large Wood Platform | 220 | None |
| Short Steel Beam | 40 | None |
| Long Steel Beam | 100 | None |
| Steel Plank | 240 | None |
| Long Steel Plank | 650 | None |
| Large Steel Platform | 2,400 | Pine Forest (11,200) |
Heavy, alloy and carbon
| Part | Price (coins) | Unlock |
|---|---|---|
| Heavy Beam | 1,600 | Pine Forest (11,200) |
| Heavy Frame | 800 | Pine Forest (11,200) |
| Long Heavy Frame | 1,800 | Pine Forest (11,200) |
| Heavy Platform | 35,000 | Pine Forest (11,200) |
| Alloy Block | 700 | Redstone Canyon |
| Alloy Wedge | 800 | Redstone Canyon |
| Short Alloy Beam | 450 | Redstone Canyon |
| Long Alloy Beam | 1,200 | Redstone Canyon |
| Alloy Plank | 1,200 | Redstone Canyon |
| Long Alloy Plank | 3,300 | Redstone Canyon |
| Large Alloy Platform | 12,000 | Redstone Canyon |
| Carbon Block | 55,000 | Cliffs (23,780) |
| Carbon Wedge | 60,000 | Cliffs (23,780) |
| Carbon Panel | 45,000 | Cliffs (23,780) |
| Short Carbon Beam | 30,000 | Cliffs (23,780) |
| Long Carbon Beam | 80,000 | Cliffs (23,780) |
| Carbon Plank | 100,000 | Cliffs (23,780) |
| Long Carbon Plank | 190,000 | Cliffs (23,780) |
| Large Carbon Platform | 650,000 | Cliffs (23,780) |
Bumpers, joints and curved shapes
| Part | Price (coins) | Unlock |
|---|---|---|
| Bumper | 60 | None |
| Wide Bumper | 120 | None |
| Heavy Bumper | 2,400 | Pine Forest (11,200) |
| Rally Skid Plate | 3,000 | None |
| Flex Joint | 1,500 | None |
| Corner Wedge | 800 | None |
| Tall Corner Wedge | 1,400 | None |
| Inner Corner Wedge | 900 | None |
| Tall Inner Corner Wedge | 1,600 | None |
| Curved Edge | 900 | None |
| Tall Curved Edge | 1,600 | None |
| Long Curved Edge | 1,600 | None |
| Tall Long Curved Edge | 2,800 | None |
| Curved Corner | 850 | None |
| Tall Curved Corner | 1,500 | None |
| Half Cylinder | 900 | None |
| Cylinder | 1,600 | None |
| Curved Panel | 1,800 | None |
Wheel prices
Small Tire and Road Tire are open from the start. Most tires after that need the Canyon or Pine Forest distance, but Slick Tire and Wide Racing Tire show no distance lock in the shop.
| Tire | Price (coins) | Unlock |
|---|---|---|
| Small Tire | 25 | None |
| Road Tire | 75 | None |
| Sport Tire | 250 | Canyon (3,500) |
| Offroad Tire | 300 | Canyon (3,500) |
| Trail Tire | 1,000 | Canyon (3,500) |
| Rally Tire | 3,500 | Canyon (3,500) |
| Touring Tire | 6,500 | Canyon (3,500) |
| Truck Tire | 9,000 | Pine Forest (11,200) |
| Mud Tire | 14,000 | Pine Forest (11,200) |
| Slick Tire | 18,000 | None |
| Tractor Tire | 35,000 | Pine Forest (11,200) |
| Giant Tire | 80,000 | Pine Forest (11,200) |
| Wide Racing Tire | 300,000 | None |
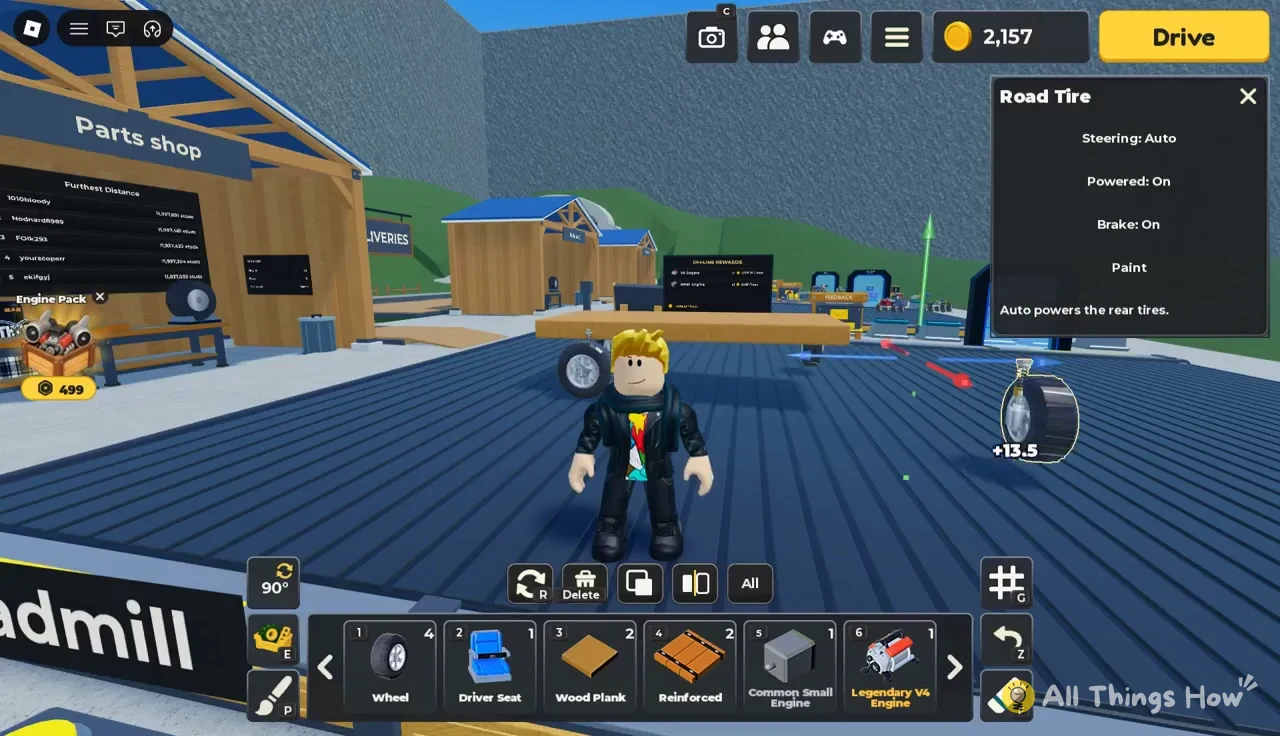
Each tire has its own settings panel on the build pad. On a Road Tire, the “Powered” option decides whether that wheel gets driven. Leave it On for the rear tires and they’ll be powered automatically.
Fuel tank prices
Fuel comes in two lines. Regular tanks keep the engine running, and boost tanks are their own separate set. The advanced and composite versions are behind the Pine Forest and Cliffs distances.
| Tank | Price (coins) | Unlock |
|---|---|---|
| Small Fuel Tank | 175 | None |
| Fuel Tank | 1,000 | None |
| Large Fuel Tank | 6,000 | None |
| Advanced Small Fuel Tank | 75,000 | Pine Forest (11,200) |
| Advanced Fuel Tank | 250,000 | Pine Forest (11,200) |
| Advanced Large Fuel Tank | 1,000,000 | Pine Forest (11,200) |
| Composite Fuel Cell | 8,000,000 | Cliffs (23,780) |
| Small Boost Fuel Tank | 15,000 | None |
| Boost Fuel Tank | 60,000 | None |
| Large Boost Fuel Tank | 220,000 | None |
| Composite Boost Reservoir | 2,000,000 | Cliffs (23,780) |
Utility part prices
Utility is the catch-all tab. It has small filler blocks and glass, suspension parts, seats, flight and water parts, lights, and cosmetic add-ons.
Blocks, glass and protection
| Part | Price (coins) | Unlock |
|---|---|---|
| Small Wood Block | 5 | None |
| Wood Wedge | 12 | None |
| Long Wood Wedge | 20 | None |
| Wood Panel | 15 | None |
| Steel Block | 100 | None |
| Steel Wedge | 115 | None |
| Glass Panel | 250 | None |
| Glass Slope | 200 | None |
| Tall Glass Slope | 250 | None |
| Glass Corner | 150 | None |
| Axle Bar | 80 | None |
| Skid Plate | 100 | None |
| Roll Bar | 350 | None |
| Wheel Guard | 12,500 | None |
| Armor Plate | 1,200 | Pine Forest (11,200) |
| Armor Wedge | 2,000 | Pine Forest (11,200) |
| Ballast Block | 150 | None |
Springs, pistons, hinges and seats
| Part | Price (coins) |
|---|---|
| Small Spring | 175 |
| Long Spring | 900 |
| Strong Spring | 1,500 |
| Bouncy Spring | 2,500 |
| Piston | 4,500 |
| Long Piston | 9,000 |
| Powered Hinge | 3,500 |
| Large Powered Hinge | 6,000 |
| Driver Seat | 75 |
| Passenger Seat | 500 |
| Sport Seat | 1,250 |
| Reinforced Seat | 12,500 |
None of the springs, pistons, hinges or seats have a distance lock.
Wings, rotors and floats
| Part | Price (coins) | Unlock |
|---|---|---|
| Glider Wing | 30,000 | Pine Forest (11,200) |
| Large Glider Wing | 180,000 | Pine Forest (11,200) |
| Aircraft Wing | 180,000 | Cliffs (23,780) |
| Left Aircraft Wing | 160,000 | None |
| Right Aircraft Wing | 160,000 | None |
| Aircraft Tail | 85,000 | Cliffs (23,780) |
| Tail Rotor | 85,000 | None |
| Landing Skids | 25,000 | None |
| Disconnector | 125,000 | Cliffs (23,780) |
| Float Barrel | 1,600 | None |
| Pontoon | 3,200 | None |
Lights and cosmetic add-ons
| Part | Price (coins) |
|---|---|
| Headlight | 75 |
| Tail Light | 60 |
| Fog Light | 120 |
| Light Pod | 180 |
| LED Headlight | 250 |
| Light Bar | 450 |
| Small Flag | 50 |
| Exhaust Tip | 120 |
| Dual Exhaust Tip | 220 |
| Rear Spoiler | 650 |
| Grille | 180 |
| Side Mirror | 140 |
| Hood Scoop | 350 |
Paint options get their own tab next to these. Your personal Inventory tab shows everything you own and haven’t placed yet.
Robux kits and bundles
A separate kit shop in the garage sells bundles for Robux instead of coins. Walk up to a kit and press E when the “E — Buy” prompt shows to buy it.
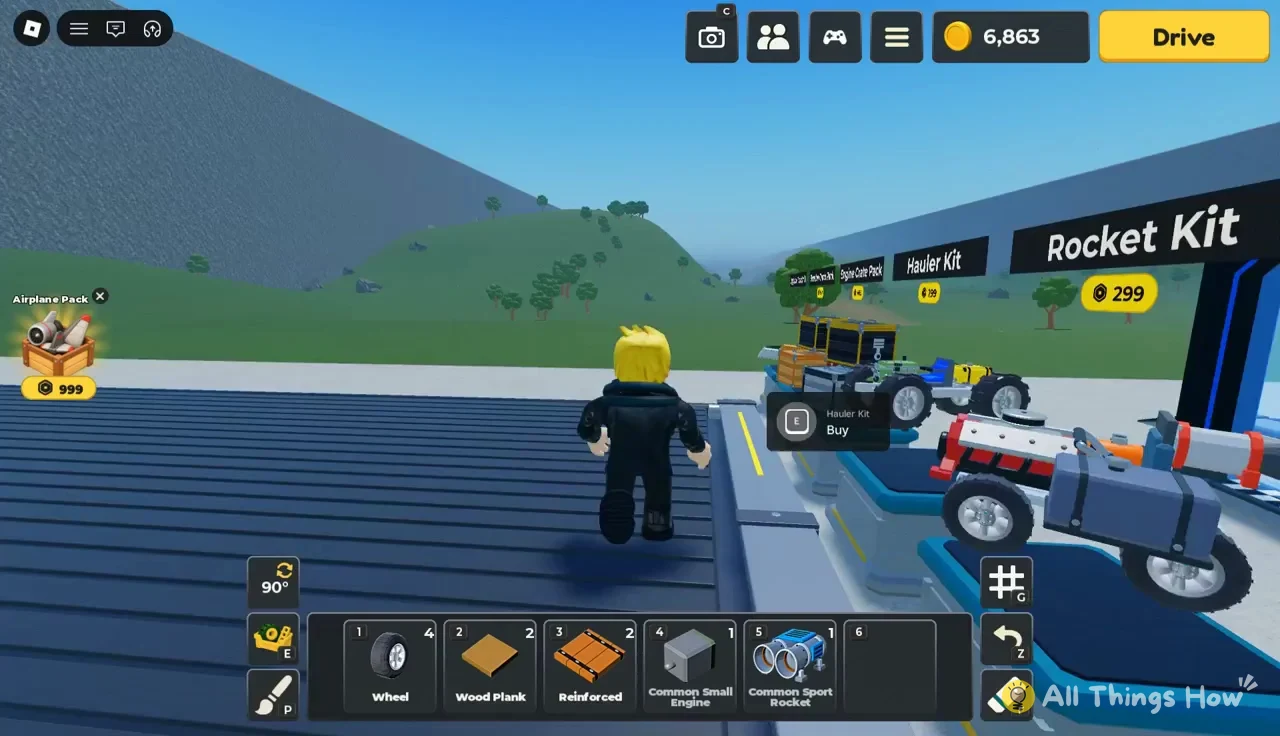
| Kit or pack | Price (Robux) |
|---|---|
| Booster Pack | 349 |
| Airplane Pack | 999 |
| Heli Pack | 499 |
| Engine Pack | 499 |
| Hauler Kit | 199 |
| Rocket Kit | 299 |
| Plane Kit | 999 |
| Helicopter Pack | 499 |
| First Revive | 9 |
A 1,070-coin first upgrade that reaches Redstone Canyon
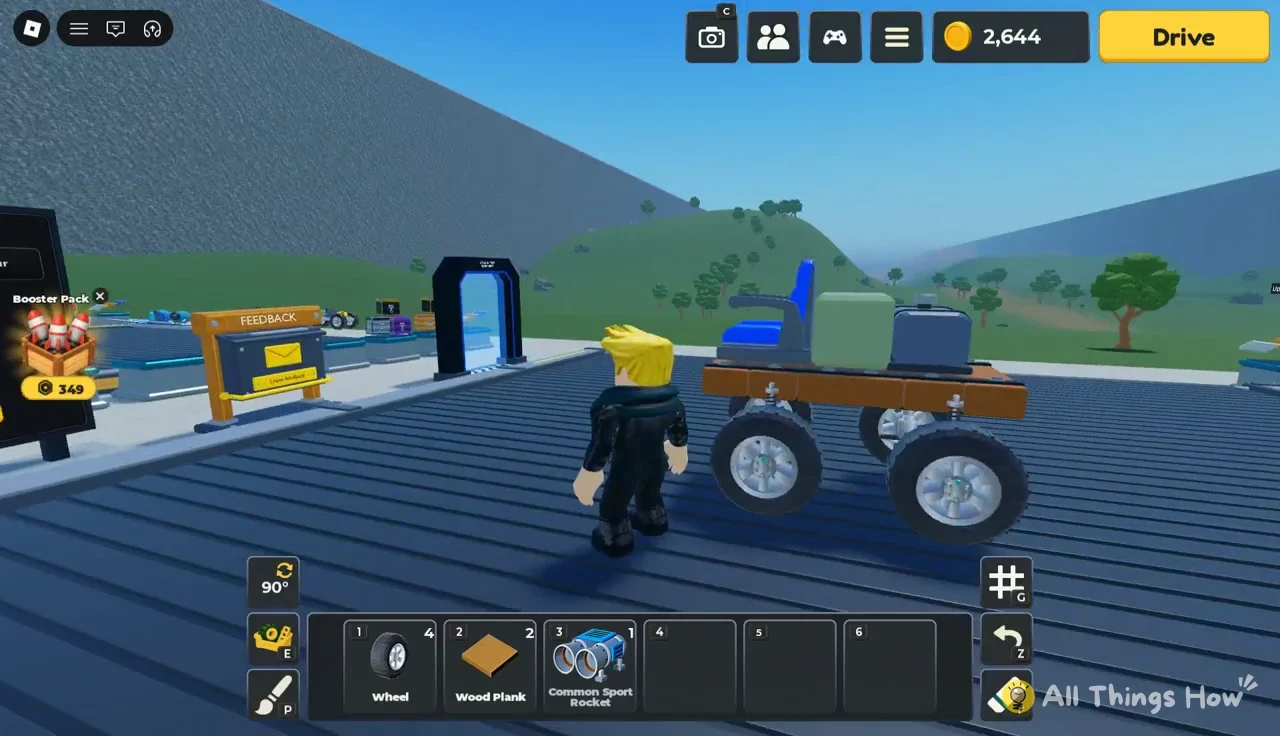
The starting wooden cart only goes so far. One run with it ended at 651 studs for 158 coins, and moving the fuel tank pushed a second run to 1,589 studs and 583 coins. If you spend 220 coins on a Large Wood Platform and 850 on a Road Engine Crate, that same set of starter parts gets past Redstone Canyon. With a Legendary V4 Engine on the new platform, the car topped 160 studs/s, passed the 3,590-stud mark and coasted to 4,638 studs, paying out 4,706 coins.
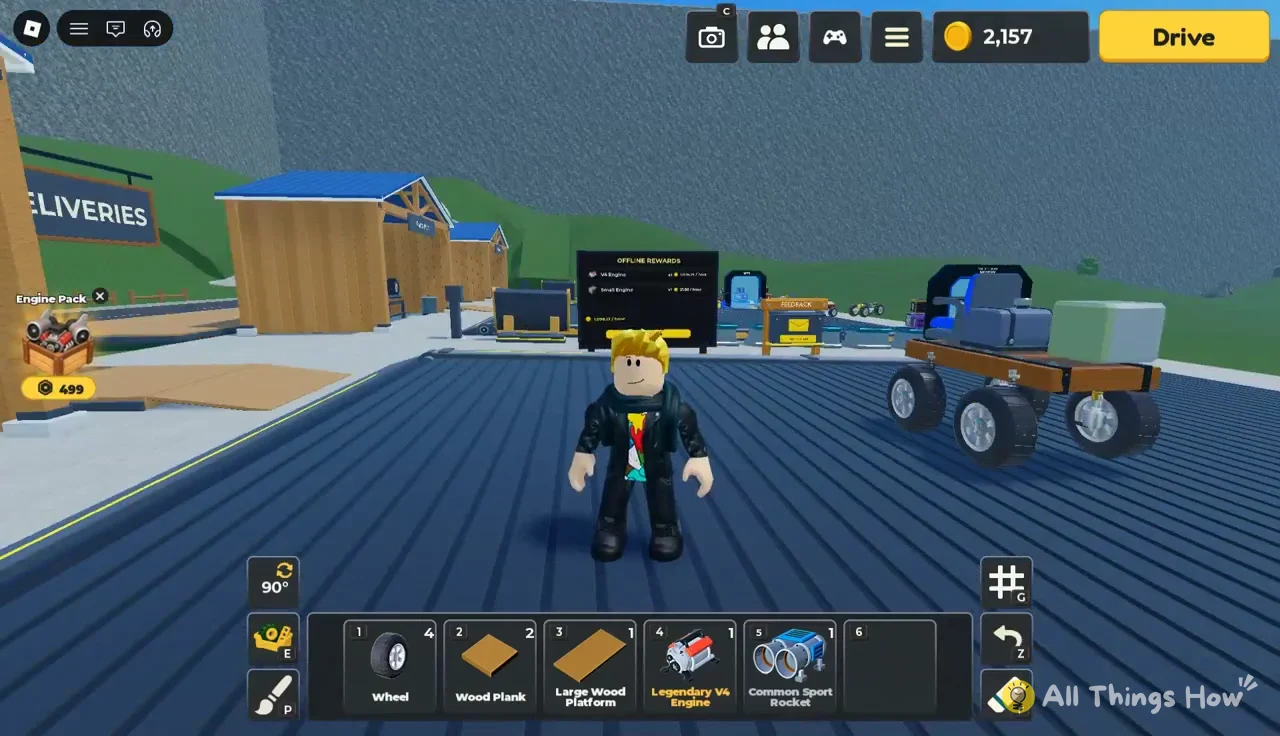
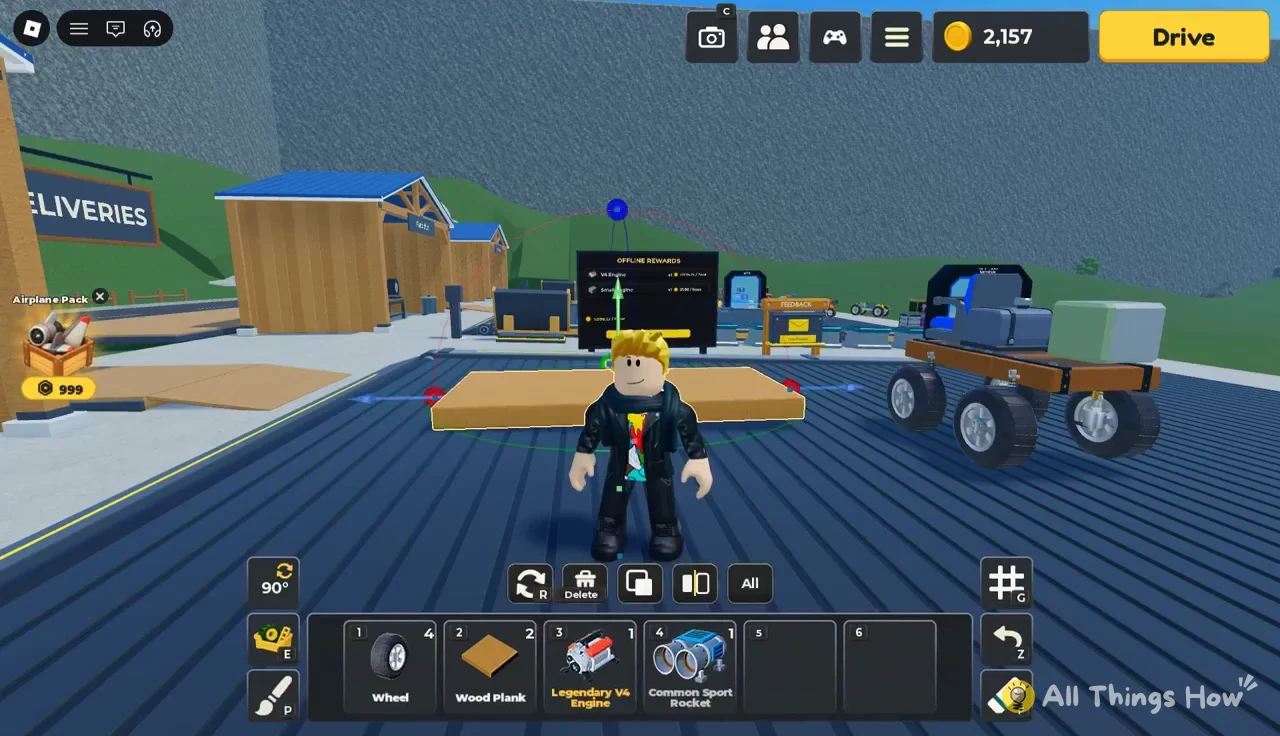
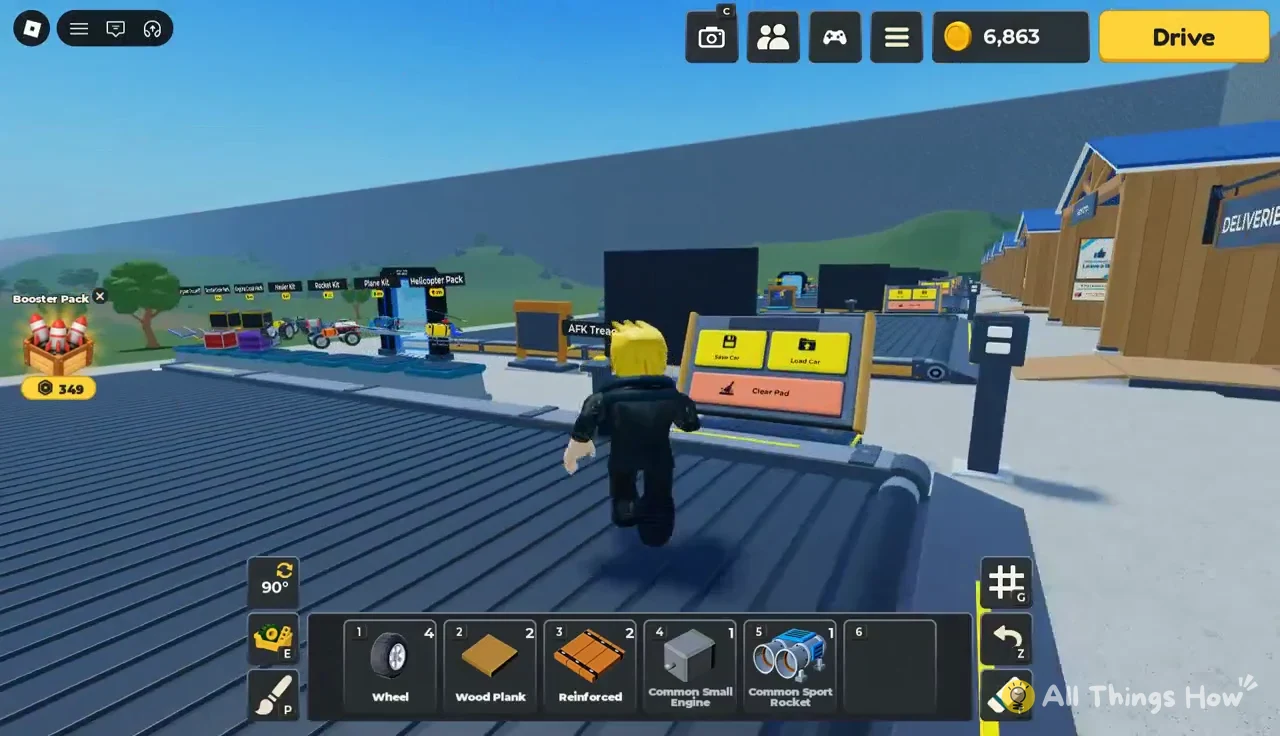
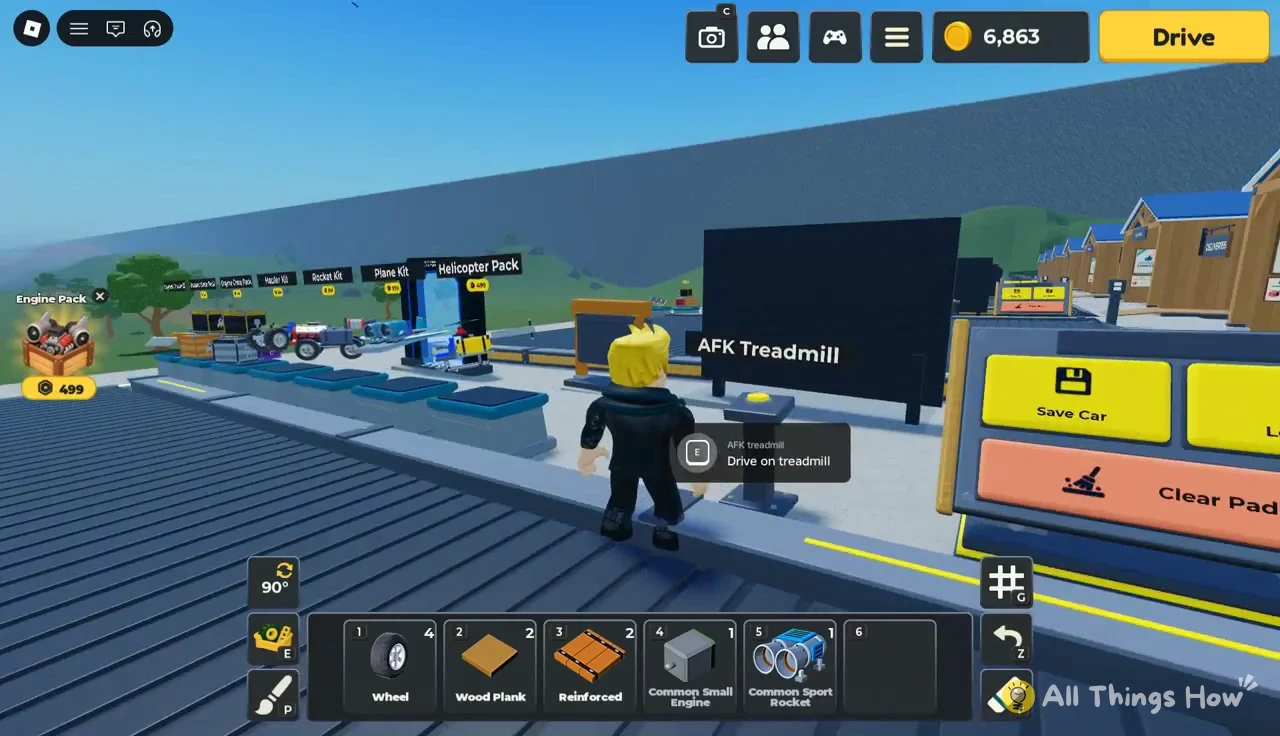
After that run the coin balance went from 2,486 to 6,863, which is enough to start on the Workshop Engine Crate at 2,500 or the cheaper alloy parts that open at Redstone Canyon. The V4 Engine also keeps adding to the Offline Rewards board at 1,076.25 coins an hour while you’re away.