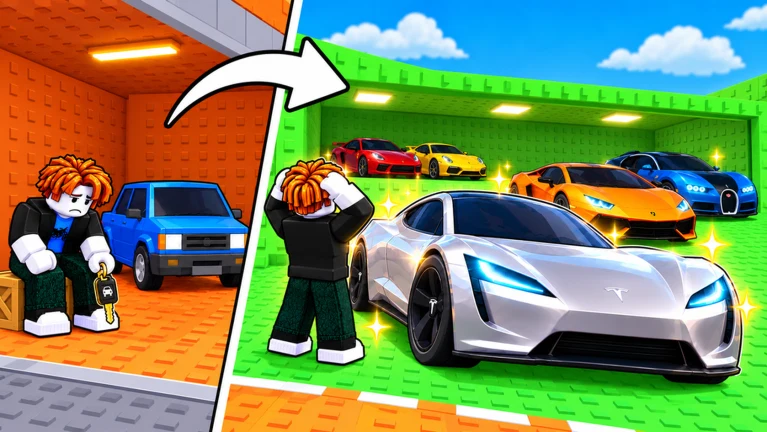
In Throw Key for Cars, the zone where your key lands sets your Luck, and your Luck shapes which car rolls out of the garage. The track runs in a straight line through seven biomes, each farther and luckier than the last. If you’re trying to get Epic cars with Gold Chrome or BIG modifiers, you need to land in Taiga, the last zone on the track, at roughly 19x Luck.
Quick answer: Throw past about 1,045 studs to land in Taiga at 19x Luck or more. Raise Throw Power with pull-up bar levels (+5 Power each) and hit “PERFECT! +20” on the throw meter.
Throw Key for Cars zones in order, with distance and Luck
Your key passes through the zones in a fixed order. The Luck multiplier keeps climbing as the key travels, so a throw that barely gets into a zone gets less Luck than one that lands near that zone’s far edge. The distances below are where each zone begins, give or take a few studs.
| Order | Zone | Starts at about | Luck range |
|---|---|---|---|
| 1 | FOREST | 0 studs | 1.00X – 3.87X |
| 2 | SAVANNA | 150–200 studs | 4.20X – 7.06X |
| 3 | DESERT | 340–400 studs | 7.06X – 9.08X |
| 4 | JUNGLE | 500–600 studs | 10.02X – 12.34X |
| 5 | OCEAN | 680–750 studs | 13.09X – 15.52X |
| 6 | MOUNTAINS | 860–960 studs | 16.24X – 18.92X |
| 7 | TAIGA | 1,045+ studs | 19.12X – 19.70X |
Even small gains add up inside Taiga. A throw of 1,053 studs lands at 19.22X Luck, 1,067 studs gives 19.42X, and 1,087 studs reaches 19.70X. That’s a little under 0.015X of extra Luck for every stud past the zone line, so every point of Power you add still nudges your odds up after you’ve reached the last zone.
How to throw for the farthest zone
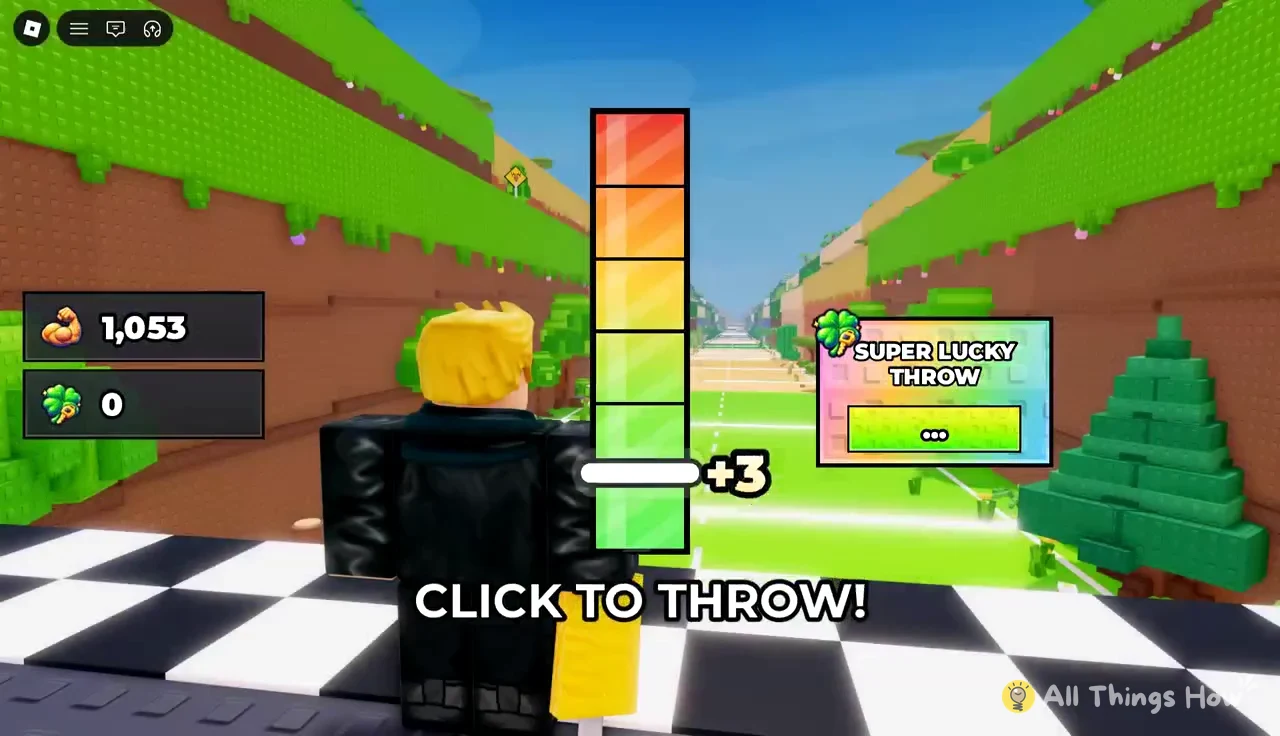
Each throw is a short timing game on top of your base Throw Power. The meter adds bonus Power depending on when you click, and that bonus decides whether you land a few studs short or a few studs deeper into Taiga.
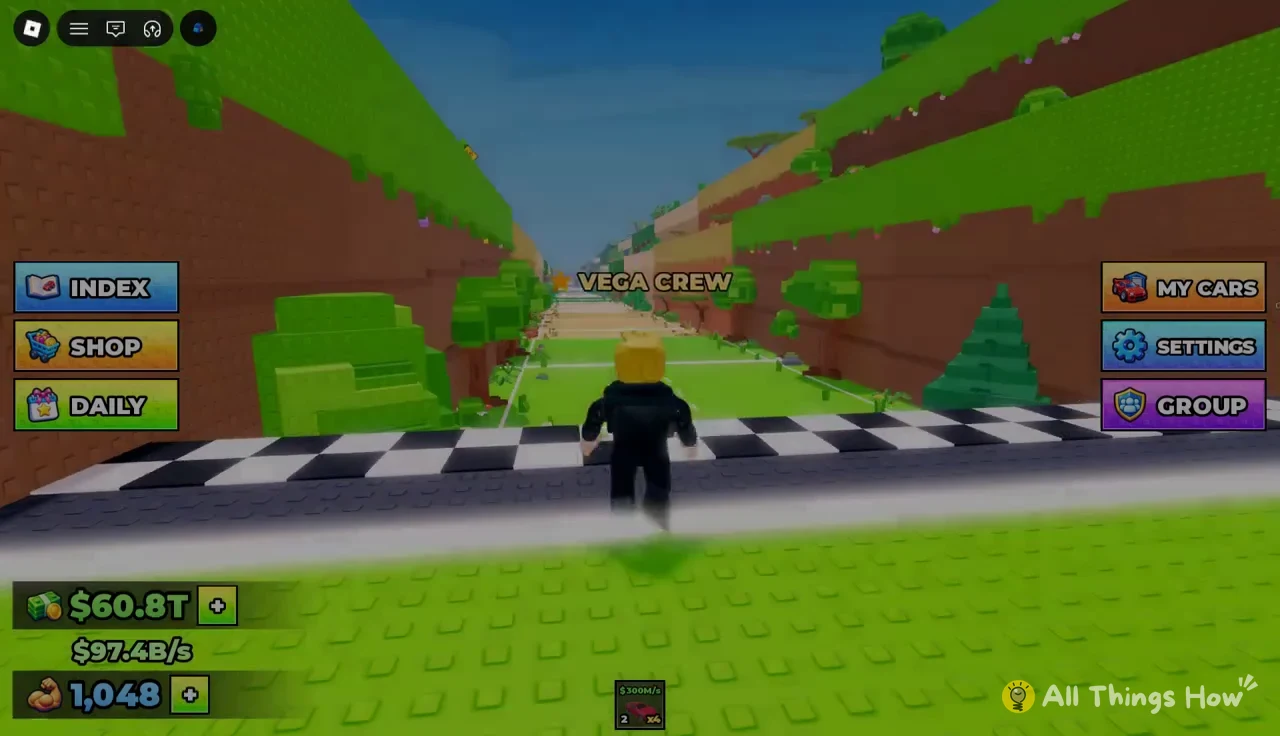
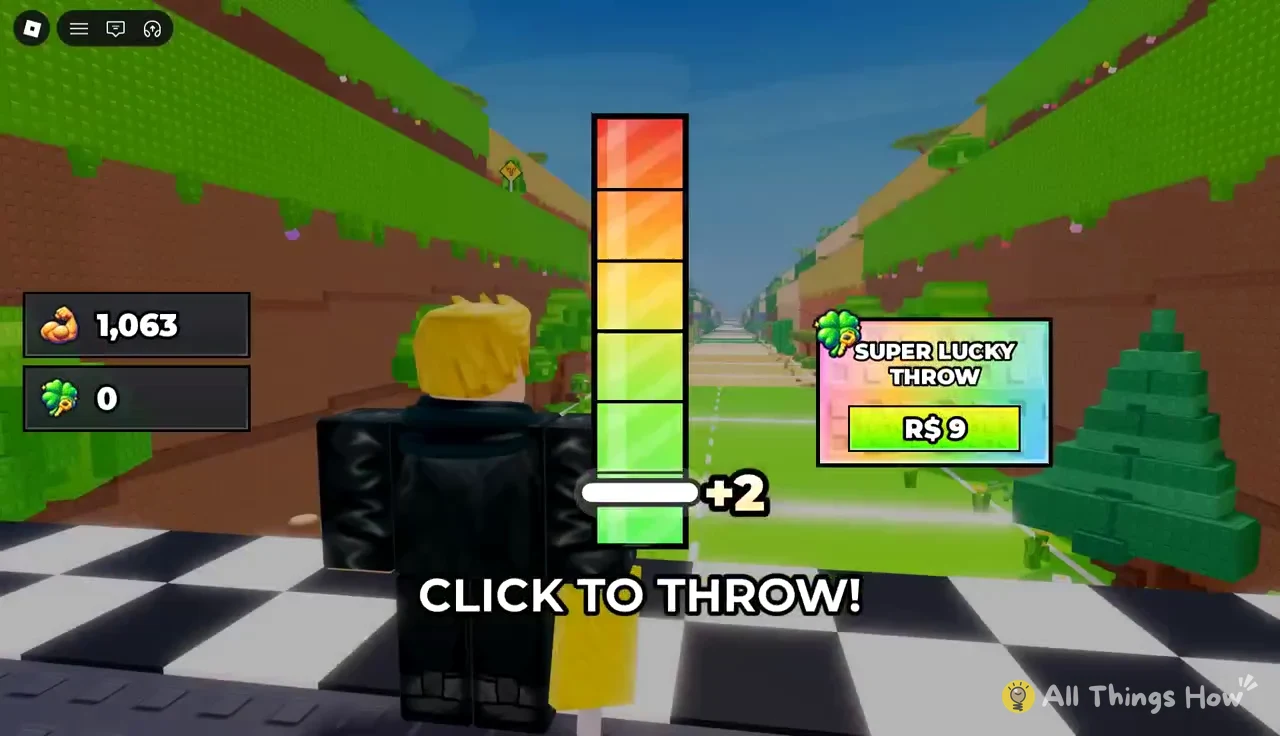
A 2-point gap on the meter doesn’t sound like much, but in Taiga it’s the difference between, say, 1,082 and 1,087 studs. Hitting PERFECT every time is the cheapest way to squeeze out extra Luck.
Car rarity, Gold Chrome and BIG in Taiga
Taiga throws at around 19x Luck mostly roll Epic cars, with the odd Rare. On top of rarity, a car can come with a modifier. Gold Chrome is a finish, and BIG is a size bump. Either one raises the car’s income, and the two can stack on the same car.
| Car | Rarity | Modifier | Income |
|---|---|---|---|
| Ranger 4×4 | RARE | Gold Chrome | $12B/s |
| Timber Hot Rod | EPIC | None | $12B/s |
| Timber Hot Rod | EPIC | BIG | $24.9B/s |
| Pine Rally GT | EPIC | None | $20B/s |
| Pine Rally GT | EPIC | Gold Chrome | $30B/s |
| Pine Rally GT | EPIC | Gold Chrome, BIG | $62.2B/s |
BIG roughly doubles a car’s base income; the BIG Timber Hot Rod makes a bit more than twice the regular one. Gold Chrome adds 50 percent on the Pine Rally GT. Stacked together, the Gold Chrome BIG Pine Rally GT earns more than three regular Pine Rally GTs combined. A modifier can also make a lower rarity car match a higher one, which is why a Gold Chrome Rare Ranger 4×4 earns the same as a plain Epic Timber Hot Rod.
Some reveals turn into a special roll. The garage animation shows “1 in 51” and “SUPER LUCKY!” before handing over the car, and that’s how the Gold Chrome BIG Pine Rally GT shows up. You can also buy a “SUPER LUCKY THROW” for R$ 9, which swaps your key for a clover on the throw screen.
Raise Throw Power with pull-up bar levels
Your base Throw Power comes from your character level, and every level gives +5 POWER, with a “LEVEL UP! +5 POWER” message on screen. You earn the XP for those levels on the pull-up bar next to your plot. Each bar upgrade gives more XP per rep, so you level faster. When you can afford the next bar, a “YOU CAN NOW BUY” popup appears with the price and a BUY button.
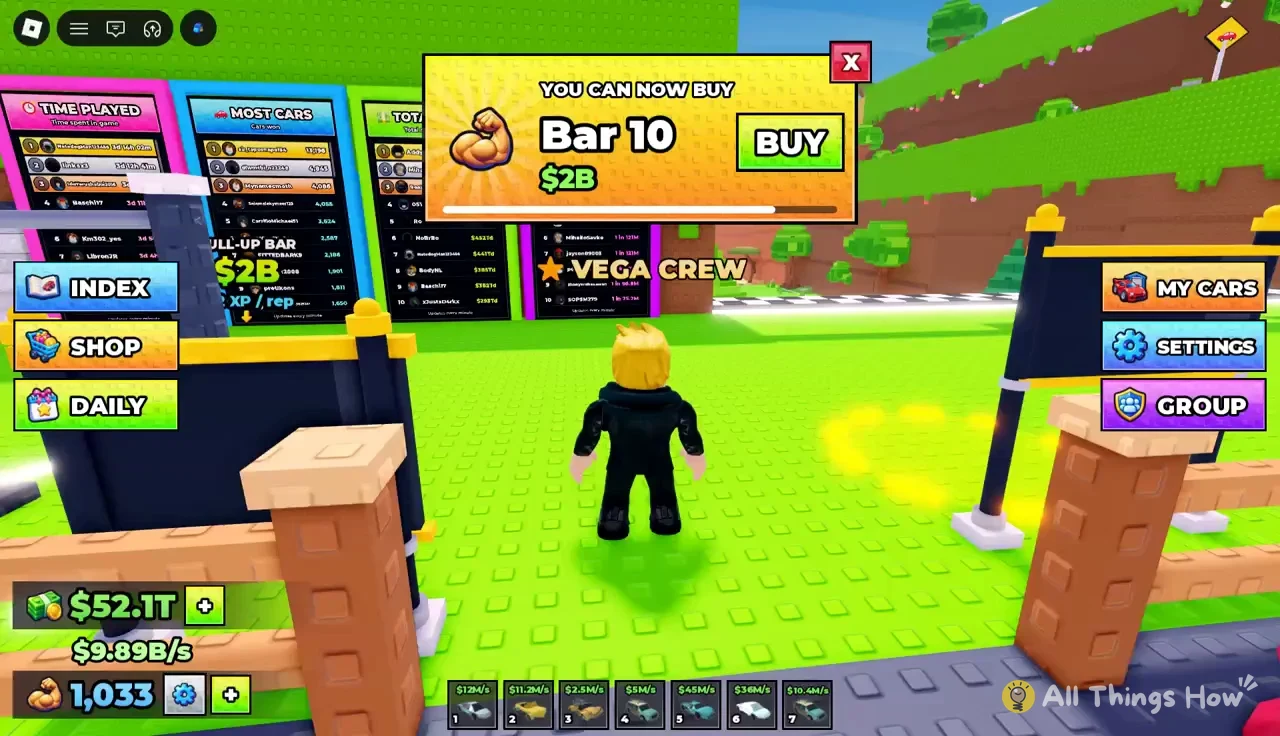
| Bar | Price | XP per rep (sign) | XP per lift (popup) |
|---|---|---|---|
| Bar 10 | $2B | 512 | Not shown |
| Bar 11 | $15B | 1,024 | +512 |
| Bar 12 | $90B | 2,048 | +1,024 |
The pull-up bar sign and the number that pops up over your head don’t match. Bar 11’s sign says 1,024 XP per rep, but each lift shows +512, and Bar 12 shows +1,024 per lift against 2,048 on the sign. Either way, each bar doubles the XP of the one before it.
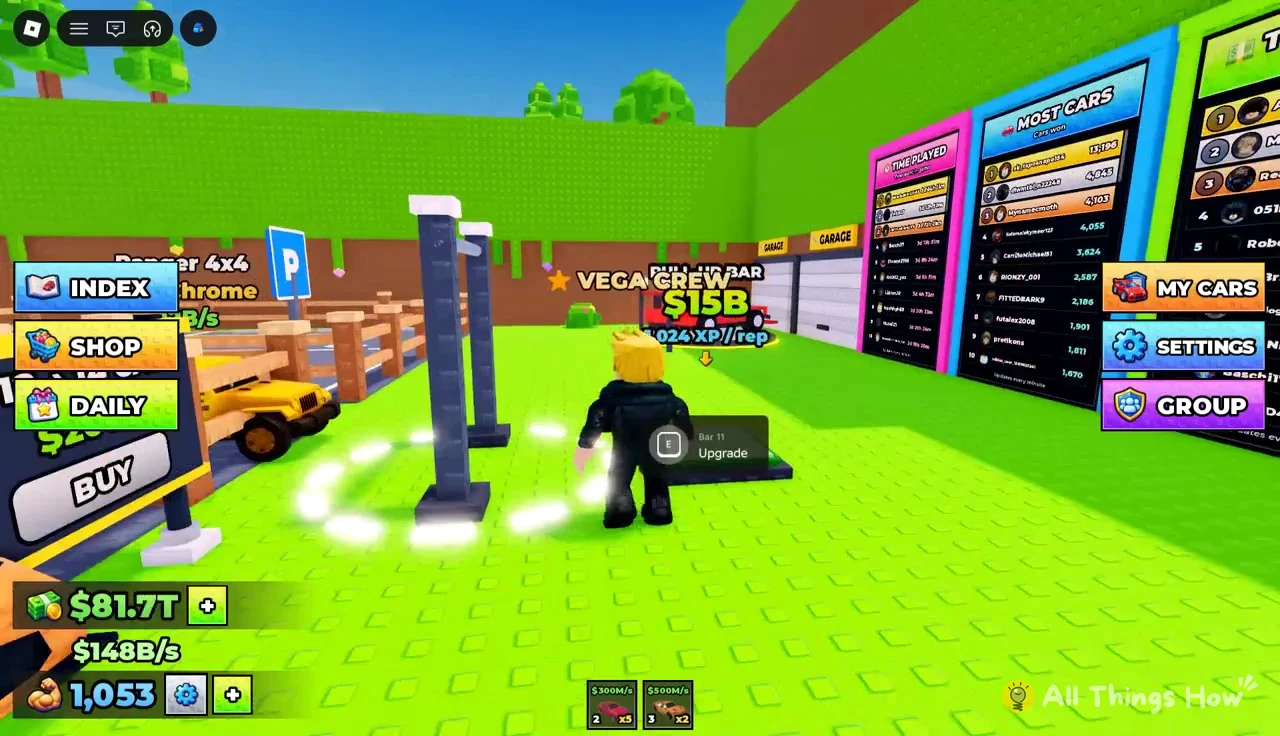
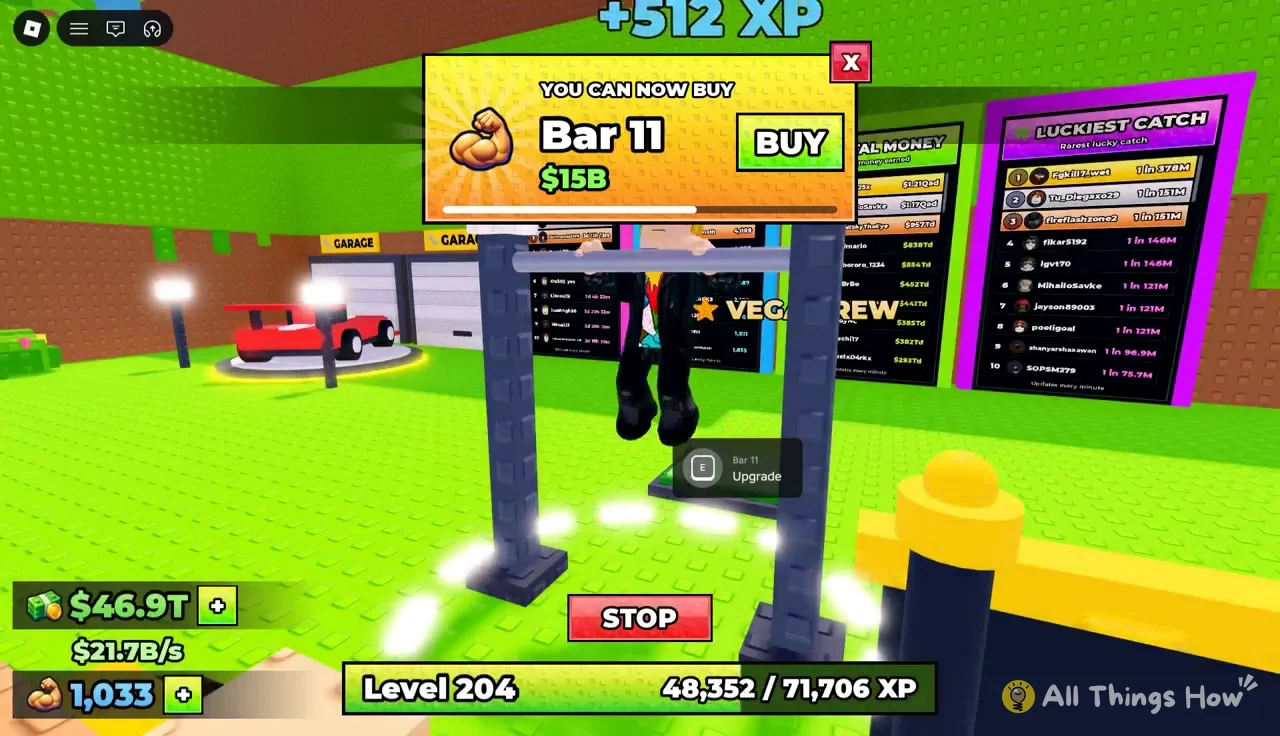
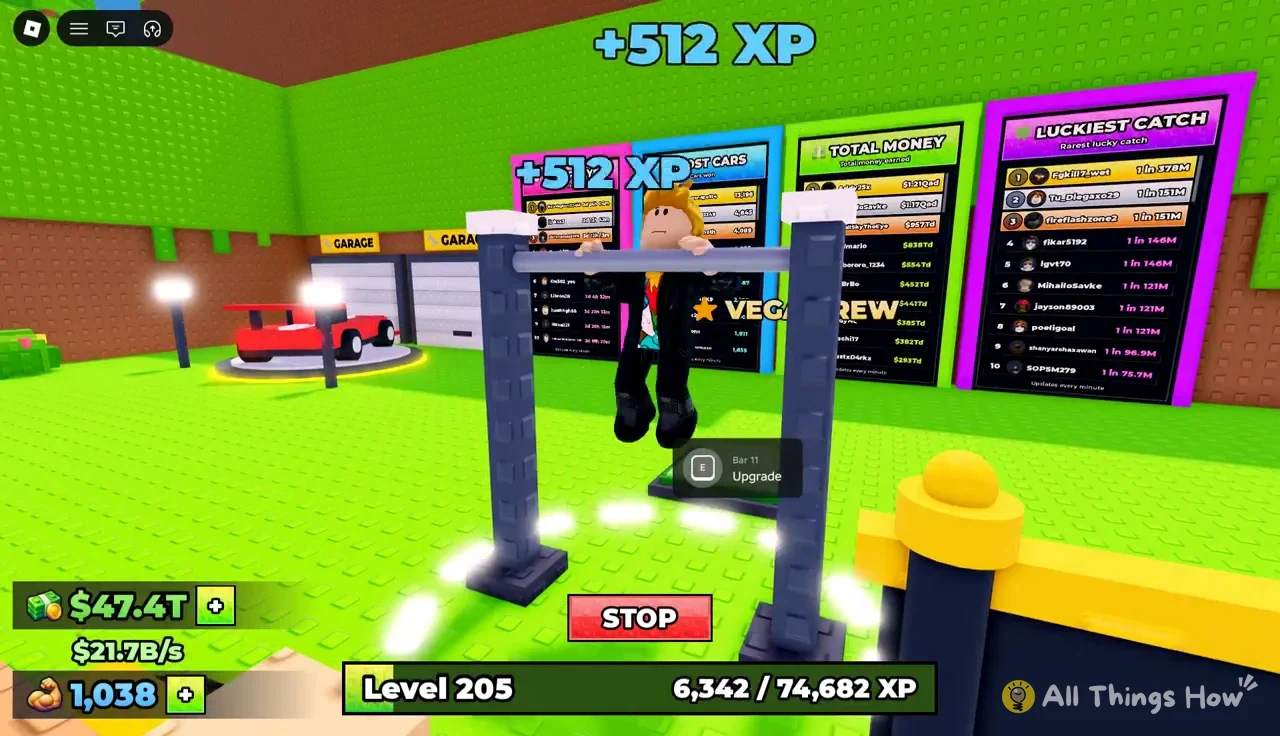
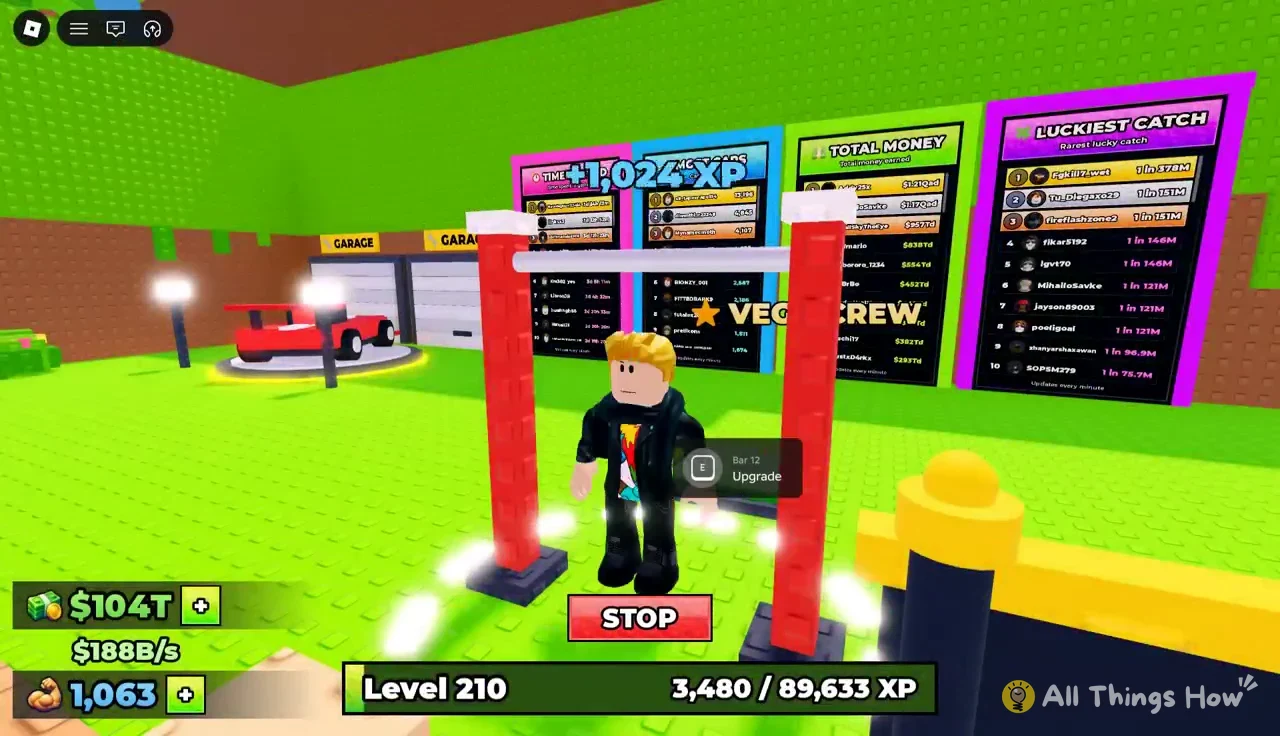
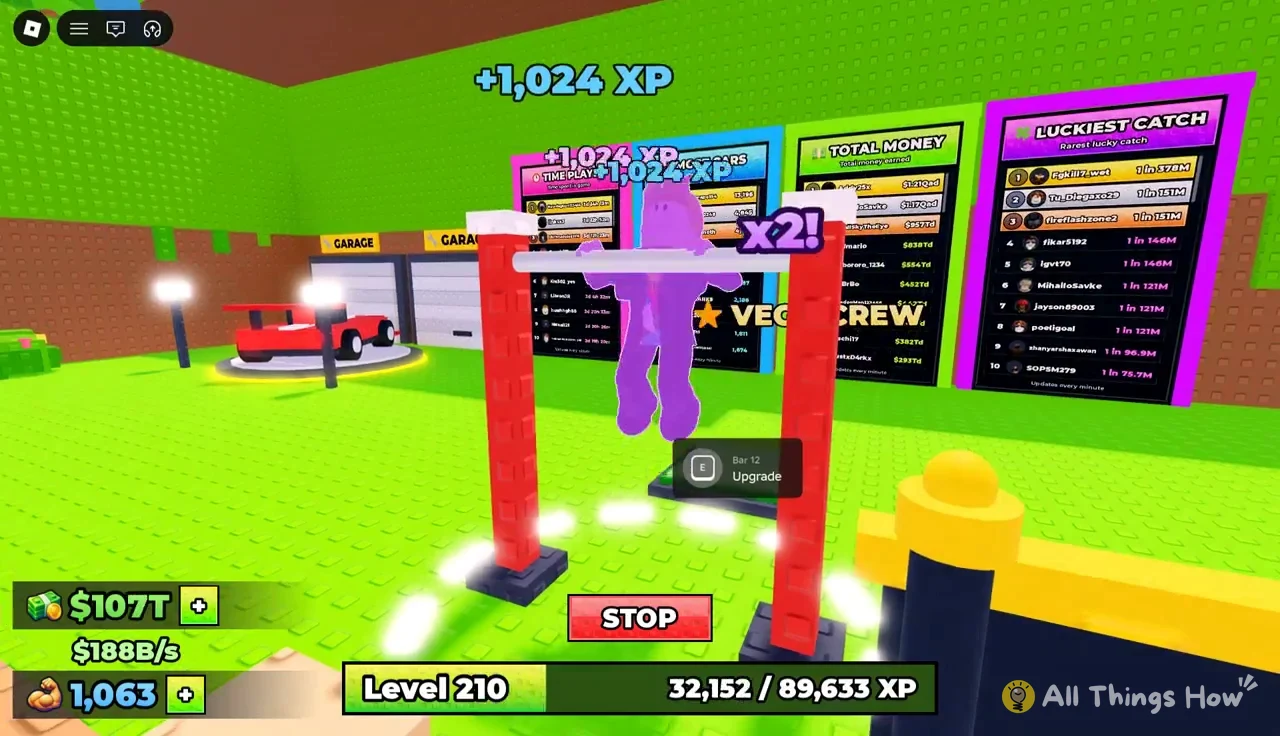
If you’d rather pay than grind, the game sells a “+150 POWER” boost for R$ 39. That’s the same as 30 level-ups on the bar.
Key Shop tiers for rarer cars
Better keys win rarer cars, and the Key Shop at your base sells them in tiers. Each tier usually has two keys, and the price jumps a lot between them. The Smart Fob at Tier 7 is the item that gets thrown into Taiga for the Epic cars in the rarity table above.
| Key | Tier | Price |
|---|---|---|
| Steel Key | Tier 3 | Not listed |
| Silver Key | Tier 4 | $12M |
| Chrome Key | Tier 4 | Not listed |
| Golden Key | Tier 5 | $650M |
| Platinum Key | Tier 5 | Not listed |
| Titanium Key | Tier 6 | $30B |
| Carbon Key | Tier 6 | Not listed |
| Keycard | Tier 7 | $1.3T |
| Smart Fob | Tier 7 | $6.8T |
| Neon Fob | Tier 8 | $57T |
Buying a key shows “Bought Smart Fob!” (or the name of whichever key you picked), and that key is the one you throw next. A “YOU CAN NOW BUY” popup also tells you when the next key, like the $57T Neon Fob, is in reach. Moving from the Golden Key to the Smart Fob, at the same Taiga distance, is when the garage starts handing out Epic cars instead of Rares.
Keep your rarest cars on the plot and sell the rest
Rare rolls only pay off if they’re parked. Your plot holds 12 cars at a time, and the next expansion, from 12 to 14 cars, costs $200T. When a new car arrives and every slot is taken, you get “Your plot is full! Your car went to your backpack.” The car isn’t lost, but it doesn’t earn anything until you swap it in.
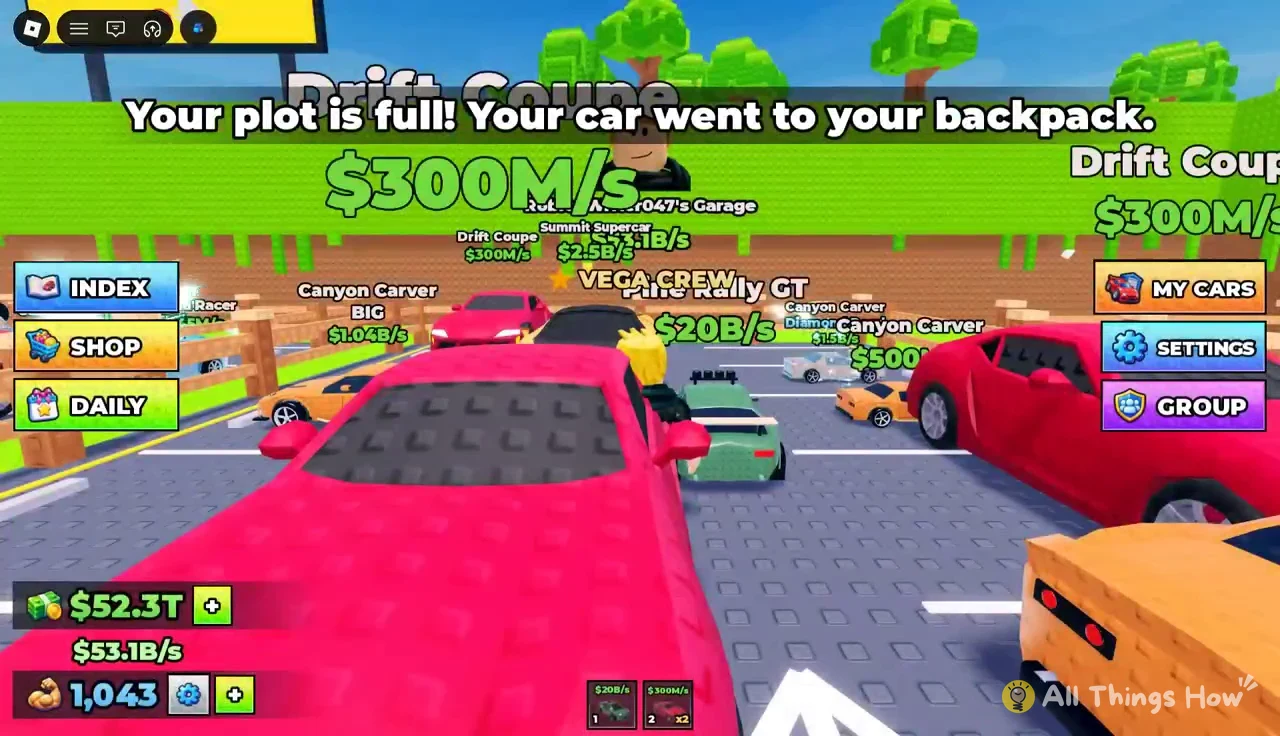
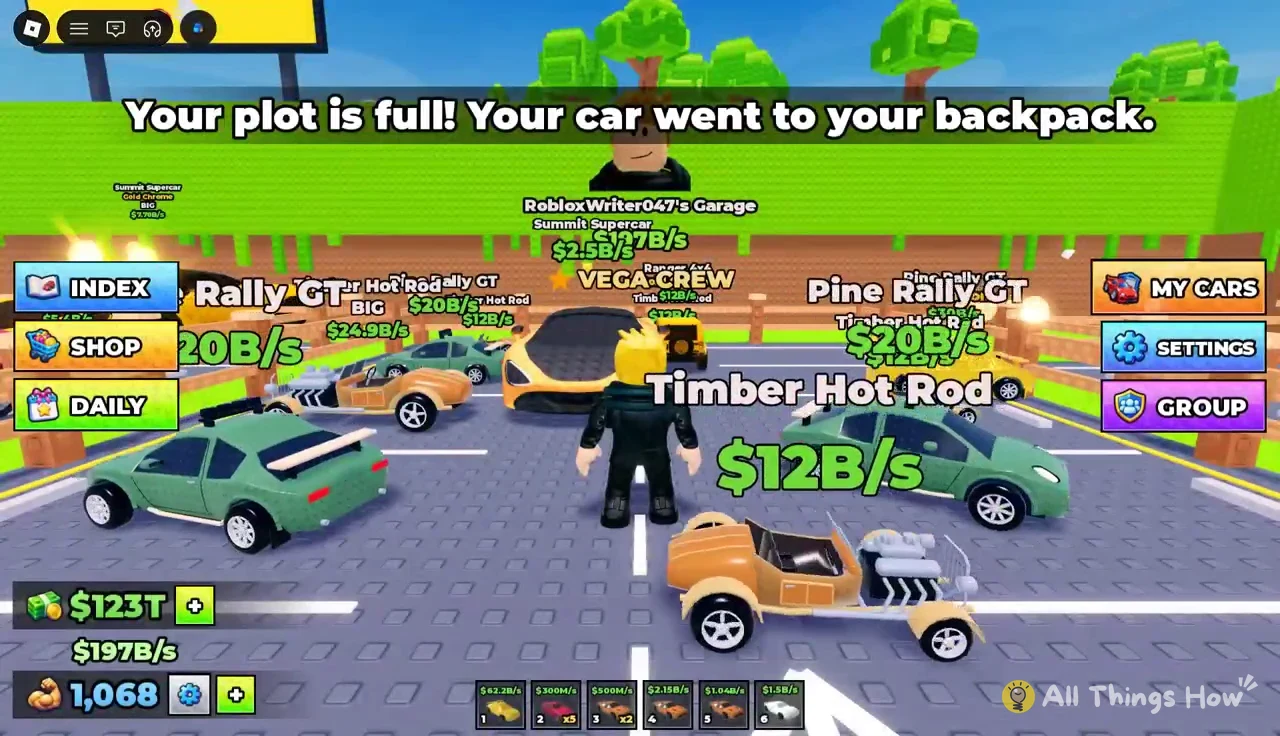
Open MY CARS from the button on the right side of your plot. It shows a count like 12/12 and lets you PICK UP or SELL a single car.
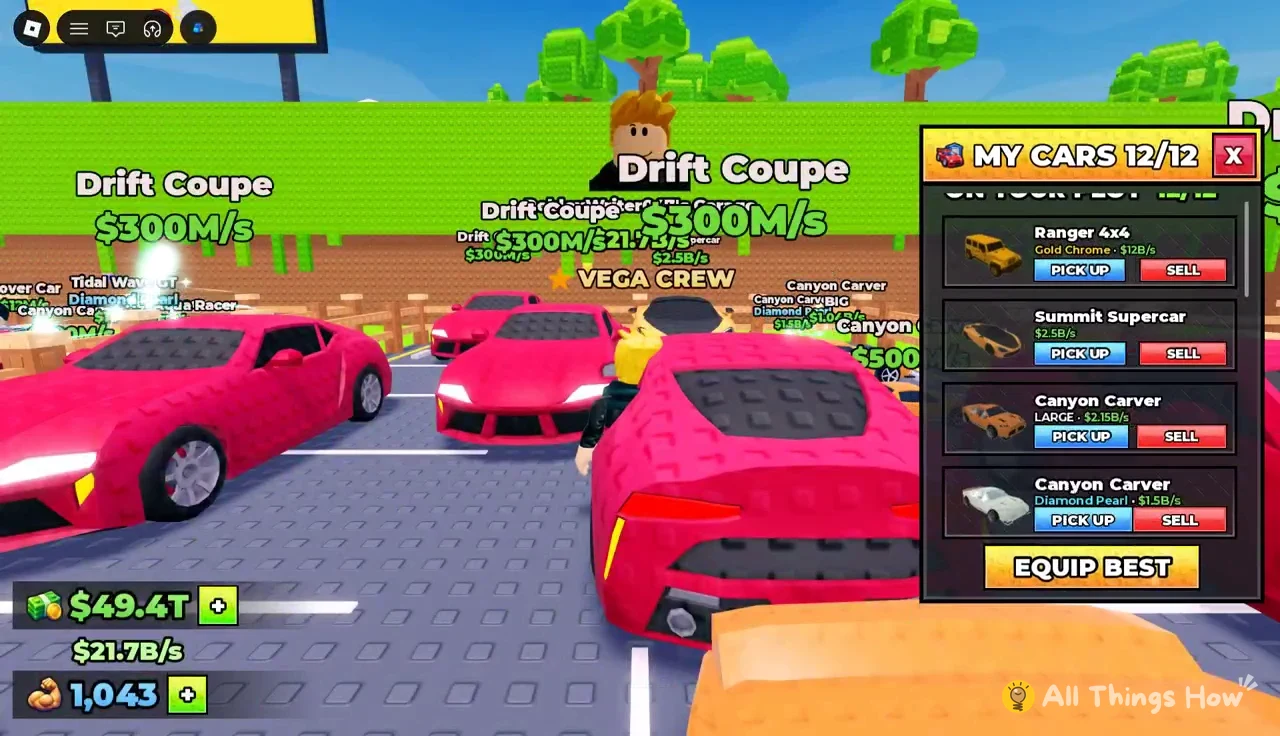
Instead of sorting by hand, press EQUIP BEST. It parks your 12 highest-earning cars right away, and the game confirms it with “Your best 12 cars are on your plot!” Your plot’s earning rate goes up as soon as a better car goes in. Dropping in a Gold Chrome BIG Pine Rally GT, for instance, takes a plot from $197B/s to $257B/s.
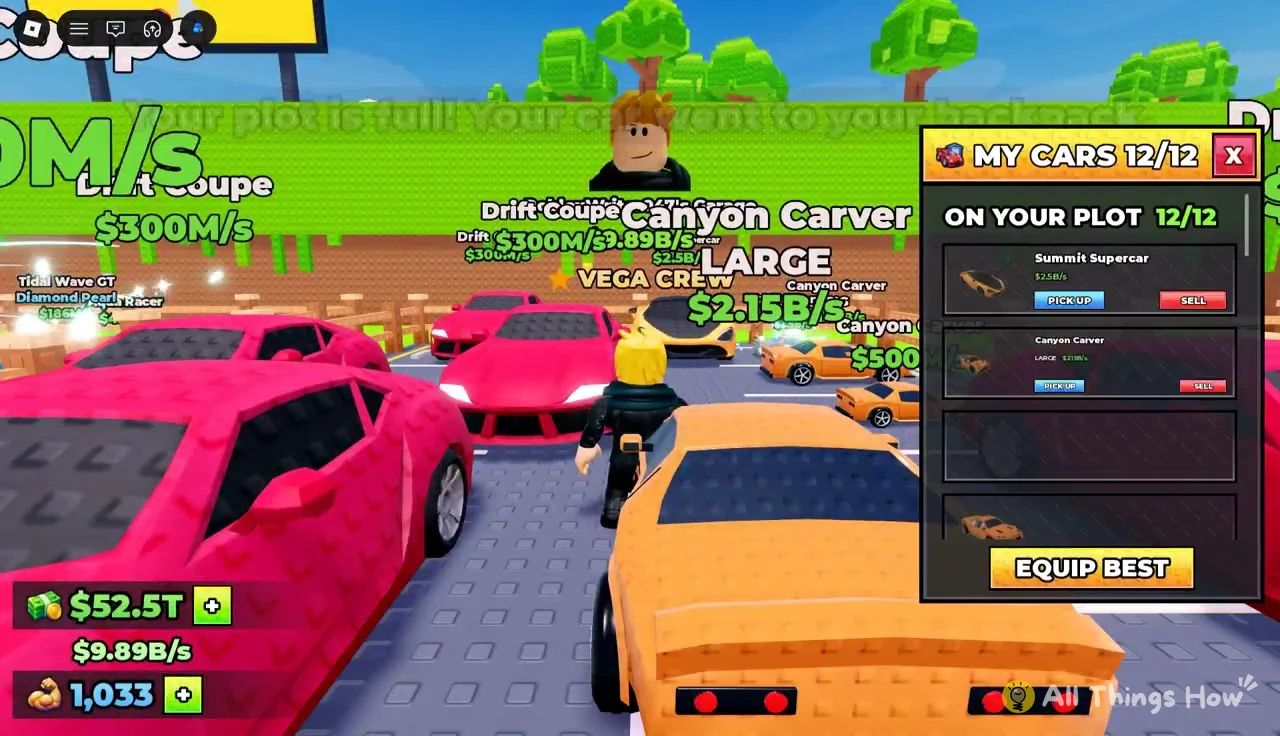
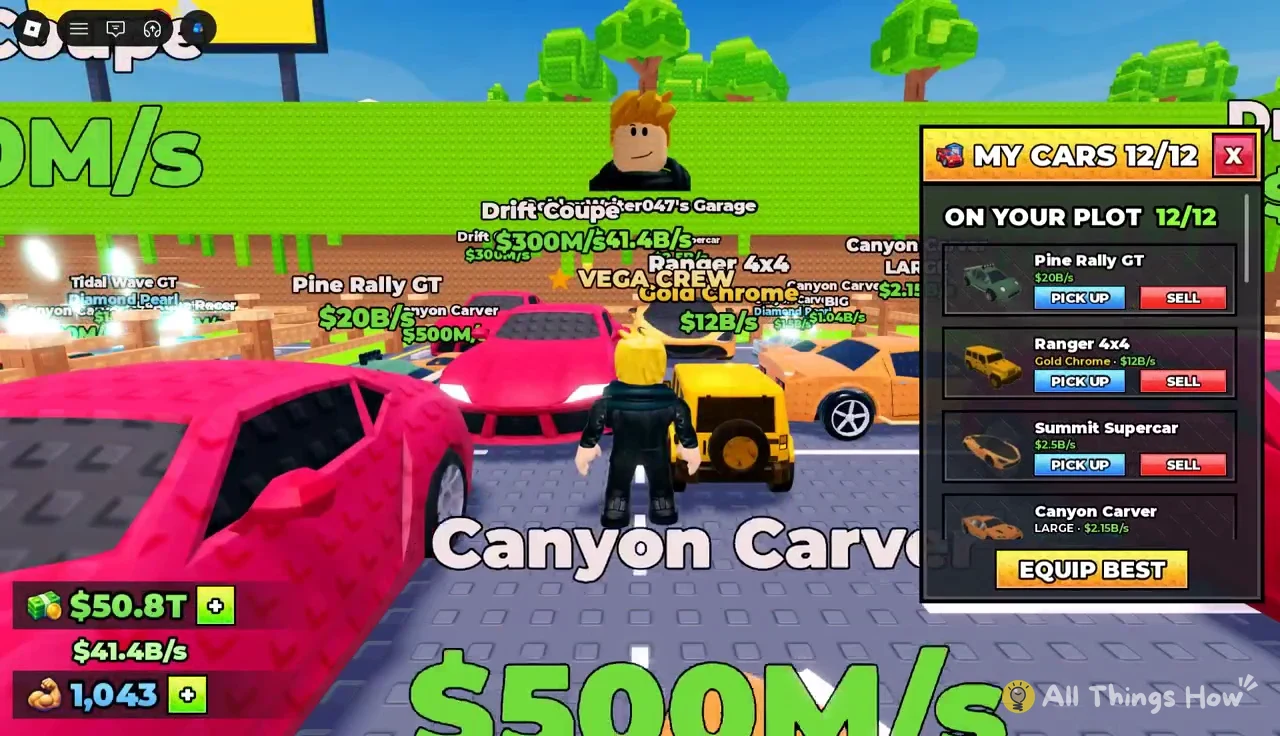
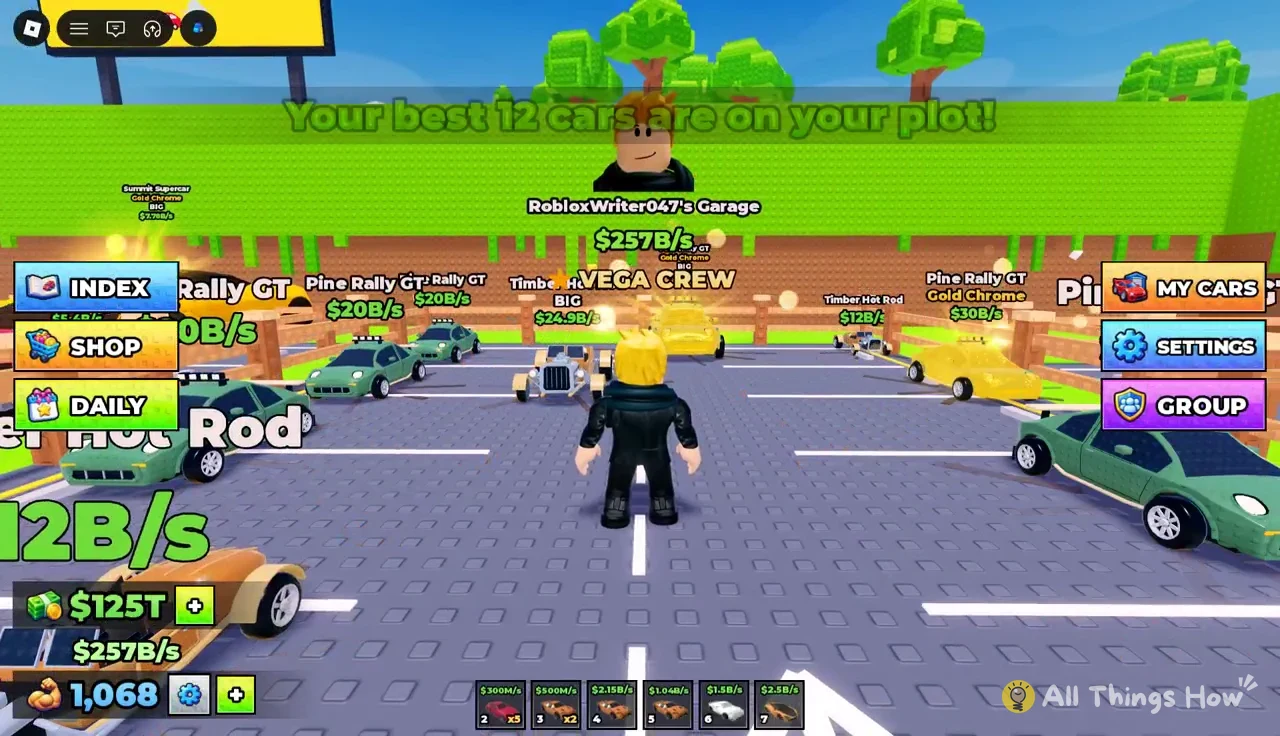
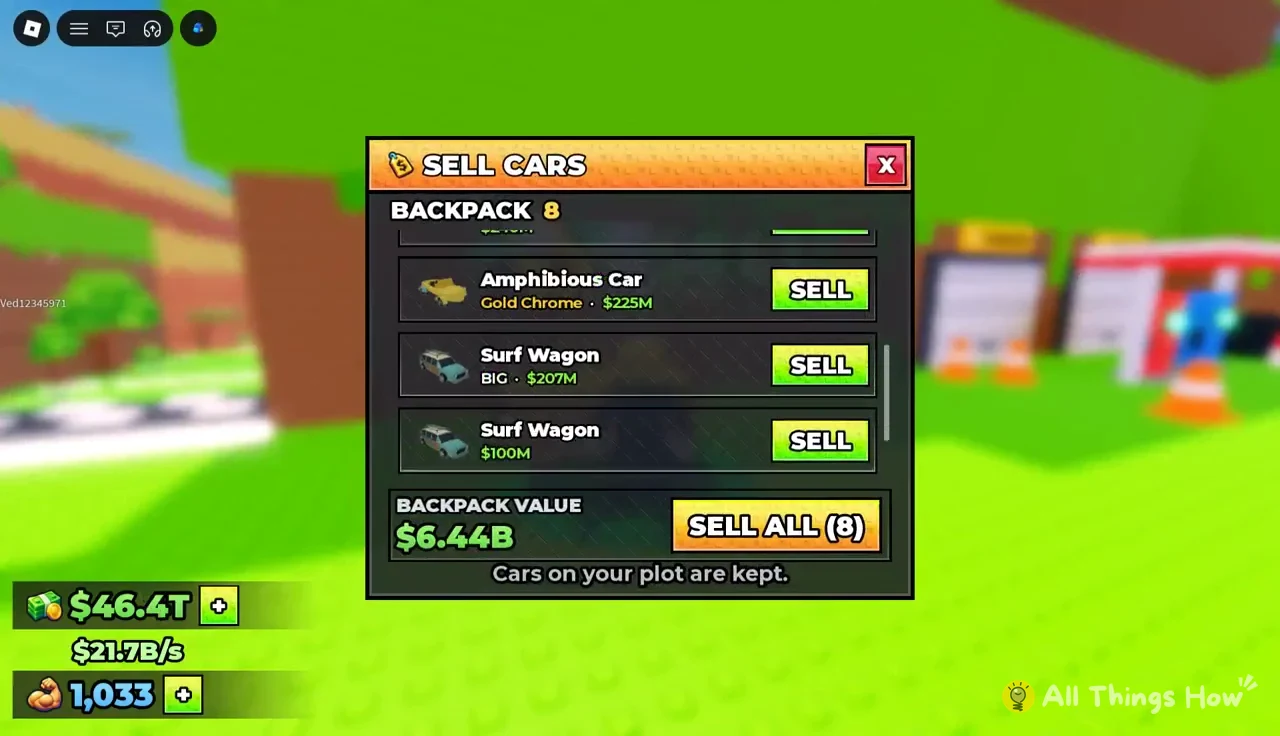
Whatever’s left in your backpack can be turned into cash at the green SELL stand beside the track. Walk into its circle to open the Sell Cars menu, which lists every backpack car and its price.
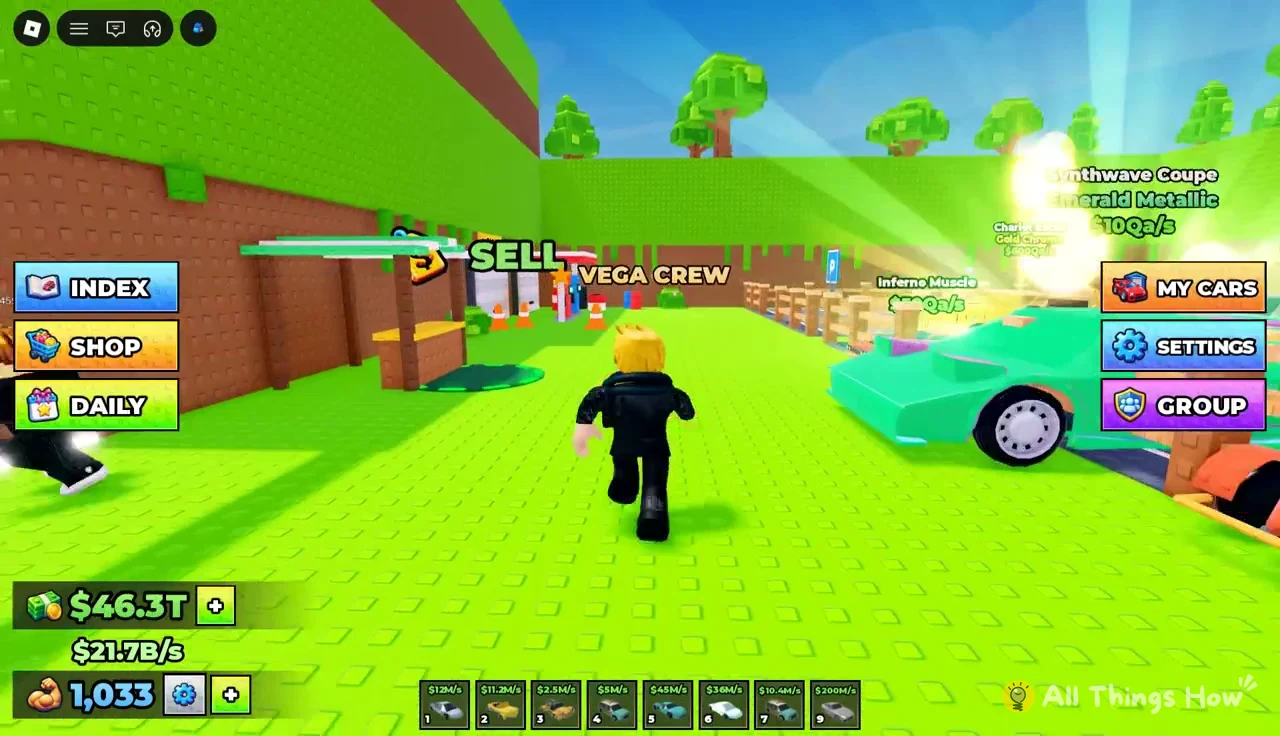
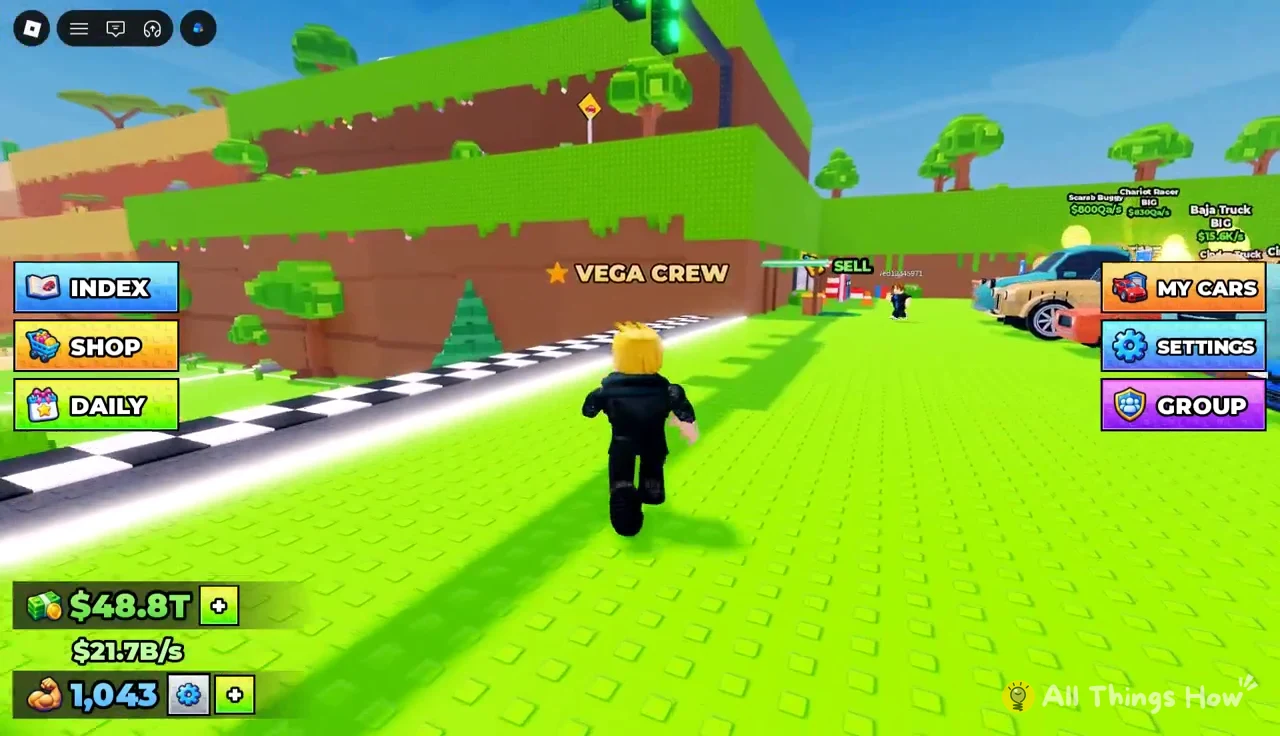
SELL ALL clears the whole backpack at once. The button shows how many cars it will sell, a prompt like “Sell 8 cars for $6.44B?” asks you to confirm, and “Sold 8 cars for $6.44B!” followed by “NO CARS IN BACKPACK” tells you it went through. Since EQUIP BEST has already parked your top earners, nothing in the backpack is making you money at that point. You can play it on Roblox’s Throw Key for Cars page.