Shoot Arrows for Animals has three upgrade tracks, and they feed into each other. Benches raise your level and Shot Power, bows raise Catch Power for deeper areas, and the Timber Fence adds plot slots so more of your animals earn cash at once. Everything is paid for with the cash your plot makes per second.
Quick answer: Buy the next bench as soon as you can afford it, buy the bow marked “Best for” the next area, and expand the Timber Fence when your plot is full of good animals.
Shoot Arrows for Animals bench upgrade prices and XP per rep
Each bench doubles the XP you get per rep compared to the one before it. The price climbs much faster than that, from hundreds of thousands at the Cherry Bench to tens of billions at the Lime Glow Bench.
| Bench | Price | XP per rep |
|---|---|---|
| Plum Bench | Starting tier | +16 |
| Cherry Bench | $556K | +32 |
| Honey Bench | $5.56M | +64 |
| Mirror Bench | $35.2M | +128 |
| Onyx Bench | $297M | +256 |
| Cyan Glow Bench | $1.85B | +512 |
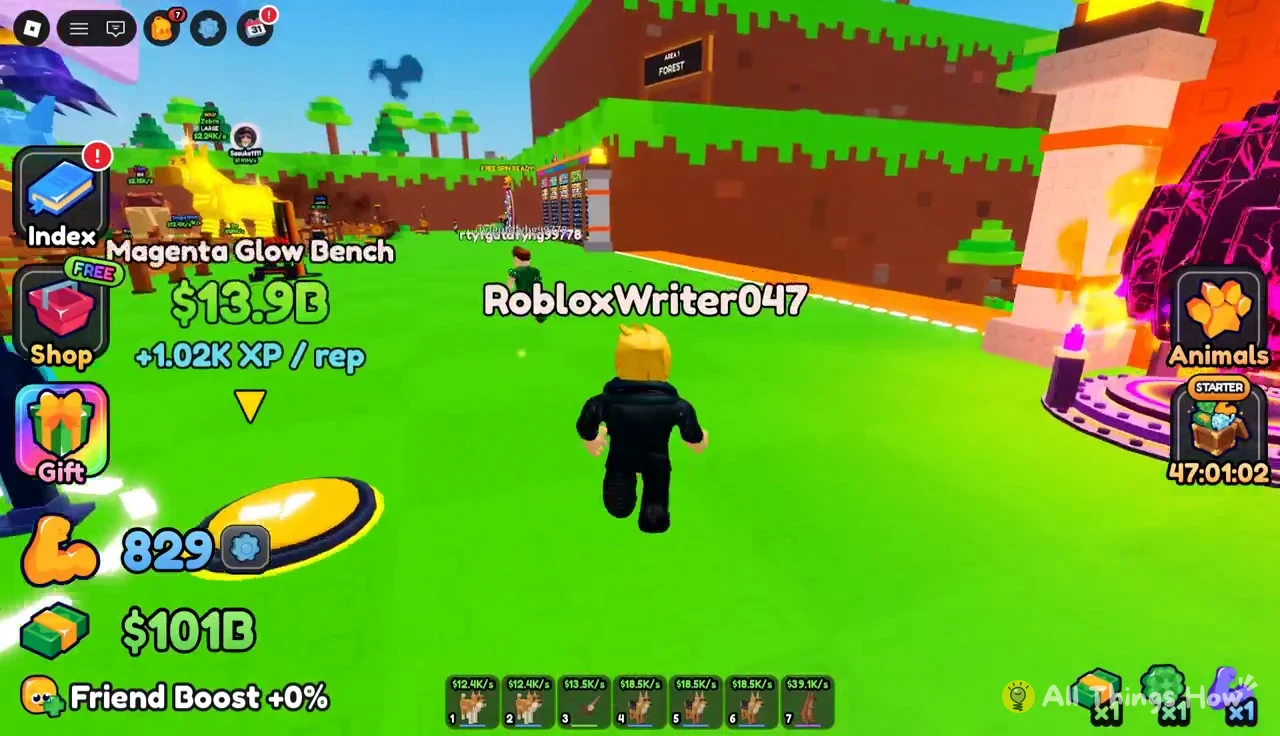
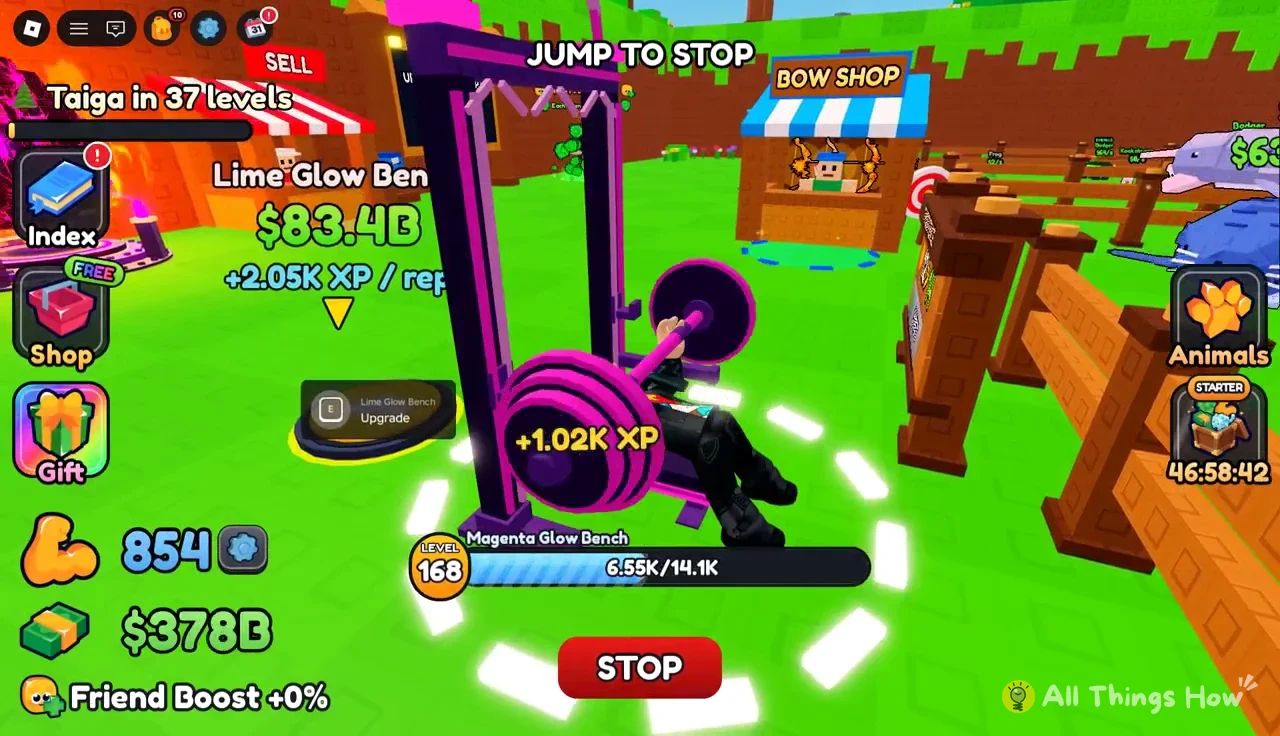
| Magenta Glow Bench | $13.9B | +1.02K |
| Lime Glow Bench | $83.4B | +2.05K |
You buy the next bench at the bench itself. Walk up to it and a yellow round prompt reading E Upgrade appears, and the next tier’s sign shows its price and its XP per rep before you pay. The early benches are cheap enough that you can chain several in a row, going from Plum straight through Cherry, Honey and Mirror once you have about $41M saved.
How bench training turns into Shot Power
Training happens inside the dashed white circle around the bench. Your avatar lies down and starts pressing, a progress bar fills with each rep, and each rep adds the bench’s XP toward your character level. A red STOP button ends the workout when you want to go shoot.
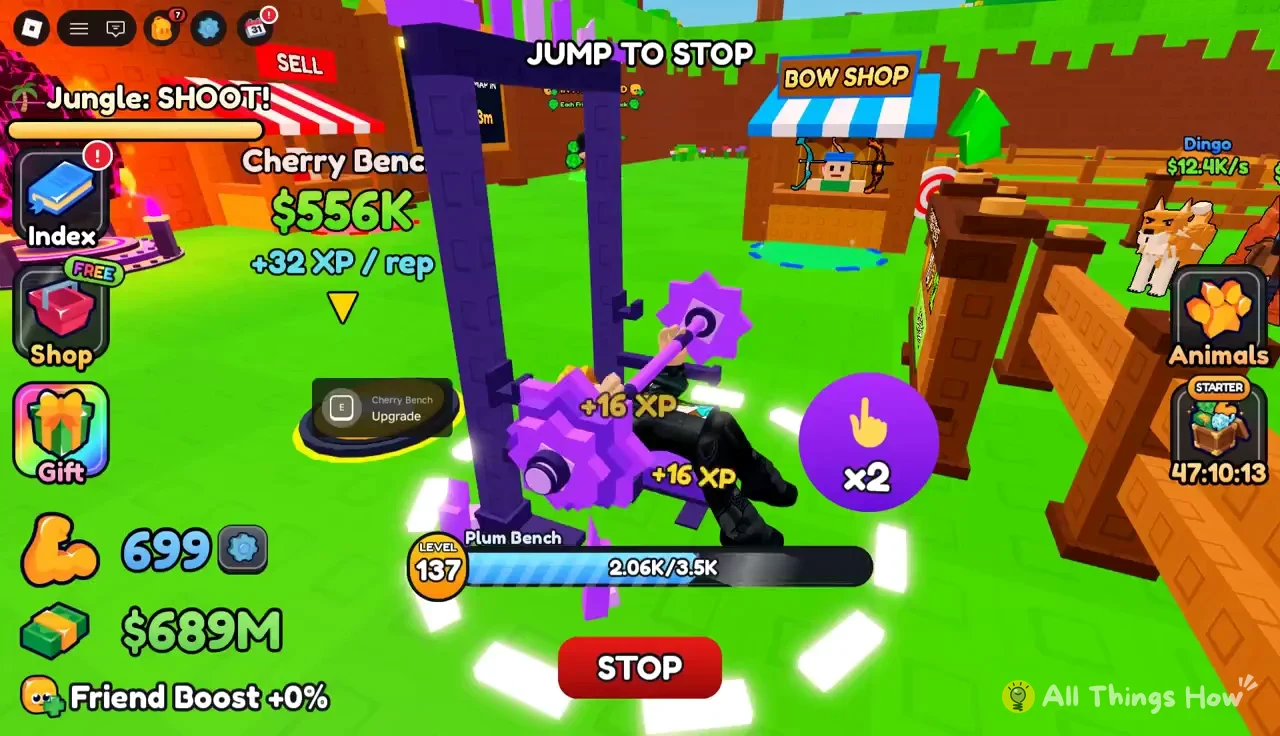
Purple “x2” circles float onto the bench screen every so often. Tap one and that rep’s XP is doubled, so on the Magenta Glow Bench a normal +1.02K rep becomes +2.05K. Keep an eye out for them during long sessions, since they’re free extra XP.
Every level-up shows a “LEVEL UP! Shot Power +5” banner. Shot Power is what pushes your arrow down the track, so levels are the real reason to upgrade benches. Better benches change how fast levels come: on the Cyan Glow Bench you can go from level 140 to level 158 in a single sitting, and the Magenta Glow Bench moves you into the high 170s.
Bow Shop prices, Catch Power and best areas
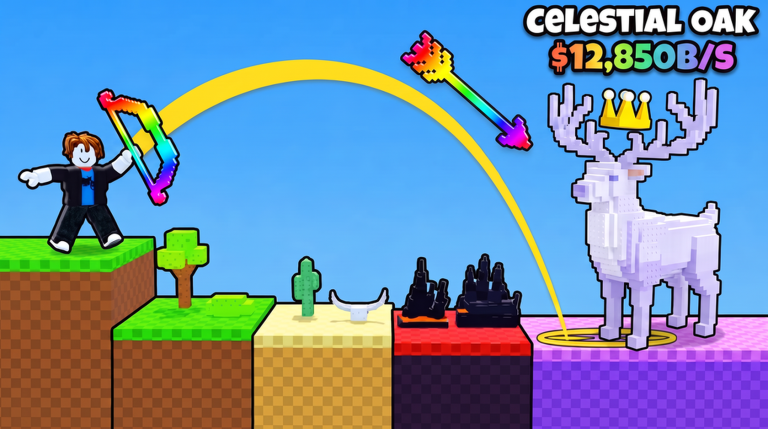
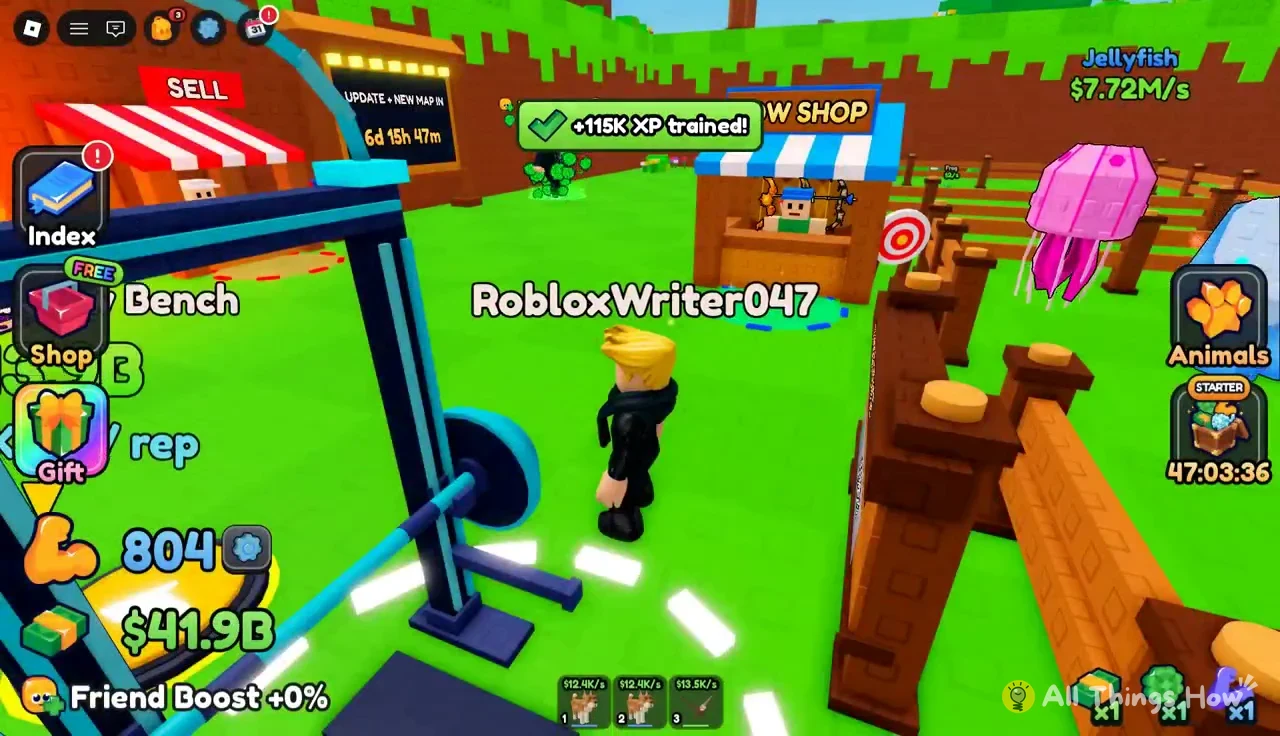
Bows set your Catch Power, and each one in the Bow Shop is tagged with the area it’s best for. Higher Catch Power is what lets you pull in animals from the deeper areas, where the cash per second is far higher.
| Bow | Tier and rarity | Catch Power | Best for, price |
|---|---|---|---|
| Oasis Bow | Tier 4, Rare | 9 | Ocean, $55.6M |
| Mummy Bow | Tier 5, Epic | 10 | Ocean, $603M |
| Sphinx Bow | Tier 5, Epic | 11 | Mountains, $2.97B |
| Sunstone Bow | Tier 6, Epic | 12 | Mountains, $27.8B |
| Sandstorm Bow | Tier 6, Legendary | 13 | Taiga, $139B |
| Ra Bow | Tier 7, Legendary | 14 | Taiga, $1.21T |
| Bamboo Bow | Tier 7, Legendary | 15 | Winter, $6.3T |
You don’t have to buy every bow in order. Going from the Sphinx Bow straight to the Sandstorm Bow skips the Sunstone Bow, and the Sandstorm Bow still catches Mountains animals, including Legendary Bulls, even though its tag says Taiga.

How upgrades change your shots down the track
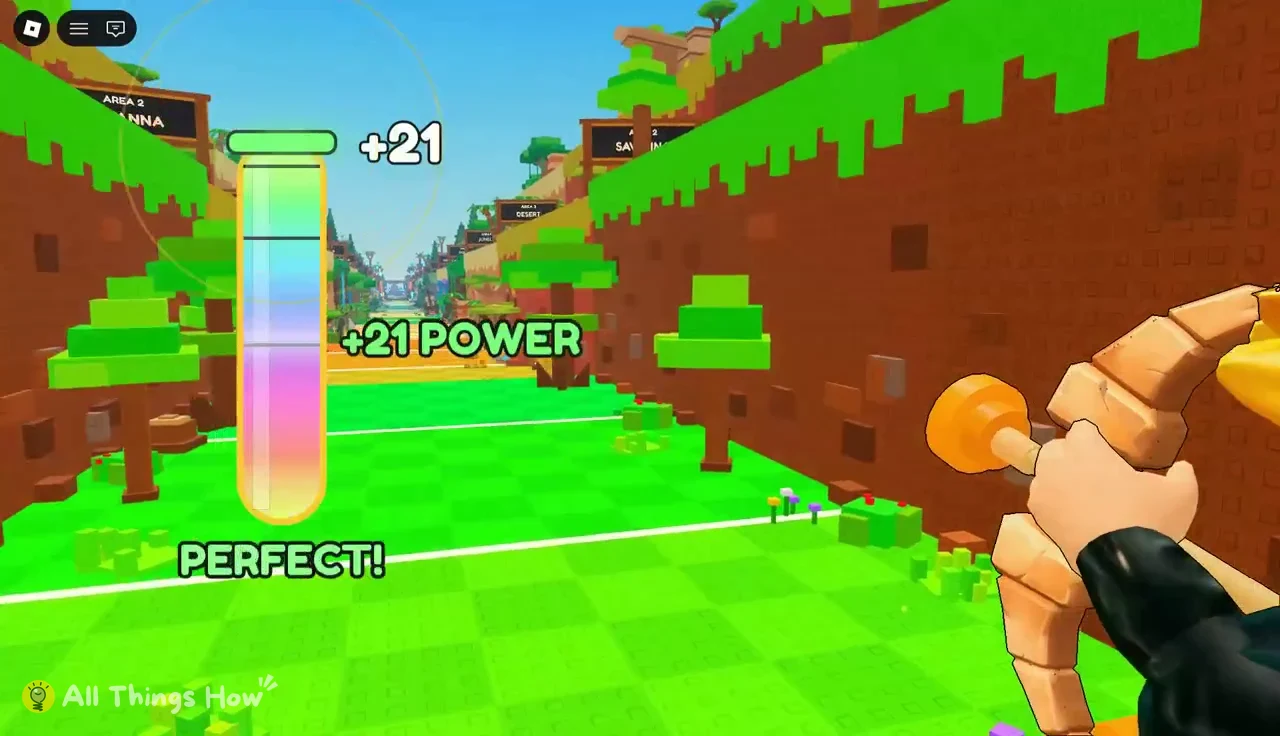
Upgrades only pay off when you shoot. At the lane entrance you hold to draw and release on a vertical power meter, and “TAP TO CATCH!” shows while it climbs. Letting go in the green section at the top gives “PERFECT!” or “FULL DRAW!” and adds up to +21 Power on top of your Shot Power. “GREAT!” lands below that.
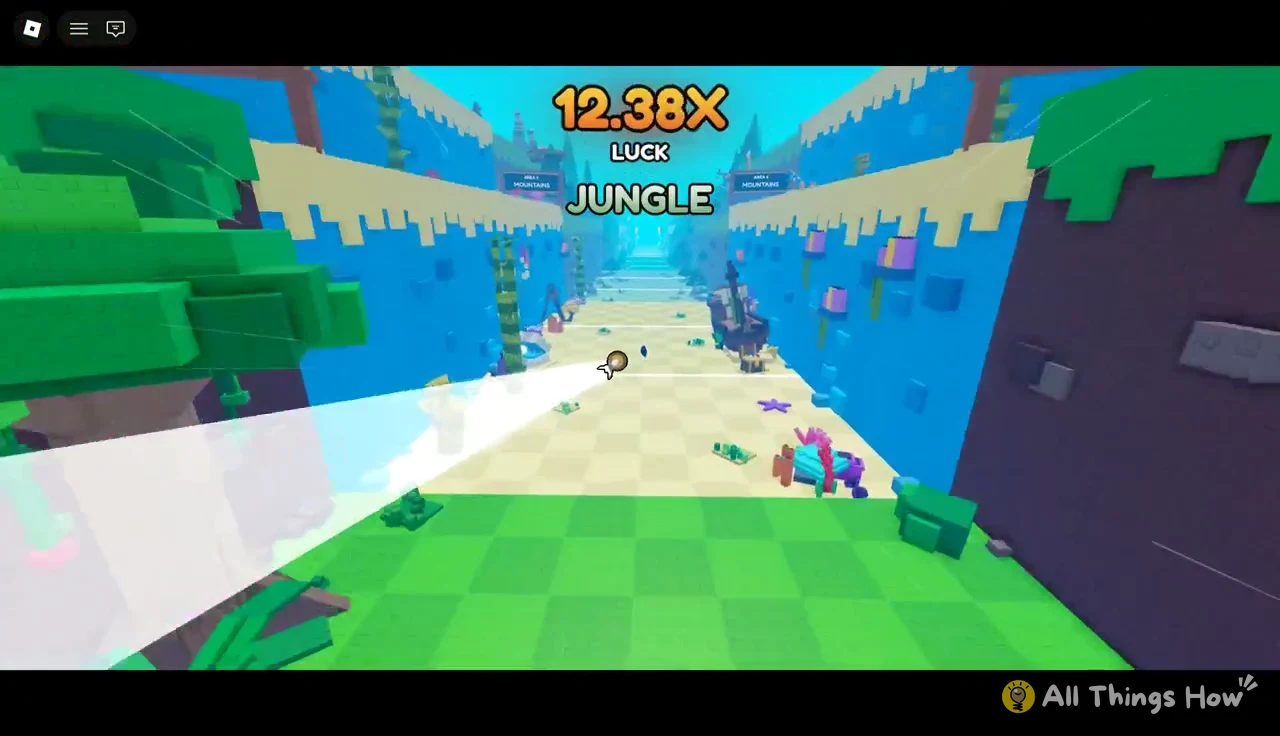
The arrow then flies through the areas in order: Area 1 Forest, Area 2 Savanna, Area 3 Desert, Area 4 Jungle, Area 5 Ocean, Area 6 Mountains and Area 7 Taiga. A Luck multiplier at the top of the screen grows the further it goes, so by the Jungle it can already read over 12x. When the arrow stops, it hits an animal and shows its species, size, rarity and cash per second.
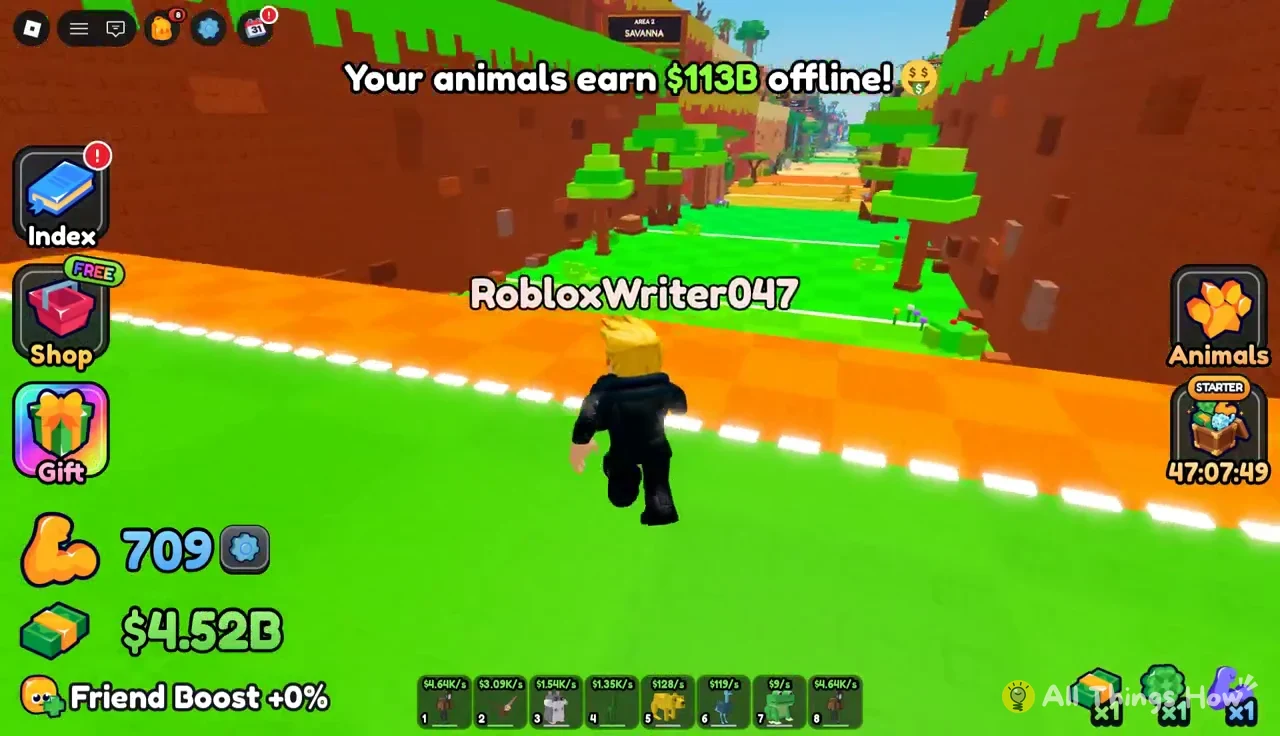
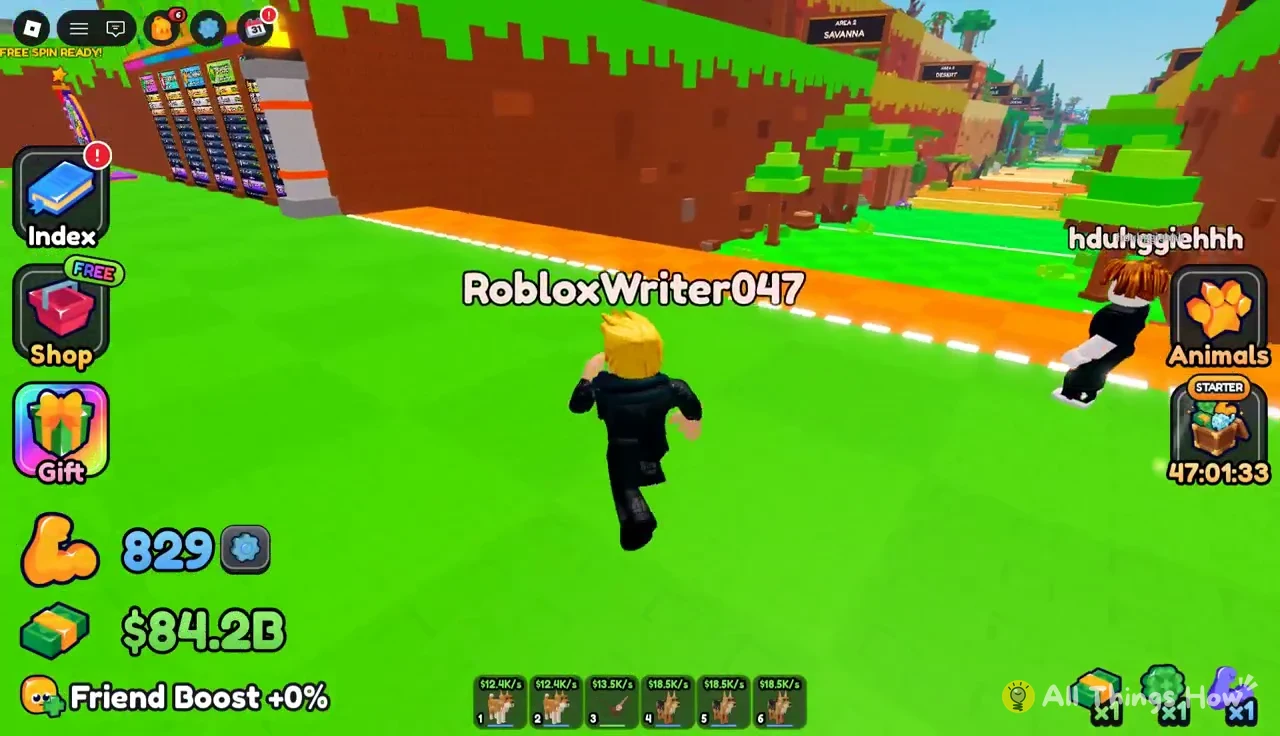
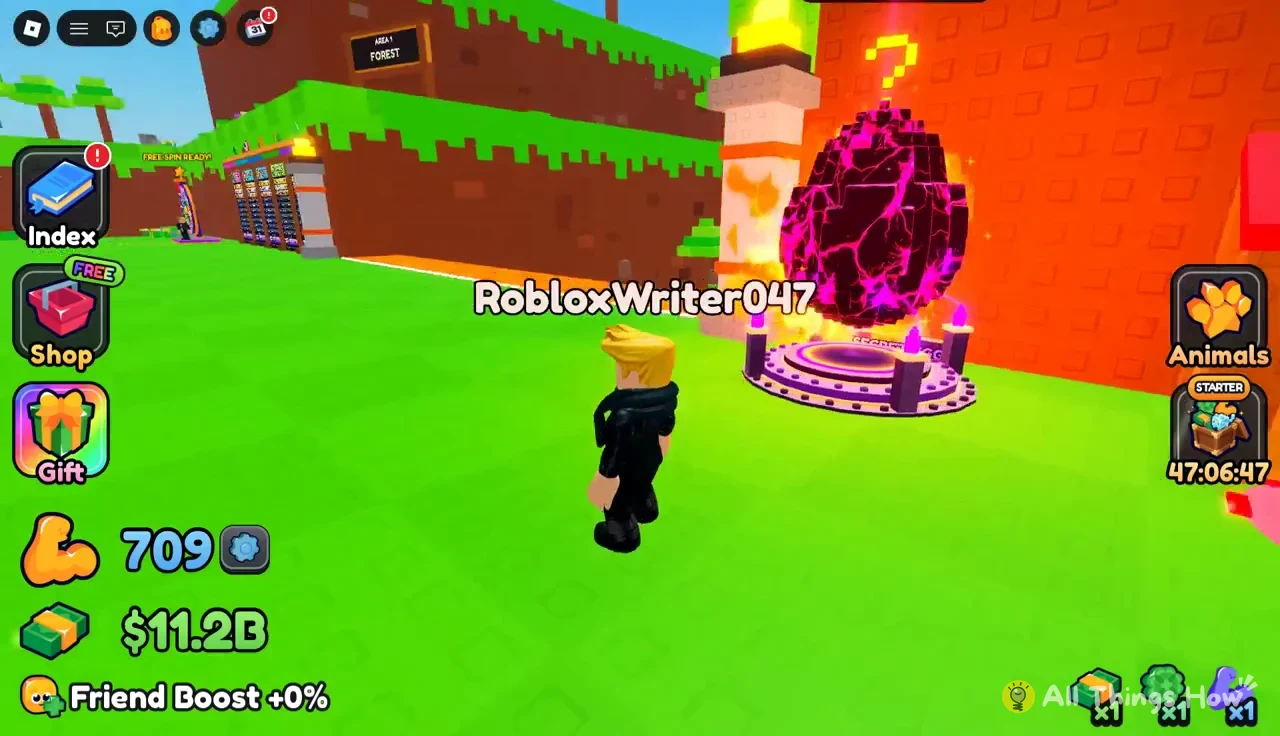
The track has more along it than animals, including glowing golden pickups hovering over the path and a purple egg with a question mark on a pedestal in the Forest.
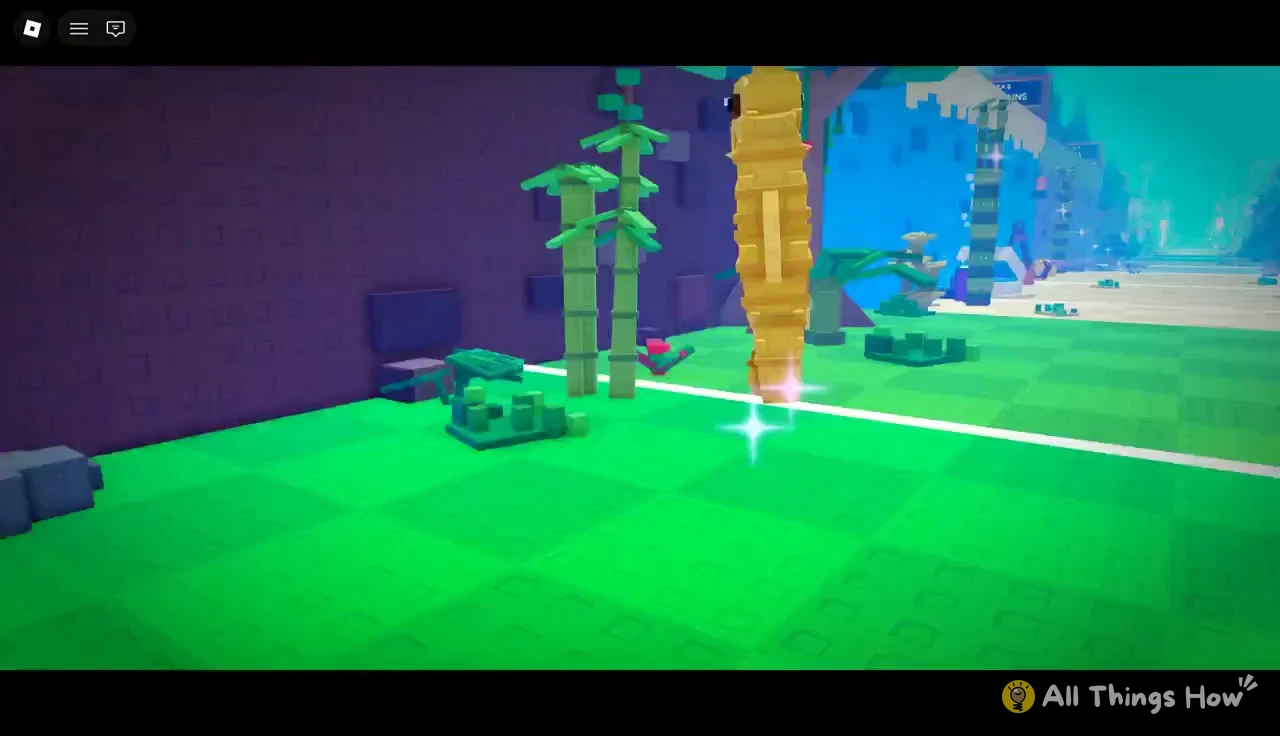
The first time your arrow reaches a new area, a “NEW AREA!” banner shows its name, such as “NEW AREA! OCEAN” or “NEW AREA! MOUNTAINS”. That banner is how you know your Shot Power and bow are now strong enough for that area.
Timber Fence upgrades and plot slots
Only animals placed on your plot earn cash, and the Timber Fence decides how many fit. Expanding from 10 to 12 animals costs $37.1M, and the next step, 12 to 14, jumps to $185T. You buy both at the Timber Fence sign near the Bow Shop.
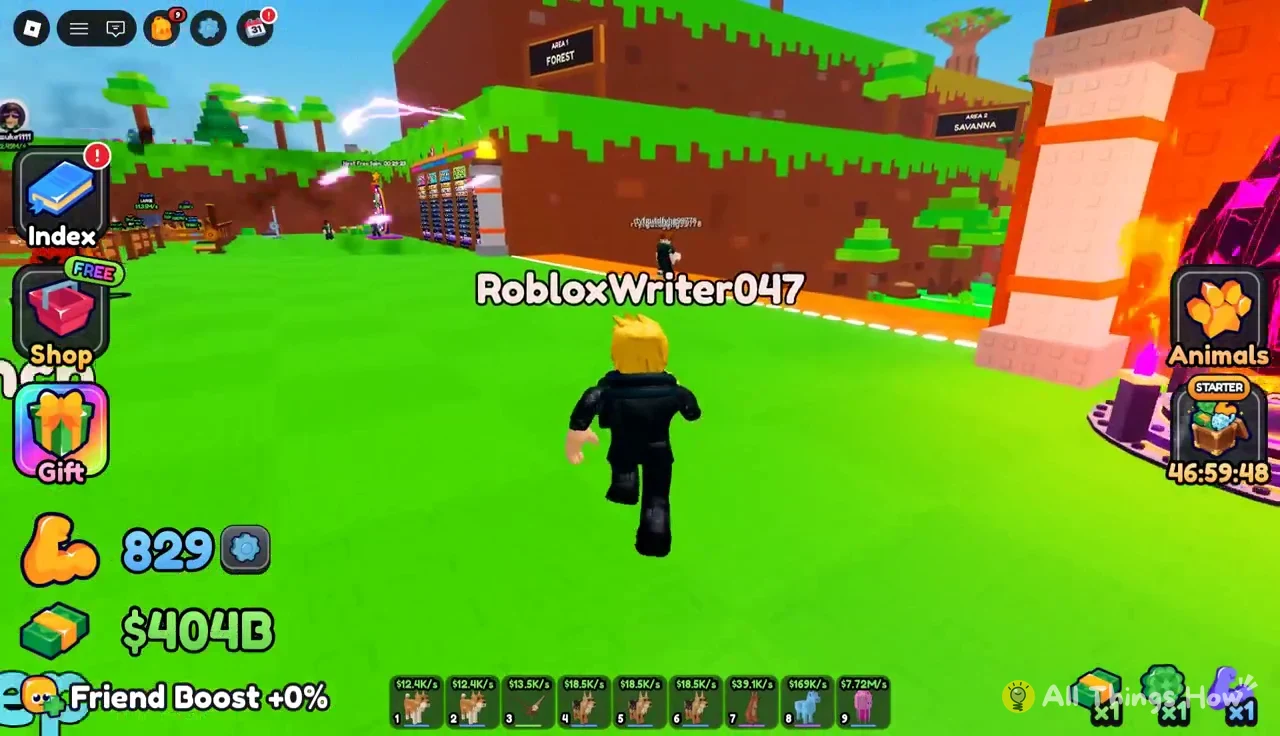
Because the second fence step costs so much more than any bench or bow up to the Bamboo Bow, it makes more sense to swap weaker animals out than to wait on extra slots. Press “PLACE BEST” and the game fills your plot slots with your highest-earning animals automatically. Whatever’s left in your backpack can go to the Sell stand, where “SELL ALL” clears it out. Leftover Ocean-level animals sell for small amounts (nine of them came to $453K), so think of selling as clearing space, not as income.
Upgrade order from Ocean to Taiga
Here’s an order that works once your arrows start reaching the Ocean, around level 138 on the Plum Bench. Ocean animals earn roughly $7.72M to $97.1M per second each, and Mountains animals earn $103M to $1.24B per second, so each new area quickly pays for the next round of upgrades.
| Order | Upgrade | Cost | What it does |
|---|---|---|---|
| 1 | Timber Fence 10 to 12 | $37.1M | Two more plot slots |
| 2 | Mummy Bow | $603M | Catch Power 10 for Ocean |
| 3 | Cherry, Honey, Mirror Bench | $41.3M total | Up to +128 XP per rep |
| 4 | Sphinx Bow | $2.97B | Catch Power 11 for Mountains |
| 5 | Onyx Bench, Cyan Glow Bench | $2.15B total | Up to +512 XP per rep |
| 6 | Magenta Glow Bench | $13.9B | +1.02K XP per rep |
| 7 | Sandstorm Bow | $139B | Catch Power 13 for Taiga |
| 8 | Lime Glow Bench | $83.4B | +2.05K XP per rep |
With the Sphinx Bow equipped and a few hours’ worth of Cyan Glow training behind you, arrows reach the Mountains somewhere around level 163. Your first Mountains catches, like a Big Gold Guinea Pig at $668M per second, earn more each than your whole Ocean lineup, which is what makes the $13.9B Magenta Glow Bench affordable soon after.
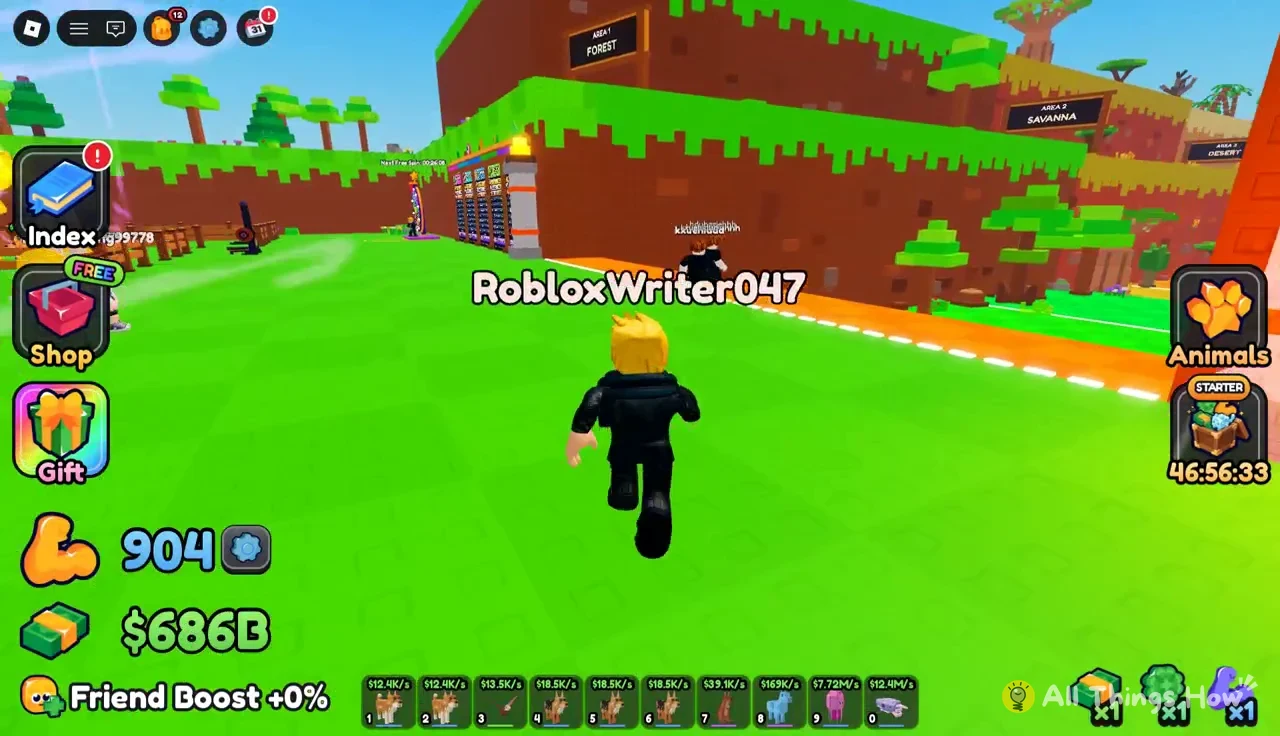
The prize wheel in the hub, inside its green ring, gives a free spin every 30 minutes. Prizes include cash, lucky shots, gold animals and jackpots, and a single cash win can be +$216B, which covers the Sandstorm Bow by itself.
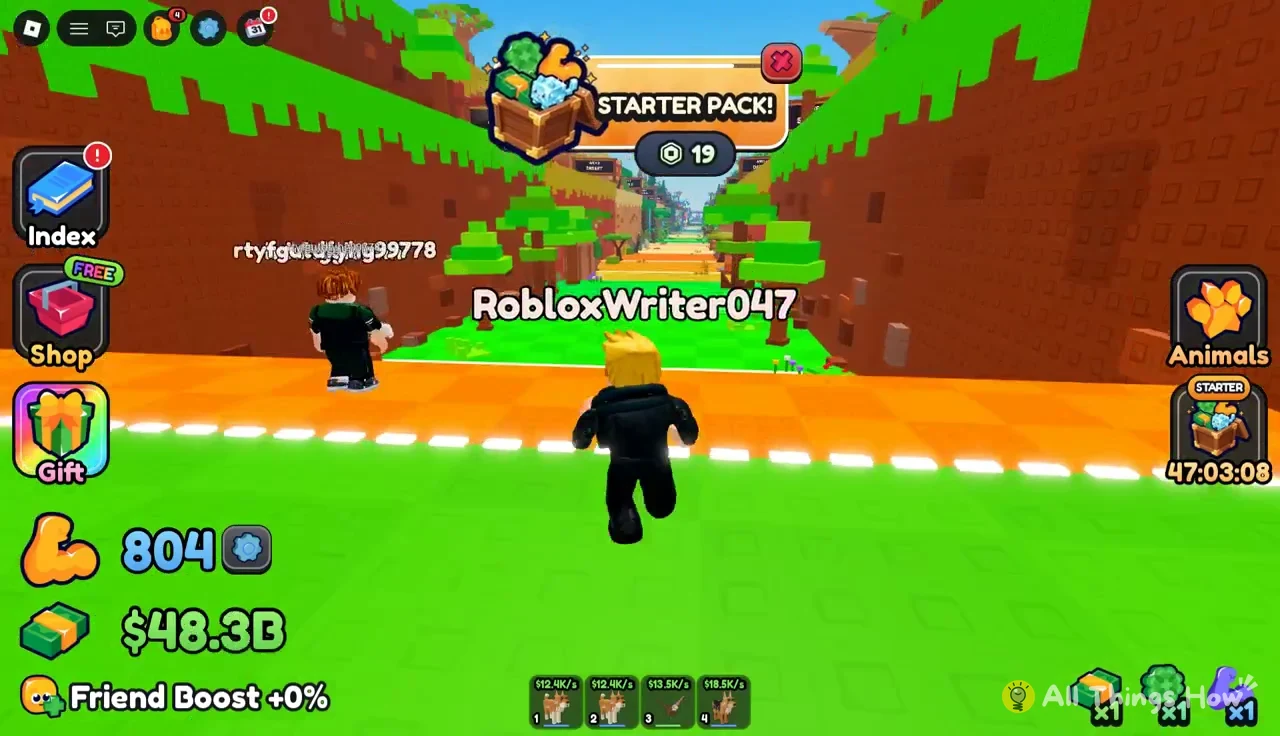
The hub also shows a “STARTER PACK!” offer over the course with a purchase button. You don’t need it for any upgrade above, since every bench, bow and fence step is paid for with in-game cash.
After the Sandstorm Bow, the next steps are the Ra Bow at $1.21T for Taiga, then the Bamboo Bow at $6.3T for Winter, and the $185T Timber Fence expansion only becomes realistic once Taiga animals fill your plot.