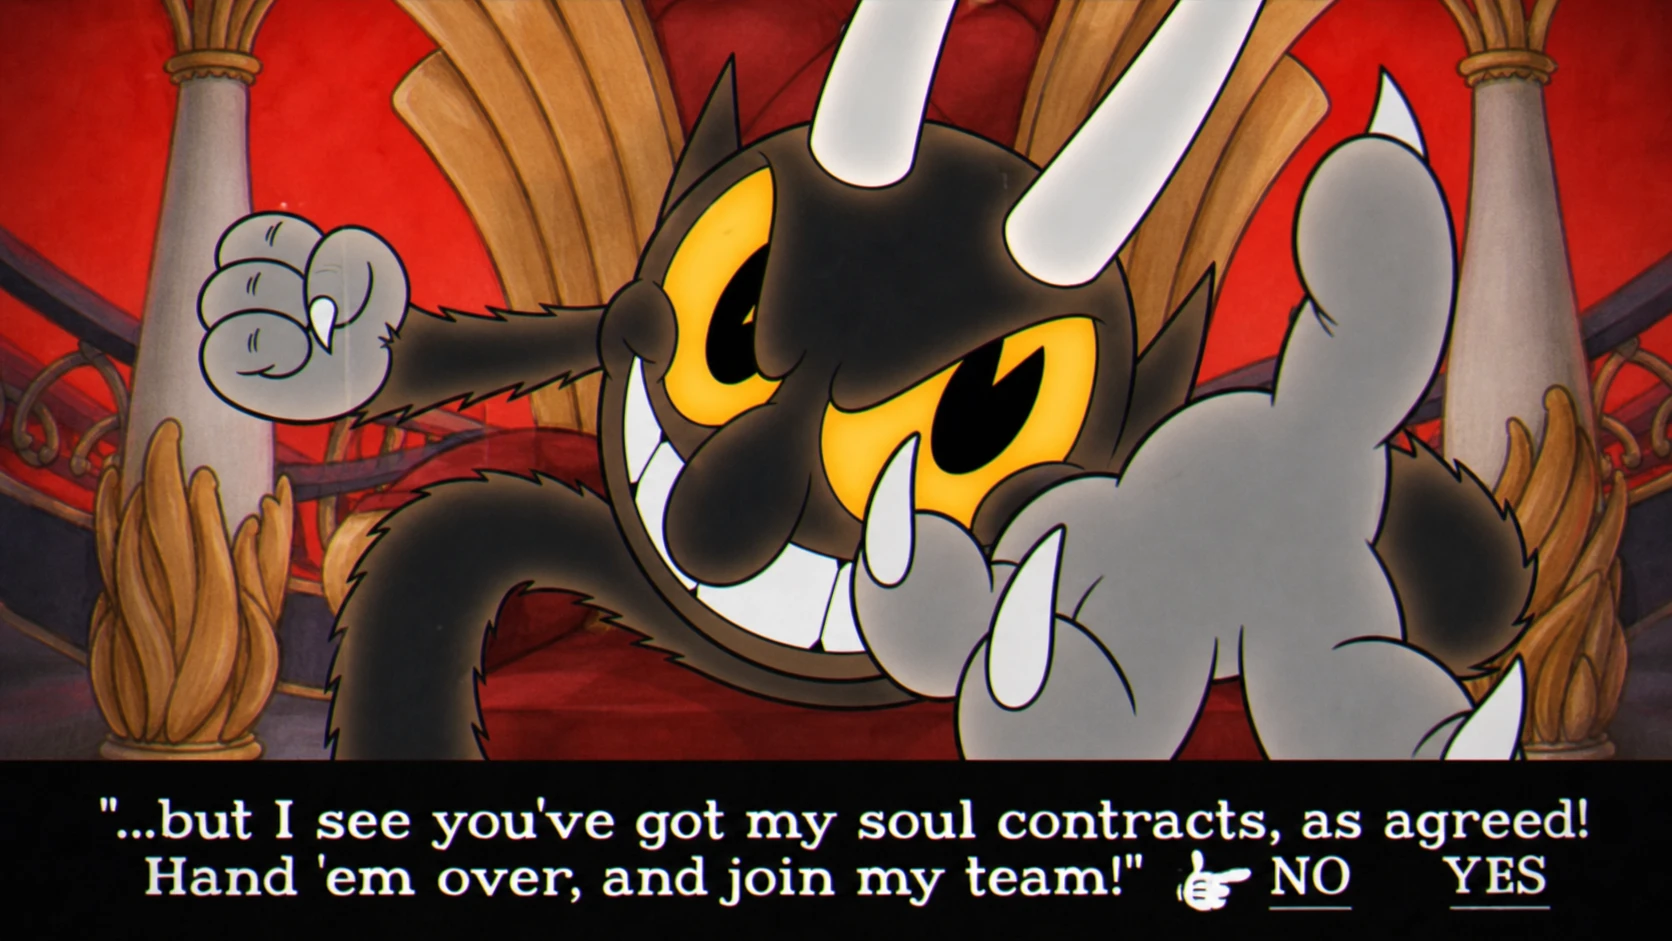
The Devil is the last boss of Cuphead’s main campaign, and he earns his reputation as one of the hardest fights in the game. He runs across four distinct phases, each one swapping out the arena, his attacks, and the amount of damage you need to deal before he moves on. Clearing him is less about raw aggression and more about reading each transformation, parrying the pink projectiles, and keeping your health intact for the platforming-heavy back half.
Quick answer: Stay centered in Phase 1 and shoot up at his head, follow him into the giant face for Phase 2, survive the shrinking platforms in Phase 3 by killing demons and dodging poker chips, then finish him in Phase 4 while he cries. Bring the Roundabout, the Heart charm, and an invincibility option to absorb unavoidable hits.
Recommended loadout for the Devil fight
Not every weapon or charm pulls its weight here. You want range, reliable damage, and a way to shrug off the dodges you will inevitably miss. The Roundabout is the strongest primary pick. It averages around 8.5 damage per shot and its boomerang arc lets you keep hitting the Devil while you reposition.
The Lobber is a solid backup at roughly 11.6 damage per shot, but its slower fire rate and arcing trajectory make it harder to land on the Devil when he moves to the top of the screen, so it takes precision. For your Super, the Invincibility spell is more valuable than any offensive option here, because the later phases lean on tight dodges that drain your health fast. The Smoke Bomb dash charm serves the same defensive purpose. The Heart charm is the next best option, trading a little attack power for an extra hit point.
| Slot | Best pick | Why |
|---|---|---|
| Primary weapon | Roundabout | Good range and ~8.5 damage while you keep moving |
| Secondary weapon | Lobber | Higher per-shot damage (~11.6) but slower and harder to aim |
| Super | Invincibility | Absorbs unavoidable hits in the late phases |
| Charm | Smoke Bomb dash or Heart | Invincibility frames while dashing, or one extra hit point |
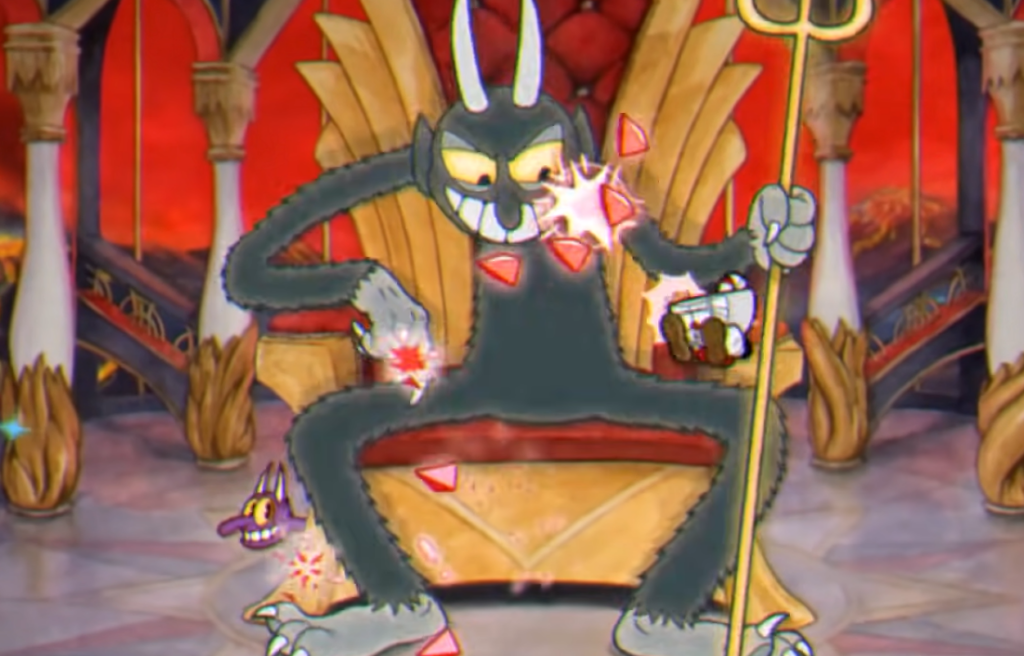
Phase 1: The Devil on his throne
The fight opens beside the Casino in Inkwell Hell, with the Devil seated on his throne. His head is the weak point, so the center of the stage is your home base. Stand there and shoot straight up, but be ready to leave instantly, because the center is also where most of his attacks converge. Whenever he spins his trident for an incantation, watch his pupils and avoid the weapon swing itself, which deals damage.
He cycles between three incantations and three transformations. Every incantation contains one pink projectile you can parry to build your meter, so look for it before you commit to a dodge.
| Attack | What it does | How to handle it |
|---|---|---|
| Crystal balls | Four balls bounce erratically; one is parriable | Jump and weave, parry the pink one |
| Fireballs (line) | Five fireballs sweep left to right and back; one parriable | Slip between them as they cross |
| Fireballs (hexagon) | Six fireballs that home in on you; one parriable | Keep moving to dodge the tracking |
| Spider | His head slams down 3–5 times where you stand | Doesn’t track well; run and dash clear |
| Goat | Hooves close in from both sides to clap in the middle | Jump and dash mid-air out of the center |
| Serpent | His draconic head slithers across, pinning you to a corner | Crouch in the corner and wait it out |
Tiny purple demons also leap out from behind the throne to rush you, and they make dodging everything else harder. They only take about 4.5 hit points to kill (5 on Expert), so clear them when you have a free moment. The Devil himself needs roughly 665–735 damage before this phase ends, at which point he sheds his skin and drops into a hole.
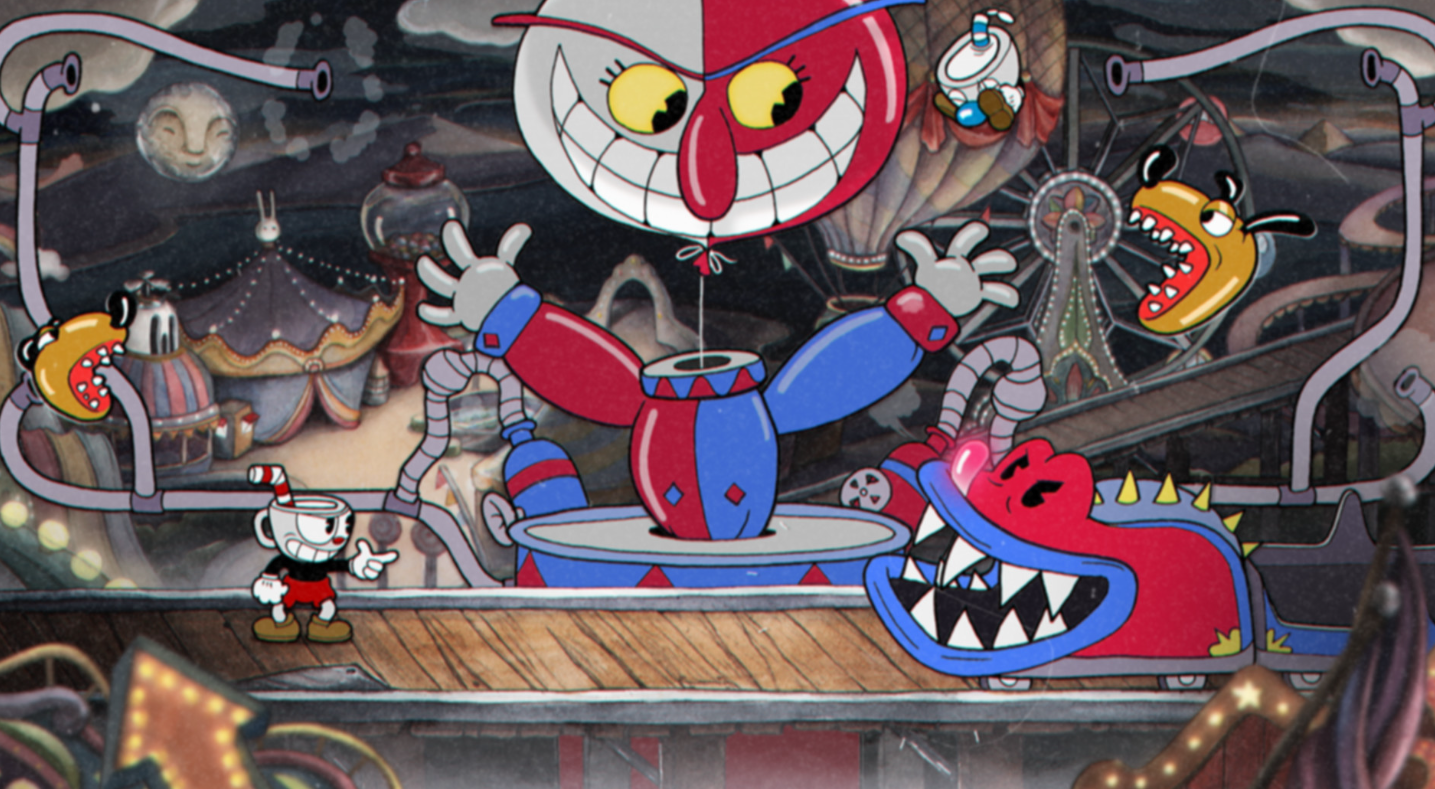
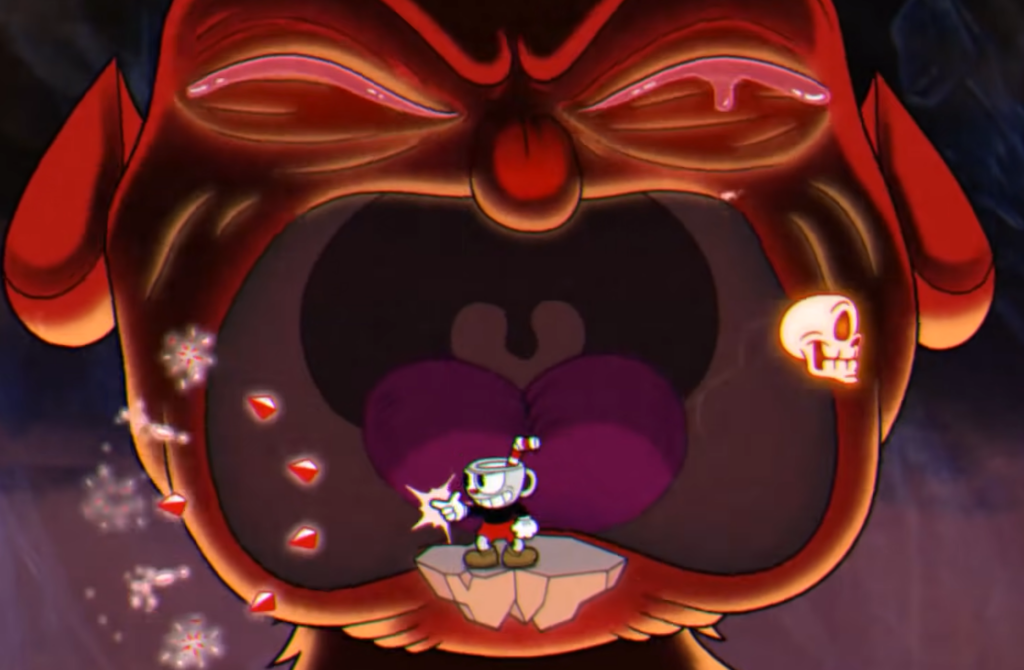
Phase 2: The giant face and five platforms
Follow him down and he reappears as a giant. Only his eyes can be damaged now, and the arena turns into a platformer with five small ledges suspended over a fiery pit. Falling in is fatal, so manage your footing as carefully as your dodges.
He has two main attacks plus a constant hazard. When his two eyes merge into one, he summons a fiery axe that spirals outward across the screen, so hop to the left or right of your current ledge to avoid it. He also fires a pink bat bomb from his ear. Parry it immediately to neutralize it, otherwise dodge its blast radius before it explodes for heavy damage. Throughout, flaming poker chips drop from the sky onto random platforms in a sweeping left-to-right or right-to-left pattern.
Keep shooting his eyes between dodges. This stage takes around 570–630 damage to push him into the next form.
Phase 3: Shrinking platforms and demon waves
Phase 3 takes away two of your ledges, leaving only the middle three. The poker chips keep falling, and the Devil layers two new minion attacks on top. This is the phase where most runs fall apart, so stay mobile and pick your moments to fire on his eyes.
- Purple demons: They appear on either side where the outer ledges used to be and fire skulls at you. Some skulls are pink and parriable. Each demon takes about 42–50 damage to destroy.
- Blue demons: Homing minions that hover at the top of the screen before divebombing. They die in roughly 3.5 damage, so swat them quickly.
- Poker chips: Same falling hazard as Phase 2. If one drops on your platform, jump and dash off, then return.
Clear the minions whenever you can so they stop pressuring your dodges, and keep chipping at his eyes. He needs about 475–525 damage here before the final phase begins.
Phase 4: Finish the Devil while he cries
The final phase looks easy, and that is the trap. The Devil is reduced to tears, and his only real attack is the falling poker chips. But you are down to a single platform, and his tears themselves still deal damage. If your health is already thin, this is where a bad run dies right at the finish line.
You have two ways to survive the chips. The safer method is to wait until a chip is about to land, jump off the platform, turn in mid-air, and dash straight back onto it to land cleanly. The more rewarding option is to parry his falling tears for meter and bounce back onto the platform that way. This is also the moment to spend your Invincibility Super or Smoke Bomb if you are low. He only needs a small amount of damage left, so a steady stream of shots ends it fast.
You will know it worked the instant the Devil stops moving and the win screen plays. Clearing this phase completes the main story and ends your deal with the Devil for good. The most common reasons runs fail this late are getting forced off the single platform by a poker chip or taking chip damage with no health buffer left, which is exactly why the defensive loadout matters all the way through.