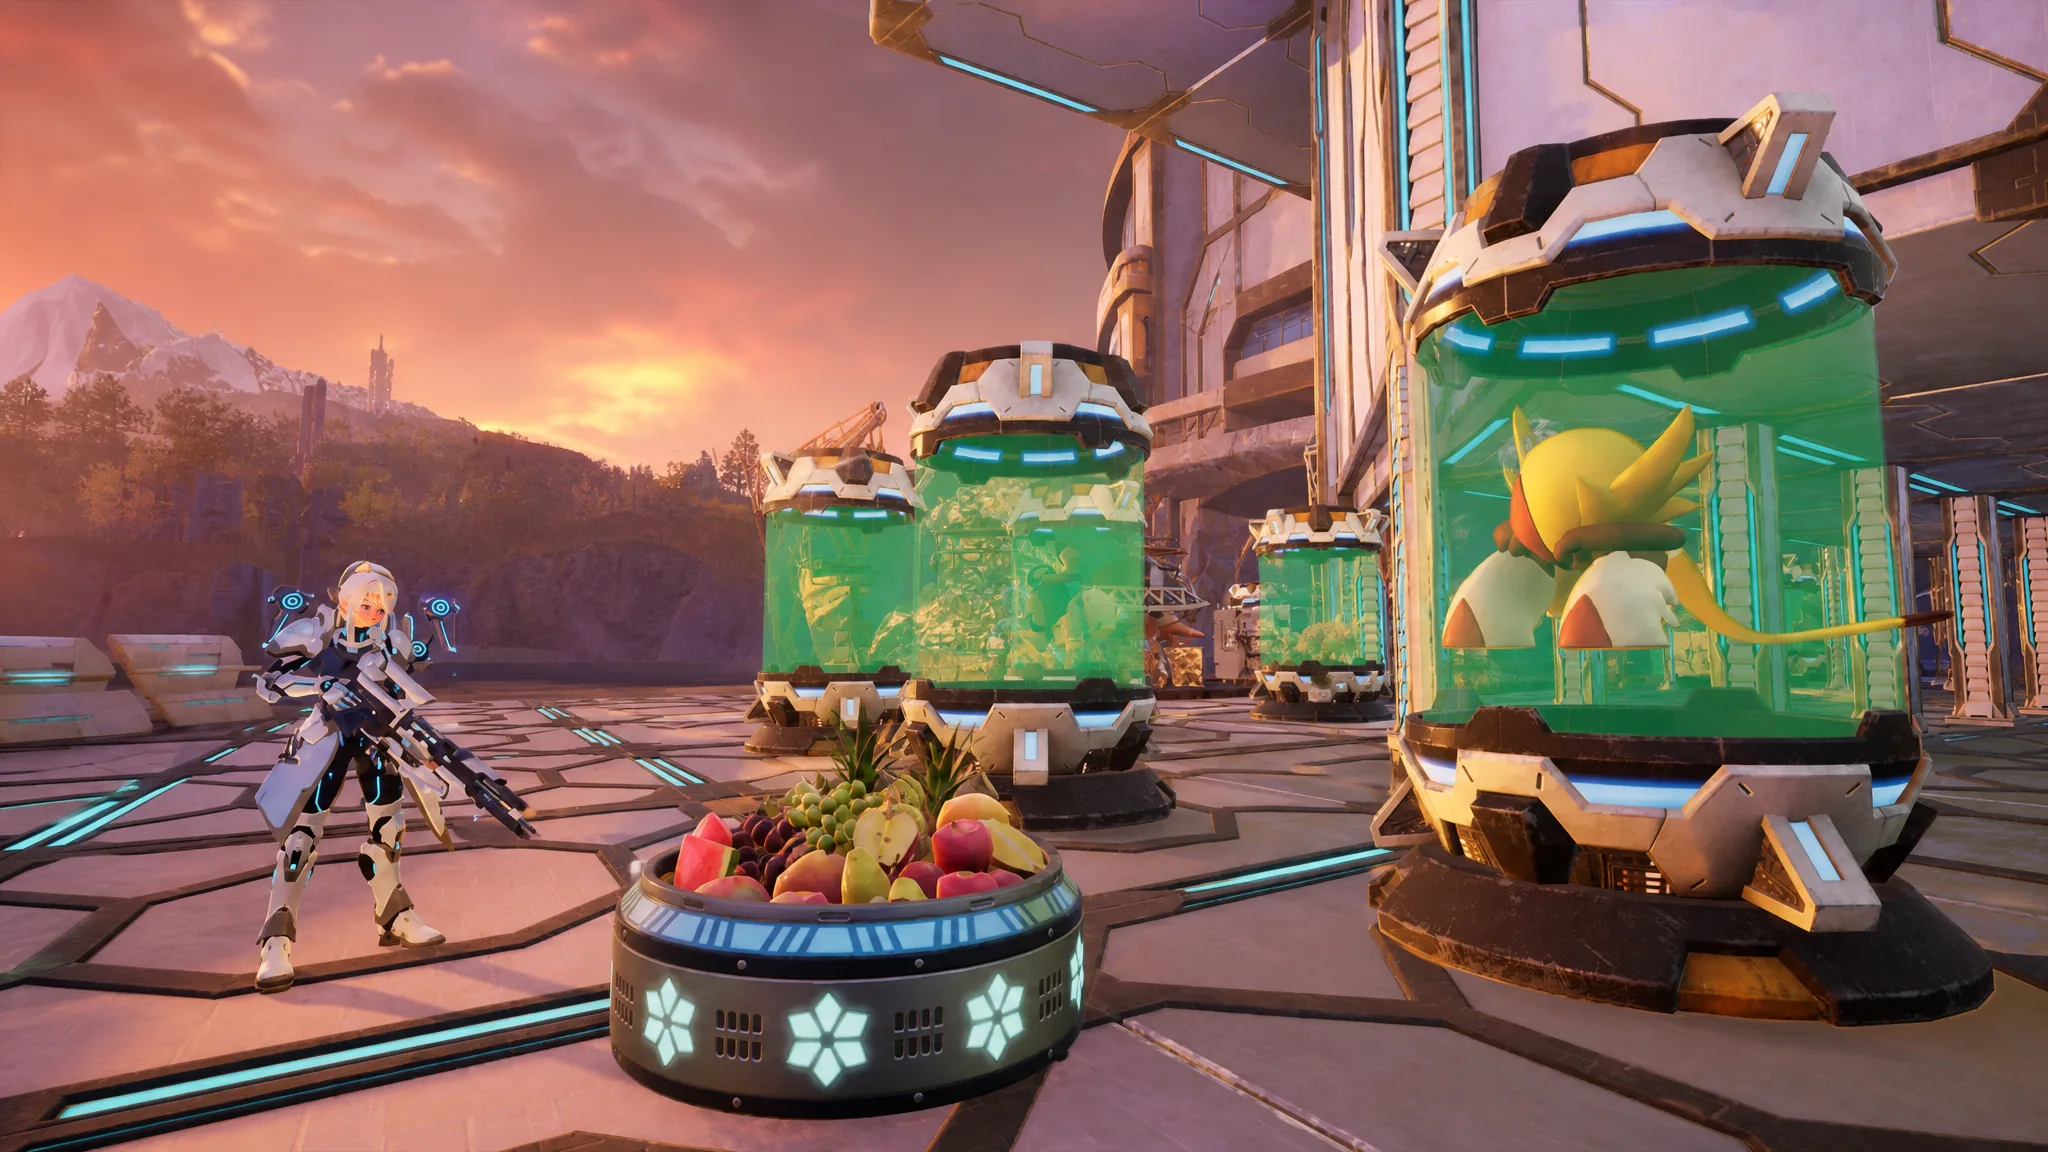
Every Pal you assign to a base carries a Sanity meter, shown in-game as SAN, that runs from 0 to 100. It sits next to a Pal’s health bar and also appears in the Party menu and the Palbox. As SAN falls, Pals start slacking, then sleeping on the job, then getting sick. Once it bottoms out, a Pal can stop working entirely until you treat whatever ailment it picked up. Keeping SAN high is the difference between a base that runs itself and one you have to babysit.
Quick answer: Give every base Pal its own bed, keep a Feed Box stocked with SAN-restoring food, and build a Hot Spring. Those three cover the main drains. Add a passive like Positive Thinker or a Shroomer Noct, and staff a Clinic, to slow the loss even further.
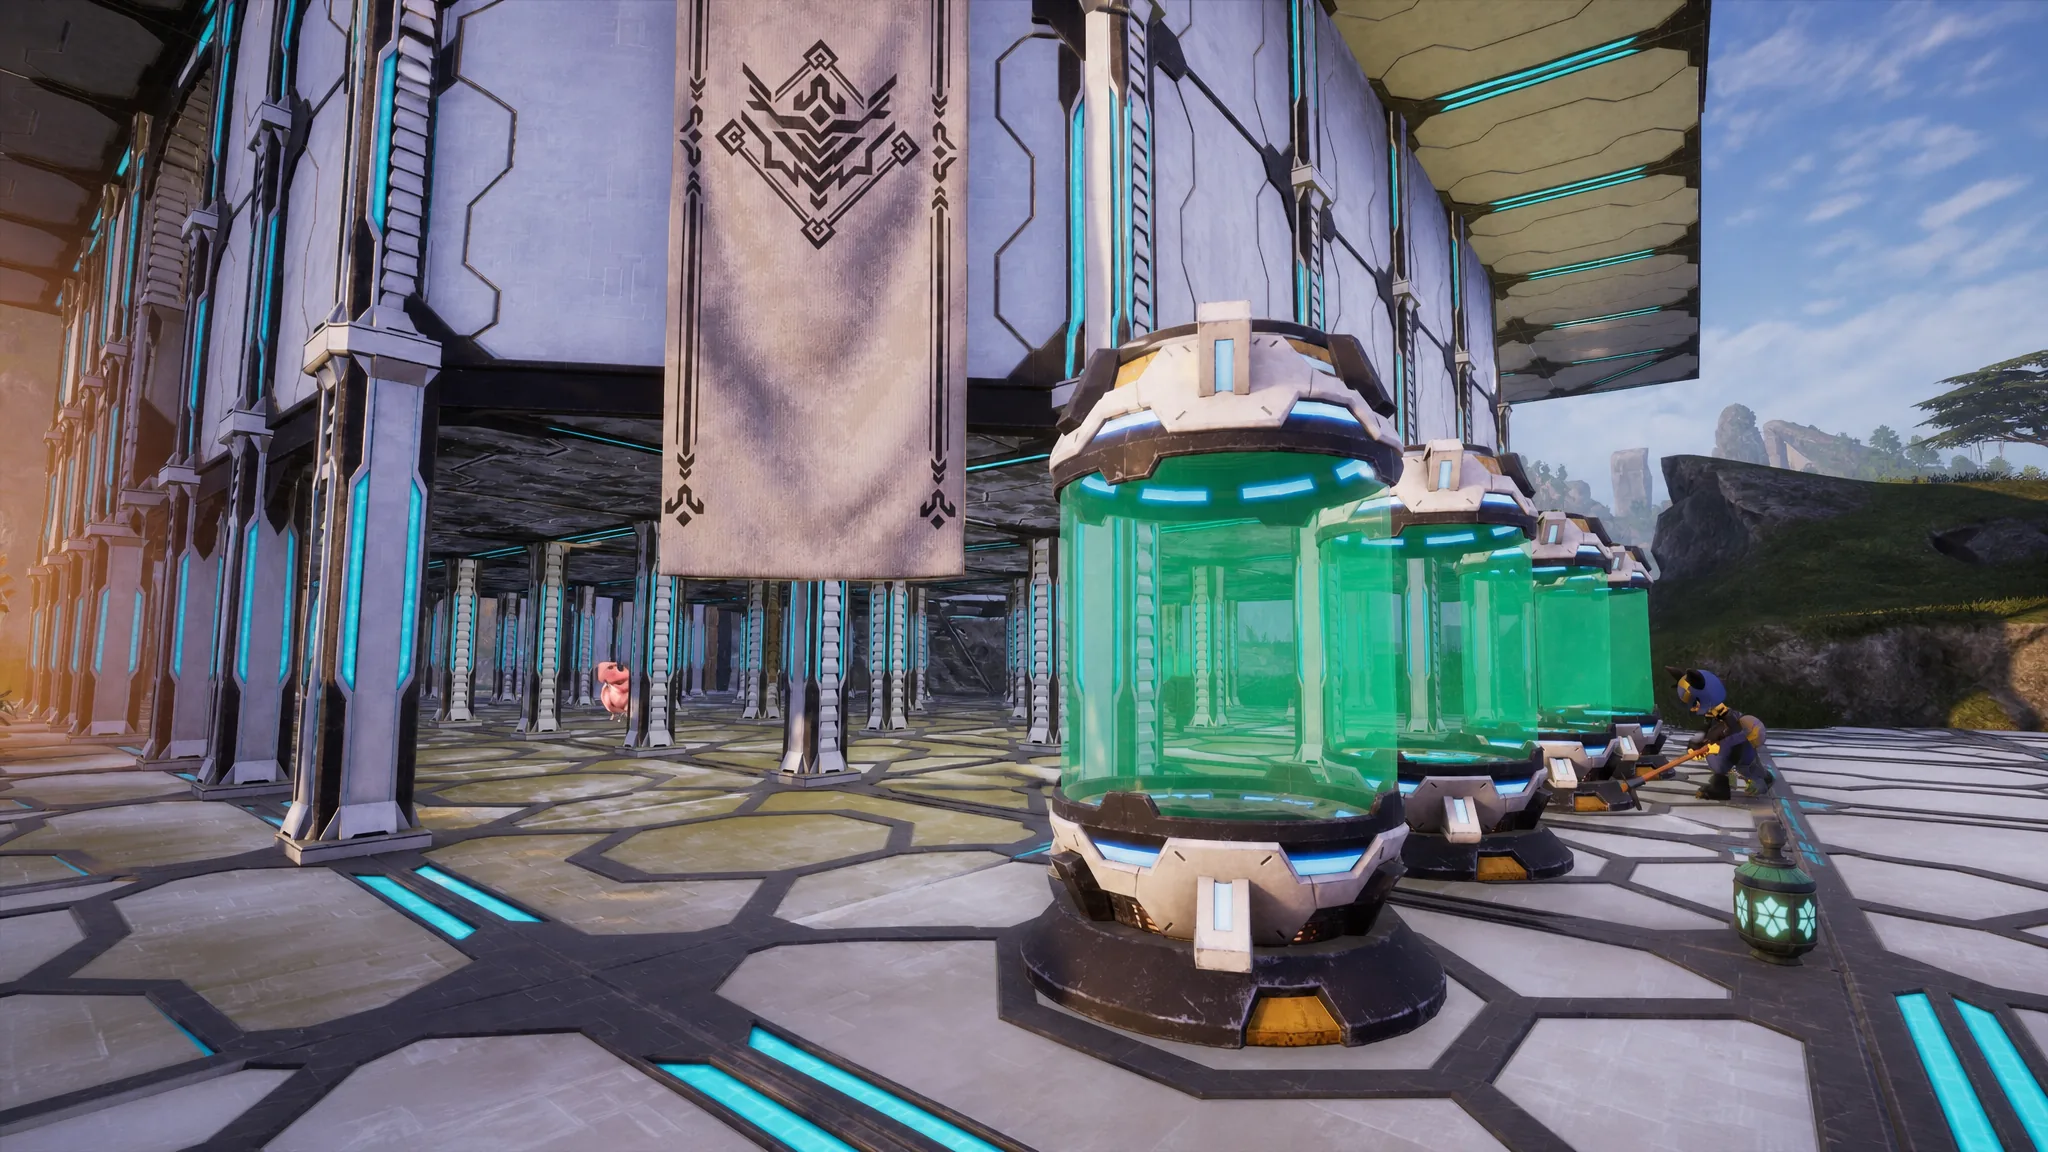
What drains a Pal’s SAN
The baseline drain from working is calculated per Pal and does not show up as a single fixed number. What matters more are the modifiers stacked on top of it. Hunger, missing beds, and how hard you push work all speed up the loss. Notably, taking damage in combat has its SAN multiplier set to zero in 1.0, so fighting itself costs no Sanity.
| Condition | SAN drain rate |
|---|---|
| Hungry Pal | 0.1 |
| Starving Pal | 0.3 |
| Sleeping on bare ground (no bed) | 0.08 |
| Taking damage | none (multiplier 0) |
The Monitoring Stand sets one work mode for the whole base, and harder modes trade Sanity and hunger for speed. Relaxed Work reverses that trade and slowly restores SAN. Upgraded stands also cut all Sanity loss across the base, with the High Quality Monitoring Stand reducing it by 5 percent and the Ancient Monitoring Stand by 15 percent.
| Work mode | Work speed | SAN effect | Hunger drain |
|---|---|---|---|
| Relaxed Work | x0.7 | +0.08 | x0.8 |
| Normal Work | x1 | 0 | x1 |
| Hard Work | x1.25 | -0.1 | x1.25 |
| Super Hard Work | x1.5 | -0.2 | x1.5 |
How to restore SAN
Food comes first. A Pal only regains SAN passively, at a rate of 0.05, while its stomach sits above 30 percent full. A hungry base never recovers, so a stocked Feed Box is the foundation everything else builds on. Base Pals feed themselves from the box automatically, and upgrading to a Cold Feed Box with a Pal that has Cooling work suitability stops the food from spoiling.
Hot Springs
The Hot Spring is the dedicated recovery facility and the fastest passive option. It unlocks at Technology tier 9, and Pals soak for 15 seconds at a time before deciding whether to go again. Higher tiers restore far more per second, so building the best one your tech allows pays off at a busy base.
| Hot Spring | SAN rate | Vs base Hot Spring |
|---|---|---|
| Hot Spring | 0.5 | x1 |
| High Quality Hot Spring | 0.75 | x1.5 |
| Ancient Hot Spring | 2 | x4 |
Beds
Every base Pal needs its own bed to sleep in at night, or it loses SAN resting on the ground. The Straw Pal Bed unlocks at Technology tier 3, so you can supply beds almost from the start. Build one bed per working Pal. Higher-tier beds restore more SAN while sleeping and also revive knocked-out Pals faster.
| Bed | SAN rate | Revive speed |
|---|---|---|
| Straw Pal Bed | 0.05 | x1.2 |
| Fluffy Pal Bed | 0.1 | x1.4 |
| Large Pal Bed | 0.15 | x1.6 |
| Pal Pod | 0.2 | x1.8 |
| Ancient Pal Bed | 0.5 | x2 |
The Palbox
A Pal parked in the Palbox recovers 0.02 percent of its SAN per second, which takes roughly 83 minutes of real time to go from empty to full. It costs nothing, so rotating a burned-out worker into the box and swapping in a fresh Pal is the simplest fix for a single miserable worker.
Best foods to keep SAN high
Some cooked meals restore SAN directly on top of filling the stomach, and several also make SAN last longer once eaten. Cotton Candy is a standout early pick because it does not spoil and gives 5 SAN to any Pal that eats it from the box. You can farm it by putting a Woolipop on a Ranch. Honey is another no-spoil early option that a Beegarde on a Ranch will produce.
For dishes that slow the SAN depletion rate, keep these stocked in the Feed Box:
- Pancake
- Carbonara
- Stewed Galeclaw
- Grilled Lamball
- Mozzarina Hamburger
- Fried Chikipi
- Fried Kelpsea
Tip: Grilled Lamball and Mozzarina Hamburger also boost work speed, so they pull double duty at a production base. Whatever you pick, prioritize a dish you can mass-produce reliably over one strong meal you can barely keep in stock.
Passives and Pals that slow SAN loss
Breeding or catching Pals with the right passive skills cuts the drain at the source. Target these for your permanent base workers.
| Passive skill | Effect |
|---|---|
| Hermit Sage | SAN depletes 50% slower (work speed -20%) |
| Heart of the Immovable King | SAN depletes 20% slower |
| Workaholic | SAN depletes 15% slower |
| Positive Thinker | SAN depletes 10% slower |
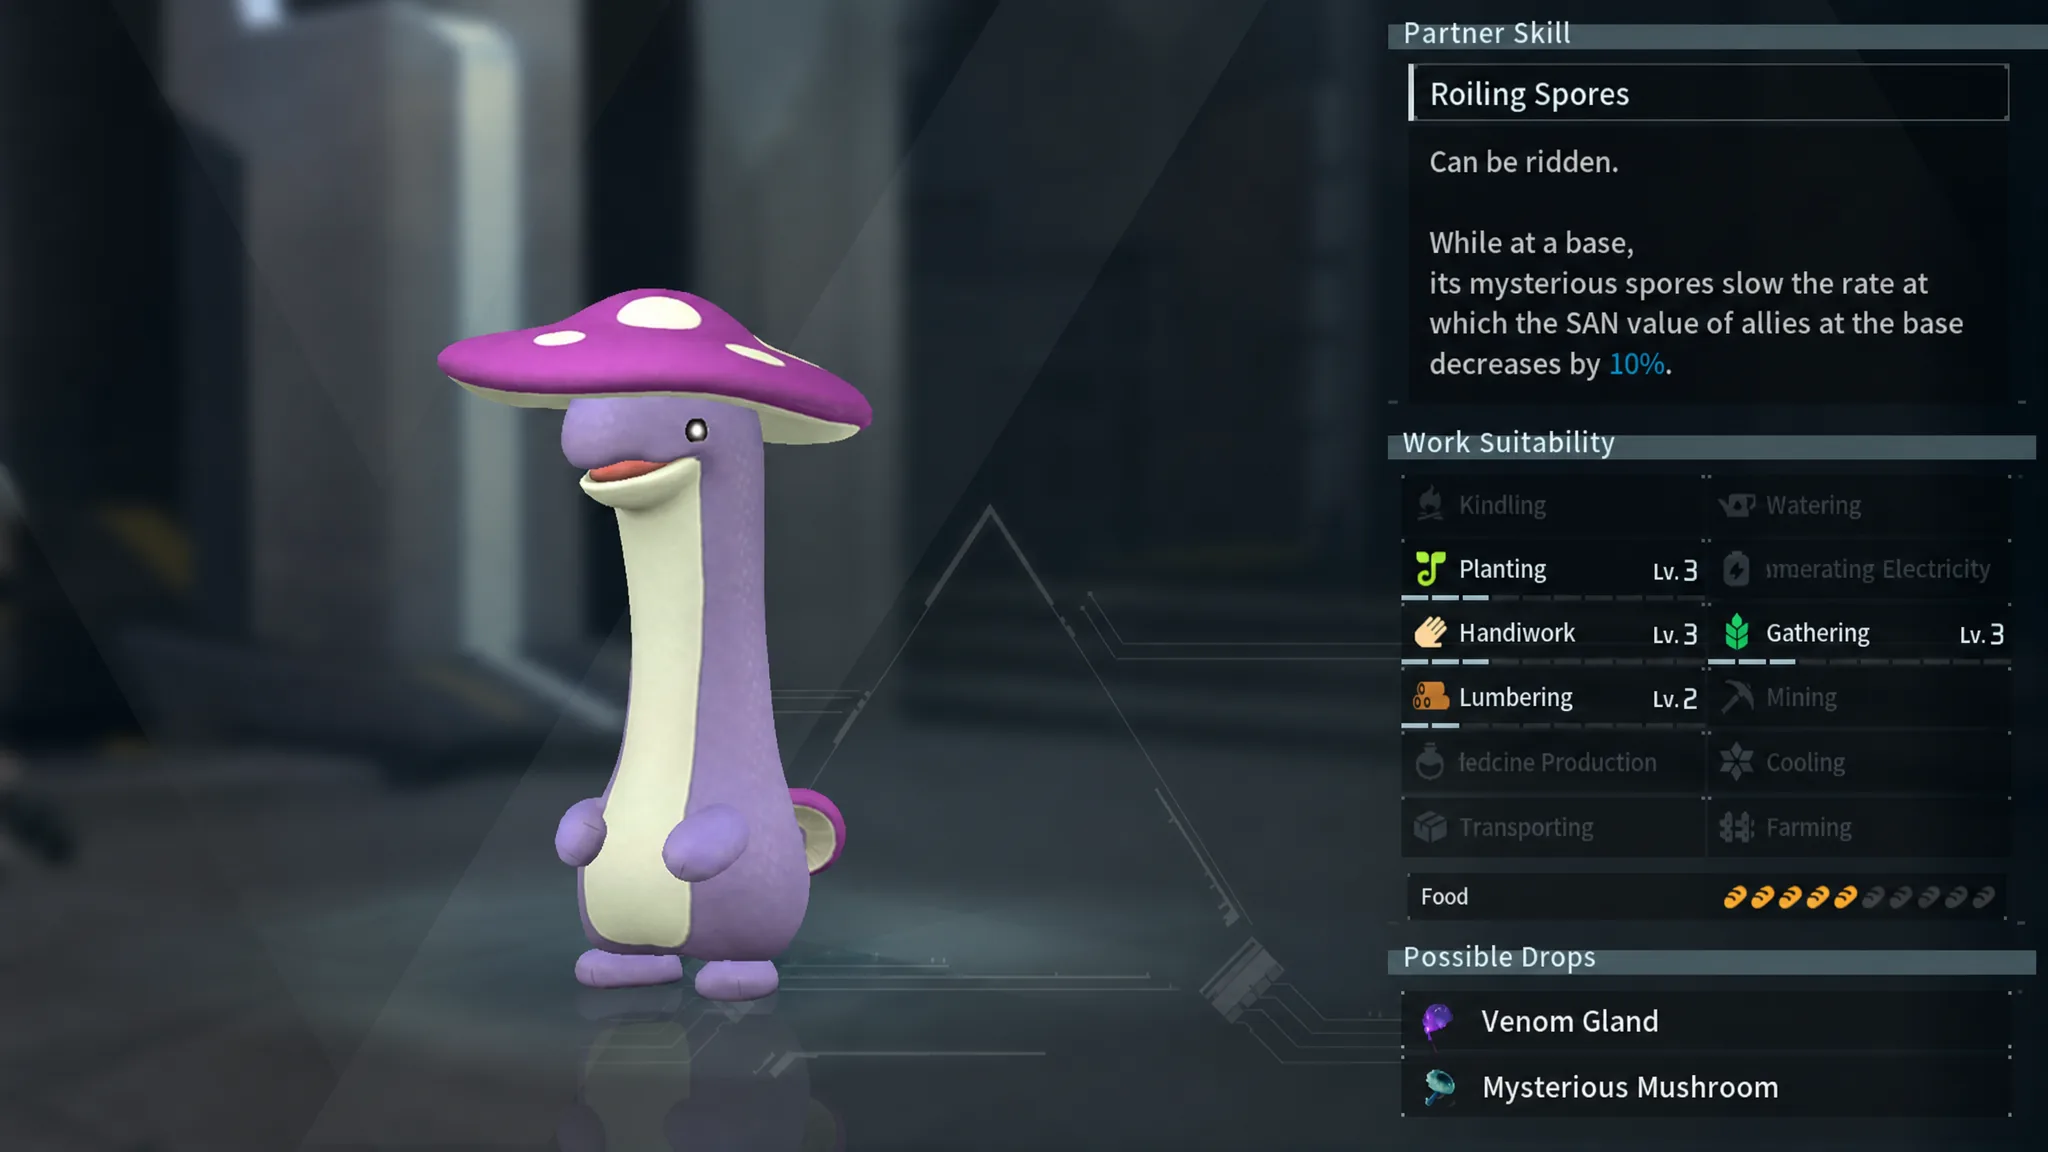
Keeping a Shroomer Noct in the base helps everyone. Its Partner Skill slows the SAN depletion rate of all your base Pals by 10 percent, and it can also handle Planting, Lumbering, Gathering, and Handiwork, so it earns its slot instead of just sitting there.
Structures that suppress SAN loss
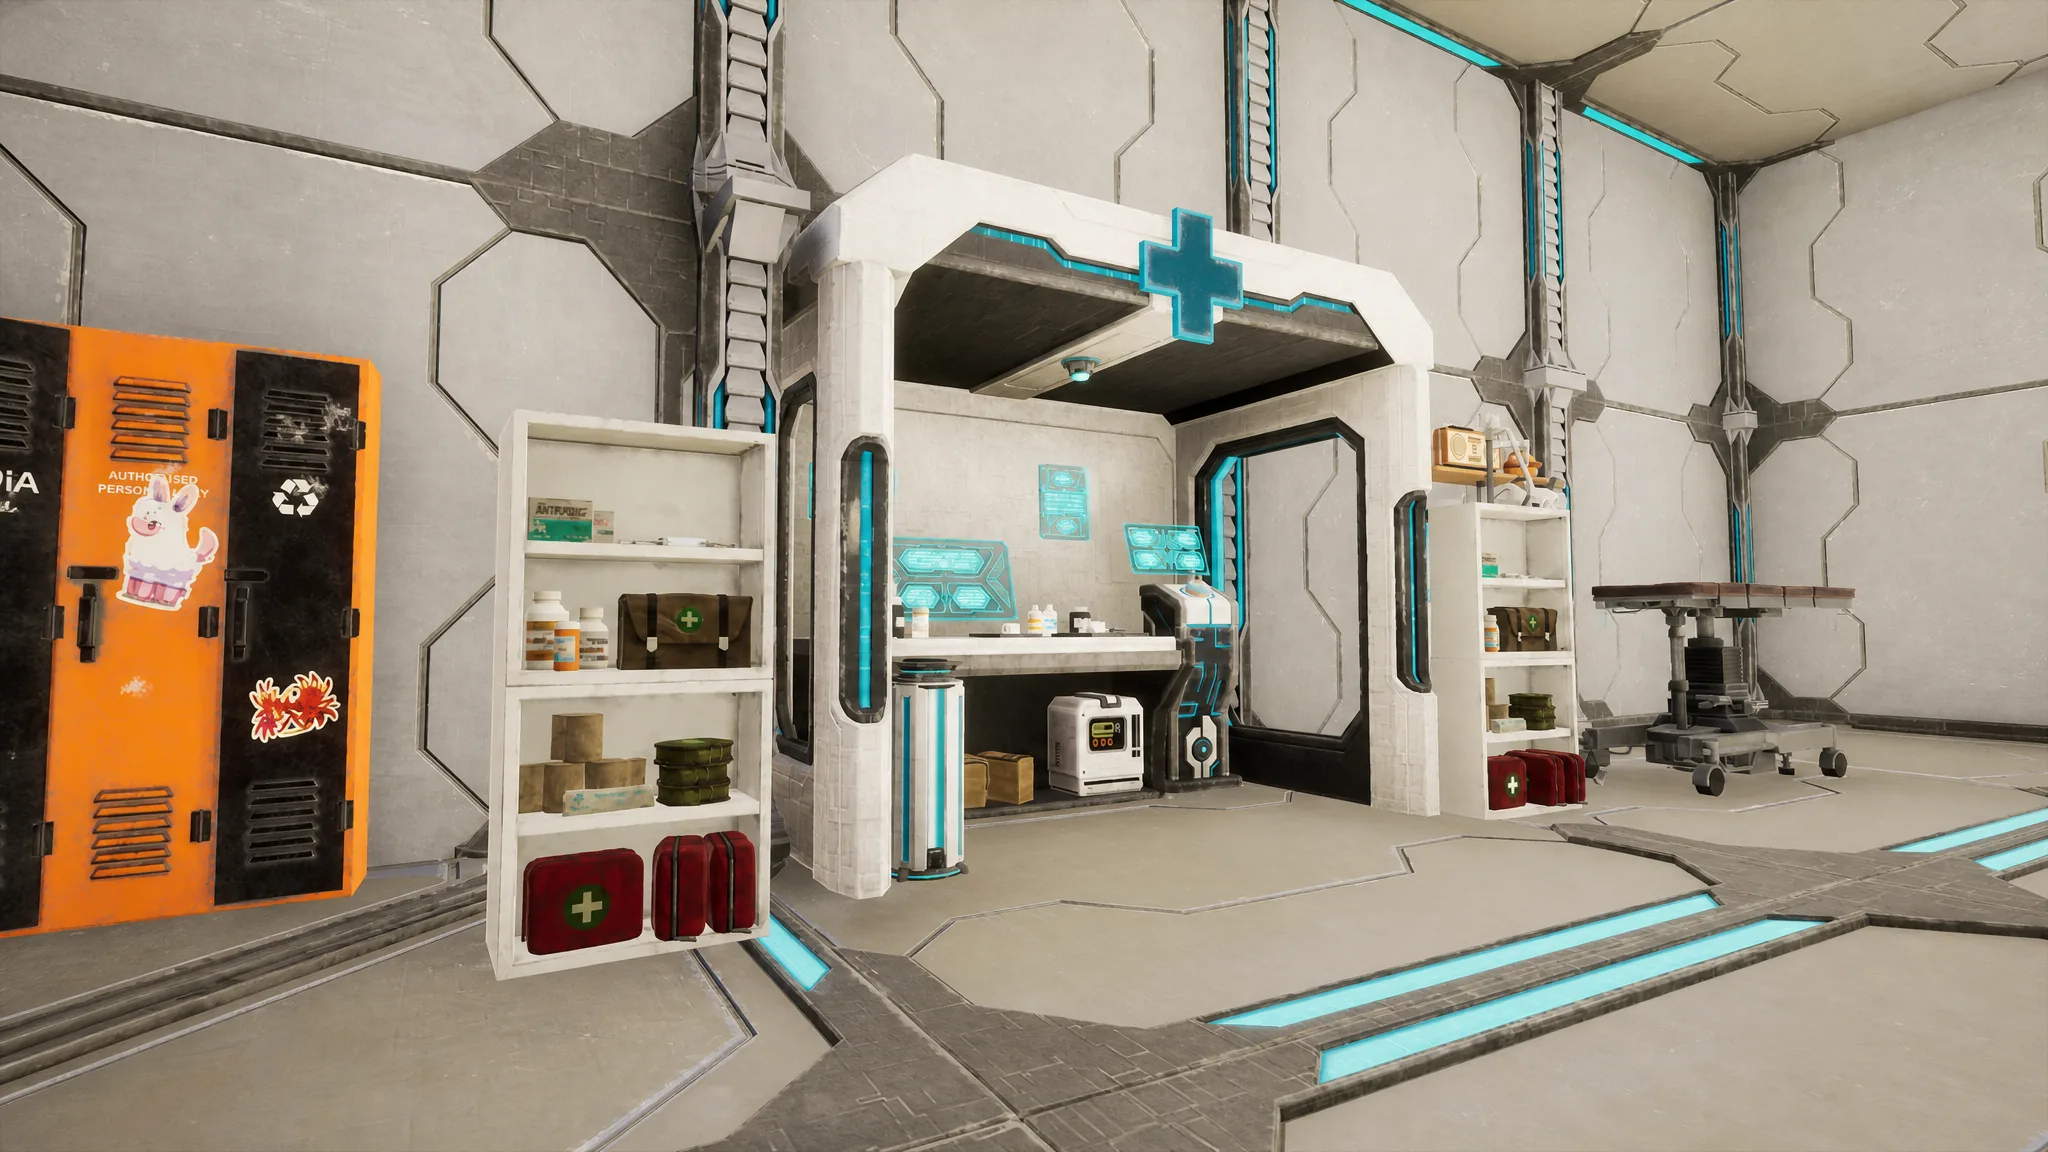
A Pal staffed at the Clinic lowers both sickness and Sanity loss across the whole base, and the strength scales with its medicine production level. Store crafted medicines in the Medicine Rack so Pals can treat themselves automatically. The higher the doctor’s medicine level, the stronger the suppression.
| Medicine level | SAN-loss suppression | Sickness suppression |
|---|---|---|
| 1–3 | 5% | 5–15% |
| 4–6 | 10% | 20–33% |
| 7–10 | 15% | 35–50% |
The Alpha Wave Generator is a cheap device that lowers the SAN depletion rate of your base Pals. It unlocks in the Technology Tree at level 41. Combine it with an upgraded Monitoring Stand and a Clinic doctor, and the base drain becomes almost negligible.
What happens when SAN gets low
Every 90 seconds the game rolls a 50 percent chance for a misbehavior check on base workers. Which behaviors are possible depends on how far SAN has fallen. Each row below becomes available at its threshold and stays possible below it, so the lower a Pal sinks, the more ways it can act out.
| SAN under | Behavior |
|---|---|
| 85 | Takes short breaks from work |
| 65 | Slacks off and wanders away from the job |
| 60 | Withdraws and sleeps on the spot |
| 50 | Raids and tips over the Feed Box |
| 40 | Can come down with a sickness |
| 0 | Throws a tantrum |
A sick Pal keeps working with a stat penalty until it is treated. Each illness has its own cure item, and the harsher afflictions like Depressed and Weakened need High Grade Medical Supplies, which you craft at the Medieval Medicine Workbench (Technology tier 12). Food and rest alone will not clear these, so build that bench early.
| Sickness | Penalty (Work / Move) | Cure item |
|---|---|---|
| Sick | -5 / — | Low Grade Medical Supplies |
| Sprain | — / -5 | Low Grade Medical Supplies |
| Overfull | — / — (hunger drains faster) | Low Grade Medical Supplies |
| Ulcer | -10 / -5 | Medical Supplies |
| Fracture | -5 / -10 | Medical Supplies |
| Weakened | -10 / -20 | High Grade Medical Supplies |
| Depressed | -20 / -10 | High Grade Medical Supplies |
A sickness can also clear on its own if you park the Pal in the Palbox, at a chance per hour that shrinks for the more serious conditions. After curing a Pal, fix the underlying cause, whether that is hunger, a missing bed, or overwork, so it does not relapse.
You will know your setup is working when base Pals stop dozing mid-shift, keep the Feed Box upright, and hold their SAN in the 80 to 100 range that keeps production at full output. Cover the three drains with beds, food, and a Hot Spring, layer on a Clinic doctor and the right passives, and a well-staffed base stays productive with almost no input from you.