The KERNEL_MODE_HEAP_CORRUPTION blue screen, shown as bug check code 0x13a, appears when the Windows kernel heap manager finds that an area of system memory it manages has been damaged. It often hits during gaming or other heavy CPU and GPU activity, but it can also strike during light tasks like browsing. The usual triggers are faulty or outdated drivers, corrupted system files, bad RAM, or software that interferes with memory.
Quick answer: Boot into Safe Mode, fully remove your graphics driver and reinstall the latest version, then run sfc /scannow and DISM /Online /Cleanup-Image /RestoreHealth. If crashes continue, test your RAM with Windows Memory Diagnostic, run Driver Verifier to expose the bad driver, and uninstall any recently added system utilities such as Armory Crate.
What causes the KERNEL_MODE_HEAP_CORRUPTION error
A crash dump for this stop code points to functions like nt!RtlpHeapHandleError inside ntkrnlmp.exe, which is the kernel telling you it caught the corruption rather than a sign that Windows itself is the root problem. Something else wrote into memory it should not have touched. The most common culprits fall into a few groups.
| Cause | Why it triggers 0x13a |
|---|---|
| Graphics or chipset drivers | A faulty or outdated driver mishandles memory operations. |
| Corrupted system files | Missing or damaged Windows files destabilize kernel memory. |
| Faulty RAM | A bad memory module corrupts data the kernel relies on. |
| Third-party utilities | System tools, overclocking apps, or older antivirus software interfere with memory. |
| Hardware or power instability | Overclocking, power issues, or a failing component introduce errors. |
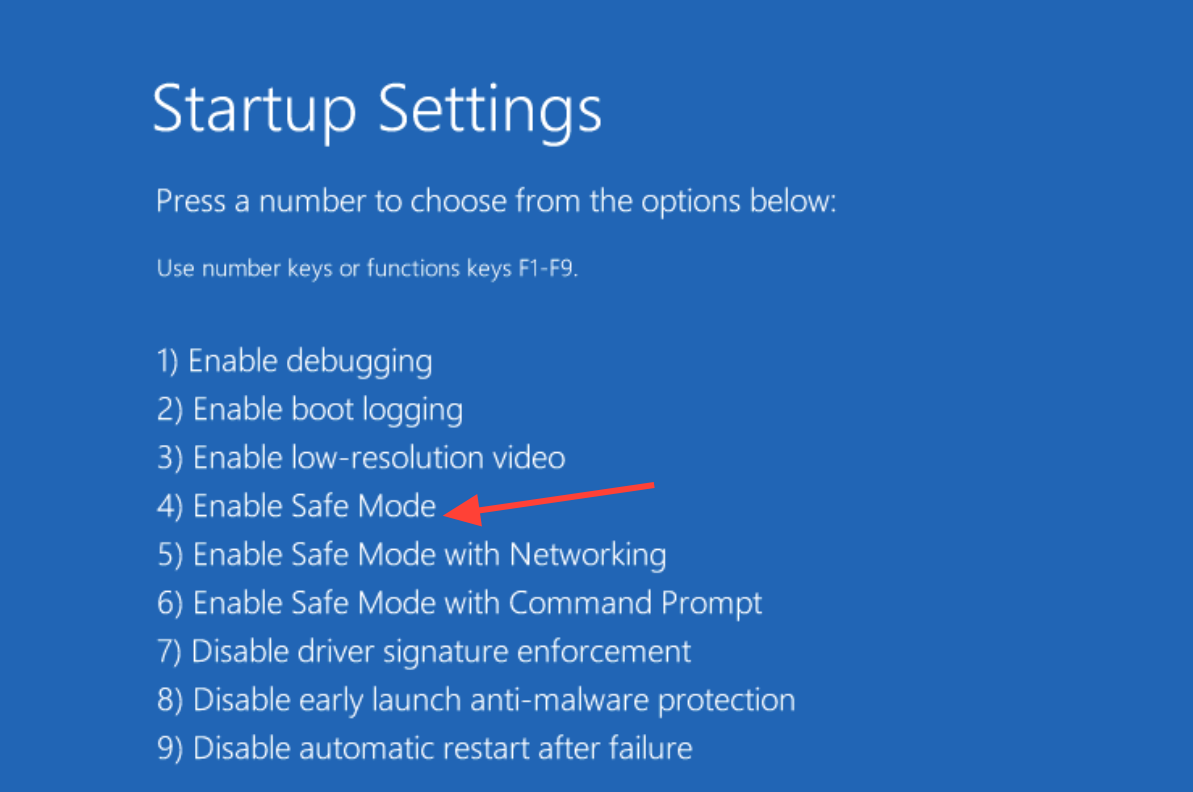
Boot into Safe Mode first
If the crash hits before you can do anything, you need Safe Mode to work without third-party drivers loading. From a working desktop, hold Shift and click Restart, then go to Troubleshoot, Advanced options, Startup Settings, and Restart. Press 4 or 5 to enter Safe Mode.
If the PC will not boot at all, force a shutdown by holding the power button while the manufacturer logo appears, and repeat until the Automatic Repair screen shows up. From there, choose Advanced options, Troubleshoot, Advanced options again, then Startup Settings to reach the Safe Mode menu.
Reinstall the graphics driver cleanly
A bad or corrupt graphics driver is the most common reason for this blue screen, so start here. A clean removal works better than a simple update because it clears out leftover files that a normal reinstall leaves behind.
If a recent driver update started the crashes, do the opposite. Open Device Manager (devmgmt.msc), expand Display adapters, right-click your card, open Properties, go to the Driver tab, and use Roll Back Driver if it is available.

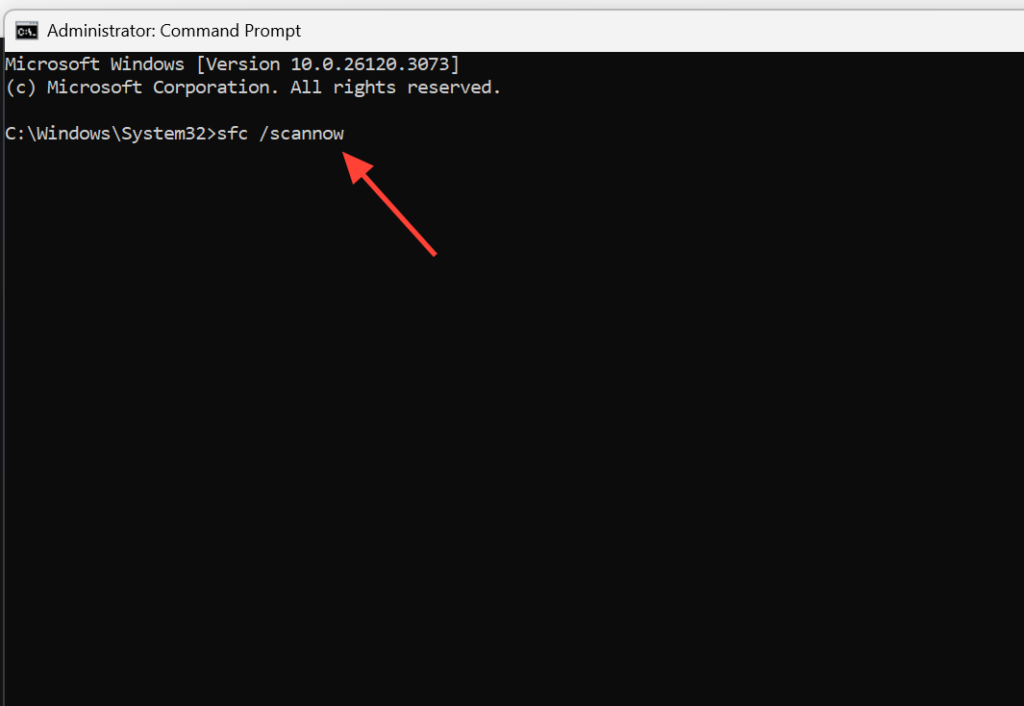
Repair corrupted system files with SFC and DISM
Damaged Windows files can trigger heap corruption on their own. Open Command Prompt or PowerShell as administrator from the Win + X menu, then run the two commands below in order.
sfc /scannow
DISM /Online /Cleanup-Image /RestoreHealth
The first command scans and repairs protected system files. The second restores the health of the underlying Windows image, which fixes problems that SFC alone cannot. Let each one finish before moving on.

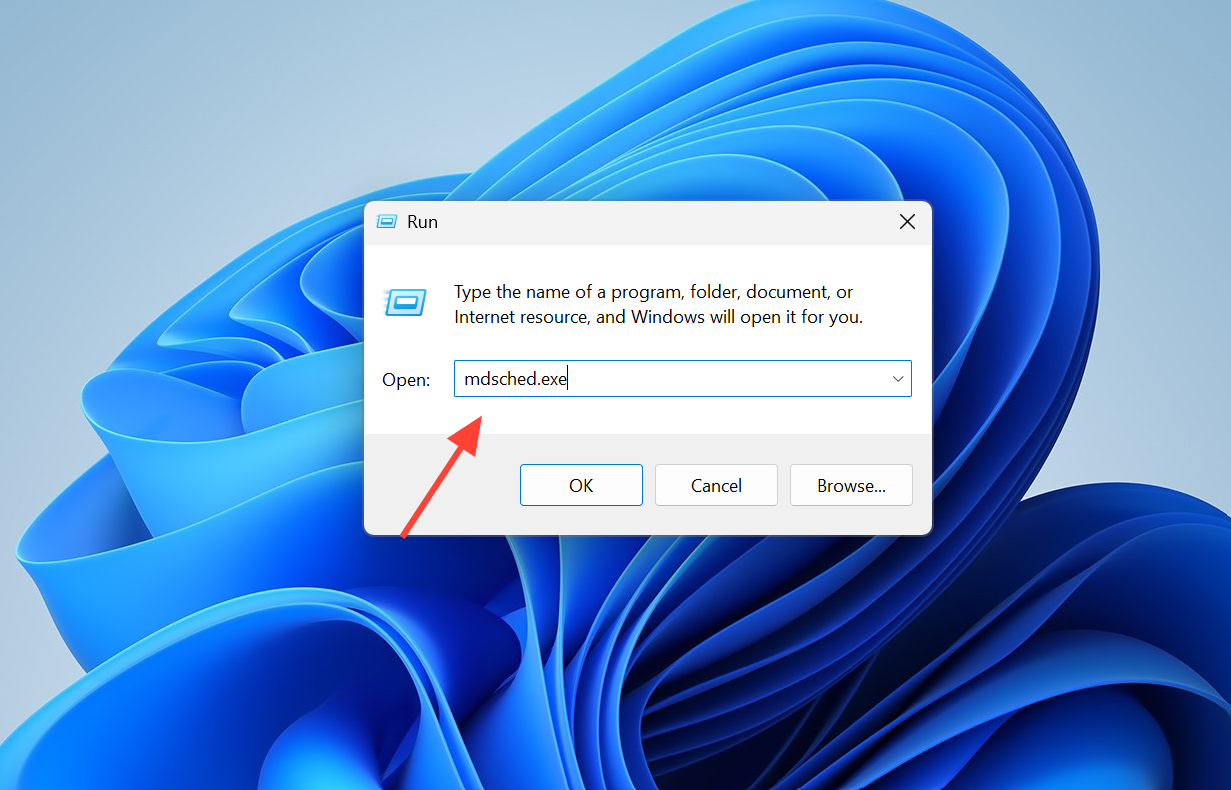
Test your RAM and storage
Faulty memory is a frequent cause of this error, so test it directly. Press Win + R, type mdsched.exe, and choose Restart now and check for problems. Windows Memory Diagnostic will scan your RAM on the next boot. For a deeper test, MemTest86 is a stronger option that runs over several passes.
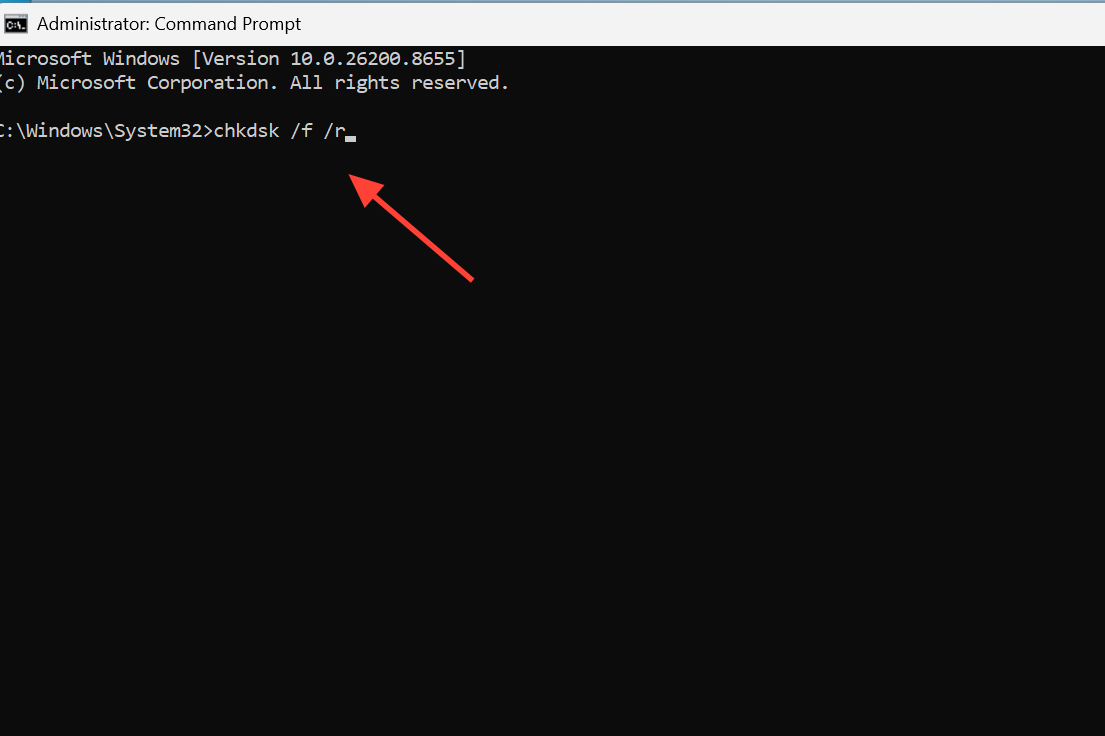
If you have more than one stick, try reseating them, swapping slots, or testing one module at a time to isolate a bad one. Check your drive at the same time by running chkdsk /f /r from an administrator Command Prompt and pressing Y to schedule it at the next restart.
Note: A clean MemTest86 pass does not always clear RAM completely. Crashes can still come from a driver, so keep going if memory tests come back fine.
Find the bad driver with Driver Verifier
When the dump only shows generic memory corruption with no named driver, Driver Verifier can force the faulty one to reveal itself. It stresses installed drivers and crashes the system on purpose when one misbehaves, writing the culprit into a new minidump.
verifier, and press Enter. Choose Create standard settings, then Automatically select all drivers installed on this computer, and finish.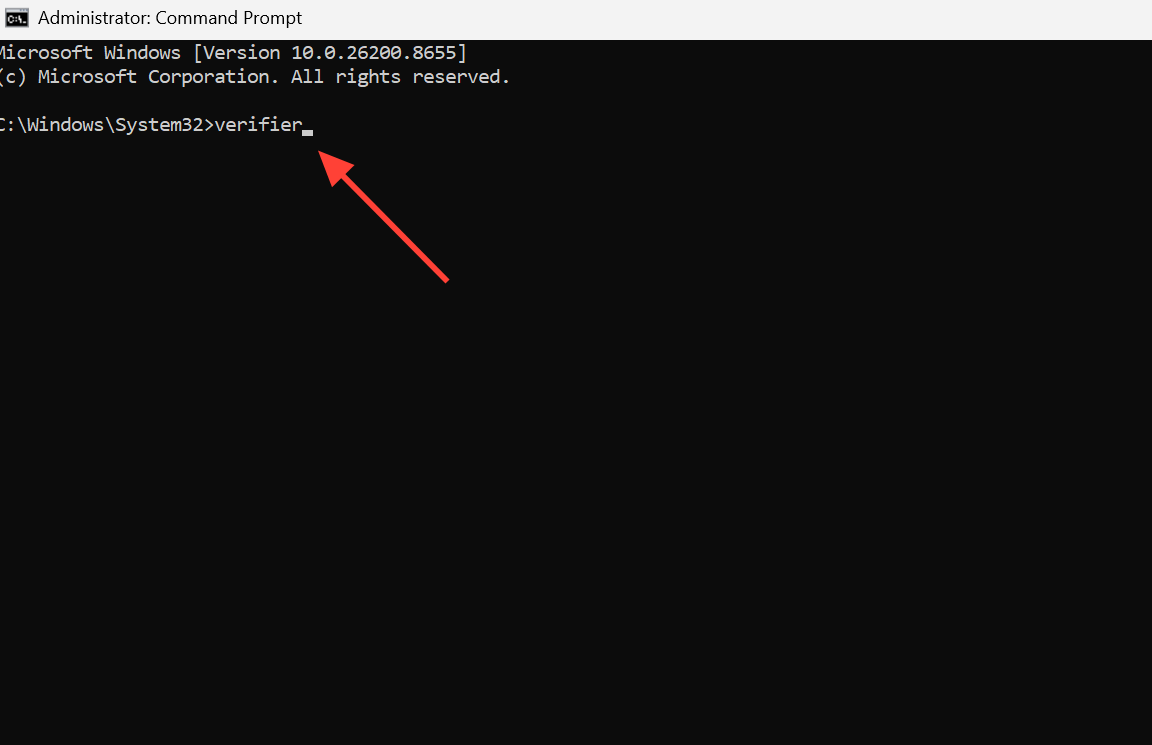
verifier /reset, and review the new minidump files to see which driver was named.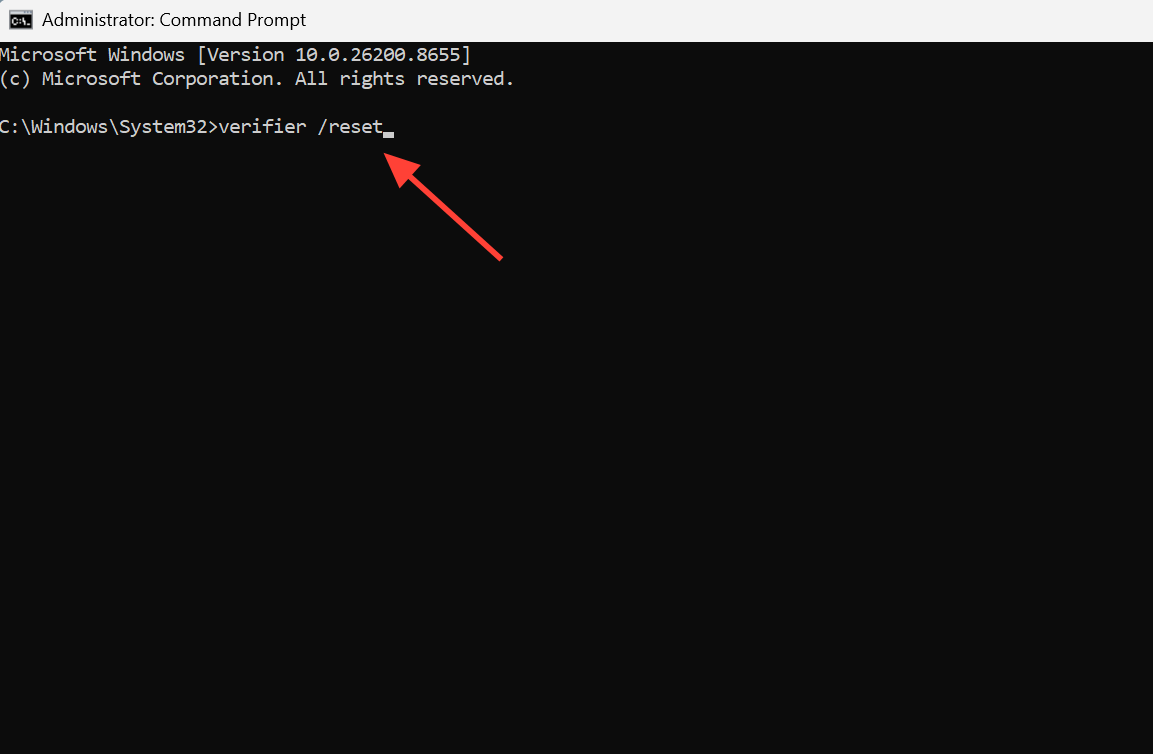
Tip: If Windows will not boot with Verifier on, enter Safe Mode and run verifier /reset there to disable it. Do not leave Verifier running permanently once you have your answer.
Remove conflicting software and check BIOS
System utilities are a known trigger. Crash dumps have traced this error to drivers tied to ASUS Armory Crate, so if you have it or a similar control app installed, uninstall it, restart, and test for stability. The same applies to overclocking tools and older antivirus software added around the time the crashes began.
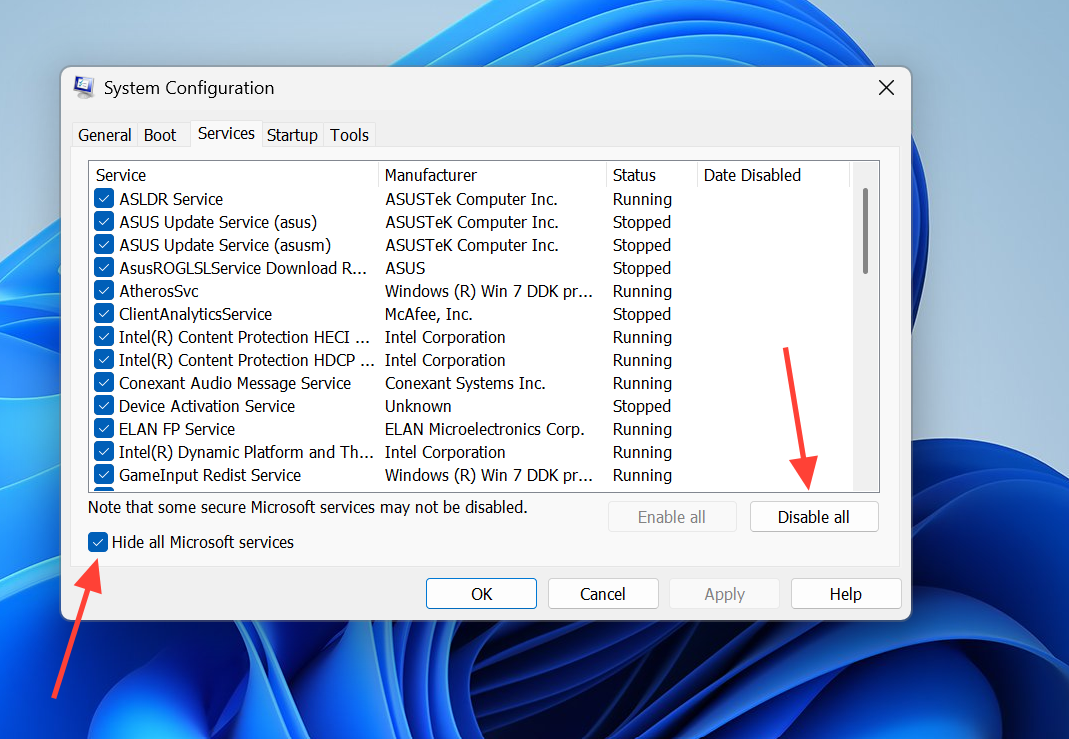
To narrow down a software conflict, perform a Clean Boot. Press Win + R, type msconfig, go to the Services tab, check Hide all Microsoft services, and click Disable all. Then open Task Manager from the Startup tab and disable every startup item before restarting. If the crashes stop, re-enable items in groups to find the offender.
Make sure your motherboard BIOS or UEFI firmware is up to date, which matters most on systems with newer Intel and AMD processors. Resetting the BIOS to its default configuration also removes any unstable overclock or memory profile that could be corrupting the heap.
Reinstall Windows 11 as a last resort
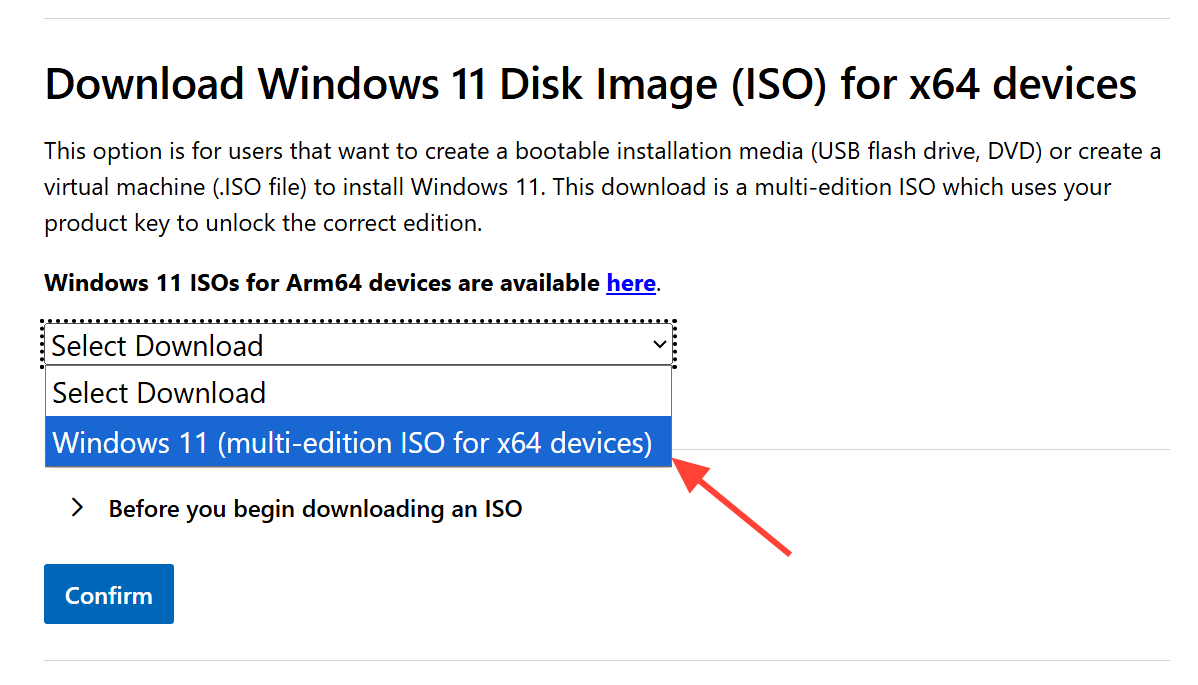
If nothing above works, a clean install rules out deep software damage. Create a bootable USB using the Media Creation Tool from the official Windows 11 download page, set the USB as the first boot device in your BIOS, and follow the installer. Choose Custom: Install Windows only (advanced) to perform a full clean install.
Back up your data first, because deleting partitions during a custom install erases everything on the selected drive. Pick the correct disk carefully before confirming any deletion.
How to confirm the fix worked
You know the problem is solved when you can run the same heavy workload that used to crash the PC, such as a demanding game, without seeing the 0x13a blue screen again. Check the System log in Event Viewer (eventvwr) afterward and confirm no new KERNEL_MODE_HEAP_CORRUPTION or BugCheck entries appear. If the crashes continue even after a clean Windows install, the cause is almost certainly hardware, such as a failing motherboard or memory, and the component needs professional diagnosis or replacement.