“One Flew Over the Volatiles’ Nest” asks you to infiltrate a cavern hive, collect three larva blood samples from live nests, and get out alive. This walkthrough lays out the route to the hive, the Wraith encounter, how to harvest the samples without triggering a swarm, and the escape path to finish the quest.
Quest objective and rewards (One Flew Over the Volatiles’ Nest)
The mission sends you to a multi‑chamber cave system housing a Volatile hive. Inside, you must stealthily extract blood samples from three larva—each from a different infected type—then escape. Expect a mid‑quest Chimera boss (Wraith) before you reach the hive proper.
Objective
Harvest 3 larva blood samples from live volatile nests and escape.
Key constraint
Remain undetected; fighting multiple Volatiles inside the hive is not viable.
Notable encounter
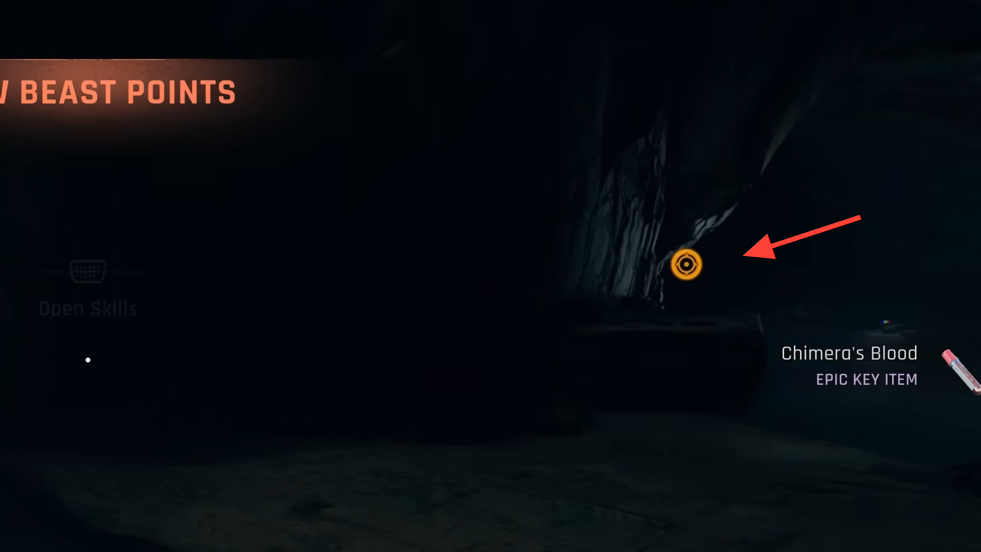
Wraith (invisible Chimera) with a three‑segment health bar; awards 4 Beast Points on defeat.
Turn‑in
Return samples to Lydia at the Exile’s Cave.
Completion rewards
Survivor Hat, 800 Old World Money, and 12,500 XP.
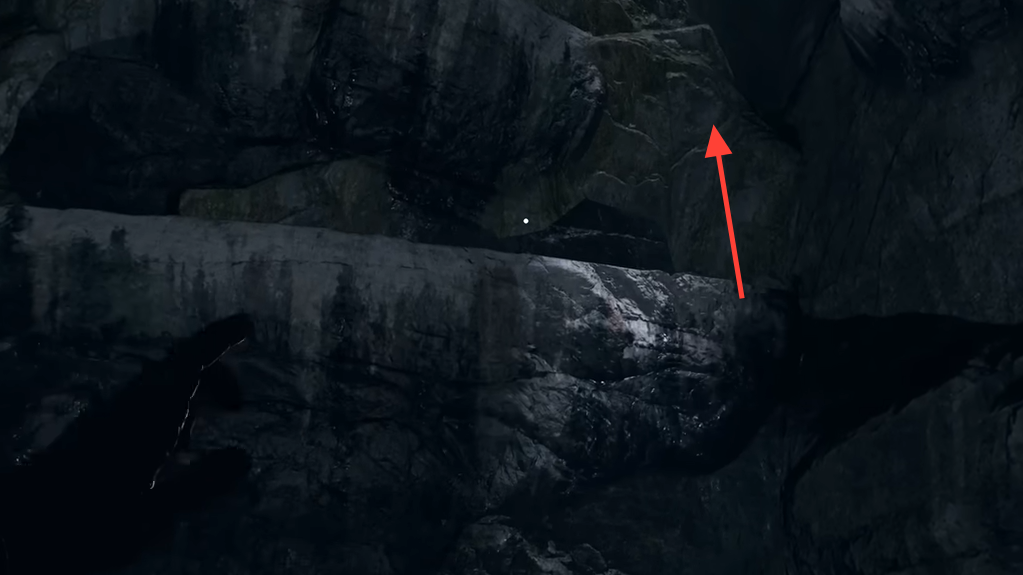
Reach the Volatile hive (cavern entrance to Wraith)
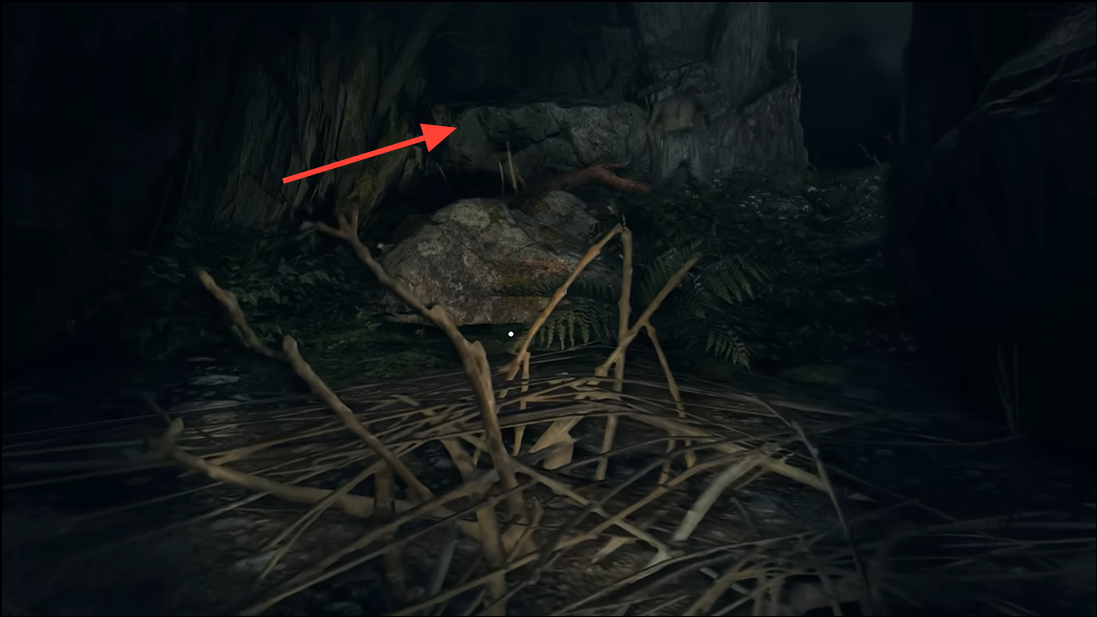
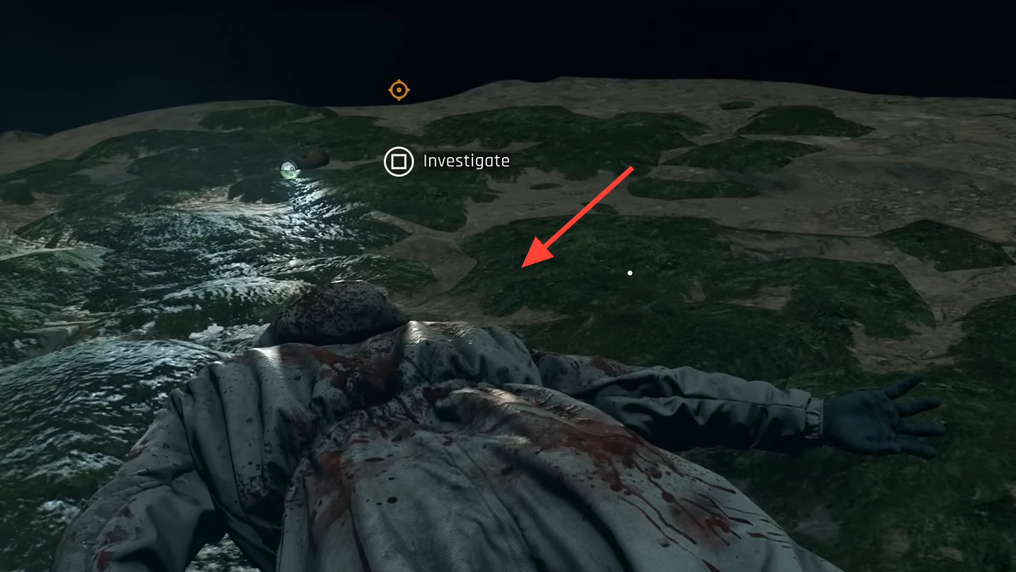
The path into the hive starts from a marked cave entrance and quickly drops into a lower chamber where you’ll investigate a body and trigger a fight with Wraith. Equip a flashlight to improve visibility; it makes tracking Wraith’s attack tells easier.
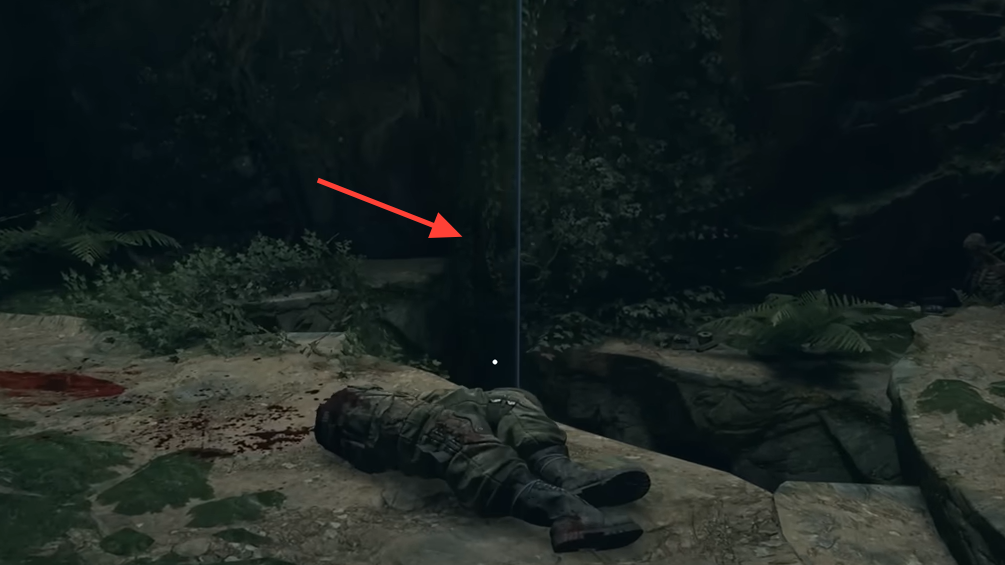
Enter the marked cave and move past Sleepers carefully to avoid unnecessary aggro. Your goal is the interior drop with a rope near bodies of Baron’s men.
Defeat Wraith, an invisible Chimera that becomes visible while attacking and has a three‑segment health bar. Winning grants 4 Beast Points and opens the path forward.
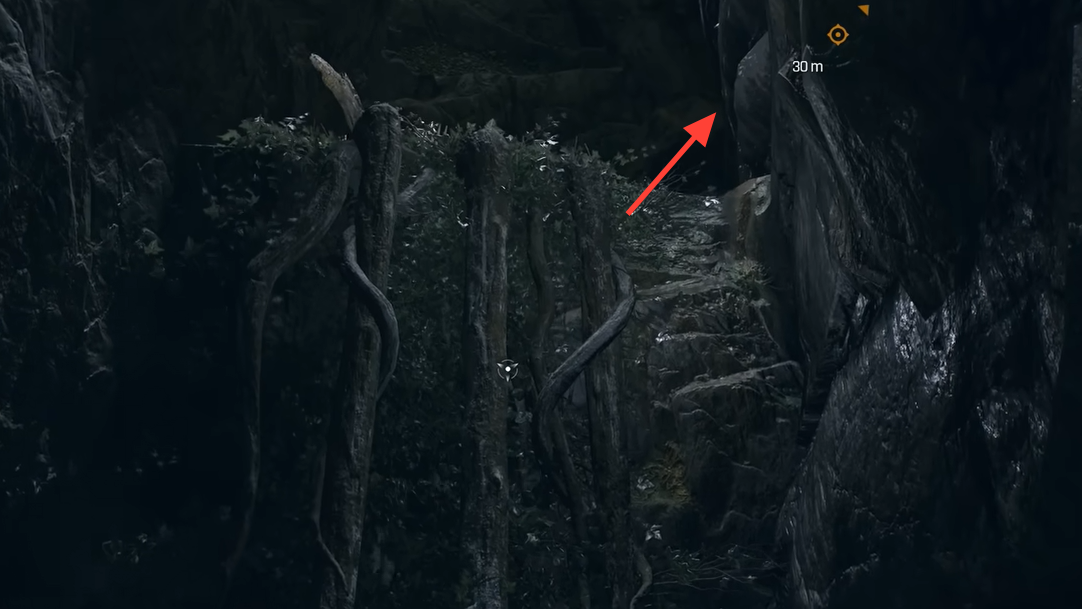
Navigate deeper to the nests (post‑Wraith path)
After Wraith, you’ll traverse vertical and narrow spaces that funnel you to the hive. Follow bodies and environmental cues to stay on route.
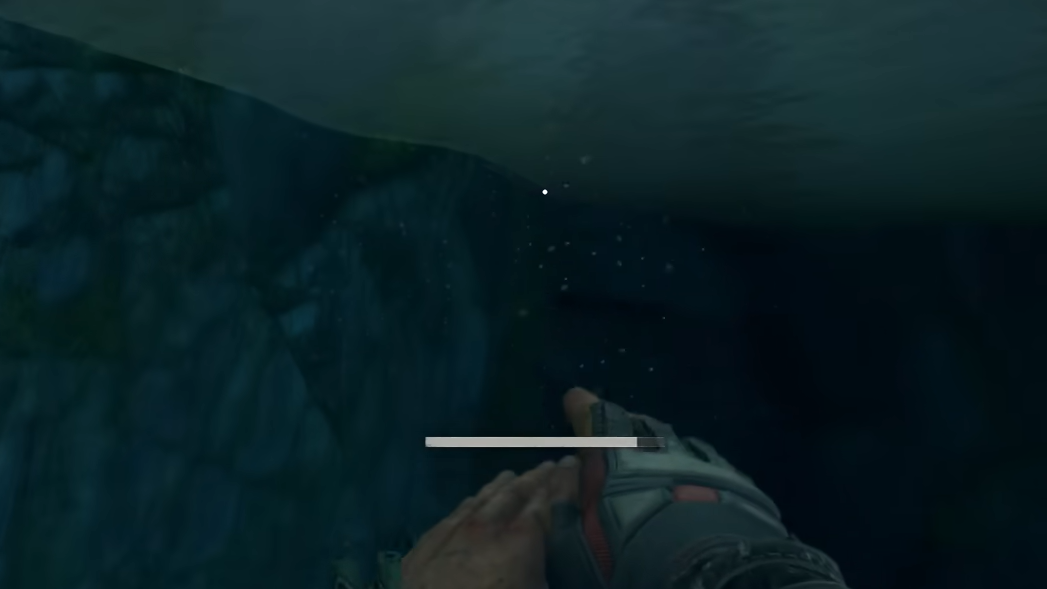
Swim across the short water section and pull onto the opposite ledge. Continue forward to arrive at the hive area.
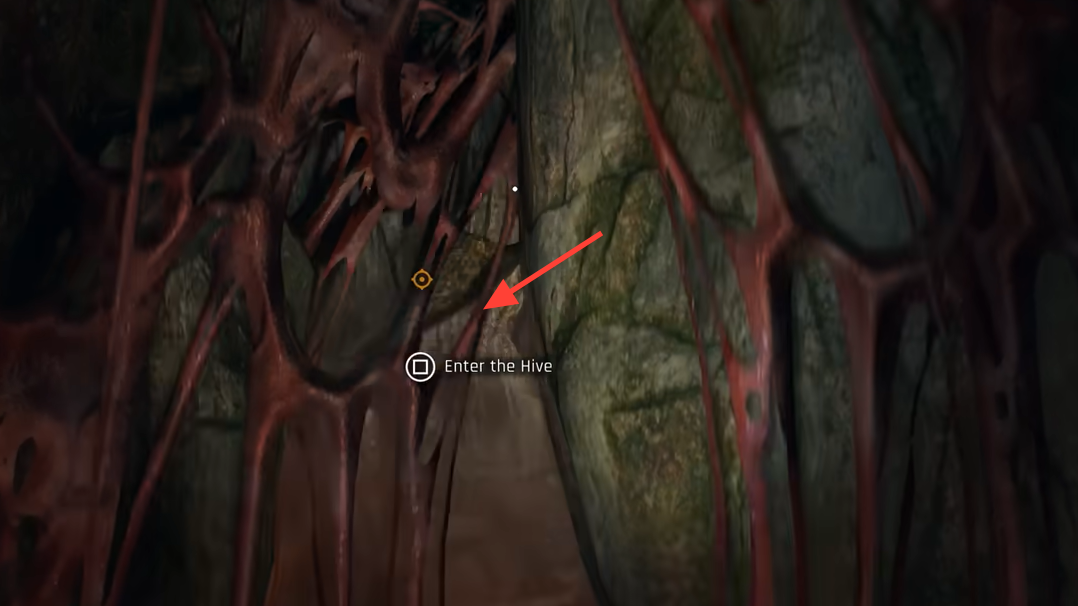
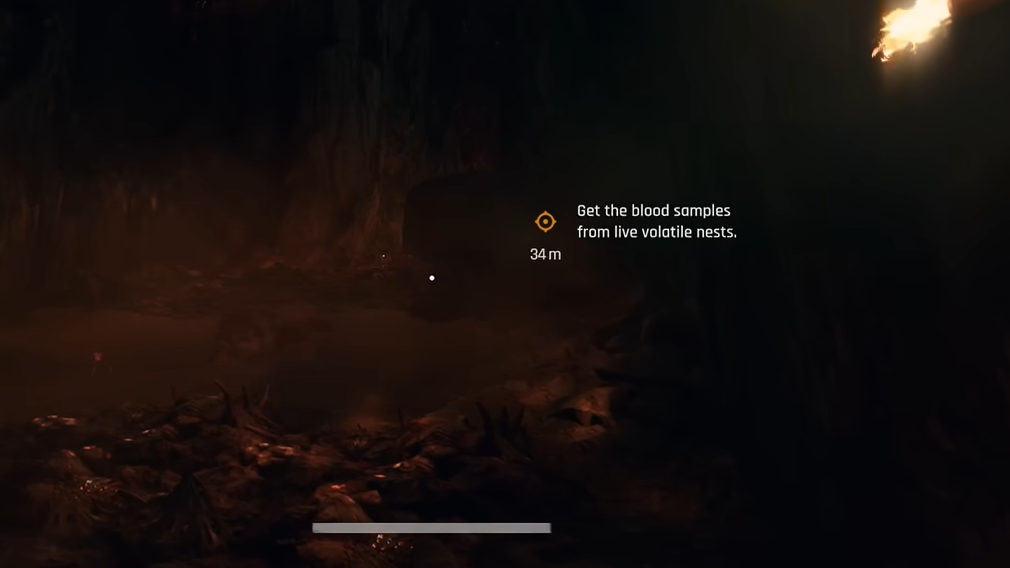
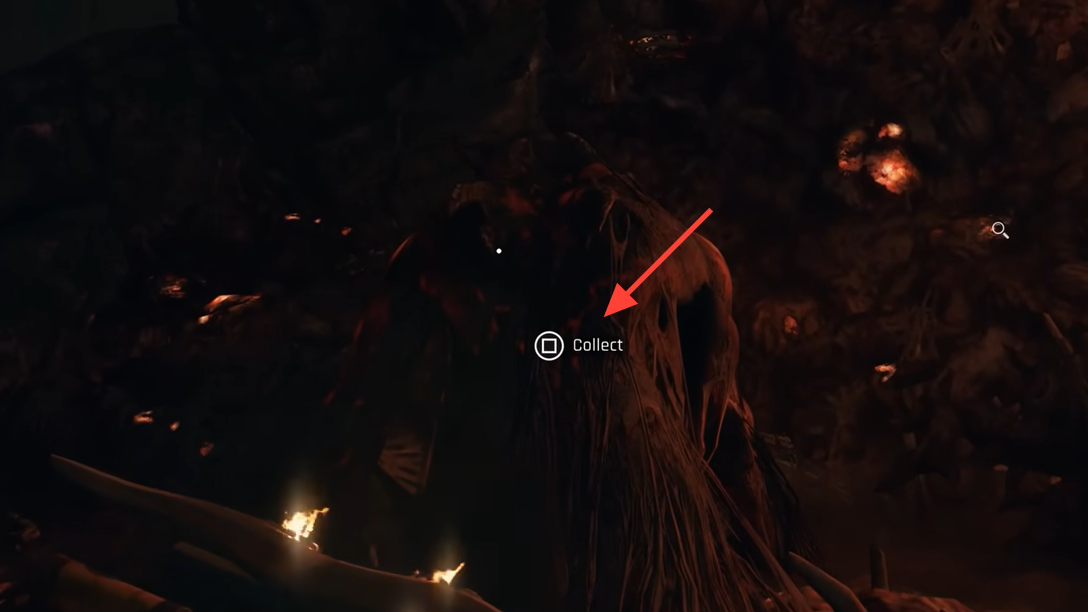
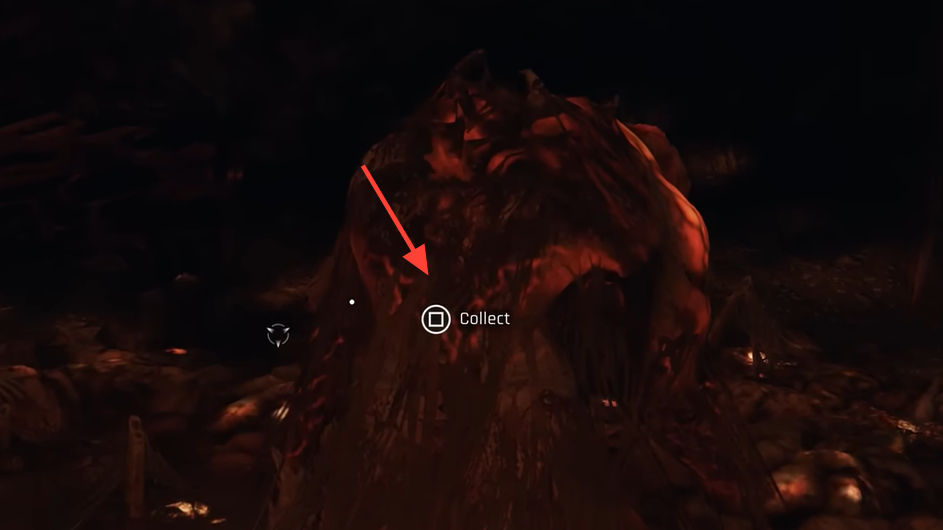
Harvest larva samples inside the volatile hive (stealth)
Inside the hive, Volatiles patrol around clusters of living nests. The three larva you need are marked with magnifying glass icons. Use cover, timing, and Survivor Sense to move without being noticed; direct confrontation with several Volatiles at once is a quick fail state.
Avoid sprinting, sliding, or noisy movement while Volatiles are nearby. Getting spotted by five or more Volatiles makes survival unlikely in this confined space.
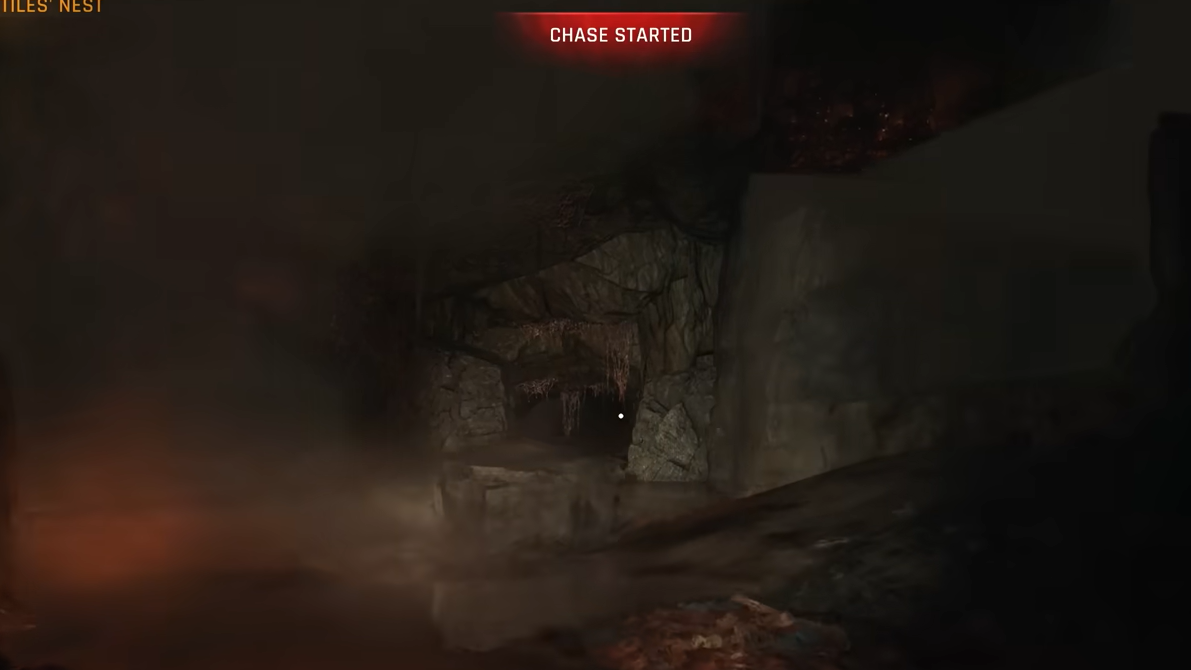
Escape the hive and return to Lydia
Collecting the third sample triggers a pursuit. The exit route is different from your entry path, so focus on forward momentum and damage avoidance.
Once outside the cavern, contact Lydia and head to the Exile’s Cave. Turn in the three samples to complete the quest and receive your rewards.
Mastering this mission is about patience in the hive and decisiveness during the escape. Stick to stealth for the samples, then commit to the sprint out to finish cleanly.