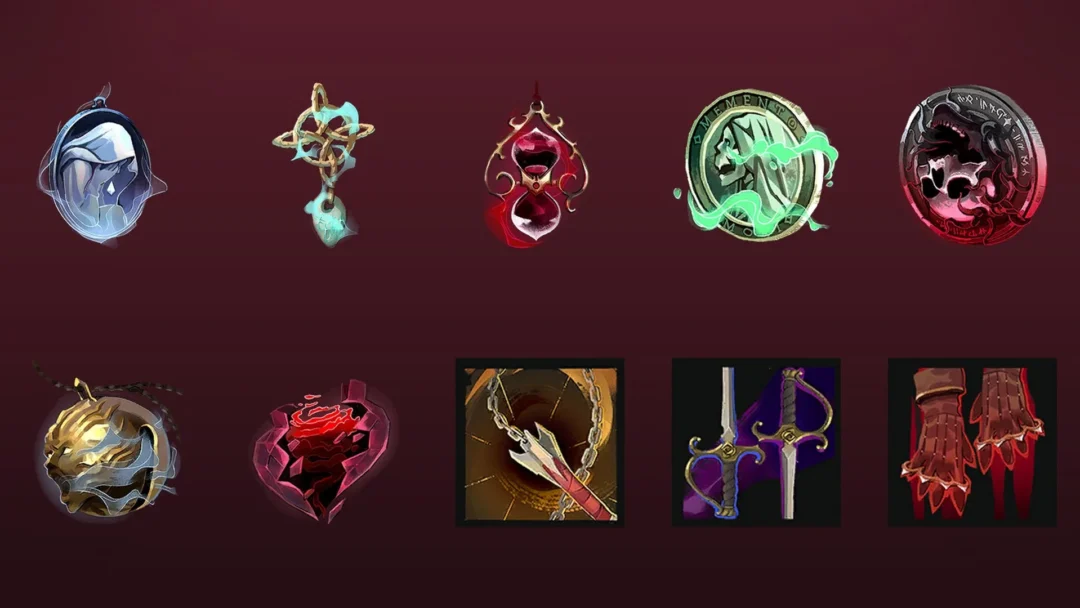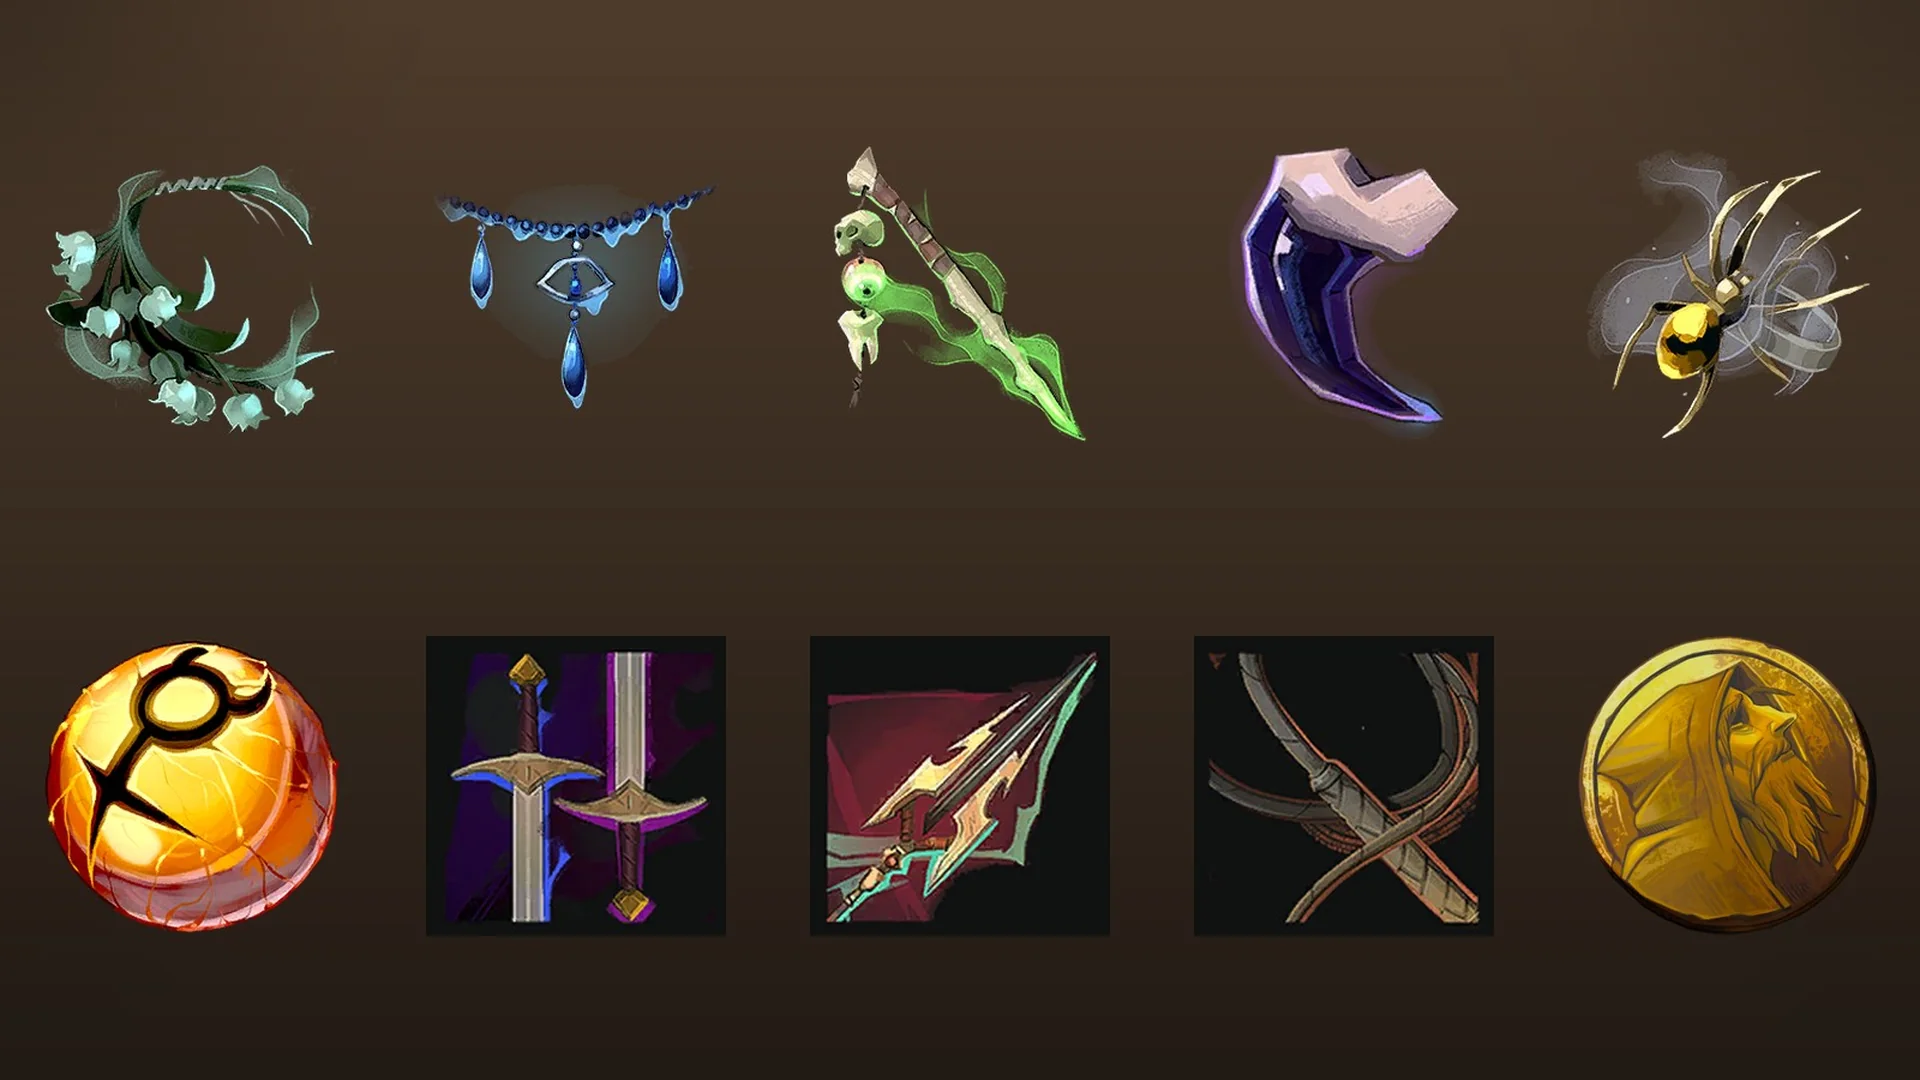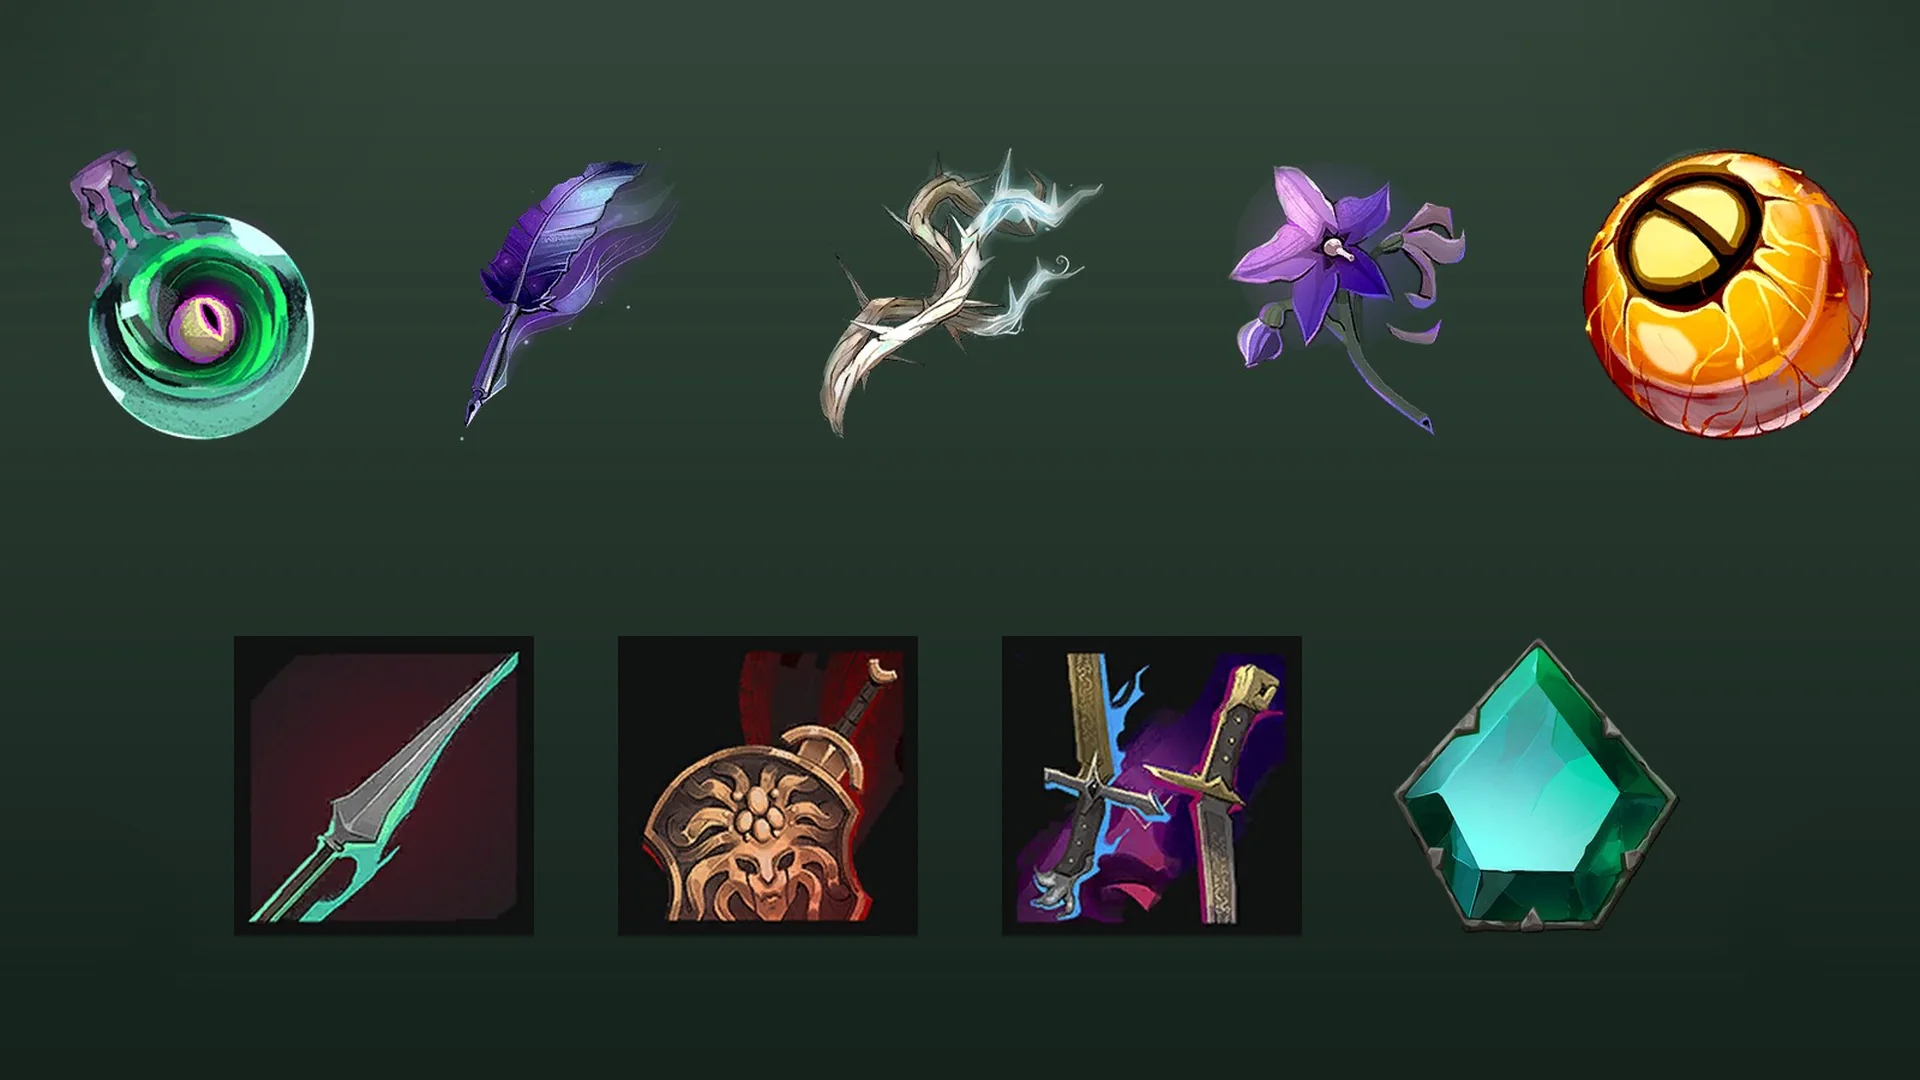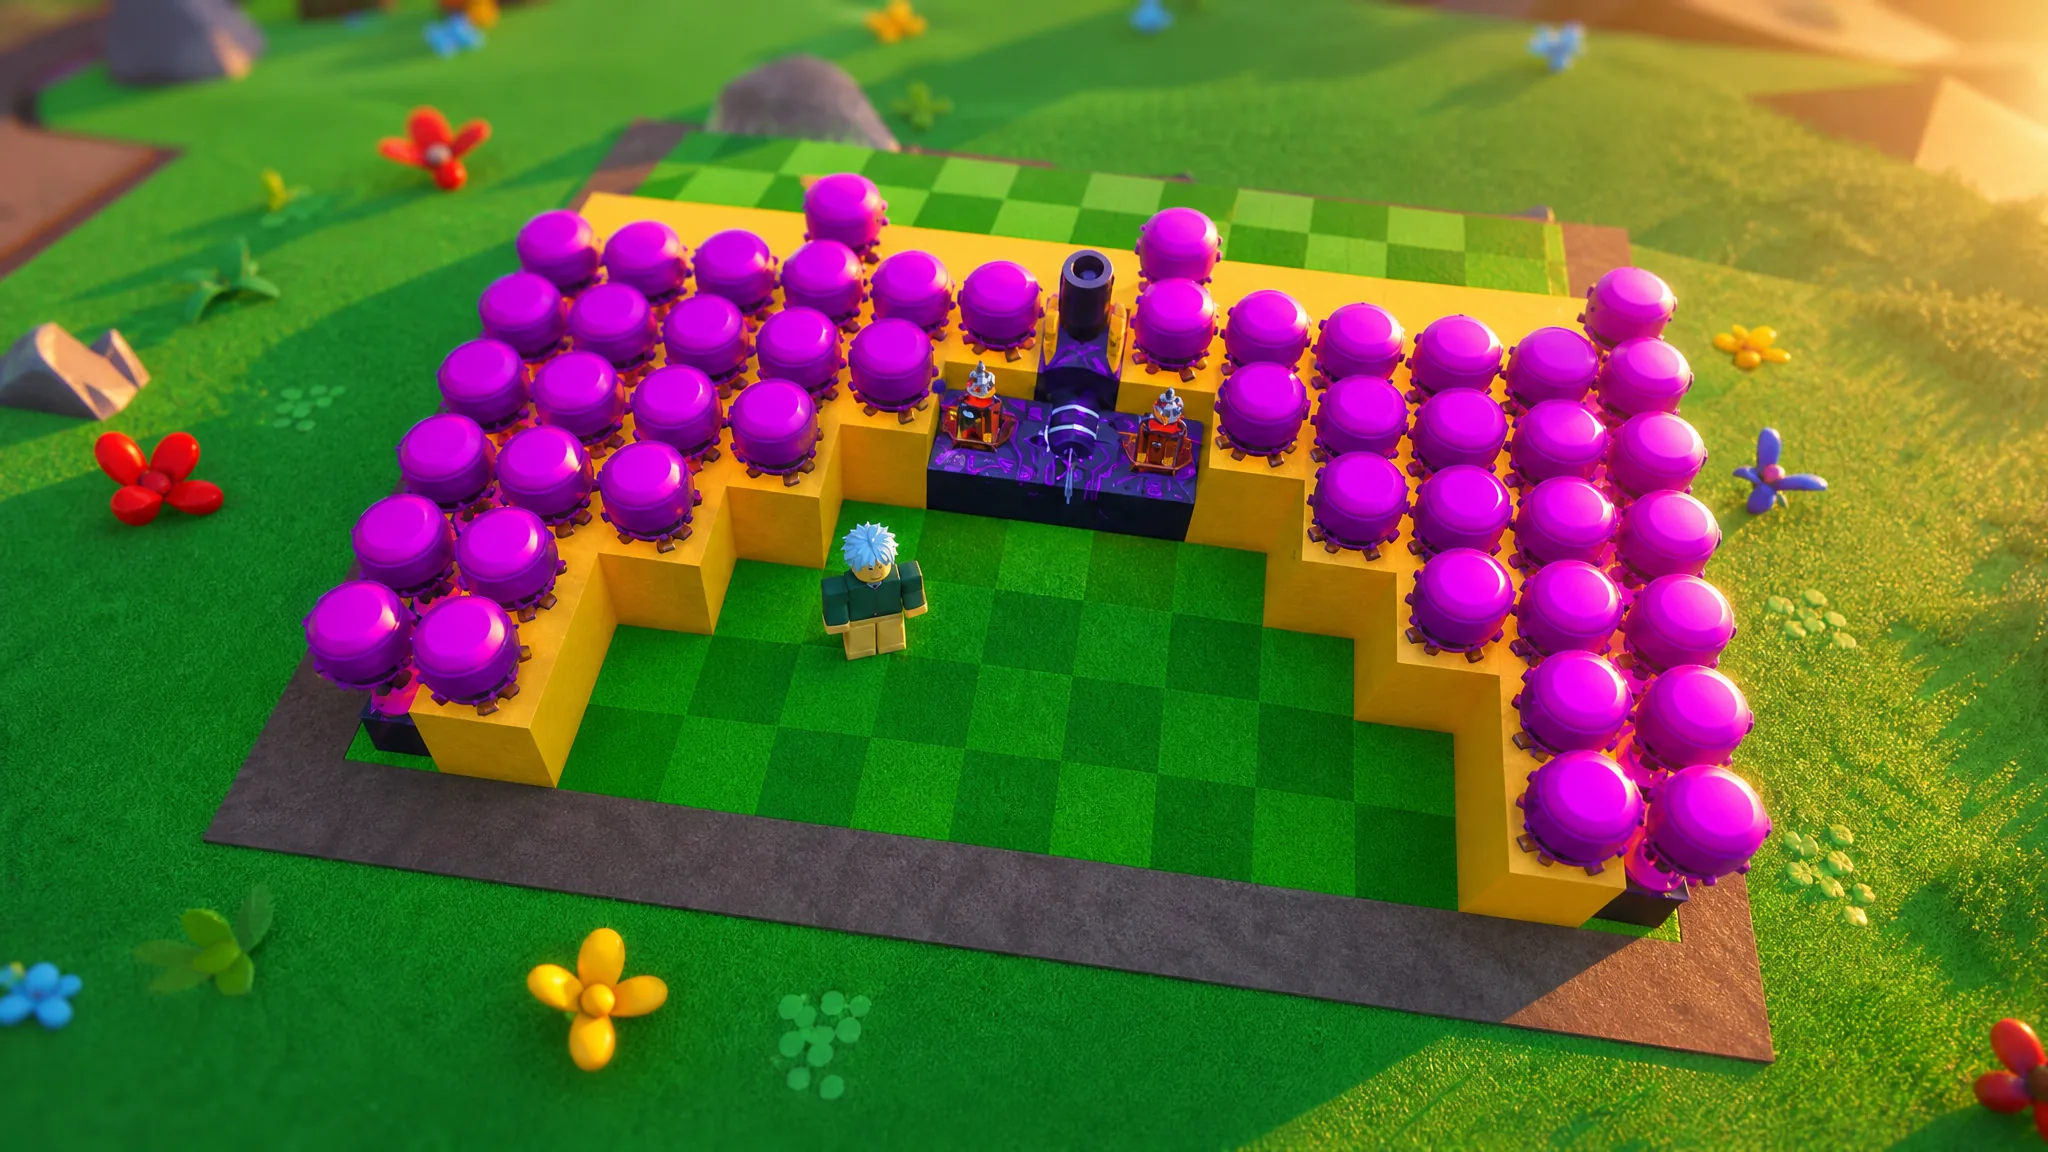
Getting past Wave 500 in Build a Base RNG comes down to two things: high-health blocks that stall zombies and enough damage stacked in a small footprint to clear them before they break through. This intermediate layout does both by pairing curved block walls with a cauldron-stacking trick that doubles your firepower inside a single tile.
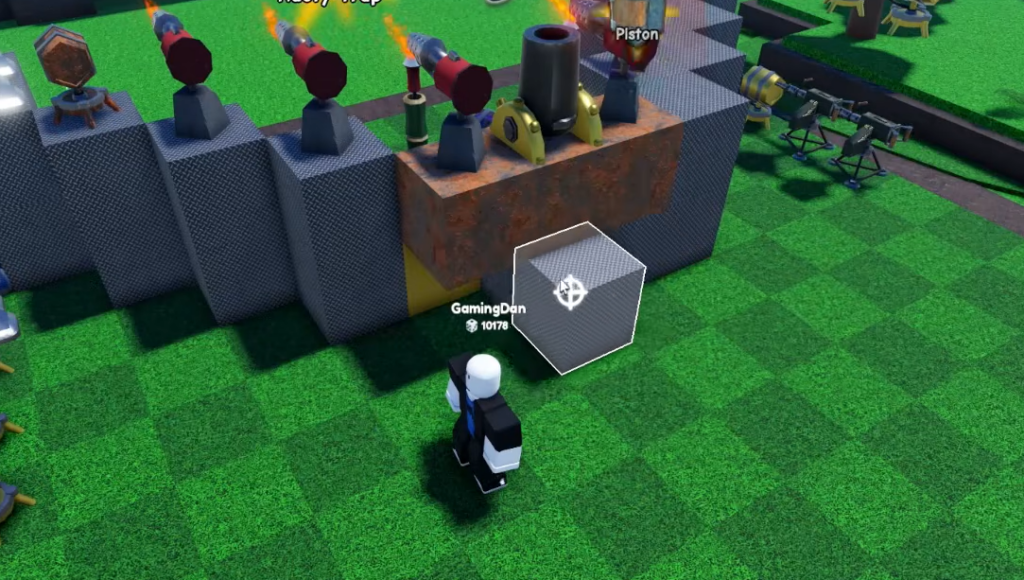
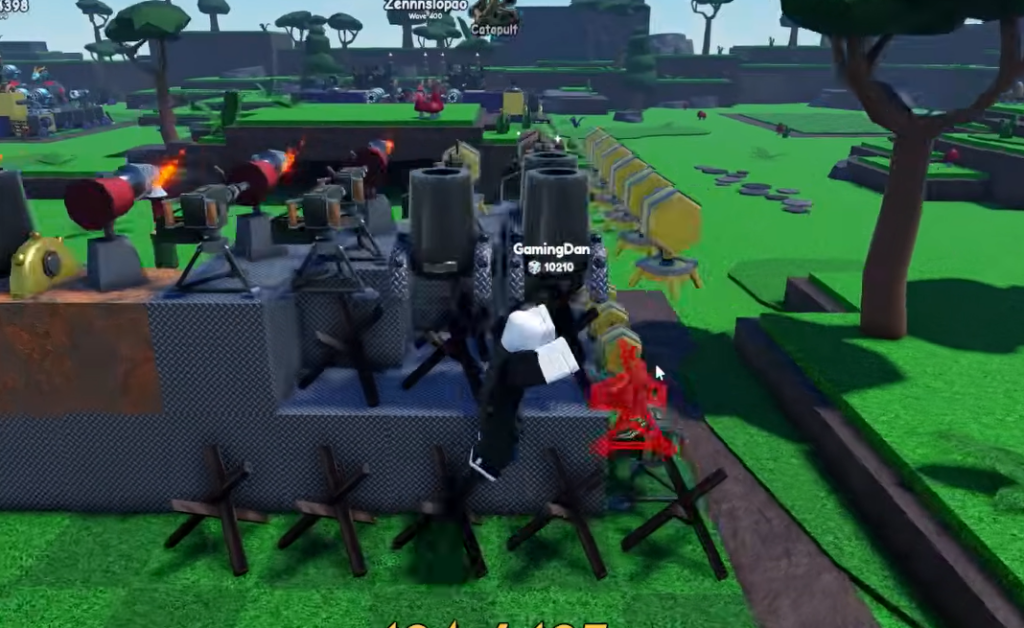
Quick answer: Build a curved front wall from your strongest blocks, then stack Witch’s Brew cauldrons using the temporary-block method, double-layer the walls, add a raised middle platform with flamethrowers, a mortar, a Tesla, and bamboo shooters, and finish the back with barricades and blocks. The full build fits inside 135 placement slots.
What you need before building
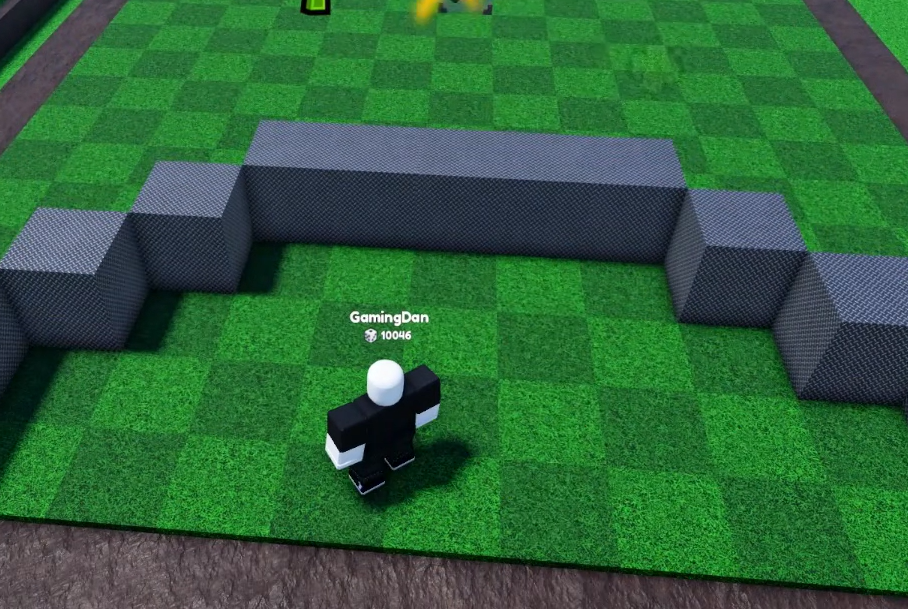
This layout is aimed at intermediate players, so a few things need to be in place before it works. The build uses up to 135 placement slots, which means your skill tree must have the item-limit nodes unlocked. Without enough slots, you will run out of room halfway through and the wall will be too thin to hold.
Witch’s Brew cauldrons are the main weapon here because their splash damage covers whole clusters of zombies at once. If you have not rolled them, cannons, flamethrowers and mortars fill the same roles. Your blocks also matter more than the weapons on top of them, so Gold Blocks and Metal Blocks should carry the front line.
| Piece | Role in the layout |
|---|---|
| Gold Block / Metal Block | Front and back walls, middle platform base |
| Witch’s Brew | Primary splash damage on the wings and back |
| Flamethrower | Wall damage and middle platform coverage |
| Golden Mortar | Grouped-target damage from the middle |
| Tesla | Single-target damage for tough enemies |
| Bamboo Shooter | Ranged support from the platform |
| Metal Blockade | Extra barricade layers near the back |
The stacking trick that doubles your damage
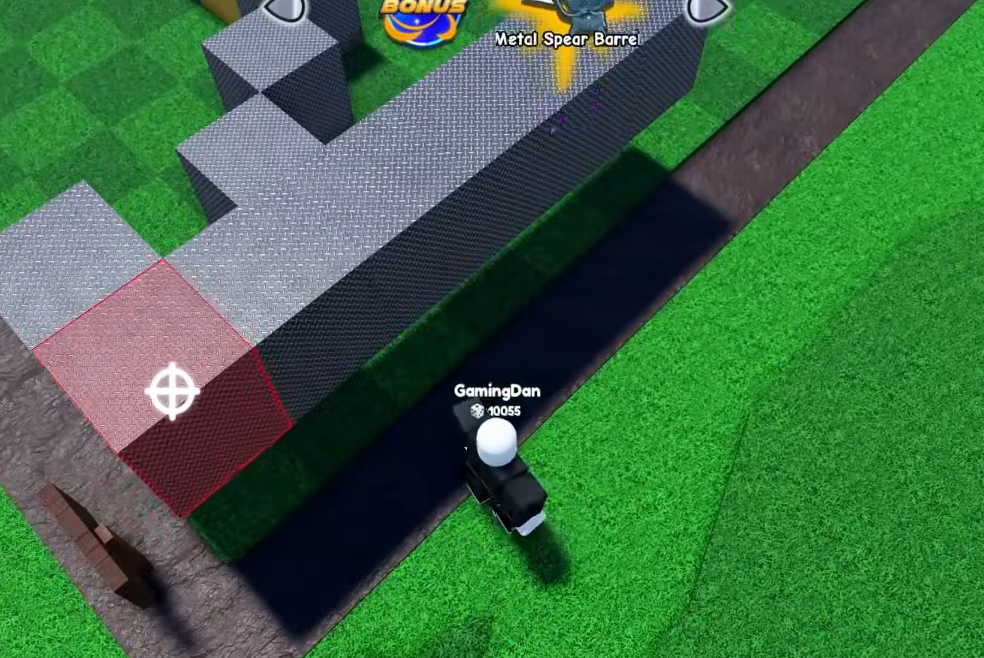
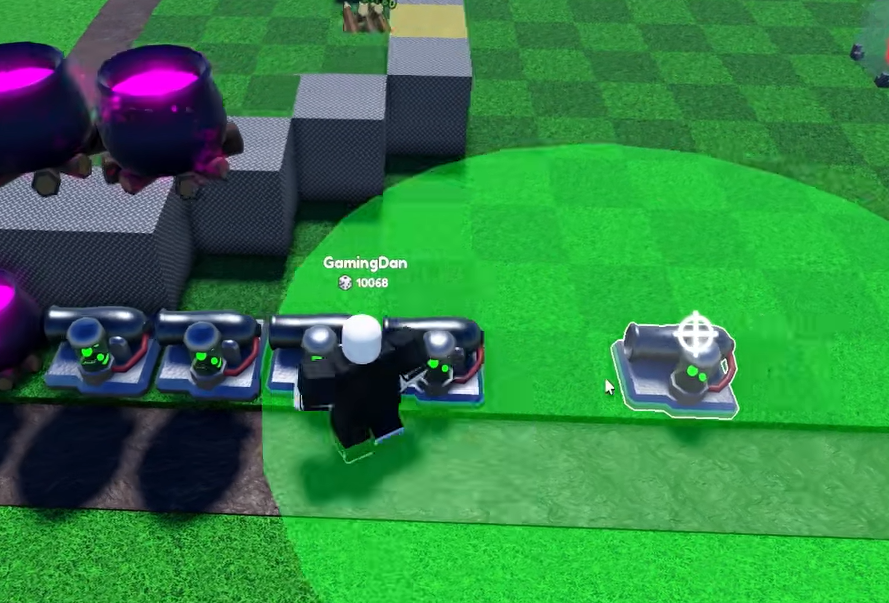
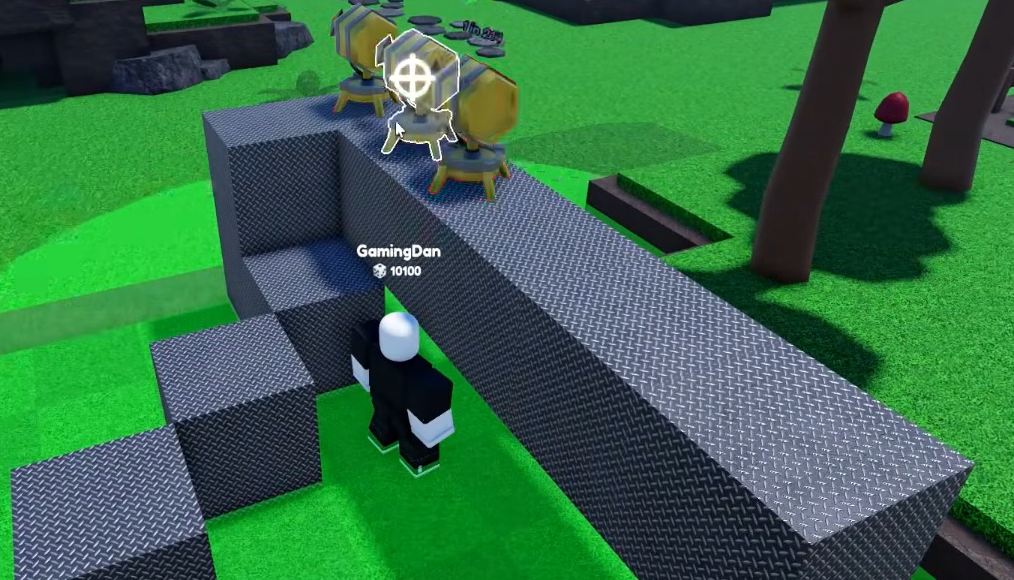
The whole layout leans on one technique. You place a row of blocks, drop weapons on top of them, delete the blocks underneath, then place a second row of weapons in the now-empty space. The floating top row stays put, and you end up with two rows of weapons in the vertical space that would normally hold one. Used across the wings and the back, this is what pushes the damage high enough to survive long waves.
The temporary blocks are only scaffolding. Once the weapons above them are placed, deleting the supports does not remove the weapons, so do not skip the delete step or you will waste slots.
How to build the Wave 500+ layout
Weapon swaps if you lack Witch’s Brew
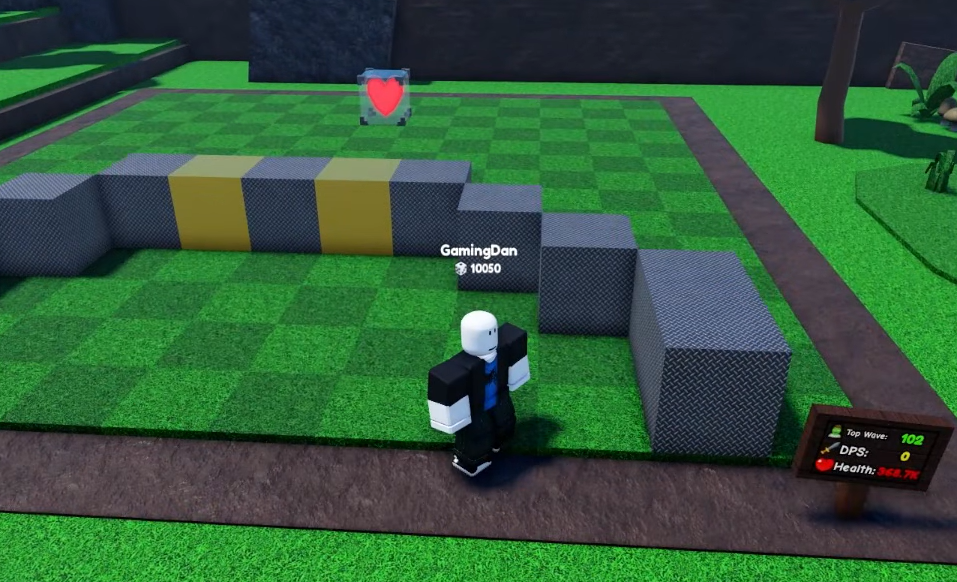
The layout still works without the primary cauldrons. Gold cannons cover the wings, flamethrowers handle wall and platform slots, and mortars provide the grouped damage the cauldrons would normally deliver. Keep your Tesla for single strong enemies and bamboo shooters for range, and the structure holds its shape.
| If you don’t have | Use instead |
|---|---|
| Witch’s Brew (wings) | Gold cannons |
| Witch’s Brew (splash clearing) | Golden Mortar |
| High-tier blocks | Metal Blocks doubled up |
How to know the layout is holding
Once the build is finished, start a wave and watch the front wall. If your double-layered blocks absorb hits while the cauldrons and mortar clear the pack before it reaches the middle platform, the layout is working as intended. Turning on Auto Wave lets it run continuously, and the base keeps fighting and earning while you are offline.
The most common reason a run stalls out early is placement slots. If you cannot finish the back wall or the wings, you are short on the item-limit upgrades, and adding those in the skill tree is the fix. Weak, un-upgraded blocks are the other failure point, since a thin front wall collapses no matter how much damage sits behind it. Level your blocks in the Index and the same layout carries you well past Wave 500.