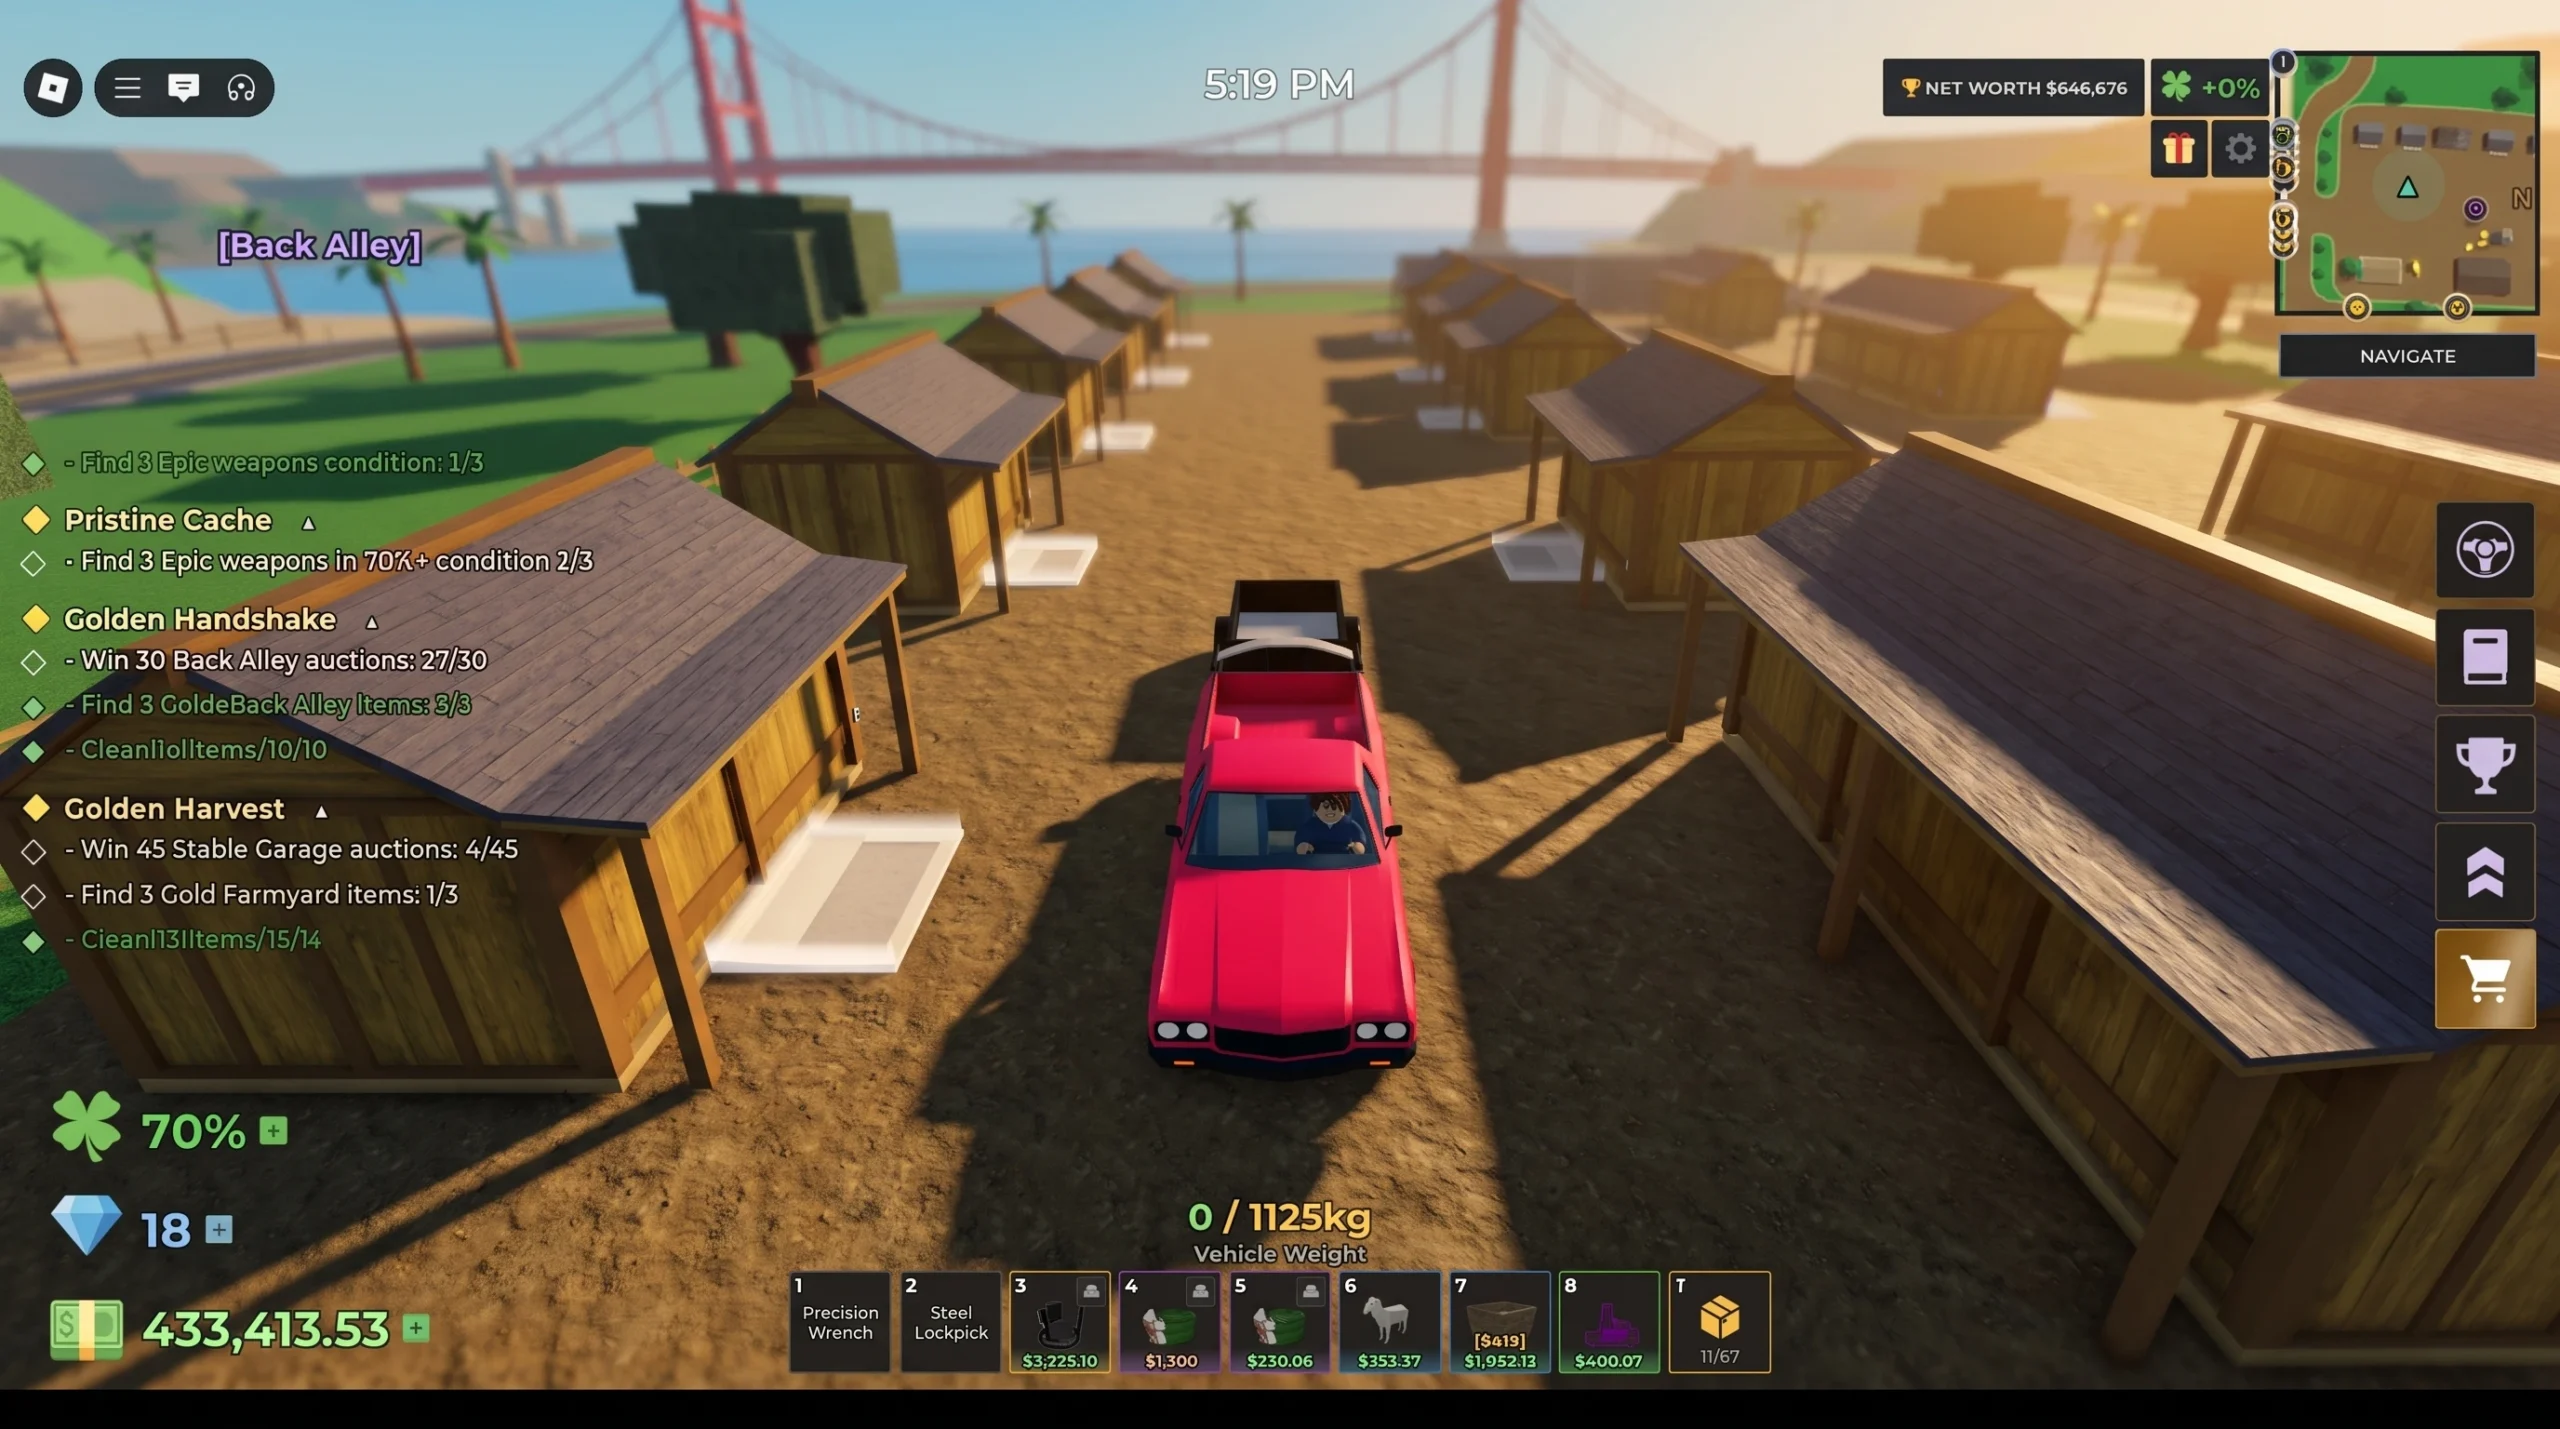
Money in Storage Hunters: Open World comes from one loop repeated cleanly: bid on lockers, haul the contents to your shop, and sell them for more than you paid. The players who grow fastest are not the ones who win the most auctions. They are the ones who cut travel time, skip junk, and clear their shelves quickly.
Quick answer: Join a small or private server, place your shop next to the auction zone you are farming, bid only on lockers with a higher starting price or visible valuable items, sell through grouped outdoor shelves with the Assistant set to about 15% Auto Accept, and spend upgrades on Inventory Space first.
The core money loop
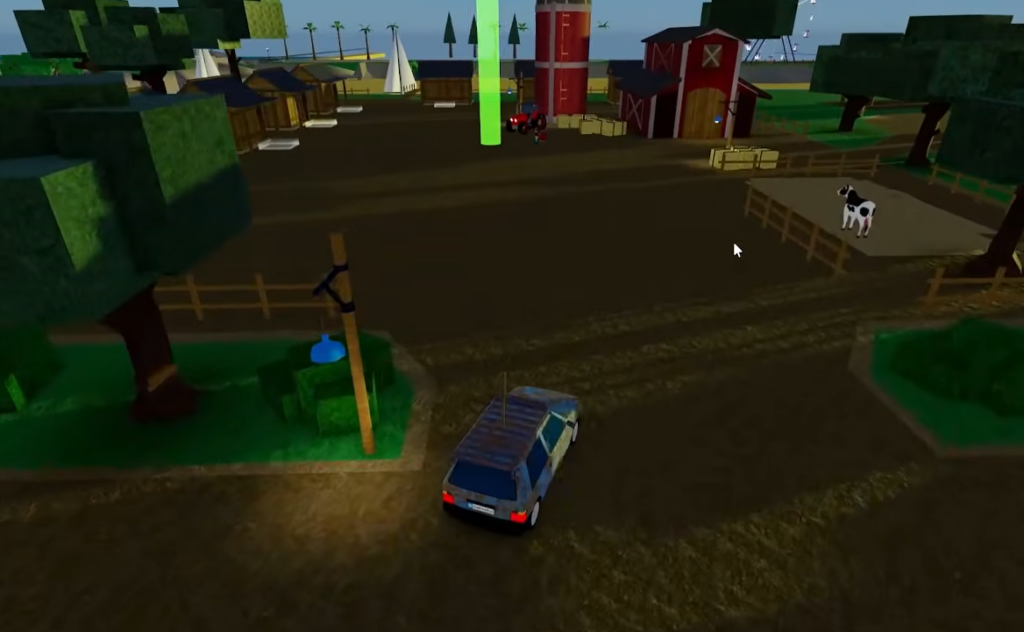
The game rewards speed. Every second spent walking between an auction and your shop is a second you are not bidding or selling. Tightening that route is worth more than any single lucky locker.
- Join a small server or private server so the best plots are still open.
- Place your shop close to the auction area you are farming.
- Skip weak lockers and bid on higher-value units.
- Sell through a clean shelf layout so items move fast.
- Spend upgrades on the part of the loop that slows you down most.
Less walking means more auctions. Better auctions mean better items. Faster selling means your cash comes back sooner to fund the next bid.
Place your shop next to the auction zone
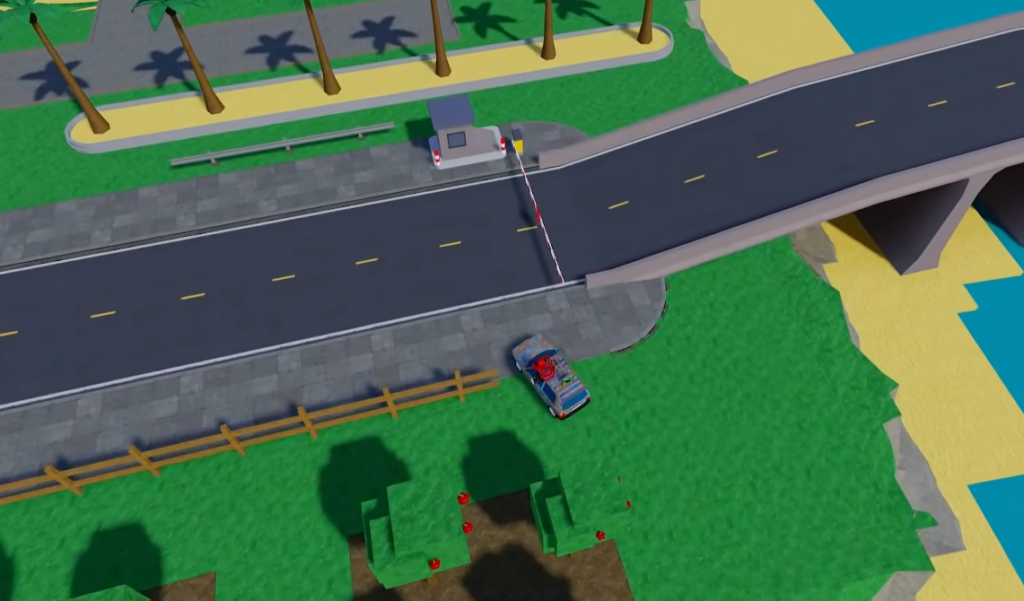
Shop location matters more than most new players expect. In a packed public server the good plots are taken, and you end up running a long path back with every load. In a small server you can claim a plot right beside the area you are grinding.
Move your shop as your money source moves. The right plot follows your best auctions, not the other way around.
| Player stage | Best shop spot |
|---|---|
| Beginner | Near Junkyard for fast early farming |
| Early-mid game | Near Farmyard for better item value |
| Mid game | Near Shipping Yard for a higher profit ceiling |
| Advanced | Closest plot to your best auction zone |
The math is simple. If a shorter trip saves 30 seconds and you make 20 trips, that is 600 seconds, or 10 minutes back in one session. Ten minutes is another full auction cycle.
Which lockers to bid on
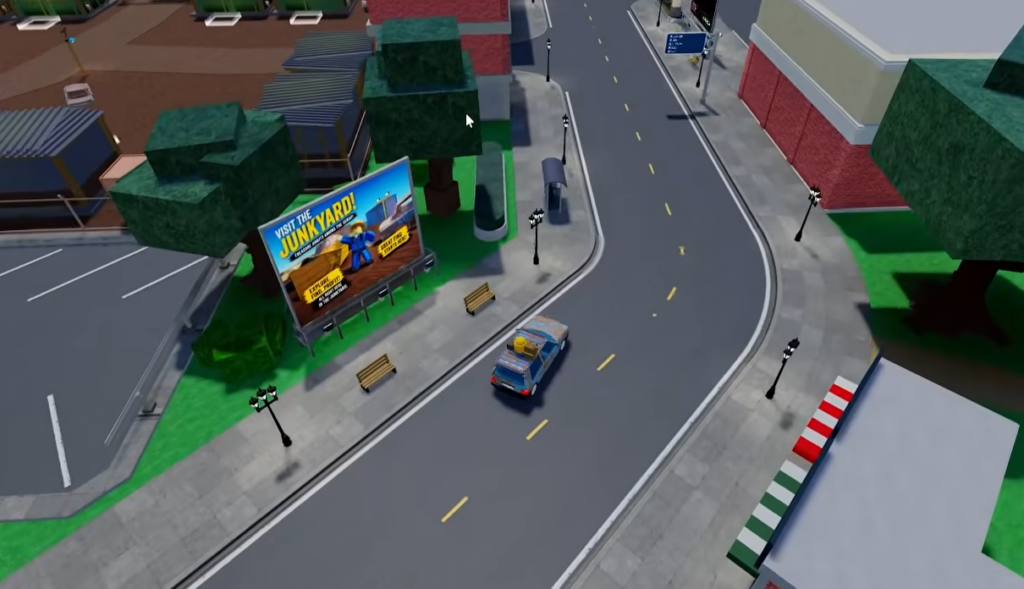
The biggest beginner trap is buying every cheap locker. Low starting prices look safe, but most of those units are full of junk that clogs your inventory and shelves. A locker is only worth it if you can resell the contents for more than you paid.
| Starting price | Likely value | Best move |
|---|---|---|
| Very low | Usually weak junk | Skip unless value is visible |
| Medium | Mixed items | Inspect before bidding |
| High | Better item chance | Worth bidding |
| Rising fast | Others see value | Bid carefully |
Do not ego-bid. If someone overpays, let them have it. When a price climbs past what the contents can return, stop. When a rare item is clearly visible, push harder. Two strong lockers beat five weak ones every time.
Sell faster with shelf layout and the Assistant
After shop location, the next big speed gain is how you lay out shelves. Place them outside and keep them close together so you have a clean drop-off zone instead of a furniture maze. Spread-out shelves and decor blocking paths cost you time on every single item.
The cost adds up. If a messy layout adds 5 seconds per item across 60 items, that is 300 seconds, or 5 minutes lost per session for no reason.
Once your shop starts filling up, turn on the Assistant and set Auto Accept to around 15%. That setting is the balance point. Items sell noticeably faster without giving away too much value. A much higher discount clears shelves quickly but eats your margins, while a very low discount slows selling to a crawl.
If your shelves are always full, the bottleneck is your selling speed, not your locker luck. Fix the layout and Assistant first.
Collect Lost Items early
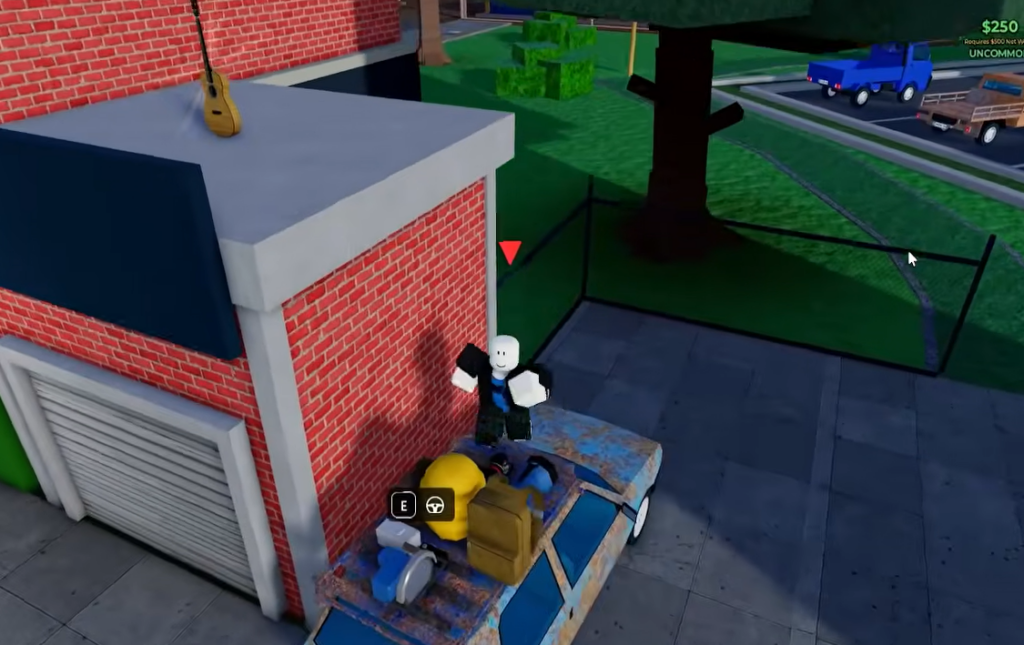
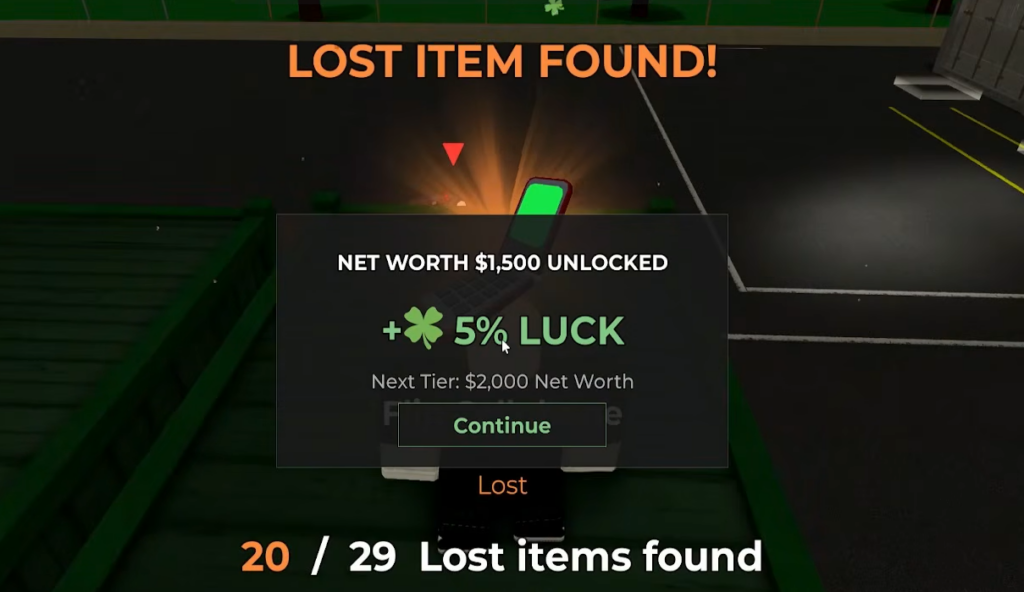
Lost Items are the safest early boost because there is no bidding risk. Collect them as soon as you can. They hand you money to bid with, Diamonds for upgrades, and luck boosts that improve future finds, all without losing a single auction.
- Money for more bidding power.
- Diamonds to fund upgrades.
- Luck boosts for better item quality.
- Collection progress toward long-term value.
Upgrade priority
Do not spend Diamonds at random. Upgrade whatever is currently slowing you down the most, then grind again and re-check.
| Priority | Upgrade | Fixes |
|---|---|---|
| 1 | Inventory Space | Carrying more per trip |
| 2 | Selling Space / Shelves | Selling more at once |
| 3 | Assistant Upgrades | Cutting manual work |
| 4 | Price Tags | Smoother shop flow |
| 5 | Luck Boosts | Better item quality |
| 6 | Decor Bonuses | Extra effects after basics |
If you keep running back and forth, raise Inventory Space. If your shelves stay full, add Selling Space. If selling drags, improve the Assistant and pricing. Luck works best only after the rest of your setup is already efficient, so treat it as a multiplier, not a starting point.
When to move to a better zone
Do not stay in Junkyard forever, but do not jump early either. Move up only when your setup can absorb higher bids and still hold backup cash.
| Condition | What to do |
|---|---|
| You profit easily in the current zone | Try the next area |
| Inventory fills too fast | Upgrade Inventory Space |
| Shelves stay full | Add more shelves |
| You lose every auction | Farm more before moving |
| You can bid and keep spare cash | Move up |
Never spend all your money on one locker. If a single bad unit can bankrupt you, you moved up too soon.
Mistakes that keep players broke
| Mistake | Fix |
|---|---|
| Shop too far from the auction zone | Move it next to where you farm |
| Buying every cheap locker | Bid only on visible value |
| Overbidding past resale value | Set a hard limit and stop |
| Ignoring Lost Items | Collect them early |
| Spread-out, messy shelves | Group them outside |
| Random upgrades | Upgrade your bottleneck |
| Staying in a weak zone | Move up when ready |
If you have played for an hour and your net worth has barely moved, one of the rows above is almost always the cause. Tighten the route, be picky with lockers, and keep your shelves clearing, and the loop starts feeding itself: more money funds better upgrades, which win better auctions, which raise your net worth and your luck. That compounding is where the real profit lives, not in any single locker.