Auctions drive everything in Storage Hunters: Open World. Every item you sell, every mutation you pull, and every net worth milestone starts with winning the right locker for less than its contents are worth. Learning to read lockers quickly is the most valuable skill in the game, and it decides how fast your shop grows.
Quick answer: Walk up to a storage locker, press E to join the auction, and outbid rivals before the timer ends. You win only if the visible items can resell for more than your top bid, so skip lockers that show cheap clutter and push hard when you spot high-value goods or mutations.
How auction bidding works
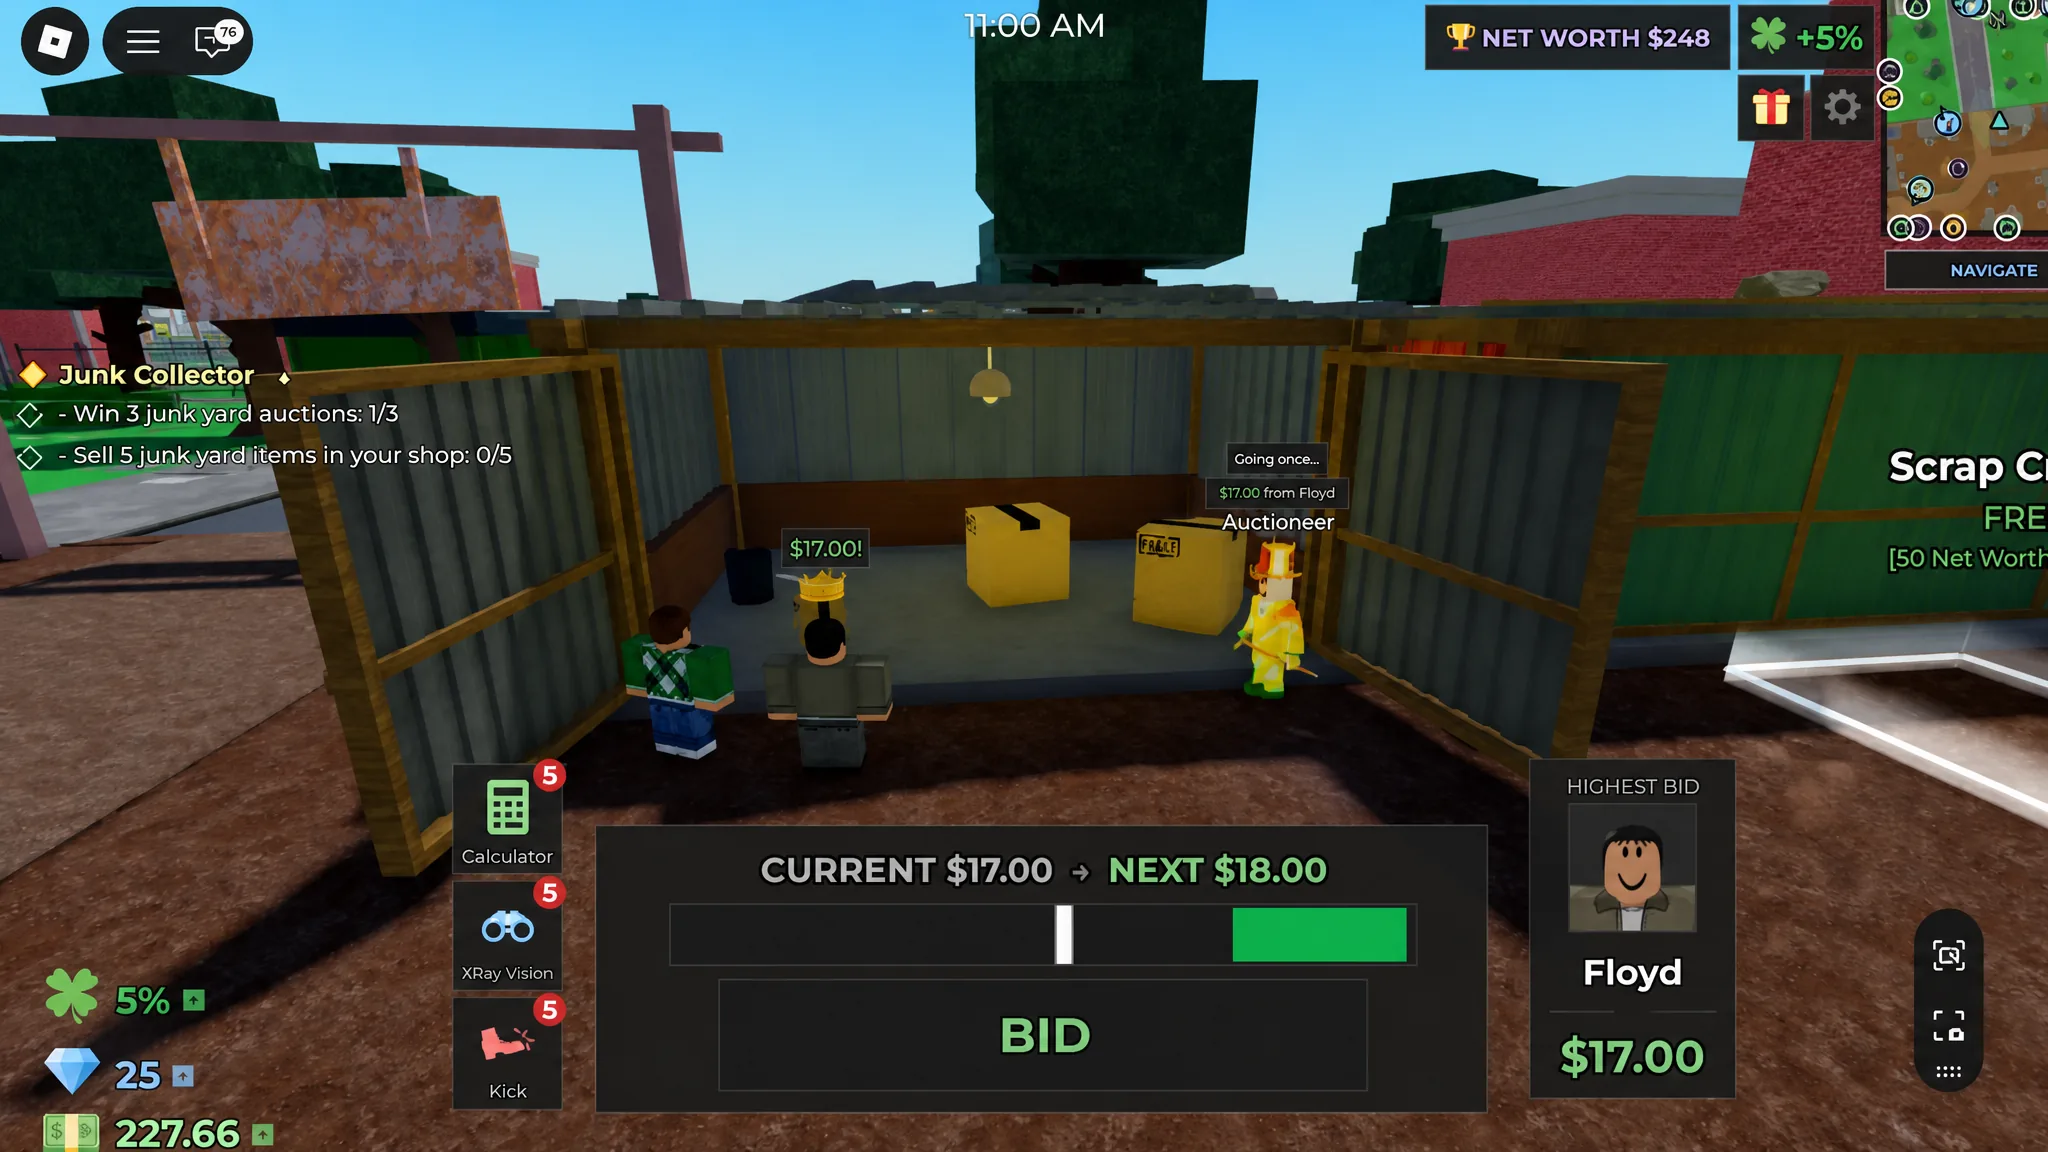
Each auction area opens sealed lockers for bidding. Stand inside the bid zone and press E to place a bid. You compete against NPC buyers and any other players nearby, and the countdown resets every time someone raises the price. Whoever holds the highest bid when the timer expires wins the locker and everything inside it.
Winning is only half the job. After the auction ends you have to physically load the contents into your vehicle, watch the weight limit, then drive back to your shop and sell what you hauled. There is no extra fee beyond the winning bid, but overpaying for a weak locker is one of the fastest ways to stall your progress.
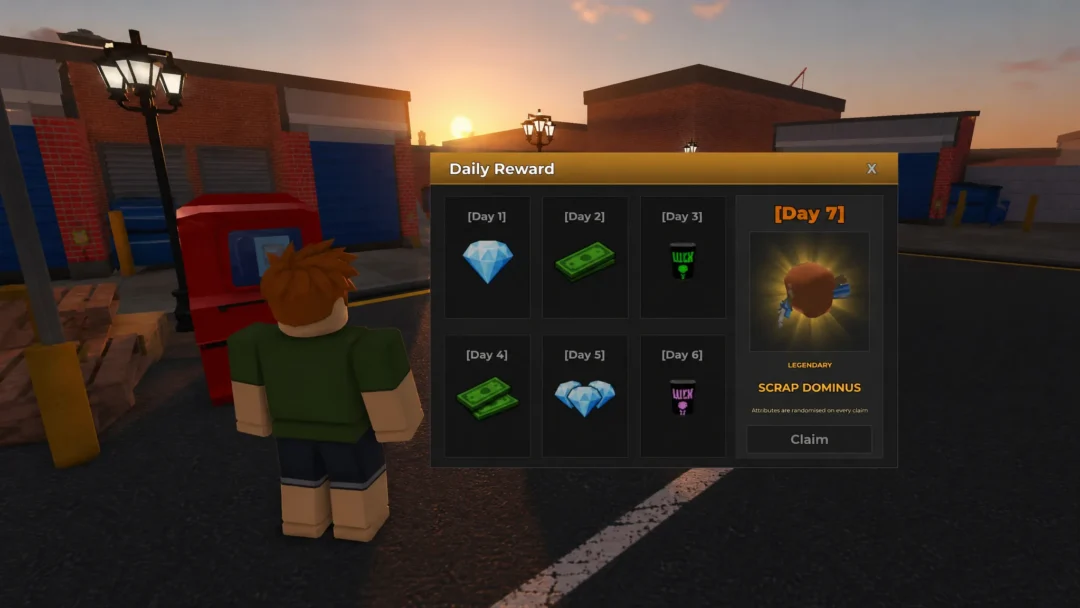
You start with a small amount of cash, so treat your early bids carefully. If a locker would cost more than half your balance, let it go. There is always another auction, and keeping a reserve means you never get stuck without the funds to bid on a better one. The game itself is free to play on Roblox.
What to check before you bid
Lockers are open, so you can see part of the contents before committing money. Take a moment to read three signals, and let them decide whether you compete or walk away.
- Starting price. A high starting price usually means the system has flagged the locker as holding valuable items. Those are generally worth competing for, even when the bidding turns competitive.
- Visible items. Vehicles, large appliances, or furniture hint at strong contents, so bidding aggressively pays off. If all you see is cheap junk like paper bags and basic clutter, move on.
- Mutation indicators. Watch how others behave as the price climbs. When several players suddenly bid hard, it often means they spotted something valuable that you missed.
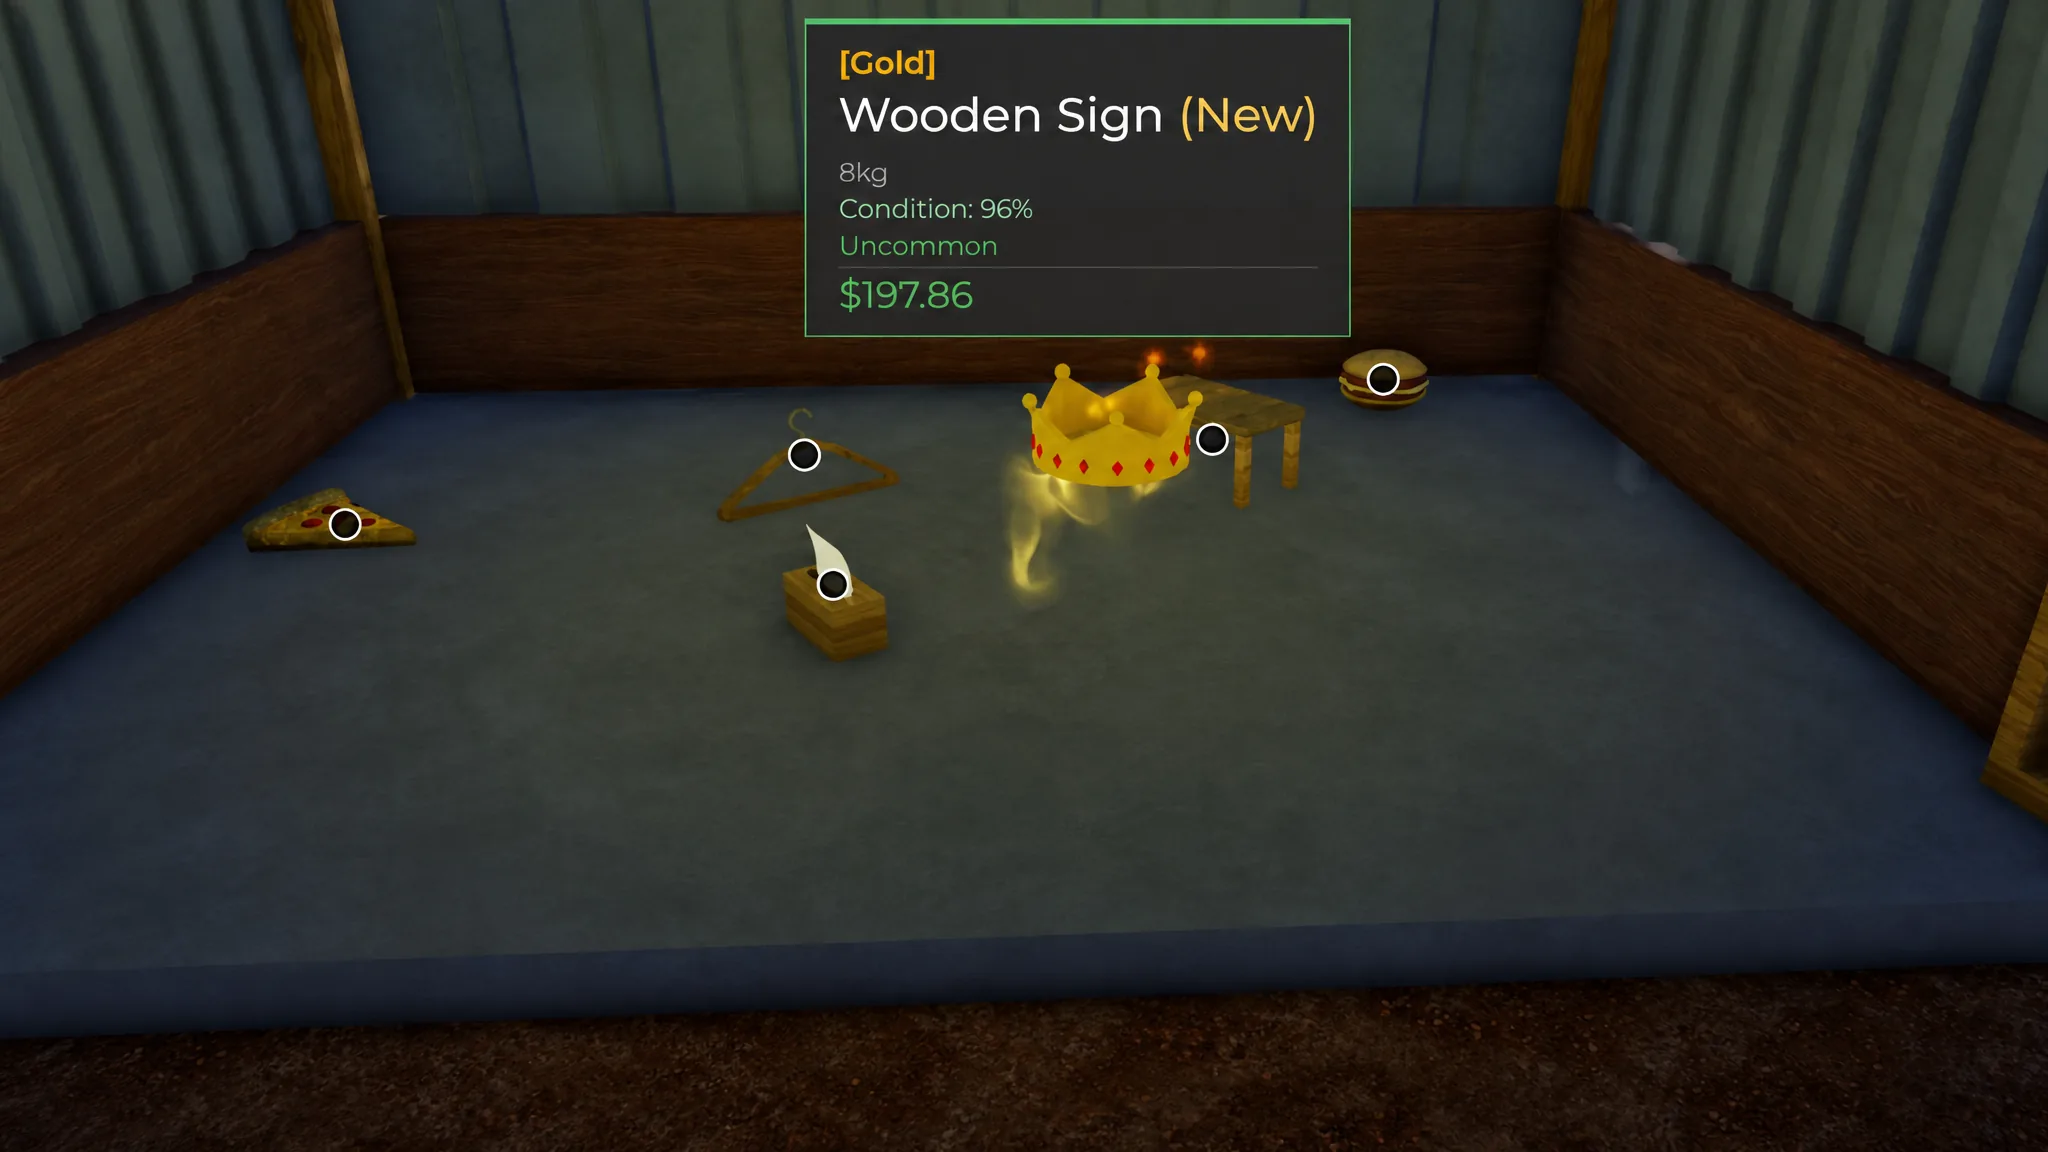
A high starting price is a strong signal, not a guarantee. Mutations are the real payoff, since they multiply an item’s base value. Even a modest Pure (1.5x) roll on a mid-value item adds up, while top-tier rolls like Void (35x) can turn a single locker into a huge score.
Bidding discipline that keeps you profitable
You do not need to win every auction. Being selective earns more than winning constantly. Set a mental ceiling before the bidding starts, which is the highest price at which the visible contents could still cover your spend with profit left over. Beat rival bids by one increment up to that ceiling, and stop the moment the price crosses it.
Avoid ego bids and drawn-out bidding wars. If two players keep driving a price up, let them fight it out and look for a cheaper locker nearby. Time spent stuck in a bad auction is time not spent finding a good one, so leave weak lockers without hesitation and keep your cash working.
Auction zones and net worth requirements
Each zone has its own auction pool, and item quality scales with the net worth you need to reach it. You unlock new areas by growing your net worth, so the Junkyard funds your first push and every zone after that widens the ceiling on what a single locker can be worth.
| Zone | Net Worth Required |
|---|---|
| Junkyard | None |
| Back Alley | $750 |
| Cargo Ship | $7,000 |
| Farm Area | $10,000 |
| Shipyard | $125,000 |
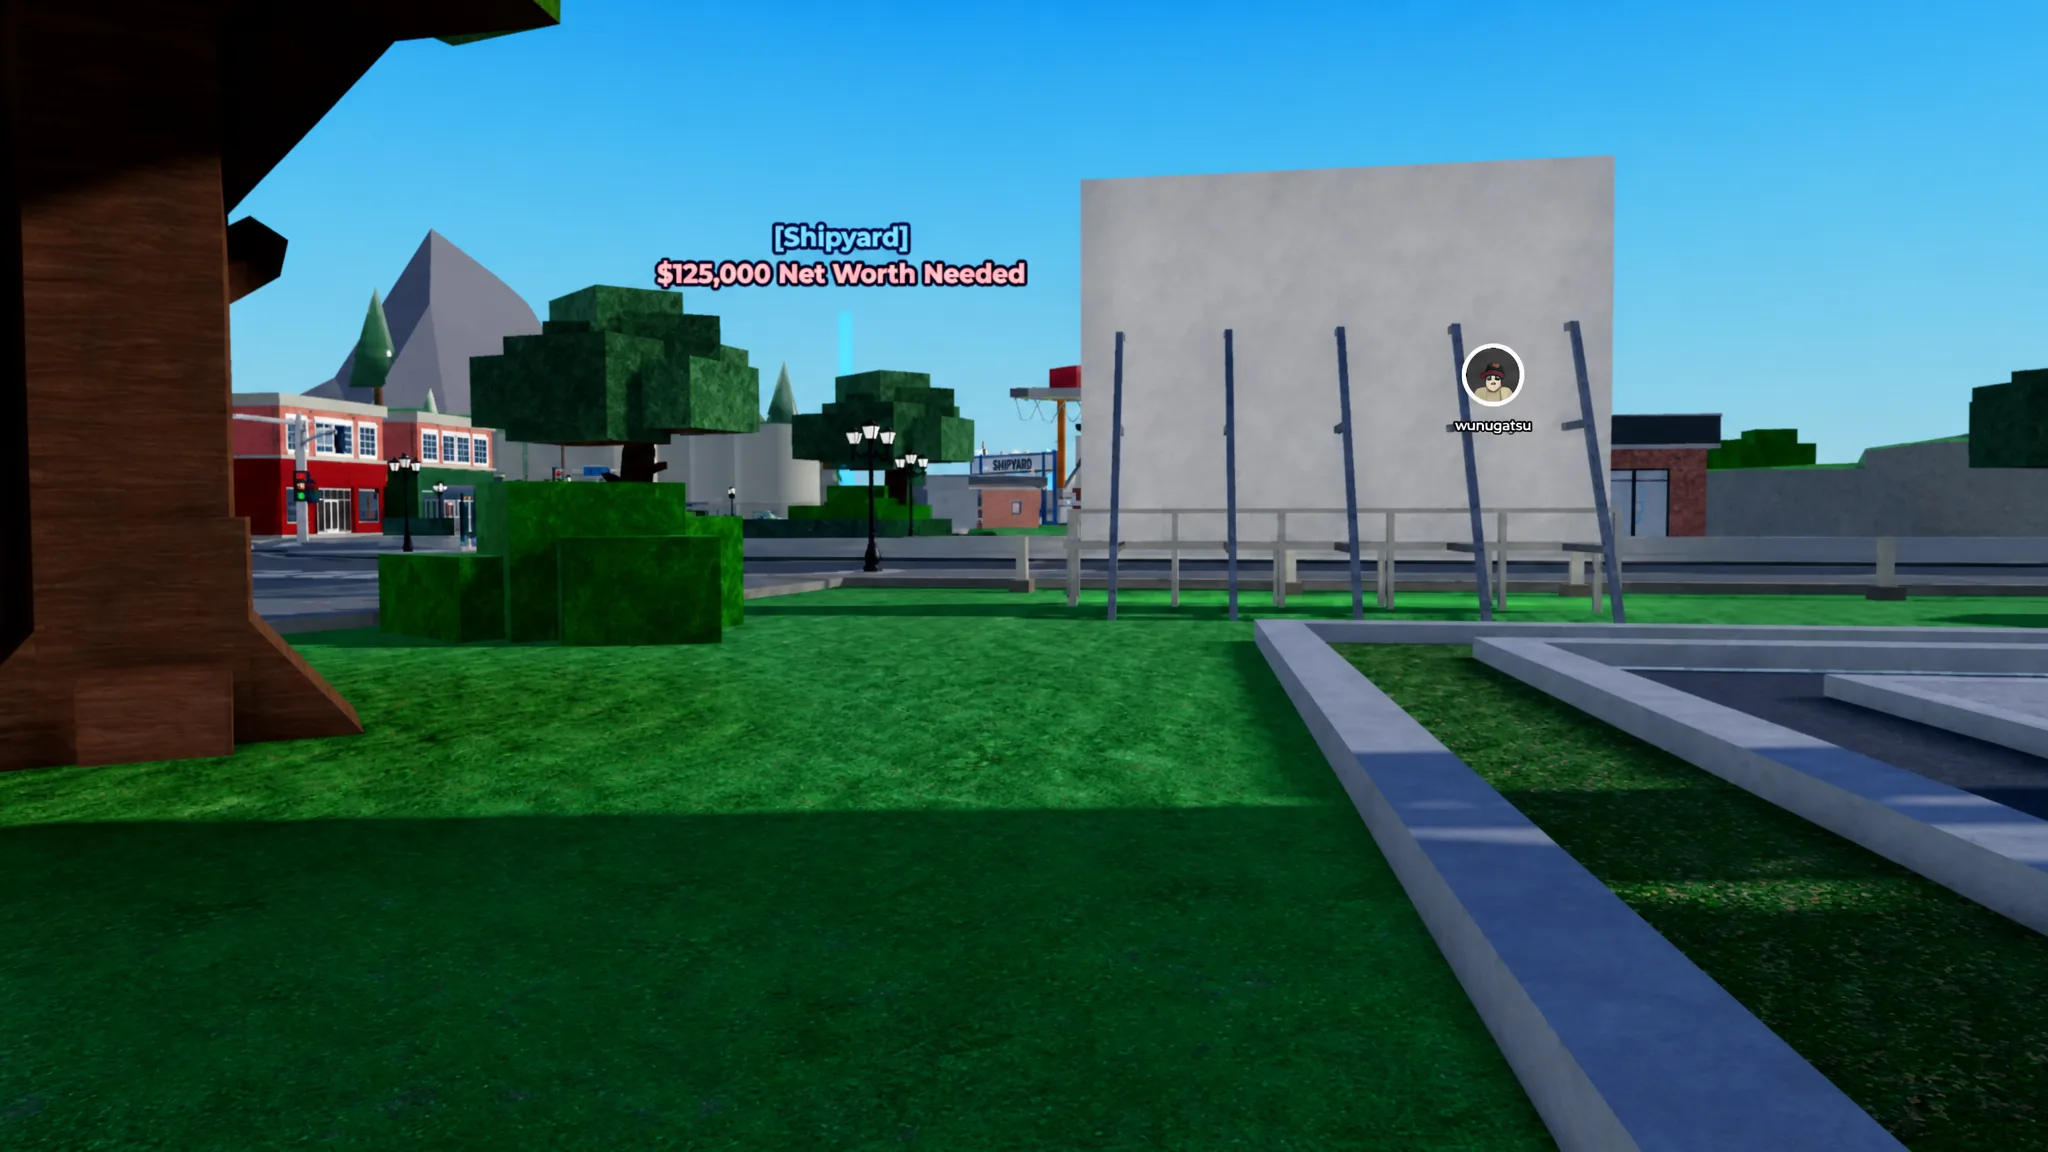
Higher-tier zones charge more to bid, so do not rush ahead the moment a zone unlocks. Clear a chunk of cheaper auctions for cash and accessories first, then push up once you can comfortably outbid the NPCs at the next area without draining your reserve.
Get more value out of every auction
Once your bidding is disciplined, a few systems raise your returns on the lockers you do win.
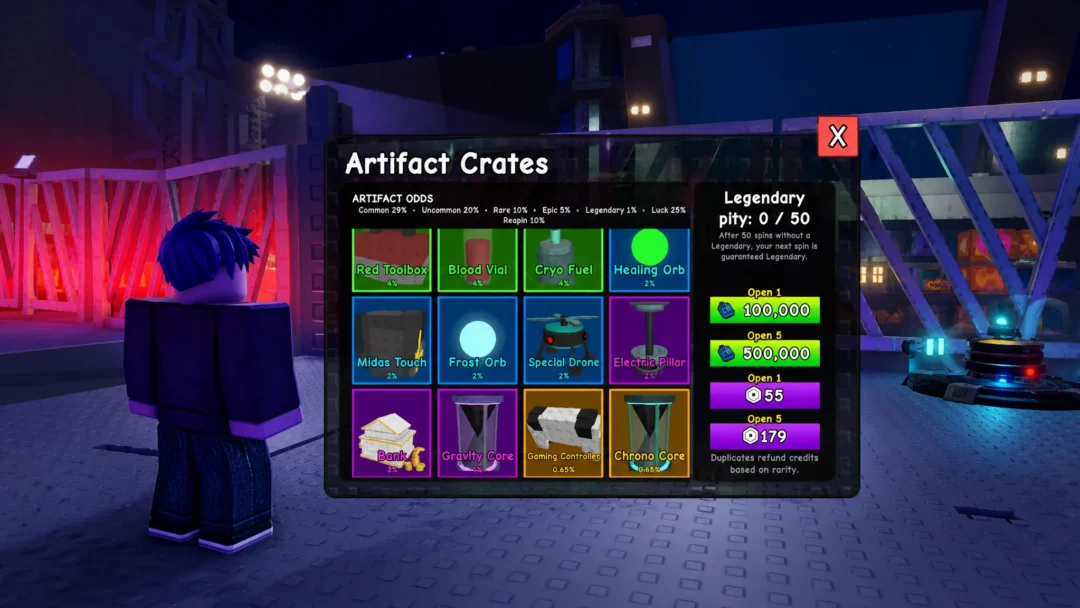
- Upgrade your luck. A higher luck stat raises the chance of pulling mutated items from lockers, which is where the biggest payouts come from.
- Use boosts wisely. Energy drinks stack luck on top of each other, and they pay off most in the Shipyard when you are opening large, high-value containers.
- Chase auction achievements. Reaching 10, 100, and 1,000 auctions won rewards Gems, and the 1,000-win milestone alone pays out 1,000 Gems. Staying consistent pays off well beyond the items in each locker.
You know a run worked when the locker contents transfer to you, you load them under your vehicle’s weight limit, and the sale value shows up in your balance after selling at the shop. If your net worth crosses a zone threshold, that new auction area opens up and your bidding ceiling rises with it.
Master the read first, keep a cash cushion, and let the visible items and starting price decide your bids. Do that consistently and the auctions stop being a gamble and start becoming the steady engine behind your climb from the Junkyard to the Shipyard.