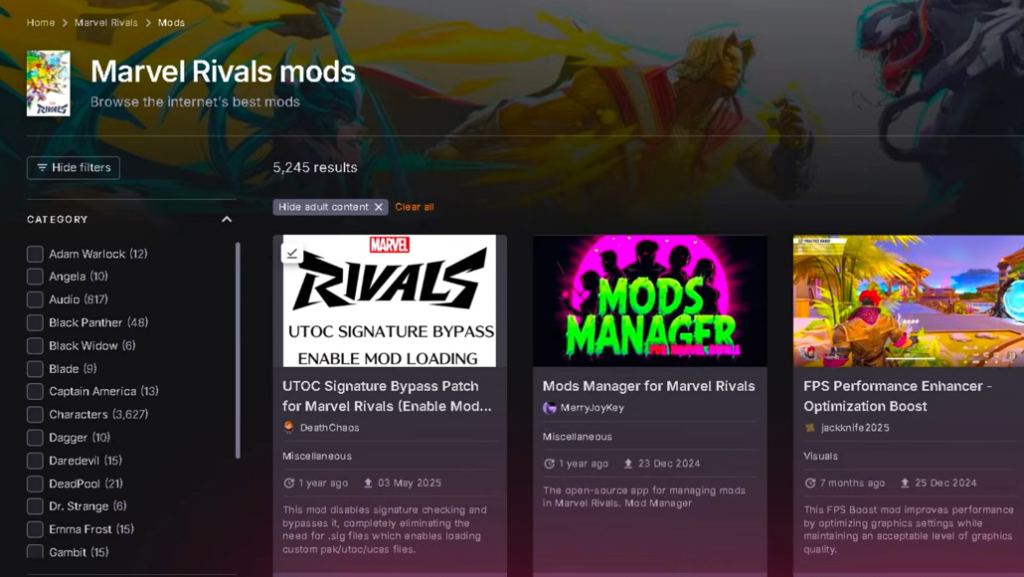
Adding custom skins and character swaps to Marvel Rivals is far easier with a mod manager than moving files by hand. The most widely used option is an open-source tool built by MjKey, which installs, enables, and disables community mods from one window so you never have to dig through the game’s folders yourself.
Quick answer: Download the Mods Manager for Marvel Rivals, point it at the folder that holds MarvelRivals_Launcher.exe, then add a mod archive through the manager and enable it. The mod appears in-game the next time you launch.
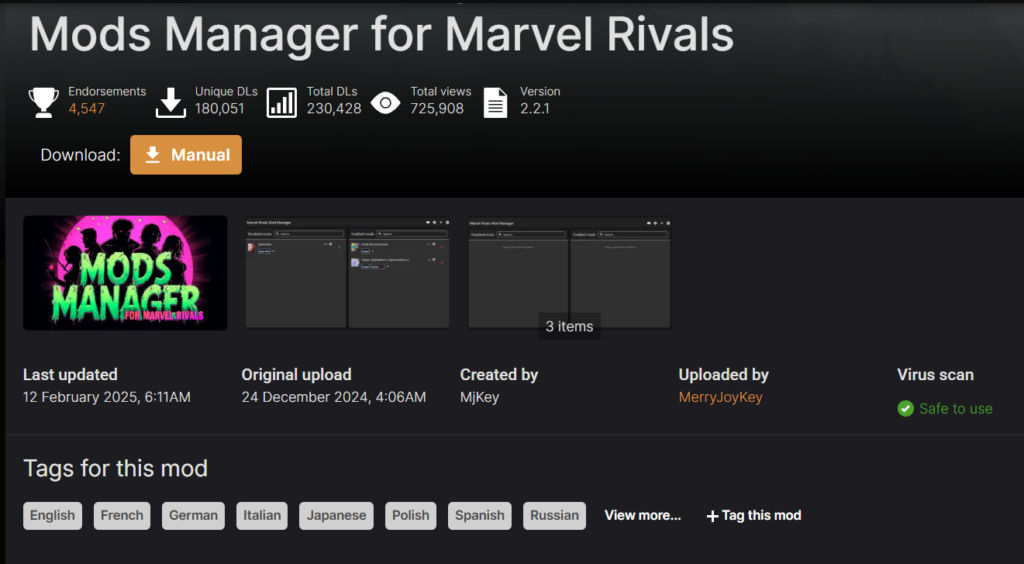
What the Marvel Rivals mod manager does
The manager is a lightweight desktop app for Windows that handles the parts of modding people find confusing. Instead of copying files into the game directory and hoping nothing breaks, you add a mod once and flip it on or off with a toggle. Your original game files stay untouched, so removing a mod returns the game to its normal state.
It supports profile-style loadouts, letting you group mods into sets and switch between them, and it flags mods that conflict with each other or fall out of date. The download is roughly 13 MB and works for both the Steam and Epic Games versions of the game.
What you need before installing
| Requirement | Detail |
|---|---|
| Operating system | Windows 10 or newer |
| Base game | Marvel Rivals installed (Steam or Epic) |
| Extraction tool | 7-Zip, used to unpack downloaded mod archives |
| Free storage | Around 500 MB, plus space for the mods themselves |
Mods usually arrive as compressed archives. If you do not already have a tool that opens them, install 7-Zip first so you can extract the files before importing them.
Point the manager at your game folder
The manager needs to know where Marvel Rivals lives so it can drop mods in the right place. The correct folder is the one that contains MarvelRivals_Launcher.exe. Your drive letter may differ depending on where the game was installed.
| Store | Default install path |
|---|---|
| Steam | C:\Program Files (x86)\Steam\steamapps\common\MarvelRivals |
| Epic Games | C:\Program Files\Epic Games\MarvelRivals |
MarvelRivals_Launcher.exe. Confirm the path so the manager can read and write to the game directory.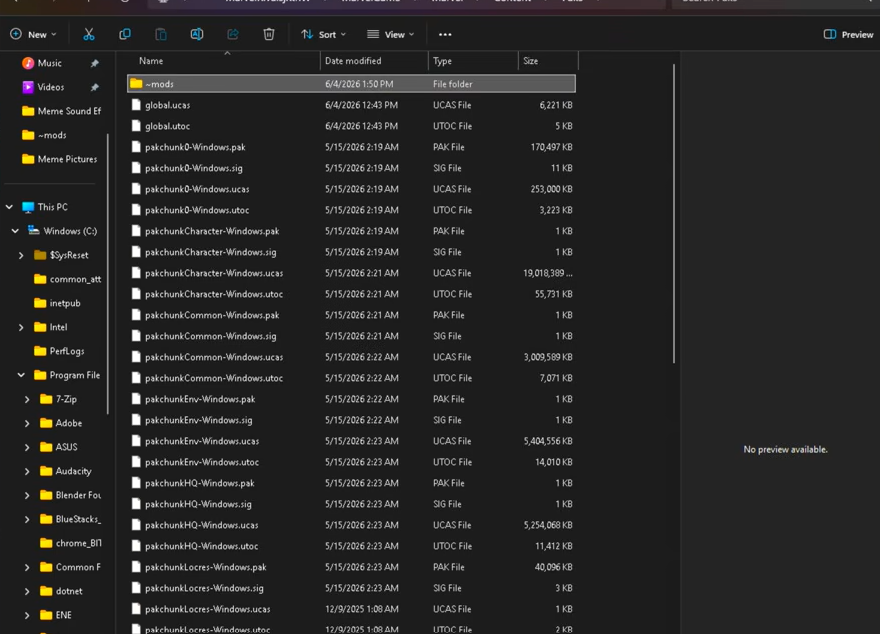
Add and enable a mod
Confirm the mod is working
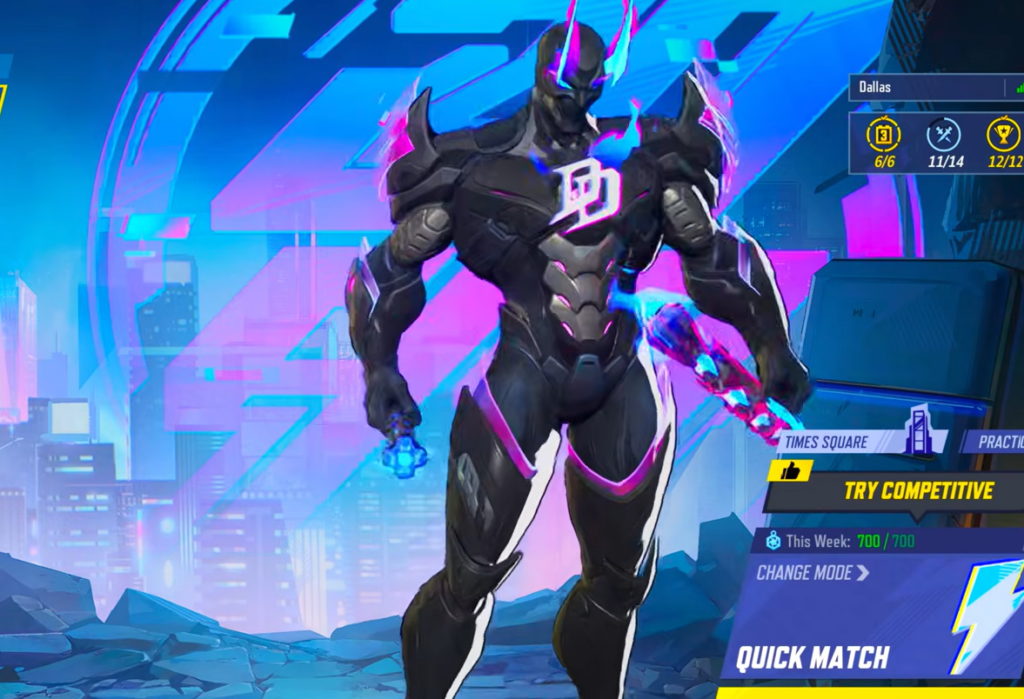
Launch Marvel Rivals after enabling a mod. A character-swap mod, for example, shows the replacement model in the hero select screen and during a match. If the original hero still appears, the mod either failed to install to the correct folder or is switched off in the manager.
To remove a mod, disable its toggle in the manager rather than deleting game files. Because the manager keeps your base files intact, turning a mod off restores the default appearance the next time you start the game.
Why a mod may not appear
- The game folder was set to the wrong directory. Only the folder containing
MarvelRivals_Launcher.exeworks. - The mod archive was imported without being extracted, so the manager could not read the files.
- The mod is added but left disabled. Check that its toggle is switched on.
- Two mods edit the same character and conflict. The manager flags these, so disable one of the pair.
Note: Nexus Mods also offers Vortex, its own open-source mod manager, as an alternative for handling Marvel Rivals mods. The install idea is the same in either tool. Set the game folder, add a mod, then toggle it on and verify the change in-game.