

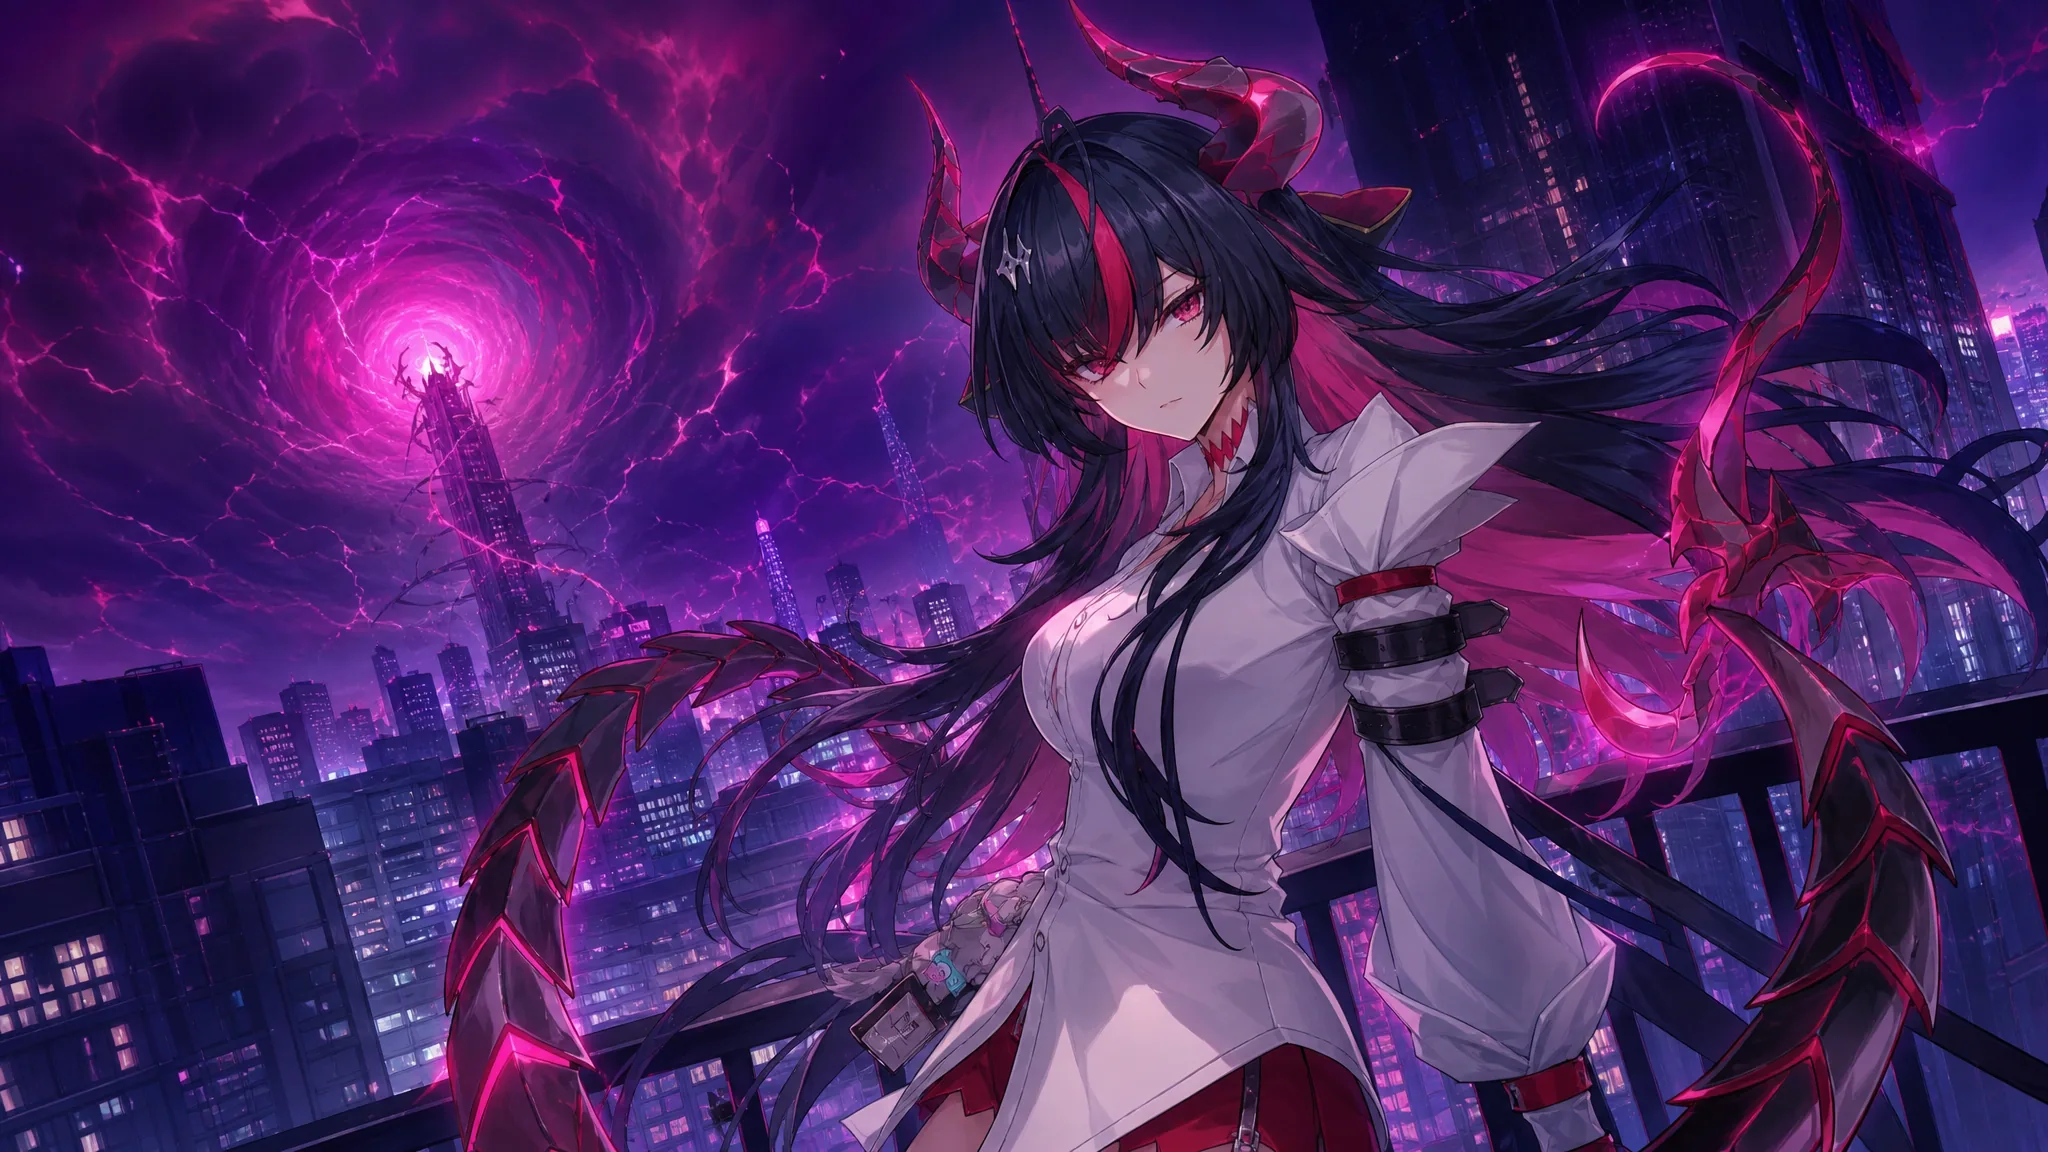
Shinku is the first limited S-Rank Cosmos DPS in Neverness to Everness Version 1.2, and she leans hard on gearing done right. Get her Arc, Cartridge, and team wrong and her damage falls off far faster than most carries. Get them right and her Surging Crimson burst window turns into one of the biggest hits in the game.
Quick answer: Run Blushing Mirage as her Arc, Lost Radiance as her Cartridge, prioritize CRIT Rate and CRIT DMG (aim for roughly 70% CRIT Rate and 150% CRIT DMG), and pair her with Hathor, Esper Zero, and Jiuyuan or Iroi.
Shinku at a snapshot
Shinku is an S-Rank Cosmos character who uses Condensate-type Arcs and plays as an on-field main DPS. Her kit is built around Defiant Spirit, a self-charging resource that fuels her Ultimate, Crimson Fury. Spending it drops her into the 13-second Surging Crimson state, which swaps her whole skill kit for stronger versions and opens her real damage window through Crimson Judgement and the Dragonflame Verdict finisher.
Her second signature trick is Menacing Gaze. Standing on-field without attacking builds stacks, and unleashing a Dodge Counter while stacked deals bonus damage and knocks the target back. She also carries a Charge Cycle Enhancement on her Support Skill, so whenever the active character gains Charge, off-field allies gain the same amount. That single passive is why her best teams are built around the Charge reaction.
| Type | Detail |
|---|---|
| Rarity | S-Rank |
| Element | Cosmos |
| Arc type | Condensate |
| Role | On-field main DPS |
| Banner | Version 1.2, Phase 1 (releases July 8, 2026) |
Best Shinku Arc
Blushing Mirage is Shinku’s signature Arc and her clear best-in-slot. It provides a large flat ATK boost and CRIT Rate, then adds Cosmos damage and a chunk of DEF ignore right after she casts her Ultimate. That timing lines up exactly with when she enters her burst window, so the buff sits where her damage ceiling actually lives.
| Priority | Arc | Why it works |
|---|---|---|
| Best | Blushing Mirage (S) | ATK, CRIT Rate, plus Cosmos DMG and DEF ignore that trigger on Ultimate |
| Alternative | What’s Desired (S) | ATK and CRIT Rate stats with a CRIT DMG buff on Redirect Skill or Ultimate |
| Alternative | Fluff of Ferocity (S) | ATK% with stacking CRIT DMG on crits, easy to keep up on her multi-hit combos |
| Budget | A Time Will Come (A) | Free A-Rank option that covers her core stats for early and endgame |
Best Cartridge, modules, and stats
Lost Radiance is the only Cartridge worth running on Shinku, and there is no close second. The 2-piece bonus grants Cosmos DMG +10%, matching her element outright. The 4-piece is where it earns its slot. After she casts her Ultimate, her damage ignores 25% of the target’s DEF for 20 seconds. Stacked with her own DEF ignore, that turns her burst window into a wrecking ball against high-defense bosses.
For stats, build CRIT Rate and CRIT DMG first and keep them roughly balanced, then feed universal DMG bonus and Cycle Intensity before ATK%. Her scaling rewards crit far more than raw attack, so hitting reliable crit numbers matters more than piling on ATK.
| Type | Information |
|---|---|
| Cartridge | Lost Radiance |
| Layout |  |
| Main stats | Slot 1 CRIT Rate, Slot 2 CRIT DMG, Slot 3 Cosmos DMG, Slot 4 ATK% |
| Sub-stats | CRIT Rate = CRIT DMG > DMG% > Cycle Intensity > ATK% |
| Bonus module | Type III — Cosmos DMG |
Tip: If your sub-stats already push CRIT Rate high enough, you can shift a main stat toward Cosmos DMG for more of her damage to land where it counts.
Best Shinku teams
Shinku loses her buffs the moment she leaves the field, which locks her into the main on-field DPS role. Her teams exist to keep the Charge reaction rolling so her Ultimate energy refills fast and she can re-enter Surging Crimson as often as possible. Hathor supplies Lakshana for Remora in almost every version, while an Anima unit feeds Blossom to complete the Charge loop.
| Team | Main DPS | Slot 2 | Slot 3 | Slot 4 |
|---|---|---|---|---|
| Standard Charge | Shinku | Hathor | Esper Zero | Jiuyuan |
| Sustained burst | Shinku | Hathor | Iroi | Jiuyuan |
| Follow-up combo | Shinku | Hathor | Nanally | Esper Zero |
| F2P transition | Shinku | Skia | Esper Zero | Mint |
Esper Zero is the easiest way to keep the loop running because he refills Esper Meter quickly, letting you trigger Remora and Blossom into Charge more often. Iroi becomes her strongest Anima support once she arrives in the second half of Version 1.2, since her healing keeps Shinku on-field long enough to stack Menacing Gaze and complete a full rotation. Nanally is a strong swap when you want faster passive stacking, as she pushes Blossom Buds to fire every second instead of every two.
Note: Skia is a noticeably weaker Lakshana partner than Hathor. Remora, and therefore Charge, does not last long enough with him, so treat the F2P version as a stopgap rather than a ceiling build.
Skill upgrade priority
Level her Ultimate first. Crimson Fury opens the 13-second Surging Crimson state and also covers Crimson Judgement and Dragonflame Verdict, so it scales the entire burst core. Her Redirect Skill, High-Speed Breach, comes next because it becomes her main sustained hit inside Surging Crimson. Basic Attack builds resources and fills downtime, and the Support Skill is essentially an entry tap you can leave at low level.
| Order | Skill |
|---|---|
| 1 | Ultimate — Crimson Fury |
| 2 | Redirect Skill — High-Speed Breach |
| 3 | Basic Attack — Special Combat Arts |
| 4 | Support Skill — Knee Strike |
Awakening priority
A1 is the standout early target because DEF ignore carries value across every piece of content. A3 follows closely, since a flat 20% damage boost during Surging Crimson lands right in her main window. A4 is the big spike for anyone who wants to lean into the Menacing Gaze mechanic, raising the stack cap and adding paralysis plus repeat damage on a full-stack counter.
| Node | Effect |
|---|---|
| A1 | Ignores 12% of the target’s DEF |
| A2 | Ultimate hits cut target light resistance by 8% for 20s |
| A3 | +20% damage while in Surging Crimson |
| A4 | Menacing Gaze cap raised to 16 layers with paralysis and repeat damage |
| A5 | Surging Crimson DEF +50%, anti-interrupt +50%, and Claw Strike healing |
| A6 | +30% multipliers on Claw Strike, Crimson Judgement, and Dragonflame Verdict, plus AoE conversion |
Her Resonance Lv.3 is also worth noting because it lets Menacing Gaze persist through swaps and stack while she is off-field, which changes how you sequence her rotation entirely.
How to know the build is working
The build clicks when three things overlap. You build Defiant Spirit through Basic Attacks and Dodge Counters, spend it on Crimson Fury to enter Surging Crimson, then cash out with the Judgement and Dragonflame Verdict chain while Blushing Mirage and Lost Radiance stack their DEF ignore on top of your own. If your biggest damage numbers are landing during that post-Ultimate window rather than on your basic strings, the setup is doing its job.
If her damage feels flat, the usual cause is a broken Charge loop. When Ultimate energy refills too slowly, she cannot re-enter Surging Crimson on cadence and her rotation stalls. Keep Hathor triggering Remora and an Anima unit feeding Blossom, and make sure you trigger Charge while Shinku is the active character so the energy funnels to her. Her Version 1.2 banner opens July 8, 2026, so lock the Arc, Cartridge, and Charge partners in early and she is ready to burst from the first pull.





