The animal index in Find the Animals [100] spans five connected zones, and each one is separated by a bridge you cross on foot. Most of the 100 animals are simply hidden in the environment, but a handful sit behind locked doors, breakable walls, snow piles, and two keypads. Clearing all of them ends with a totem puzzle in the Jungle that opens the final door.
Quick answer: Work through Spawn, Desert, Beach, Arctic, and then Jungle in that order, collect all six tools (Yellow Key, Shovel, TNT, Crowbar, Snow Shovel, Hammer), enter 82919 on the barn keypad and 51 on the pyramid keypad, then carry the three Jungle totems to the shrine.
Tools, keypad codes, and gated animals
Fourteen animals cannot be picked up by walking over them. Each one needs a tool, a code, a timer, or group membership first. Grab the tool in the same zone before you hunt the animal it unlocks, because none of these barriers can be bypassed by jumping or swimming around them.
| Unlock | What it opens |
|---|---|
| Yellow Key (top of the wooden tower, Spawn) | The locked stone building holding the Pug |
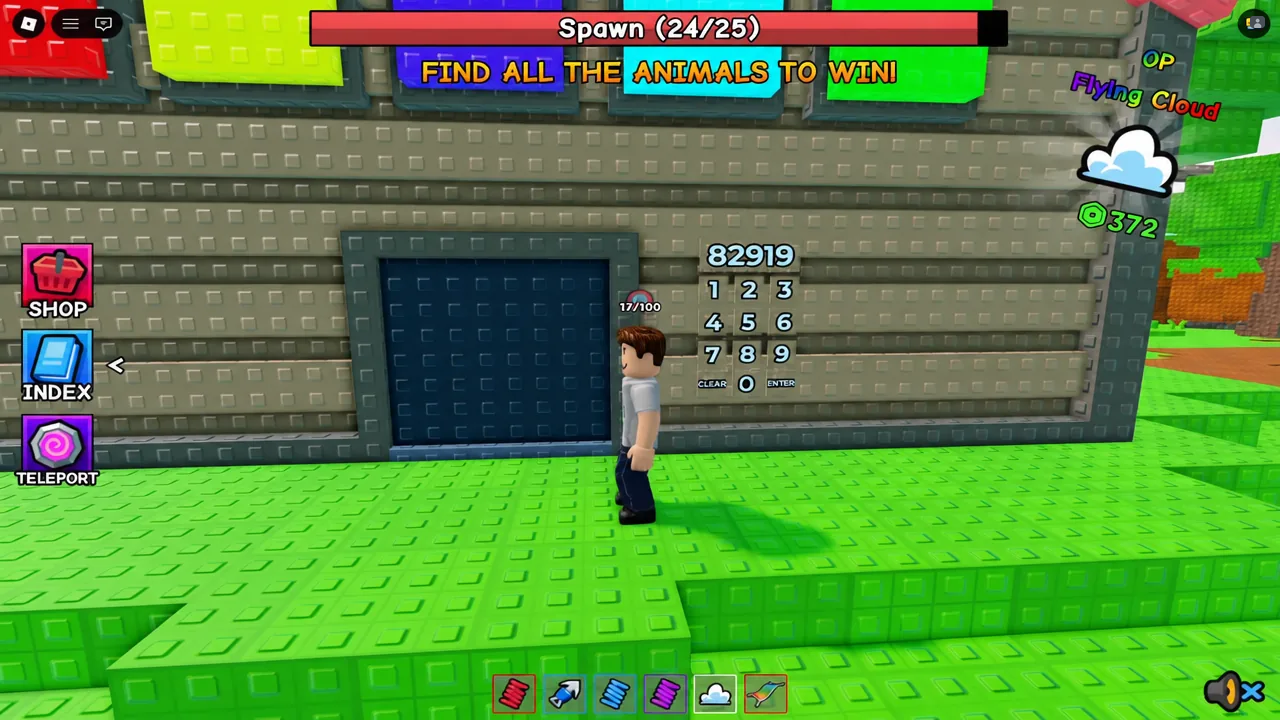
Barn keypad code 82919 | The barn’s sealed room with the Unicorn |
| Roblox group membership | The metal cage around the Giraffe |
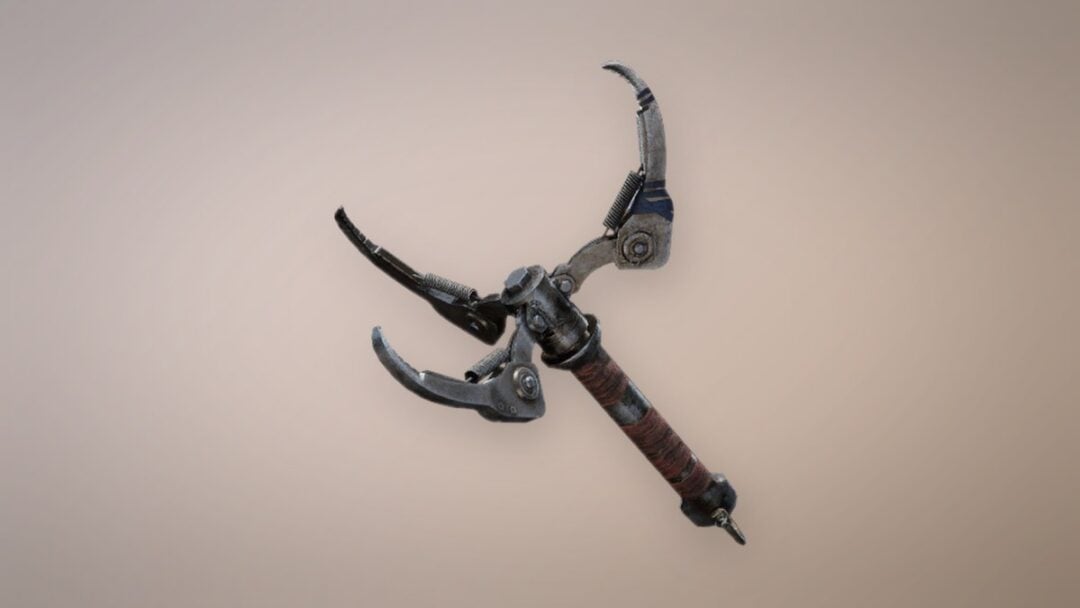
| Shovel (room inside the pyramid maze) | Digging in the Desert |
| TNT (green block room in the pyramid) | The wall marked with a red “X”, revealing the Scarab |
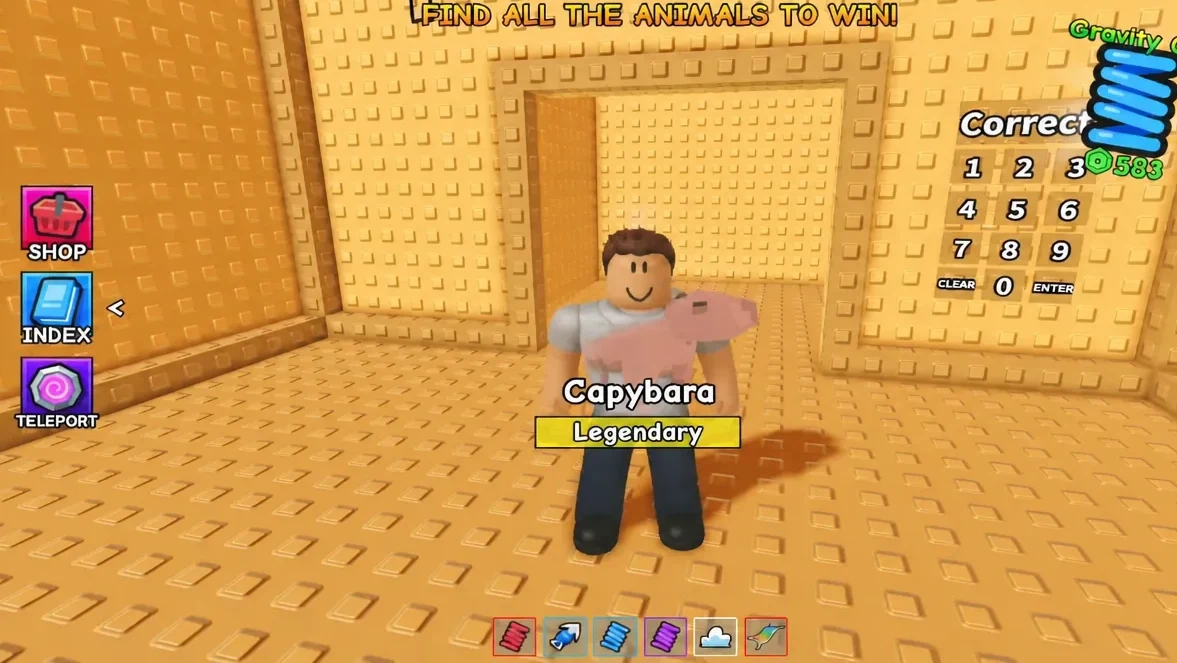
Pyramid keypad code 51 | The Capybara inside the pyramid |
| Crowbar (under the lifeguard tower stairs) | The locked metal door with the Axolotl behind it |
| Snow Shovel (found near a wall in the Arctic) | The snow pile covering the Dove |
| Hammer (inside the ice tunnel maze) | The cracked ice wall hiding the Ice Dragon |
| Three totems (Jungle) | The shrine and the final door |
Two animals are on timers rather than locks. The Red Ant sits in a red chest that only opens after a click countdown finishes, and the Seal on the Arctic roof is frozen until its timer runs out. Stay nearby and wait instead of walking off.
Spawn zone animal locations (farm area)
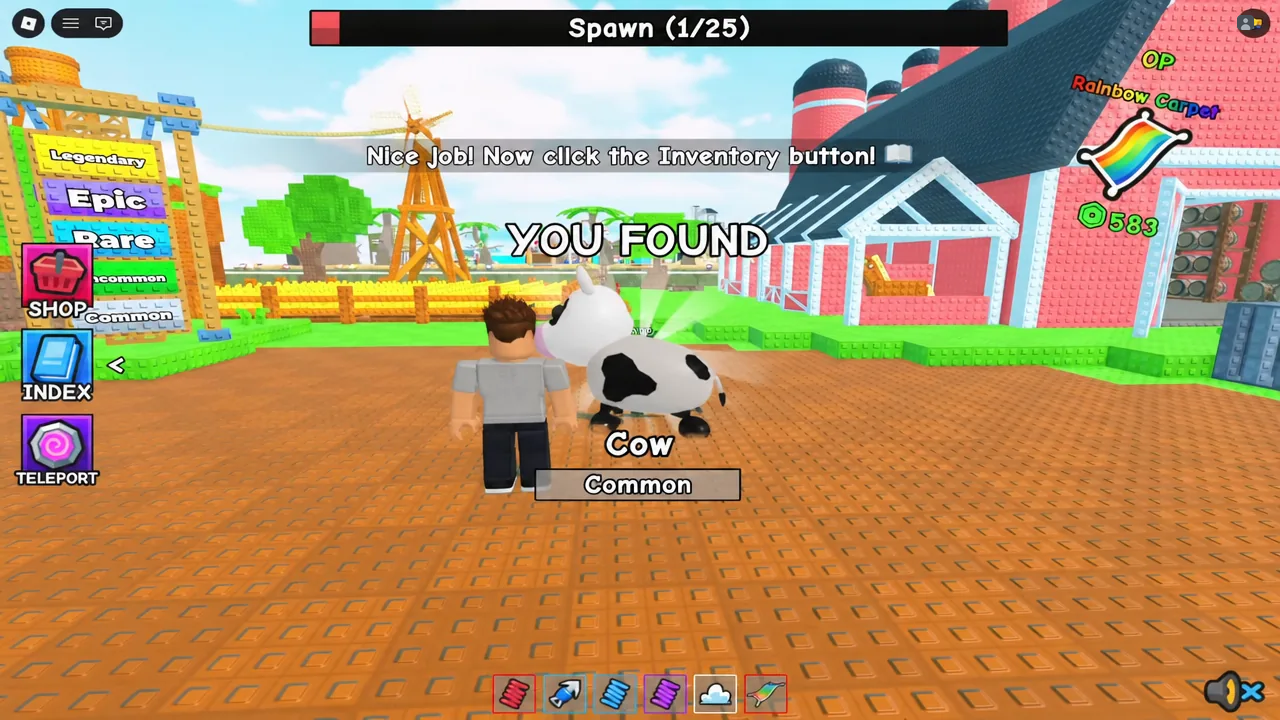
You start on the farm with the index button already available. Most of the early finds are within sight of the pink barn, and the Cow standing in the open field beside it is the fastest one to register. Sweep the barn interior, the tractor, and the towers before you head for the bridge.
| Animal | Where it is |
|---|---|
| Cow | Open field near the barn |
| Giraffe | Metal cage; opens for developer group members |
| Mouse | Behind stacked barrels inside the pink barn |
| Hamster | Upper wooden loft in the barn |
| Rat | Behind the large rear wheel of the green tractor |
| Horse | Inside a stable stall beside the barn |
| Parrot | Top of the tall red silo chimney |
| Kitten | Middle of the yellow wheat field |
| Snail | Platform of the wooden windmill |
| Otter | Inside the top of the brown water tower |
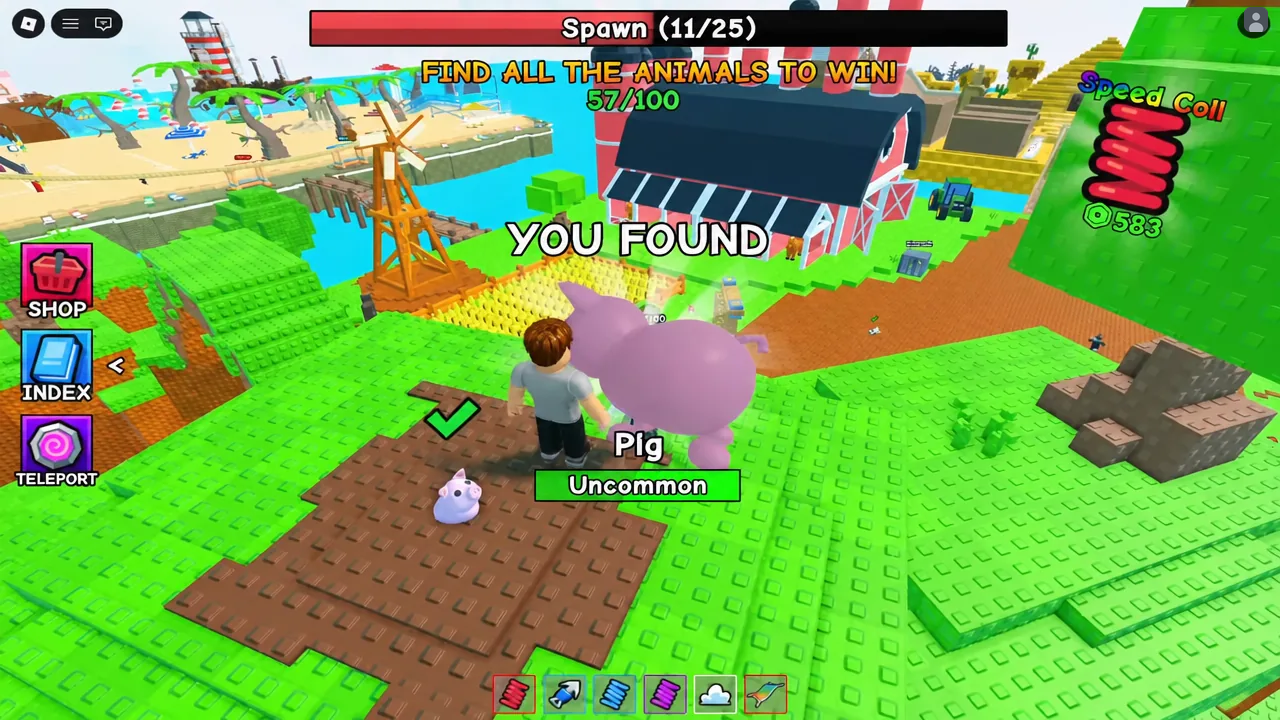
| Pig | On the grassy hill near the map edge |
| Duck | Inside the fenced chicken coop |
| Pug | Locked stone building (Yellow Key) |
| Deer | Beside the wooden bridge to the Desert |
| Raccoon | Inside the green portal cave area |
| Ostrich | High grassy platform near the edge |
| Corgi | Inside the small stone doghouse |
| Kookaburra | Inside the glass greenhouse |
| French Bulldog | Behind the greenhouse structure |
| Bee | Top of the tall tree near the greenhouse |
| Elephant | Grassy ledge at the map boundary |
| Puppy | Top of the white truss tower |
| Swan | Inside the white temple structure |
| Sheep | Floating white cloud platform in the sky |
| Unicorn | Barn’s locked room, keypad code 82919 |
The Unicorn is the last farm animal for most players. Punch 82919 into the barn keypad, and the sealed room opens so you can walk in and claim it.
Desert zone animal locations
Cross the first bridge and the map turns to sand, buildings, and a large yellow pyramid. The pyramid is doing double duty here, since it hides several animals and both of the Desert tools. Clear the surface finds first, then go inside for the maze section.
| Animal | Where it is |
|---|---|
| T-Rex | On top of the white fossil bone pillars |
| Red Ant | Red chest, after the click countdown ends |
| Allen | Inside the small stone shelter |
| Hyena | Wooden coffin next to a flowering cactus |
| Meerkat | Very top of the large yellow pyramid |
| Camel | Inside the fenced hay pen |
| Leopard | On the high stone pillar platform |
| Kangaroo | Second floor of the Sheriff Department |
| Lizard | Jail cell on the Sheriff Department’s ground floor |
| Scorpion | Inside the Sandy Saloon |
| Dodo Bird | Floating platform in the water oasis |
| Tommy Cat | Inside the pyramid’s internal maze |
| Snake | Secret room inside the pyramid |
| Scarab | Behind the red “X” wall, blown open with TNT |
| Capybara | Inside the pyramid, keypad code 51 |
The Capybara is a Legendary entry and the reason to memorise the second code. Find the keypad in the pyramid, enter 51, and it drops straight into the index.
Beach zone animal locations
The Beach is the most water-heavy zone, so plan on long dives. Roughly half the animals here sit under the surface among coral, pillars, and a submerged temple. Pick up the Crowbar from under the lifeguard tower stairs early so you are not swimming back for it later.
| Animal | Where it is |
|---|---|
| Shrimp | Inside the large sandcastle on the shore |
| Sardine | In the pool of the blue lifeguard tower |
| Seagull | Top of the ladder structure near the water |
| Orca | On the deck of the pirate ship |
| Blobfish | Top of a palm tree |
| Flamingo | Beside the volleyball net on the sand |
| Axolotl | Behind the locked metal door (Crowbar) |
| Tuna | Underwater near the blue coral |
| Turtle | Top of a tall underwater seaweed stalk |
| Crab | Underwater beside the pink coral |
| Squid | Inside the underwater stone temple |
| Jellyfish | Under the wooden pier |
| Pufferfish | Inside the submerged sandcastle |
| Clownfish | Underwater near the stone pillars |
| Lobster | Balcony of the red and white lighthouse |
| Anglerfish | Deep underwater in the dark trench |
| Narwhal | Inside the pink beach house |
| Shark | Swimming in the open ocean |
| Dolphin | Swimming near the lighthouse base |
| Starfish | Lying on the beach sand |
Arctic zone animal locations
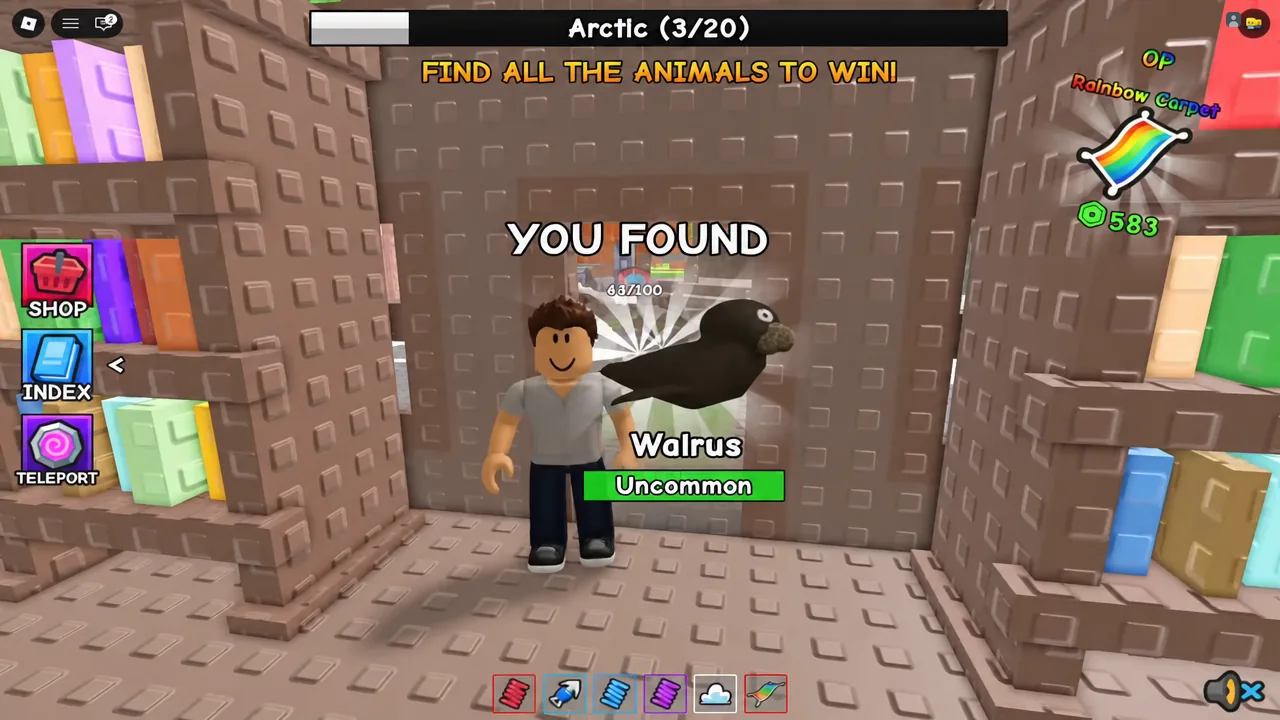
Snow cabins, igloos, and a castle wall make up the Arctic. Two collectibles matter here, and both are late finds. The Snow Shovel clears the pile hiding the Dove, and the Hammer inside the ice tunnel maze breaks the cracked wall in front of the Ice Dragon. The Walrus is an easy one to miss, since it sits on wooden crates inside the library cabin rather than out in the open.
| Animal | Where it is |
|---|---|
| Platypus | Inside the stone igloo |
| Pony | Inside the wooden stable |
| Walrus | On crates inside the library cabin |
| Snow Leopard | Snowy ledge near the mountains |
| Goat | On top of the giant snowman |
| Husky | Behind a snowman near the cabins |
| Owl | Top of a snow-covered tree |
| Snow Cat | On top of the castle wall |
| Dove | Under the snow pile (Snow Shovel) |
| Moose | Beside the wooden ramp |
| Bunny | High platform reached by hopping the coloured presents |
| Penguin | Inside the small igloo |
| Seal | On a roof, once the freeze timer ends |
| Reindeer | Inside the golden sleigh |
| Goose | Inside the toy workshop cabin |
| Fox | Inside the gift box room |
| Polar Bear | Inside the ice tunnel maze |
| Ice Dragon | Behind the cracked ice wall (Hammer) |
Note: the Wolf also belongs to the Arctic set, so check your zone counter before crossing into the Jungle.
Jungle zone animal locations
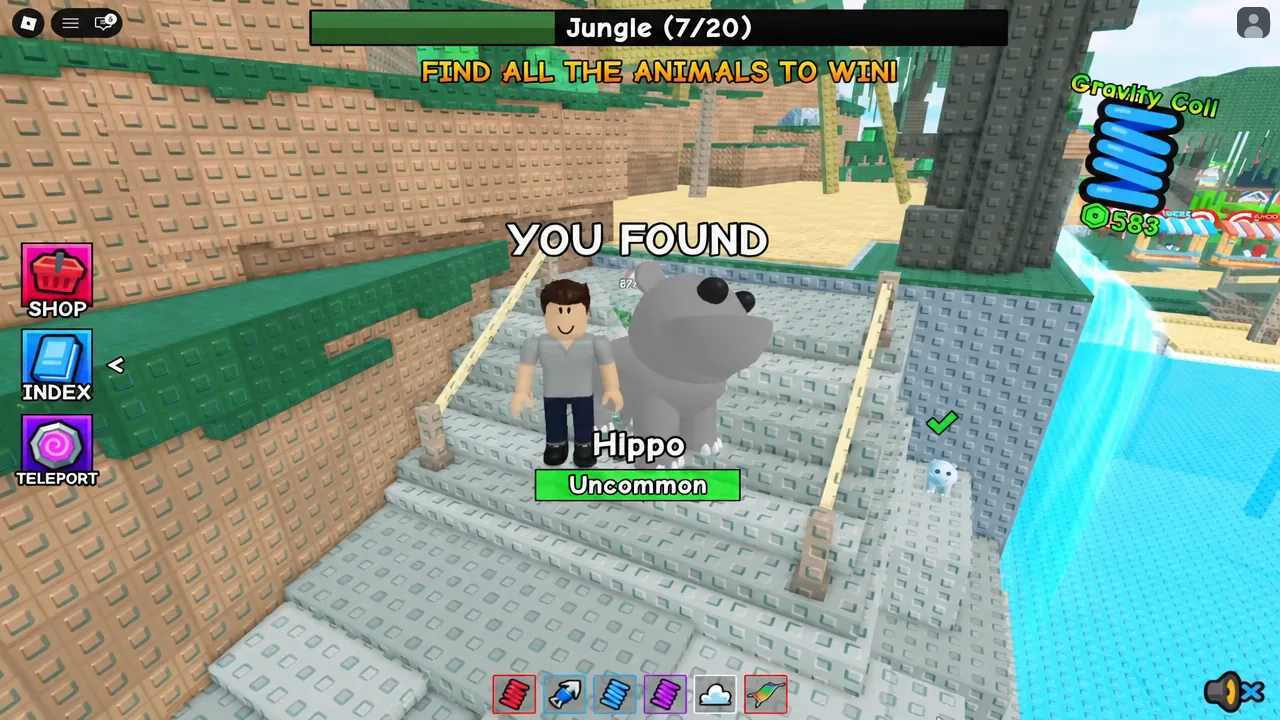
The final zone mixes a stone temple, a waterfall, bamboo, and a maze. Climbing is the main obstacle rather than any tool, and several animals sit on top of trees, pillars, and ruins. The Hippo near the waterfall stairs is one of the quicker grabs while you are working around the water.
| Animal | Where it is |
|---|---|
| Tiger | Inside the stone temple |
| Bear | Top of the stone pillar structure |
| Robin | On crates inside the wooden cabin |
| Gorilla | High up on a tree platform |
| Toucan | On a table inside the wooden house |
| Panda | Top of the tall bamboo shoot |
| Hippo | Near the waterfall stairs |
| Butterfly | Inside the treehouse |
| Lion | On top of the stone pedestal |
| Gecko | On the blue wall beside the campfire |
| Squirrel | On a bridge railing |
| Crocodile | Inside the sandy cave |
| Red Dragon | Cave behind the waterfall |
| Spider | Inside the stone maze |
| Frog | Swimming in the river |
| Peacock | Beside the giant blue mushroom |
| Koala | Top of the stone ruins tower |
| Beaver | On a log by the river |
| Monkey | Top of a tall tree |
Three totems and the final shrine
The endgame puzzle is separate from the animal index. Three totems are scattered around the Jungle, and the shrine door stays shut until you have all three in hand.
How to confirm a find registered
Every animal fires a confirmation popup with its name and rarity tag, which runs from Common through Uncommon, Rare, and Epic up to Legendary. The index also tracks progress per zone, so open it after each area and compare the counter against the tables above rather than trusting memory.
Tools announce themselves the same way, with lines such as “Yellow Key picked up!”, “Shovel picked up!”, “TNT Picked up”, “Crowbar picked up!”, “Snow Shovel picked up!”, and “Hammer picked up!”. When a tool is used correctly you get a second message, including “Door unlocked!”, “Snow cleared!”, and “Smashed it open!”. If none of those appear, the tool has not been collected yet.
There are only a few reasons an animal refuses to unlock. The Giraffe cage will not open unless you have joined the developer’s Roblox group, the two keypads accept nothing except 82919 and 51, the Red Ant chest and the frozen Seal need their timers to finish, and the Scarab, Axolotl, Dove, Pug, and Ice Dragon all stay sealed until the matching tool is in your inventory.
Work one zone at a time and the run stays manageable. Sweeping each area for the free-standing animals first, then doubling back for the tool-gated ones, avoids the long walk between bridges more than once.