Interlude 3: The Shadowy Surprise picks up right after Chapter 9: How to Meet a Best Friend (Again), when Piglet joins your village and your work in Braveheart Grove wraps up. The goal here is to use the yellow paint from Chapter 9 to enter the Grove’s Everoak Tree, solve a door puzzle, calm Piglet’s fears about the shadows, recover the Sun-Glow Honeypot, and finally repair the bridge to the Nectar Apiary in Honeyglow Woods.
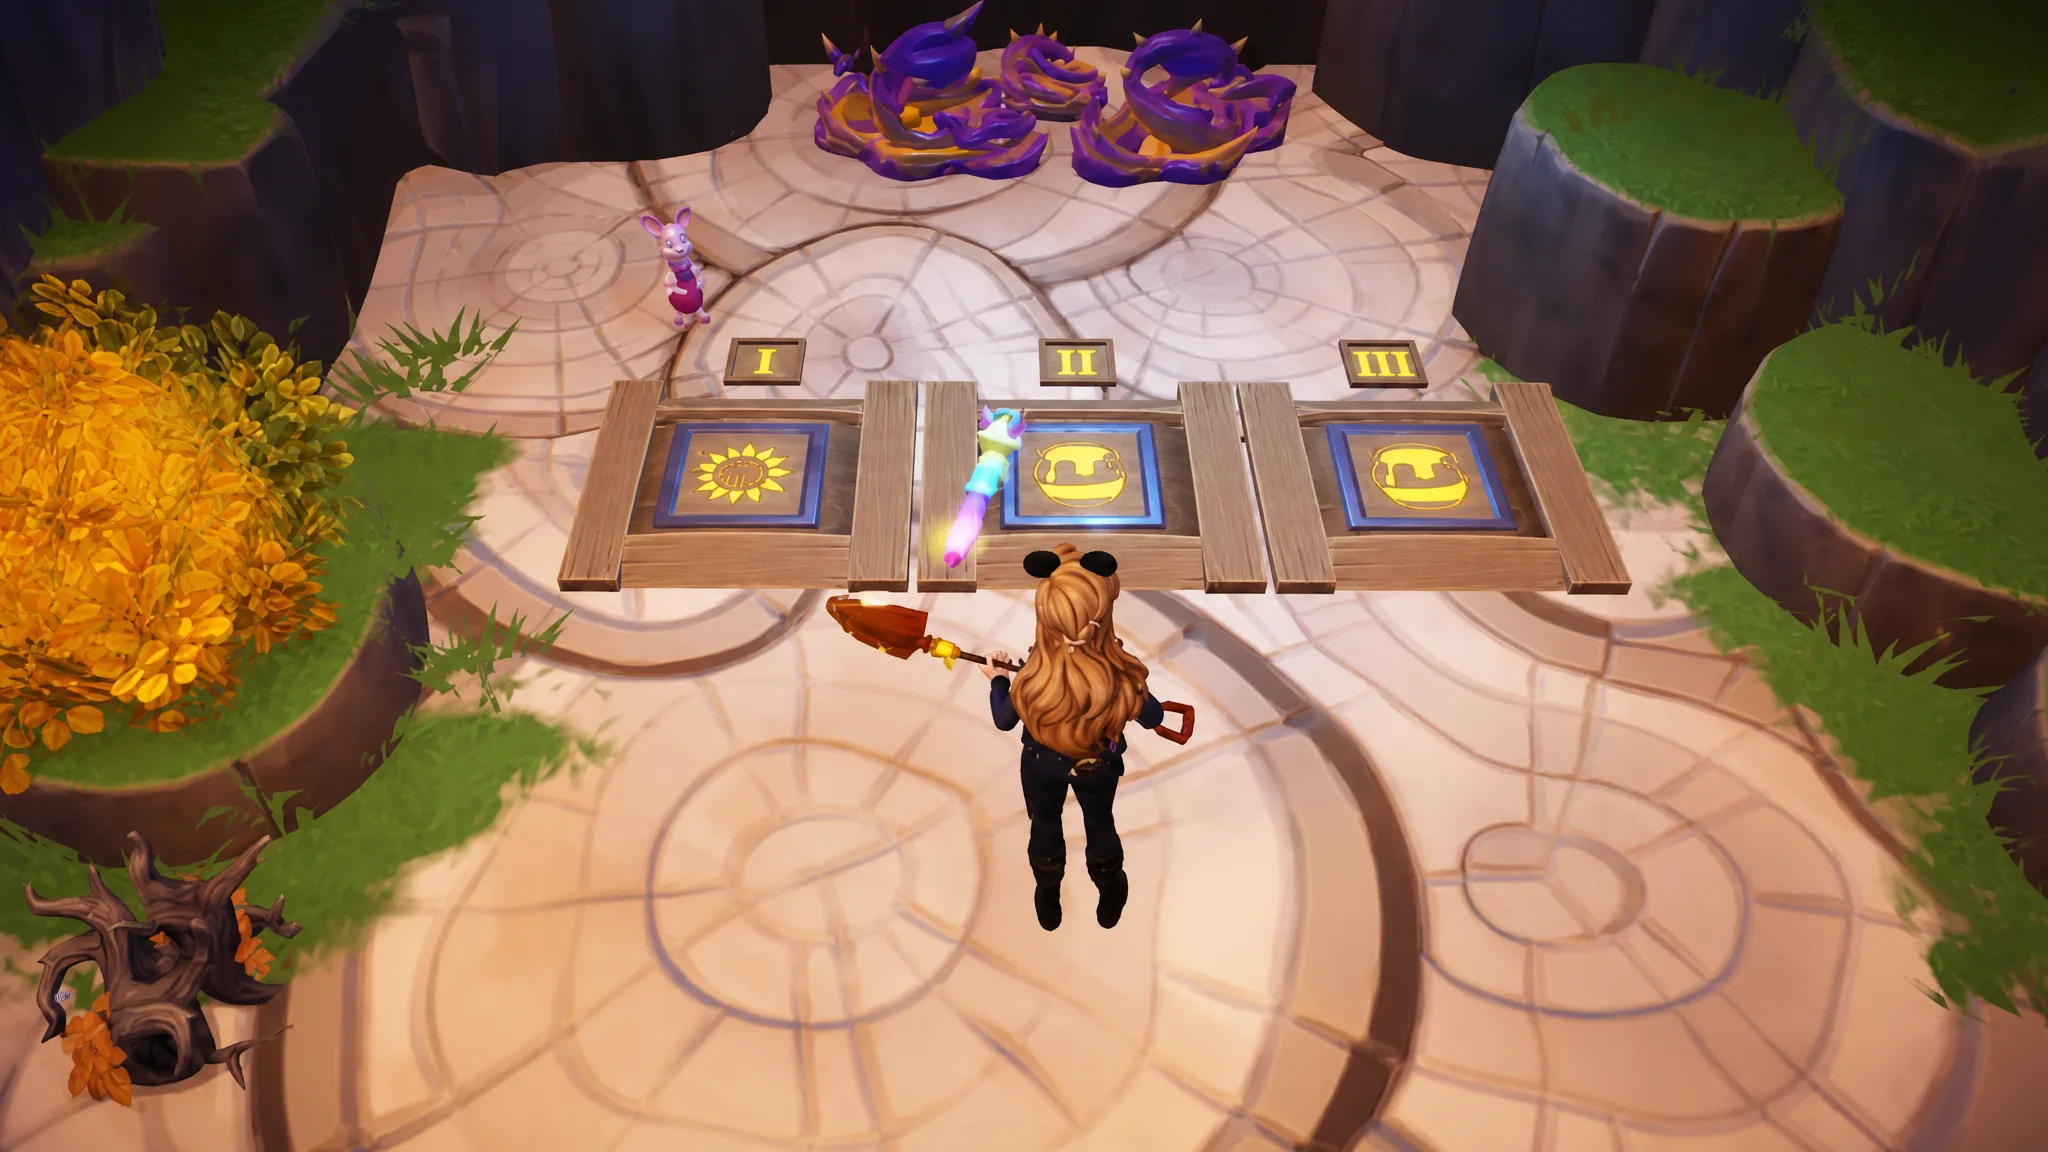
Quick answer: Solve the three-tile door puzzle with Flower, Honey pot, Honey pot, place four honeypots on the shadow rings and pull the left handle three times and the right handle twice, mine the wall crack to get the Sun-Glow Honeypot, then gather the bridge materials to unlock the Nectar Apiary and start Chapter 10.
Enter the Everoak Tree and solve the door puzzle
Use the yellow paint from Chapter 9’s finale to open the way into Braveheart Grove’s Everoak Tree. Inside, you’ll spot the familiar alcove with a note about Sun-Glow Honey, but this time there’s no honeycomb waiting in it. That missing piece is what sends you and Piglet down the staircase to find the door puzzle below.
Collect four honeypots to block the shadows
Piglet is still uneasy, so you need to find four honeypots hidden around the room and place them on the shadow rings. Here’s exactly where each one is.
| Pot | Location |
|---|---|
| 1 | From the room’s entrance, turn left and clear the Twistroots to reveal a small red pot in the ground. |
| 2 | Fish the orange ripples in the honey falls. |
| 3 | Clear the empty circle of Honey Swirls near the honey falls to find a pot. |
| 4 | Clear the circle of Honey Swirls on the far side of the room from the entrance to find a large yellow honeypot. |
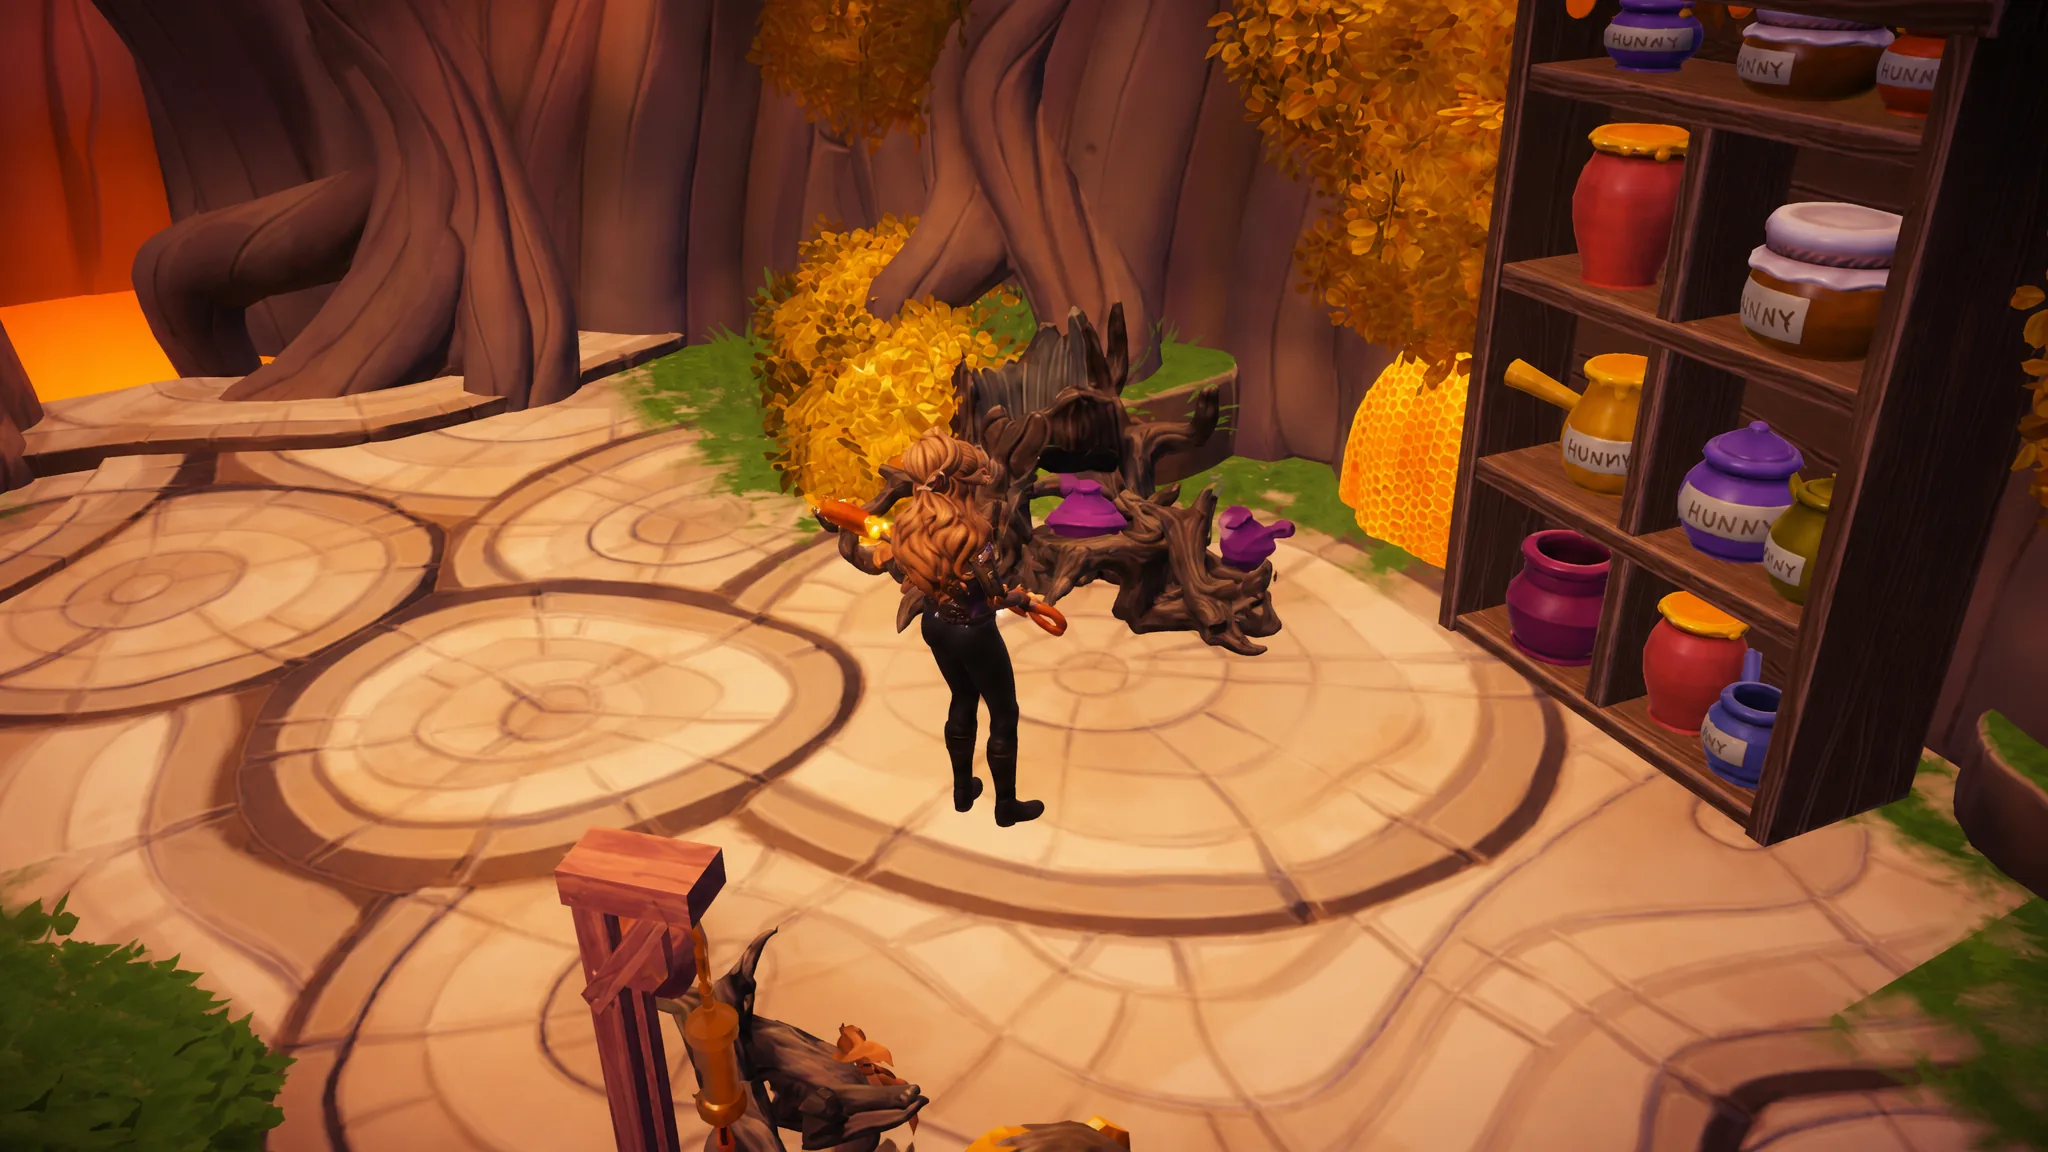
With all four pots in hand, place one on each of the four rings. Then work the two puzzle handles. Pull the left handle three times and the right handle twice, then talk to Piglet again to move the story forward.
Widen the wall crack to get the Sun-Glow Honeypot
After the conversation, your character realizes the shadows are pointing toward the Sun-Glow Honeypot. To find more clues, you need to widen a crack in the tree’s wall using your Royal Pickaxe.
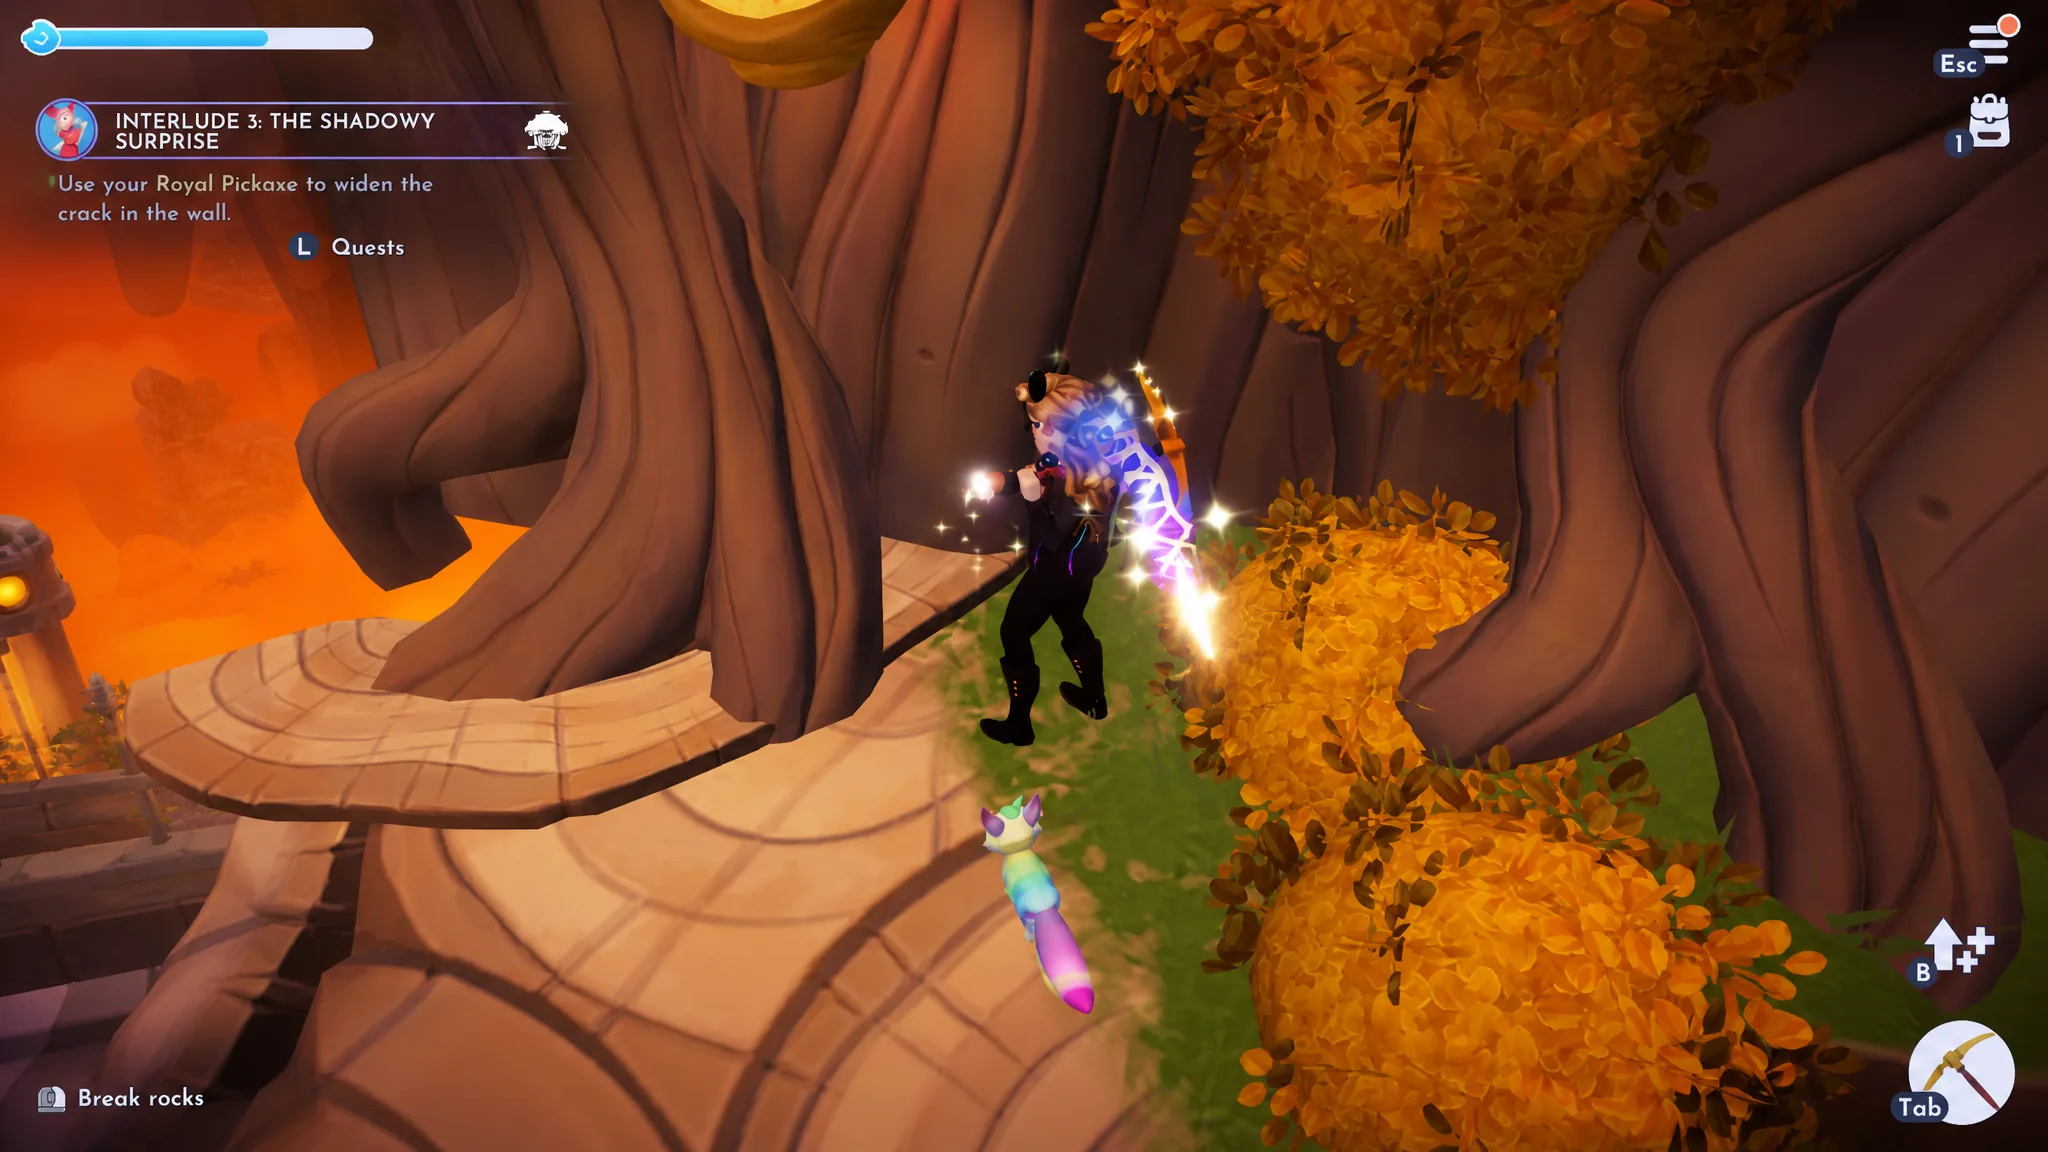
There is a known bug that can stop the wall from breaking. The angle you need to hit it is very precise. Stand close to the bush and face the wall directly, then adjust your position slightly until the pickaxe connects. This is the most reliable way to get past the crack.
Breaking through rewards you with the Sun-Glow Honeypot. Talk to Piglet, head back upstairs, and place the pot in the alcove to earn a Memory Shard. When you both leave the tree, the fog outside is still present, but the Nectar Apiary is now open to explore.
Repair the Nectar Apiary bridge
The final task is gathering materials to rebuild the bridge into the Nectar Apiary. Most of this comes down to running through your three unlocked biomes for flowers, checking your beehives for Golden Honey, and cooking two dishes from ingredients found across Honeyglow Woods.
| Bridge material | Amount |
|---|---|
| Honey Triffle | 1 |
| Honey-Glazed Plush Fish | 1 |
| Golden Honey | 9 |
| White & Pink Foxglove | 6 |
| Yellow & Orange Foxglove | 6 |
Honey Trifle recipe
- Pufflebud Pods
- Golden Honey
- Tree Resin
- Juniper Berries
Honey-Glazed Plush Fish recipe
- Plush Fish
- Golden Honey
- Any Vegetable
If you don’t have any Plush Fish yet, target the orange water ripples in any body of water around Honeyglow Woods. The same ripples supply what you need for the glazed dish.
Optional objectives before you finish
Three optional tasks appear alongside the bridge repair. You can complete them for extra progress or skip them entirely if you’d rather push straight through the main story.
- Restore the Busy Bees’ House in Braveheart Grove.
- Complete Piglet’s friendship quest, The Most Unexpected Friend.
- Add 10 decor pieces to Braveheart Grove.
Once both dishes are cooked, the flowers and Golden Honey are collected, and you’ve either cleared or skipped the optional tasks, return to the Nectar Apiary bridge and place everything into the construction menu. Repairing the bridge opens Honeyglow Woods’ fourth and final biome, immediately ending Interlude 3: The Shadowy Surprise and starting Chapter 10: Most Grand Adventure.