Restored Maps are the payoff for the trickiest collectible chase in Assassin’s Creed: Black Flag Resynced. There are five of them, and each one is built from a set number of map pieces that only drop from a specific activity. Assemble a full map and it points you to a single buried chest with a fixed reward. You cannot dig up any of these chests early, so the pieces come first.
Quick answer: Collect every piece for a map from its one source (warehouses, Smuggler’s Dens, Trade missions, Hunter ships, or the White Jaguar), then sail to that map’s coordinates and dig at the marked spot to claim the chest.
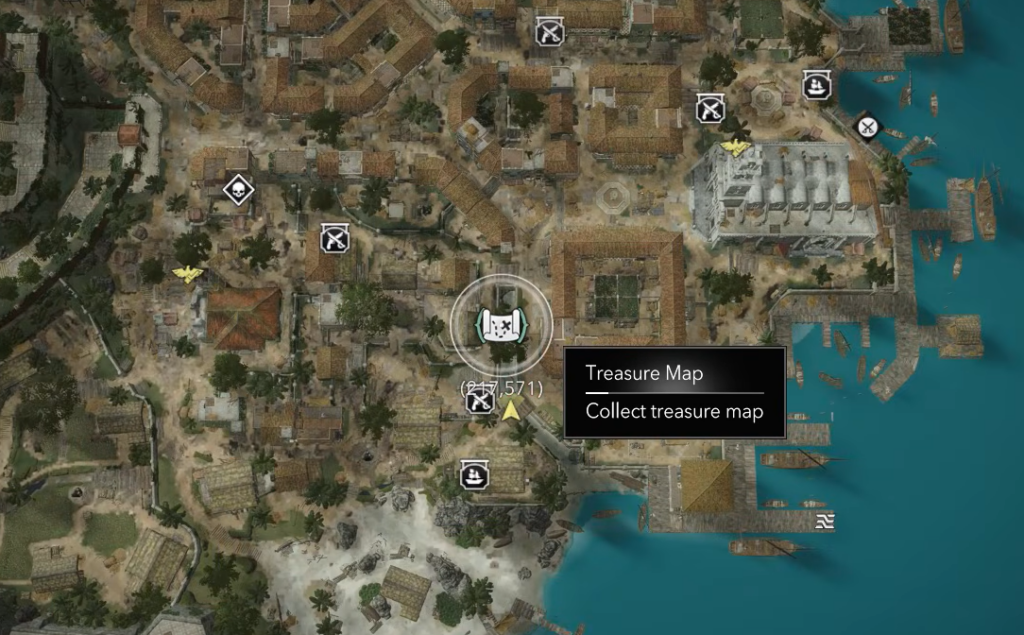
All five Restored Maps and their rewards
Each map draws its pieces from one activity only. Use the table to see where to grind and what the finished map hands you.
| Map | Piece source | Dig site | Reward |
|---|---|---|---|
| Preserved (4 pieces) | Loot military warehouses | Sacrifice Island (14,554) | Wooden Eyeball trinket, Shade and Shadow Robes |
| Weathered | Smuggler’s Den chests + Treasure Dealer | Mystery Island (914,124) | Gargoyle’s Breath pistol, Persian Scimitar swords |
| Yellow | Kenway’s Fleet Trade missions | Black Island (915,617) | Buried chest on the northeast beach |
| Tattered (3 pieces) | Hunter ship Captain’s Lockbox | Florida (381,803) | Elite Wheel, Sleek Crew Attire, Gilt-Lined Sails |
| Digested (2 pieces) | Skin the White Jaguar | Santanillas (188,215) | Hunter’s Amulet trinket, Hunter’s Outfit |
Preserved Map: loot military warehouses
The Preserved Map needs four pieces, and every piece is a random drop from raiding a military-controlled warehouse. It does not matter which warehouse you hit, and a single raid is not guaranteed to give a piece. The Preserved pieces are pure luck rewards, unlike the paintings tied to these same warehouses.
When a warehouse runs dry, refill it by finishing Scouting missions in Kenway’s Fleet, then raid it again. If you are chasing pieces early, stick to the safer northern warehouses at Cat Island, Nassau, and Havana. These are quick and low-risk.
| Warehouse | Coordinates |
|---|---|
| Havana | 205,600 |
| Nassau | 593,750 |
| Tortuga | 848,346 |
| Cat Island | 706,670 |
| Matanzas | 308,617 |
| New Bone | 404,91 |
| Black Island | 913,611 |
| Kingston 1 | 609,181 |
| Kingston 2 | 605,156 |
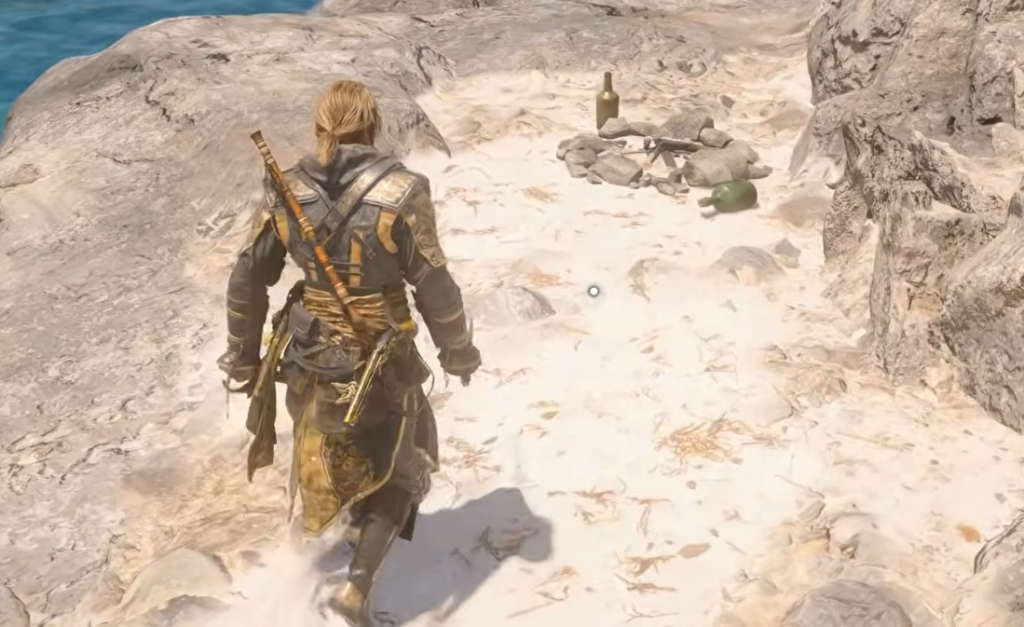
With all four pieces, sail to Sacrifice Island at 14,554. Head to the northwest beach and find the large stone archway. Dig at the spot right where the archway begins to claim the Wooden Eyeball trinket and Shade and Shadow Robes.
Weathered Map: clear the Smuggler’s Dens
The Weathered Map is not luck-based. Open every chest across the five Smuggler’s Dens, then buy the final piece from the Treasure Dealer in Great Inagua for 200 Spice. Each den is a small guarded coastal camp. Kill the guards, grab the key, and the chest inside holds loot plus a Weathered piece.
| Smuggler’s Den | Coordinates |
|---|---|
| Jiguey | 537,512 |
| Petite Caverne | 864,237 |
| Anotto Bay | 591,246 |
| San Juan | 454,462 |
| Ambergris Key | 28,160 |
| Great Inagua | 816,448 |
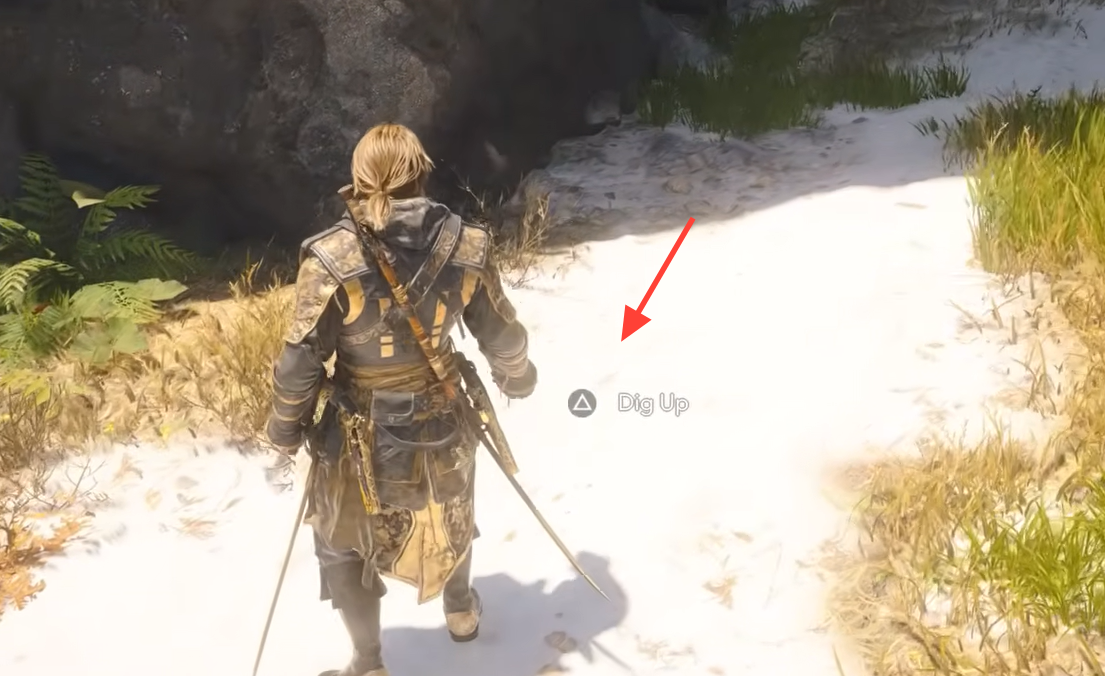
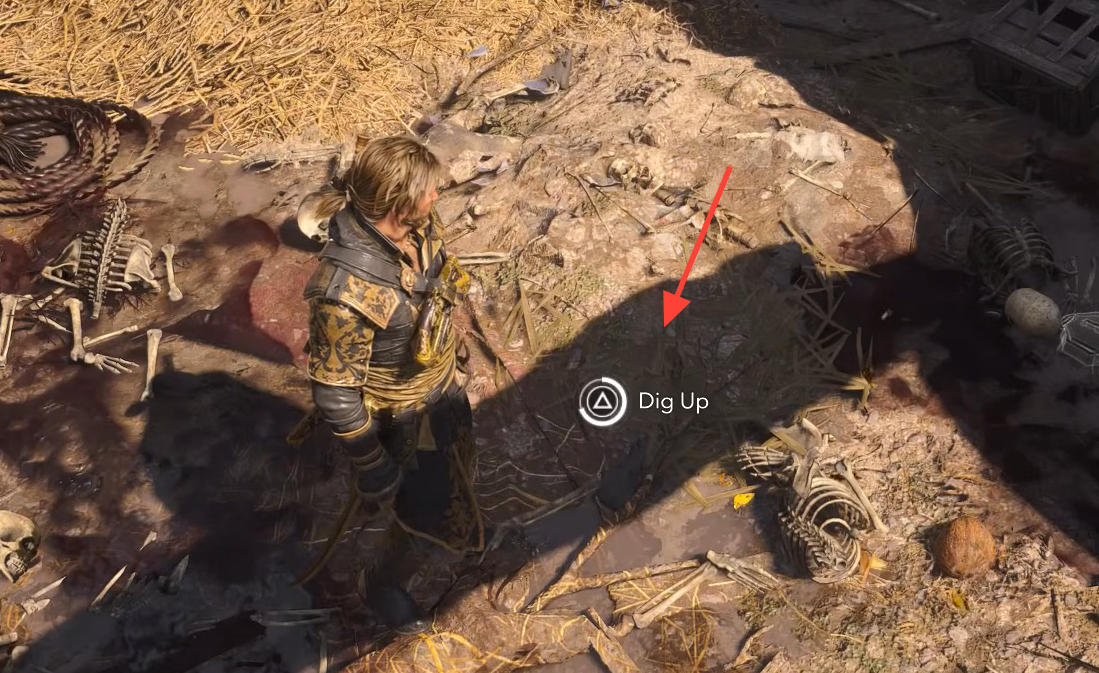
Once the map is whole, travel to Mystery Island at 914,124. Fight or sneak past the hostile pirate crew to the right side of the island. Beside the spot where the pirates are boxing sits a large pit filled with skeletons and a hay pile. The chest is in front of the haystack, and it contains the Gargoyle’s Breath pistol and Persian Scimitar swords.
Yellow Map: send fleet ships on Trade missions
The Yellow Map is the slowest to finish because it is tied entirely to Kenway’s Fleet. Pieces only drop from successful Trade missions, and there is no other route to them. Keep ships out on Trade runs whenever they are available, since each success only has a chance to yield a piece.
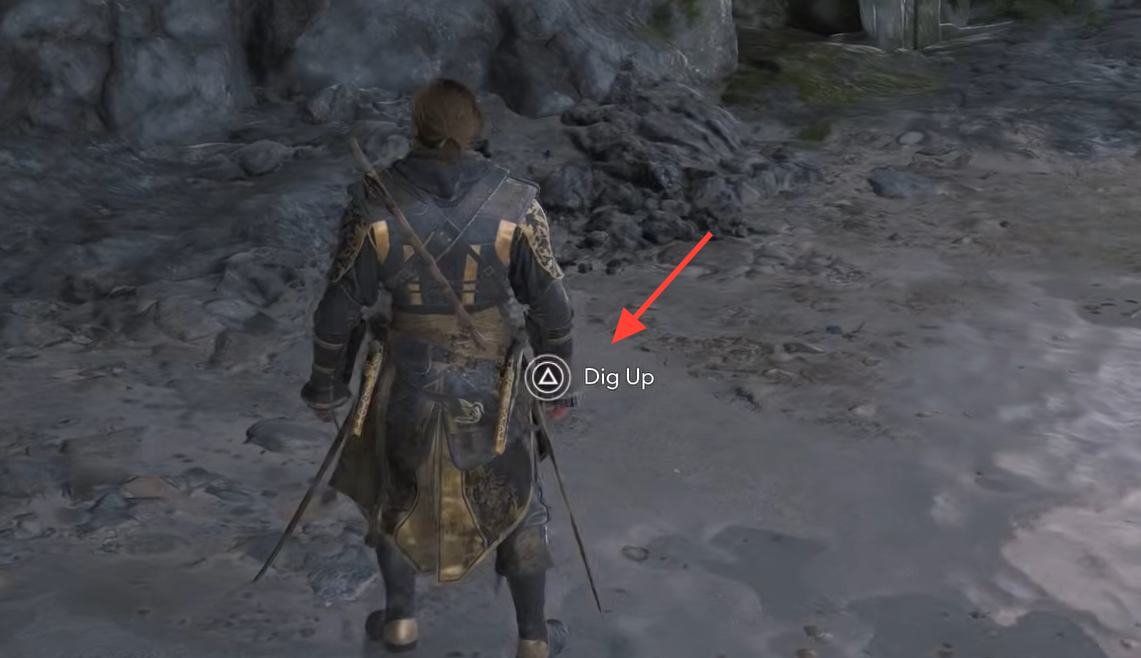
After the map is complete, head to Black Island at 915,617. Go to the small beach on the northeast side. Just before you climb the scaffolding, the chest sits in the sand near the rocky wall on the left.
Tattered Map: raid Hunter ship lockboxes
The Tattered Map needs three pieces, and all of them come from Hunter ships. Attacking and sinking enemy vessels raises your Wanted level, which climbs through three tiers. Each time you reach a tier, a Hunter ship spawns to sink the Jackdaw. Those ships have distinctive red sails and a skull icon, and they are the only source of Tattered pieces.
With the map assembled, sail to Florida at 381,803. Go to the far northern part of the island and look for a skeleton leaning against ship wreckage ringed by palm trees. The chest there holds the Elite Wheel, Sleek Crew Attire, and Gilt-Lined Sails.
Digested Map: hunt the White Jaguar
The Digested Map takes two pieces, both tied to the White Jaguar in the southeastern part of Great Inagua. You can reach the beast after you liberate and capture the island, then follow the jungle path south. It hits hard, so perch in a tree and use pistols to bring it down safely before skinning the body for the first piece.
The second piece normally comes from completing the Opia Templar Hunt questline. However, killing and looting the White Jaguar a second time can drop the missing piece outright, skipping the quest. This shortcut may be a bug and could be patched, so treat it as temporary.
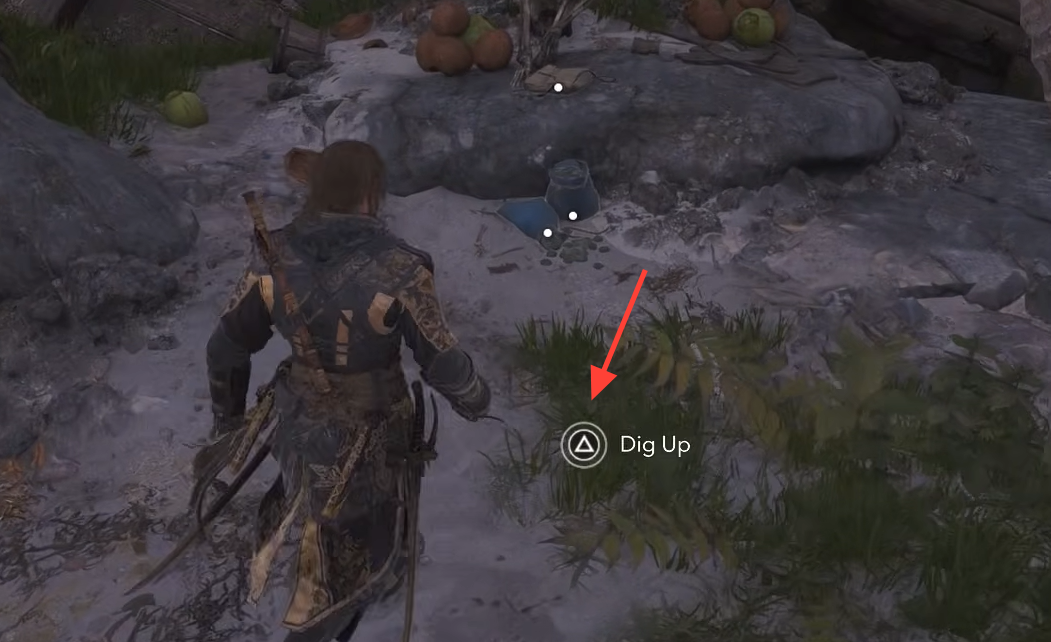
Once you hold both pieces, travel to Santanillas at 188,215. Head toward the large ruins at the island’s center and look for a small stream running in from the ocean. Follow it to an opening, where the dig spot sits on the left near two guards rummaging through loot. The chest gives you the Hunter’s Amulet trinket and Hunter’s Outfit.
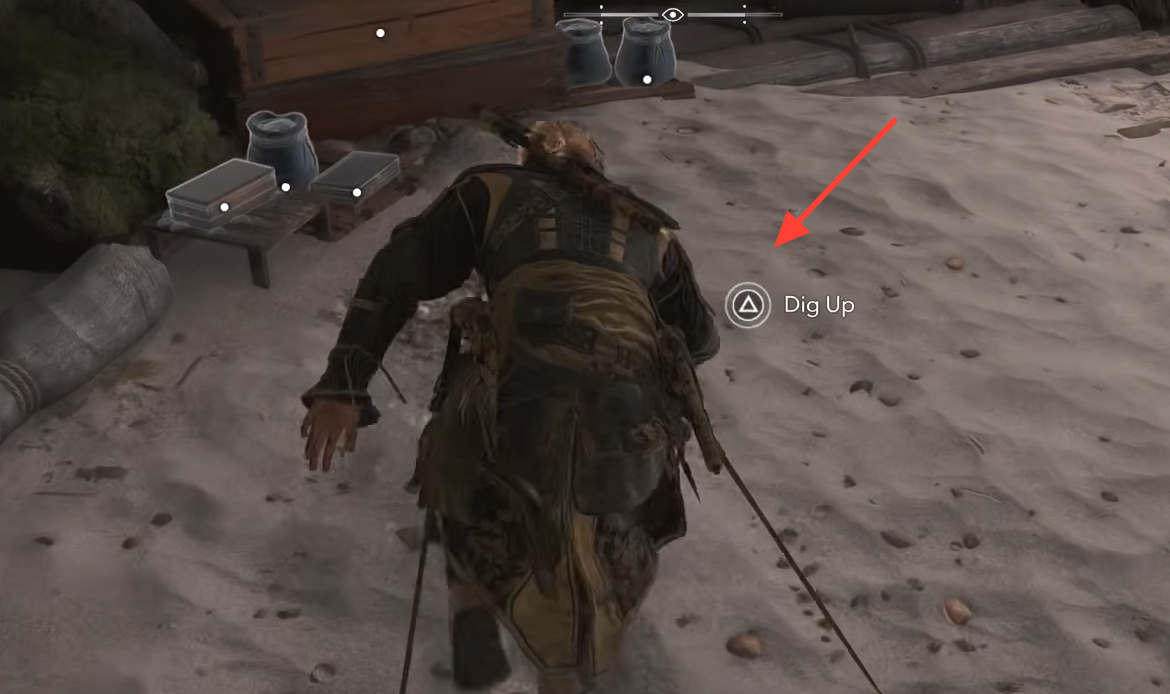
You will know a map is finished when it points you to its coordinates and lets you dig, since half-built maps keep the buried chests locked. Two of the five, the Preserved and Yellow maps, lean on random drops, so plan on repeated warehouse raids and Trade runs. The other three follow set conditions, which makes them faster once you know where to look.