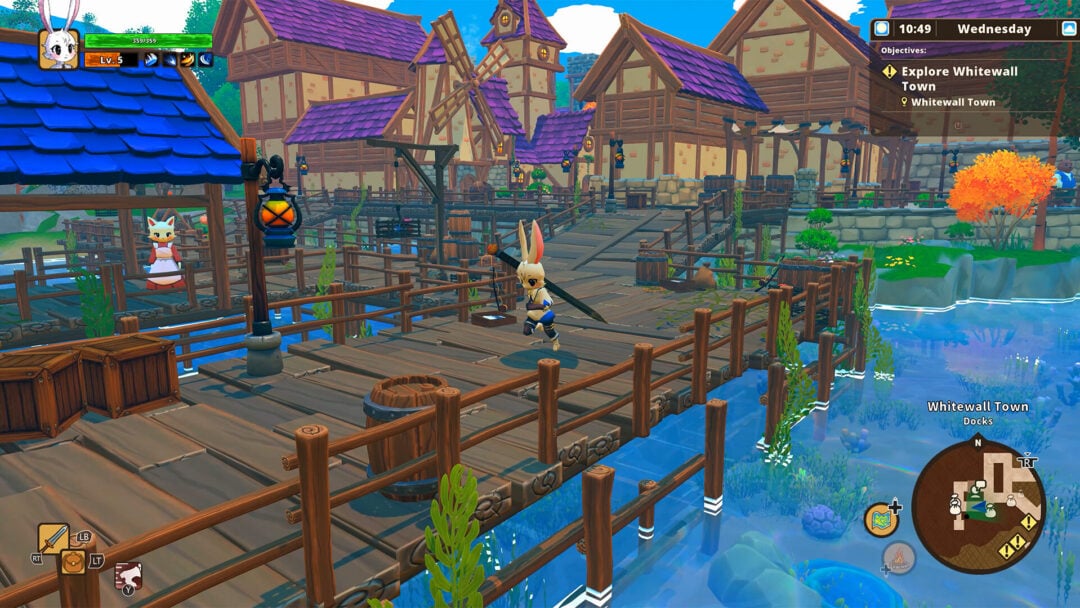
A Palworld dedicated server keeps your world online around the clock, holds up to 32 players, and hands you full control over difficulty, catch rates, and admin settings. It also removes the host-migration drops and lag that come with peer-to-peer play. The install runs the same way on Windows and Linux because both pull the exact same files from Steam.
Quick answer: Install SteamCMD, run steamcmd +login anonymous +app_update 2394010 validate +quit, launch PalServer.exe (Windows) or ./PalServer.sh (Linux), then open TCP/UDP port 8211 so players can join with your IP followed by :8211.
System requirements for a Palworld server
Palworld is heavy on memory, so plan the hardware before you install anything. Small groups run on the minimum, but any world past 10 players needs the recommended tier to stay smooth. Hosting on the same machine you play on is not advised, since the server needs to stay running full time.
| Resource | Minimum | Recommended (10+ players) |
|---|---|---|
| CPU | Quad-core 3.2 GHz | Six-core 4 GHz or higher |
| RAM | 8 GB | 16 GB or more |
| Storage | 30 GB free | 50 GB+ for worlds, backups, logs |
| Upload speed | 10 Mbps | 20 Mbps |
| Operating system | Windows 10/11 or Ubuntu 20.04+ | Ubuntu 22.04 / Debian 12 |
Palworld is not fully optimized, so memory is the resource most likely to bottleneck a busy world. If players report rubber-banding or stutter, more RAM helps before a faster CPU does.

Rented host or self-managed VPS
You have two realistic paths. A managed game host installs Palworld for you, often with one-click setup, DDoS protection, and a control panel, but you give up some low-level control and pay a premium. A cloud VPS costs less and gives you root access to everything, at the price of doing the setup yourself.
| Option | Setup effort | Control | Best for |
|---|---|---|---|
| Managed game host | Low (often one click) | Limited to panel settings | Beginners who want it running fast |
| Cloud VPS (Windows or Linux) | Higher (manual commands) | Full root access, mods, custom config | Admins who want cheap, full control |
Linux VPS setups tend to be the most stable and the cheapest, with the tradeoff that heavy mod support is limited. Whichever route you choose, remember that a dedicated server starts a fresh world, so your single-player save does not carry over.
Set up a Palworld server on a Windows VPS
Invoke-WebRequest -Uri https://steamcdn-a.akamaihd.net/client/installer/steamcmd.zip -OutFile steamcmd.zip
Expand-Archive steamcmd.zip -DestinationPath C:SteamCMD
cd C:SteamCMD
.steamcmd.exe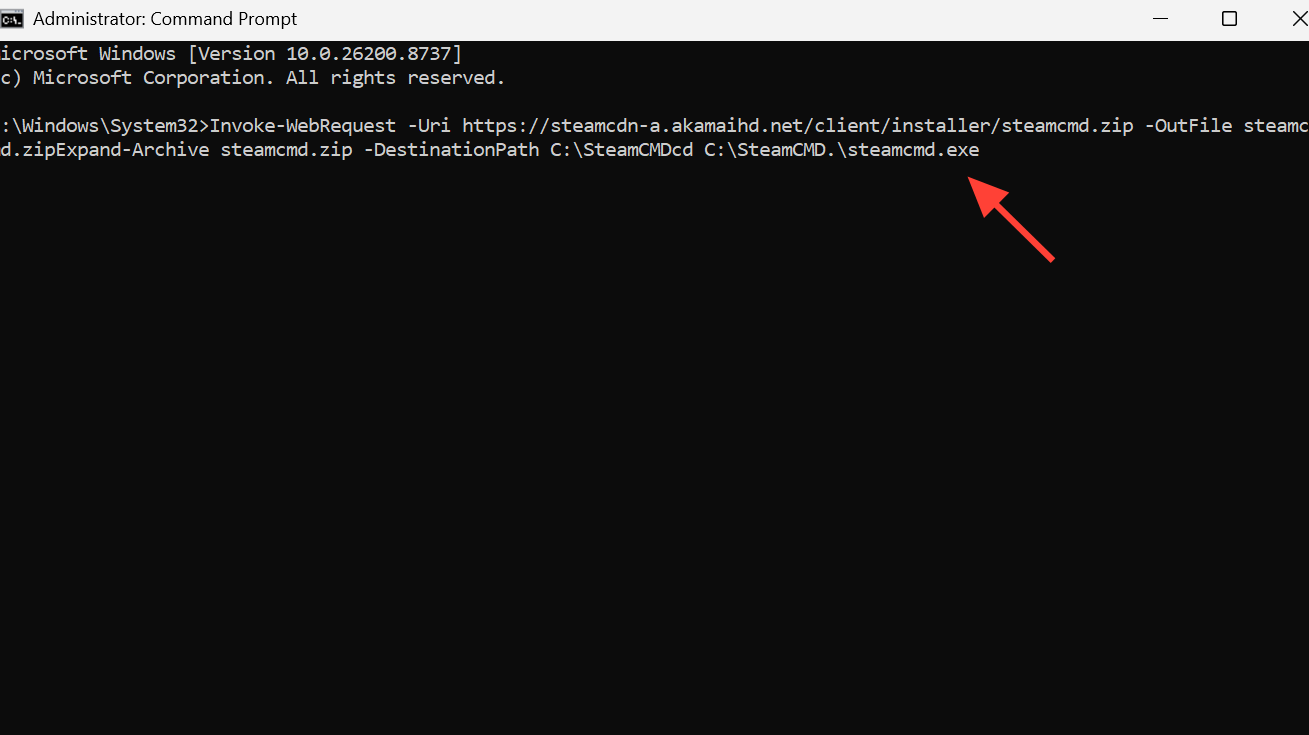
2394010, and the files land in C:SteamCMDsteamappscommonPalServer.steamcmd +login anonymous +app_update 2394010 validate +quit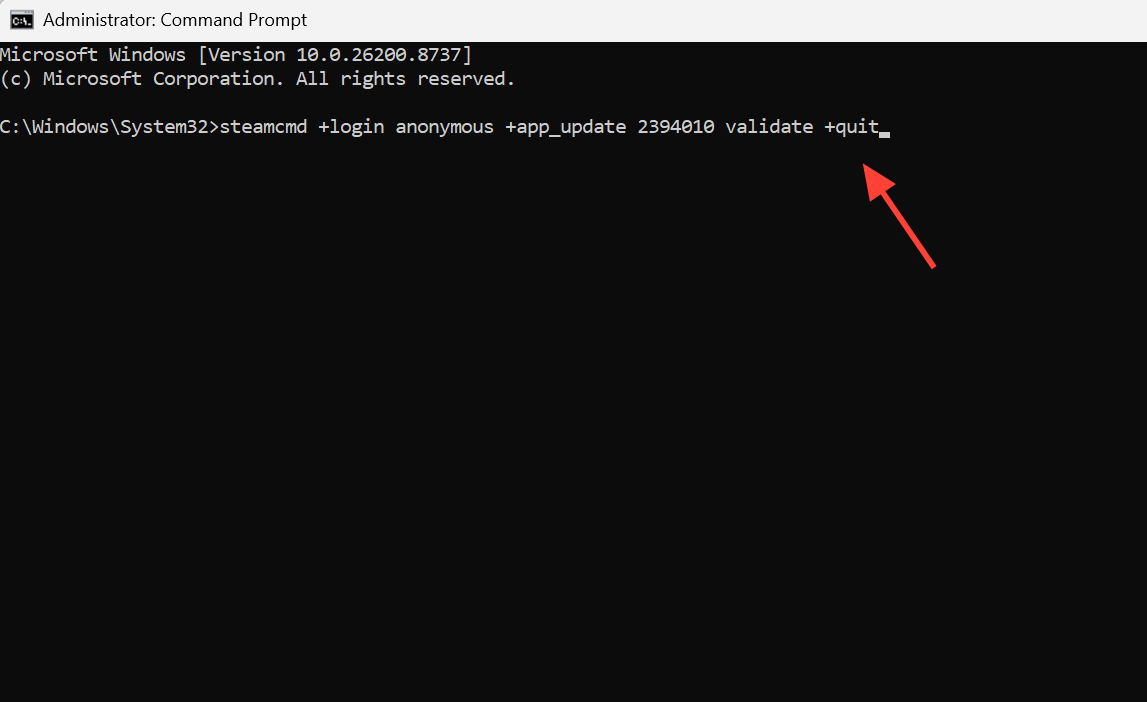
cd C:SteamCMDsteamappscommonPalServer
.PalServer.exe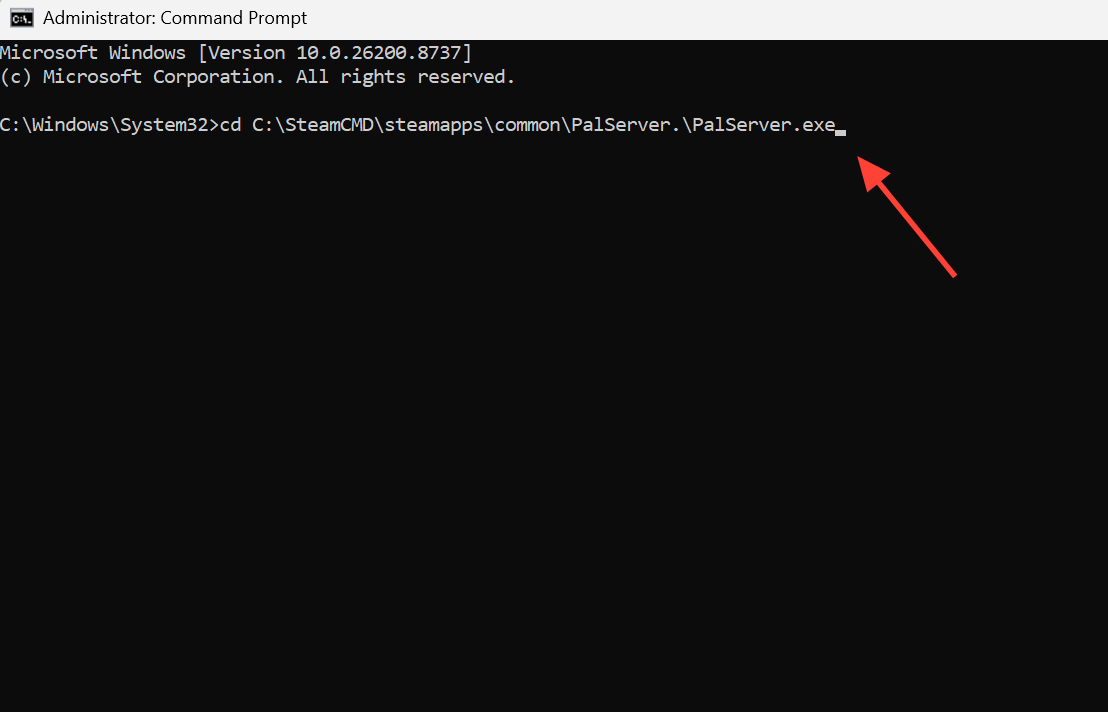
8211 covering both TCP and UDP. Allow the connection and apply the rule. If your VPS sits behind a router, forward the same 8211-8211 range to the VPS IP.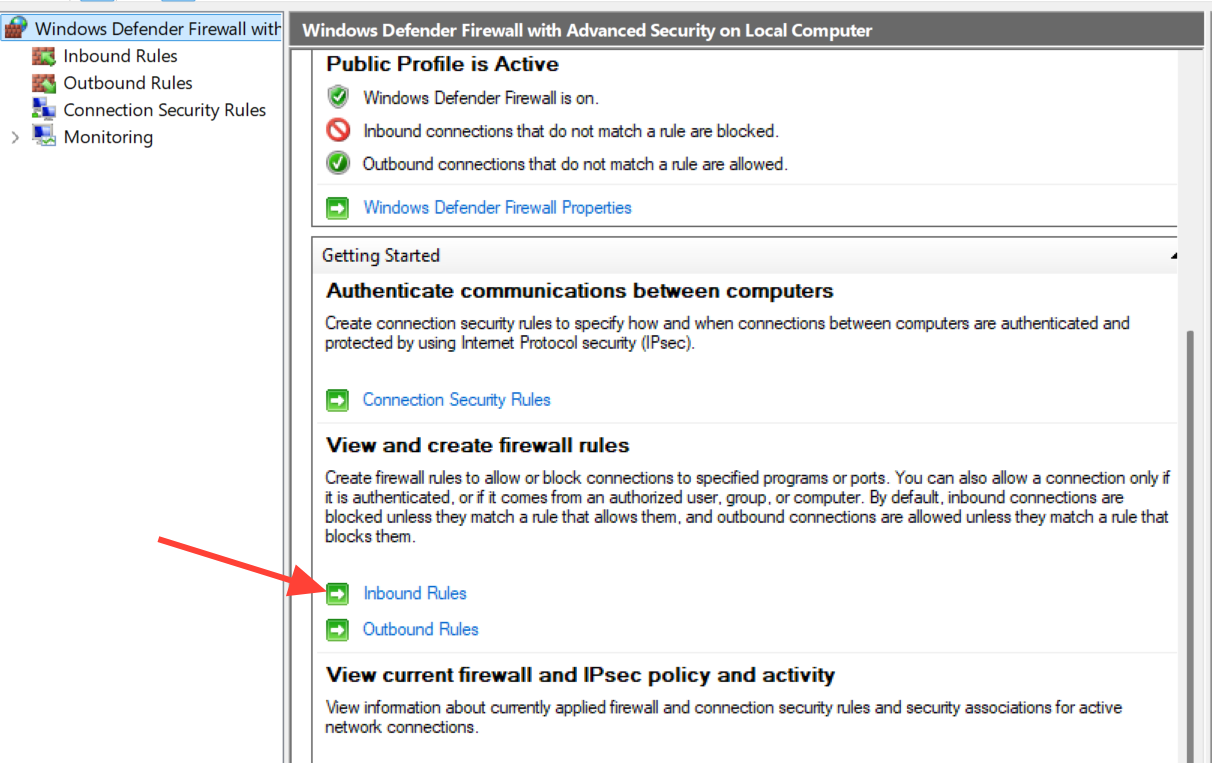
Set up a Palworld server on a Linux VPS
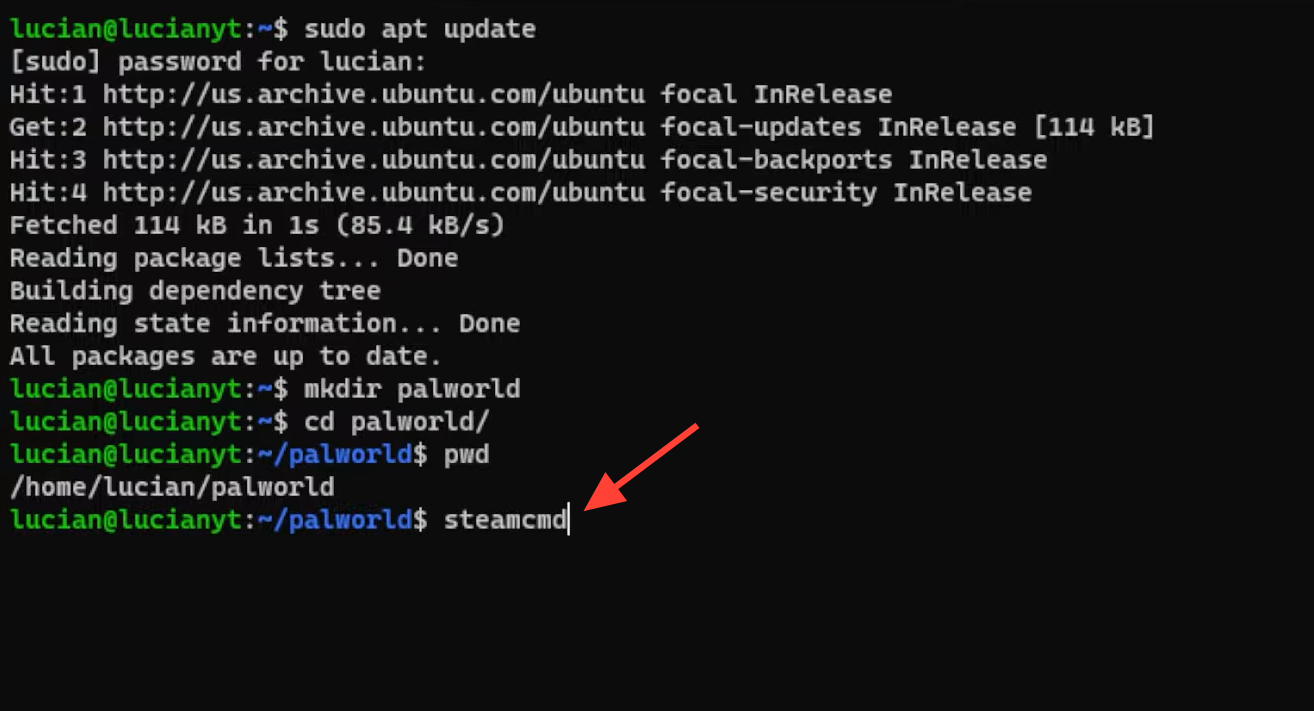
ssh root@your-vps-ipsteam user and work from there.sudo apt update
sudo apt upgrade -y
sudo dpkg --add-architecture i386
sudo add-apt-repository multiverse
sudo apt update
sudo apt install steamcmd -y
sudo useradd -m steam
sudo -u steam -s
cd ~steamclient.so into place, then download the Palworld server itself using the same app ID 2394010.steamcmd +force_install_dir '/home/steam/Steam/steamapps/common/steamworks' +login anonymous +app_update 1007 +quit
mkdir -p /home/steam/.steam/sdk64
cp '/home/steam/Steam/steamapps/common/steamworks/linux64/steamclient.so' /home/steam/.steam/sdk64/
steamcmd +force_install_dir '/home/steam/Steam/steamapps/common/PalServer' +login anonymous +app_update 2394010 validate +quitcd /home/steam/Steam/steamapps/common/PalServer
chmod +x PalServer.sh
./PalServer.sh./PalServer.sh EpicApp=PalServerUbuntu keeps the server stable, but expect limited modding compared with a Windows box. For most groups, that tradeoff is worth the lower cost and steadier uptime.
Edit server name, player cap, and difficulty
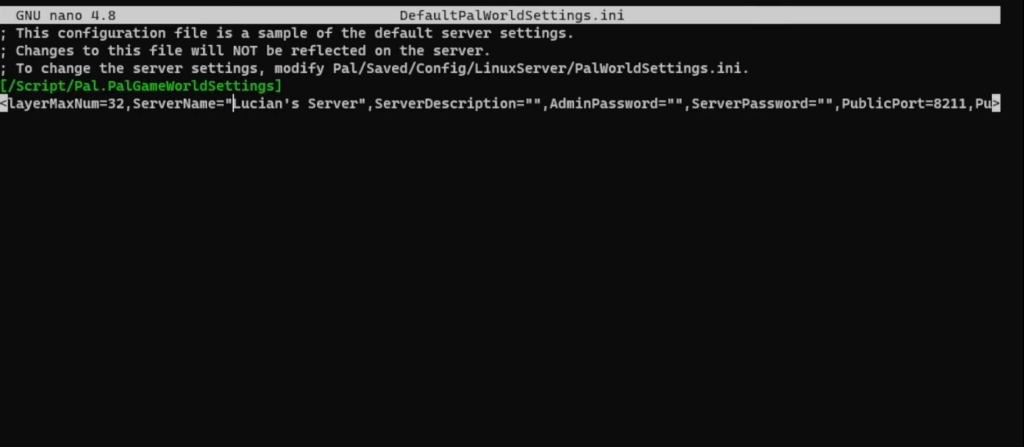
The first server launch writes a settings file you can edit to rename the world, set a password, raise the player cap, and tune catch rates or the day-night cycle. Stop the server, edit the file, then start it again for the changes to apply.
| Platform | PalWorldSettings.ini location |
|---|---|
| Windows | C:SteamCMDsteamappscommonPalServerPalSavedConfigWindowsServer |
| Linux | ~/Steam/steamapps/common/PalServer/Pal/Saved/Config/LinuxServer/PalWorldSettings.ini |
Open the file in a text editor and adjust the values under the [ServerSettings] block. A basic example looks like this:
[ServerSettings]
ServerName="MyPalworldServer"
MaxPlayers=16
Port=8211
The player cap can go up to 32. Setting an admin password here also lets you run server commands once you are in the world.
Connect to the server and confirm it works
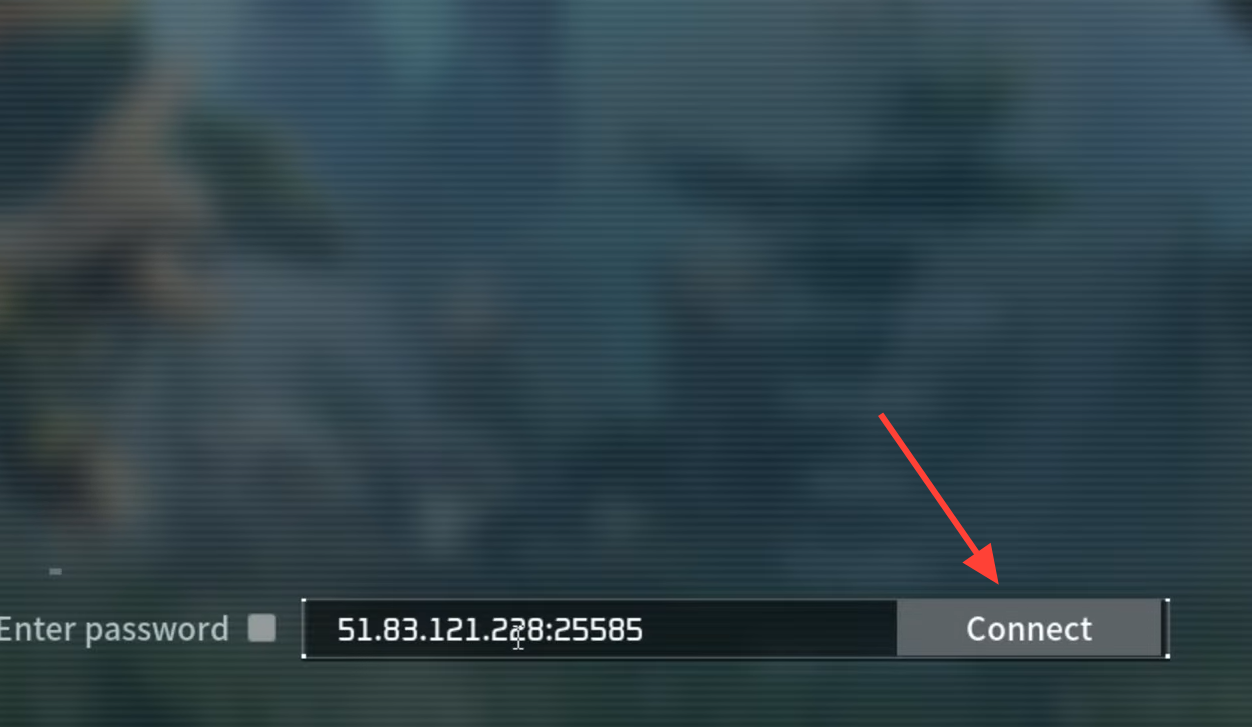
Launch Palworld, choose Multiplayer, and enter your server’s IP address in the field at the bottom of the screen, followed by :8211. You know it worked when the world loads and your character spawns fresh. If you started the server in Community mode, it appears in the Community server list instead, so players can find it without typing an IP.
When the connection fails, the cause is almost always one of a short list. Check these before touching anything else.
- Port
8211is not open for both TCP and UDP in the firewall, or not forwarded on the router. - The IP was entered without the
:8211port suffix. - The server ran out of RAM under player load, causing crashes or timeouts.
- The download was interrupted, so re-run the SteamCMD command with
validateto repair the files.
Once players are joining reliably, keep periodic backups of the save folder before installing mods or changing major settings. With the server running full time and port 8211 open, your group can build, explore, and battle Pals together without a host ever needing to stay online.