“Windows could not start the WLAN AutoConfig service” appears when a Windows 11 system fails to connect to wireless networks due to a service startup problem. This error disrupts all Wi-Fi connectivity, preventing web browsing, software updates, and network-dependent applications from functioning. The issue often stems from misconfigured system services, outdated drivers, registry errors, or system corruption. Addressing the root cause restores reliable wireless network access and prevents recurring connection failures.
Modify the Registry to Correct Service Dependencies
Incorrect or corrupted registry entries can stop the WLAN AutoConfig service from launching. Adjusting the DependOnService value for the DHCP service often resolves this issue, especially if recent malware removal or system tweaks altered dependencies.
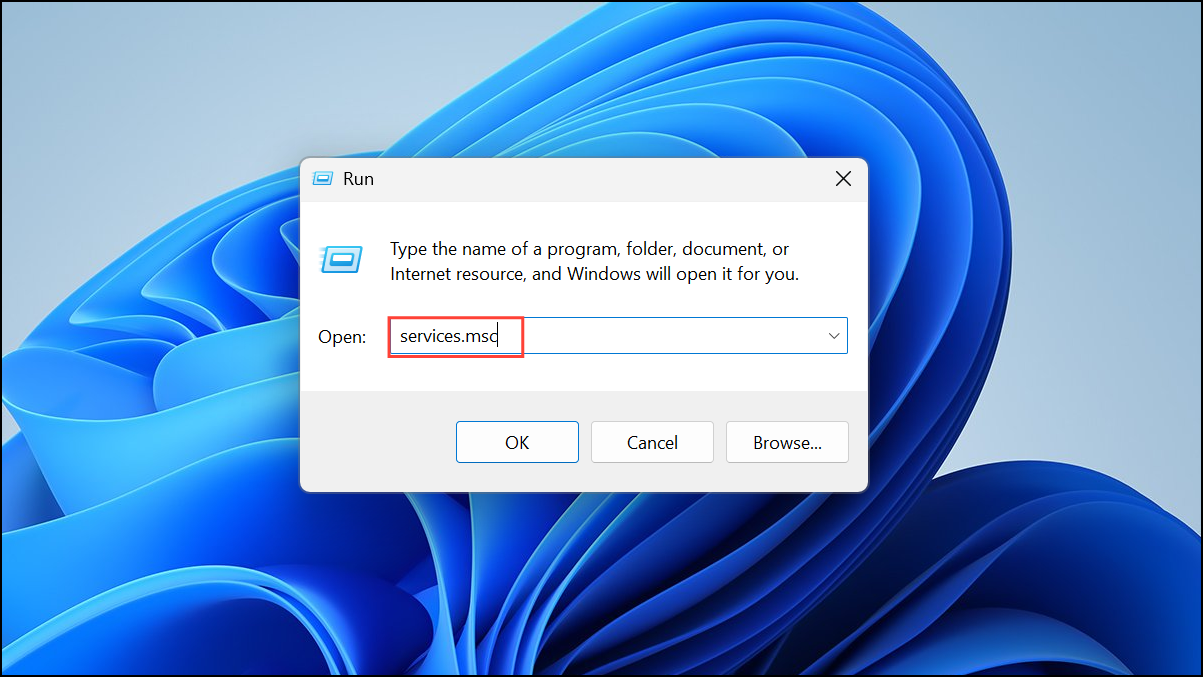
Win + R to open the Run dialog, type regedit, and press Enter. If prompted by User Account Control, select Yes to proceed.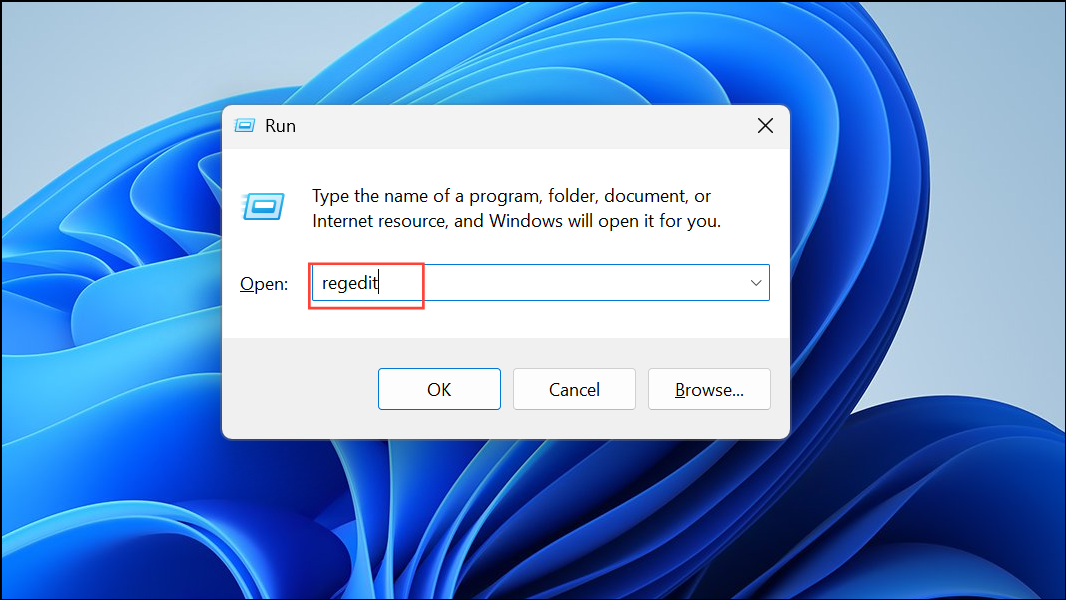
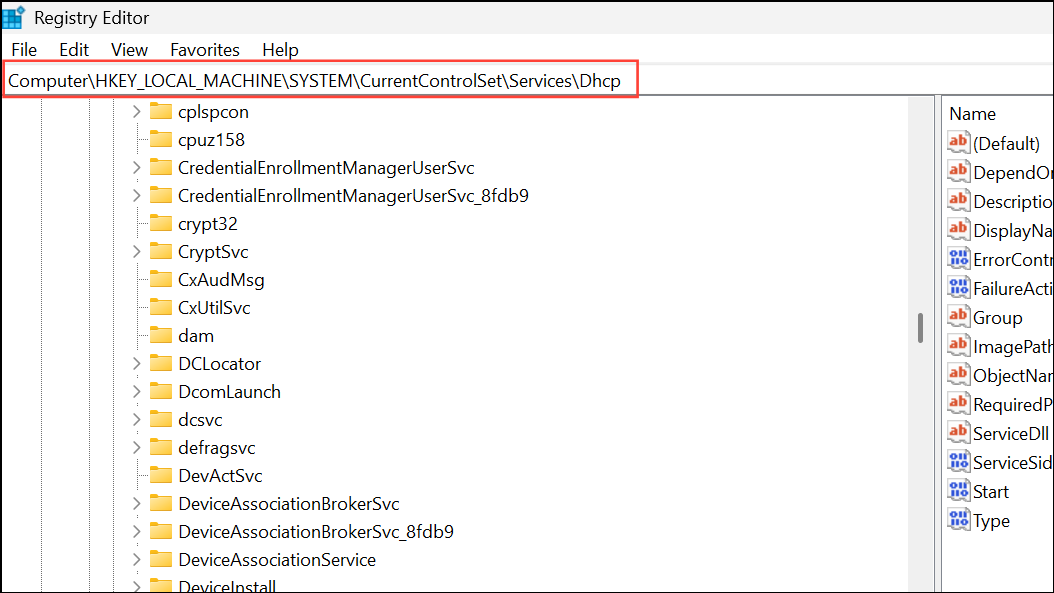
DependOnService and double-click it. Remove all values except Afd. Click OK to save.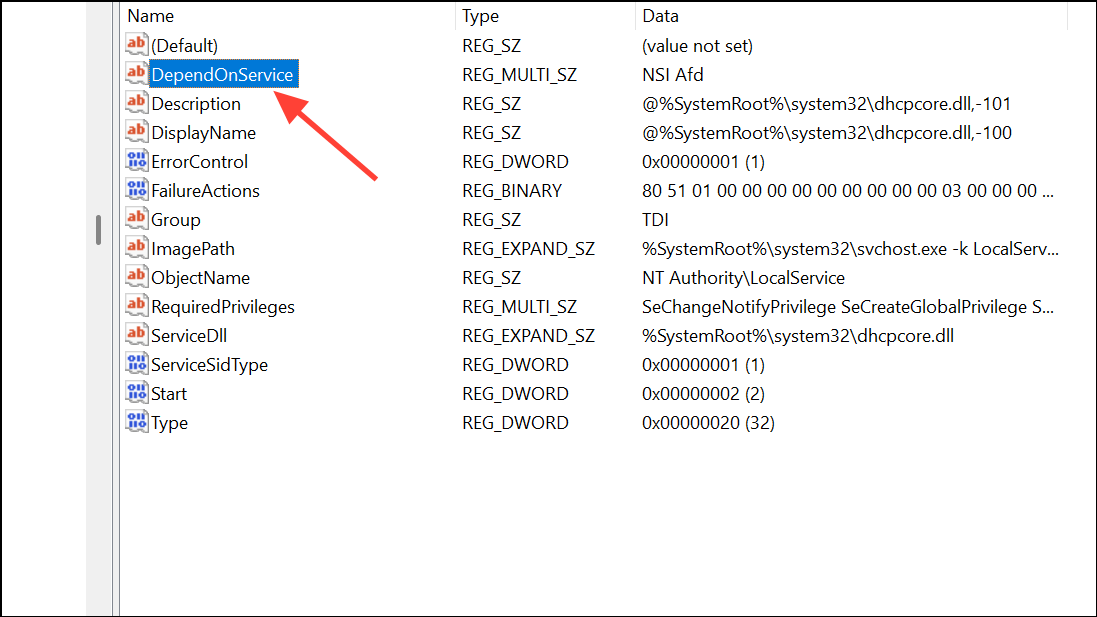
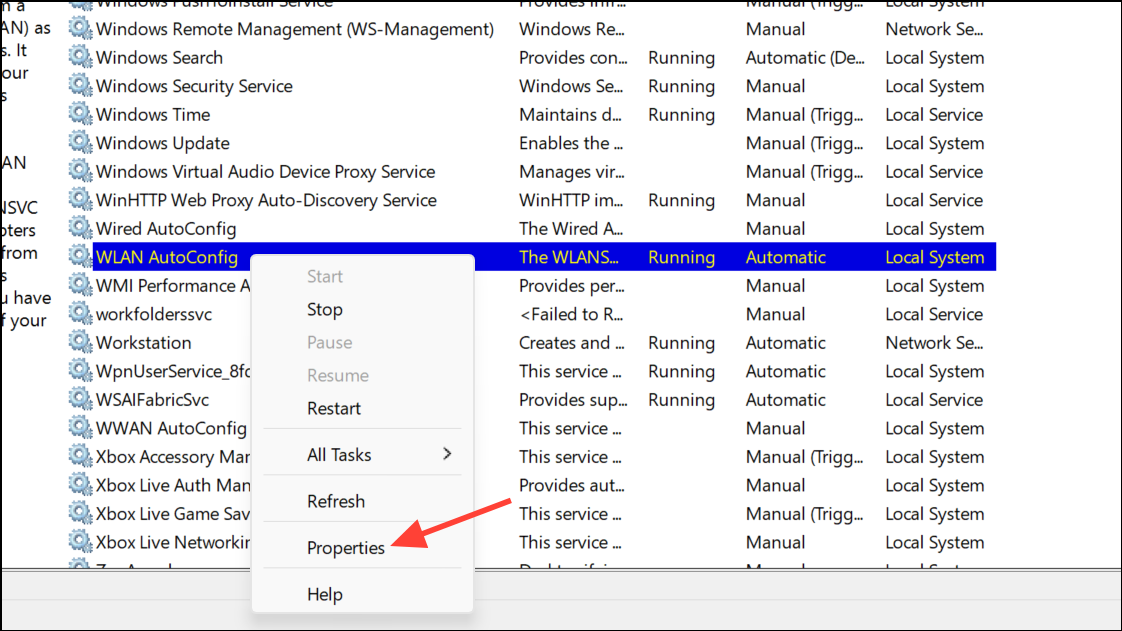
Set WLAN AutoConfig and Dependencies to Start Automatically
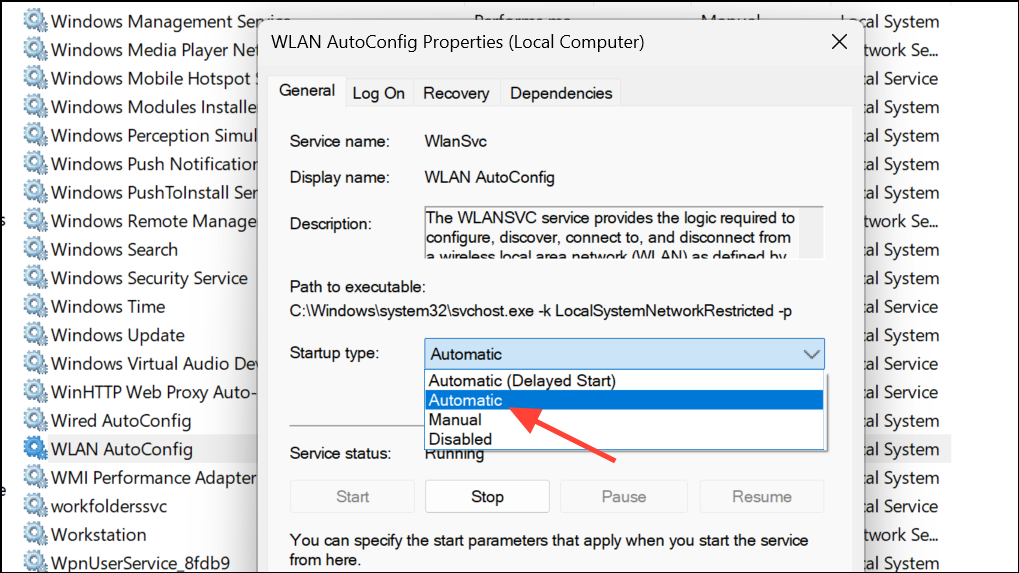
WLAN AutoConfig relies on several background services. If any are set to manual or disabled, wireless connectivity fails. Ensuring these services start automatically restores Wi-Fi operation.
Remote Procedure Call (RPC) and DCOM Server Process Launcher. Both must be set to Automatic and running.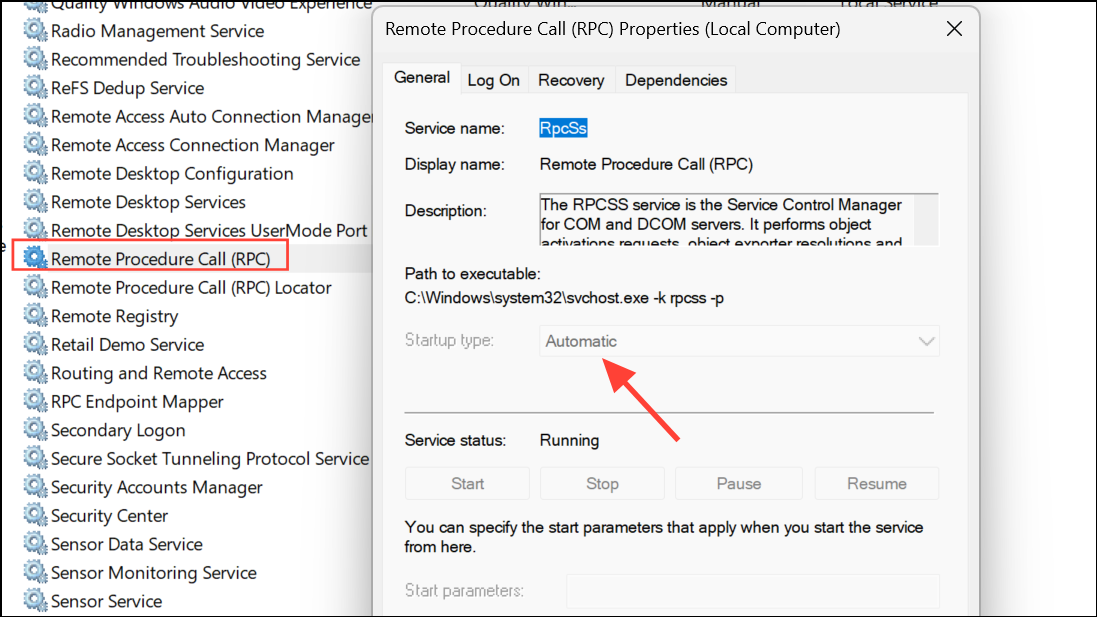
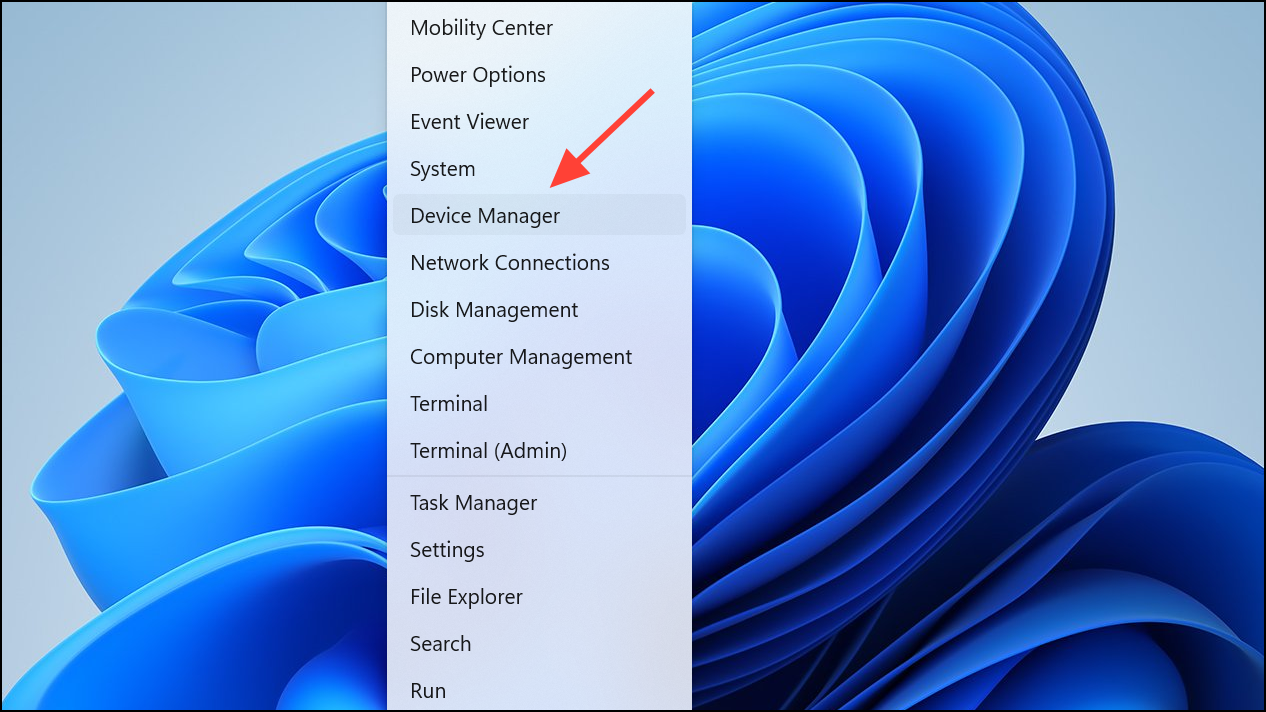
Update or Reinstall Wireless Network Drivers
Outdated or corrupted network adapter drivers frequently cause WLAN service failures. Updating or reinstalling drivers corrects compatibility and stability issues, allowing the service to start properly.
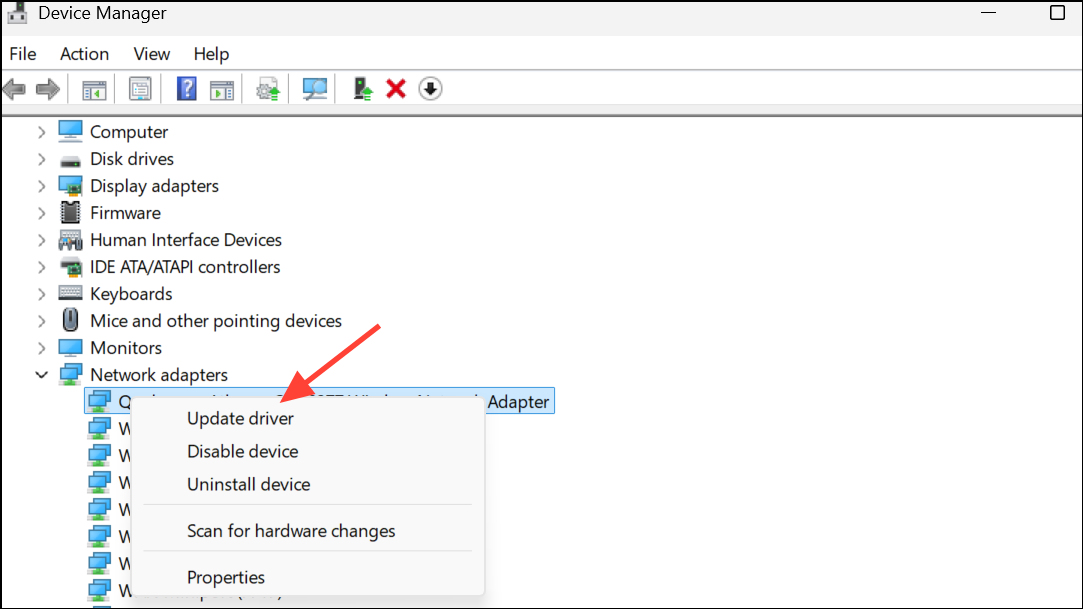
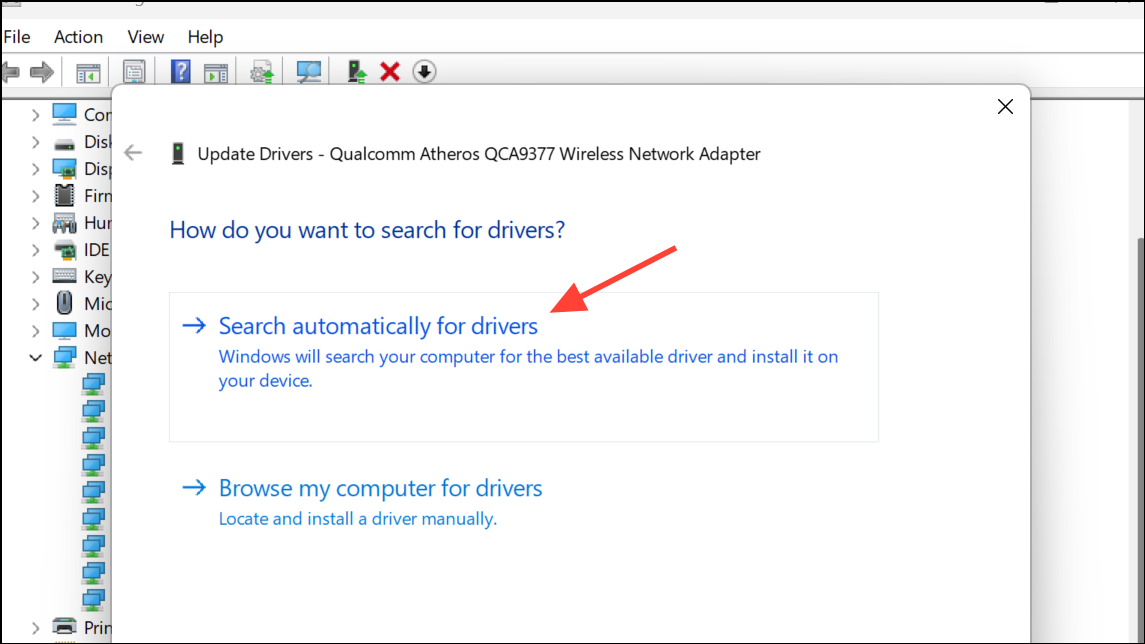
Uninstall device, confirm, and reboot. Windows will attempt to reinstall the correct driver on startup. This process resolves many driver-related service errors.Run the Network Troubleshooter
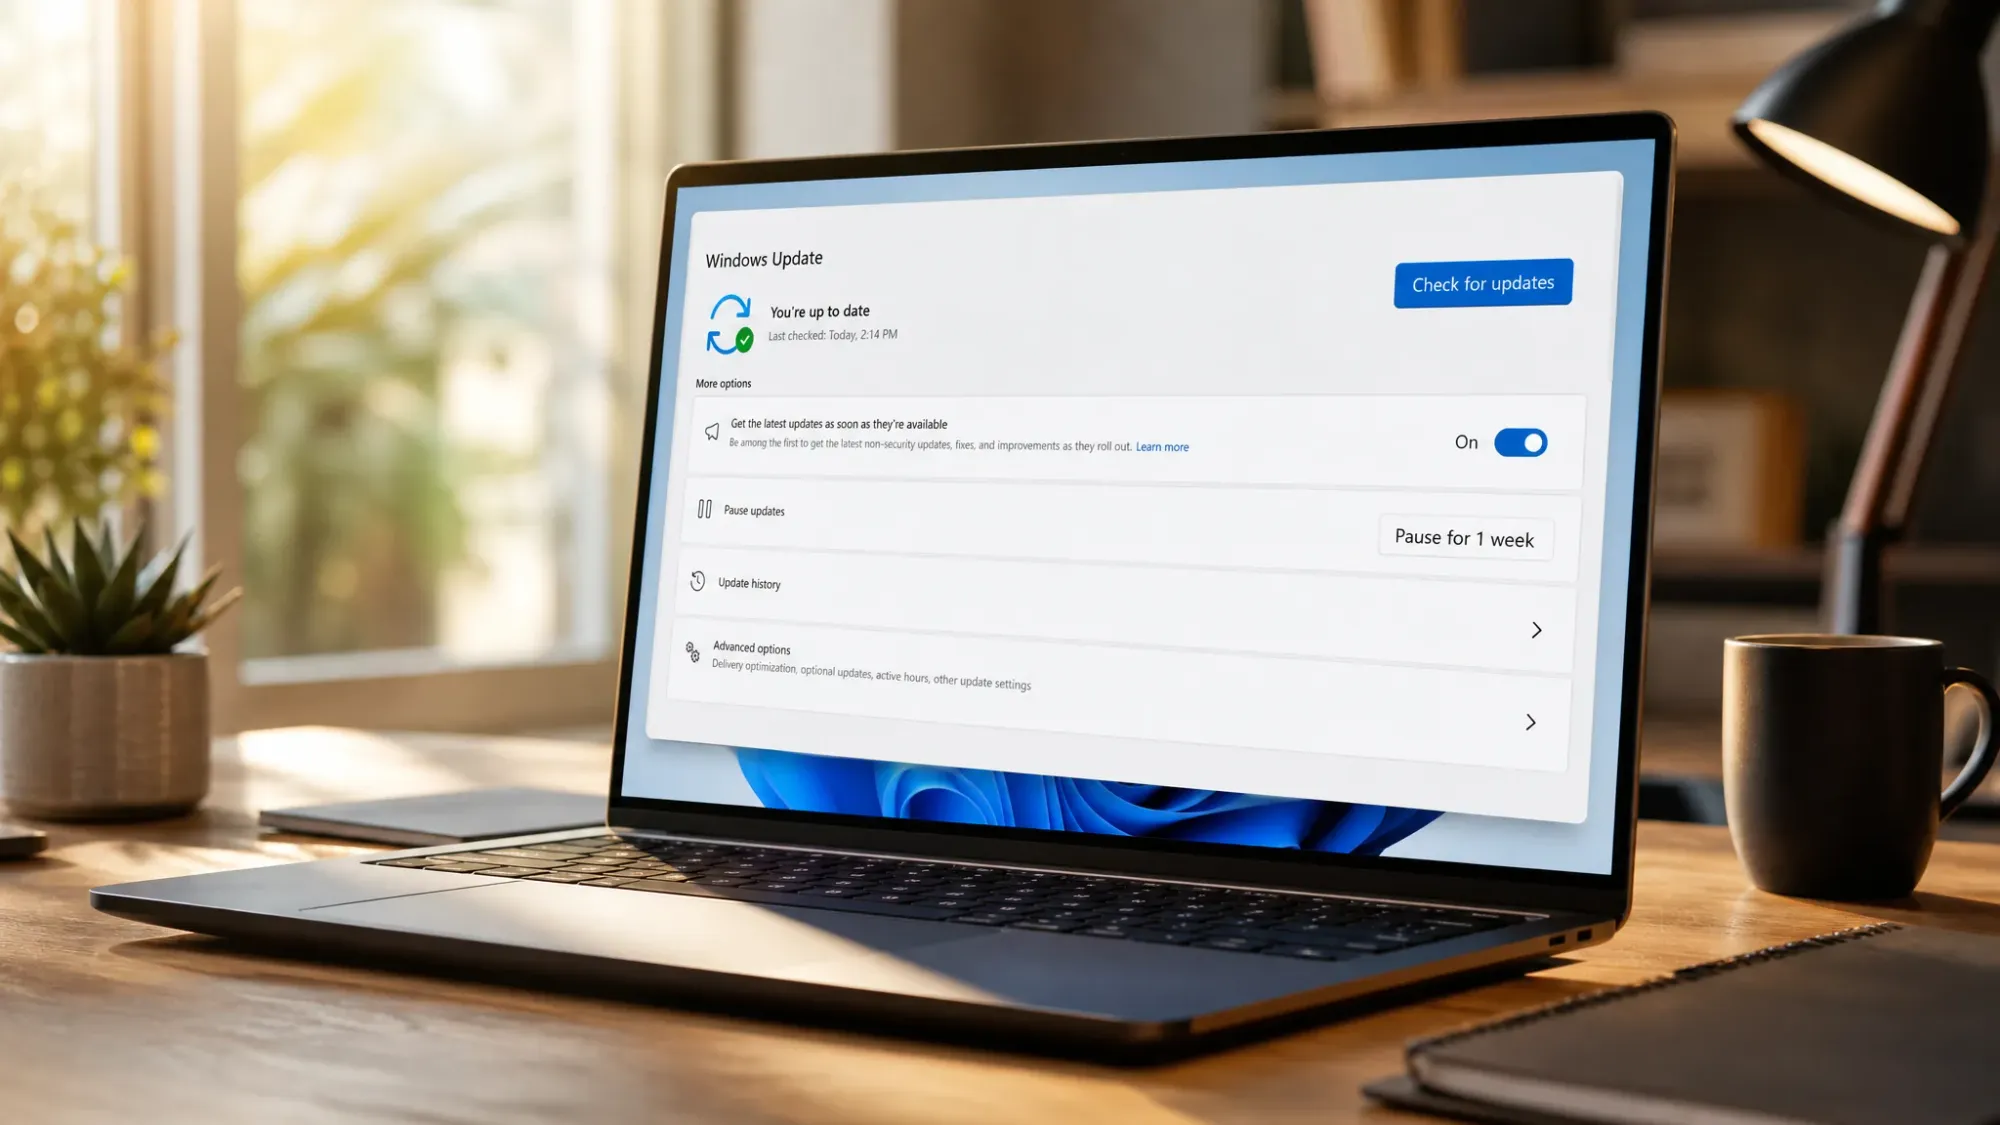
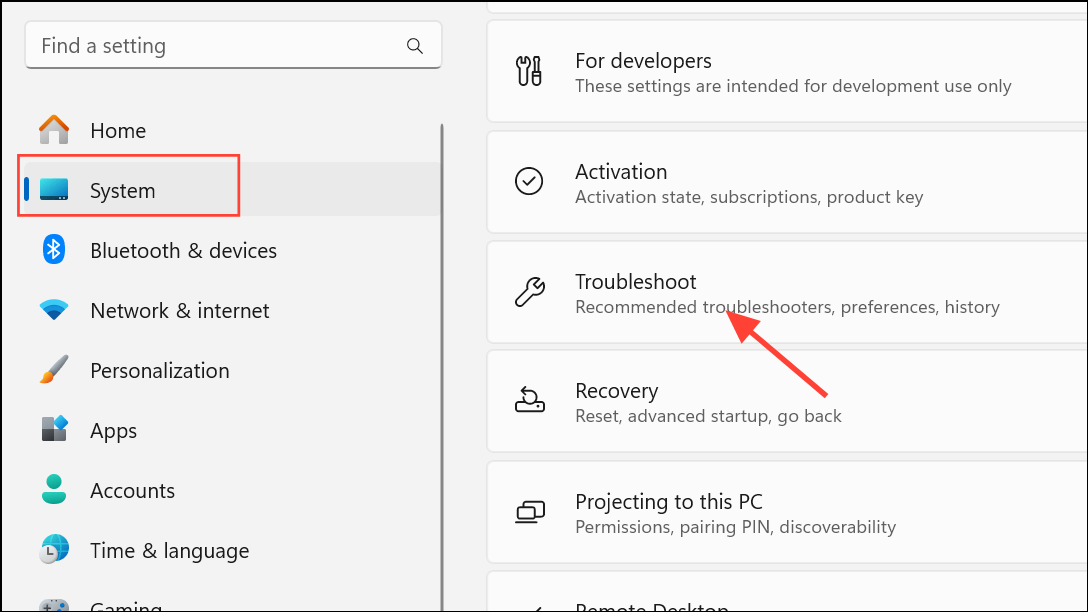
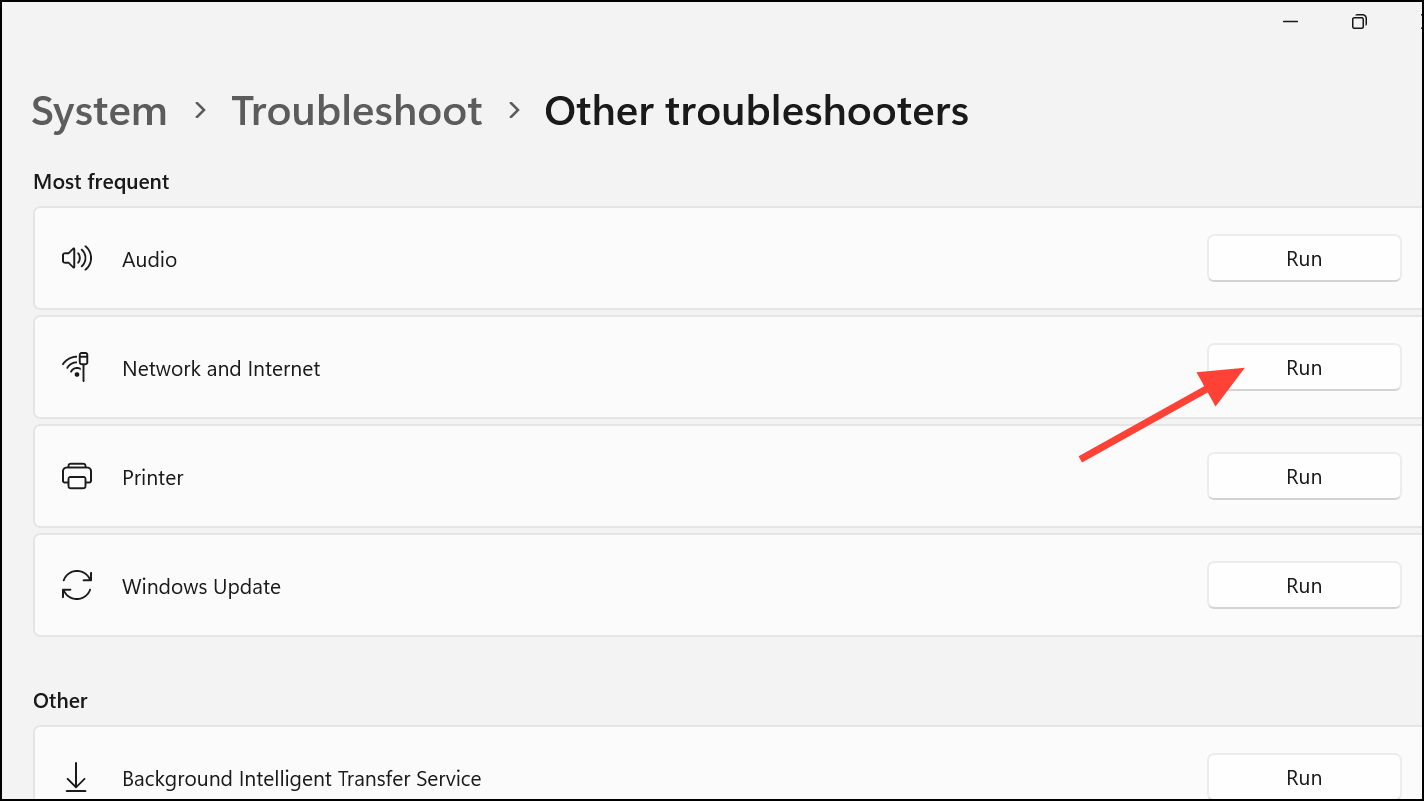
Windows includes a built-in troubleshooter that can automatically diagnose and resolve many network service issues, including WLAN AutoConfig failures.
Flush DNS and Reset Network Configuration
Corrupted DNS cache or network configuration can prevent WLAN services from starting or operating correctly. Flushing DNS and resetting network settings can restore connectivity and correct service errors.
Win + X and choosing Command Prompt (Admin) or Windows Terminal (Admin).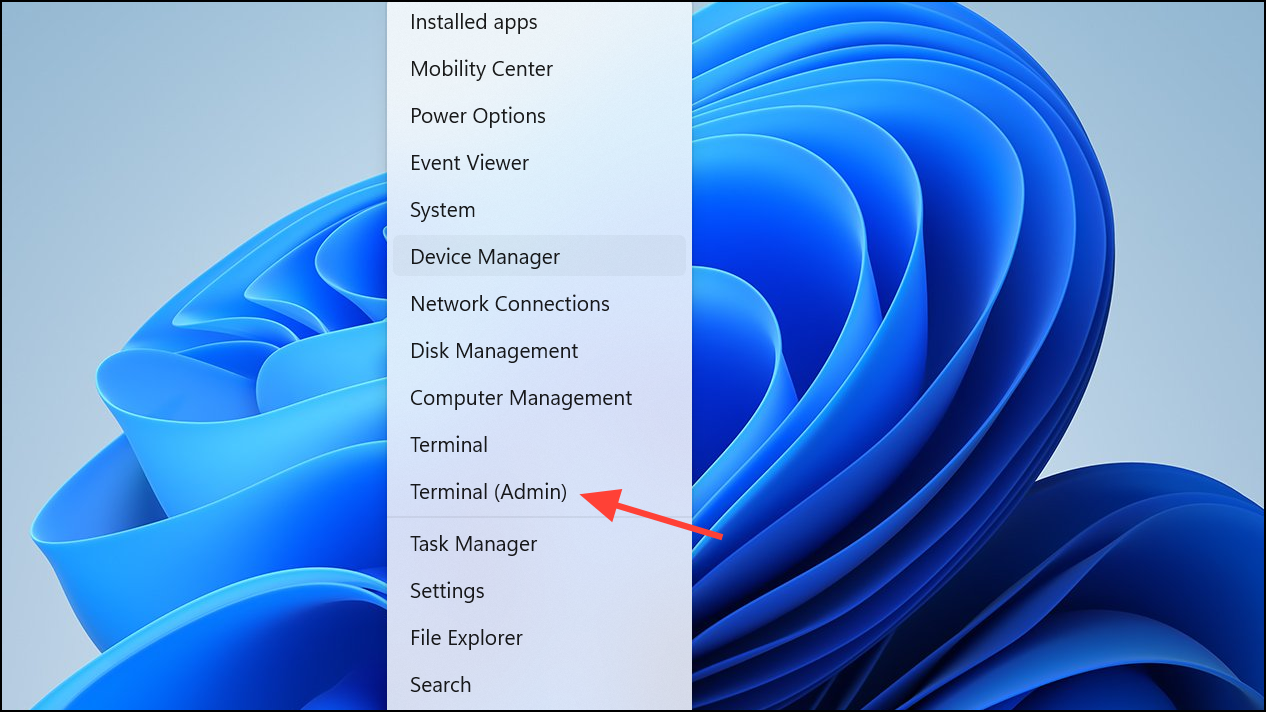
ipconfig /release
ipconfig /renew
ipconfig /flushdns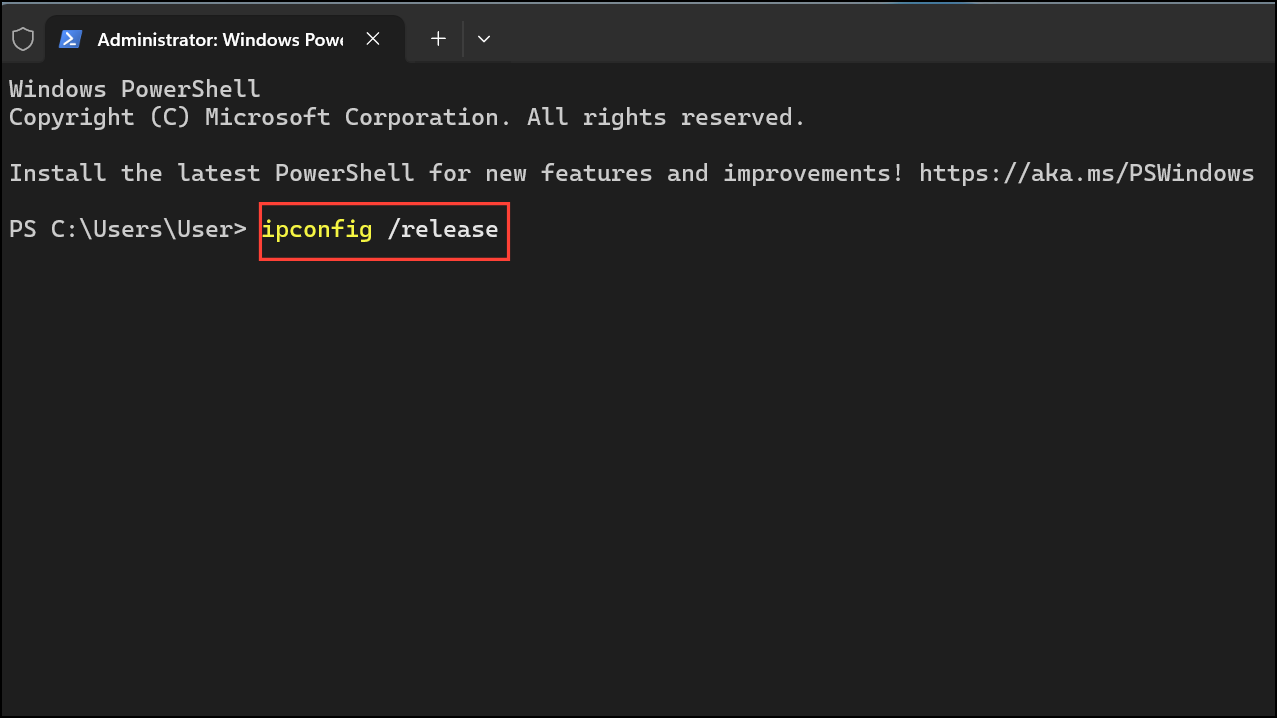
Restore WLAN AutoConfig Service if Missing
Sometimes, the WLAN AutoConfig service itself is missing from the Services list, often due to registry corruption or accidental deletion. Restoring the default service entry can resolve this issue.
.reg file and allow it to merge with your system registry. Approve any prompts that appear.Automatic.Update BIOS or Motherboard Firmware (Advanced)
Rarely, outdated motherboard firmware can interfere with network hardware initialization, causing persistent WLAN AutoConfig errors. Updating the BIOS can resolve such hardware-level compatibility problems.
Restoring the WLAN AutoConfig service in Windows 11 improves Wi-Fi reliability and ensures seamless wireless connectivity. Regularly updating drivers and maintaining system services prevents future network disruptions.