The 1.0 endgame in Palworld leans hard on accessories. These slot-in items sit alongside your armor and stack player stats, buff the Pal fighting beside you, and change how you move around the map. The best of them are tied to hidden ancient ruins and cave terminals, either as ready-made loot or as schematics you craft afterward.
Quick answer: For a player-focused build, run the Dogen Emblem and Silvegis Emblem. For a Pal-focused build, run Blazamut’s Talisman, Flame Emperor’s Baton, and Faleris Ring. Most of these drop in the Astral Mountains, Dunes, and Feybreak regions, with several hidden inside caves.
Best accessories and what they do
Accessories split into player buffs, Pal buffs, resistances, and mobility. Getting the item is only half the job. Matching it to how you play decides whether a slot is worth filling. Here is what each top pick actually changes.
| Accessory | Rarity | Effect |
|---|---|---|
| Dogen Emblem | Epic | Attack Up Lv. 4 and Pal Attack Up Lv. 4 |
| Silvegis Emblem | Epic | Defense Up Lv. 4 and Pal Defense Up Lv. 4 |
| Warsect Terra’s Belt | Epic | Defense Up Lv. 4 and Health Up Lv. 4 |
| Phantom Ring | Epic | Extends the invincibility window on rolls and sidesteps |
| Attack Pendant | Rare | Attack Up Lv. 3 |
| Defense Pendant | Rare | Defense Up Lv. 3 |
| Air Walker EX | Epic | Jump Count +2 and Aerial Dash +2 |
| Pal Tamer’s Glasses | Epic | Mercy Hit, and reveals hidden Pal potentials |
| Islander’s Tool Belt | Epic | Max Carrying Capacity Lv. 4 and Speedy Worker Lv. 4 |
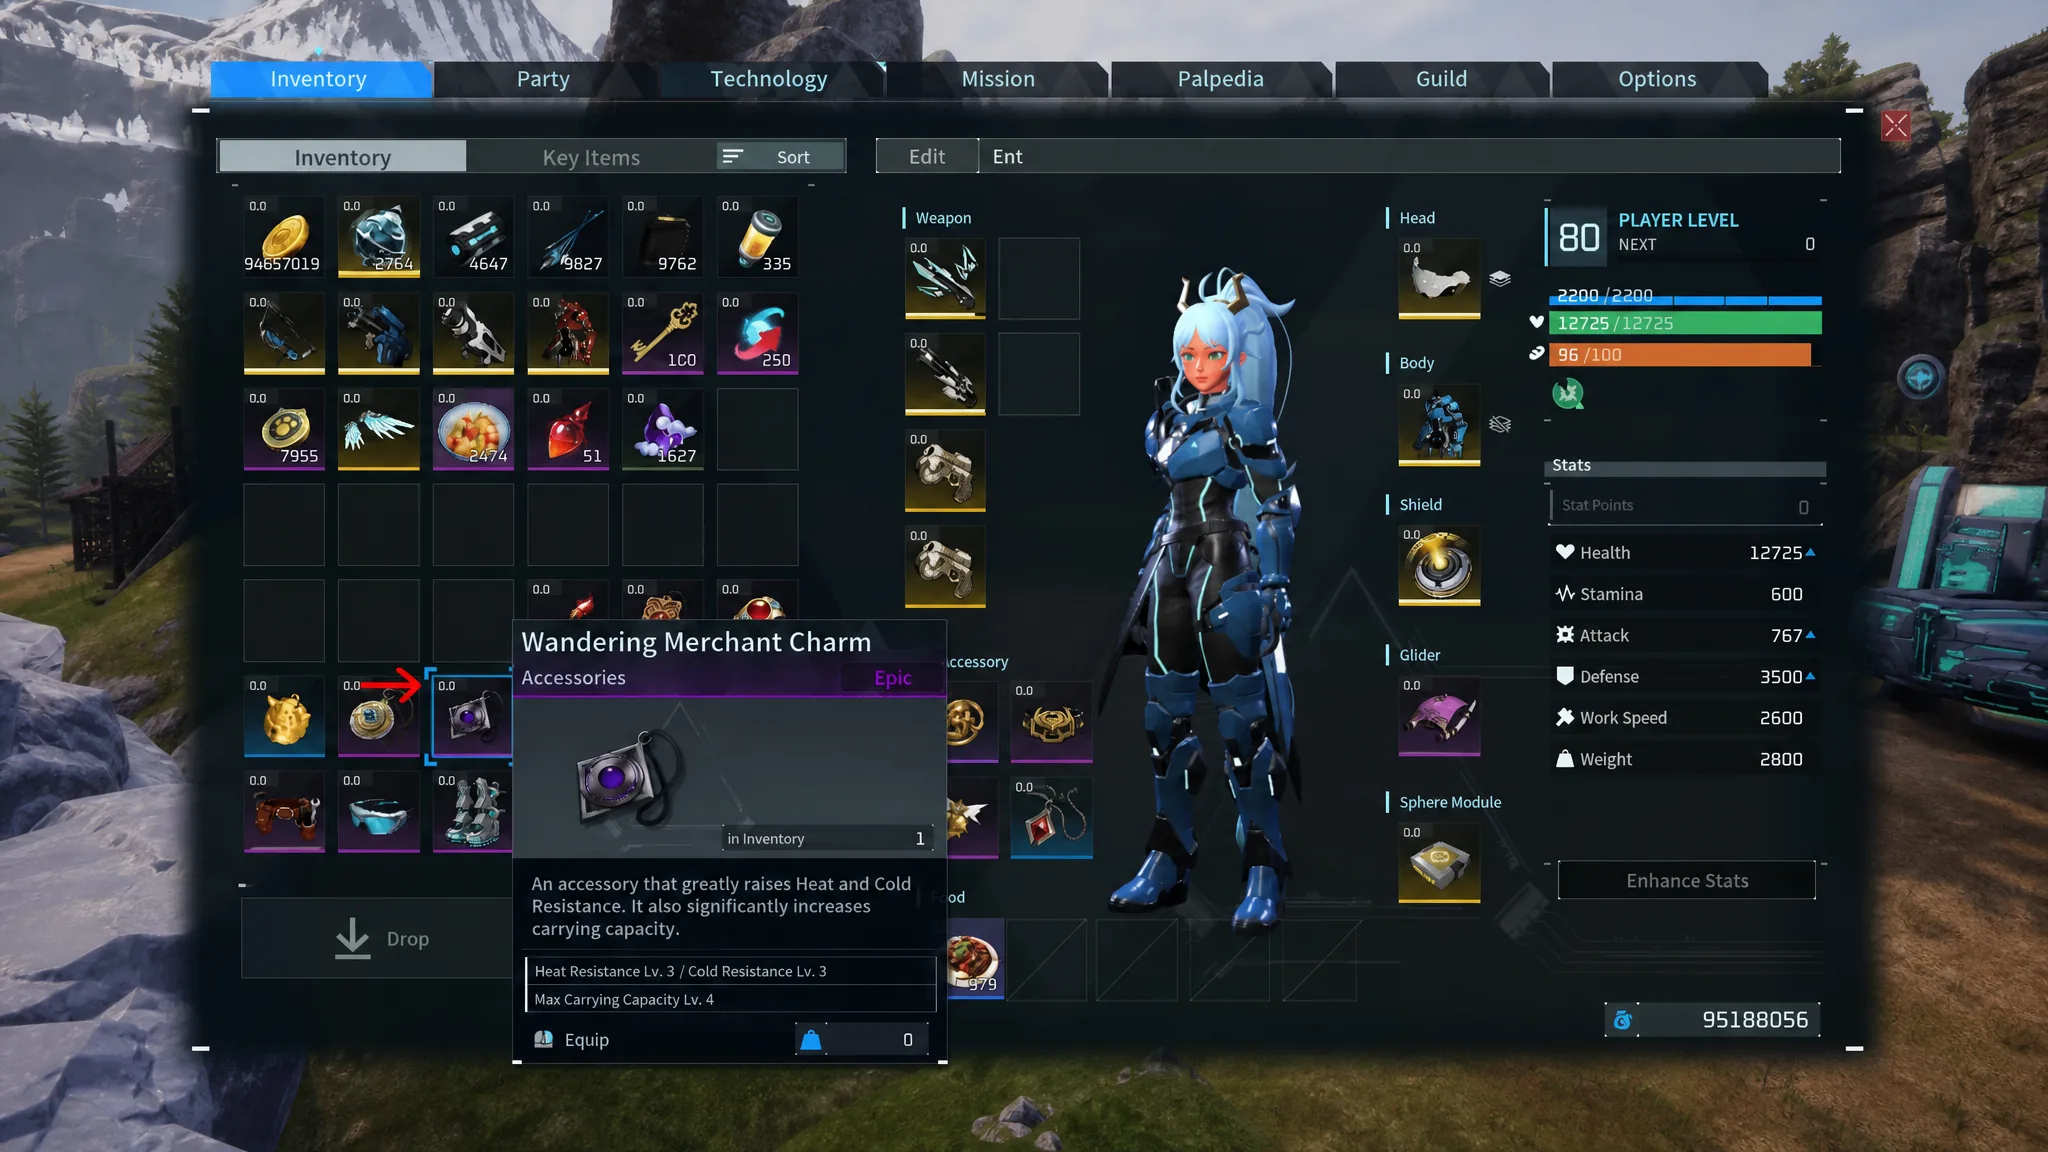
| Wandering Merchant Charm | Epic | Heat/Cold Resistance Lv. 3 and Max Carrying Capacity Lv. 4 |
| Vanguard Charm | Epic | Heat/Cold Resistance Lv. 3 and Health Up Lv. 4 |
| Growth Acceleration Bell | Rare | Pal EXP Up Lv. 3 for your active party |
| Faleris Ring | Epic | Ice Damage Reduction Lv. 4 and Pal Fire Damage Lv. 4 |
| Blazamut’s Talisman | Epic | Pal Defense Up Lv. 4 and Pal Fire Damage Lv. 4 |
| Flame Emperor’s Baton | Epic | Pal Attack Up Lv. 4 and Pal Fire Damage Lv. 4 |
Pal Tamer’s Glasses are the standout utility pick. Mercy Hit stops your own attacks from dropping a wild Pal below 1 HP, so you never accidentally kill a catch. The same glasses reveal hidden potentials, which lets you scout a Pal’s stats before you commit to a capture.
Accessory locations and map coordinates
Several accessories sit inside ancient ruins with fixed coordinates. Others are hidden in caves, marked separately because you cannot land on them directly. Use the coordinate readout on your map to line up each pickup.
| Accessory | Area | Coordinates |
|---|---|---|
| Air Walker MK 1 | Astral Mountains | -432, 489 |
| Phantom Ring | Astral Mountains | 109, 472 |
| Pal Tamer’s Glasses | Astral Mountains | 8, 121 |
| Multiclimate Undershirt | Dunes | 605, 304 |
| Defense Support Whistle | Dunes | 308, 491 |
| Reptyro Charm | Dunes | 386, 202 |
| Attack Pendant | Dunes | 428, 337 |
| Islander’s Tool Belt | Astral Mountains (Cave) | -161, 343 |
| Wumpo Charm | Astral Mountains (Cave) | -229, 470 |
| Silvegis Emblem | Feybreak (Cave) | -1036, -1146 |
| Spirit Emperor’s Baton | Feybreak (Cave) | -958, -1320 |
| Ring of Fire Resistance | Mount Obsidian (Cave) | -530, -1024 |
Regions cover the rest of the top picks. The Dogen Emblem and Air Walker X are found around Sunreach, while the Warsect Terra’s Belt turns up on Sakurajima. Feybreak holds the Wandering Merchant Charm, Vanguard Charm, and Flame Emperor’s Baton, with Blazamut’s Talisman tucked into a Feybreak cave. The Defense Pendant sits near Mount Obsidian, the Growth Acceleration Bell around Mount Flopie, and the Faleris Ring on Bicornis Islet.
Crafting accessories from ancient ruins schematics
Beyond the direct pickups, 1.0 adds a large batch of accessory schematics. You get one of each from ruins, plus more copies from oil rigs, overworld chests, and dungeons. Once a schematic is in your inventory, it unlocks the recipe so you can craft the accessory repeatedly.
Crafting costs scale with rarity. These are the material requirements for a few of the strongest craftable accessories.
| Accessory | Materials |
|---|---|
| Air Walker EX (Epic) | Coralum Ingot x30, Paldium Fragment x60, Dark Fragment x45, Nightstar Sand x60, Ancient Bone x60 |
| Islander’s Tool Belt (Epic) | Refined Ingot x20, Leather x40, Paldium Fragment x35, Ancient Bark x30 |
| Warsect Terra’s Belt (Epic) | Refined Ingot x40, Honey x20, Paldium Fragment x35, Ancient Civilization Parts x10 |
| Pal Tamer’s Glasses (Epic) | Refined Ingot x20, Paldium Fragment x30, Ancient Civilization Parts x10, Ancient Bark x15 |
| Attack Pendant (Rare) | Ingot x25, Horn x20, Paldium Fragment x25, Ancient Civilization Parts x2 |
| Growth Acceleration Bell (Rare) | Ingot x25, Paldium Fragment x30, Mysterious Mushroom x10, Ancient Civilization Parts x3 |
Unlock more accessory slots
You start with two accessory slots and can raise that to four. The upgrade is not automatic. You buy two single-use coffers from the Medal Merchant, who appears in four special churches on the map.
- Wondrous Accessory Coffer costs 100 Mog Coins and grants one slot.
- Mysterious Accessory Coffer costs 1000 Mog Coins and grants the fourth slot.
You earn Mog Coins mainly by defeating Mimogs, a rare chest-shaped Pal that drops roughly 14 to 21 coins per kill. They can also turn up in chests and, rarely, at the scrapyard. Each coffer works only once, so plan which two slots you want before spending.
Best loadouts by playstyle
With four slots open, split your gear by what carries the fight. If you deal the damage yourself, stack player buffs. If your Pal does the heavy lifting, stack Pal buffs and an element package.
| Loadout | Accessories |
|---|---|
| Player attack | Dogen Emblem and Silvegis Emblem |
| Pal-focused fire | Blazamut’s Talisman, Flame Emperor’s Baton, and Faleris Ring |
| Survivability | Warsect Terra’s Belt and Vanguard Charm |
| Exploration | Air Walker EX, Islander’s Tool Belt, and Wandering Merchant Charm |
You will know an accessory is active when its effect shows in the Stats window on the right of the inventory screen. Accessories never lose durability, so once equipped they keep working with no upkeep. Start with whatever you find early, then target-farm the ruins and caves above as you push into the endgame.